INTRODUCTION
Hello everyone! I am Stefano Cardia, an Italian 3D artist currently based in Austria (but moving soon again!). I am now a freelancer but I keep collaborating with university museums and companies who are in need of a photogrammetry technician/3D designer. I am also involved in the creation of assets for many metaverse virtual worlds, such as Decentraland, TCG World and others, for which I started a collaboration with WanMine Studio, a lab of young designers and programmers who work in the development of new games and virtual interaction platforms such as the metaverses.
You can find some more of my past experience and style tendencies on this previous post here on Blender Nation:
INSPIRATION
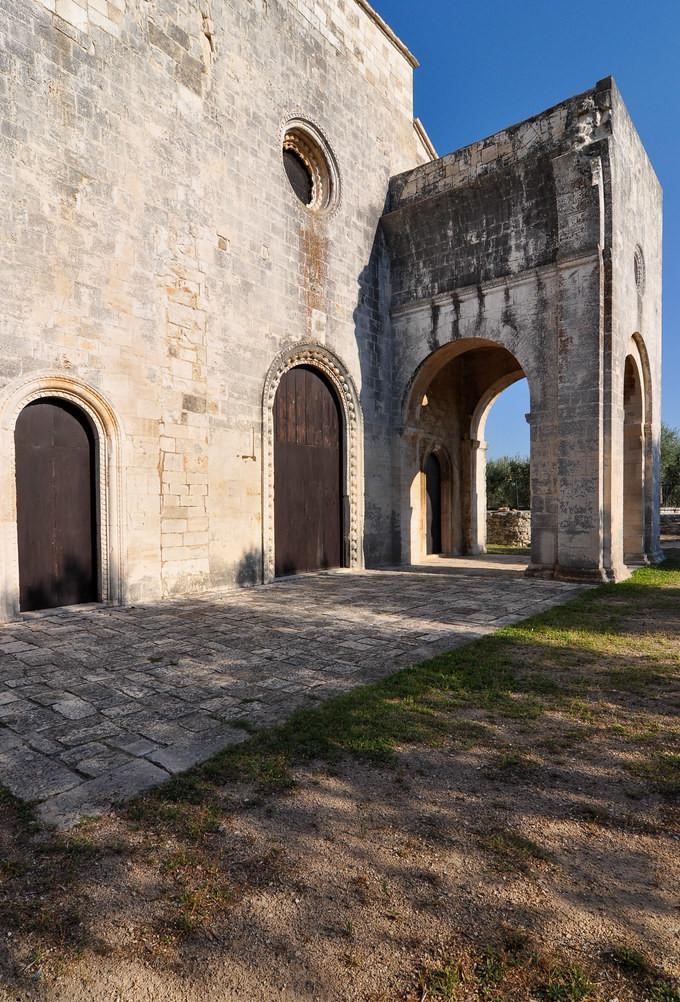
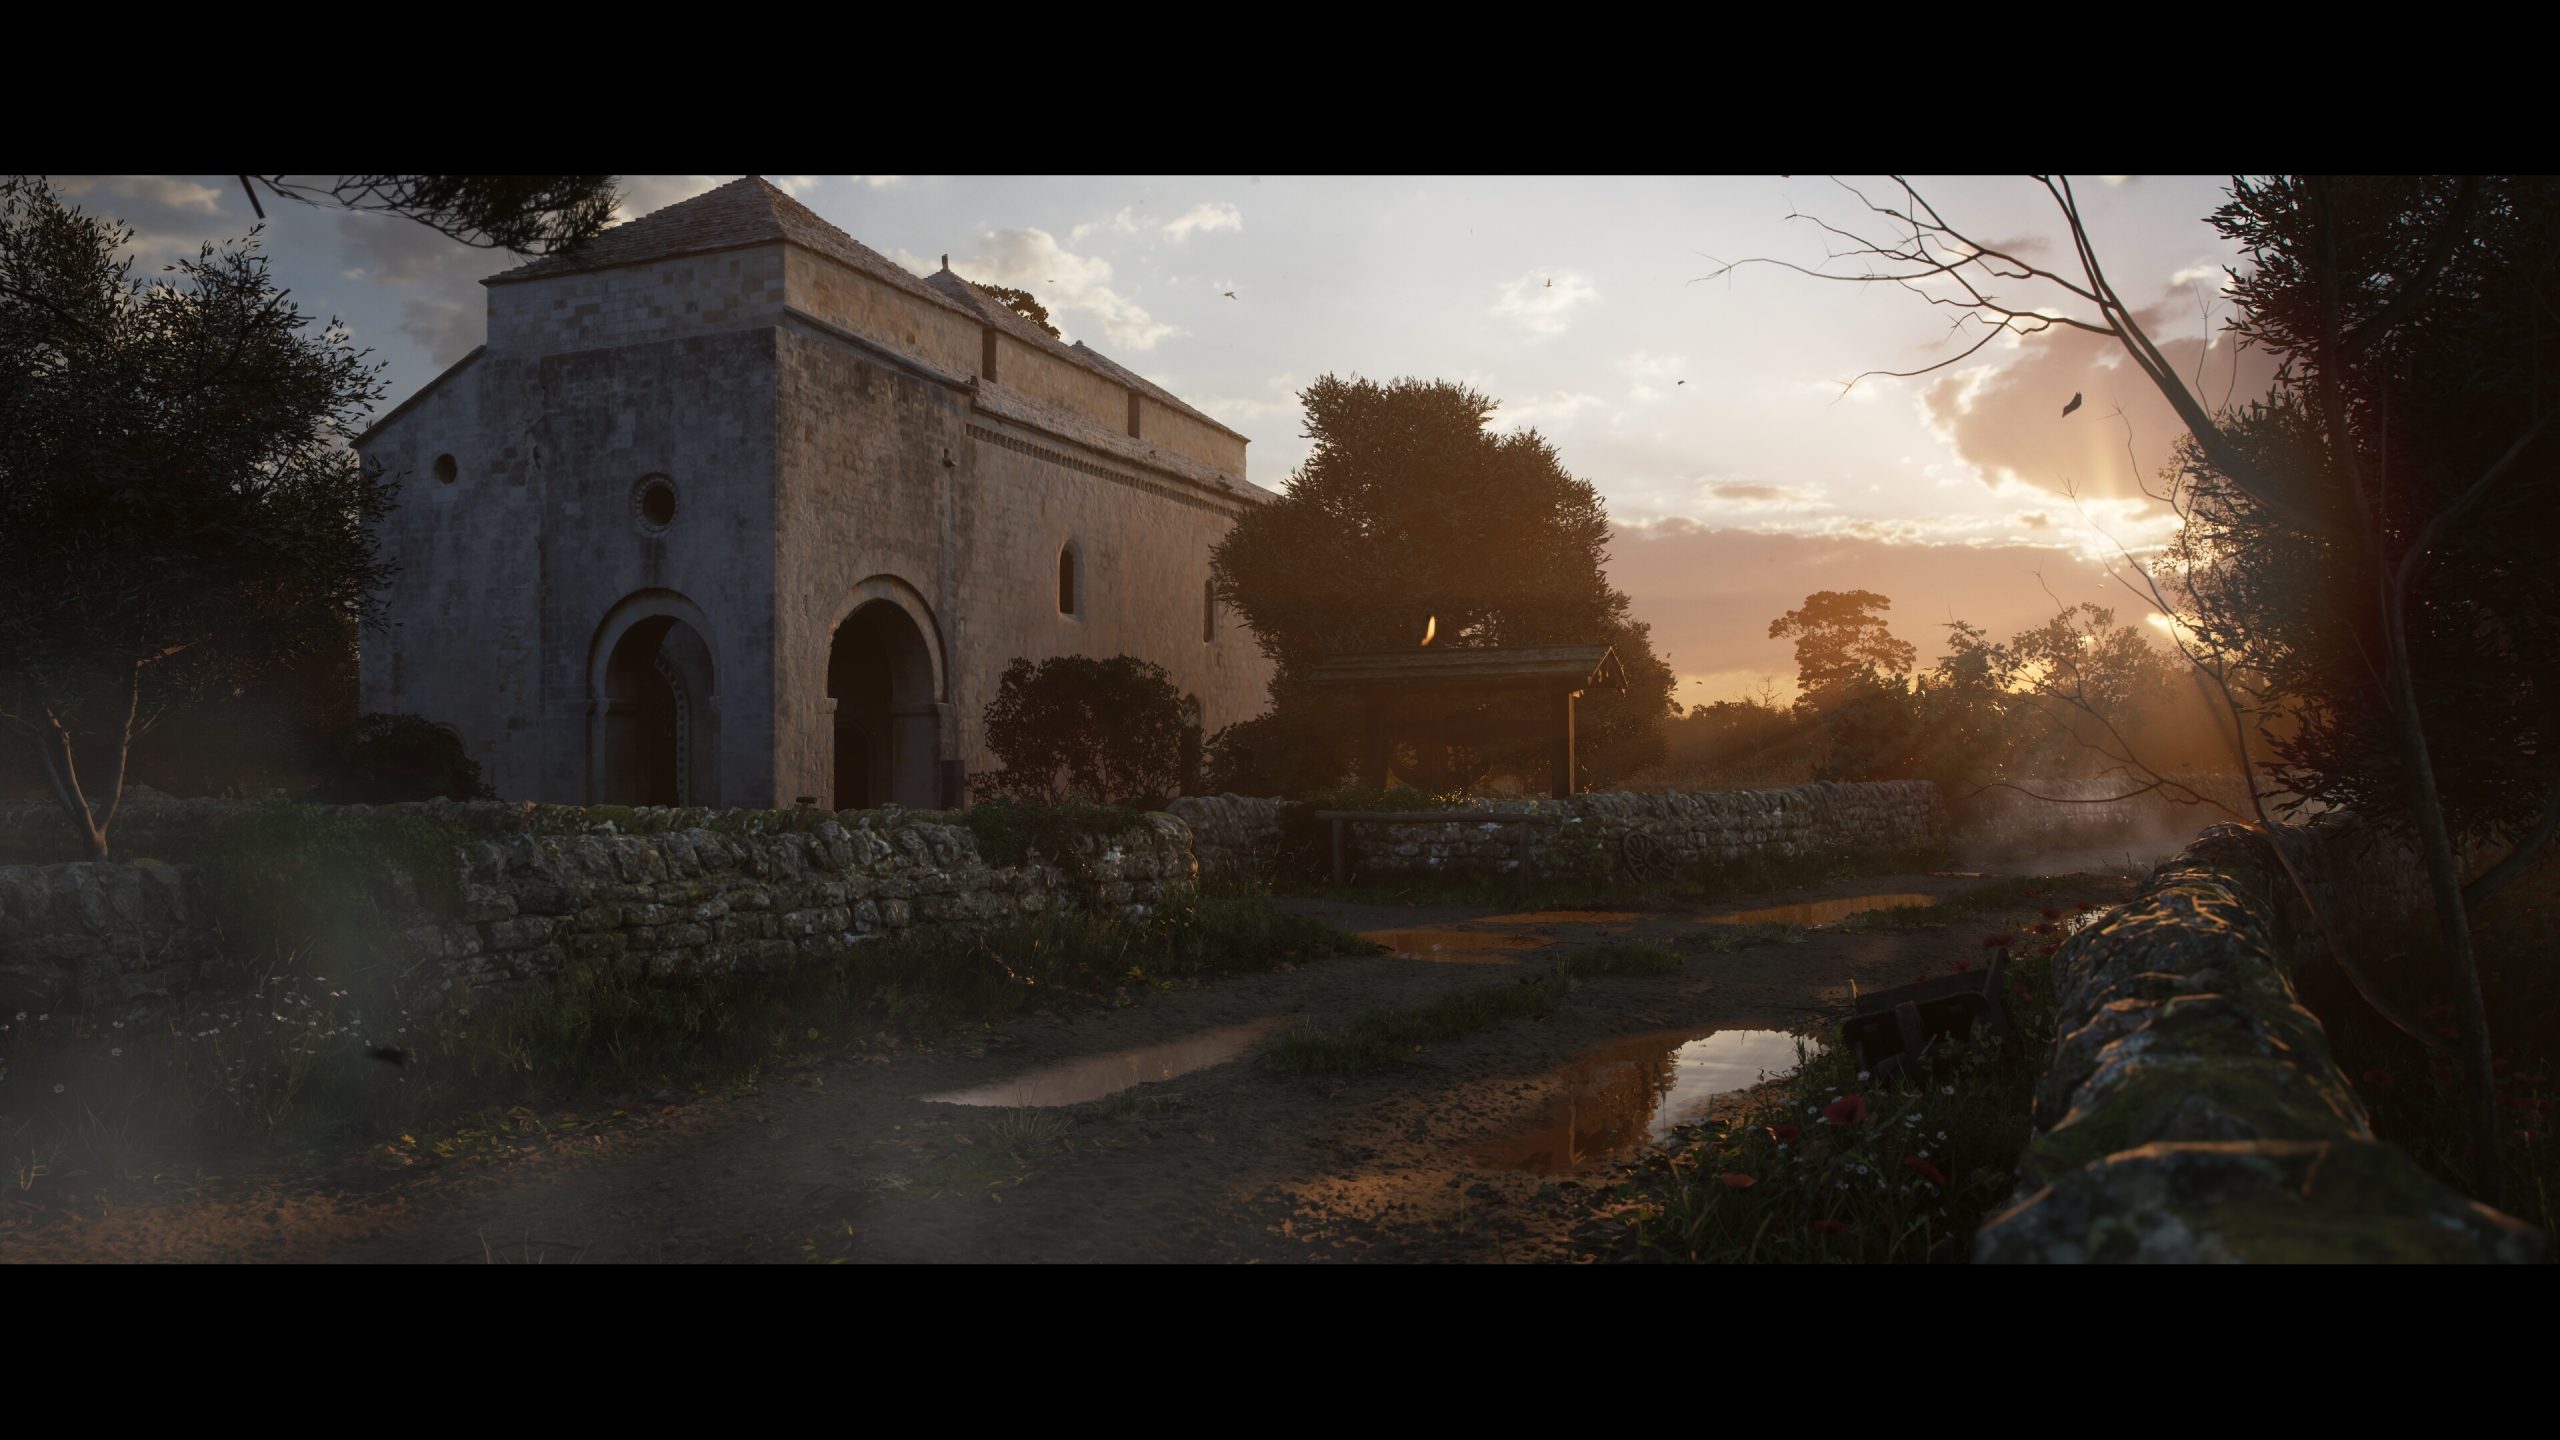
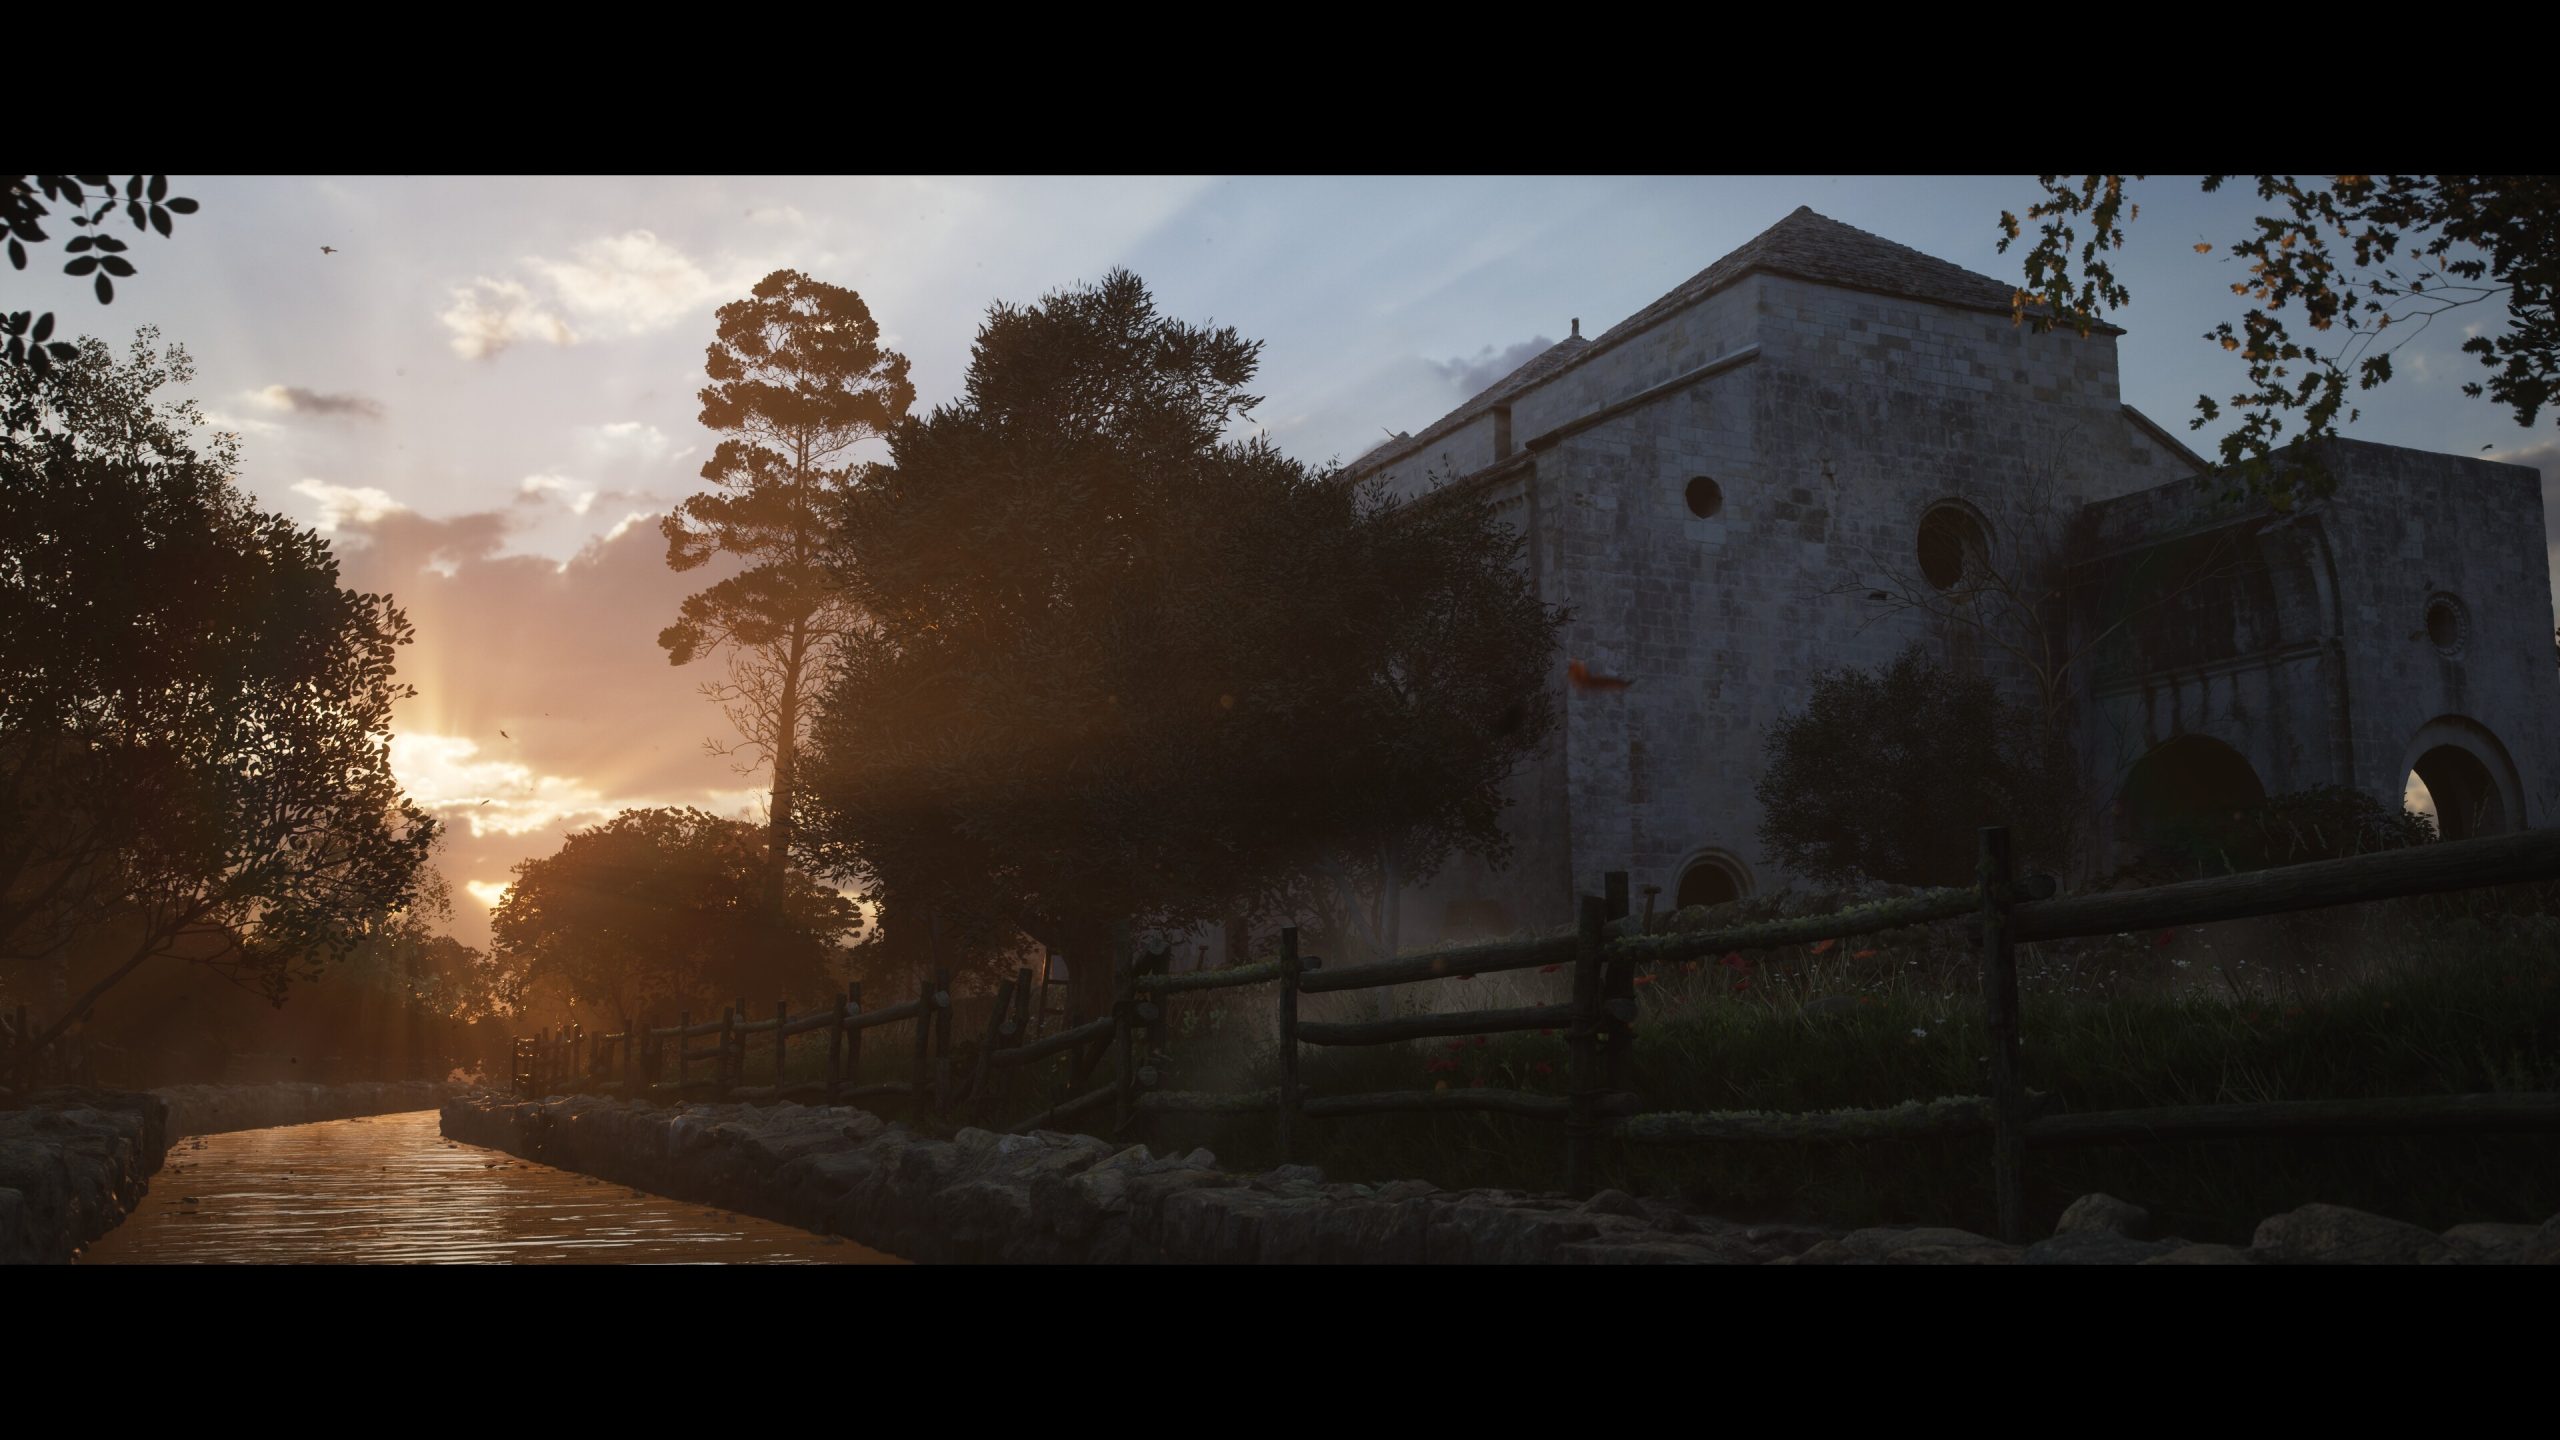
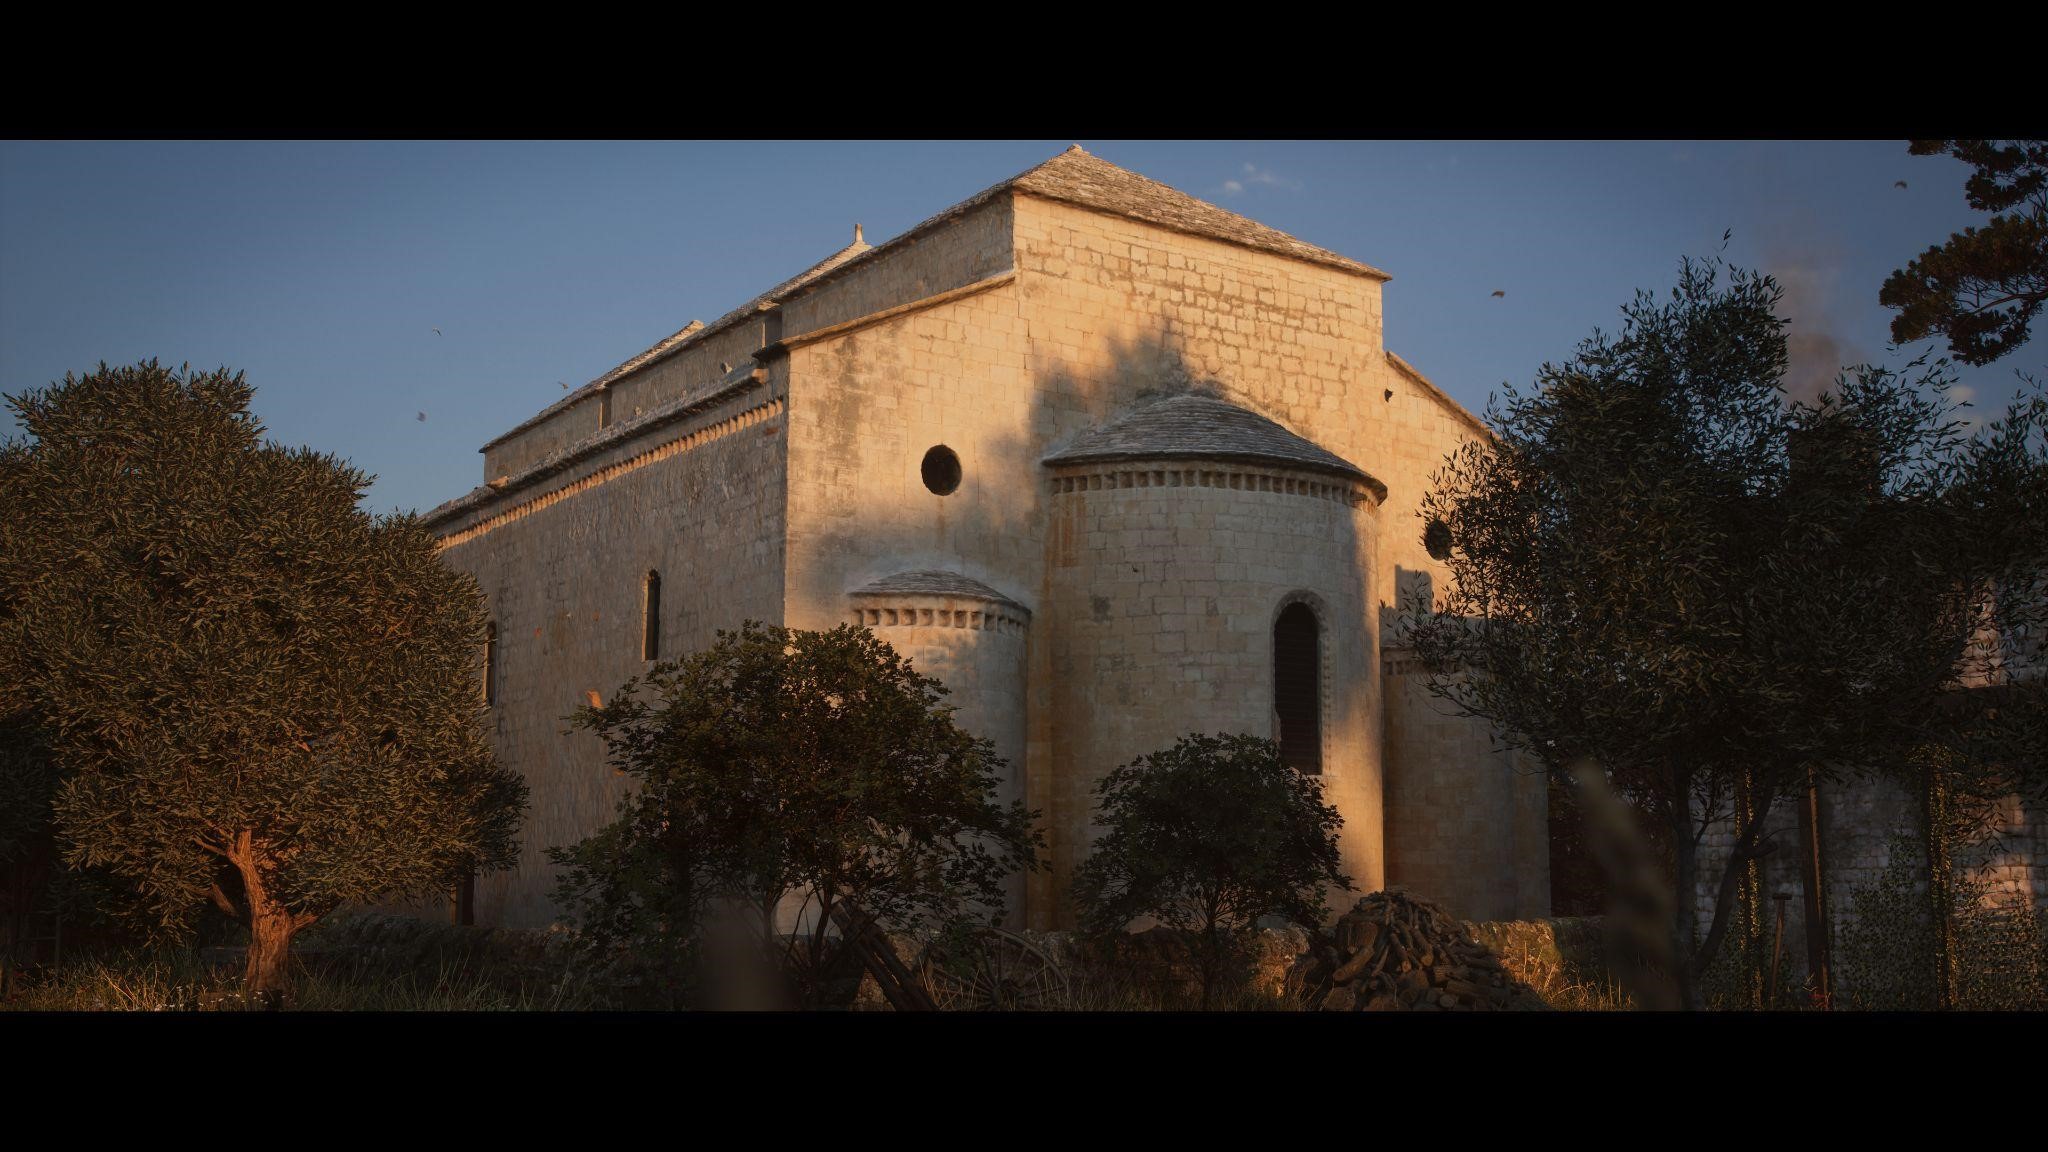
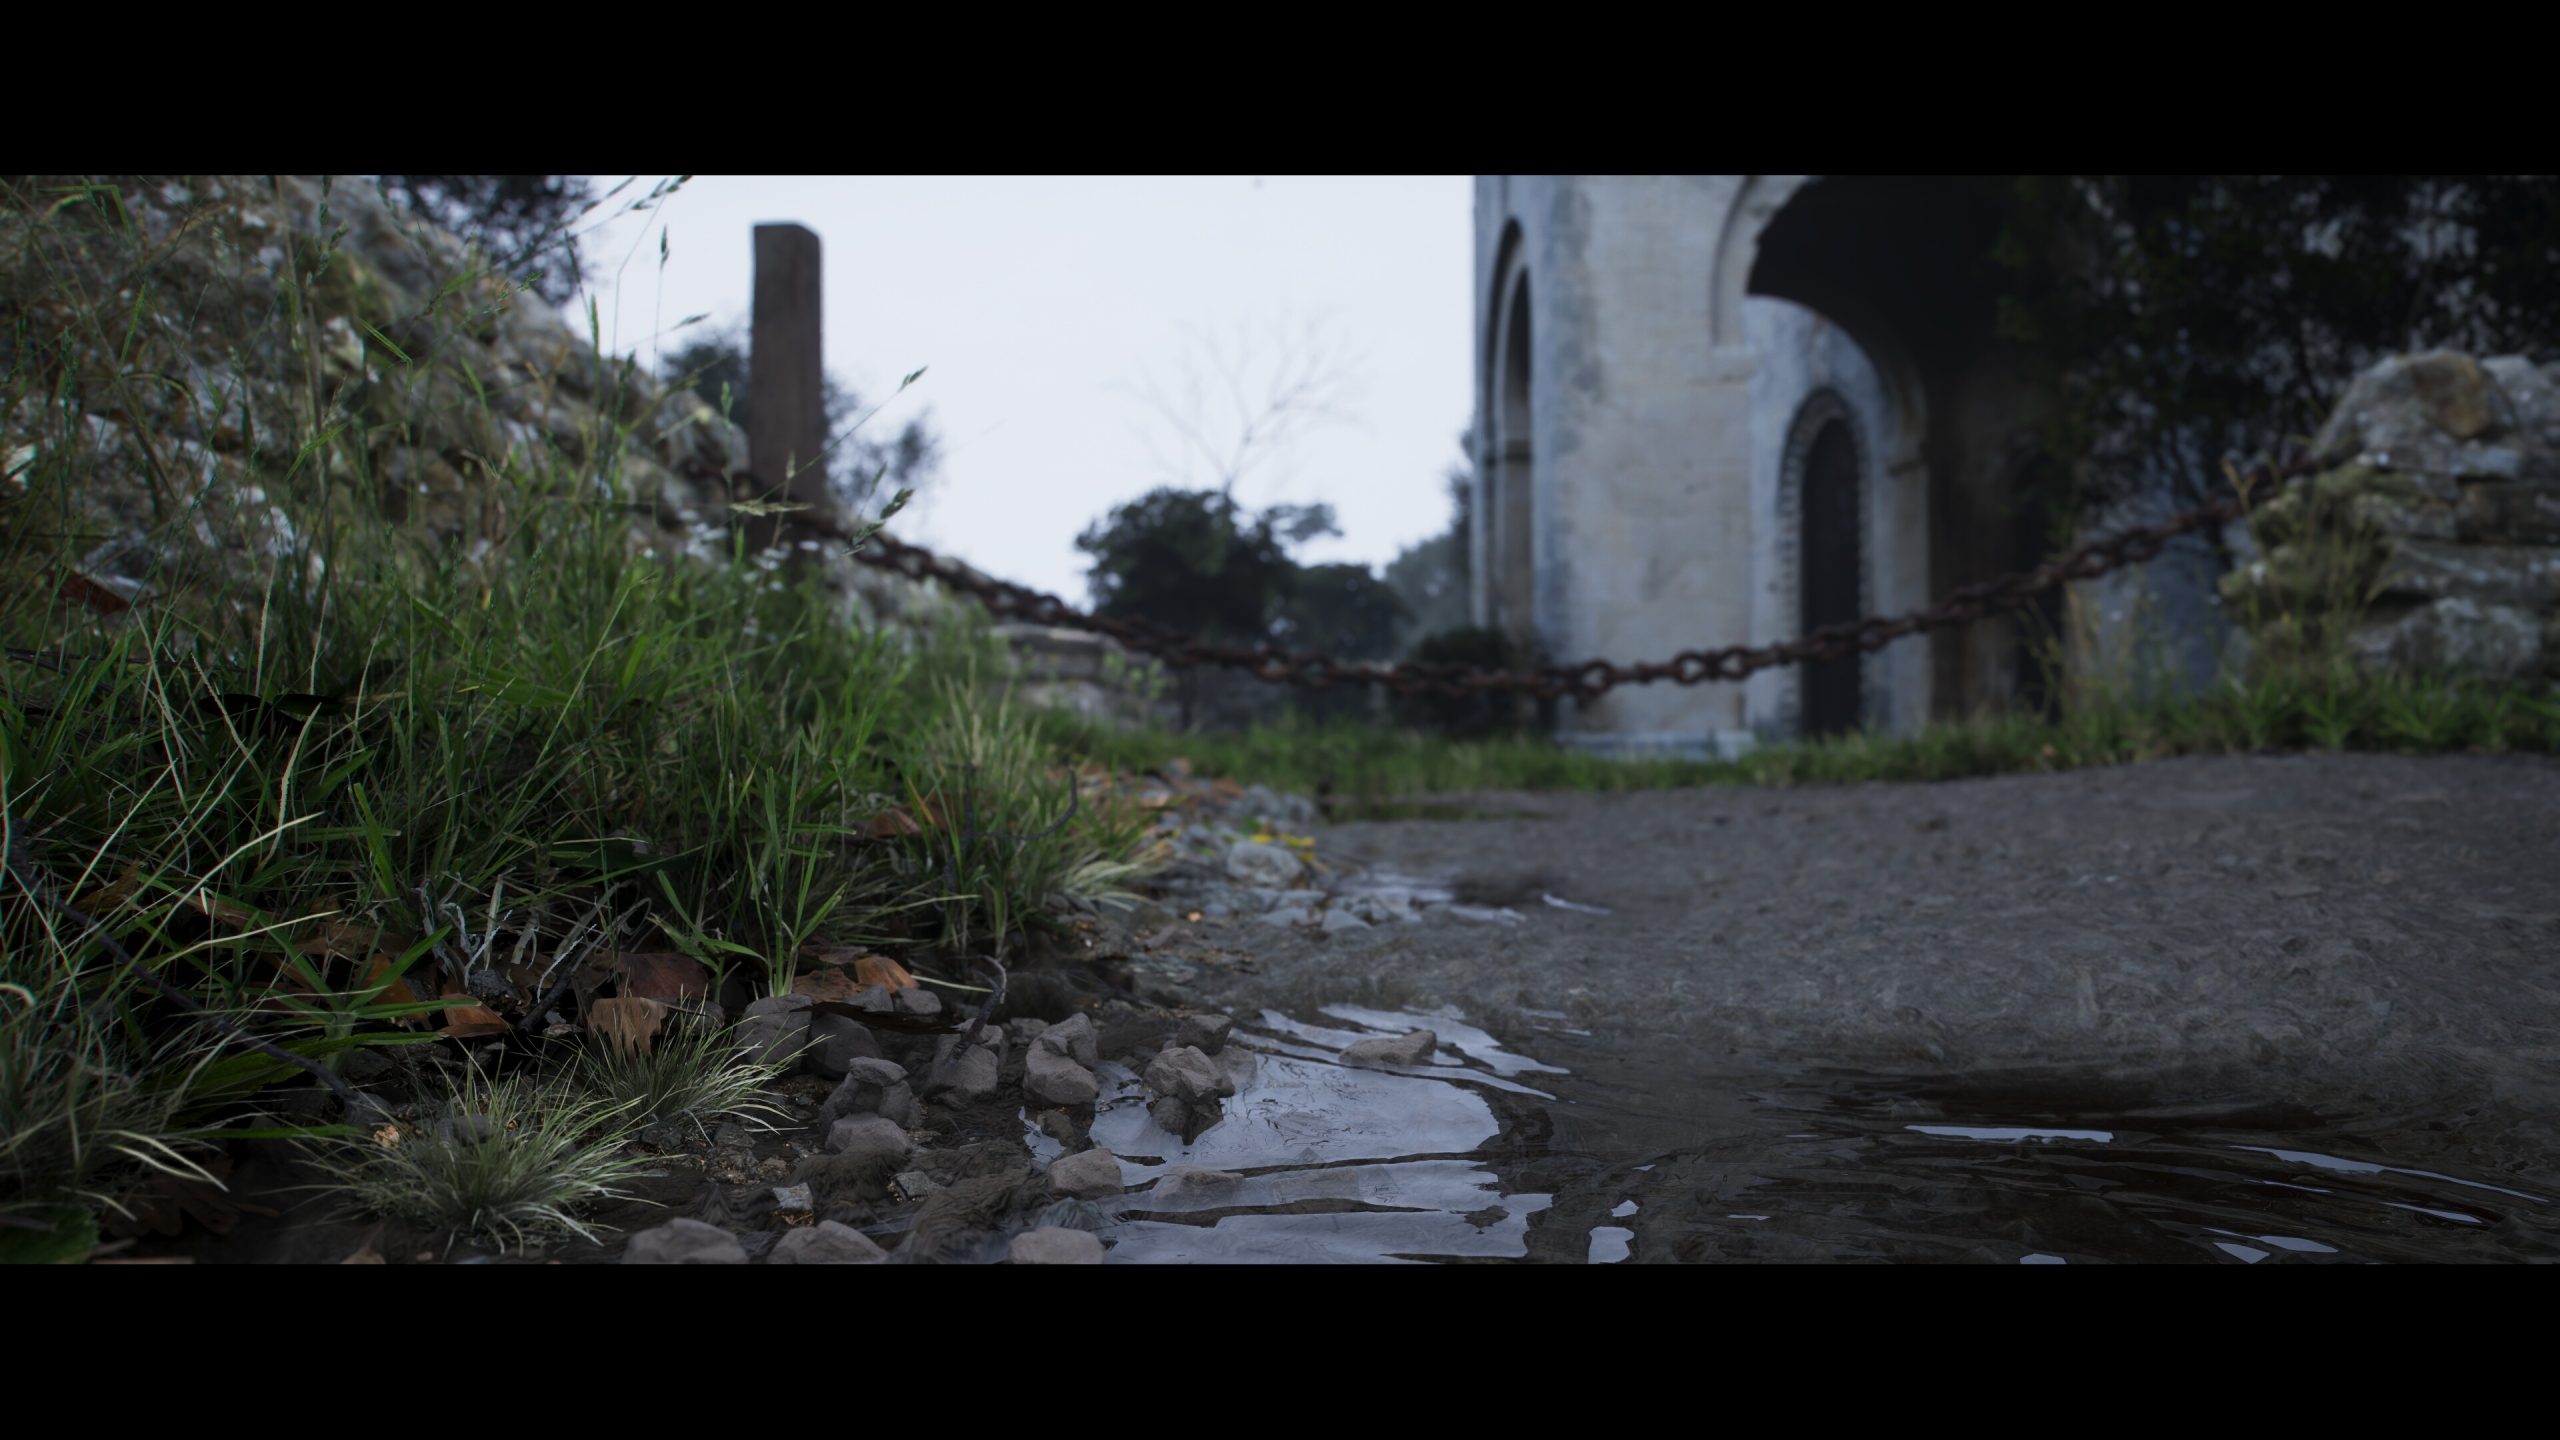
This place, like others in my native region, represents a place of the heart for me. It is an ancient church surrounded by (almost) uncontaminated greenery, a stone's throw from the city, a place to definitely go for a walk, run or just enjoy fresh air without having to travel too far from the city or the neighboring little towns.
It represents an extraordinarily well-preserved piece of history, as the surrounding environment has not changed much over the years; the church has undergone minimal restoration and it has lost some parts, but it has been there as it can be seen today since before 1100!
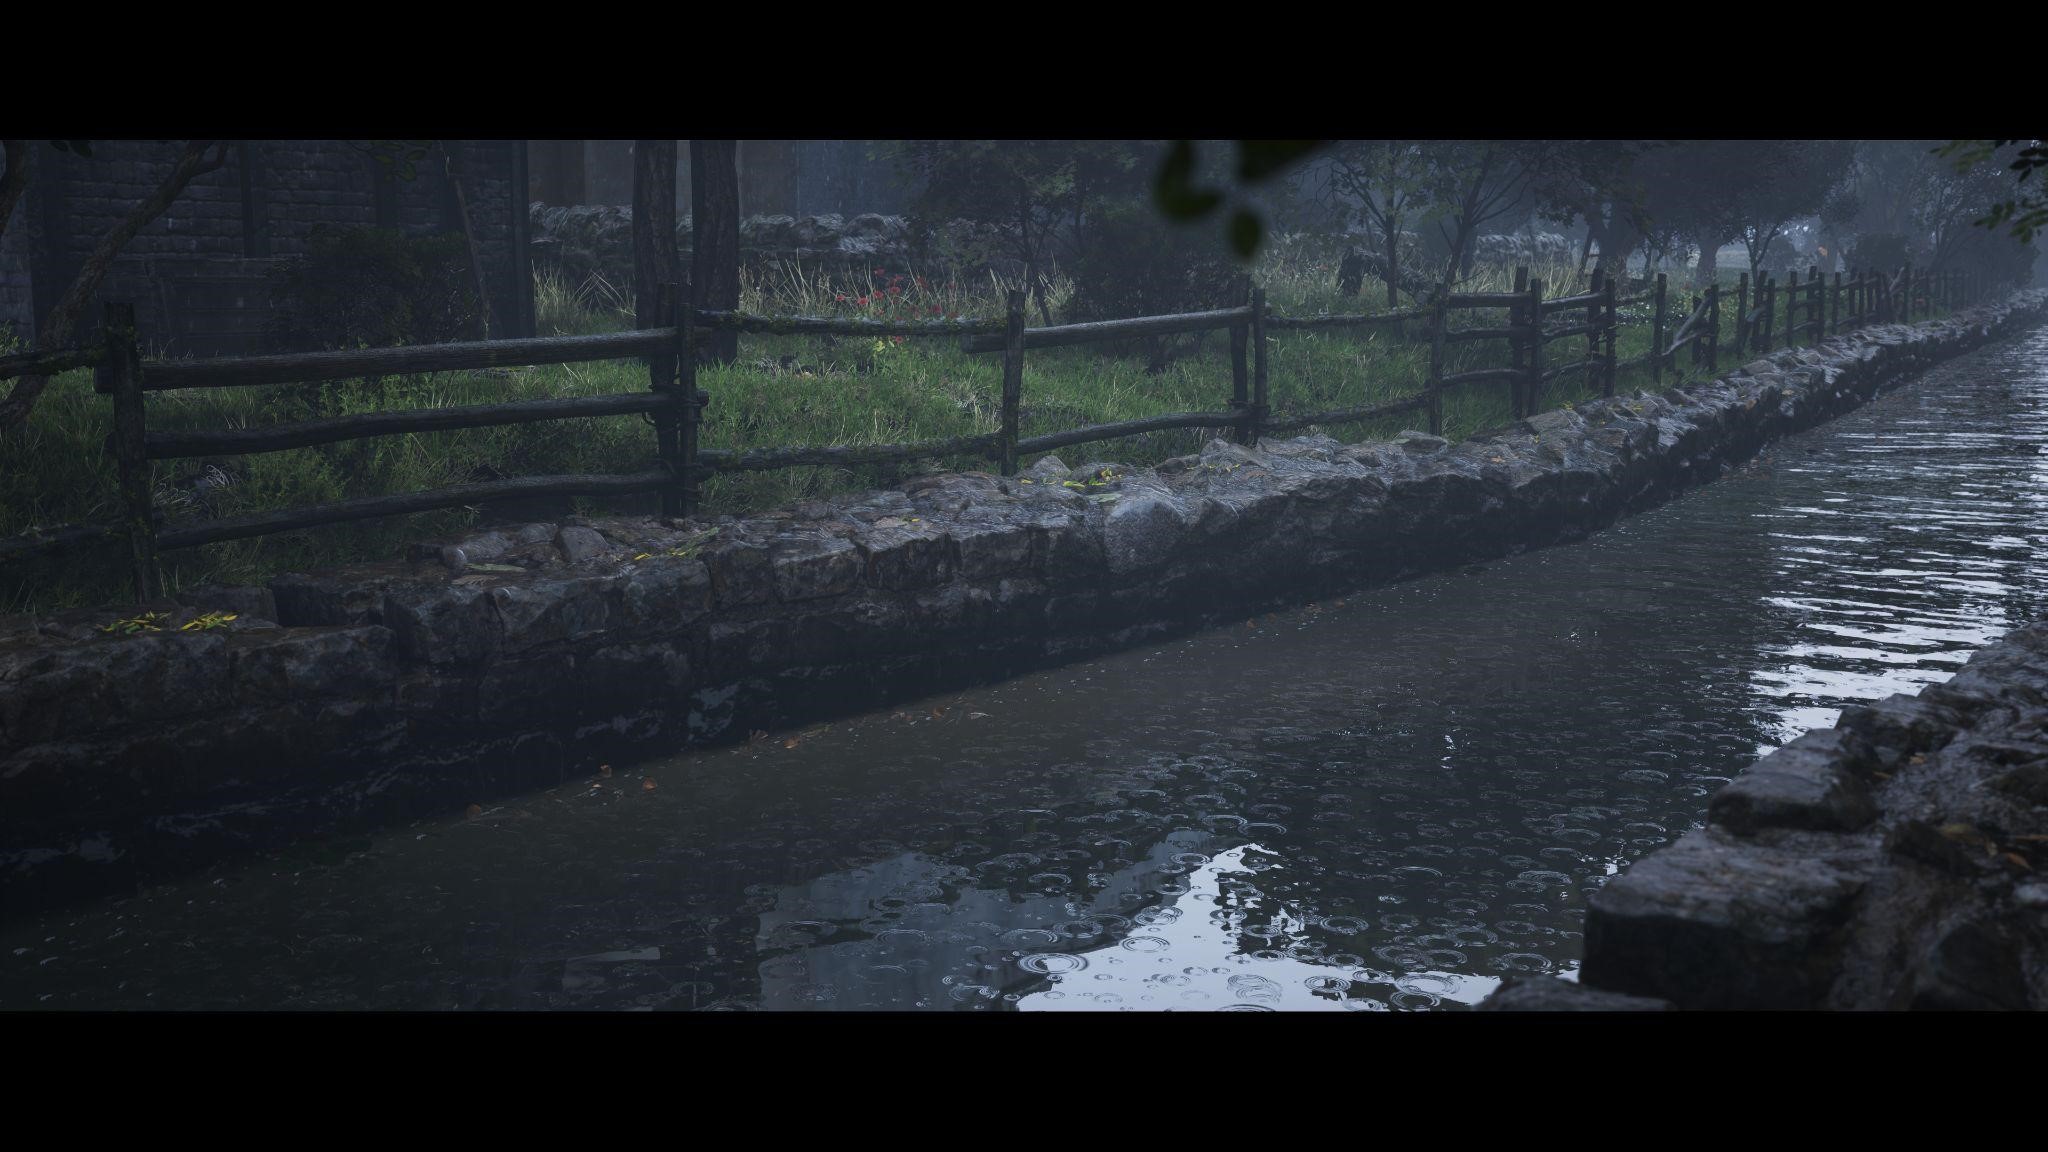
Having done it for other monuments, both for commissioned works and as personal projects, I decided to capture this church through photogrammetry and recreate the surrounding environment, taking some stylistic liberties (Elements such as the dry stone wall, the well, or the little house were modified over time, or no longer exist like the canal.)
It was a cool exercise to keep experimenting with the Blender/Unreal Engine cross-working and try to take advantage of different features of both!
PROCESS
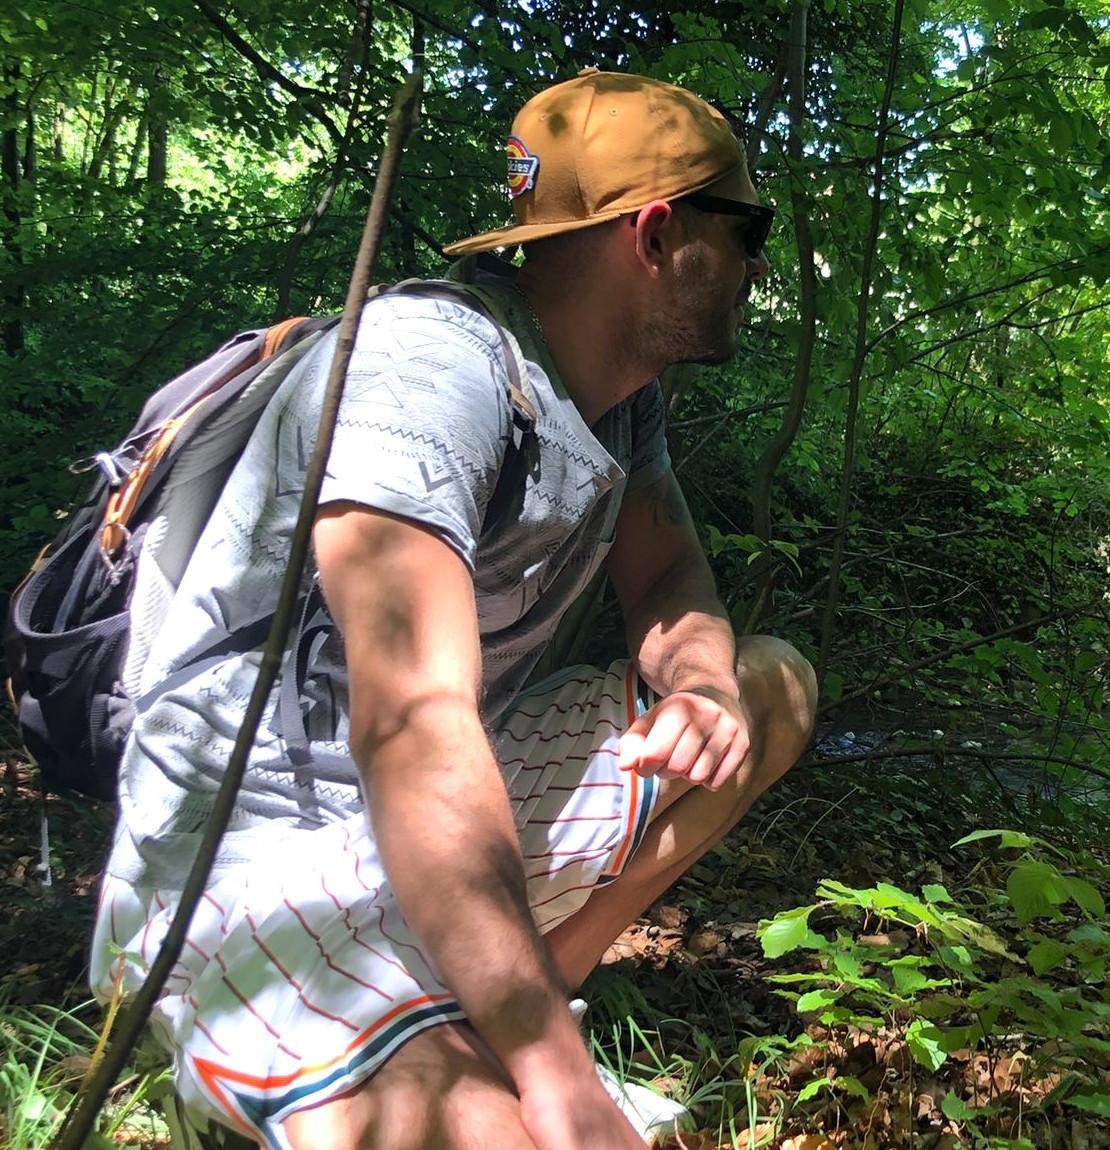
Photo-shooting
As you can imagine, this all starts with taking photos of the building. I did the entire photo-shooting with a drone in a couple of days. Of course, the right daylight is important while doing this, and you want to avoid reflections, too much color saturation and, most of all, shadows. In a few words, it is important to avoid direct sunlight. So, the job was done on cloudy winter evenings. There are plenty of excellent tutorials out on the internet on how to do good photogrammetry—just type the two magic words on google and you will have a bunch. I personally try to stay posted on the tips given by Will Faucher which has been a huge inspiration in this journey, or Gleb Alexandrov to name a few, but there is a lot of really useful content out there.
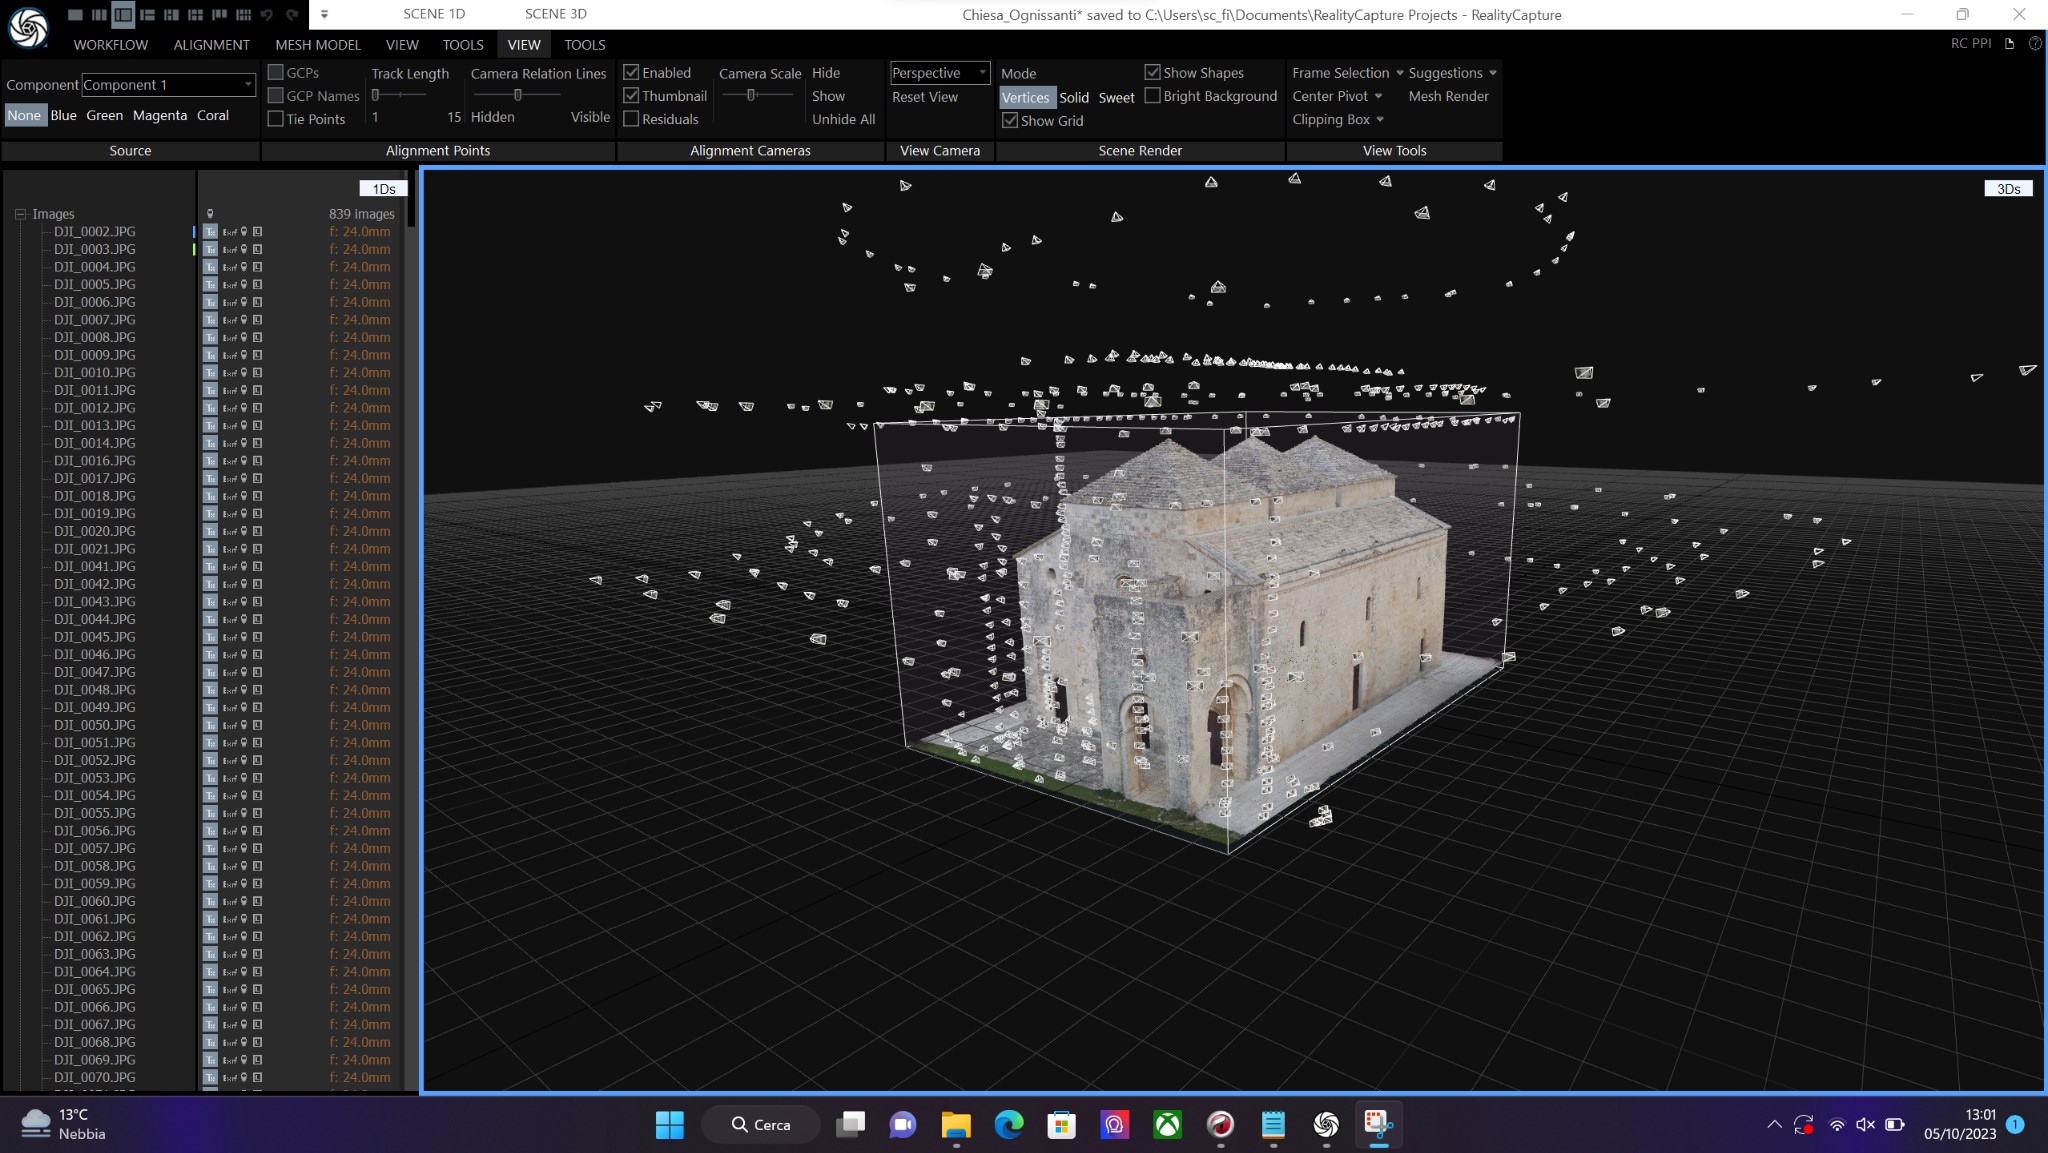
I did a total of ~900 shots, then processed the photos inside RealityCapture, for whose team I’m grateful since they also featured my work on their own web pages, and then I exported the model directly in Unreal Engine.
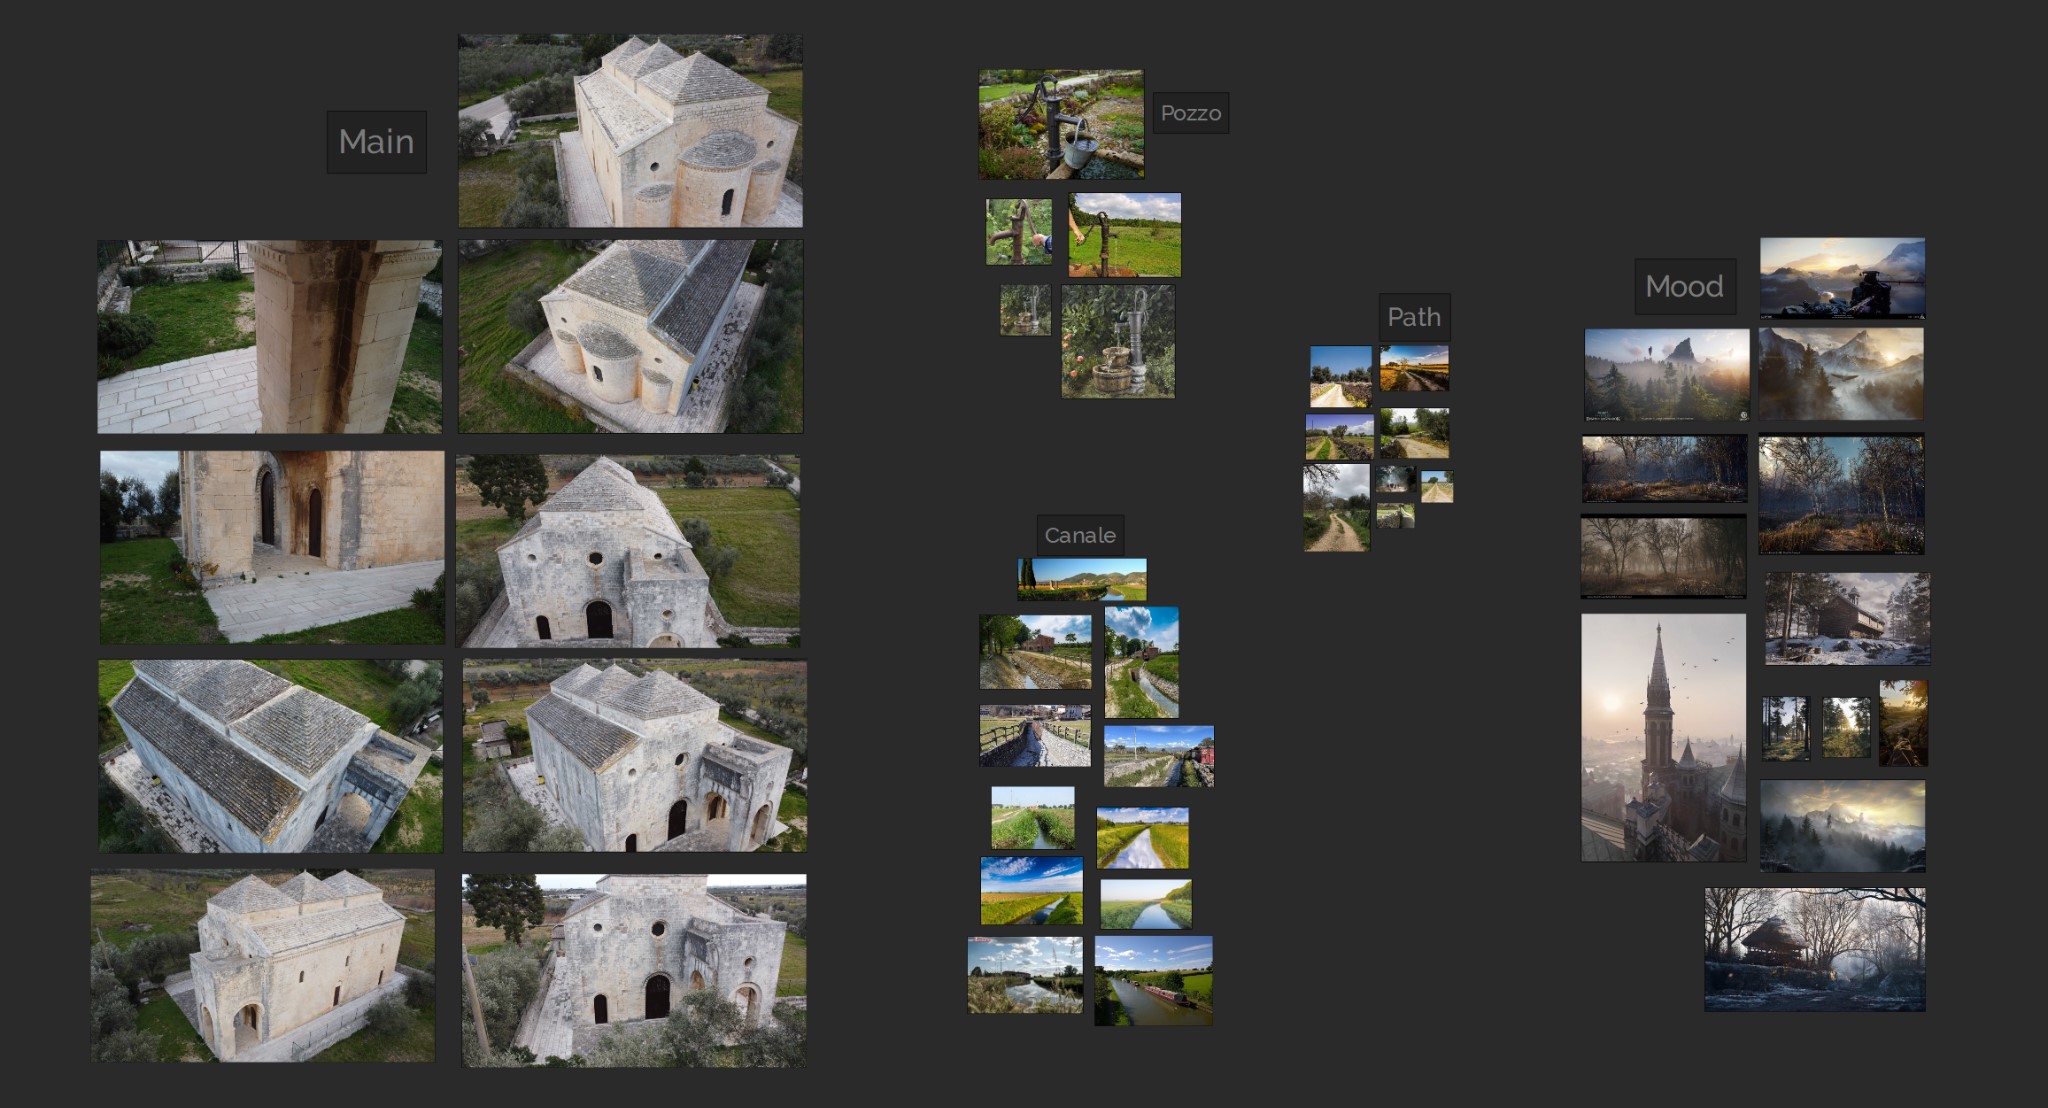
Environment designing
But before starting the environment building in UE, I first gathered some references for the terrain itself and the mood I kind of wanted to establish.
Then I jumped into Blender to do the block-out of the scene as well as sculpting a bit and texturing the terrain. I basically made a bunch of bigger ground patches to use as landscape and four “little” pieces to cover this, in order to have more detail where I was planning to have close shots.
The idea was to have a texel density of 1024px per square meter for each minor patch, so I made these four 8x8 meter patches on which I vertex-painted different materials and then I baked the textures with a resolution of 8k each.
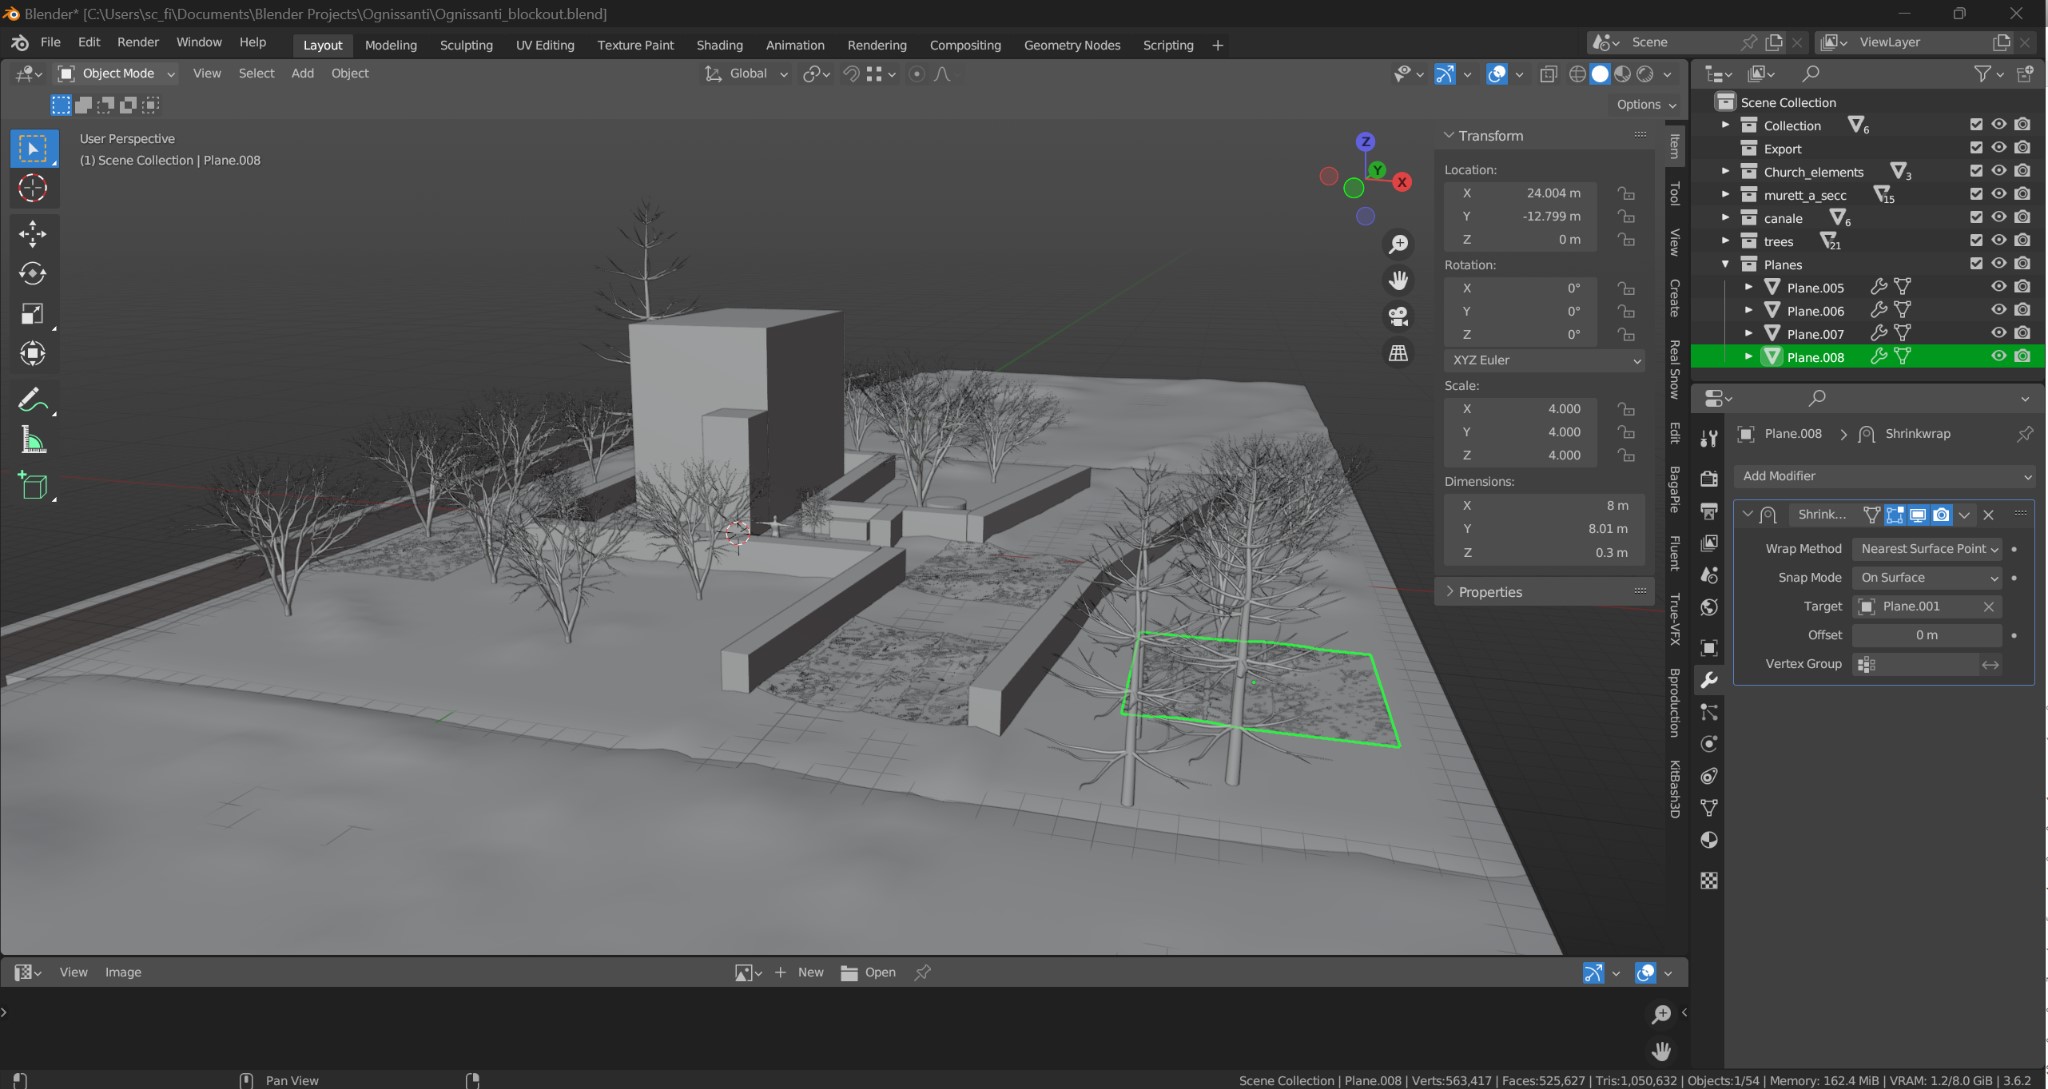
I did go back and forth from Unreal to Blender to be sure to have everything matched in terms of shape, and I especially used the detailed pieces to build up the road as a whole modular ground.
Models
Then the fun part in Unreal was to build the environment: a combination of models placing and instancing (foliage tool), just as easy as that sounds. Of course, this takes a while if you want to have a lot of details and a realistic result. For me, it is a continuous editing of parts of the scene I think I already finished to enrich the environment day after day.
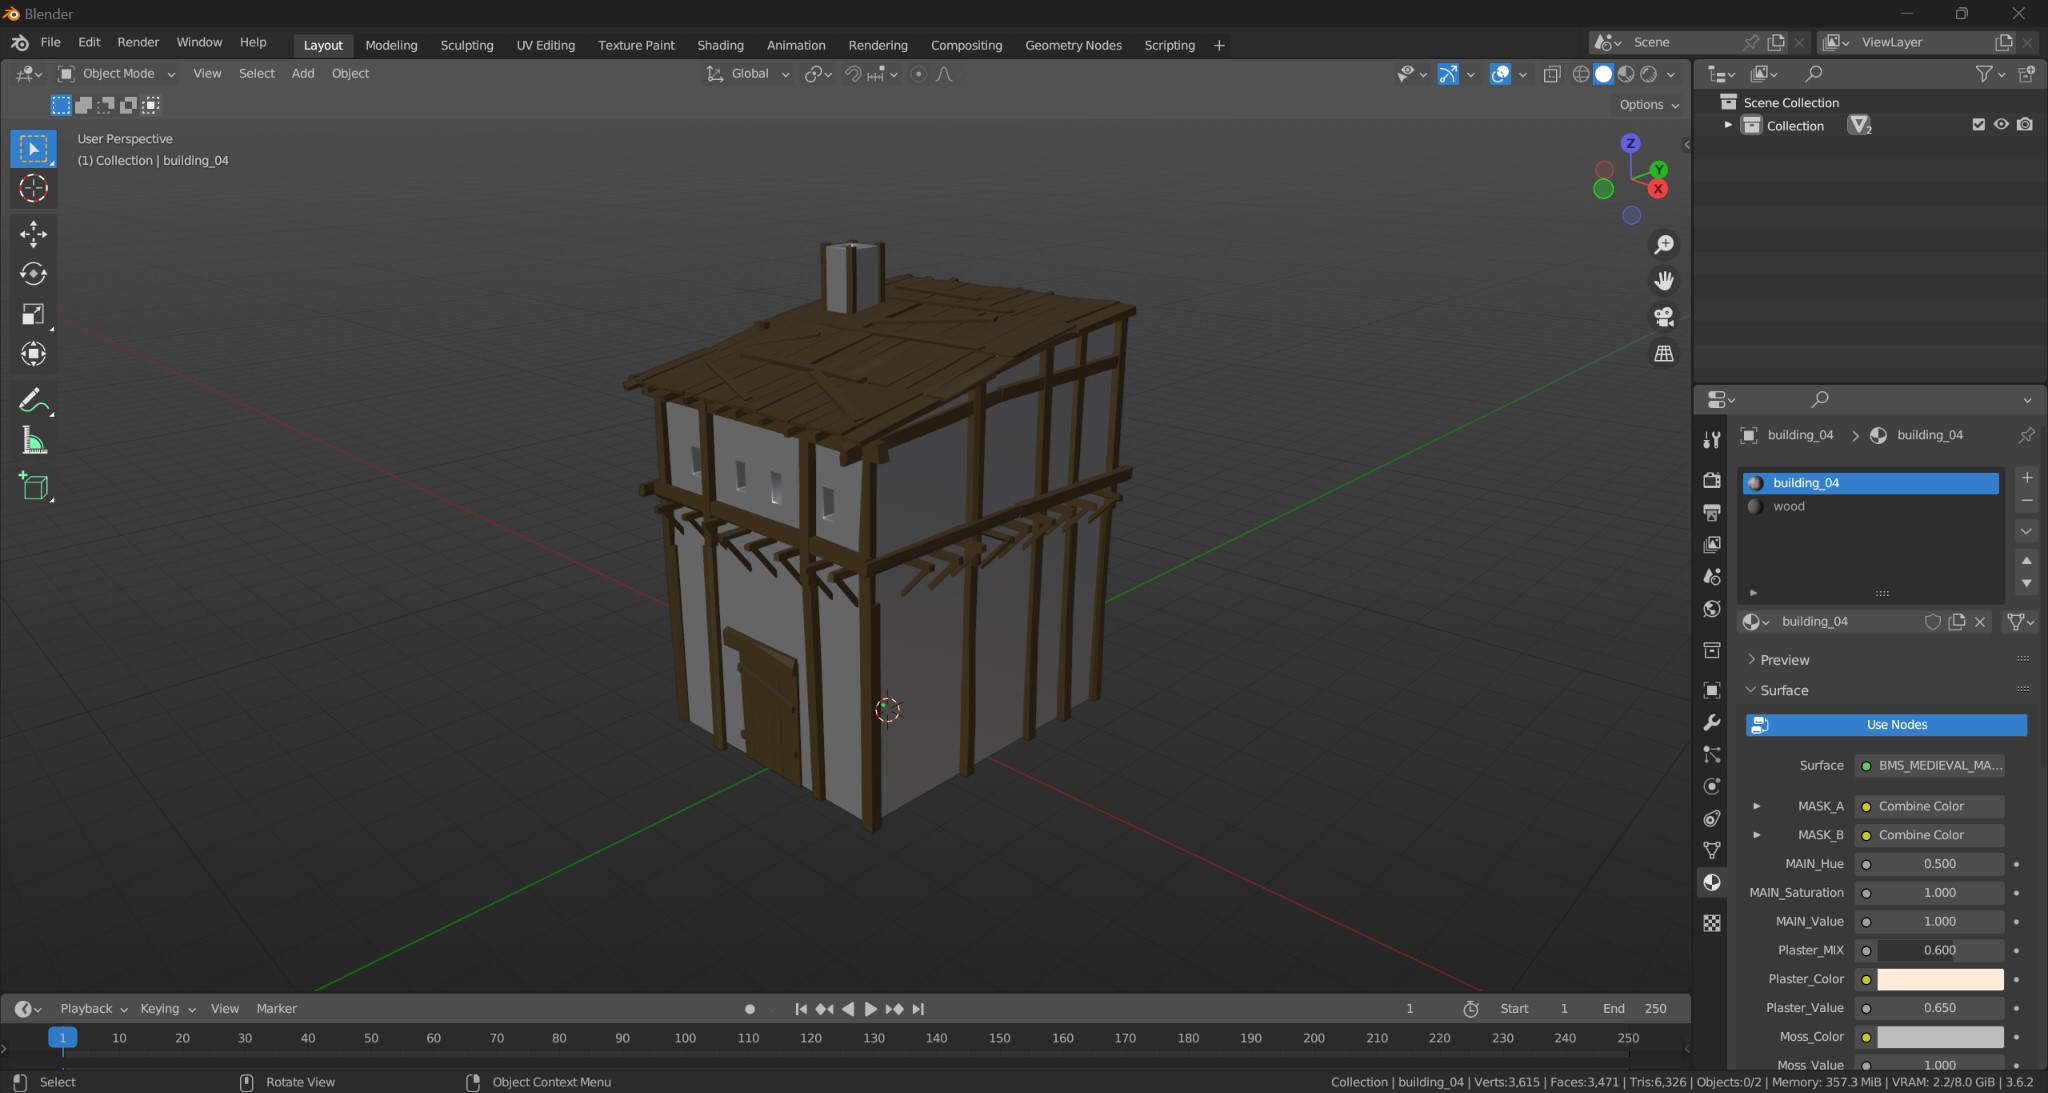
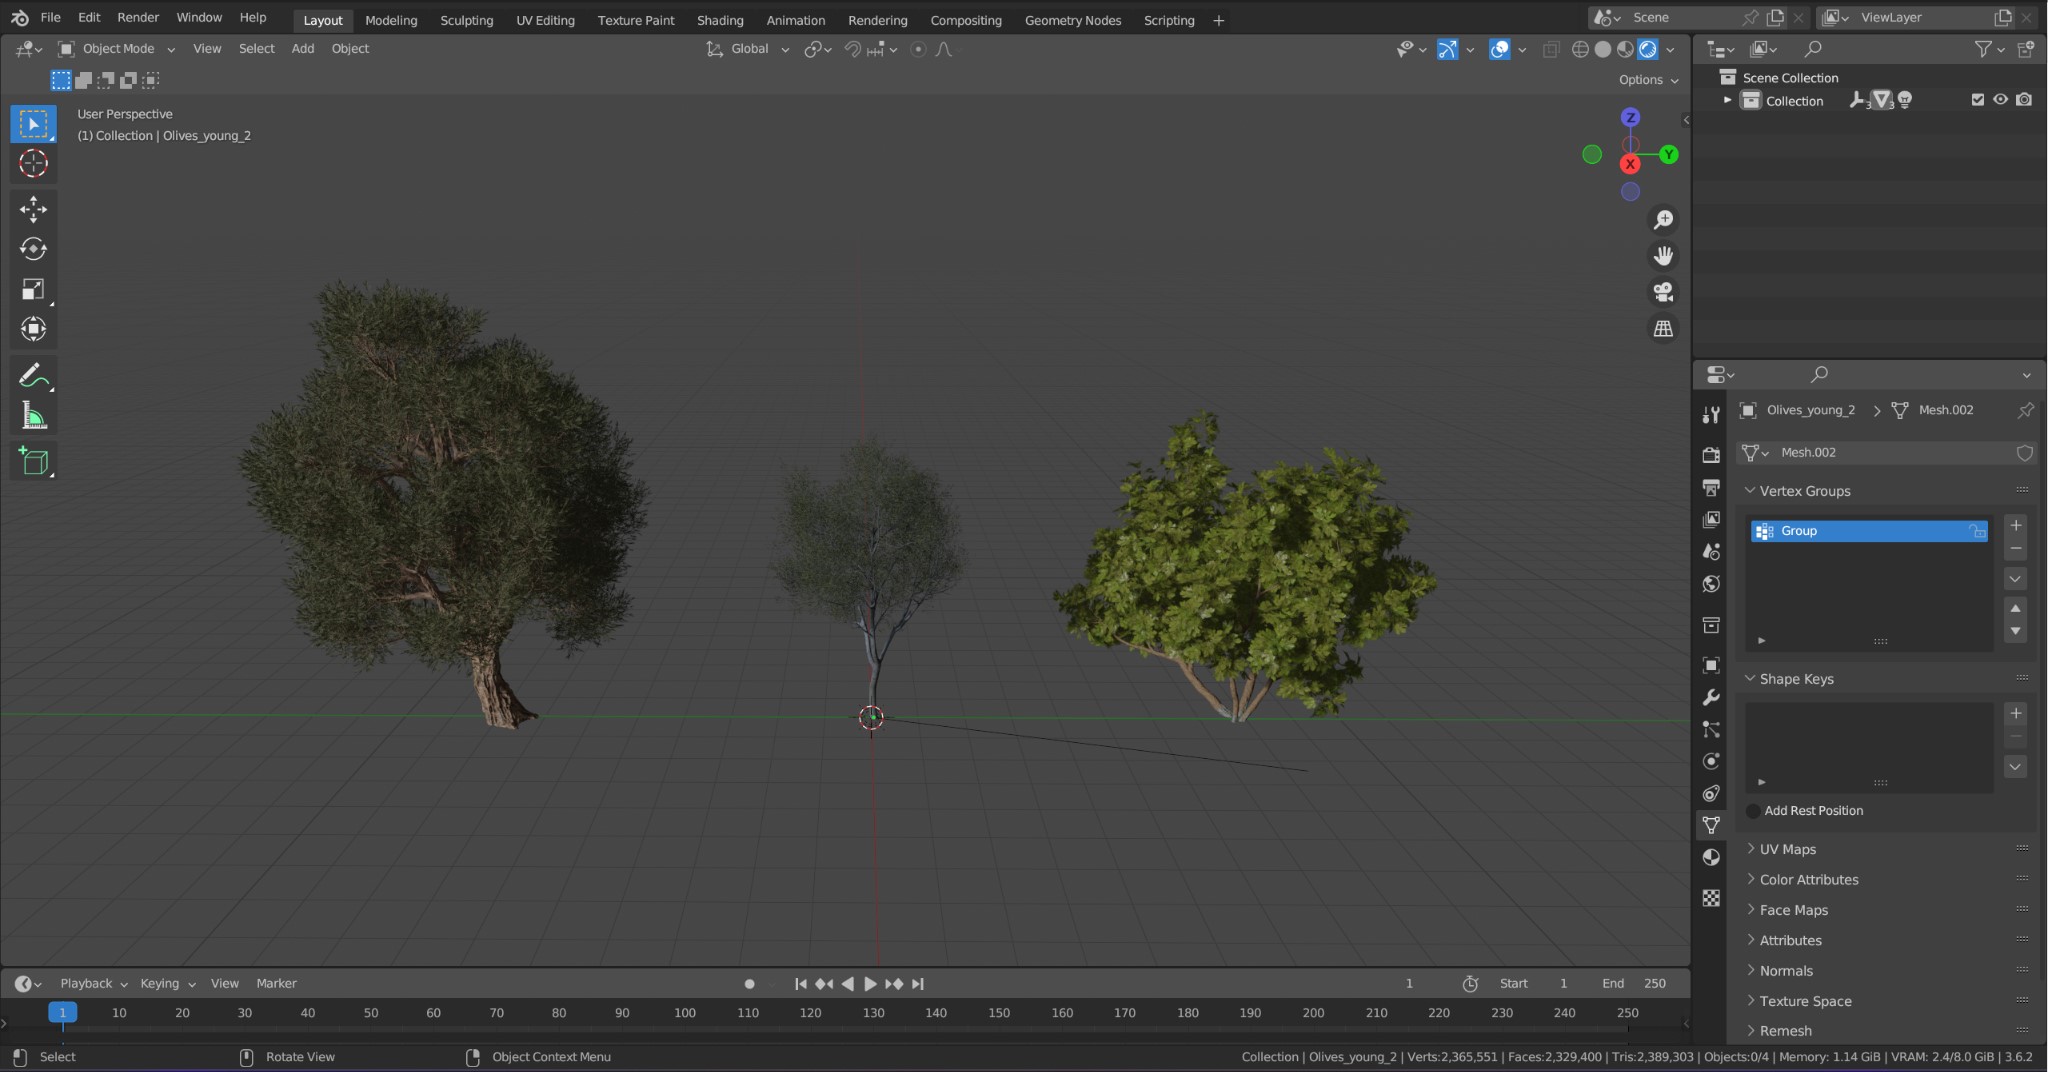
I tweaked some of the materials to match the colors of the place, as well as doing procedural materials for the wetness of the containing wall, the ground near the canal and the puddles, and for the localized fog. I also modeled a little warehouse to place behind the church and exported it from Blender along with some trees, such as the olive and the ficus, which I couldn’t find in any Unreal package in my possession. They were certainly necessary for me as in this zone, the biome is mainly composed of pine, oak, olive, vine and ficus trees. For the pines, oaks and other shrubs, I used the Mediterranean Island Pack by FreshCan alongside with a lot of Quixel assets, which I also used for the plants: red poppies, chamomile, rosemary, thyme, wheat, weeds, etc.
Then, for the final scene, I decided to give a realistic dawn light to the environment by placing a colorful sunrise HDRI and matching the directional light with it.
Puddles
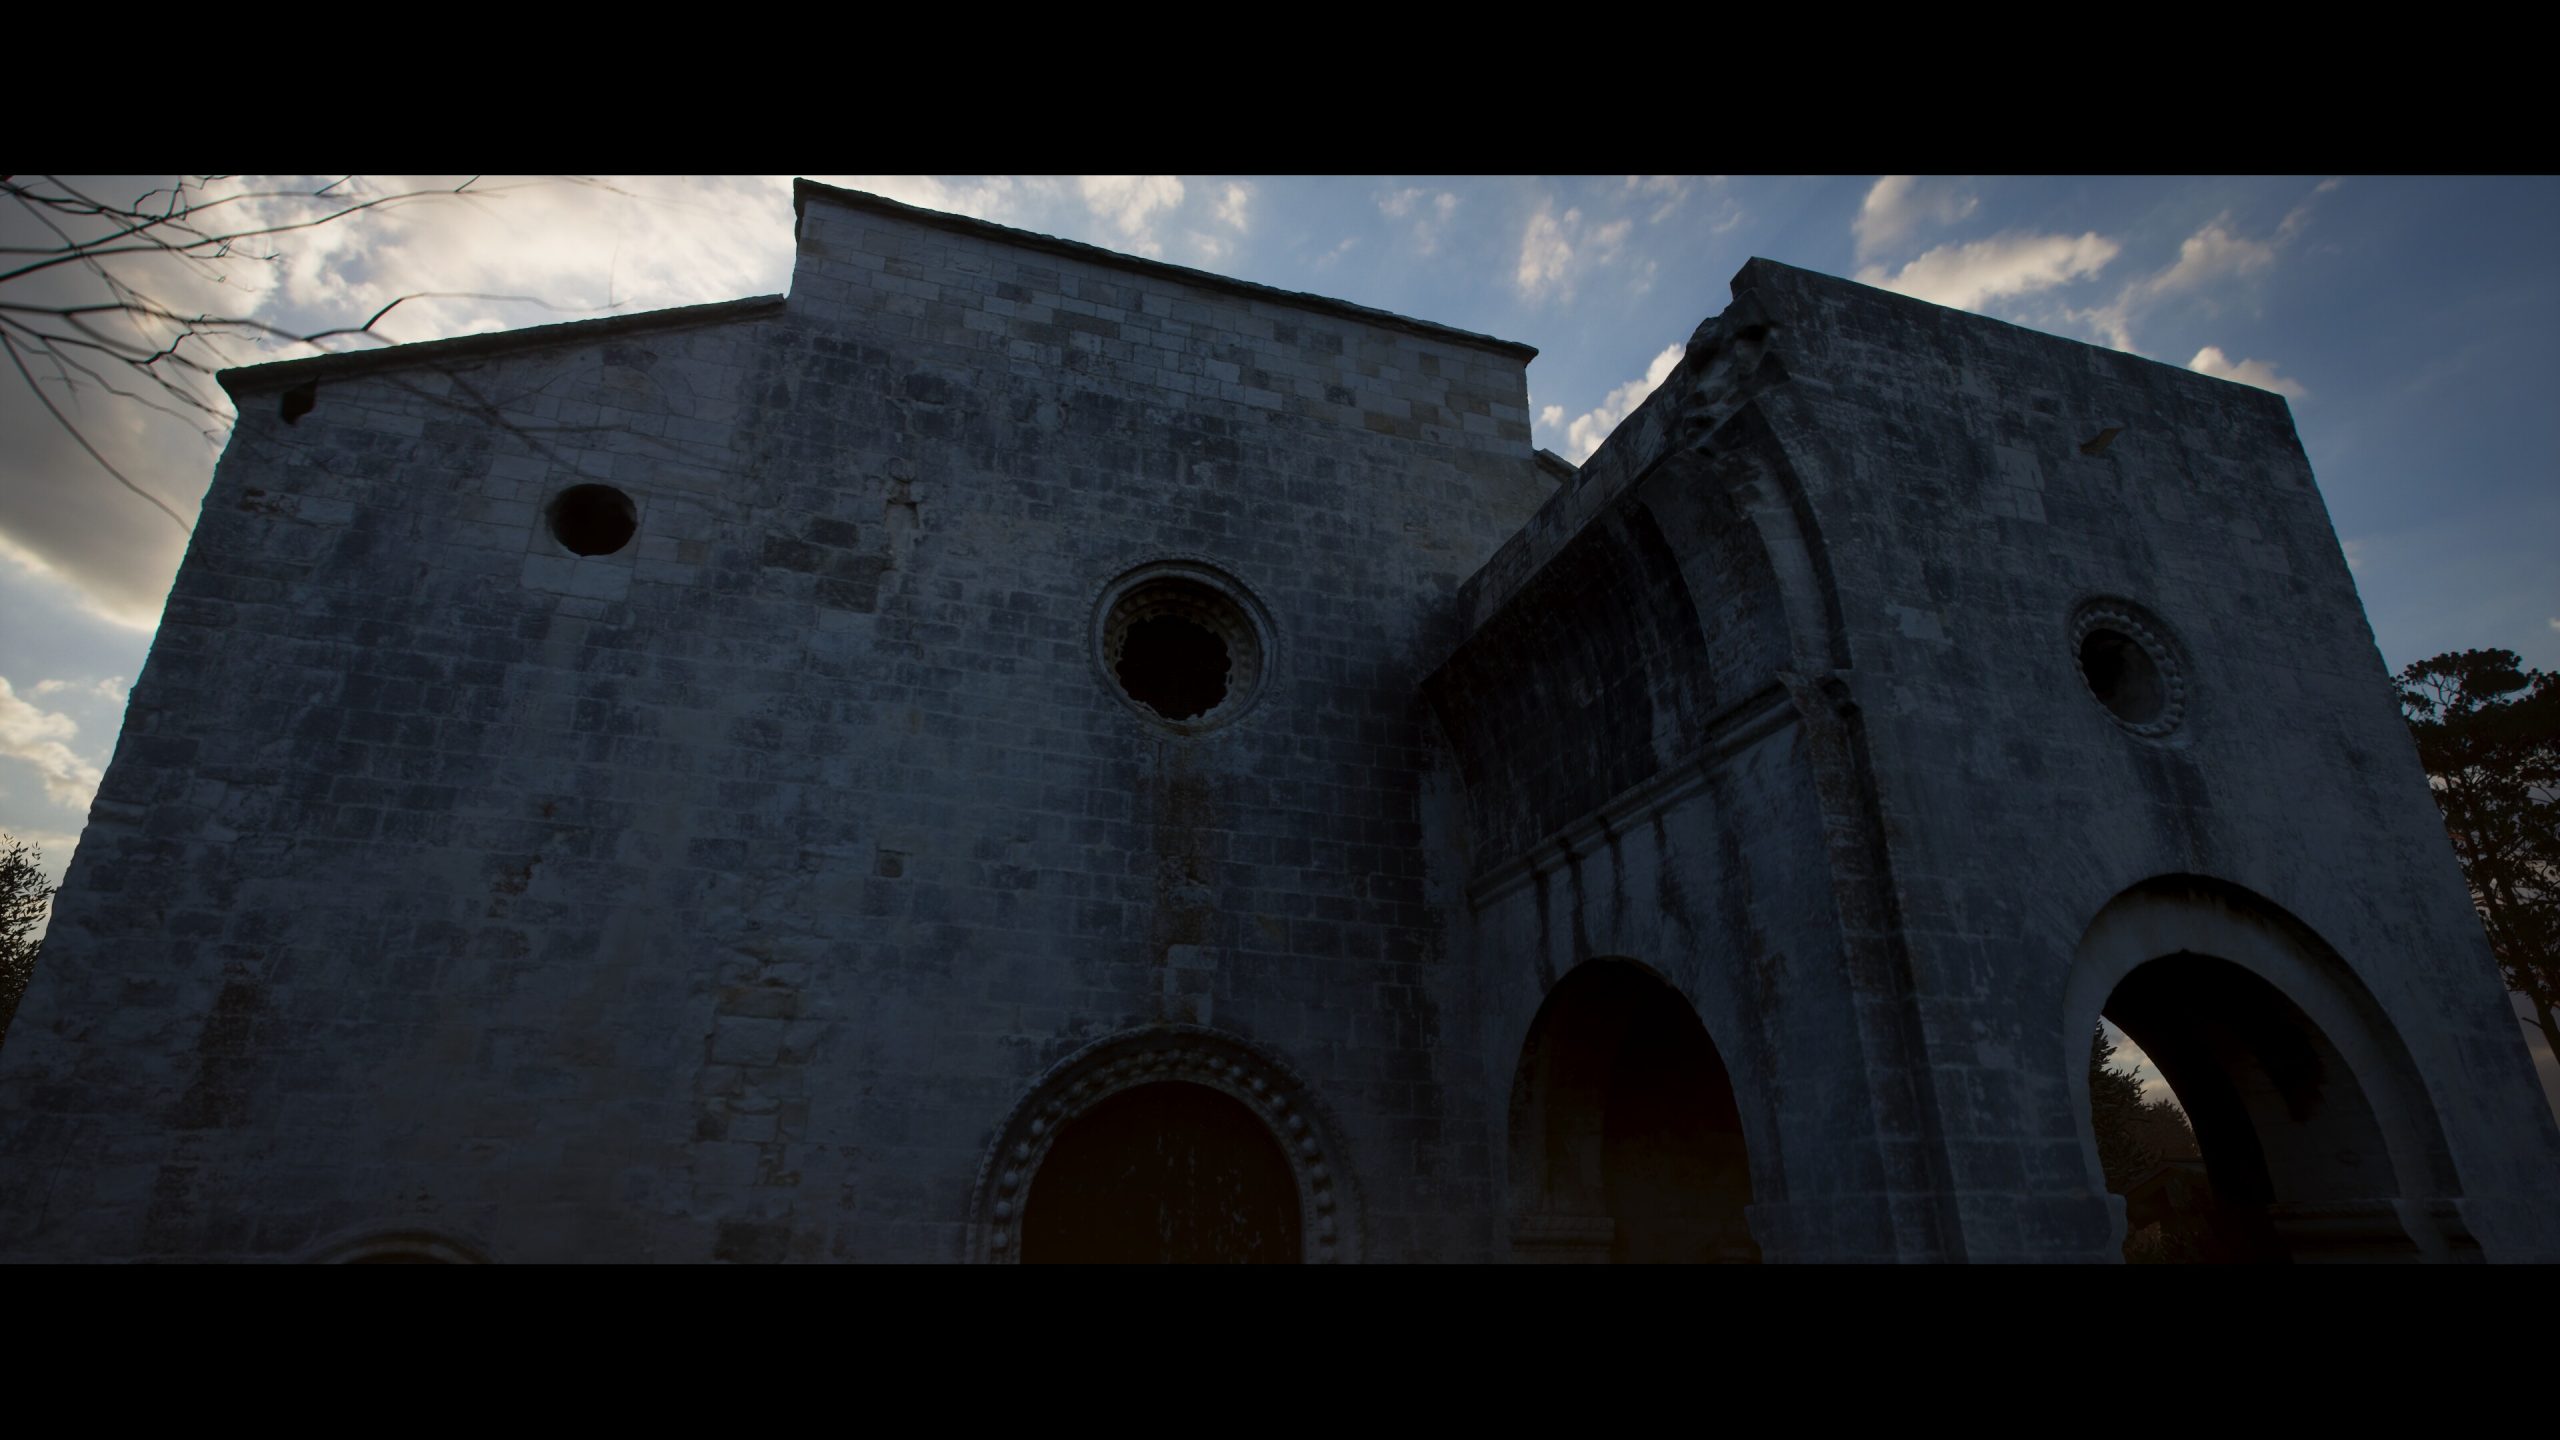
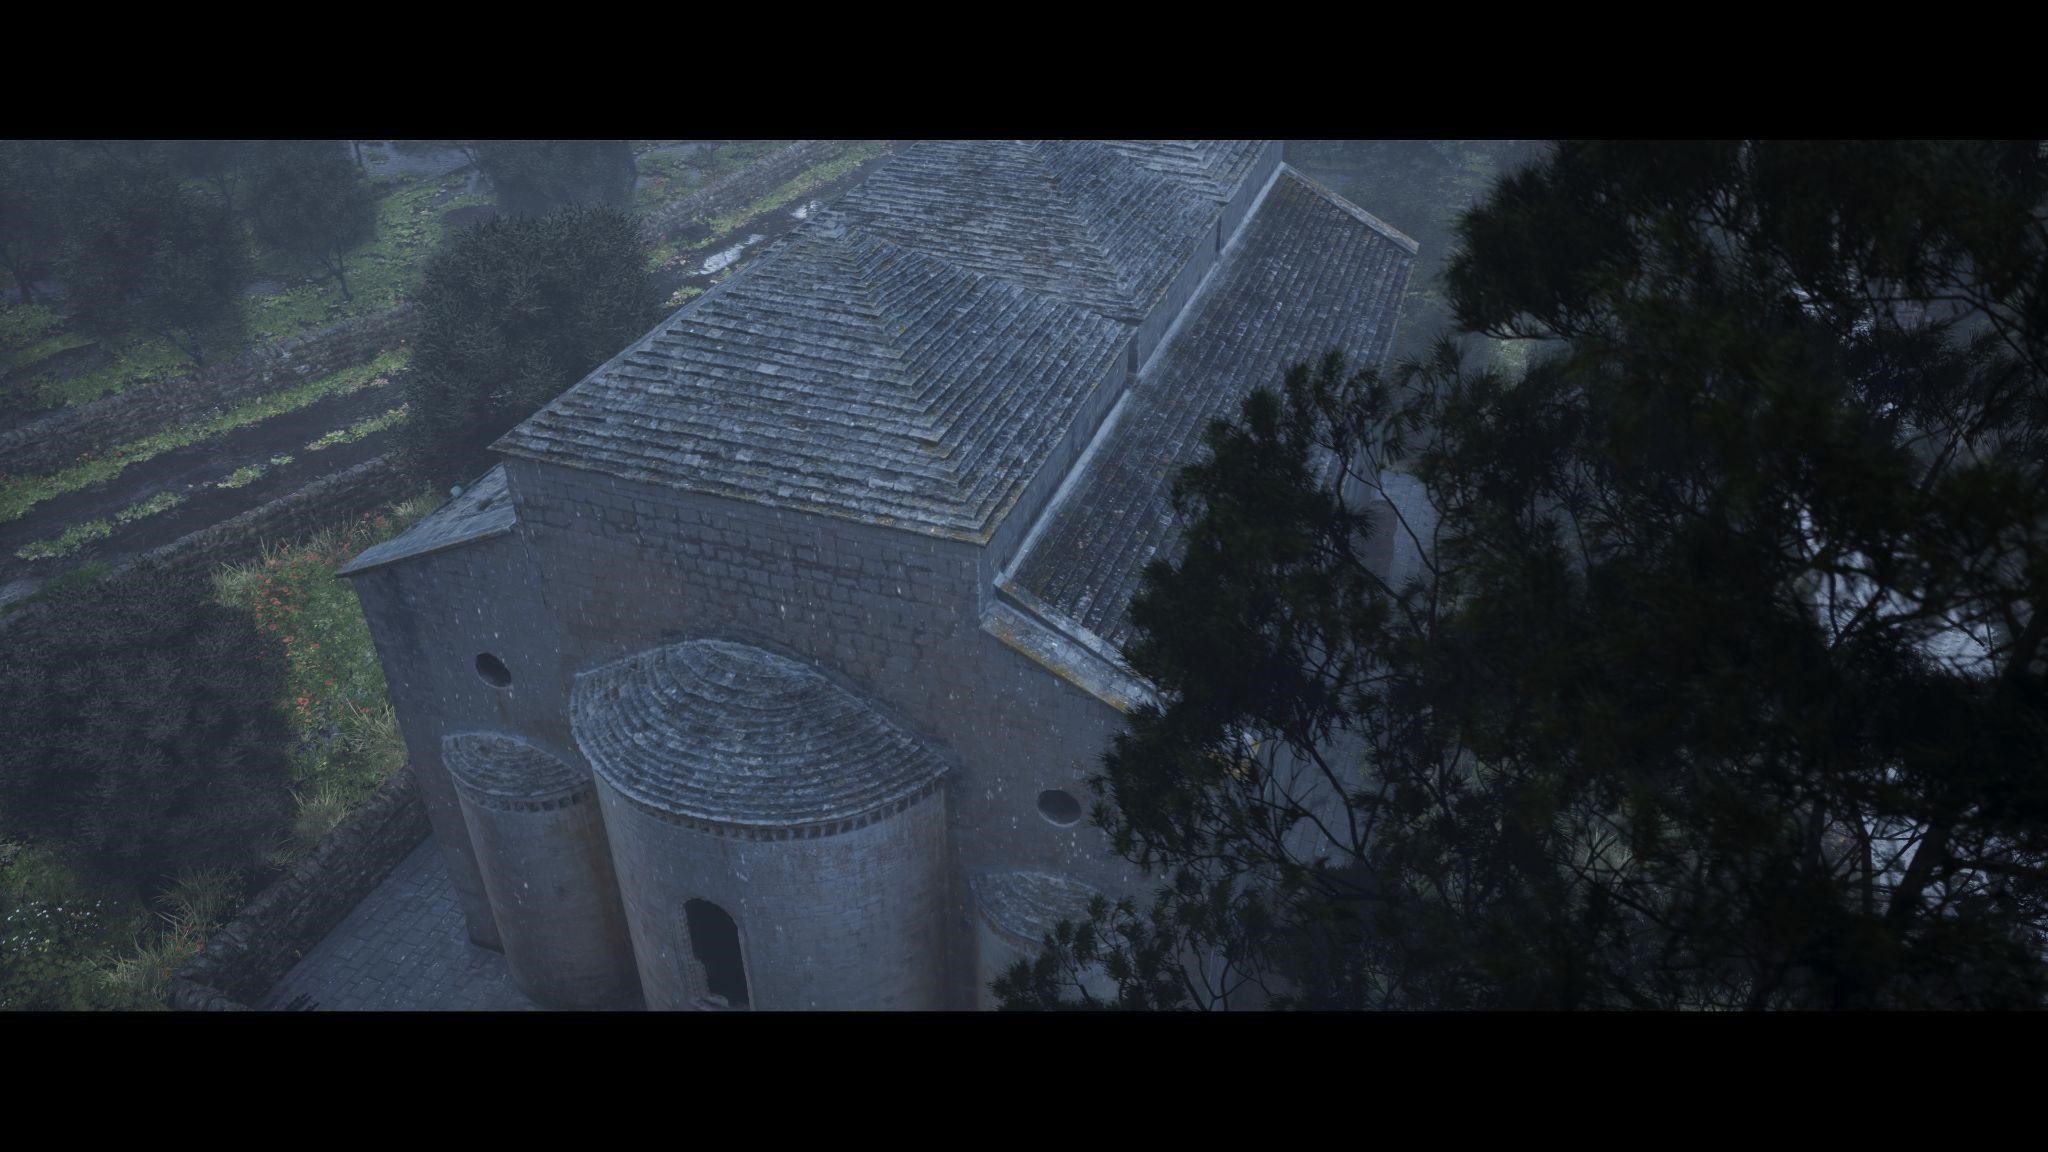
Finally, speaking of puddles, I wanted to experiment with some rainy shots and with an overcast weather which, in my opinion, added even more realism to the scene.
So rather than just using a built-up raining system in Unreal, I did close-up shots of the rain starting and hitting the ground/puddles, and of the heavy rain on the canal. For the first one, I did something I usually do in Blender—a technique widely known (I guess)—to simulate water interacting with objects without really doing a water “simulation,” that is to say using the dynamic paint, a simple plane as the canvas, and a particle emitter as the brush. I baked the animation and exported the plane as an alembic cache to then import it into Unreal. It worked like a charm.
For the second, I just built up a procedural animated shader since doing the same process as before would have been certainly much more realistic-looking but for an entire canal/river, it would have also been very heavy to handle.
Sky
In the end, I’d say I was quite happy with the result even in this case. At least, this was the excuse to go on and experiment with various techniques. For the sky, I made use of Ultra Dynamic Sky which is a must-have in Unreal. It has also the weather FX included; for example, the proper rain and the overall wetness here are generated with it.
Post-processing
Then I finally jumped into DaVinci Resolve to do some post-processing in order to enhance the cinematic look: a bit of color grading, adding film grain, vignette, a touch of lens flare…

And that’s it! You can find some more break-down shots of the scene on my post on ArtStation.
RENDER - The Church of Ognissanti
YT short with different (base) light setup
Feel free to comment or ask any questions, subscribe if you want to see more of my work, or visit my Artstation or Blender Artists profiles. Thanks!
About the Artist
Stefano Cardia is a nomad 3D artist, naturalist, explorer, cultural heritage scholar, and Blender lover. He is currently working as a freelance environment artist and photogrammetry specialist.