
INTRODUCTION
My username is Yumeizhiren, which is the Chinese translation of 愚昧之人 for "stupid person". I'm 23 years old and I come from a small city in central China. In the summer of 2020, I stumbled upon Blender and spent the next few days watching many tutorials on a whim. At that time, Blender had not yet gained popularity in China, so the tutorial market was not yet saturated and commercialized, and the learning atmosphere was very relaxed. I got to know many tutorial makers during this time.
Last summer, I had the opportunity to study CG art at the China Central Academy of Fine Arts. During my studies, I got to know many people in the Chinese gaming and film industries. This is my last work there.
INSPIRATION
I was given one month to create a 3D scene without any restrictions. I had no idea what I wanted to express, and although I could choose a theme or original painting, I didn't want to limit myself. I hoped to create something I loved to ensure that I could do my best.
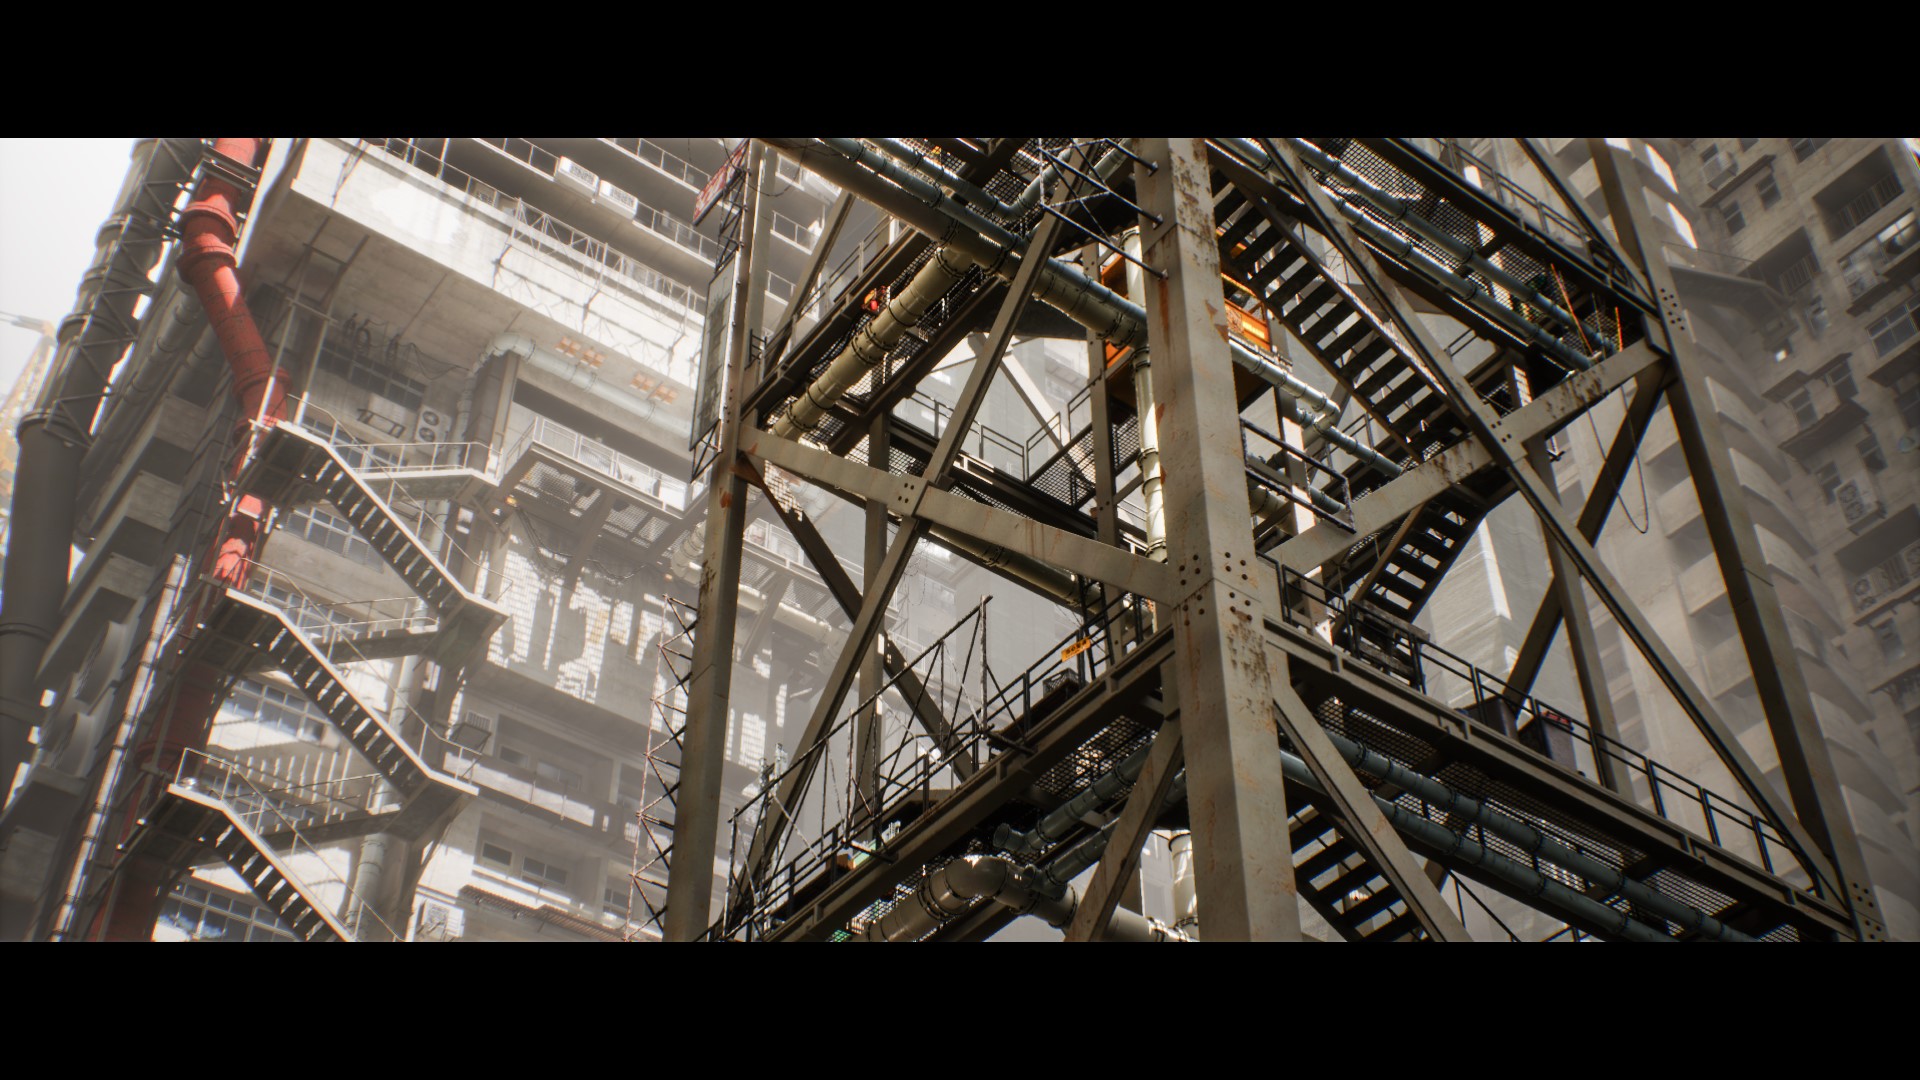
Therefore, I looked at various scenes on different photo websites for inspiration, and after spending a lot of time, I began to develop some basic ideas. I decided to create a complex in the clouds, made of cement and steel, with an industrial style.
To achieve this, I collected many pictures of factories, as well as some pictures of buildings in Chongqing and Japan.
PROCESS
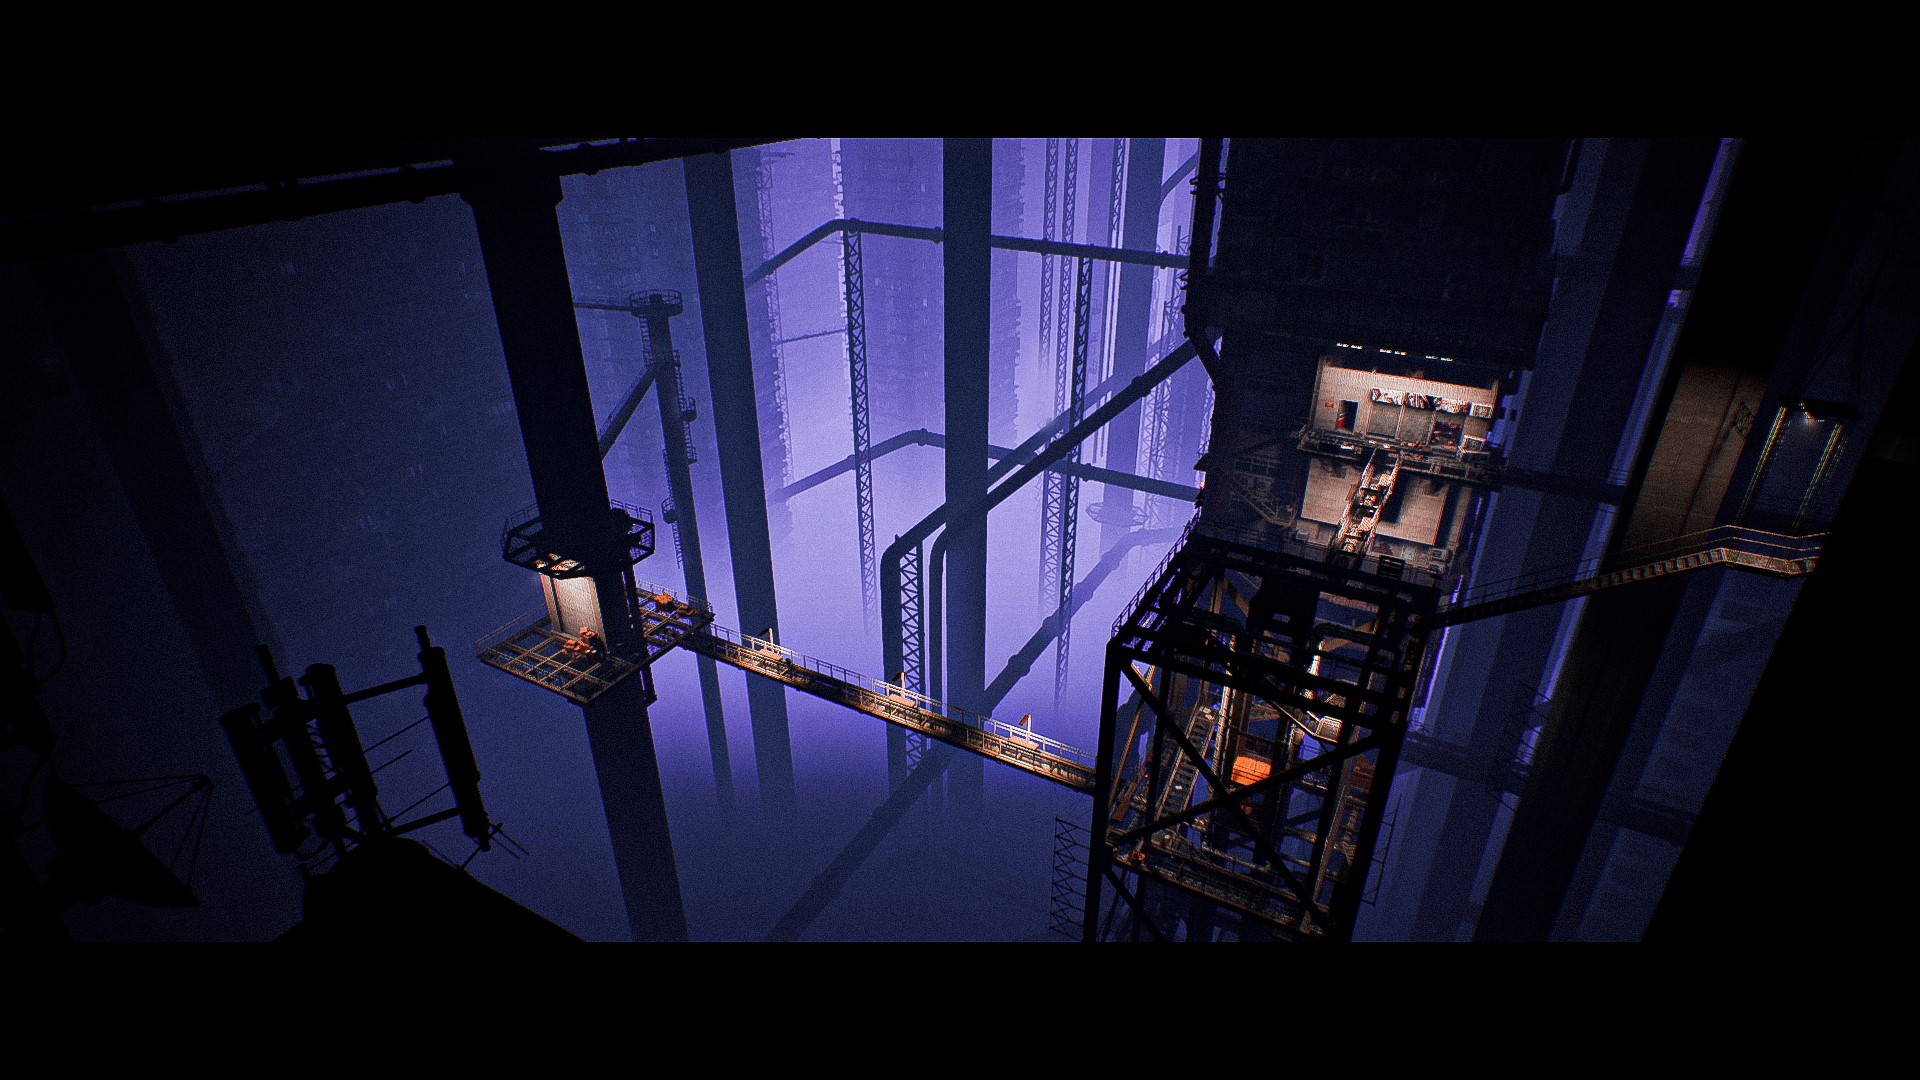
At first, it was just a few big layout plans. I was contemplating the layout and function of the buildings in the scene, as well as the distribution of the roads. At this point, everything in the scene was just a rough draft, and I was building and considering what I wanted it to look like. Many elements gradually became clear, such as the narrow and dangerous road between the buildings, winding stairs hanging on the edge of the building like a rock climber on a cliff, a huge industrial elevator protruding from the clouds in the middle of the scene, and some pillars standing upright in the wind at the edge.
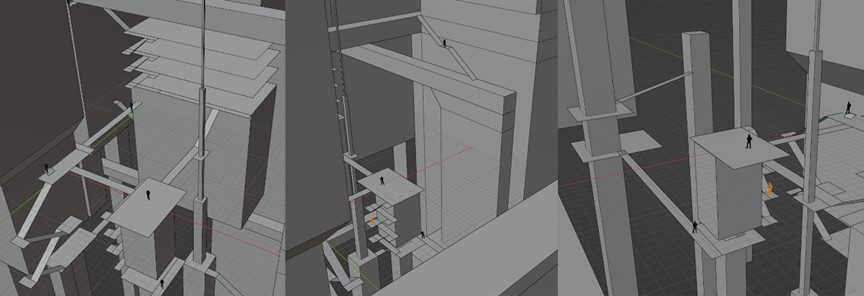
I thought of many interesting elements, but I did not have a clear idea of what the overall effect should be, which became a problem. If I were to start again, I would first draw a general sketch.
DETAILING
After determining the preliminary scene, I began refining it gradually. I referred to many real-life pictures of scenes and turned some vague ideas into concrete models.
However, it was not easy as I was hesitant about the details. I was overwhelmed with questions about how many steps to use, what shape is appropriate for the guardrail, the structure of the steel frame, how the building connects to these metal parts, and the right aspect ratio for windows.

Moreover, I was still confused about the overall effect when making details. Initially, I hoped that the buildings would not be too dense, but as the progress continued, I found that the original design made the scene appear very empty. As a result, I changed the path of the viaduct again and again in search of a better effect.
MATERIAL
The material texture section mostly uses materials directly from various websites, while the distant parts use real photos roughly. Some unique props, such as the elevators in the scene, are simply drawn by SP. I also added simple lighting and environments to EEVEE and continued working on the scene's look, which, interestingly, was closer to my original vision than the final product.
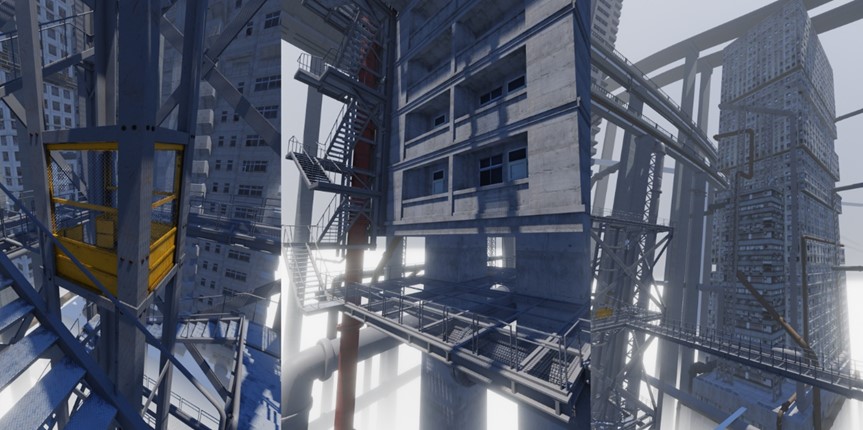
UE ENGINE
There was also some work done in the UE engine. The connection between UE and Blender was not as good as I expected. I chose gltf as the medium and used Datasmith to import the scene into UE. I encountered a lot of bugs, but they could be solved. I often went back to Blender to modify the model and re-import UE.
I am not familiar with UE. I just got to know it through the courses of the Academy of Fine Arts. The main work in UE is to add some lights, create some ambient atmosphere, place some small props, and use some decals to enrich the texture. I also arranged some interior contents, decorated a small factory warehouse, and set up a small supermarket on a platform below. I imagined how these details would fill out my scene, but they were left out, and I didn't have much time to make them believable. I started looking for the best overall effect in the situation.

RENDER
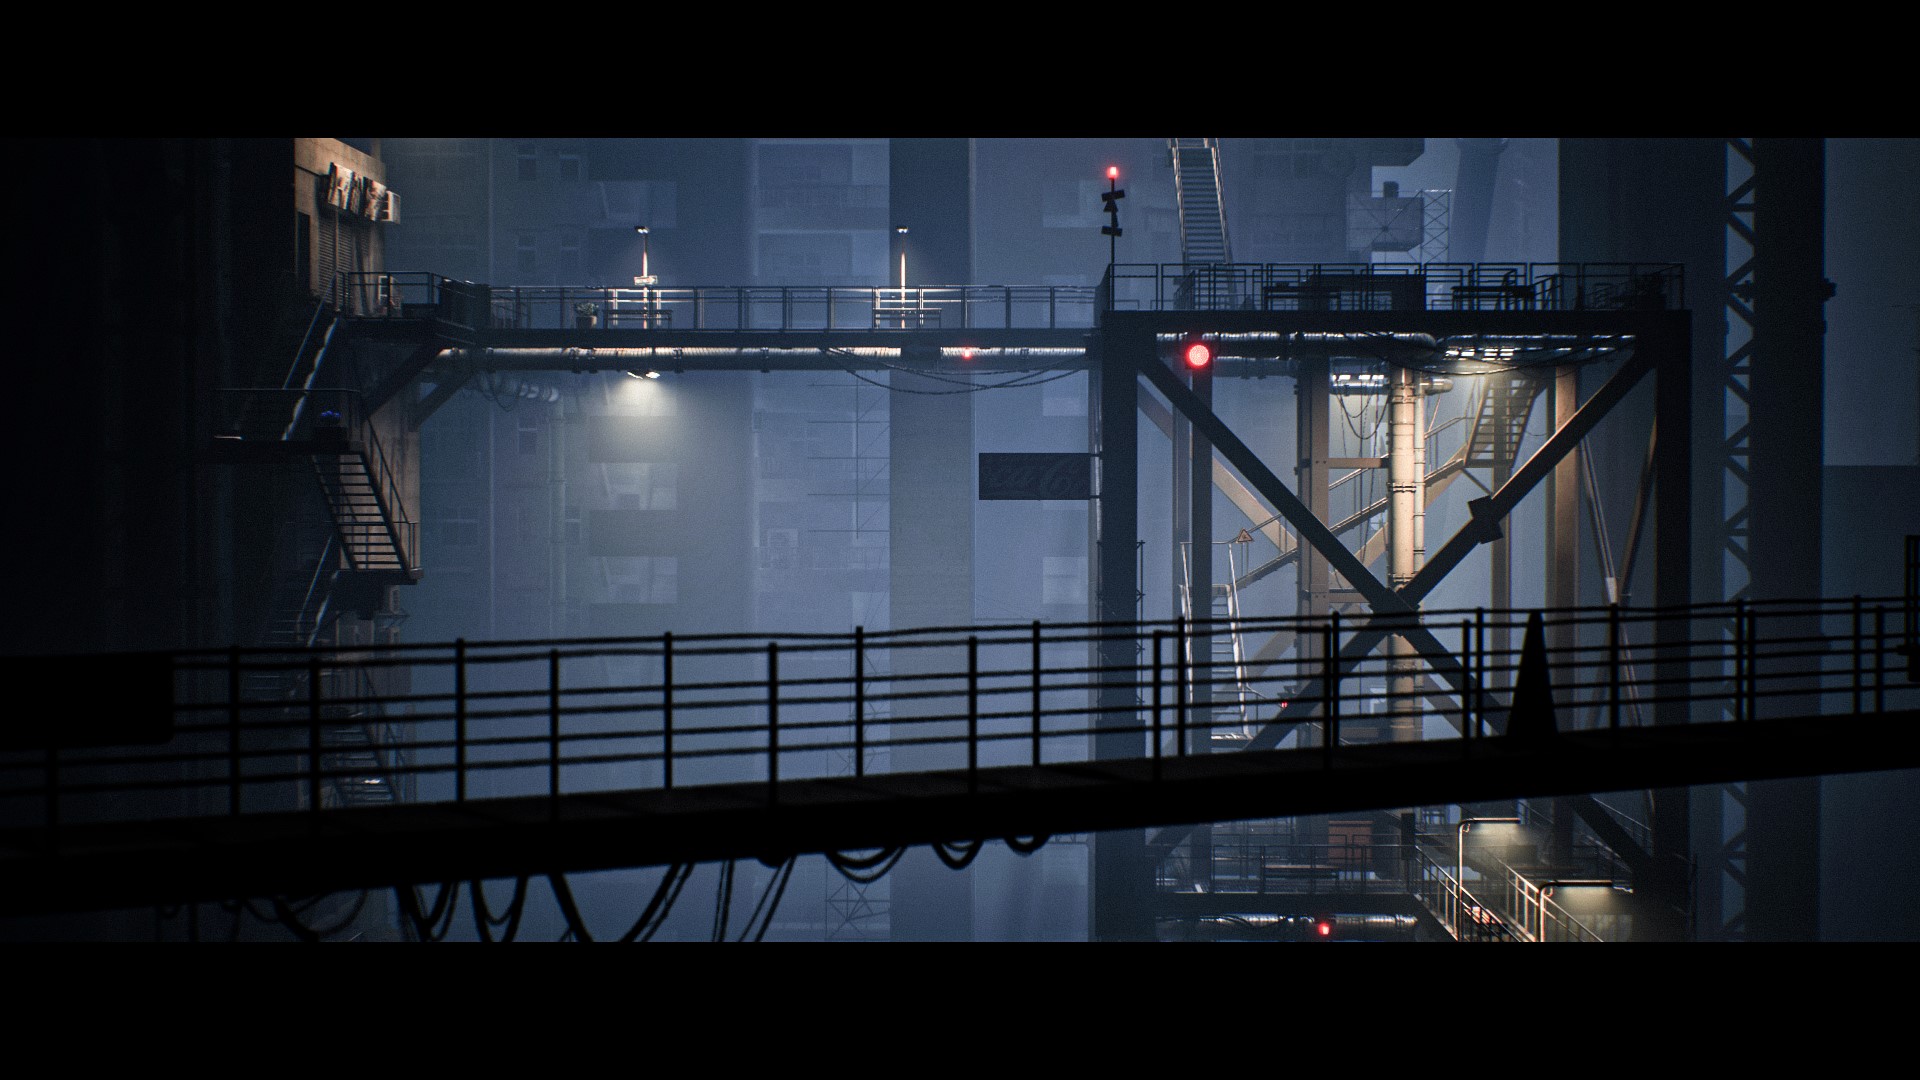
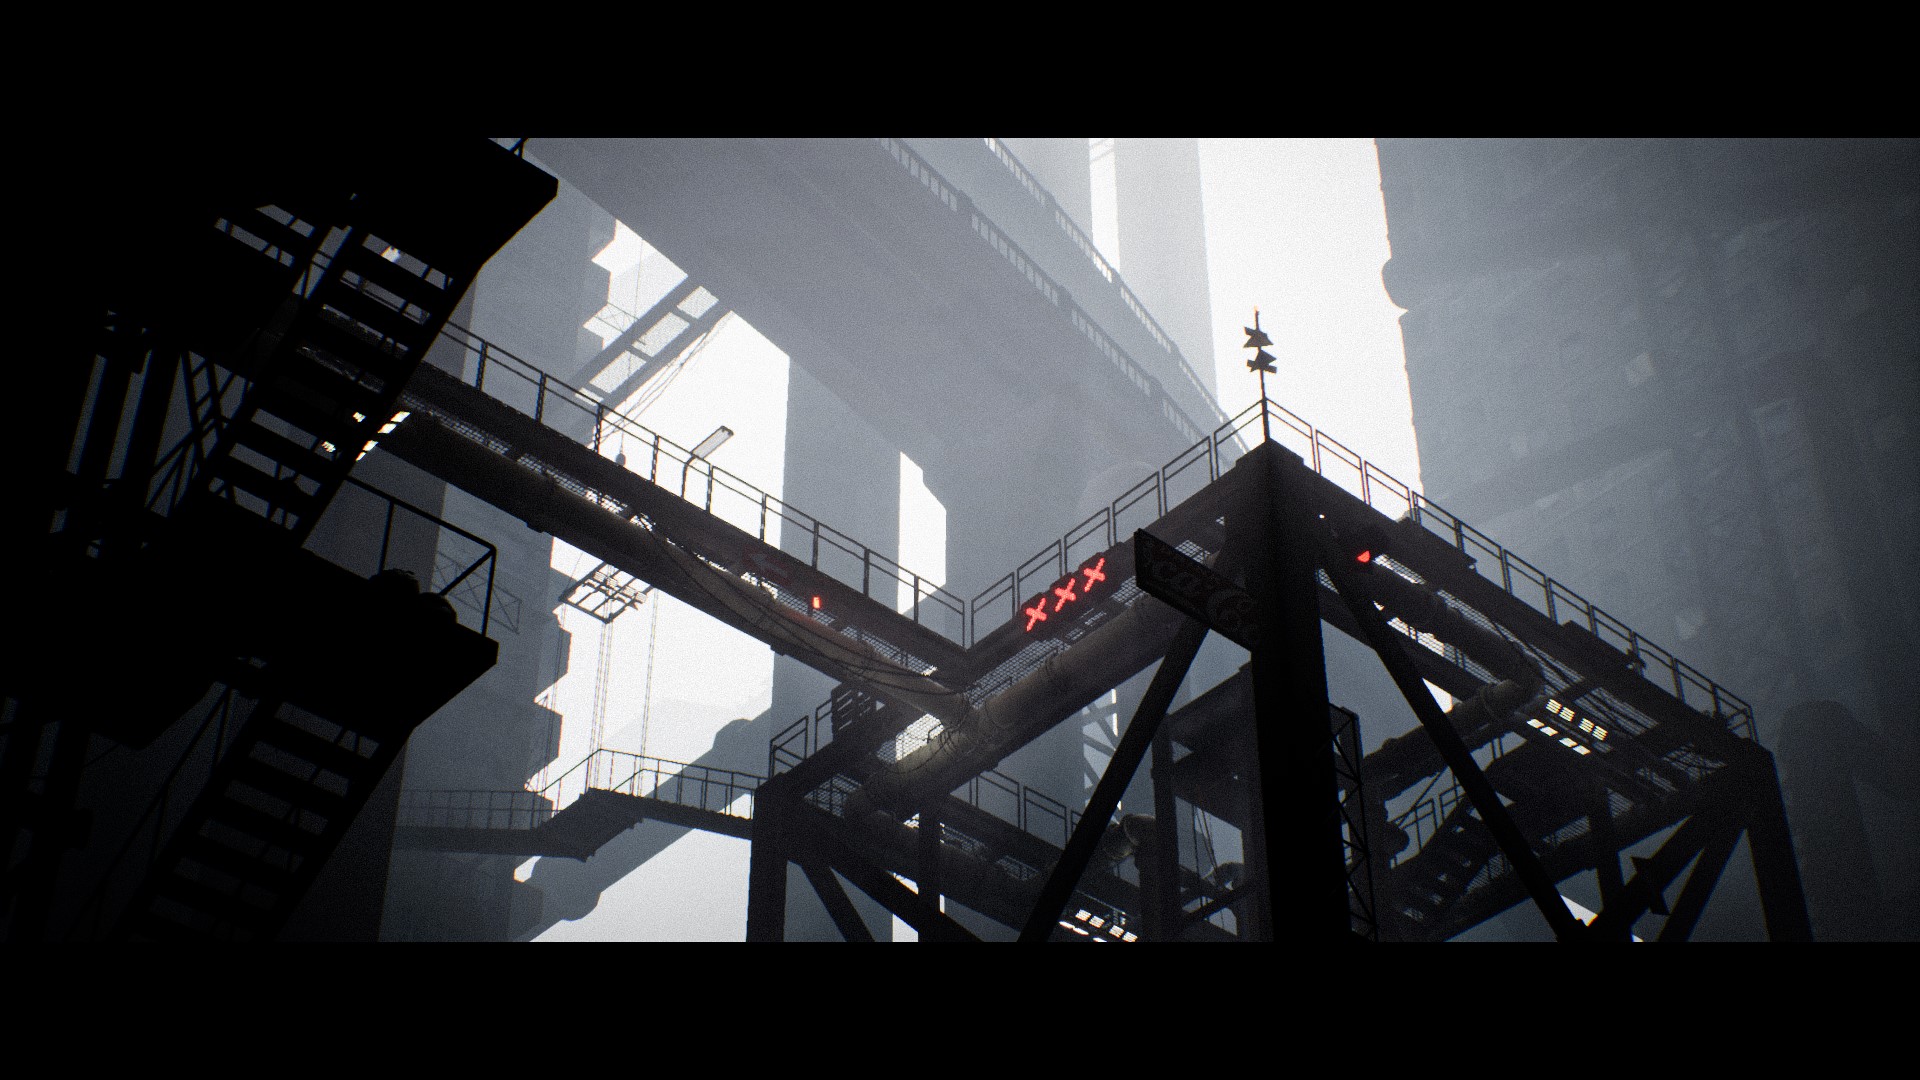
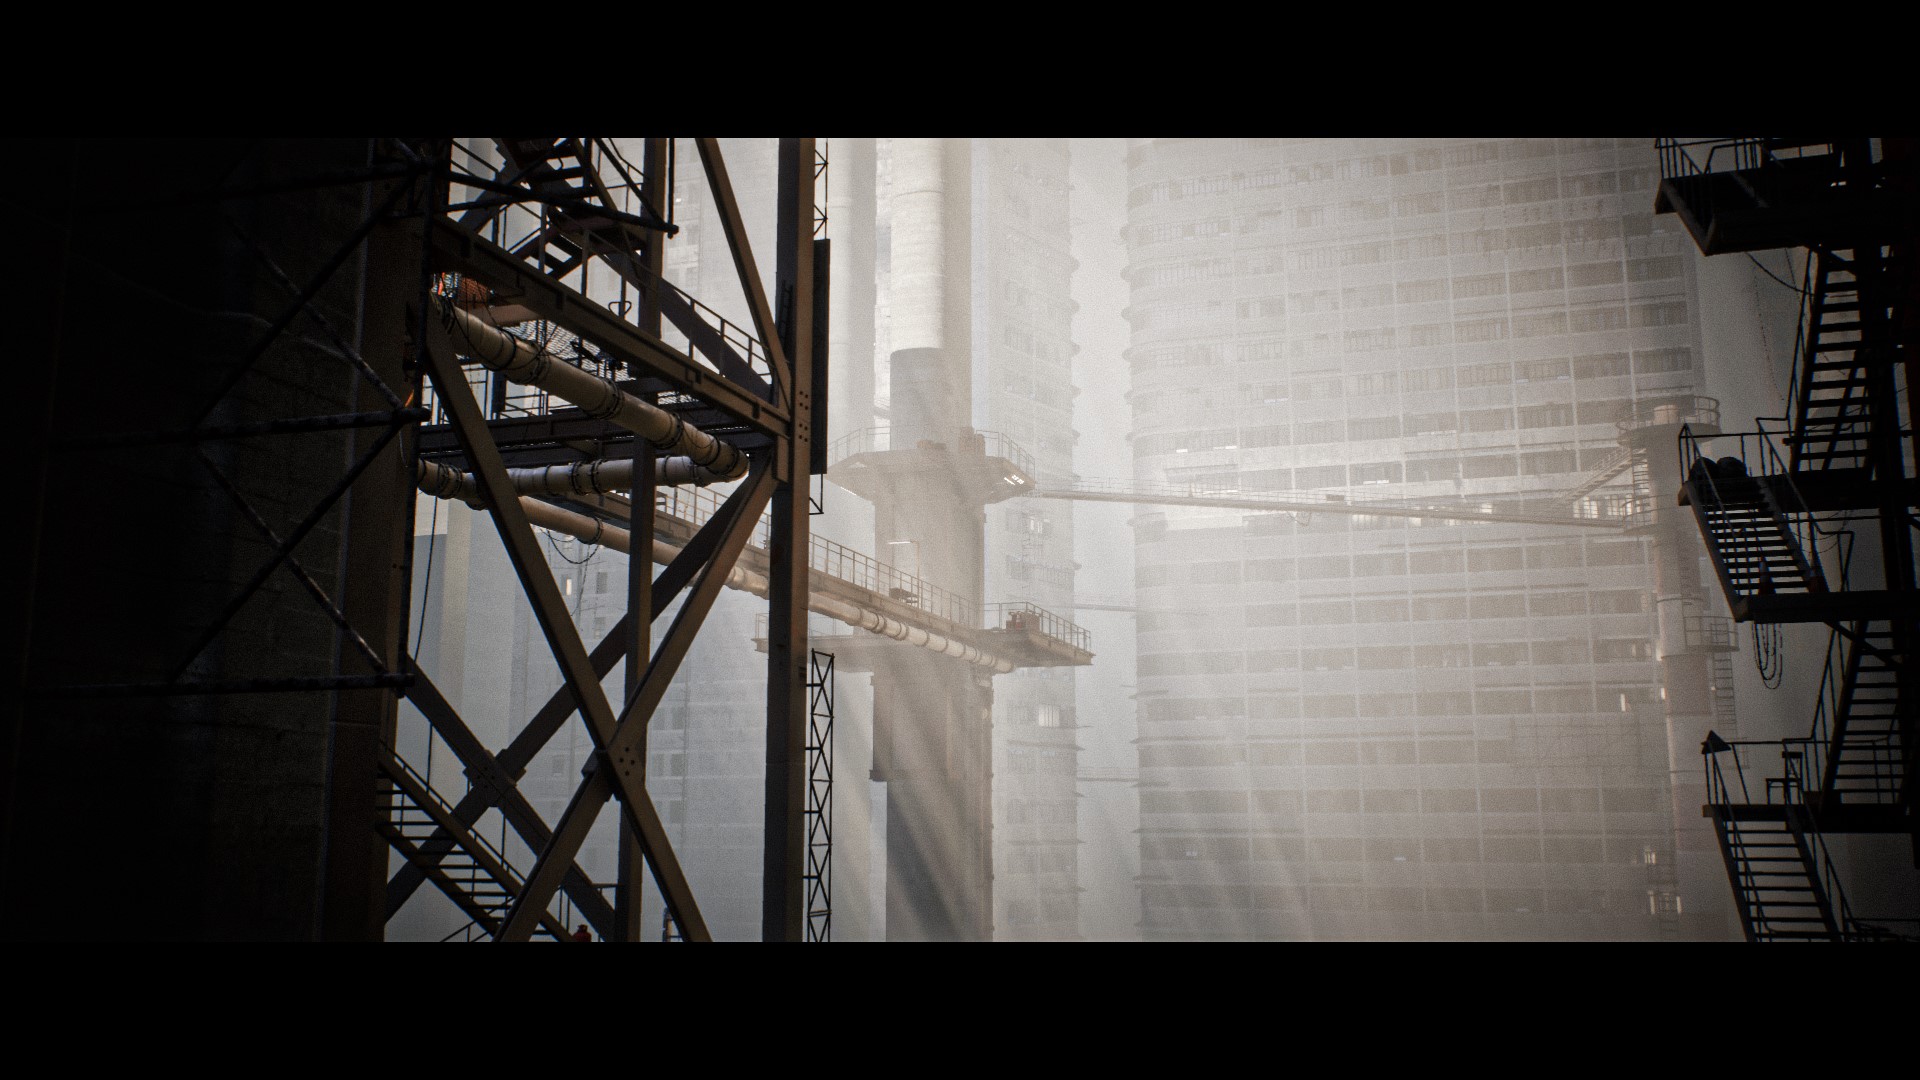
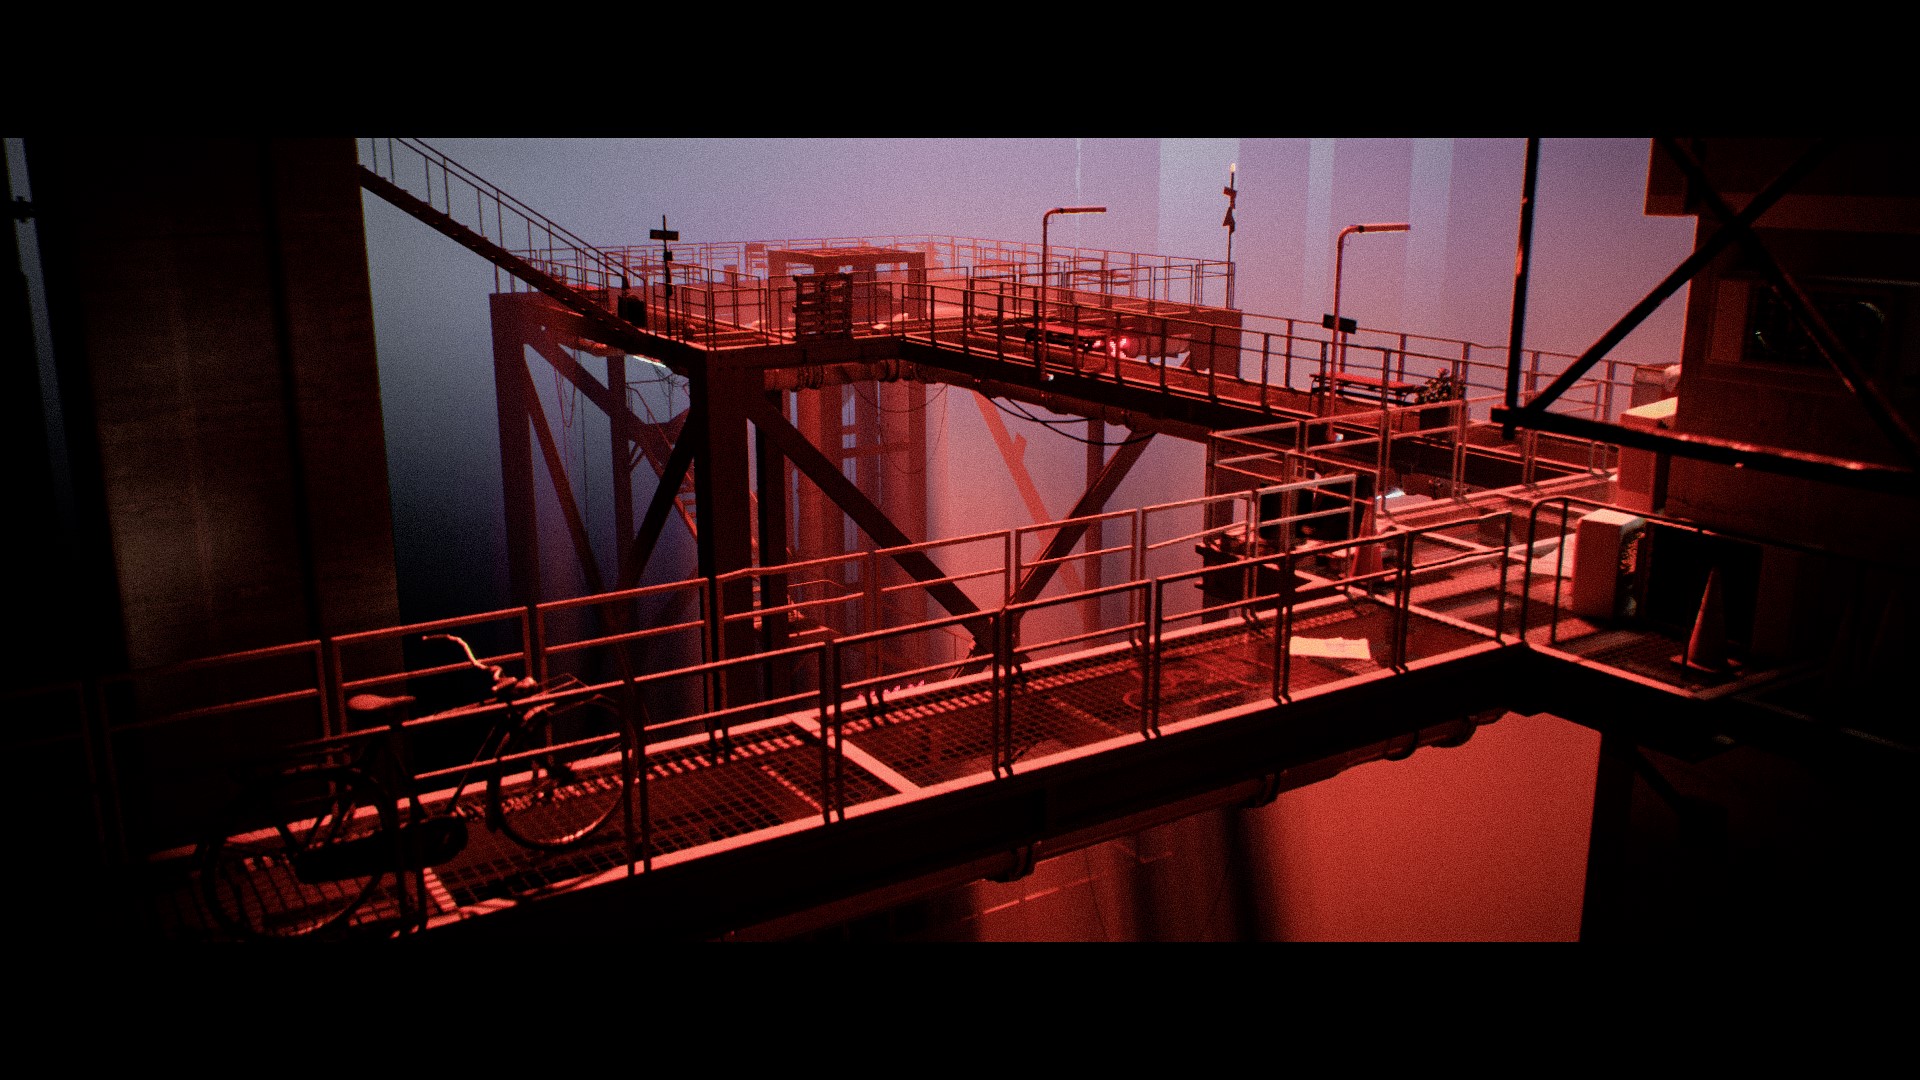
I ended up with a set of images like this, where I created light effects for different times of day and wanted to be bolder with the colors, resulting in a few highly saturated images.
Finally, these images were rendered using only 100% of the base, which caused my computer to crash frequently. Although the end result was not exactly what I had originally envisioned, the overall effect is good. After that, I will learn some 2D scene drawing to enhance my control of the scene. I also hope that my experience can help others.
TIME DILATION

I hope you enjoyed it and thank you for reading this article.
Have a nice day!
About the Artist

Yumeizhiren, a 3D hobbyist from China.

1 Comment
Beautiful. This must have taken forever, but so well done.