Behind the Scenes: Fennec Fox
About Me
Kanishk here from Bangalore, India. I got to know about 2D animation through Macromedia Flash (now Adobe Flash) when I was 14. It somehow led me to understand that there existed something called 3D, which you can move and rotate around as well as animate. I managed to get a copy of 3ds Max and started working on it on my own, reading the help file and tutorials that shipped with it. Then, later, I made up my mind to pick this up as my career and I studied animation and got into this industry.
Since most of my education was self-taught, I got to know about Blender through the internet. At that time they had just released Sintel and it was making a lot of noise on the internet. The fact that you could download their production files really drove me towards it. Blender had also ported its interface to 2.5 and it looked really good.
It’s been around 8 years that I have been using Blender at home for my personal artworks and I have really enjoyed using it. I think the best part about Blender is the awesome community that it has online. I always follow the #b3d hashtag on Twitter to keep myself updated with the latest. I think Blender has a fabulous developers team and one of the major reasons I want to switch to Blender totally is because of Ton and his awesome team.
About Fennec Fox
This piece was my entry for a challenge organised by XP-Pen. Rafael Grasetti, who has always been my inspiration when it came to artworks, was judging it. I thought this would be a great time to jump into Blender and post my entry for this challenge.
Modeling
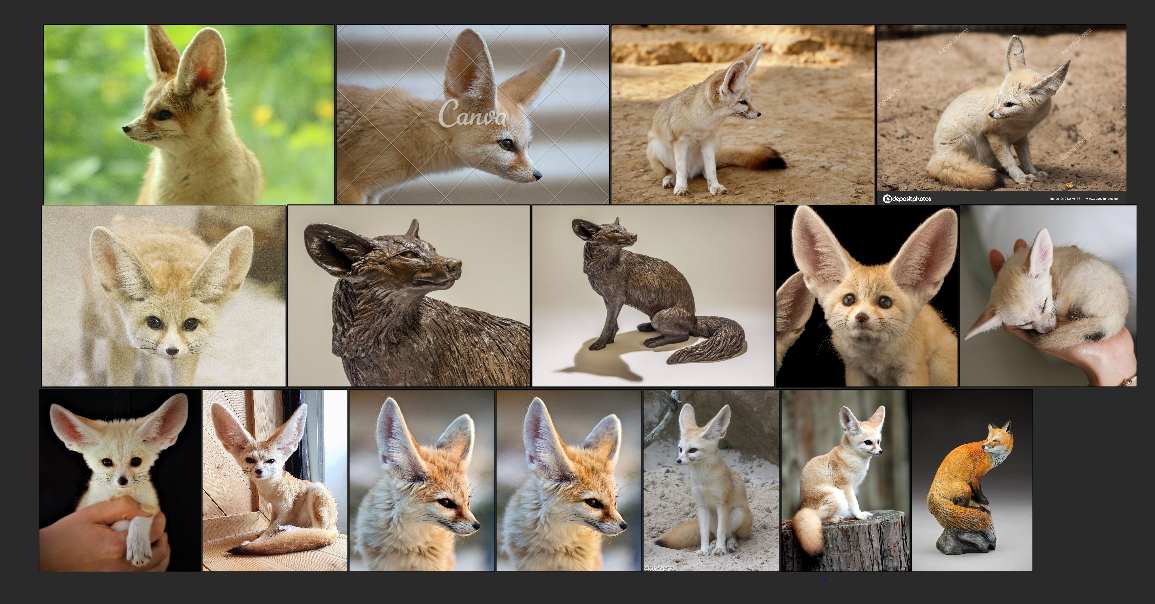
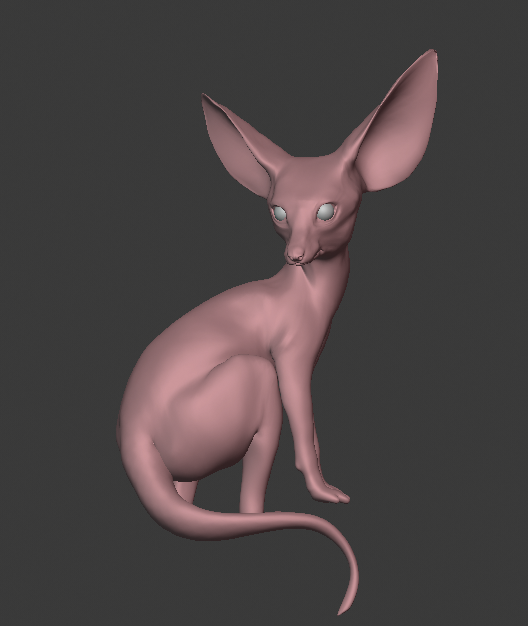
It is always a good idea to start off with a basemesh similar to what you want to create. So I grabbed a dog model and quickly tweaked its proportions to match it to a fox. I think one of the most noticeable features of a fennec fox is its long ears. So I made sure I had enough references to go ahead.
Fur
Once the model was blocked out, I quickly jumped to fur as most of the model was going to be covered by fur. The best part about working in Blender is the ability to switch between modeling/texture/fur/lighting etc. Having all the options in one package is really helpful.
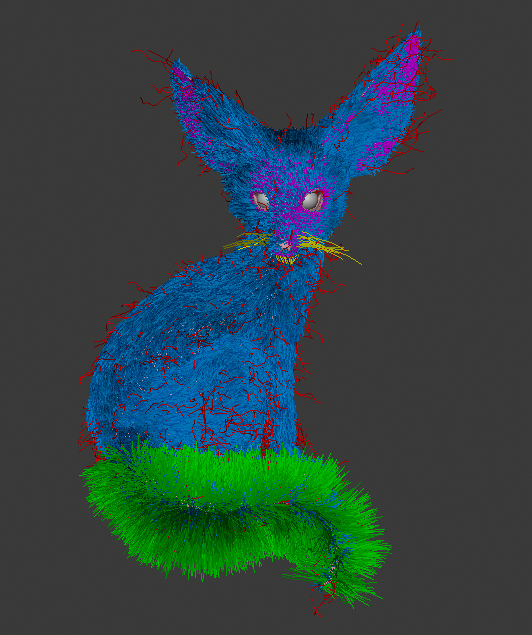
For the fur, I made sure I divided the fur into different parts, as controlling one single fur node is really difficult. For example, the tail has really long hair while the head will have much shorter hair. As you can see in the image below, I color-coded the different hair nodes I had for the fox. The stray hair (red-colored) was another separate layer of fur to add more realism to the render.
Texturing
My workflow involves doing everything parallel, which means I will continue to tweak the model while I am doing fur, or I will work on the textures while doing the lighting. Most of the time you don’t need to go 100% in every department. For example, on this fox, I only used vertex painting and did not bother to texture on the UVs. If you are doing the lighting at the time of doing the texturing, you realise what is needed and what is not. That way you can save a lot of time.
Lighting
One important thing I always do is render out every iteration that I make. That helps me understand how far I have come and what else needs to be tweaked. As you can see in the GIF below, I start rendering before I have even textured the character. It helps me understand what areas need more focus. These renders need not be high sampled ones. They can be very low-resolution with very few samples. The idea is to get a hint of what you are going to see in the final product. The new denoiser in the compositor has been really helpful in cleaning up the noise in my low sample renders. :)
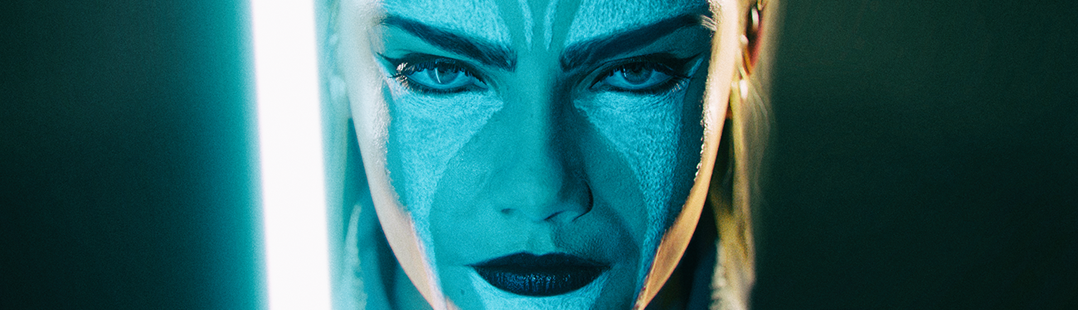
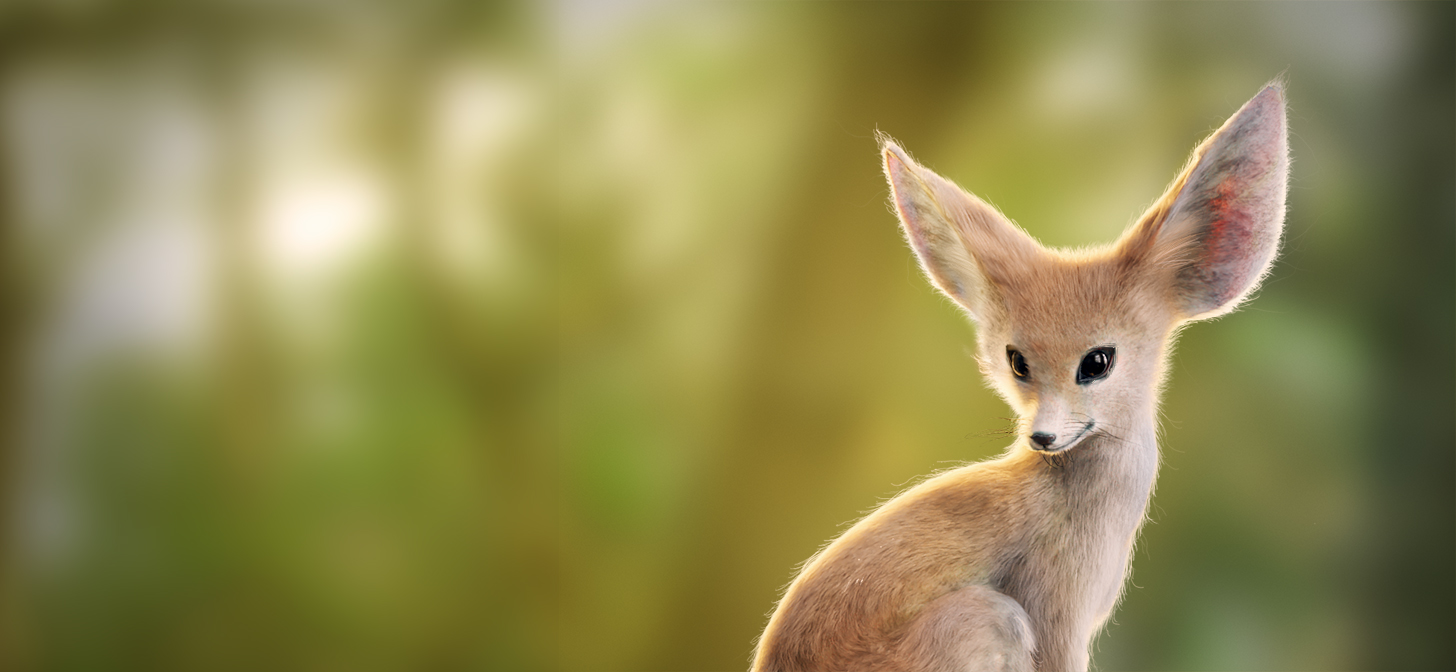
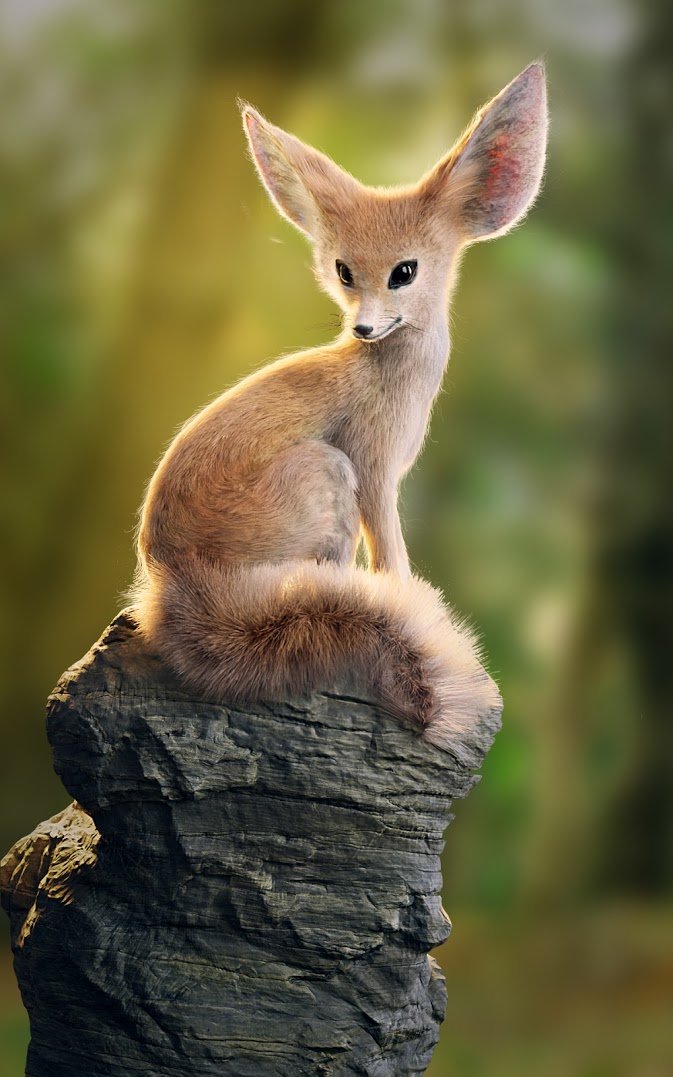
Final Artwork
About the Author
 Kanishk, from Bangalore, India. Been working in this industry for the past 9+ years. I love making art in Blender and also love to code.
Links
[/lists]


Really great work!