Behind the Scenes: Stay True to Your Roots
Hello all! my name is Beau Chapman and I am a 16-year-old high school student currently based in Illinois (US). I’ve had Blender installed for 5 years but have only been utilizing the software and its capabilities consistently for 2-3 years. Much of what I know about Blender can be attributed to online resources, tutorials, and Blender’s very friendly and helpful community.
A lot of my work has been created for the Blender Weekend Challenge, which has been a fantastic tool that has helped me to consistently create images in a few days or less. It’s assisted me in developing my style and it’s helped me become familiar with Blender’s capabilities.
Stay True to your Roots was created for a Blender Weekend Challenge so I was limited in the time I could spend with the project. The challenge provides a theme each week and the theme for this piece was “Roots”. I took inspiration from Paul Zarbato’s awesome piece, The Roots Are Deep.
Modeling
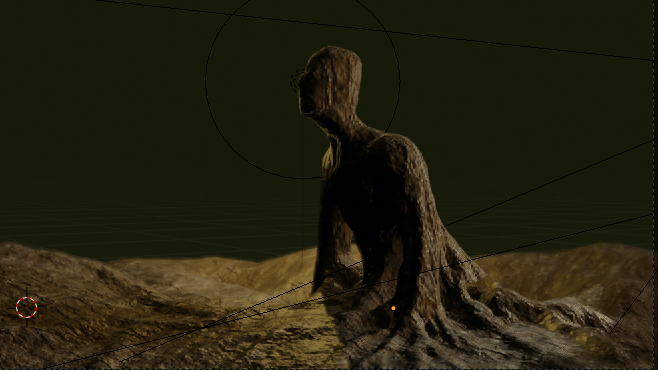
I began this project by modeling a basic torso, head, and arms and then connecting it to a plane for the ground. Then, I sculpted in the roots and details with dyntopo to add vertices. I added separate displacement modifiers to the ground and object to add variations and help define the mesh so the lighting and material process would be easier. Here’s what the mesh and lighting setup looks like.
Lighting
I always try to set up the lighting before I work on the materials because I’ve found that the lighting can completely change how a material looks. In this case, the lighting was set with a sun lamp, a spot lamp, and a point lamp behind the character. The point lamp will produce a rim light effect, help the focal point come forward, and produce a satisfying glow when adding the volumetrics in later.
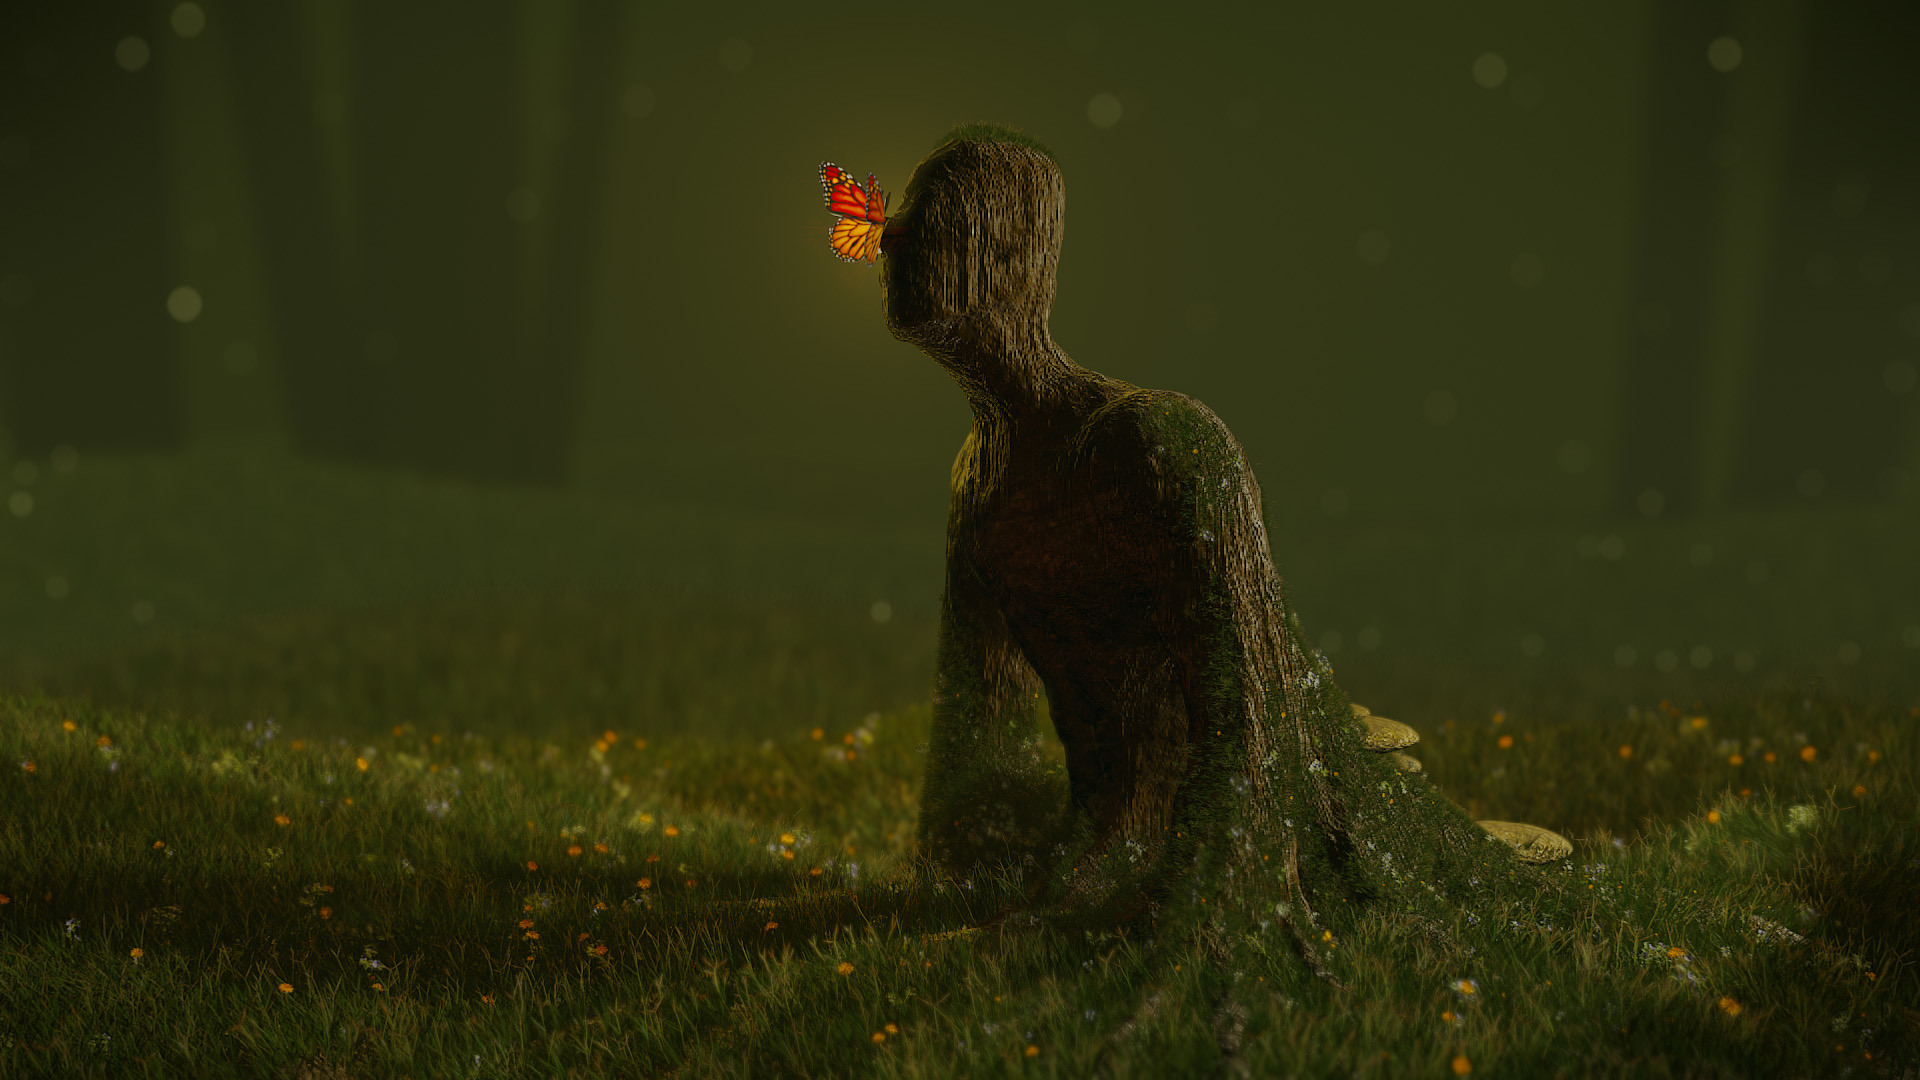
With limited time every weekend to come up with an idea, apply it, and then render it, my ideas sometimes change 3-4 times during production. For example, the mood of the scene at this point was going to be dark, but the idea of adding in a butterfly changed my mind and I began setting a course to create a different feel for the image.
Materials
The material for the bark was straightforward.
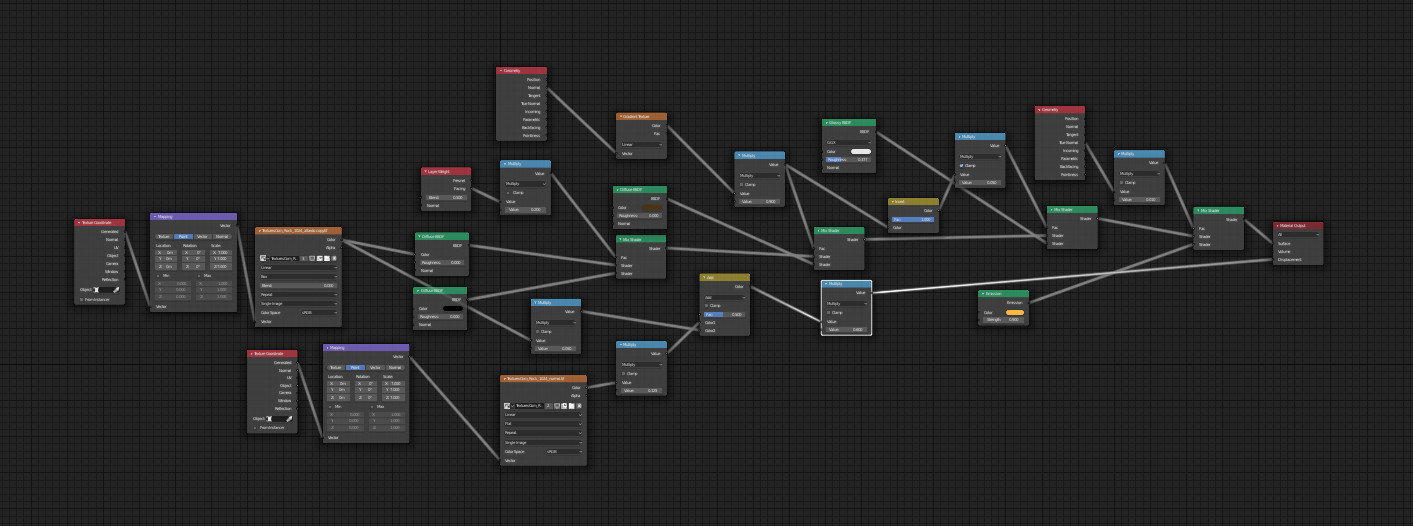
For my materials, I usually set in a base with an image texture from textures.com, some gloss, a fresnel, and a displacement effect with a normal map. From there, I tinker and adjust to better fit the scene’s mood. In this case, I mixed the image texture, which was a rock texture, with a diffuse brown color and I reduced the gloss to help emphasize that the material was supposed to resemble that of a tree.
For some projects, I do not unwrap my objects when applying image textures unless it’s needed; I’ve found that Blender automatically applies the textures in a suitable way for my purposes.
The scene looked like this:
Scene Creation
At this point, I inserted the grass. I used Blender Guru’s Grass Essentials because it’s a powerful asset and I was lacking the time to create a good selection of weeds and grass. I distributed the grass to the plane with some weeds, dandelions, and other flowers to ensure variety.
The butterfly was very simple. It was modeled from reference with an emission material to help draw the eye.
After the grass, simple background, and butterfly were put in place, the scene was almost complete. However, I almost always incorporate some volumetrics into my scenes because it emphasizes the lighting, can add to the magical/mysterious effect, and it just looks cool. To do this, I put in a cube that covers the scene, and I set the volume to a volume scatter node with a low density of 0.002. Adding to the fantasy feeling of the scene, I inserted a particle system that created small blurred dust particles out of a semi-transparent icosphere. I also utilized the mist pass in the compositor to decrease contrast in the background.
This is what the scene looks like without the volumetrics, mist, and post-pro…
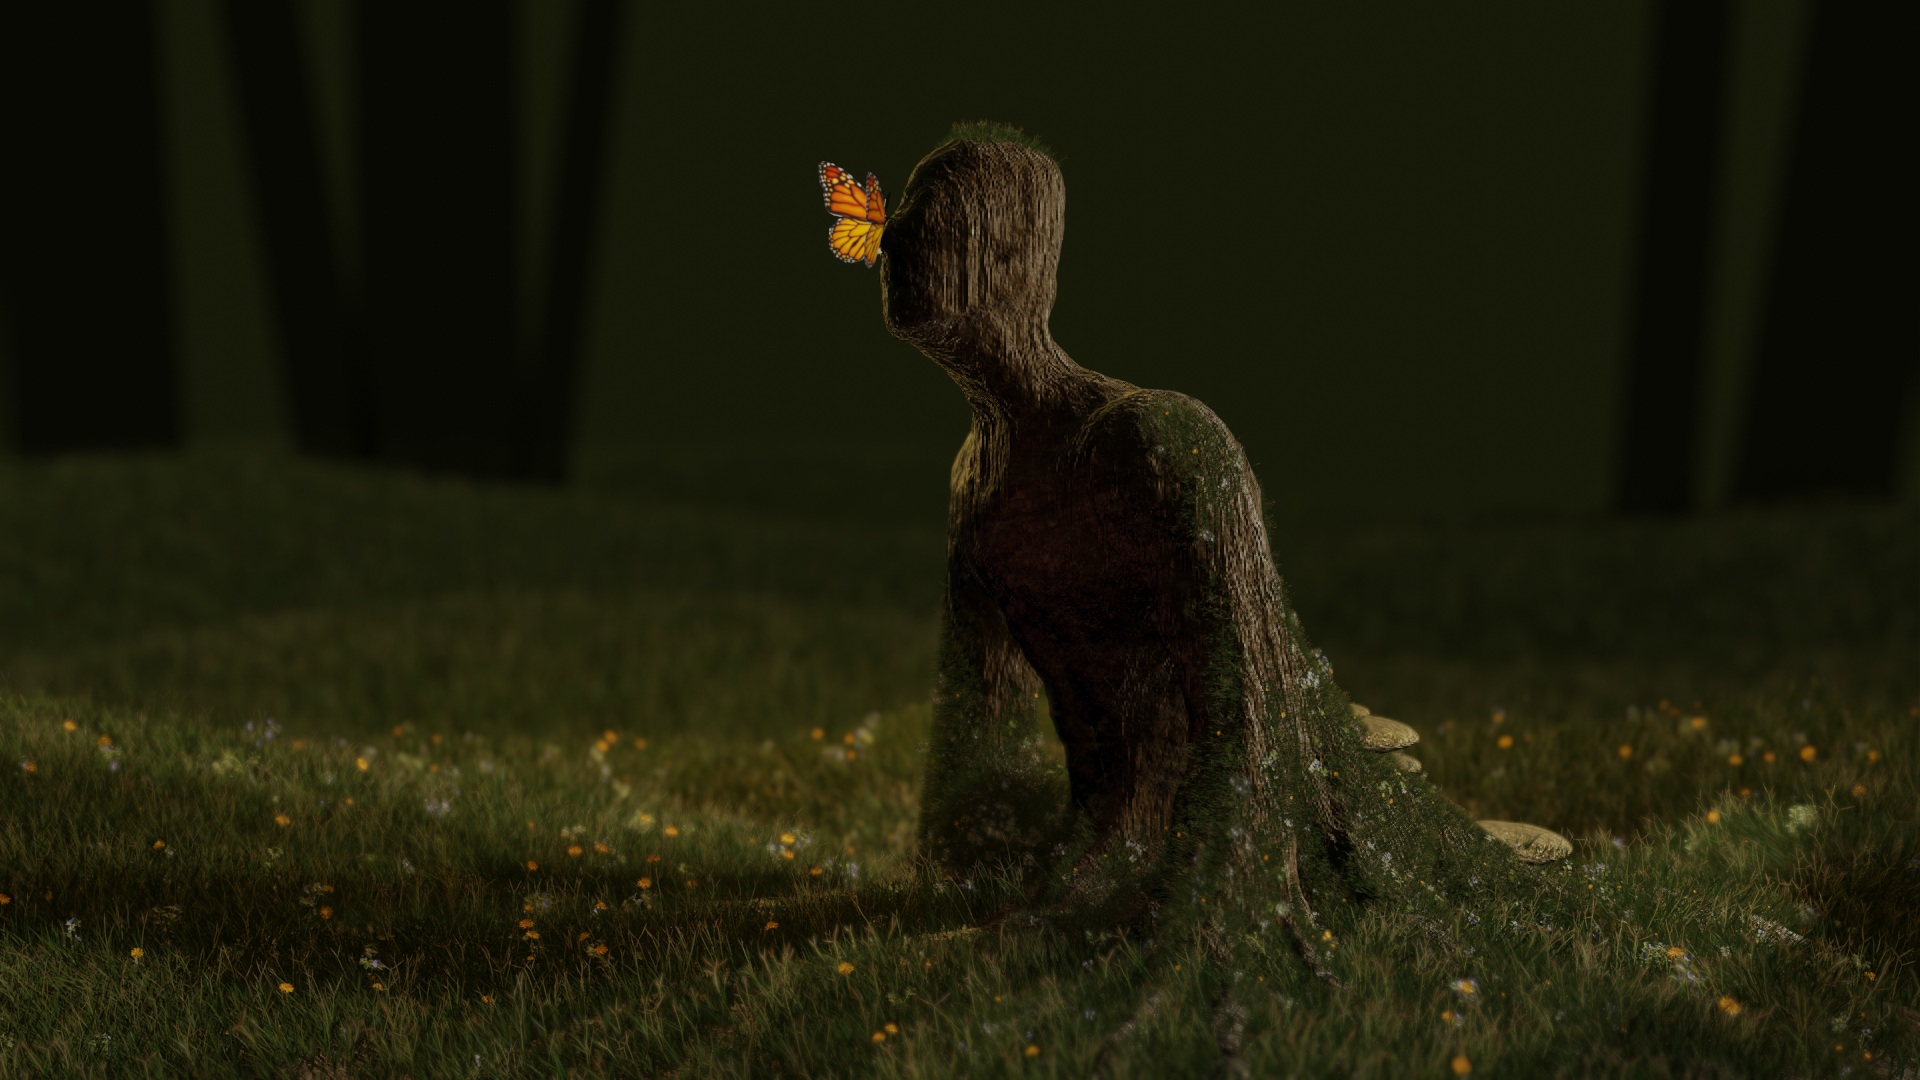
I’ve learned that proper lighting, volumetrics, and post-pro can completely change how I feel about a scene.
Rendering
Since Blender 2.8 was released, I’ve been fascinated with EEVEE. I used EEVEE to render this particular scene. My camera had a depth of field focusing on the butterfly with an f-stop of 0.4, as well as a mist pass (mentioned previously).
Post-Production
Blender’s compositor is a lot more powerful than people usually give it credit for. Here are some of the methods I used.

As shown, I always do some adjustments with the saturation, contrast, and brightness before adding in the mist. (If you’re interested, here’s a tutorial for the mist.) The two glare nodes also help add some magic to the image and I almost always put in some level of glow to my work. Next, I use a pretty basic technique for a simple vignette with an ellipse mask and the blur node. After sharpening and slightly adjusting the color, the scene is finished.
This scene was a lot of fun to create and I’m very thankful to be able to share it with everyone, as well as the behind the scenes process.
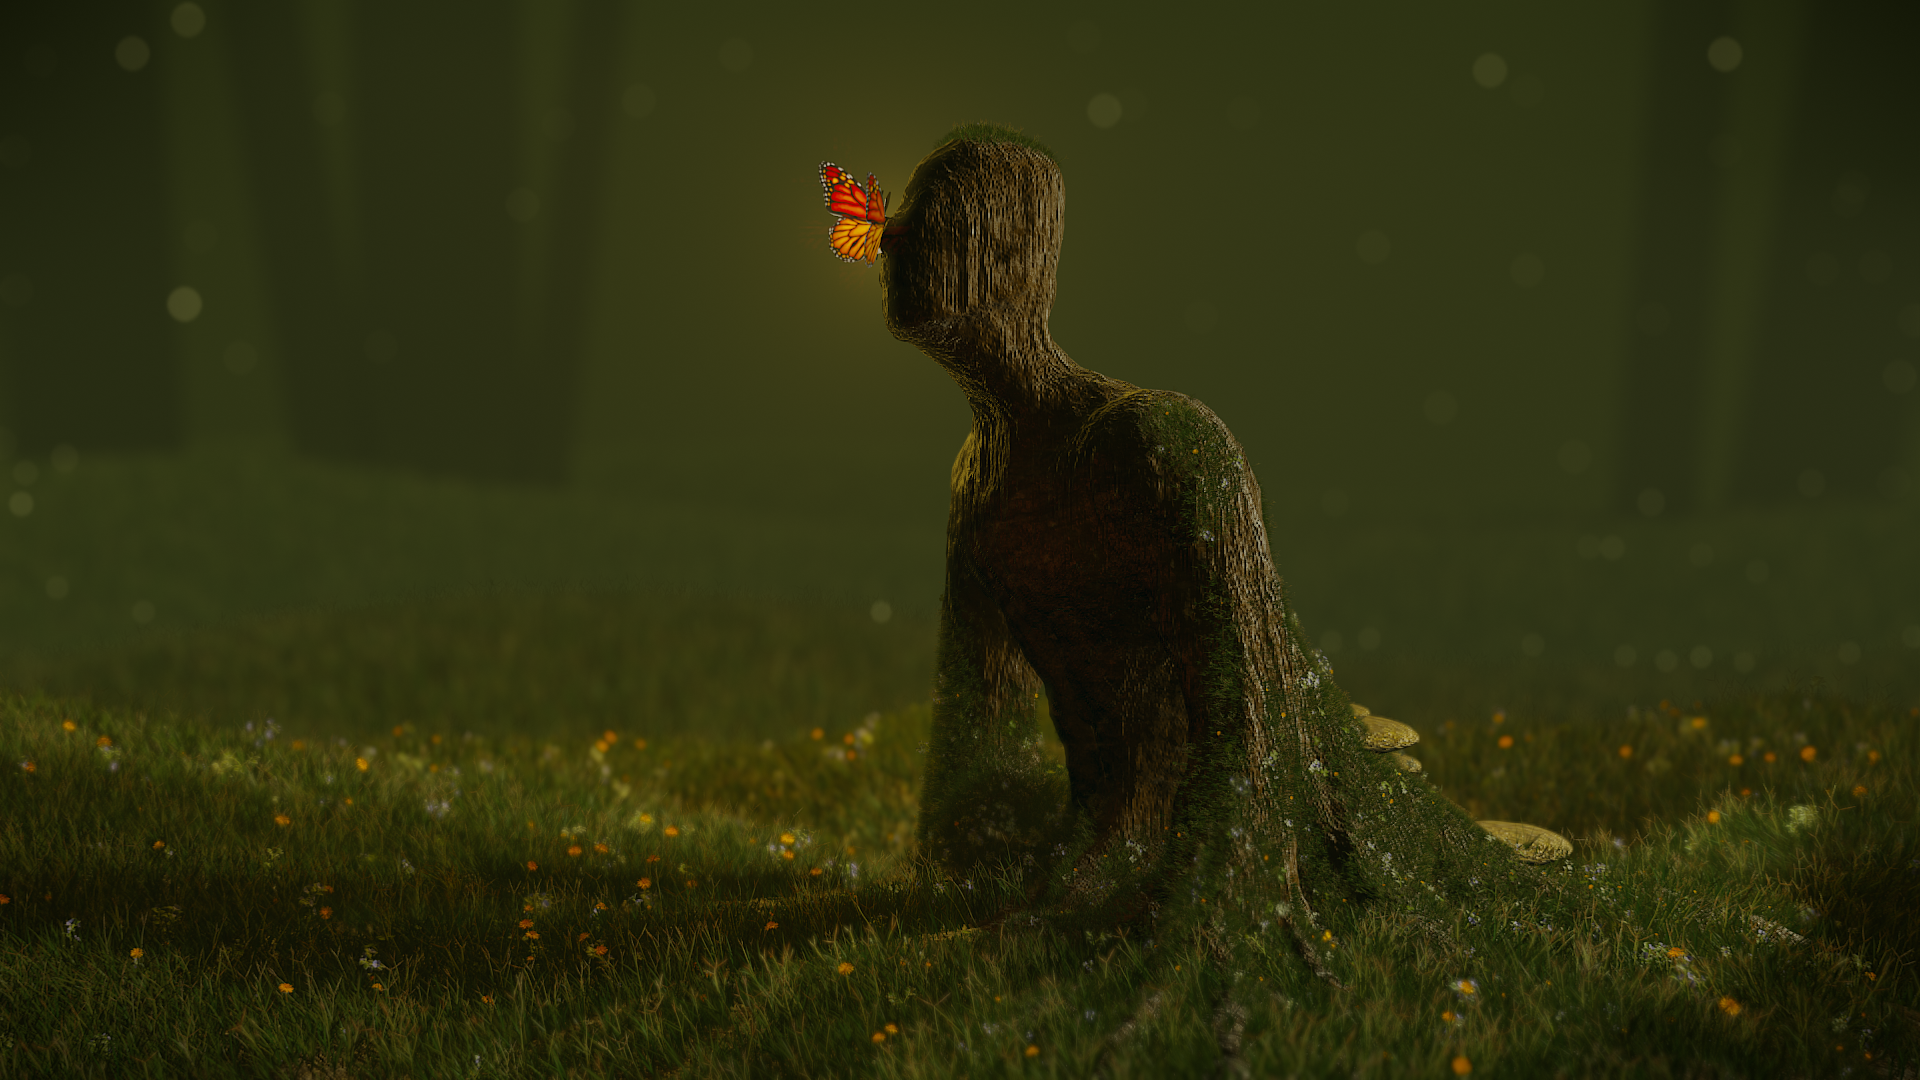
Final Render
About the Author
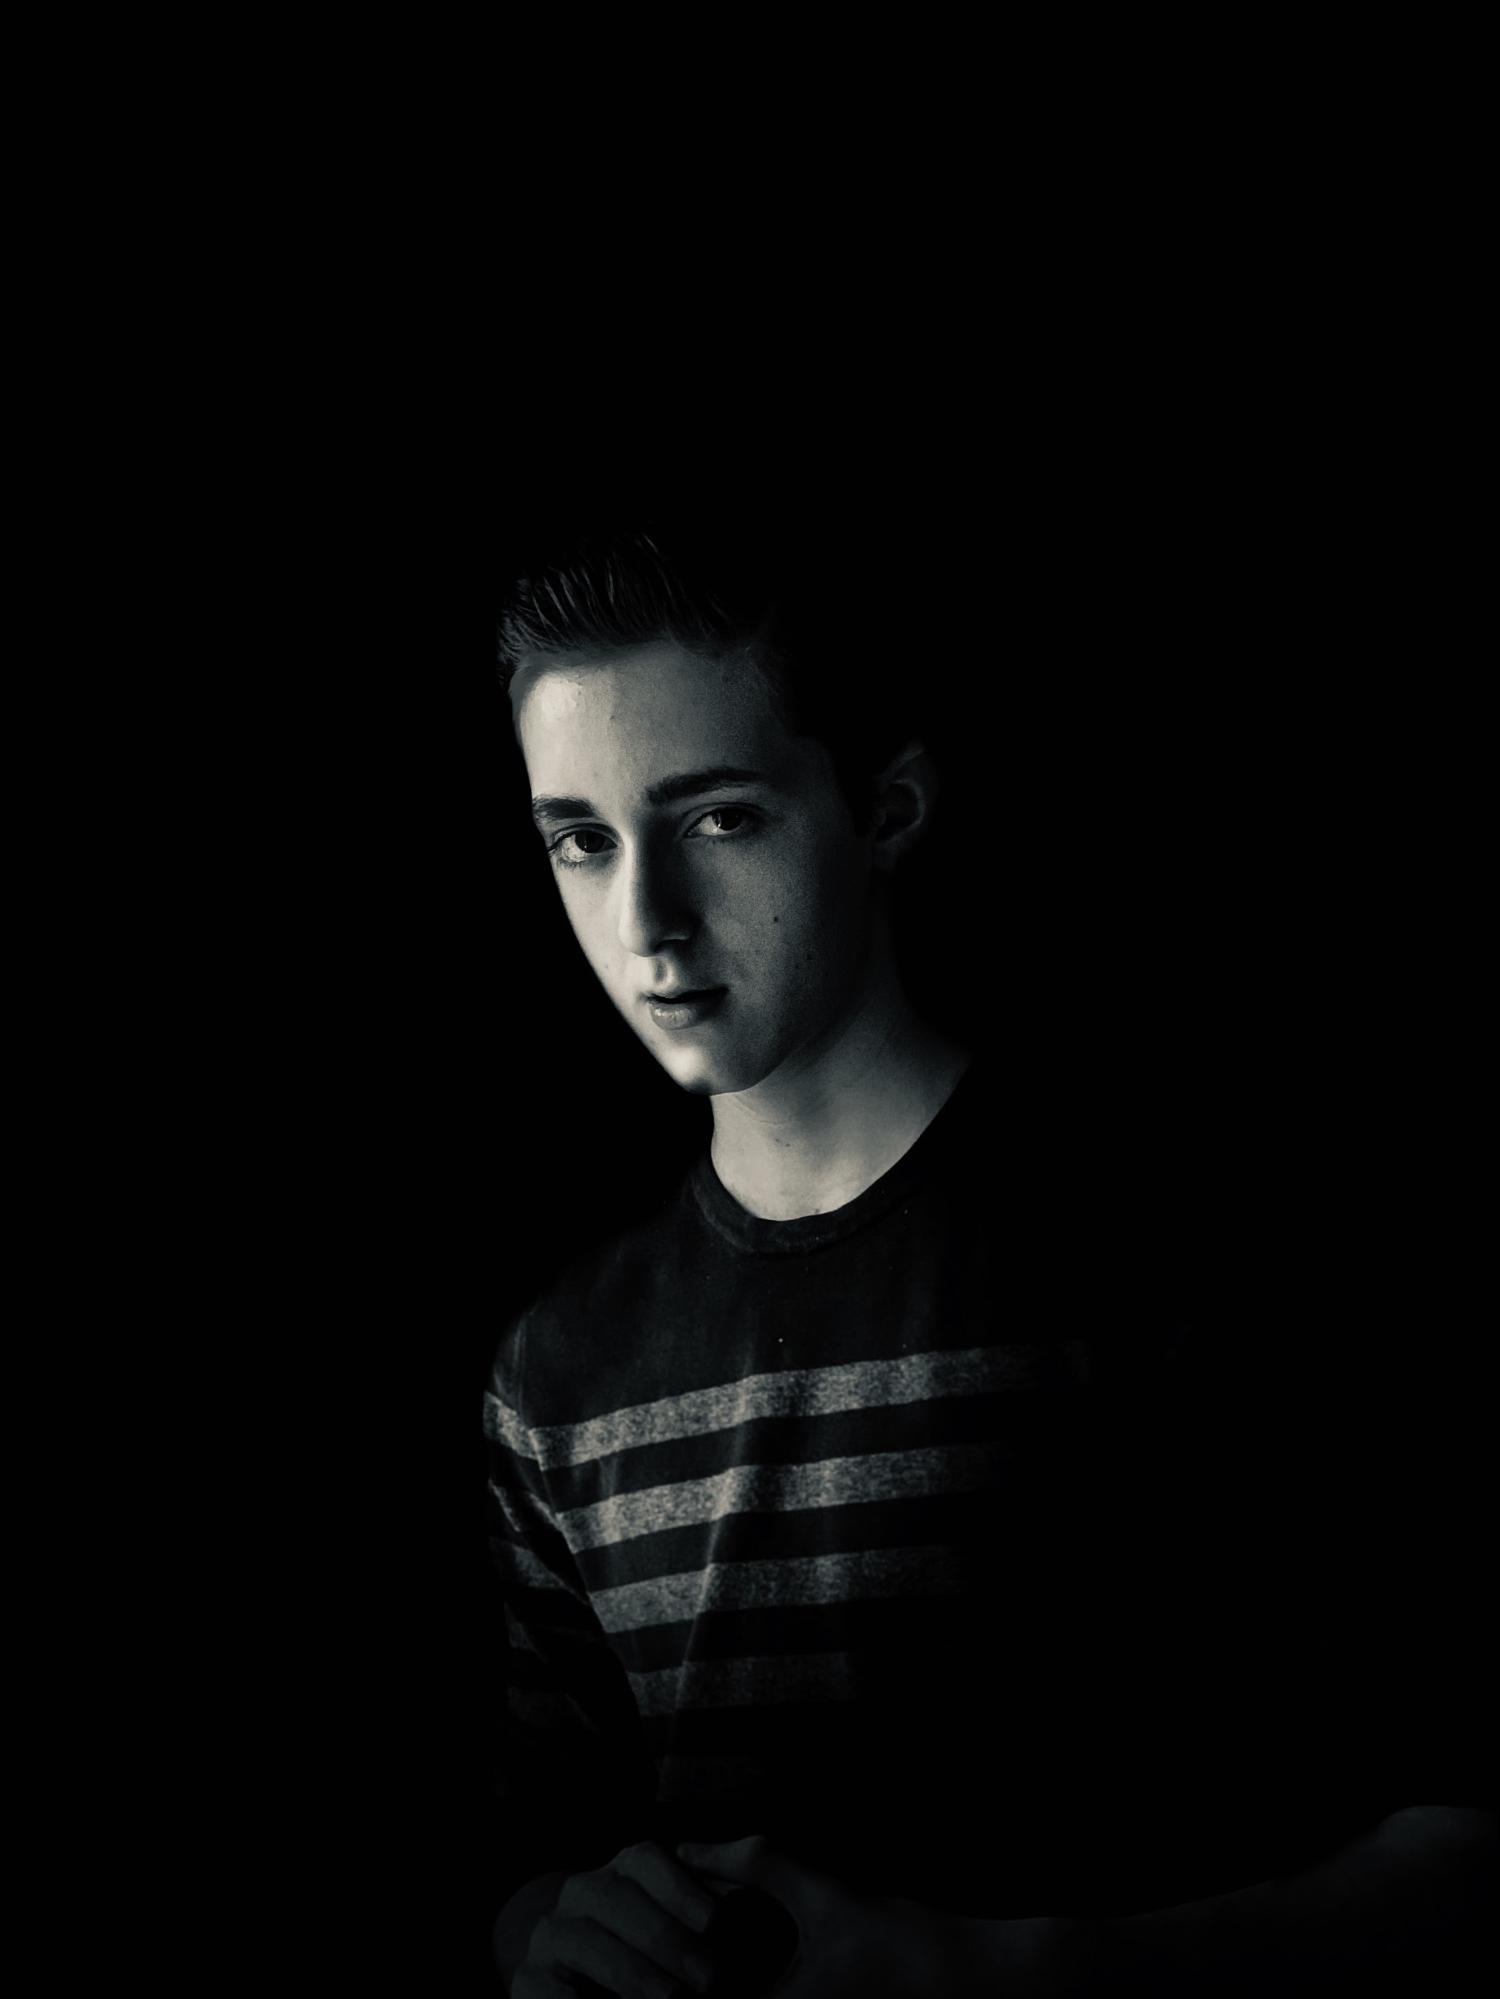 Beau Chapman, High-School student in the United States. 3D artist/hobbyist.


Very nice, dude !
This is great! Thanks for sharing the tips, too. Keep working on your craft, looks like you’re making some cools stuff.
Nice… More!
enjoy your create
Nice, I wish I was so creative when I was 16 :D