Behind the Scenes: Classical Eclecticism

INTRODUCTION
Hello! My name is Jarosław Kozioł, and this is the behind-the-scenes look at my latest work.
I am an architect from Poland. I started my Blender journey back in college with Blender 2.8 if I remember correctly. It was somewhere around 2017. As an architectural student, I used to do mostly exteriors for architecture and sometimes interiors. That’s my only area of expertise.
When I was in college, we didn’t design any classical architecture but we would draw a lot of it and we had huge assignments with around 400 drawings per semester of cathedrals and churches and city landmarks, etc. So we spent a lot of time studying them and drawing plans and facades. Sometimes we would go to Cracow and spend the whole day walking around the city and drawing from nature. It was a fun experience.
So, when I started getting better in 3D modeling, I thought to myself that it would be cool to try designing some of it. I created molds, arches, and window ornaments, etc. This process is very satisfying for me; it’s almost like doodling in a sketchbook. I start with a rough outline of the building and I have no idea what it’s going to look like once I finish.
My designs aren’t in any style. I really fear the moment some classical expert is going to see this mess because I just look at references and buildings, and just copy what I like. Maybe it could be considered eclecticism because I borrow freely from different styles but then again, eclecticism had particular historical background in different countries, periods, etc. Let’s leave it at that 😀
PROCESS
Step 1: References

I prefer old photos of architecture; the more black and white, the better. Then I gather the most interesting parts of the building and start outlining my idea.
Step 2: Rough outline of the building and the plot/road around it.
It’s important to think about where the entrances to the building are, what they are for, and why they are where they are. It really helps with the believability of the whole composition. Where are the windows, balconies—general architectural design has to be logical.

You can do it in GIMP—it doesn’t have to be this detailed at all—and then the modeling begins!
Step 3: Modeling
This is by far the longest part of the process. I start every wall with holes for doors and windows, and a base plan. Next, I settle the balconies, ridges, roofs, etc., and then comes the ornamentation.
For this part, I wanted to create everything myself so I did some columns and corbels, etc. It would take way too long to explain everything so I will just drop some images.
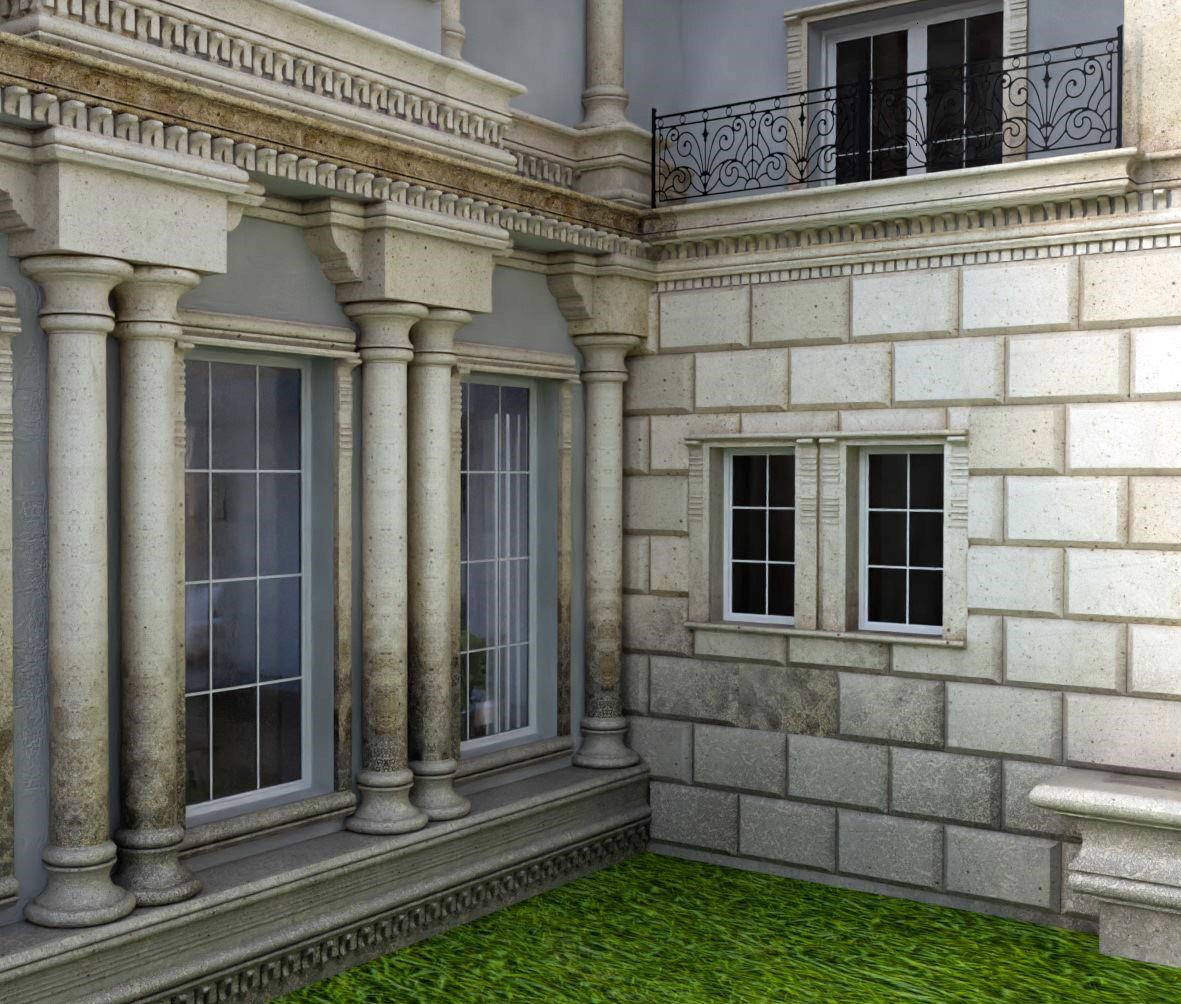

The little angel statue is sourced from the amazing historical collection that can be found on SketchFab. They have free 3D models of historical statues, trinkets, etc.

Step 4: Texturing
So, I did really little texturing. The five most important textures were: walls, ornaments, roof, road in the front yard, and glass on the windows. Nothing was really fancy. One thing I dedicated some time to was making dirt on the ornaments gradually harder the lower you get on the building. In reality, the lower parts of the building are more affected by water and thus, more dirty and eroded.
The roof is copper roofing with a very strong patina. That coloring is created on copper metal sheets after very long exposure to rain and air. The metal oxidizes and creates a layer on top.
In general, there were a lot of noise textures and imperfections both in roughness and displacement on everything to make it feel more aged and realistic. I layered them on top of one another and called it a day 😀
As a rule, you have to know what a material is, why it is there, and what it should look like to make your scene look more real. As with everything, take your time and make logical decisions. Don’t rely on pre-made materials because more often than not they work only in certain applications. From my experience, nothing is universal in 3D.
Also, I put boxes with textures inside them behind some windows to imitate rooms, just to break the repetition.
Step 5: Environment
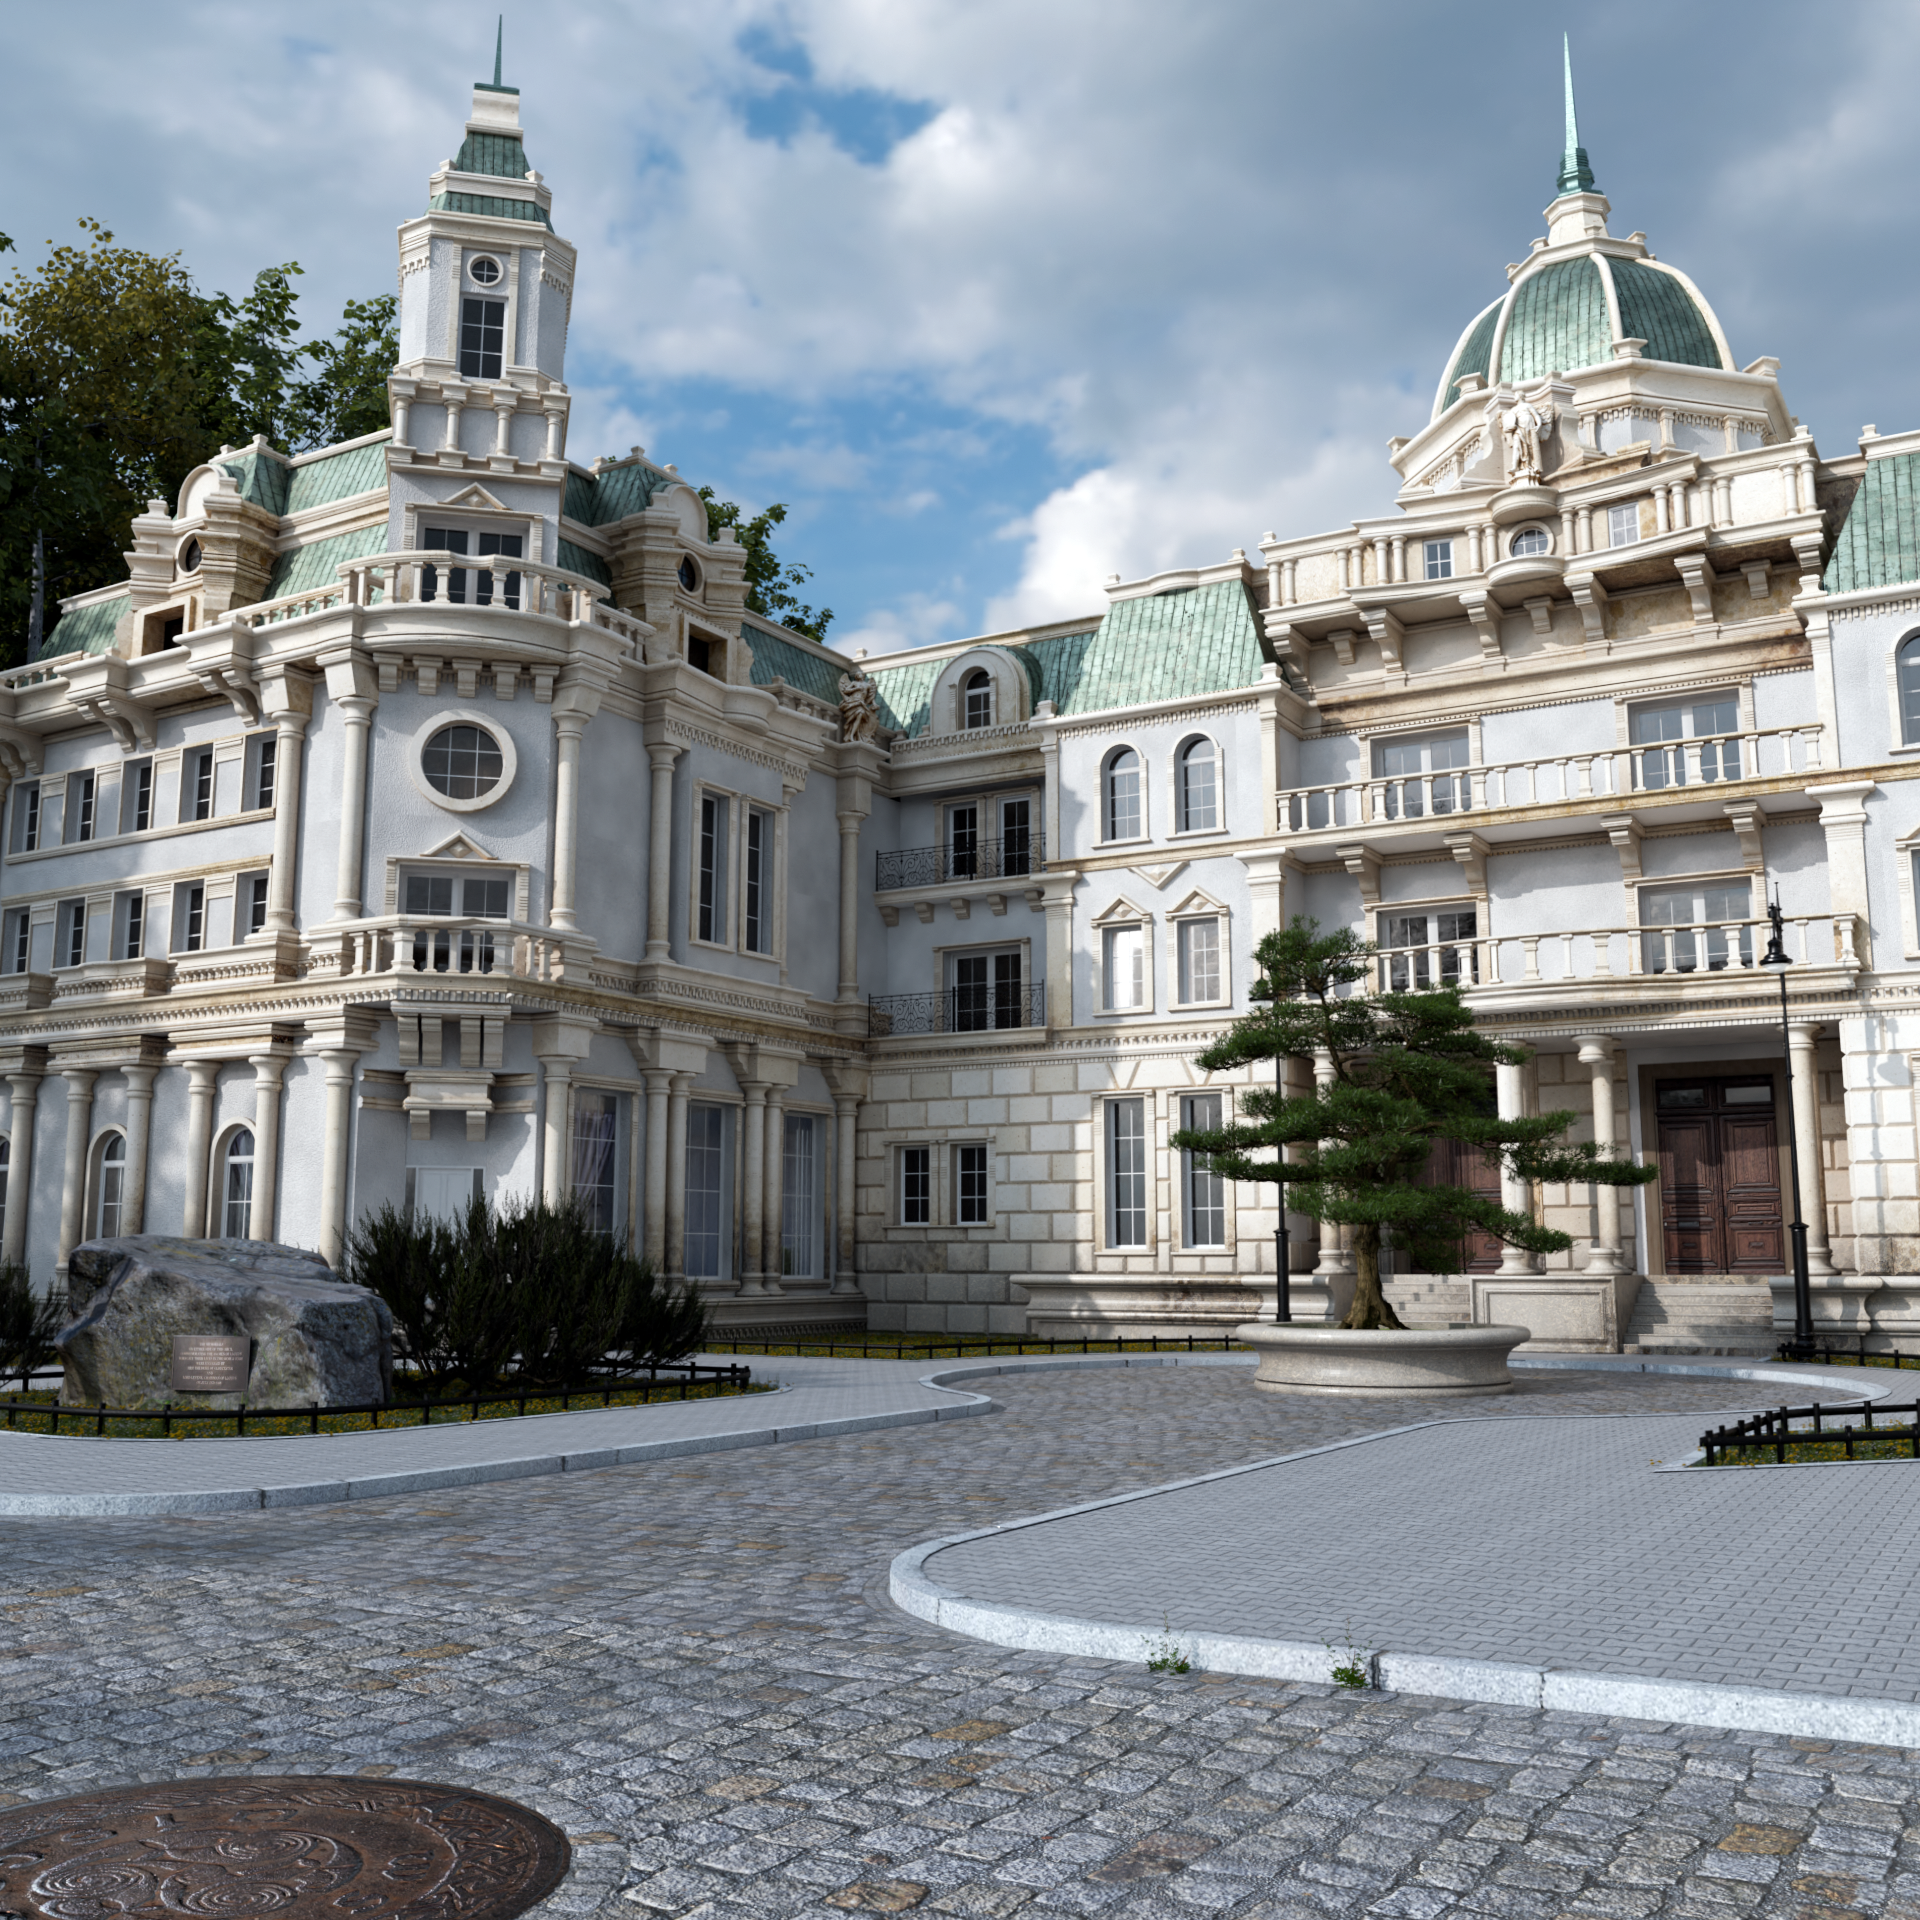
If you address all the points mentioned above, then whatever you include—such as filling the foreground with shrubs, rocks, grass, etc.—as long as it’s not overwhelming, will look good. I opted for a very trimmed, minimalistic look to avoid distracting from the building. The rock with a plate was intended to suggest it is a monument or relic. These small details help to create a story behind what people see in your renders.
Summary
The whole process took around 7 days of 8-10 hours daily work, and then one day to render the images and animation. I want to thank everyone who liked it and I am especially glad that the people behind Blenderartist.org had given me this opportunity to reach you all. Special thanks to Alina Khan who helped me to carry it out!
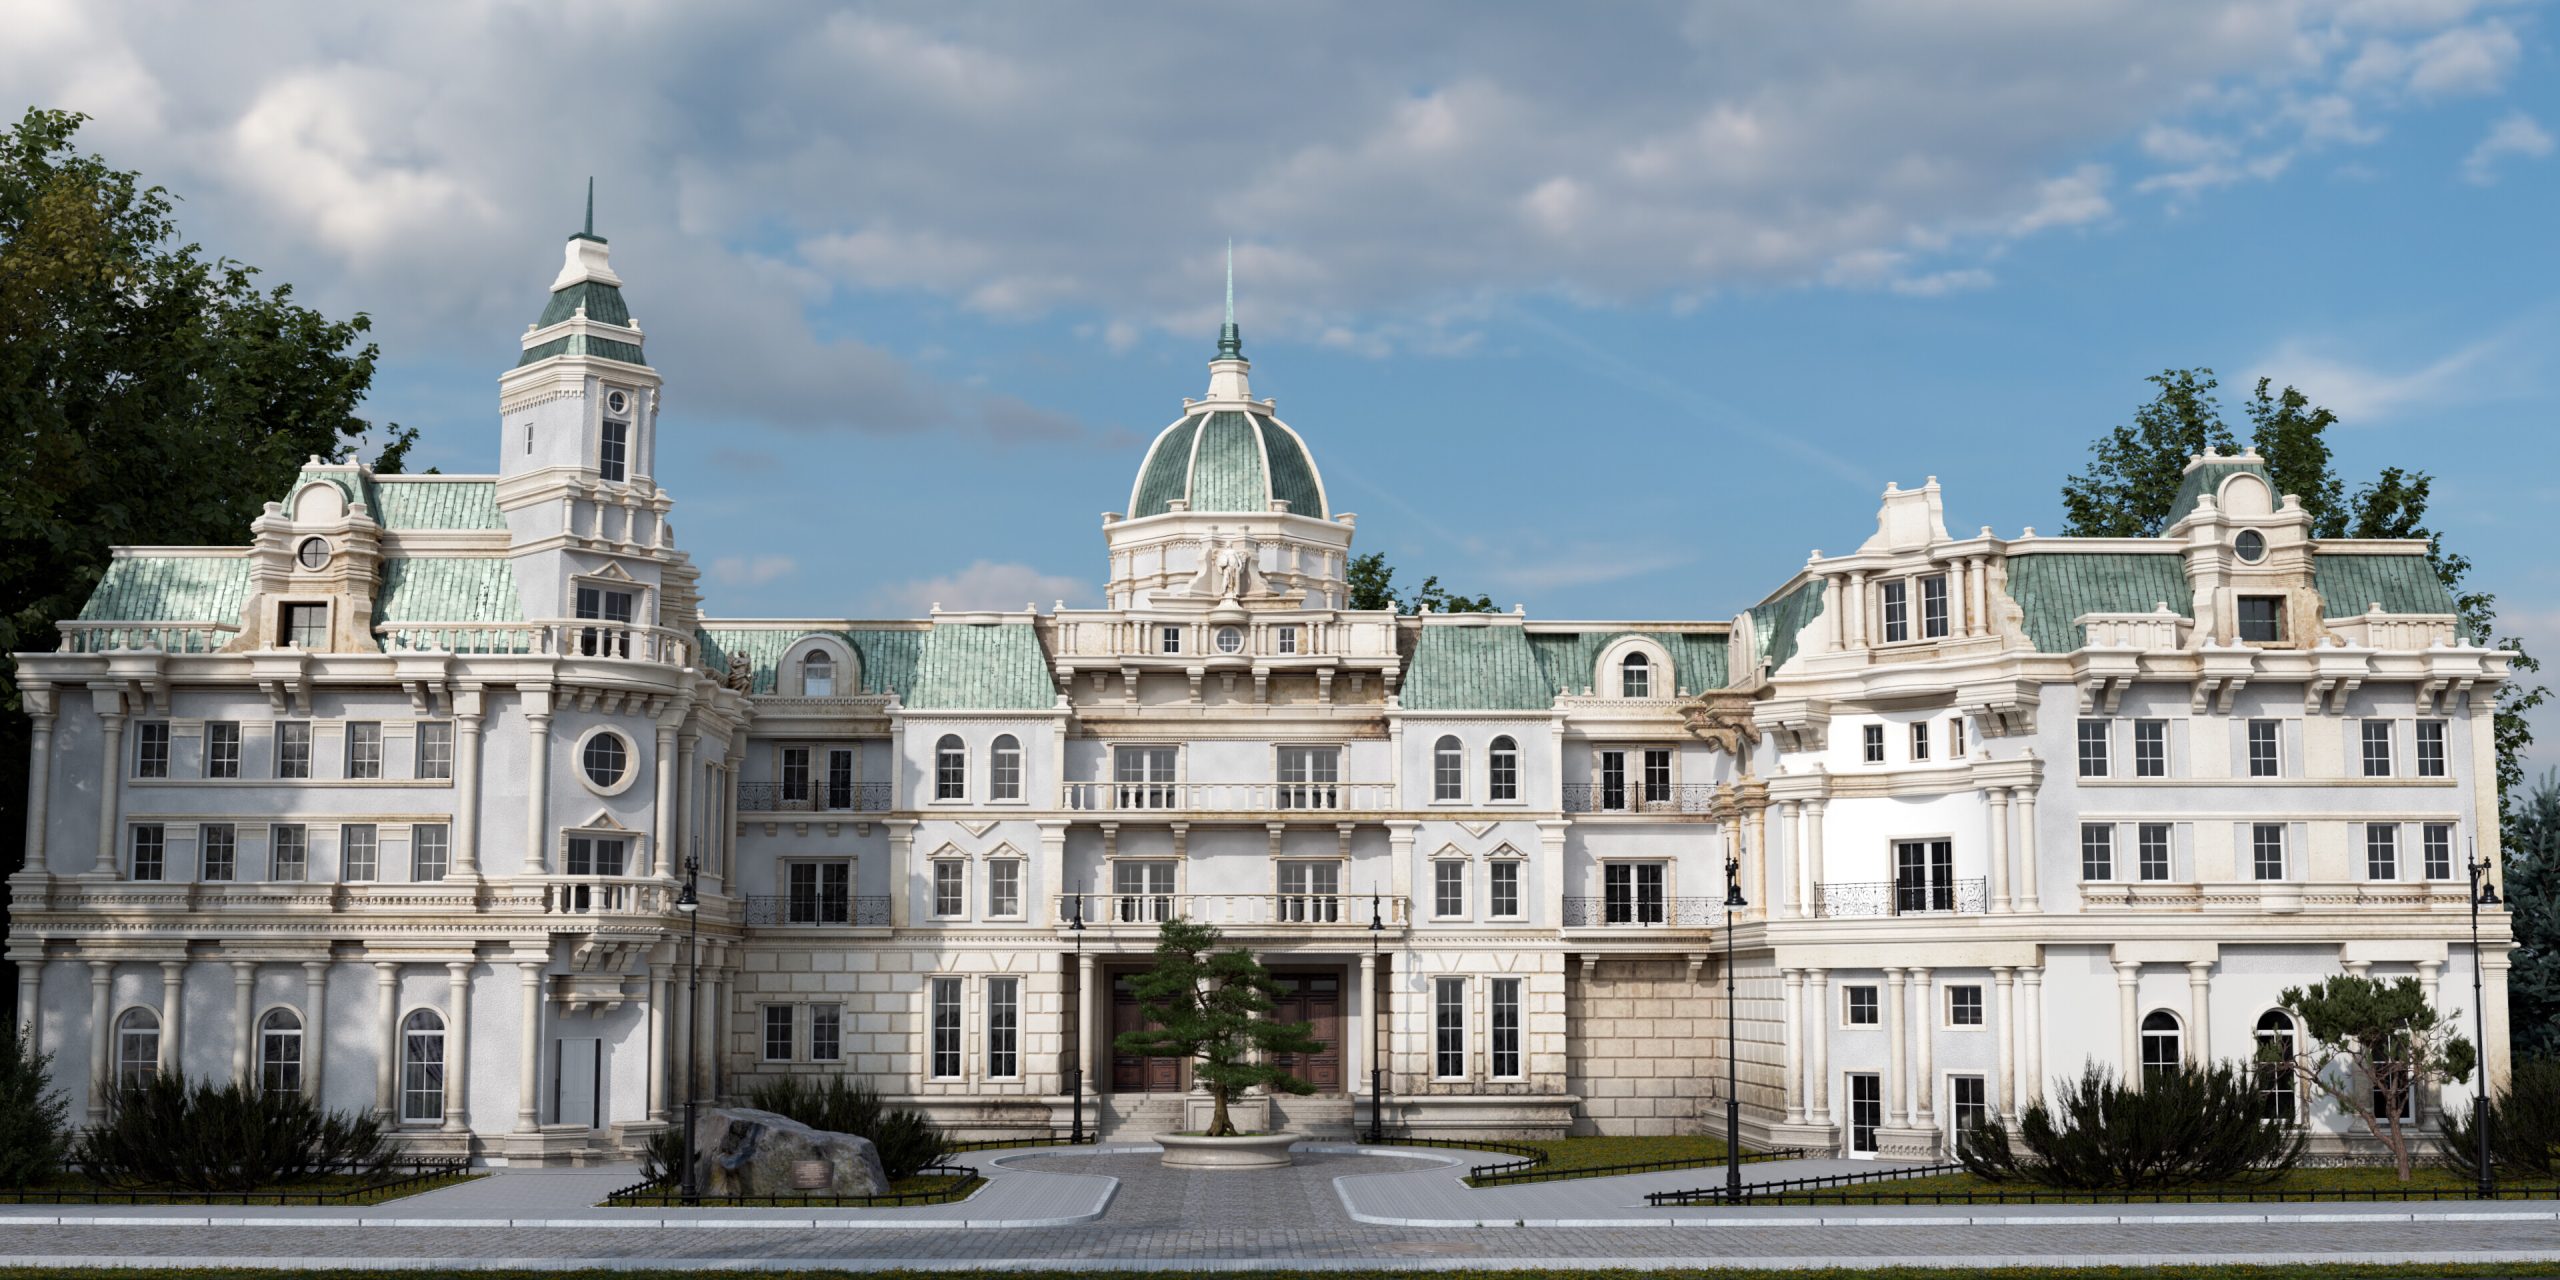
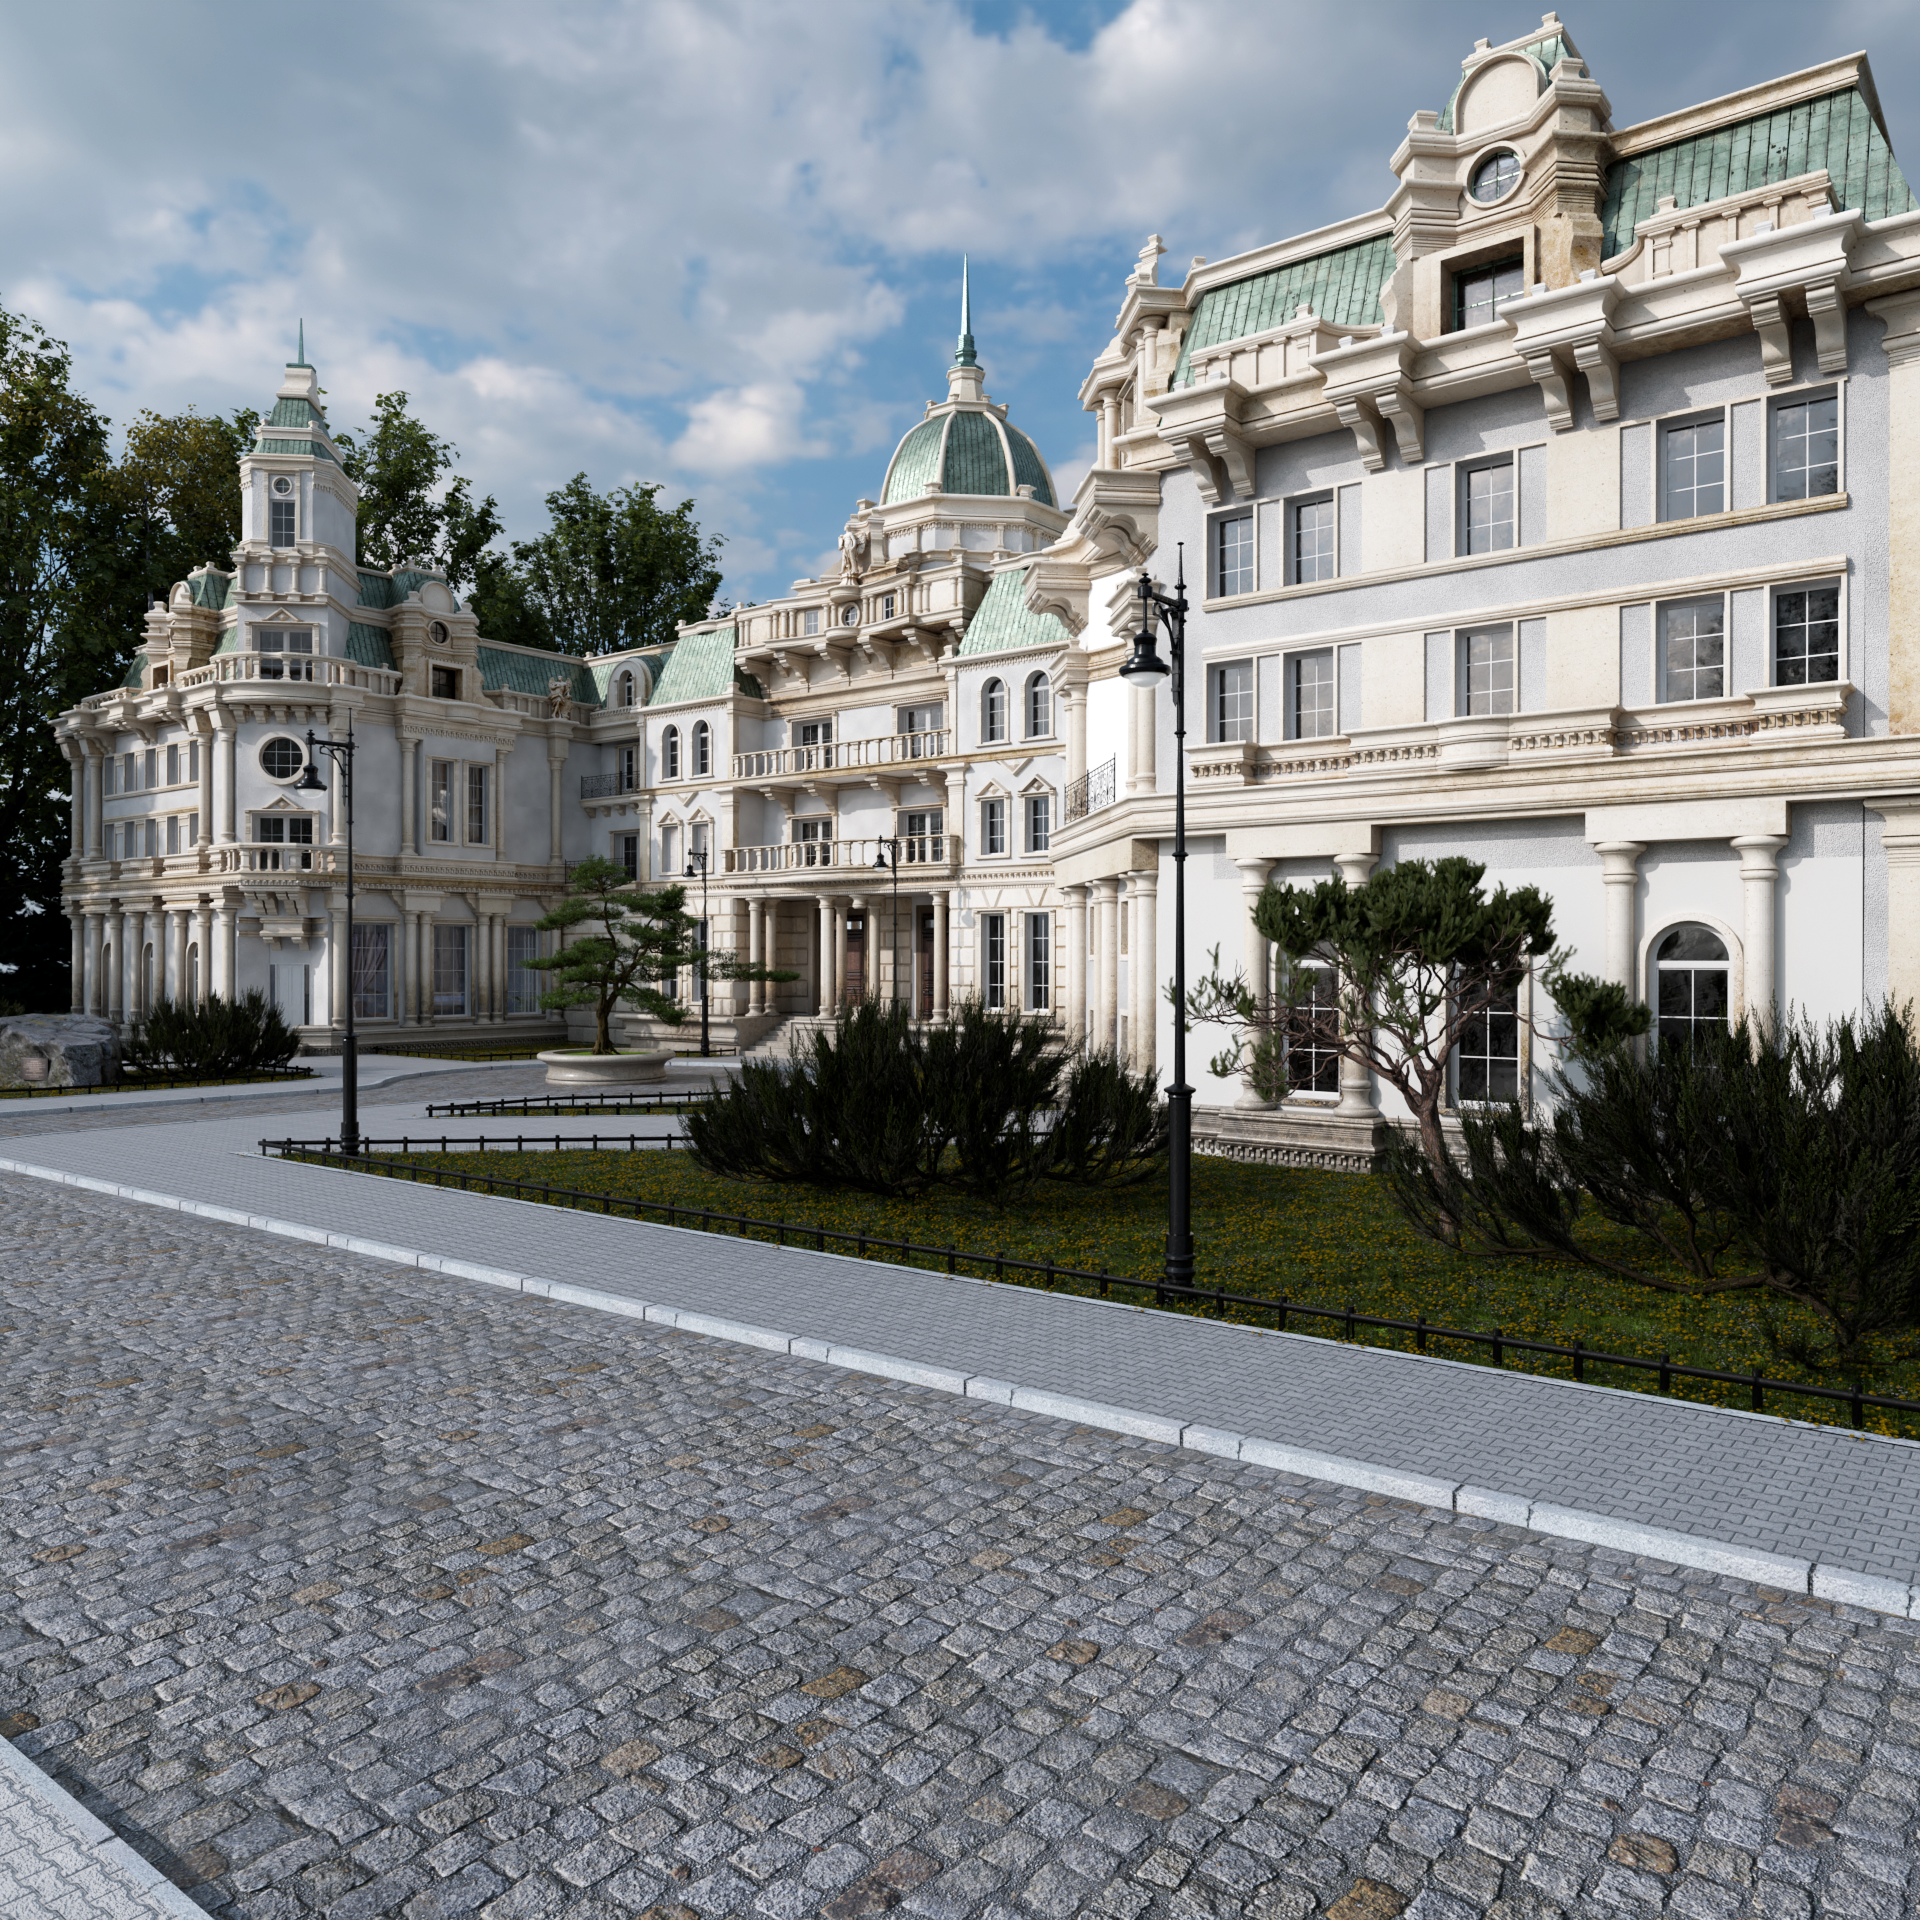
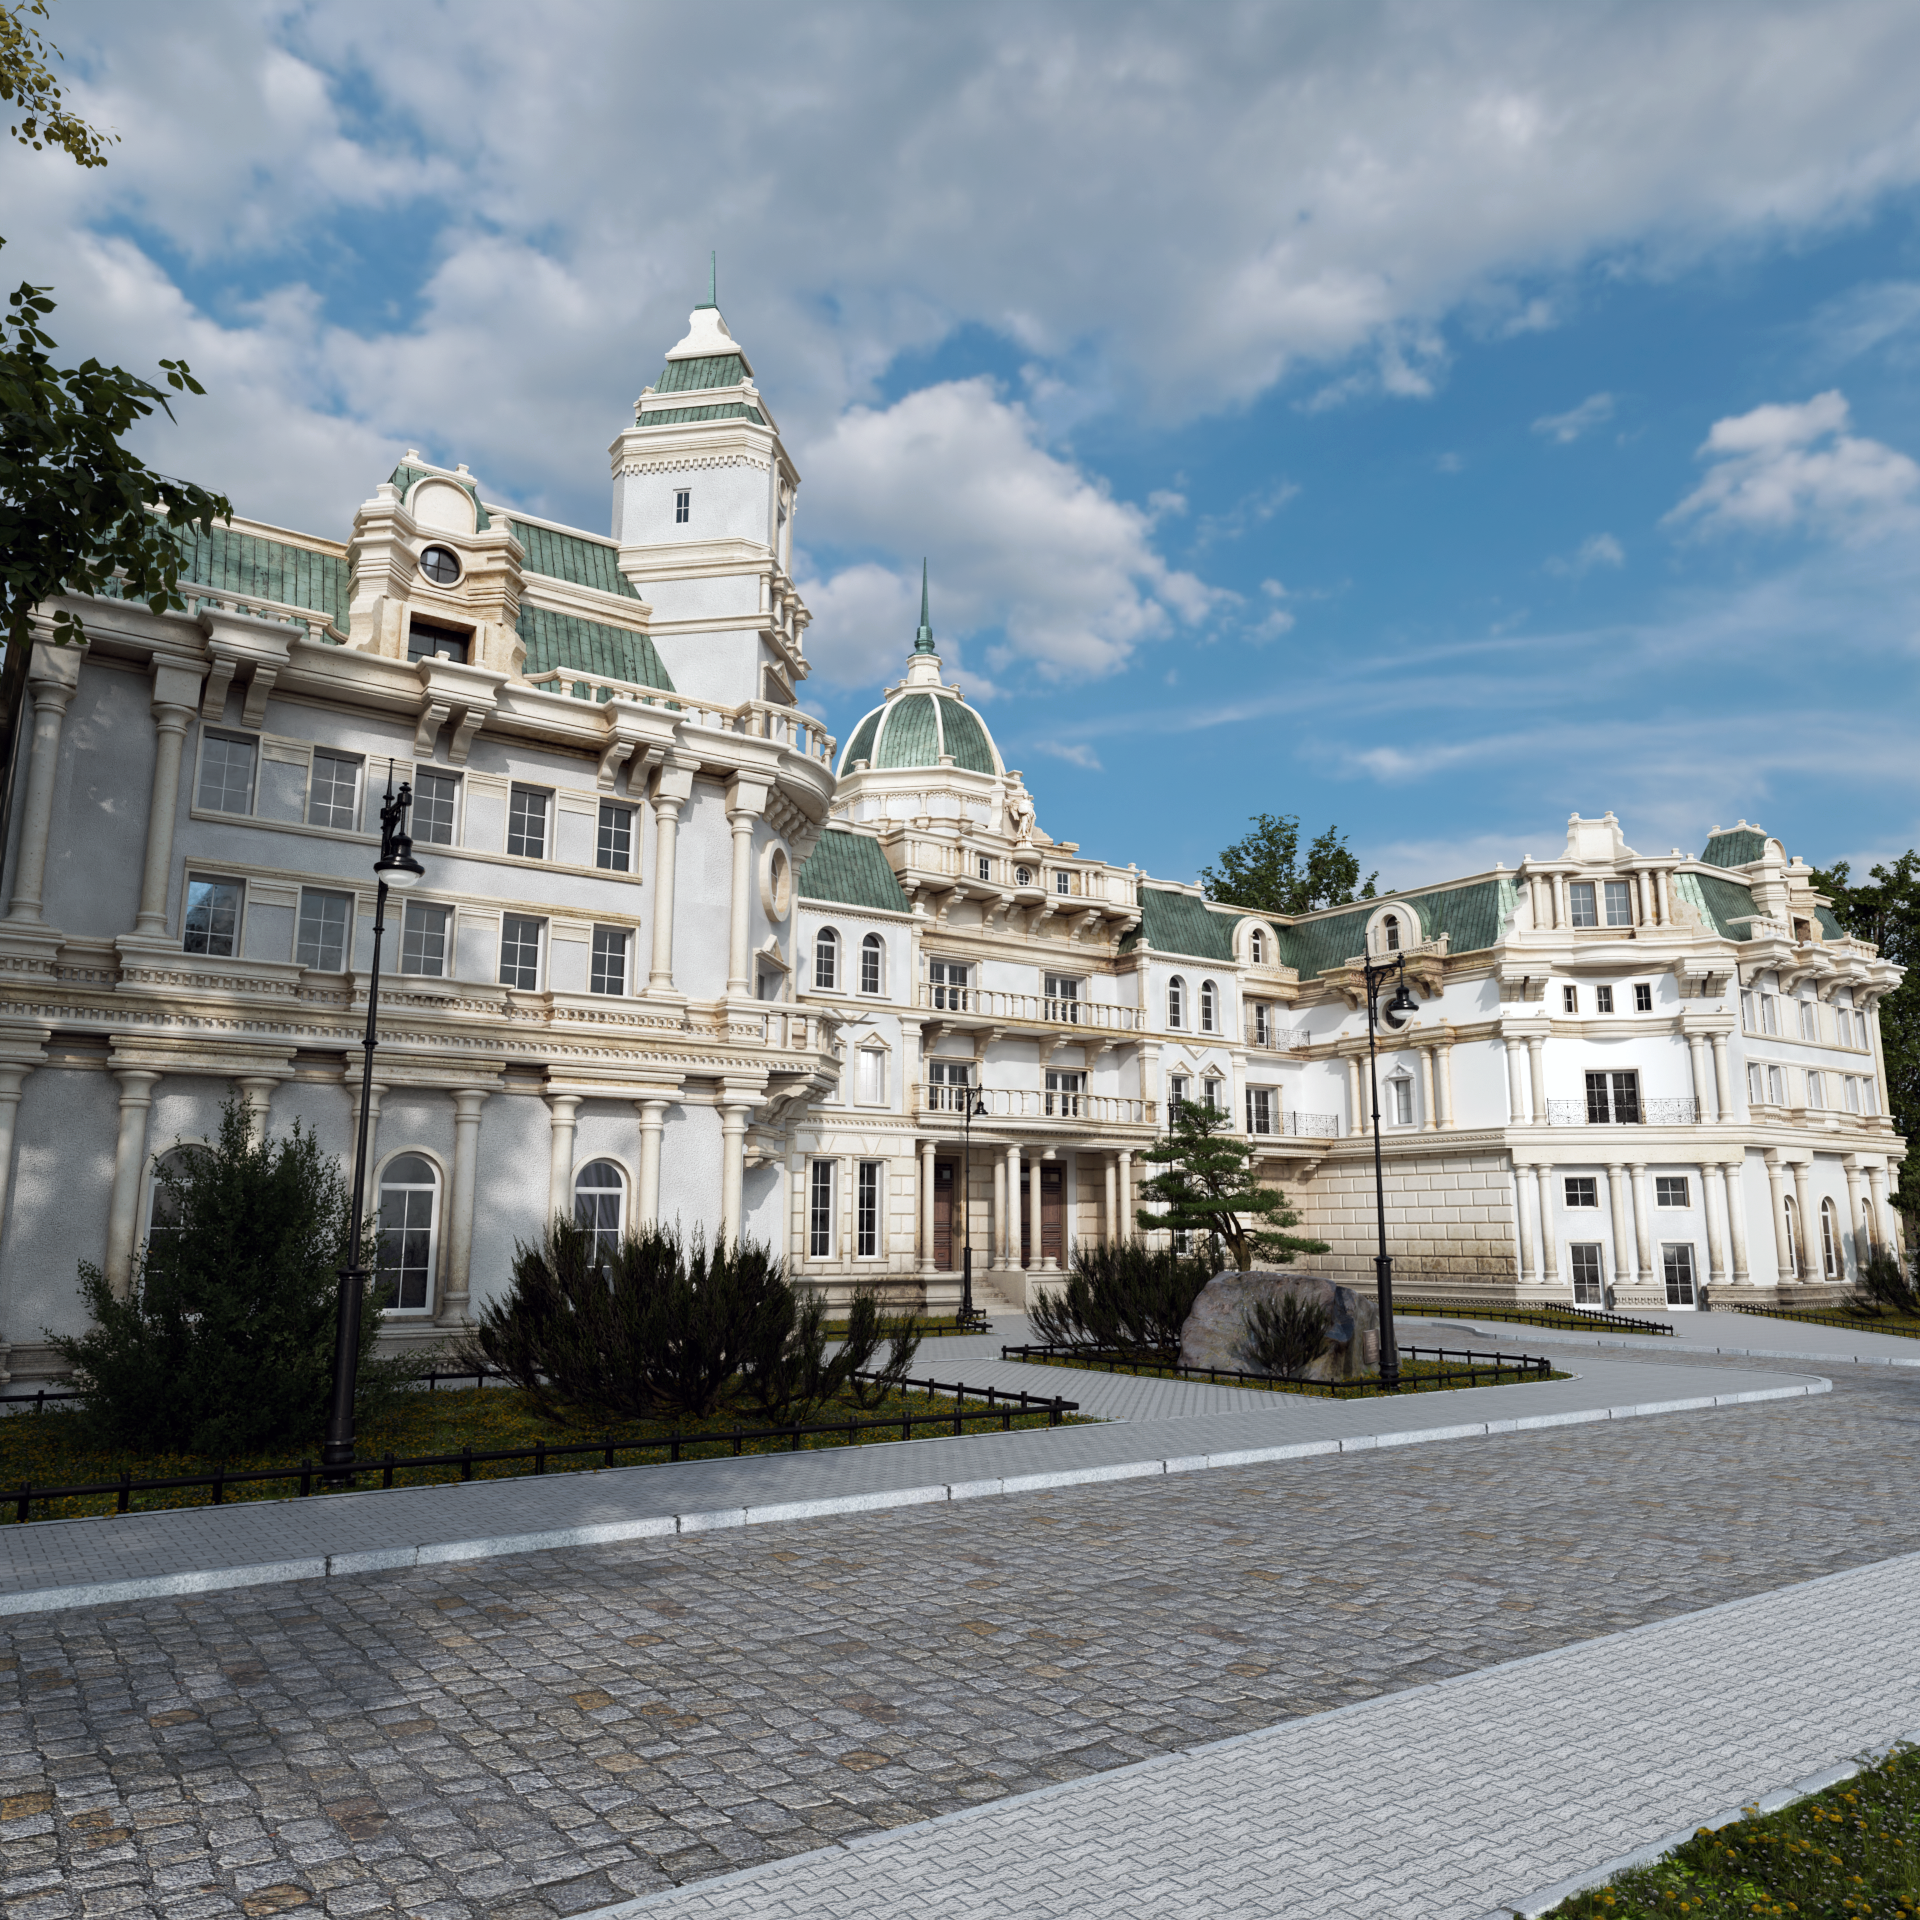
RENDER: Classical Eclecticism
Animation:
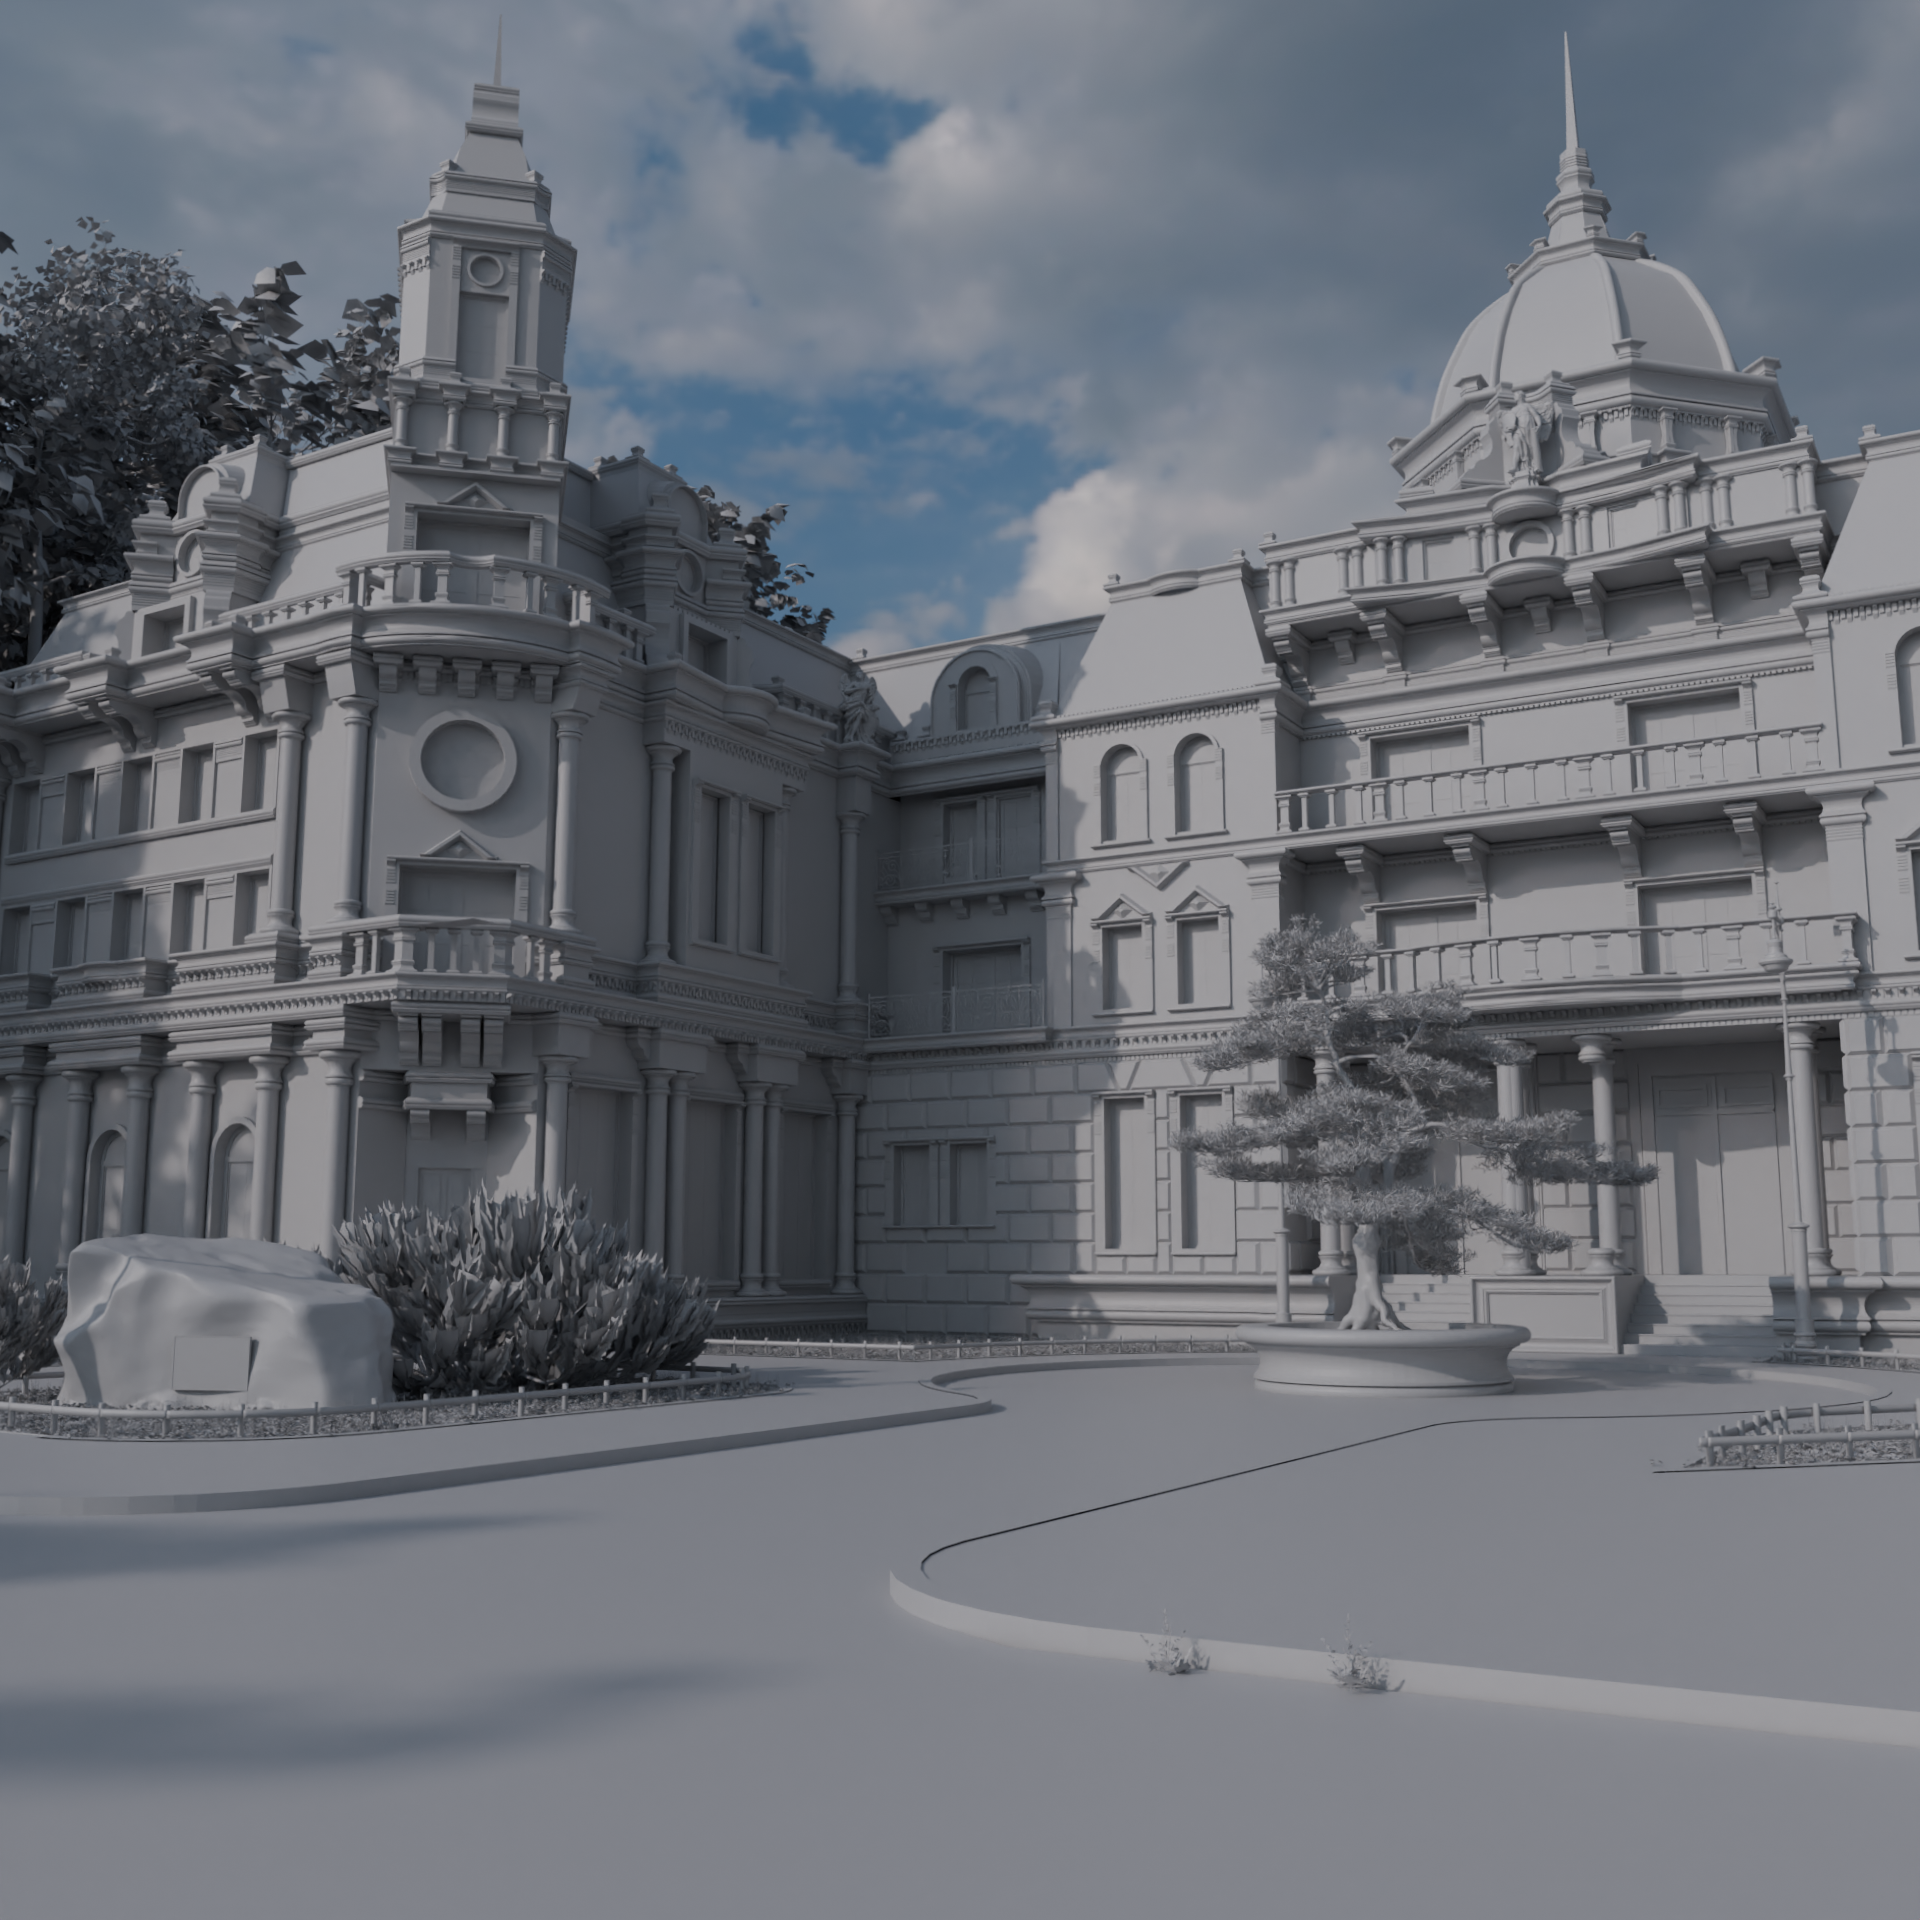
Clay renders:


Thanks for reading this boring slob 😀 Have a wonderful day!
About the Artist
Jarosław Kozioł, an architect in Cracow, Poland, started using Blender in college in 2017 for Arch-Viz and interior design. He runs the interior design and architecture firm Vertical, where he uses Blender daily.


That is wonderful, congrats.
My only criticism is nothing with architecture but the grass looks a little too dark for the illumination level like if it lacks reflection and it is absorbing most of light.