Behind the Scenes: Dread City – This Night
Hello! My name is Esa Havu, I am a 3D artist and XR (AR/VR) Design student at Helsinki Metropolia University of Applied Sciences.
I’ve been using Blender for about 4 years now, learning from online tutorials.
Inspiration
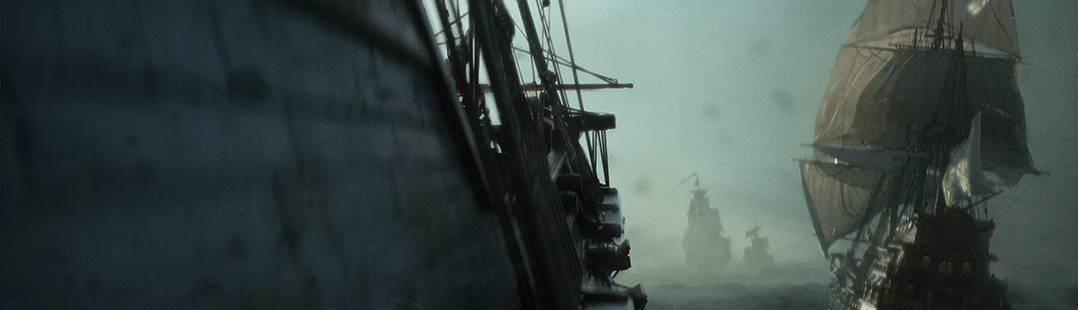
I always like to think about the world of whatever I am currently creating. What stories could spring from this world? What tone would those stories have? What kind of characters would there be? Those kind of things. While creating Dread City I had Judge Dredd comics from my teens and China Mieville’s Embassytown novel, which I read a couple of years ago, on mind, even if they are quite different from one another.
Process
Initially I had planned for some kind of focal point on top of the central structure, maybe a character with Perspective or Fisheye. Fisheye would have meant I’d have to use Cycles and not new and shiny EEVEE for rendering. As Dread City progressed I tried out different settings and ended up going without any focal point and Orthographic camera setting.
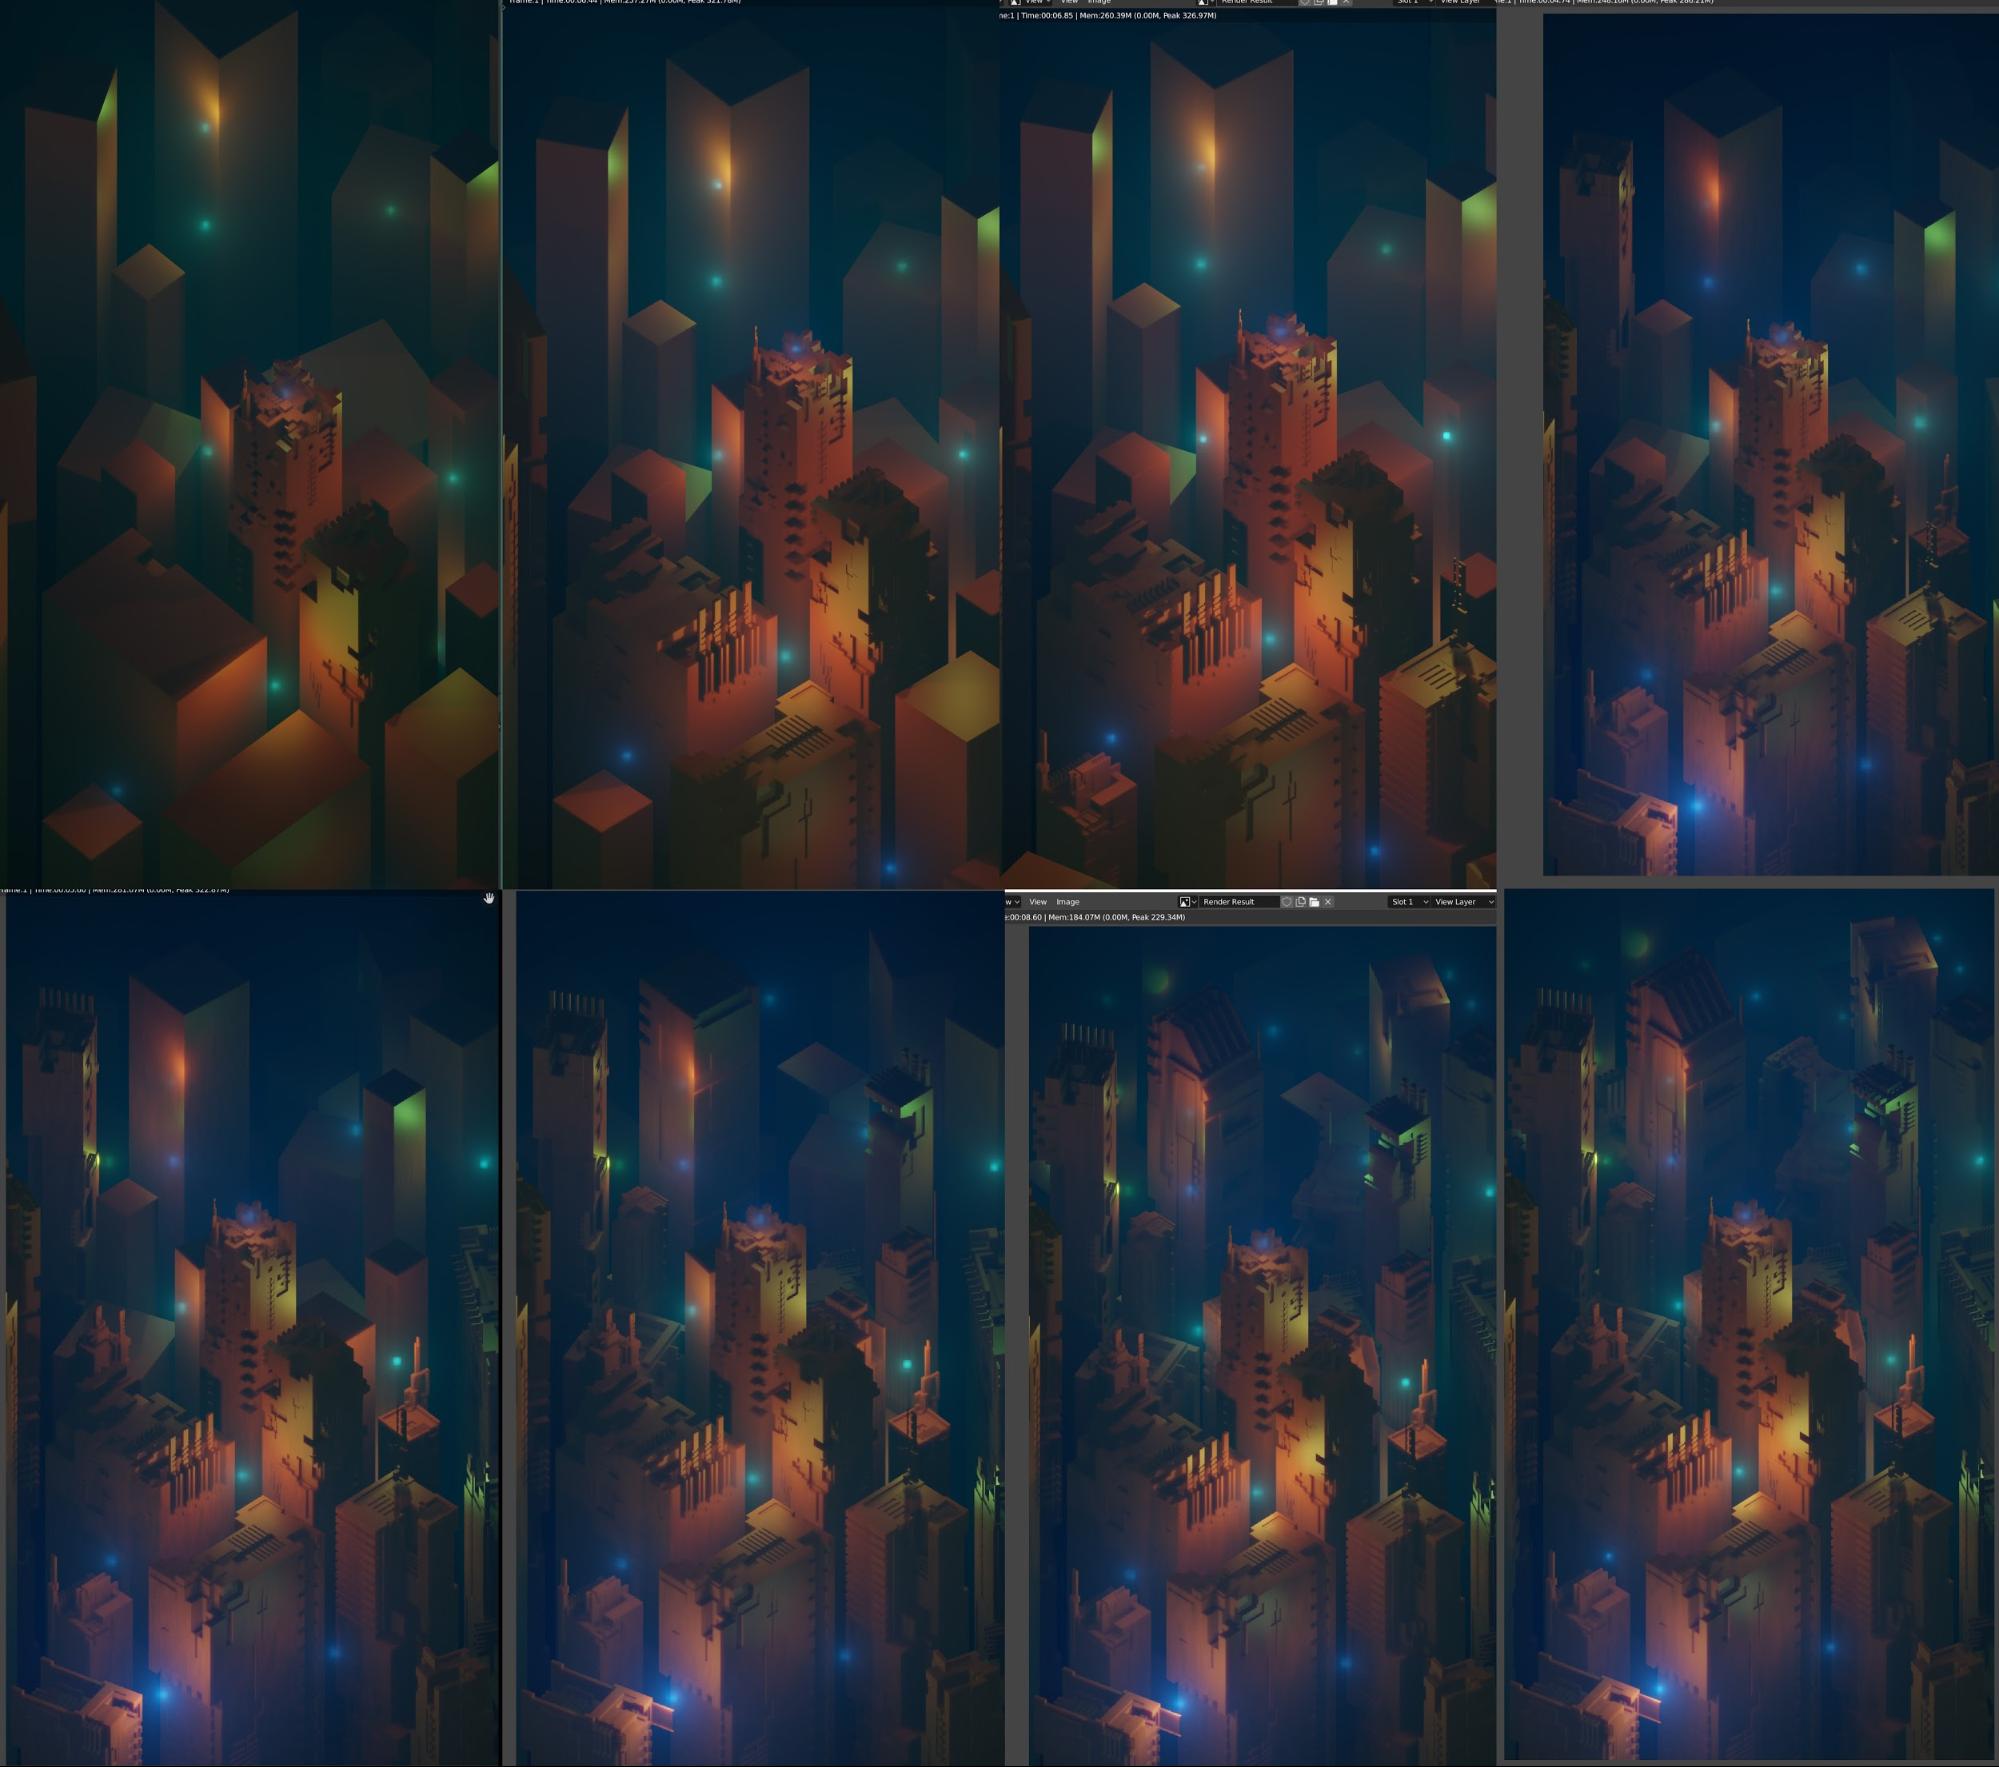
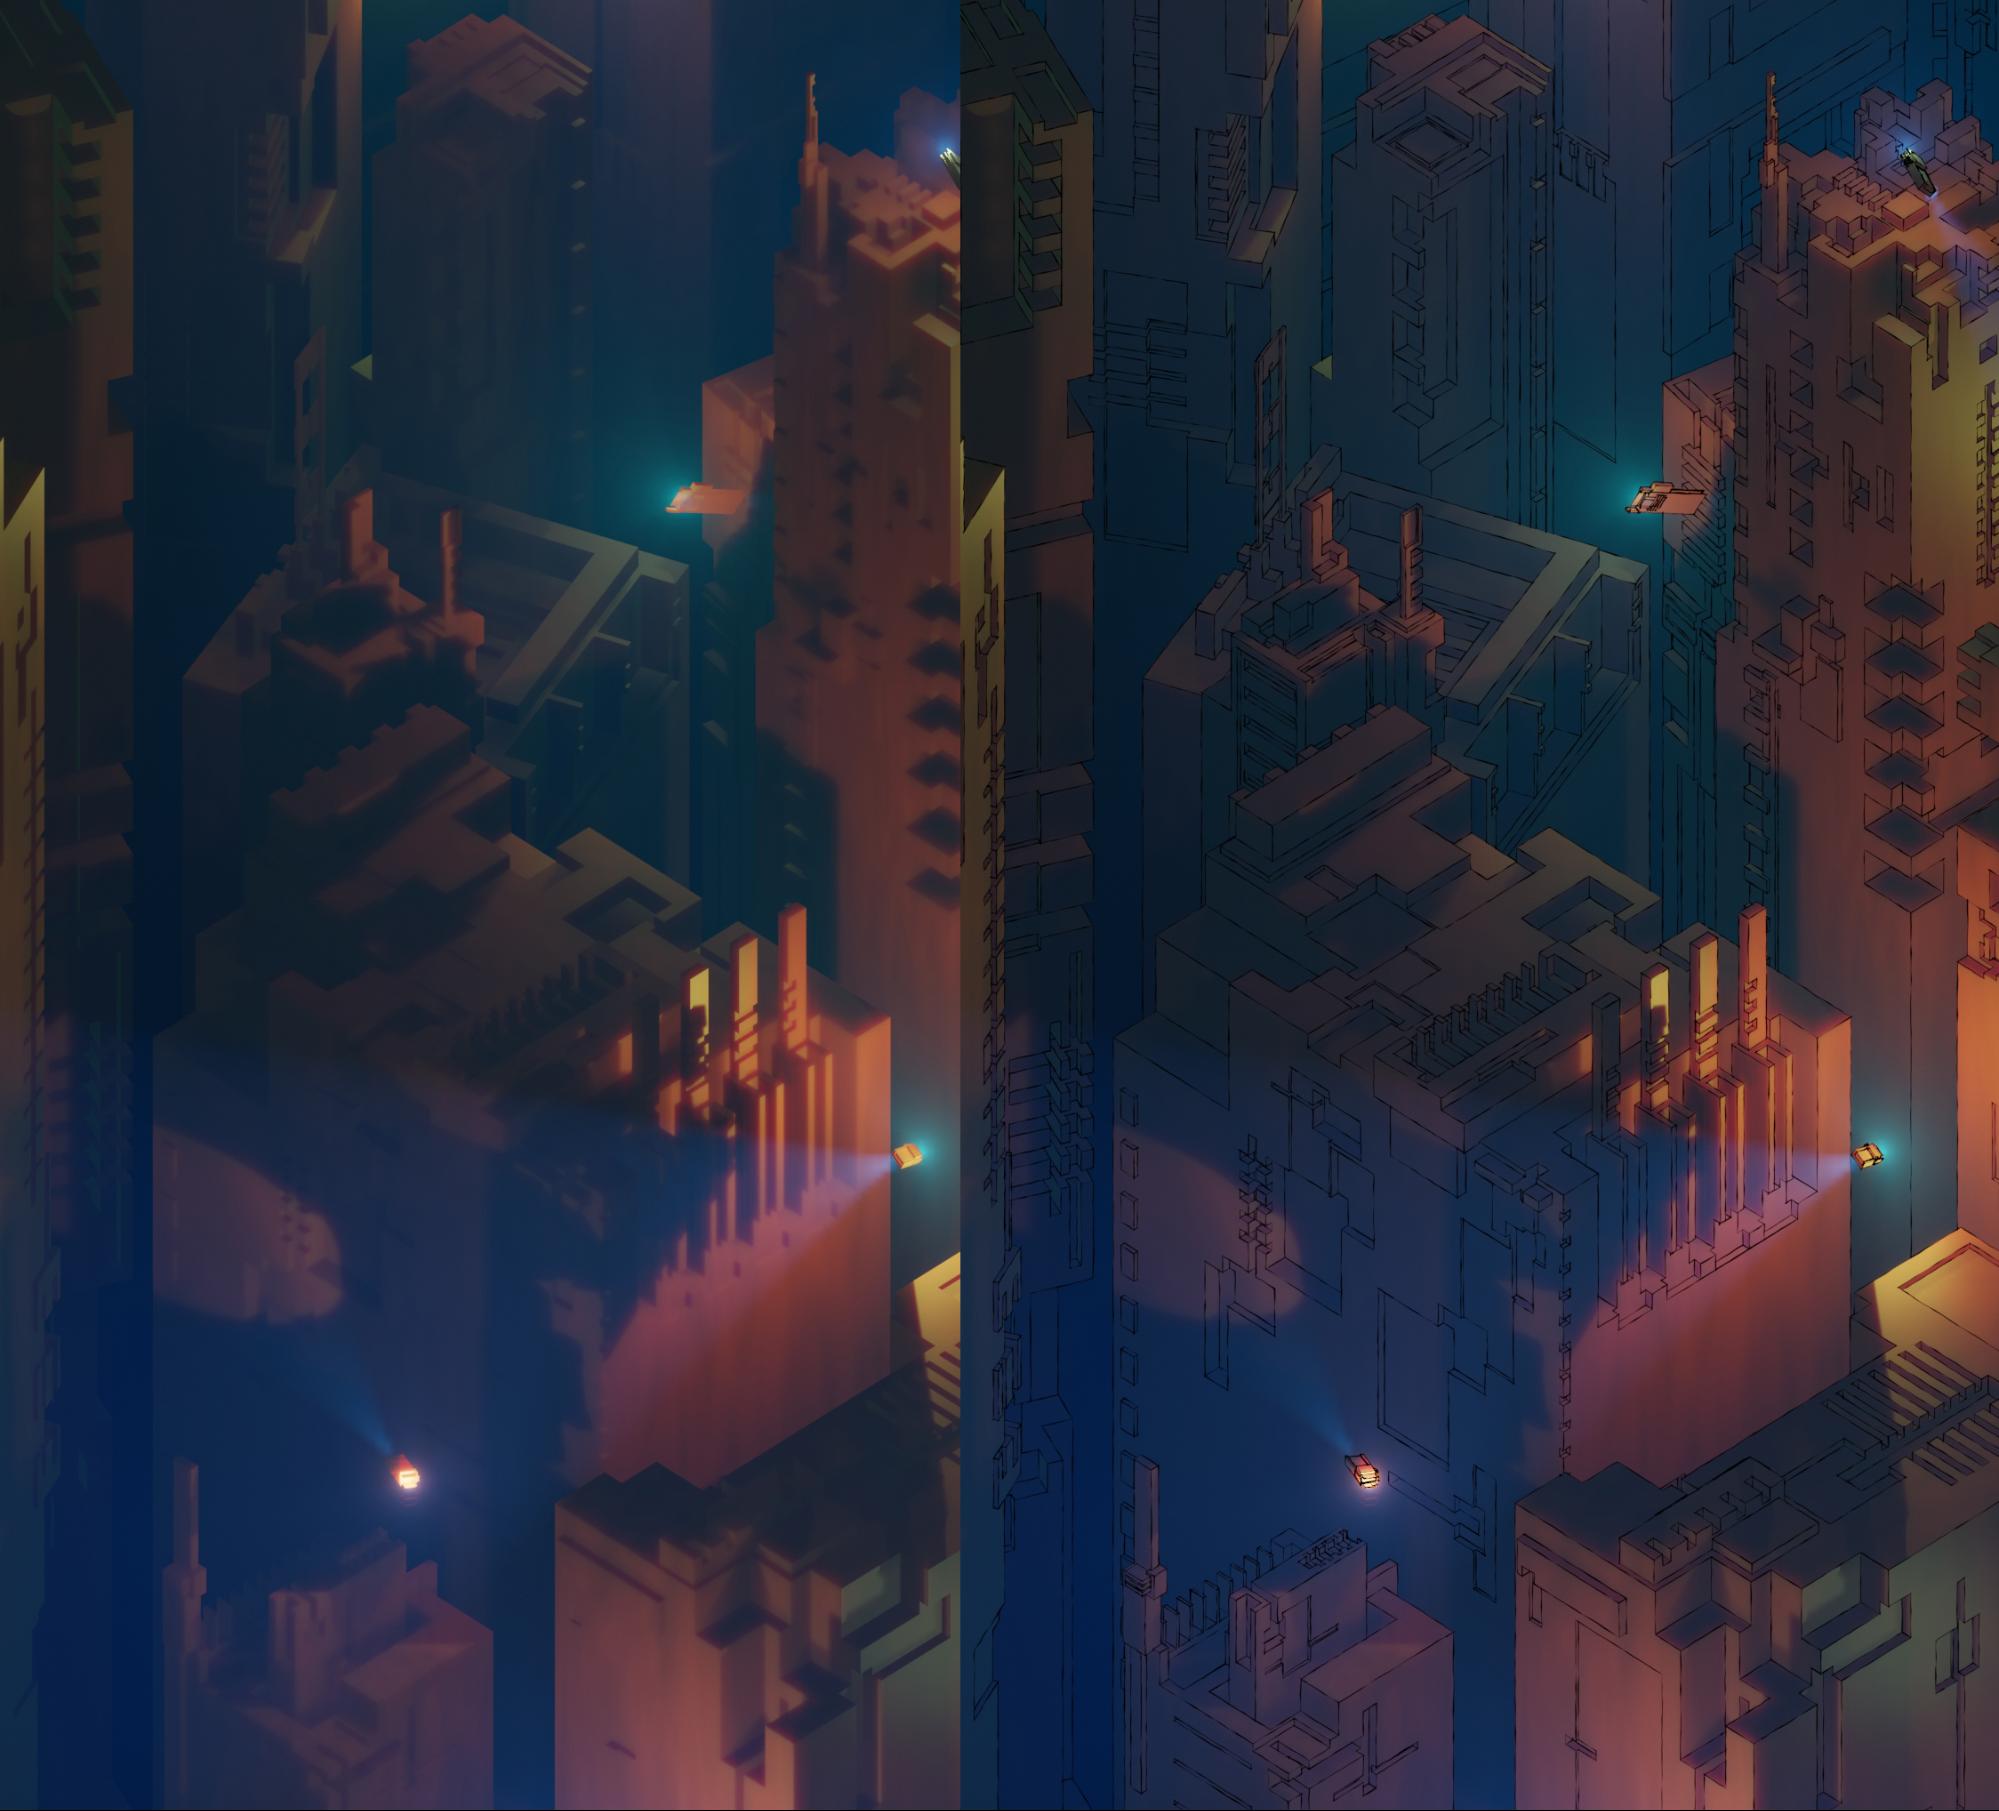
Here’s how the scene looks from different perspectives.
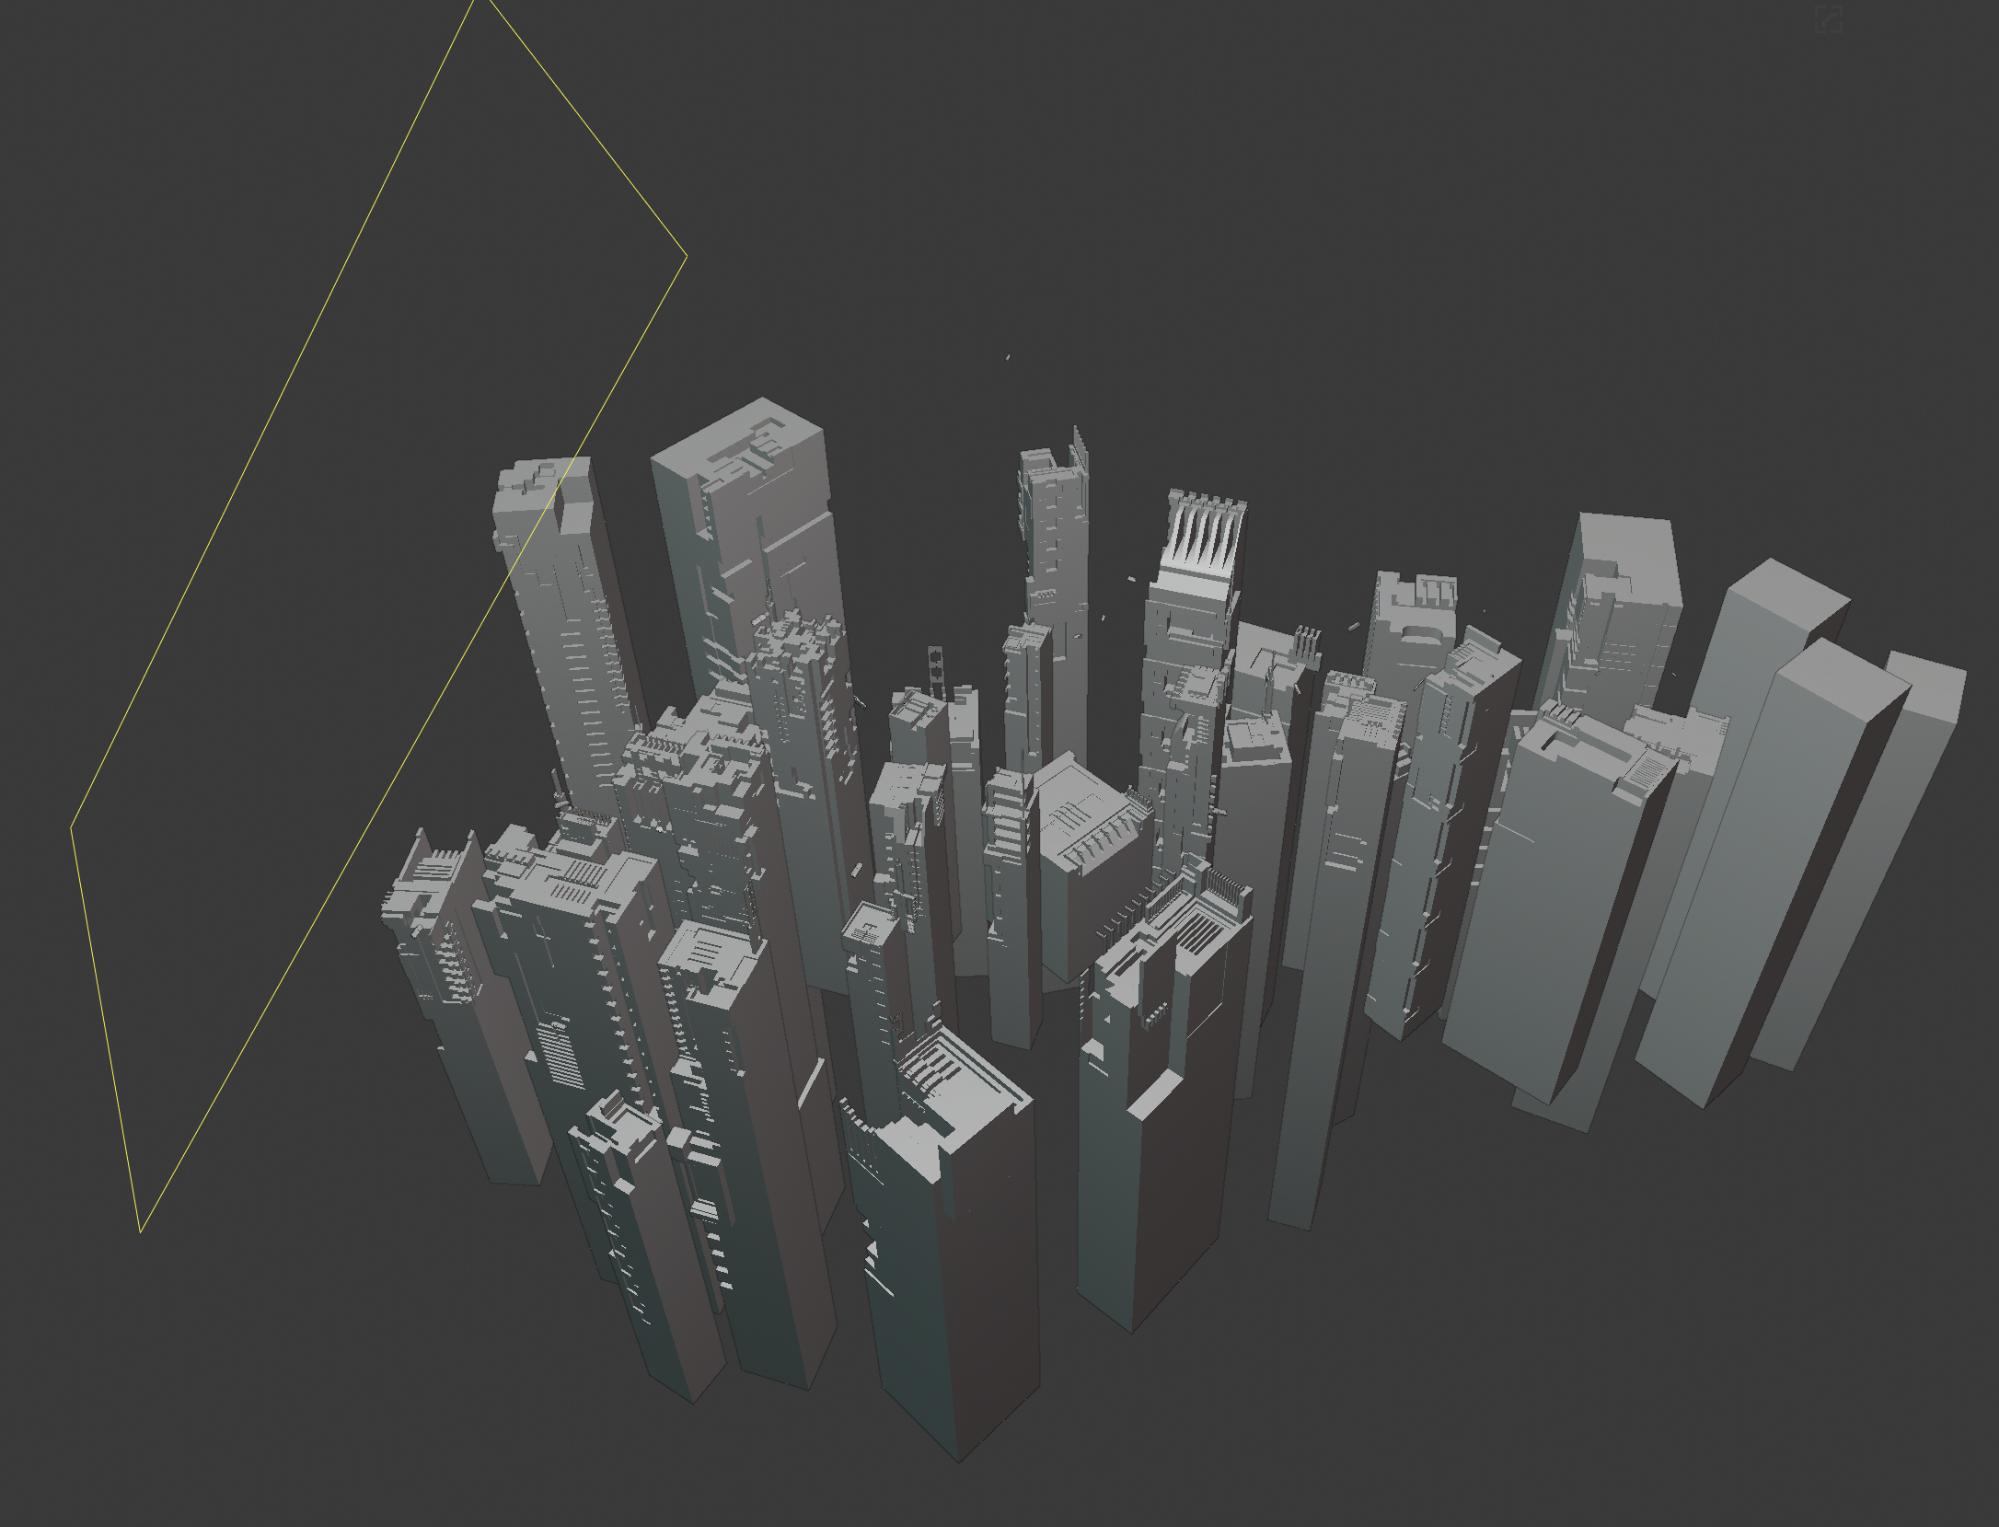
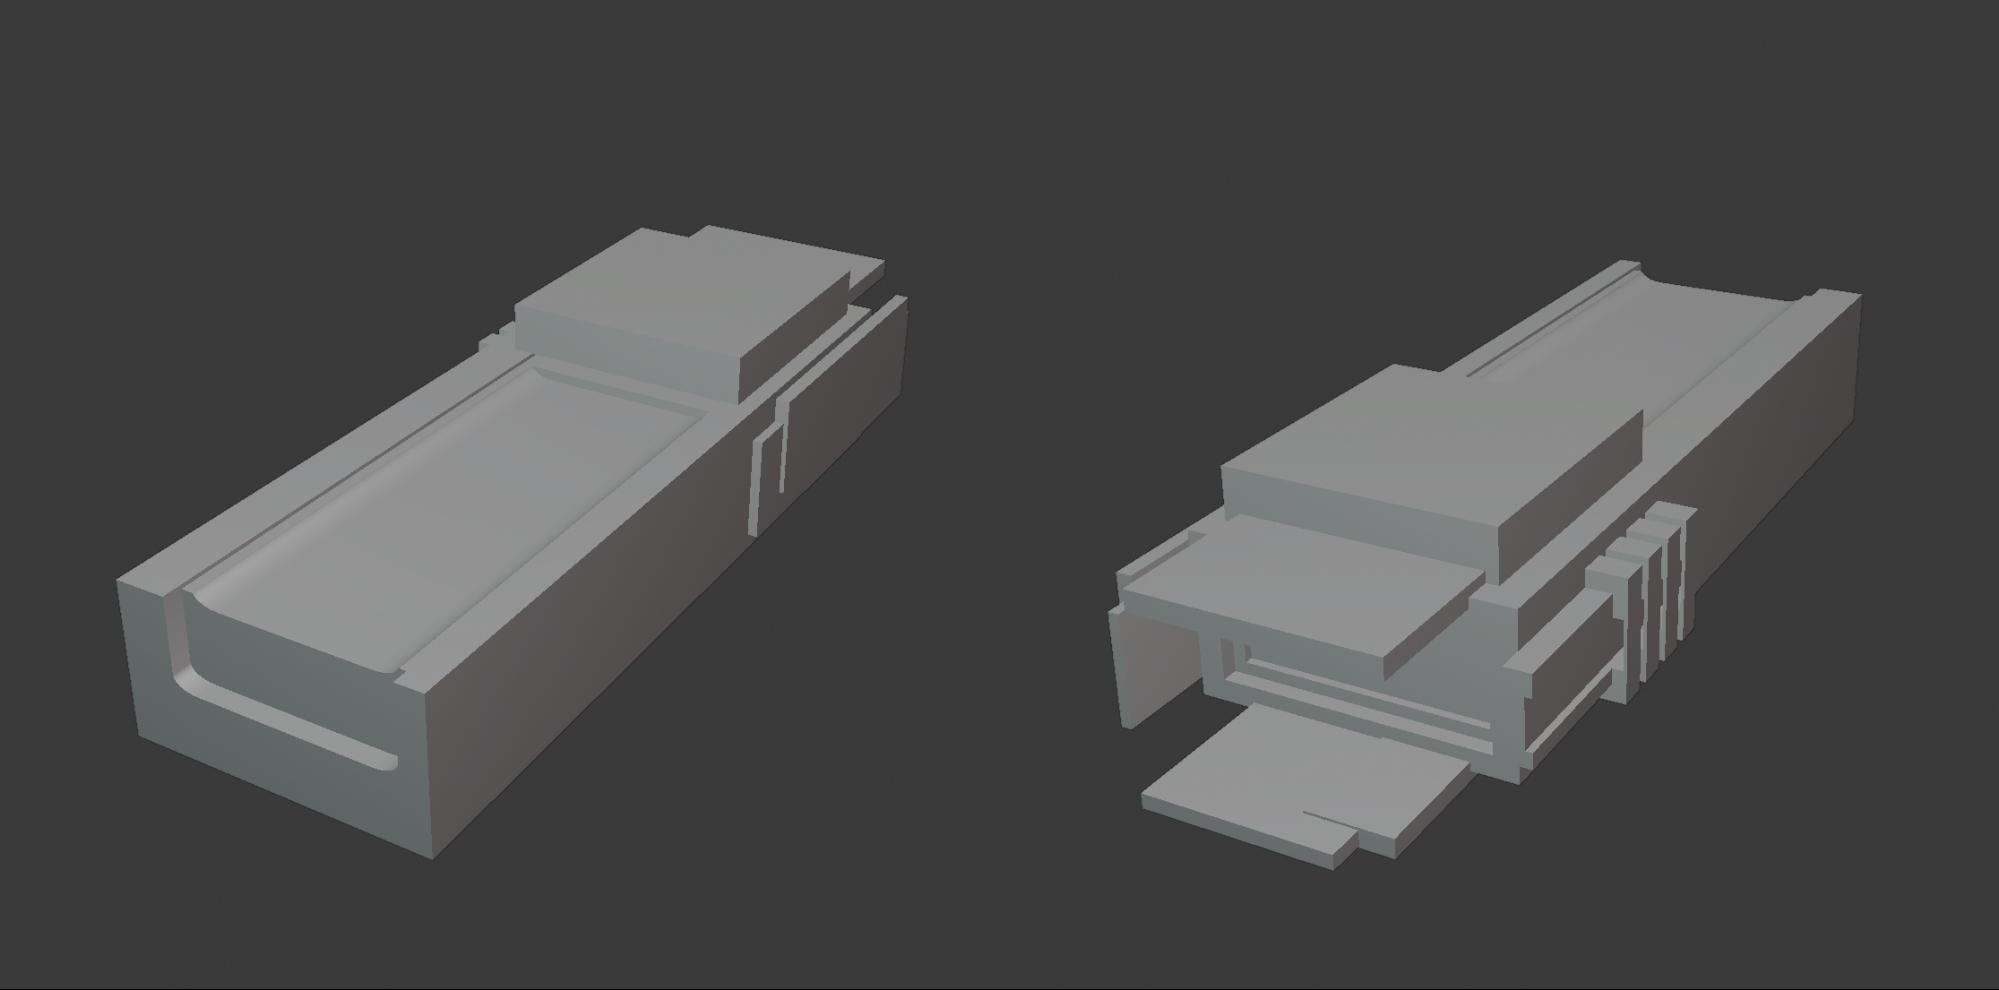
For quickly shaping out structures I used the BoxCutter add-on which had been waiting on my should-learn list for a while.
For flying cars I only used one quickly made basic model. As I duplicated it to populate the city sky with flying cars, I scaled and stretched it to make them look different at a quick glance. No point in spending hours to make something complex if that is going to be so small in the final rendering.
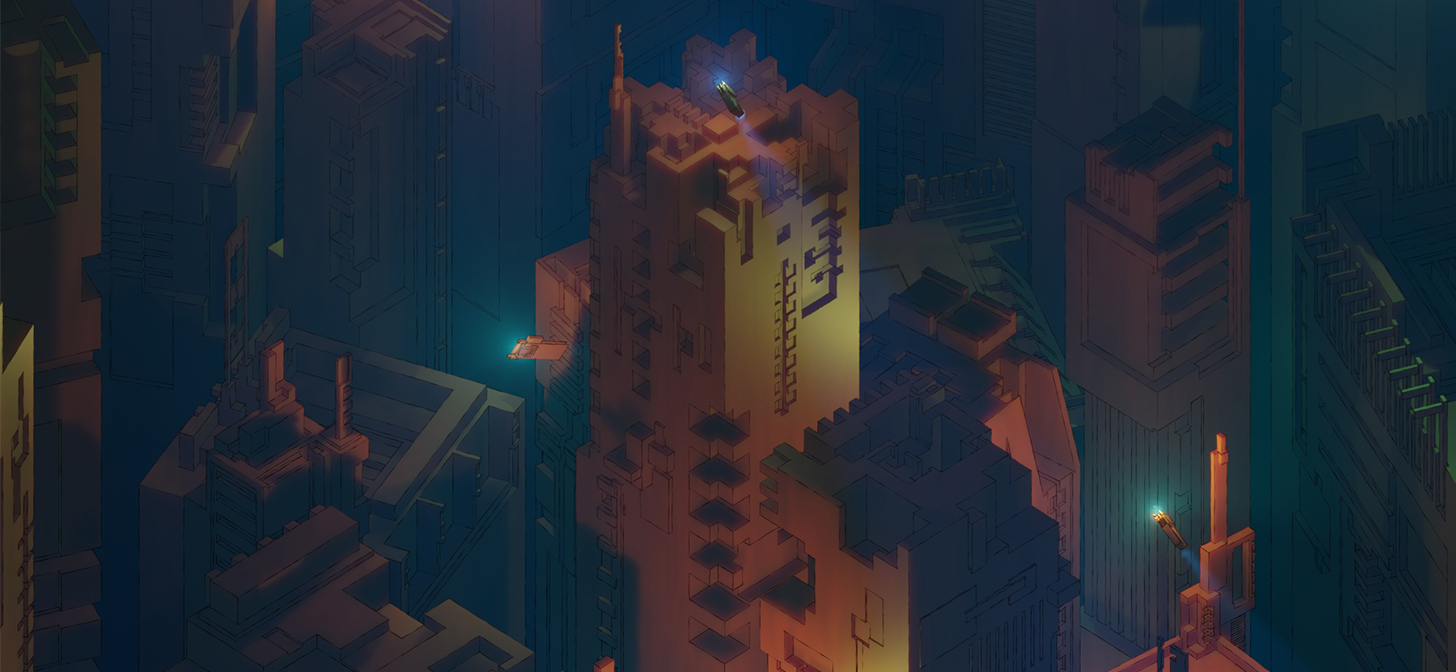
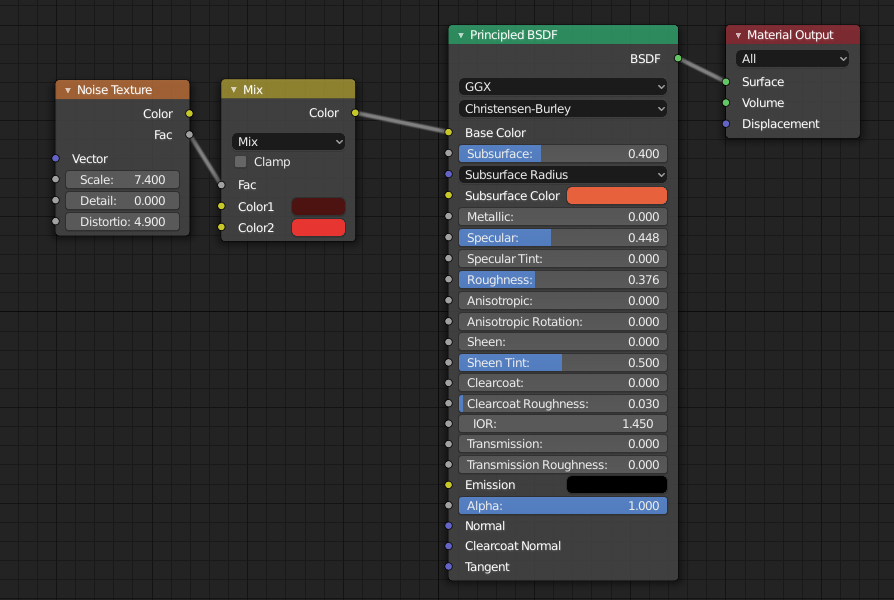
To make city structures more colorful and stylized, I used Subsurface Scattering on Principled BSDF material node, something that is usually used on organic things.
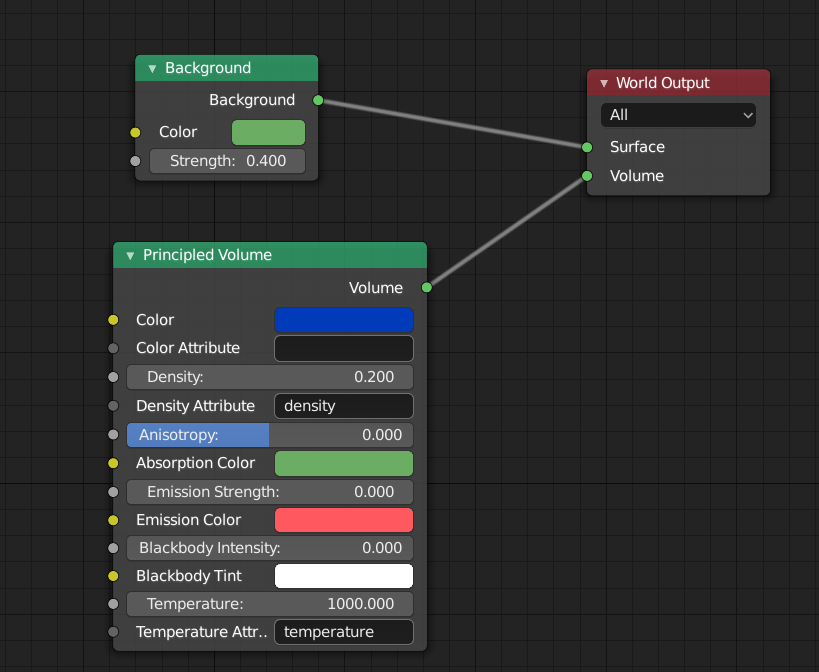
To add fog and more color to the scene as light scatters from light sources I used the Principled Volume node in Shader Editor > World nodes.
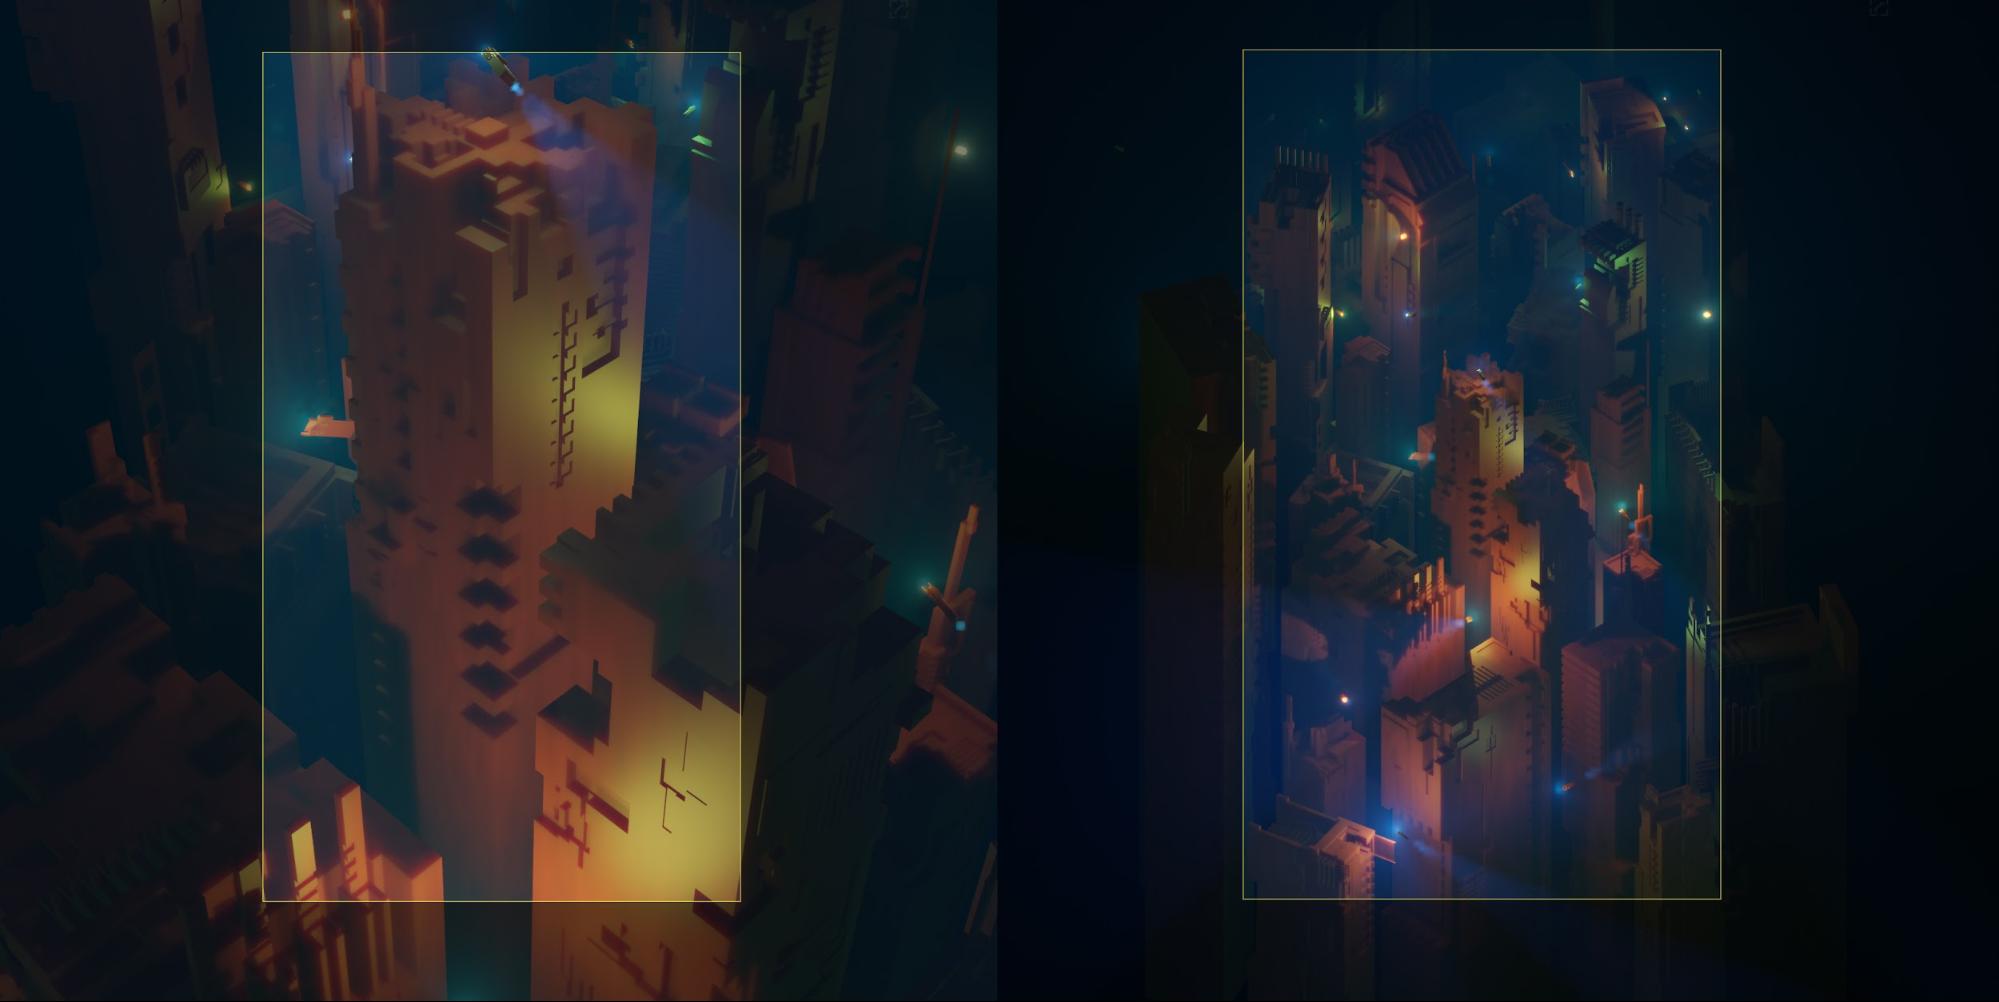
To make city structures a bit easier for the eye to read and not blend so much, I used Freestyle lines. It also gives the image a comic book look, which I like.
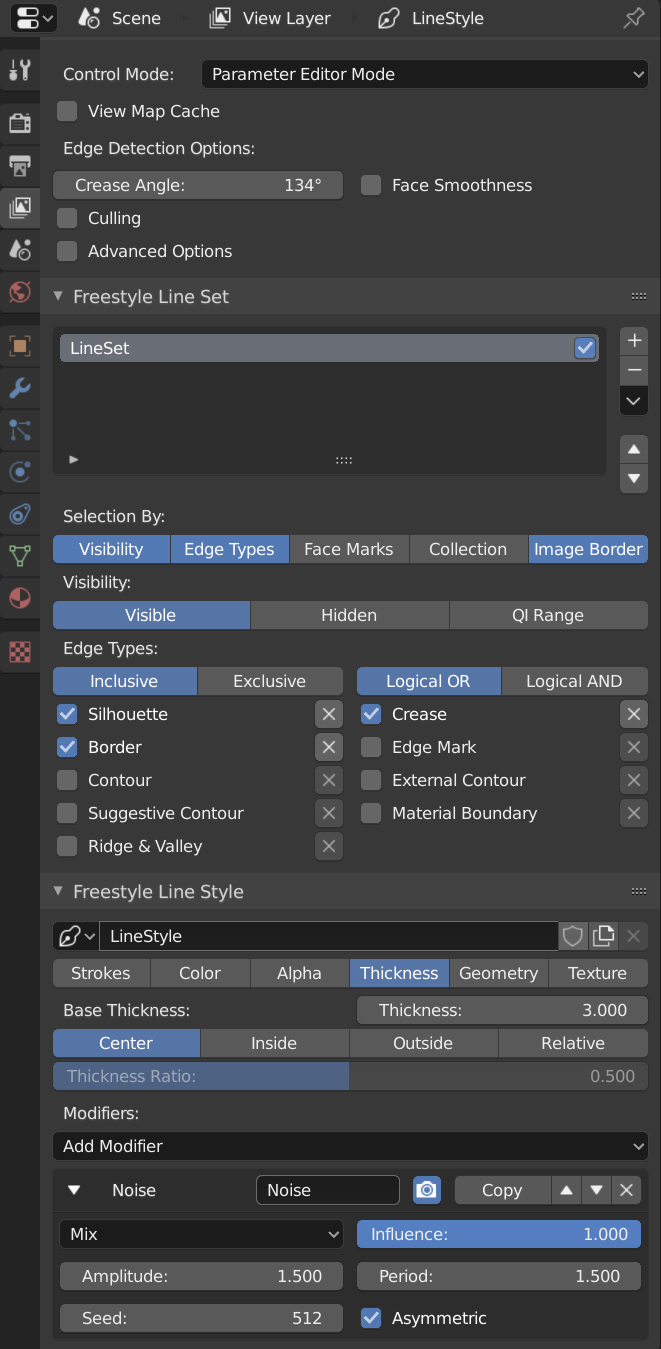
Here are the settings I used to render Freestyle lines. To make Freestyle lines look less artificial and more hand drawn, I used a noise modifier for line thickness.
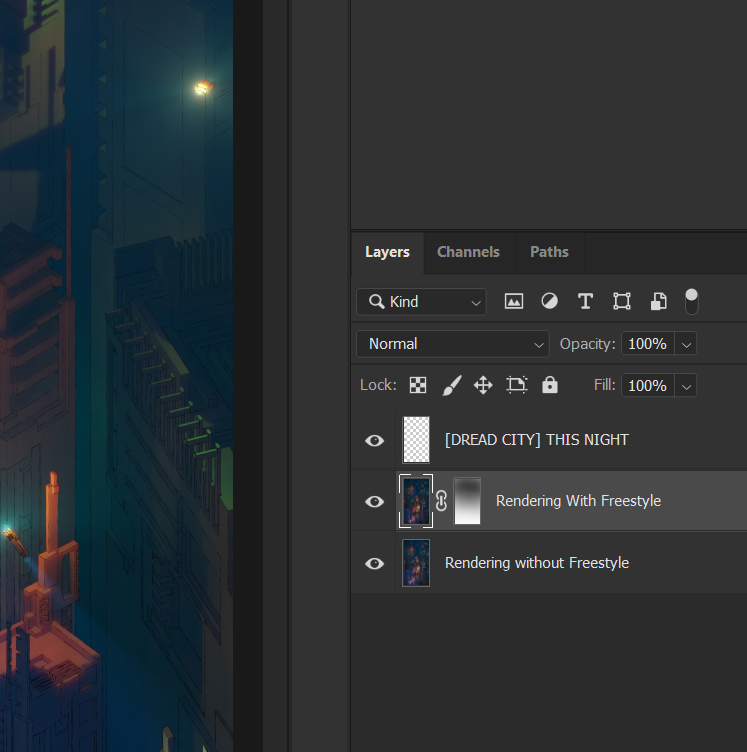
Finally, I rendered two variants of the scene with EEVEE, one with Freestyle and one without Freestyle. Then in Photoshop I place Freestyle on top of the rendering without Freestyle and used a layer mask to fade out the rendering with Freestyle lines to make it look like line art disappears into the fog.
Here’s the final EEVEE rendering after Photoshop edits.

Thank you for reading, I hope you enjoyed this article.
Tools Used
-Blender 2.8 beta (with BoxCutter addon)
-Photoshop
About the Author
 Esa Havu, 3D Artist and XR (AR/VR) Design student at Helsinki University of Applied Sciences.


