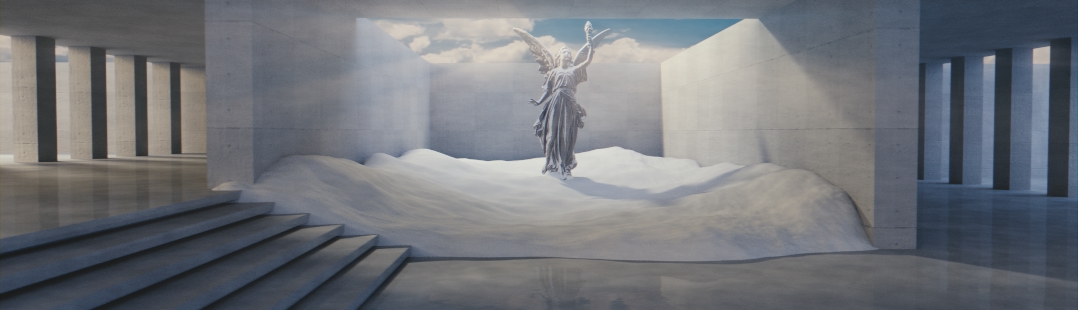
Video: Guardian Angel
Caleb Reetz shares his Blender project and insights he learned while creating the VFX.
In the last few month, I put countless hours working on this short video. Like most blender fanatics, I plunge into blender trying to pull the most out of the program with what I understand. When I first wrote the script, I quickly threw away the film makers #1 rule of “KISS” (keep it simple stupid). At that time I was trying to find some kind of tutorial that would easily explain the complex world of green screen removal (never found an amazing one). I actually didn’t even know if I would be able to complete it. After pushing my knowledge and learning a LOT more about blender I finally finished it.
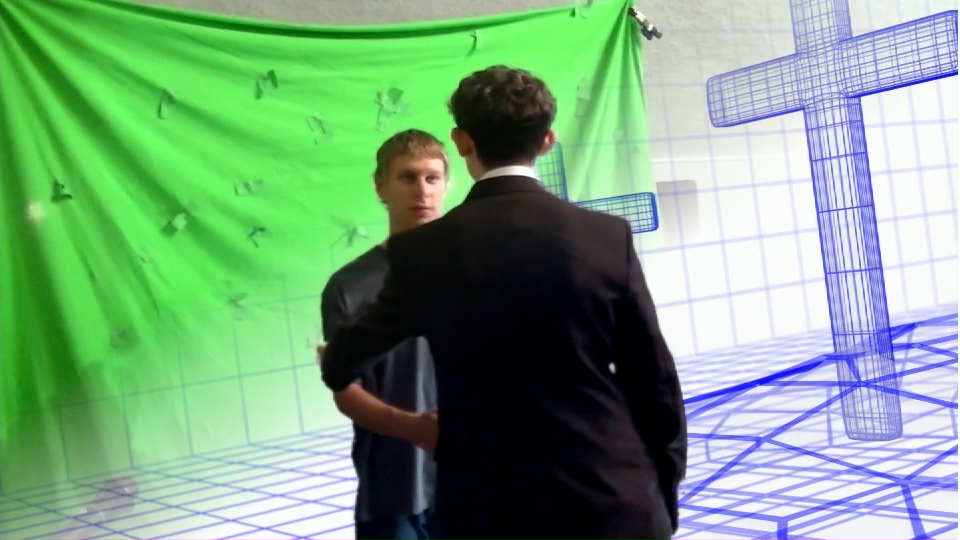
The whole process was a challenge, for starters, since I had never successfully removed green screen before the shoot, I wasn’t able to fully grasp how we should set it up to get the best results (also it didn’t help that we had absolutely no professional equipment). I knew simple concepts; for example, I knew that in order to 3d track the scene you needed tracking points (which I did a dreadful job at making). Also, I didn’t quite realize how difficult it would be to remove the darker shades of green brought on by our layered shadows. Here is a video of a side by side comparison for the before and after I did the special effects.
Helpful Hints
From making this video, I have figured out a few tips that will hopefully make your videos less painful!
- If you do green screen make sure you have it well lit and try your hardest to remove any kind of dark shadows. P.S. I made a node that I used for all the green screen shots. Check out the link below!
- If you track with green screen do NOT make your tracking markers like mine (fabric pinned to fabric). Also MAKE SURE YOU HAVE PARALLAX it is almost impossible to do a successful track with out it. Also try and put some objects in the scene to track that you can easily mask out.
- Have fun!!!
I hope this was helpful and you enjoyed the video! if you would like to download the blends, just follow the links:


Very good to show for beginners, and a great theme nowadays. (Violence against Christians).
:)
I sow this post and immediately recognized the wire frame image. My computer had rendered a few frames of this from on Sheepit render farm. I can’t wait to see the video!
Cool! Thanks for helping render! (P.S. the video is above :D)
Great work. Good to see all this wonderful free software help makeing a christian movie! Perfect time before christmas to have it ready and posted.
The comparison video is just the right one to show here. Even though with a bit more experience your edges might be much better so that the green screen removal would be less visible. But as you said, you can save lots of work afterwards. Sometimes it’s best to do some proof of concept shots first to experience with it before working on a real project, but I know how things (and time) can work out…
Did you use the VSE for cutting?
Thank you! This sort of was a test project. I designed it to push my capabilities. Thanks for your input. :)
No, I did not use the VSE for cutting; I used a free program for Linux called kdenlive.
Great job guys! Seriously, I’m sure that through this process you learned a ton, and the next production will be even better for it. Thanks for sharing!
Thanks Jesse, I actually DID learn a ton doing it.
It is great! Nowadays, with all this anti-Christian propaganda coming from everywhere is is very important to resist it. May God bless you.