Behind the Scenes: The Library
INTRODUCTION
Hi, my name is Damien and I’m a 3D designer, currently living in France.
Coming from a graphic design background, I learned 3D online with various courses and tutorials.
I’ve worked for several agencies and companies within in-house design teams from Paris to London for the past 13 years. During that time, I was also freelancing on the side which I am now making my primary activity.
I love 3D illustration, design, and motion. Once you fall into the rabbit hole, it’s a never-ending world to explore and create with!
INSPIRATION
The Library is a personal project made for fun.
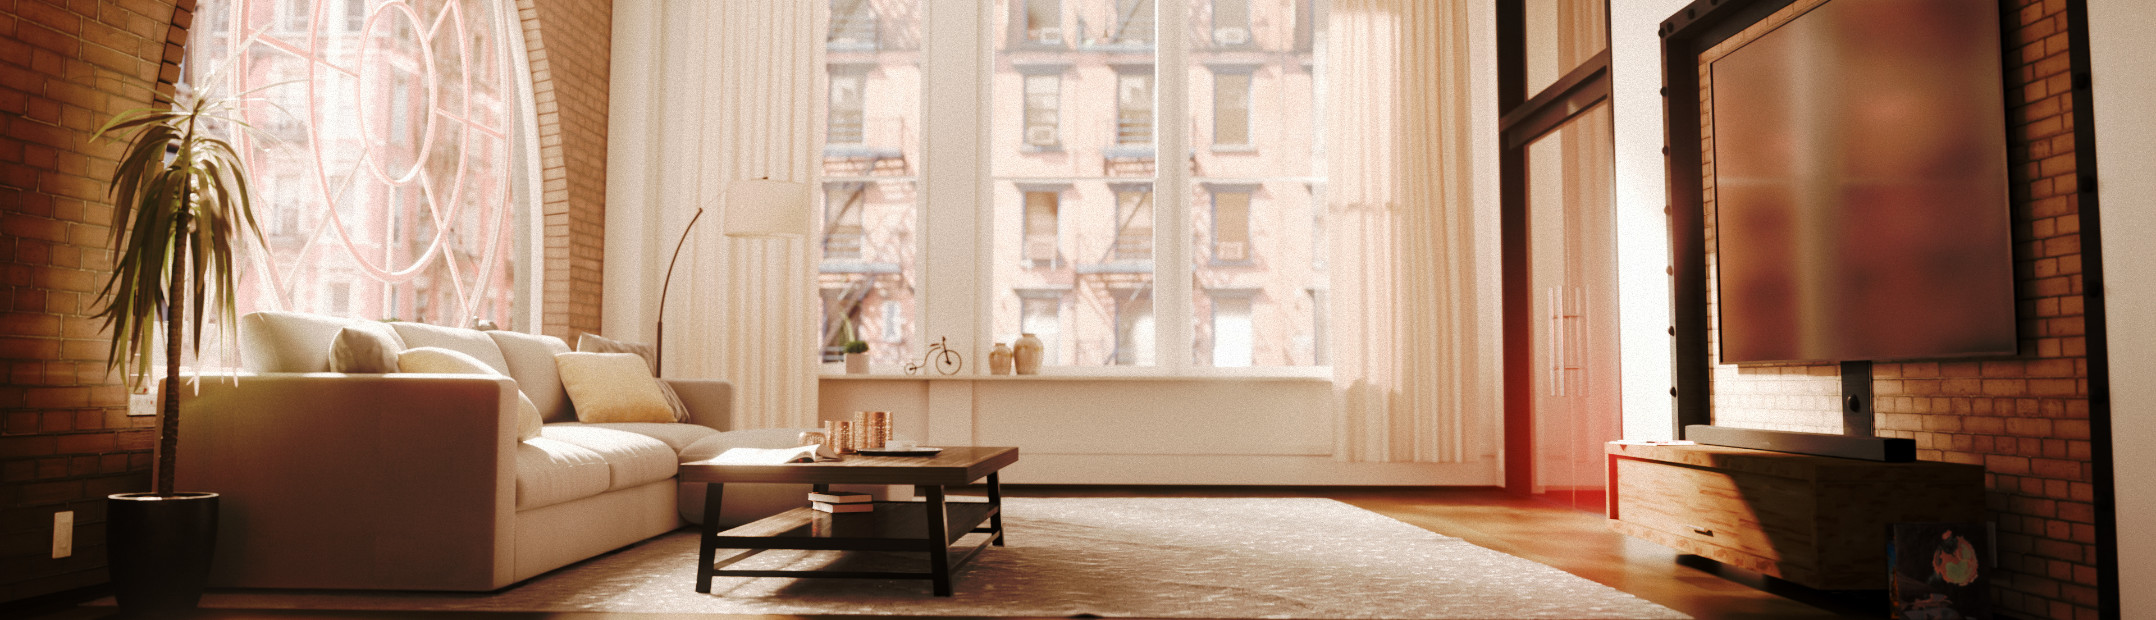
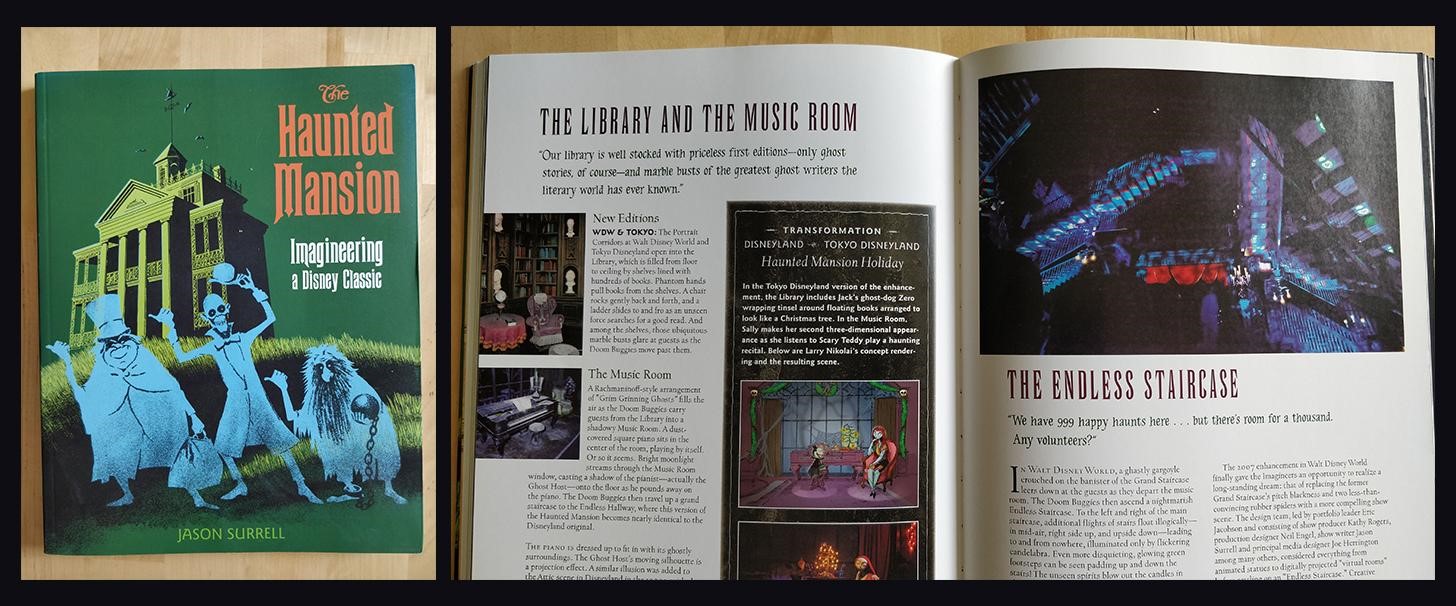
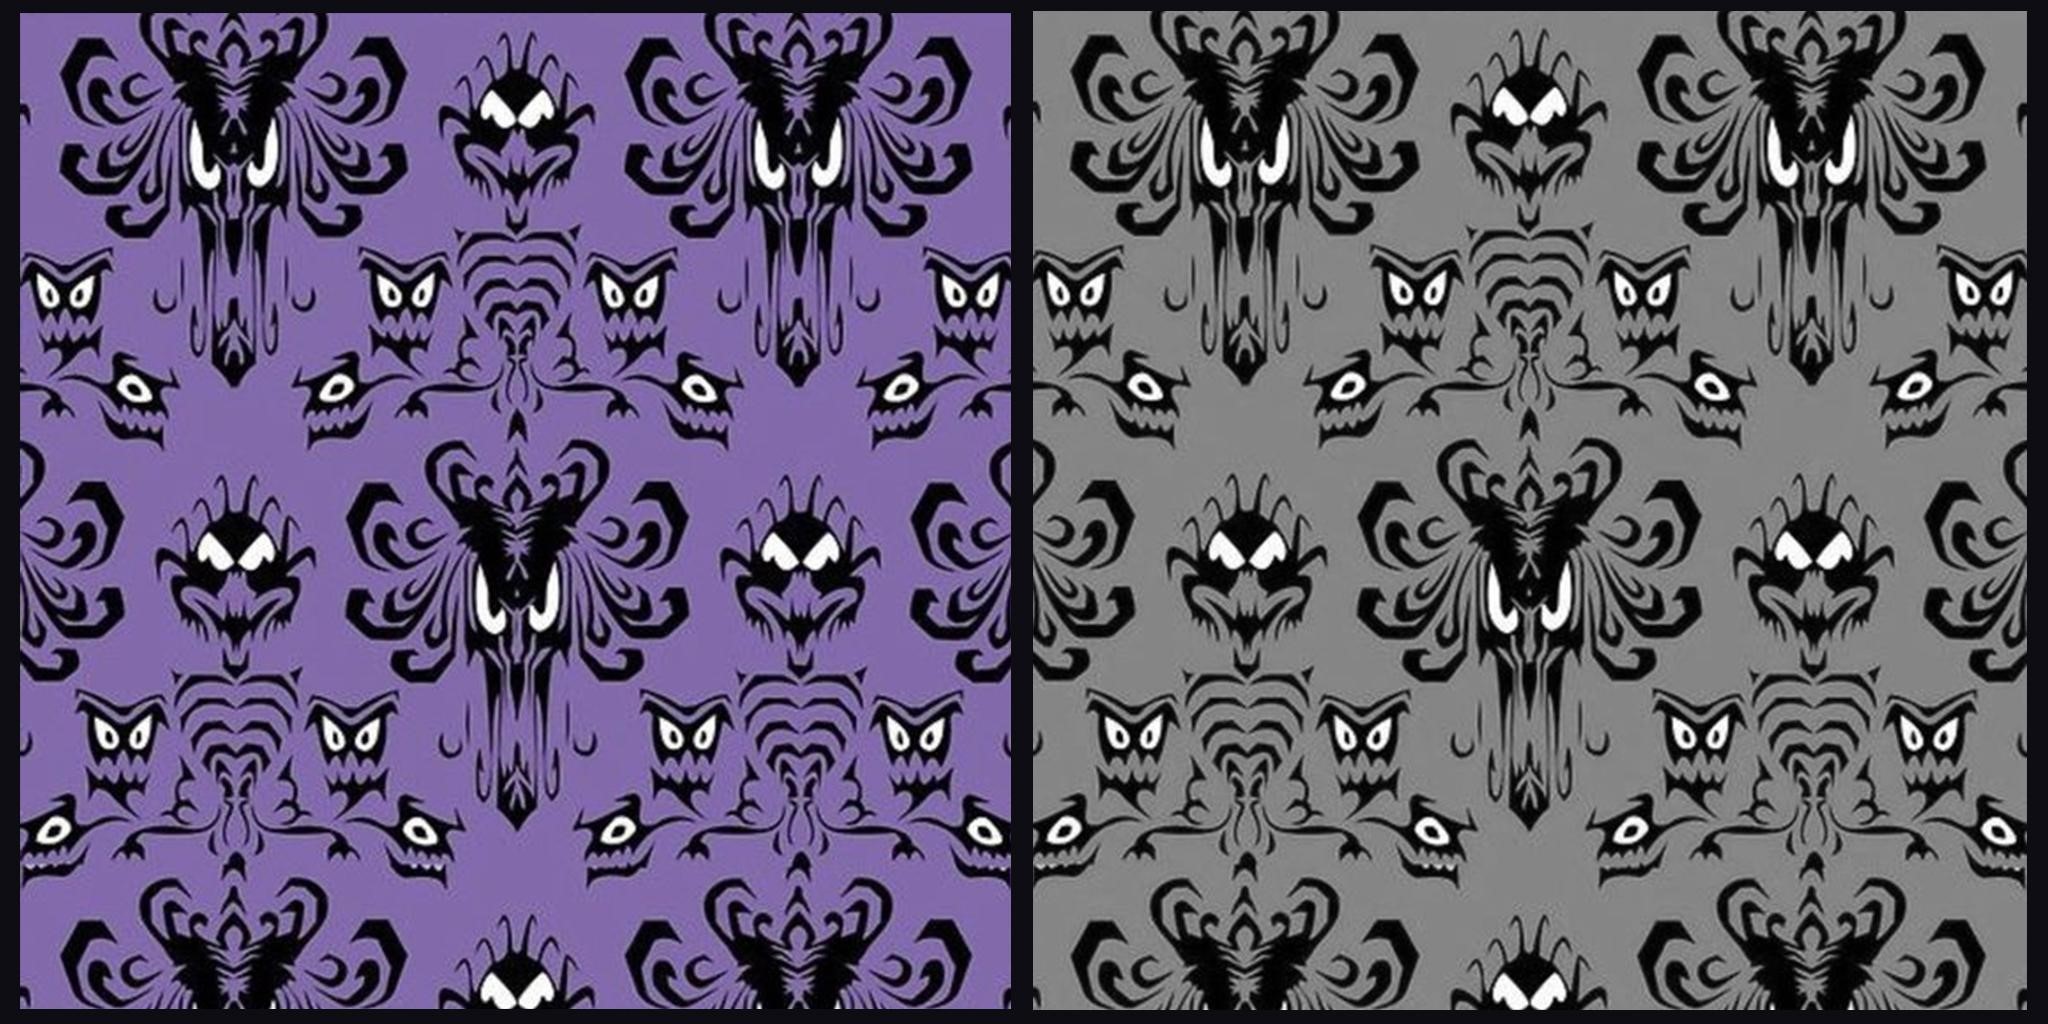
I’m a fan of Disneyland’s Imagineering team’s work, especially the old classic rides like the Haunted Mansion which is the main inspiration for this illustration.
Starting from an isometric room in the center like in the popular online trend, I wanted to expand on it and fill the frame, discovering a moody and mysterious place in the process.
PROCESS
As this is not a professional work but an illustration to explore and play with almost like a game, I didn’t draw a sketch and just opened Blender right away with a rough idea in mind.
Blocking and References
My favorite topics are composition, shapes, colors, and lighting. I’m not trying to achieve a photorealistic look but rather actively avoiding it.
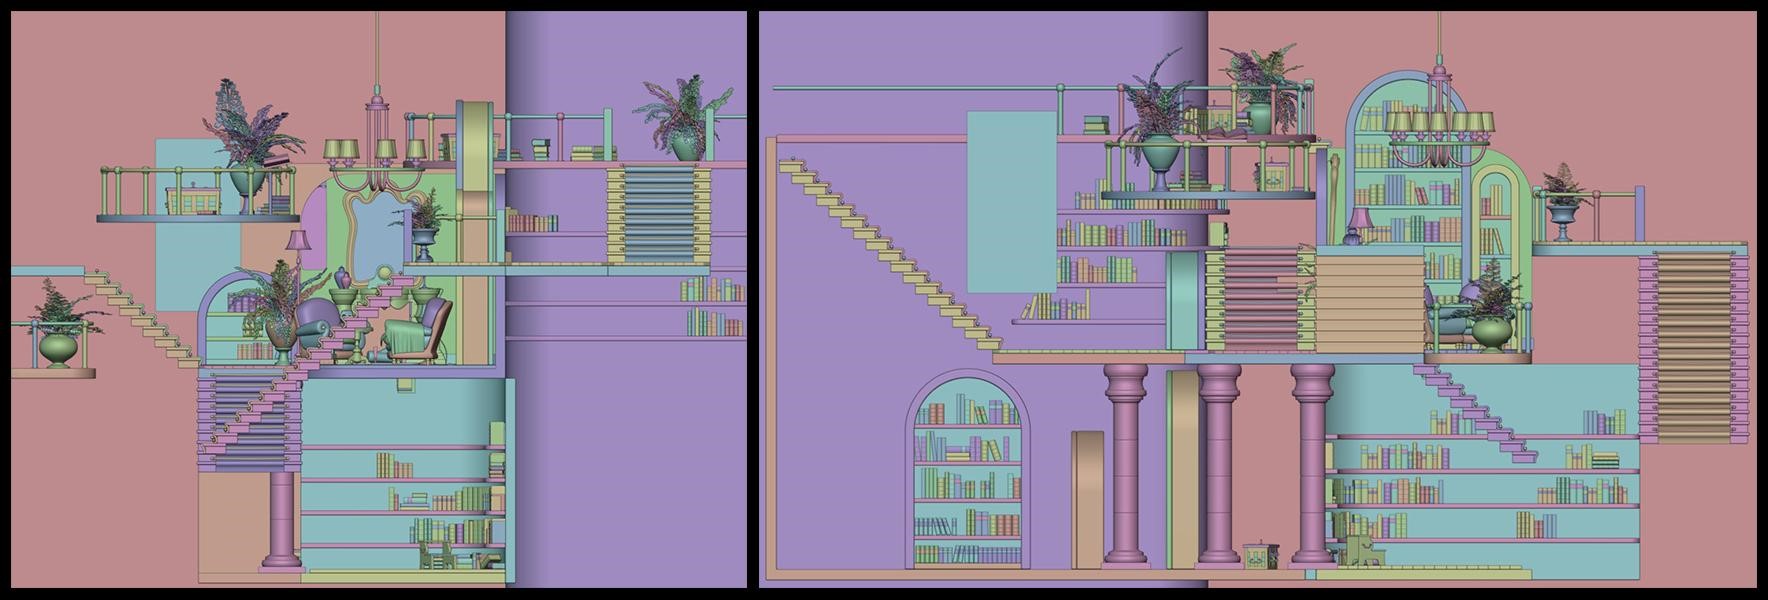
I start with an initial blocking phase where I want to find something interesting using a simple lighting setup.
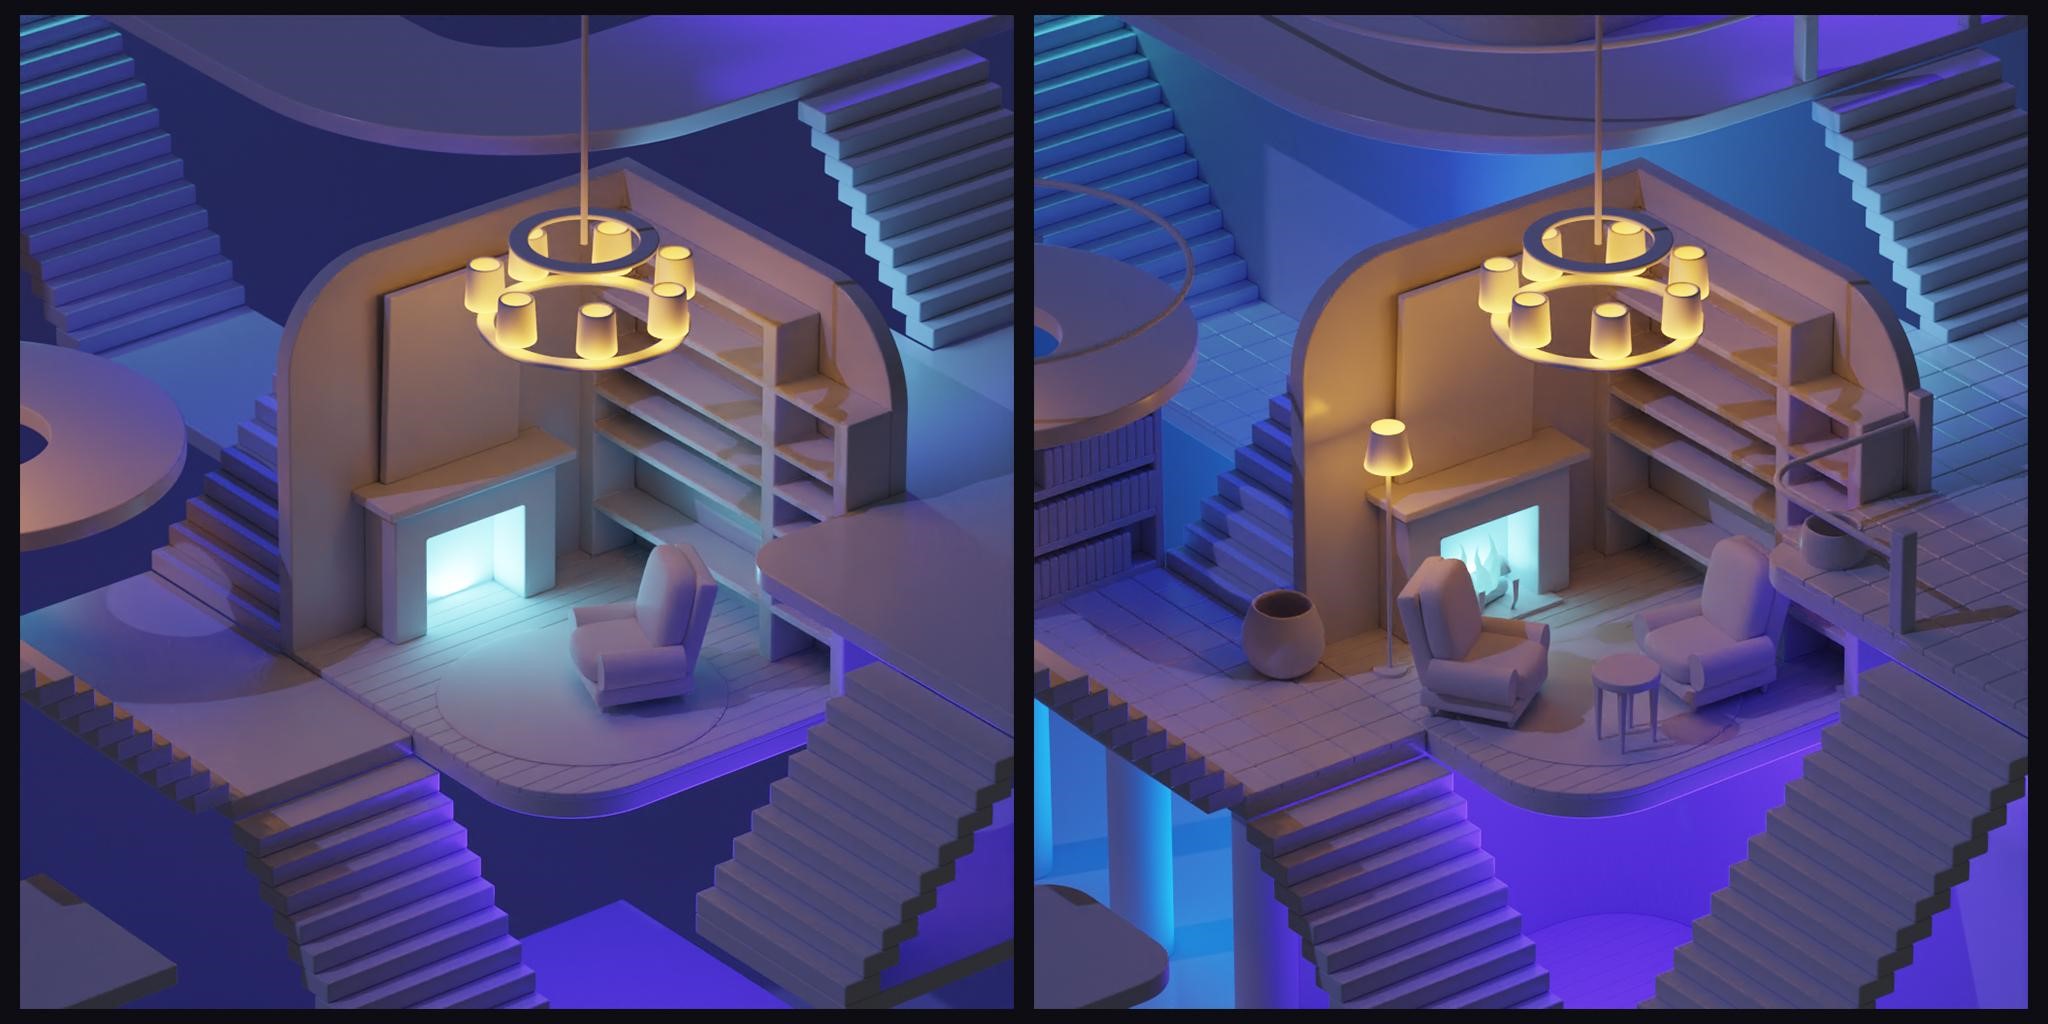
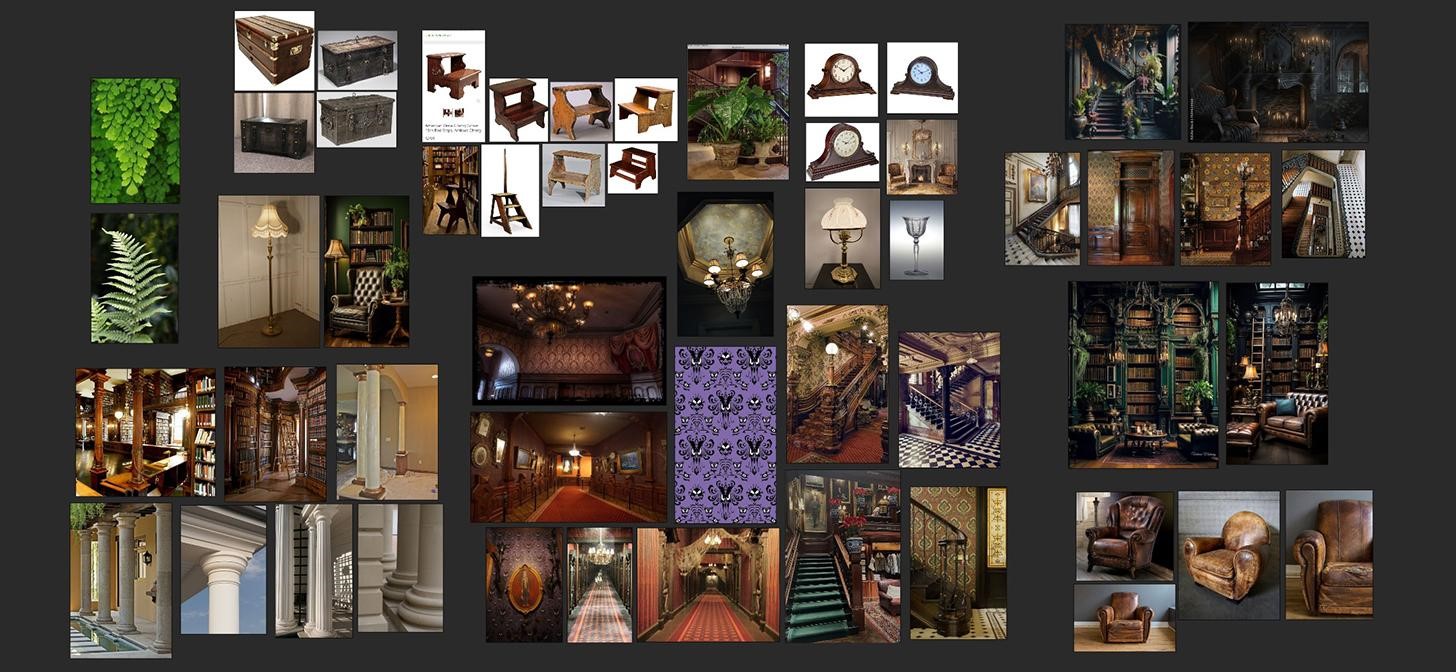
Once I have a base, I’m now gathering references for a mood board with ideas for props and designs to fill the space with.
Modeling
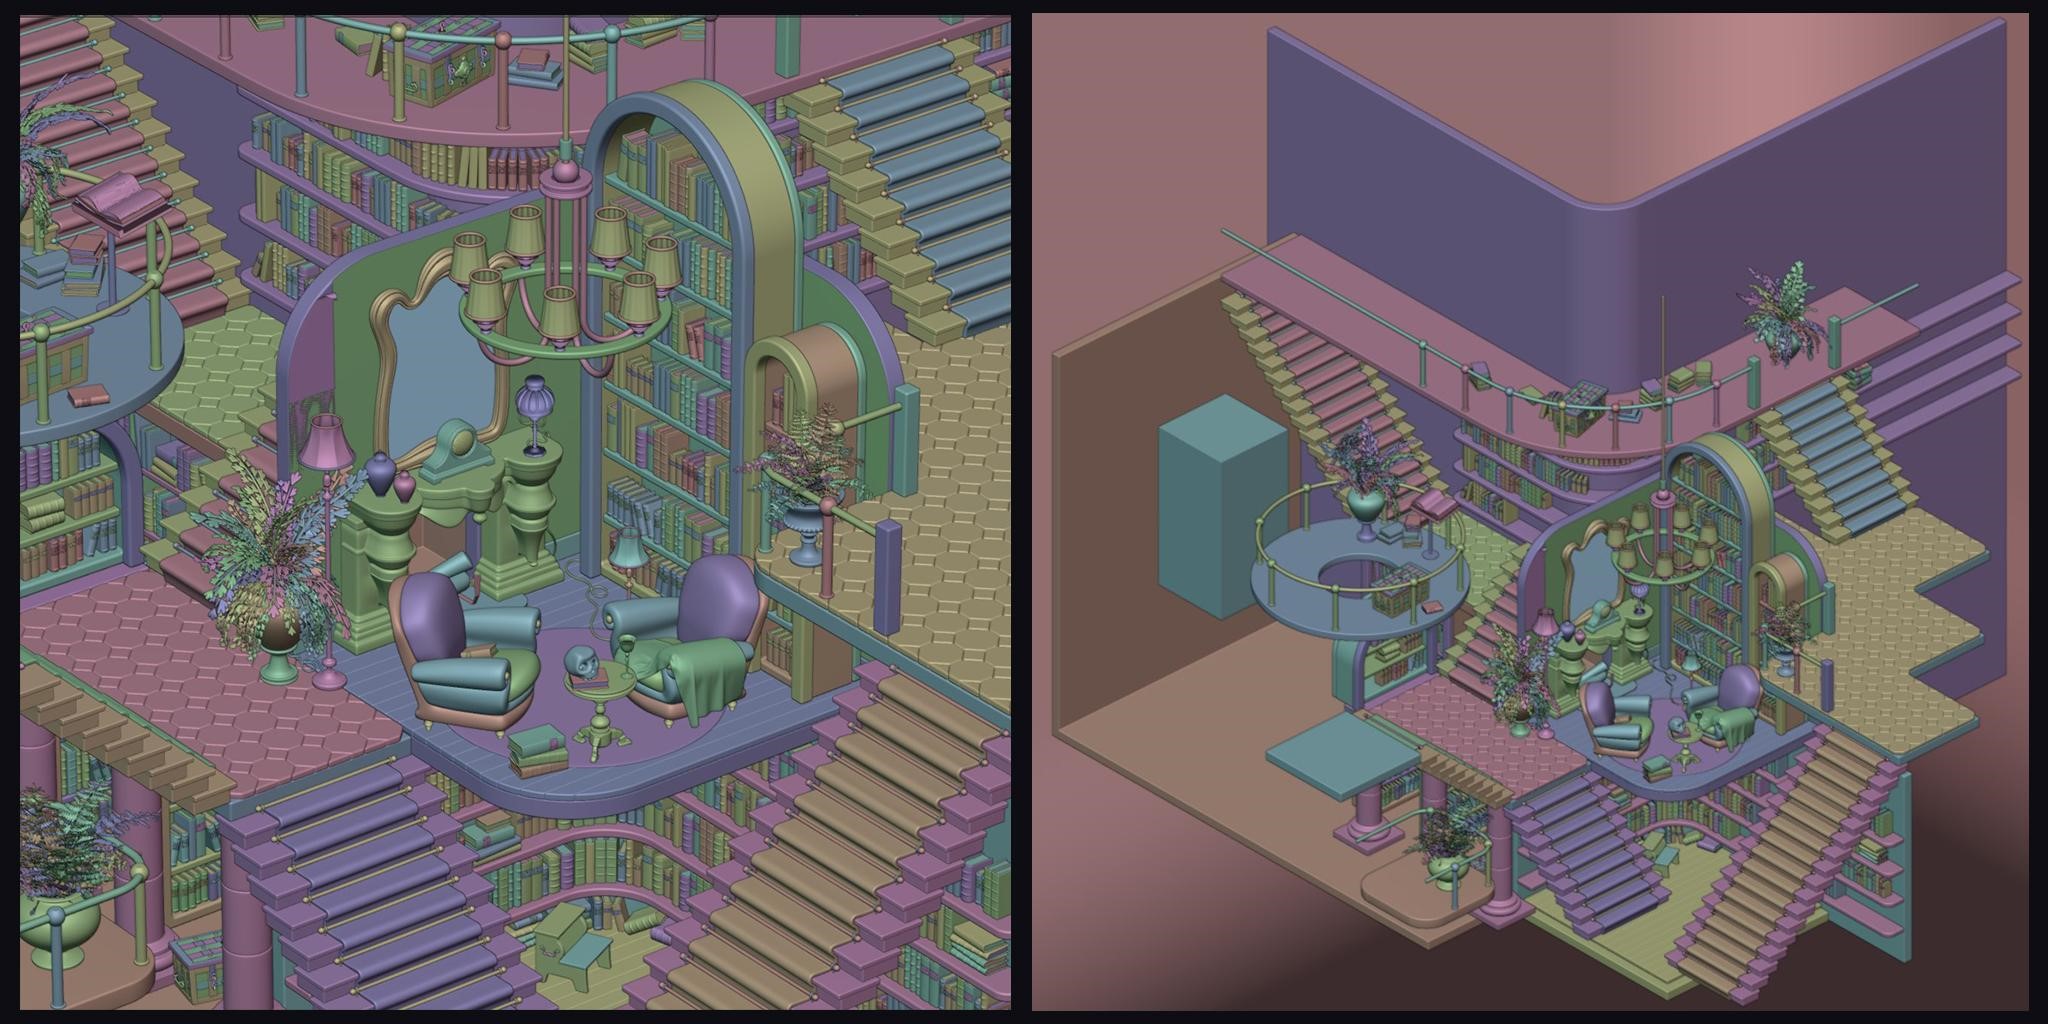
Then, I’m modeling every piece and placing them in the scene, putting rough placeholders first to test ideas and refining them as I go, using simple and common Blender tools, with no particular addons (other than the ones that it comes with).
Here are a few examples :
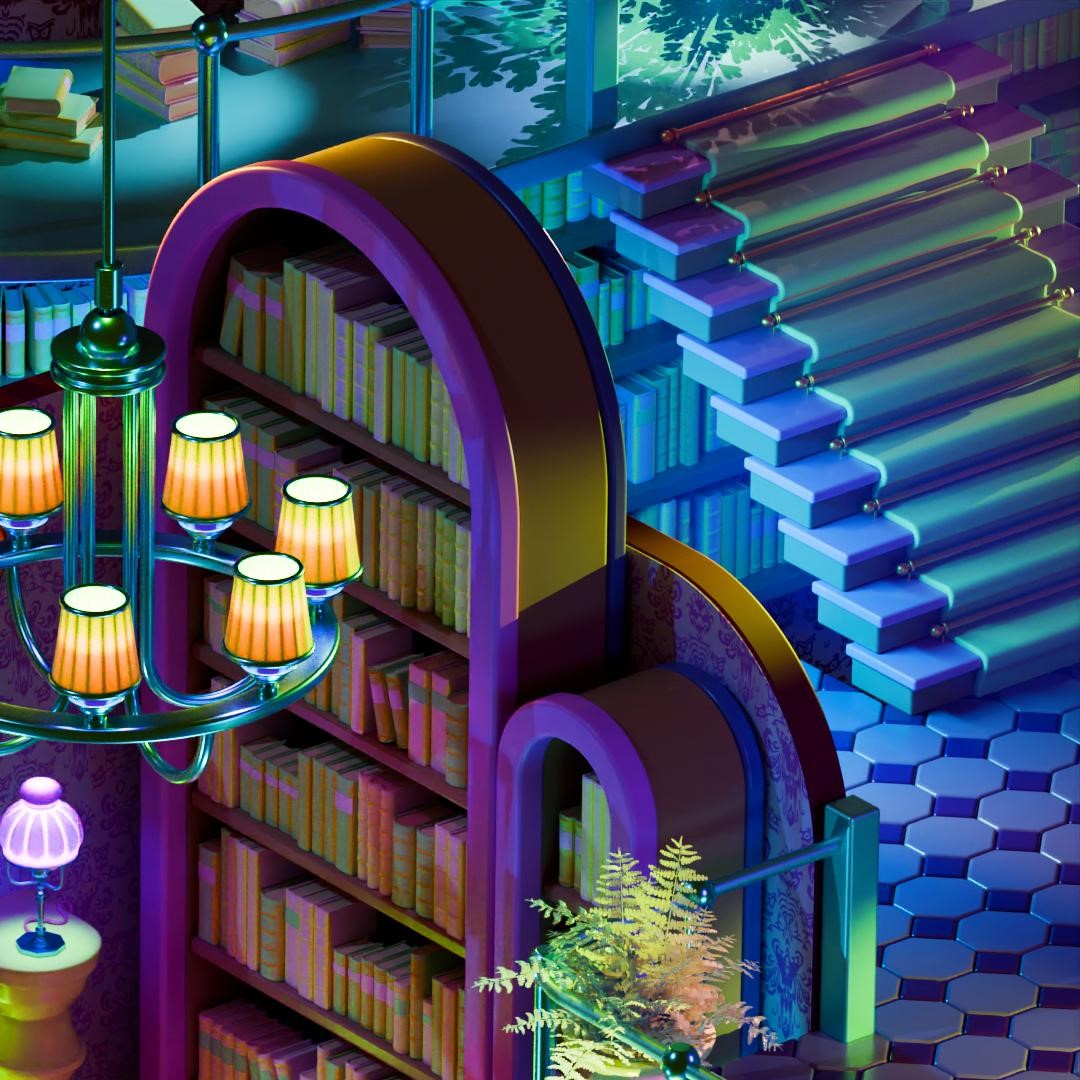
The shelves in the center room are made of planes with bevels and solidify modifiers. I created vertex groups containing the two top vertices on which I applied a bevel modifier to make round corners and be able to adjust them as I want.
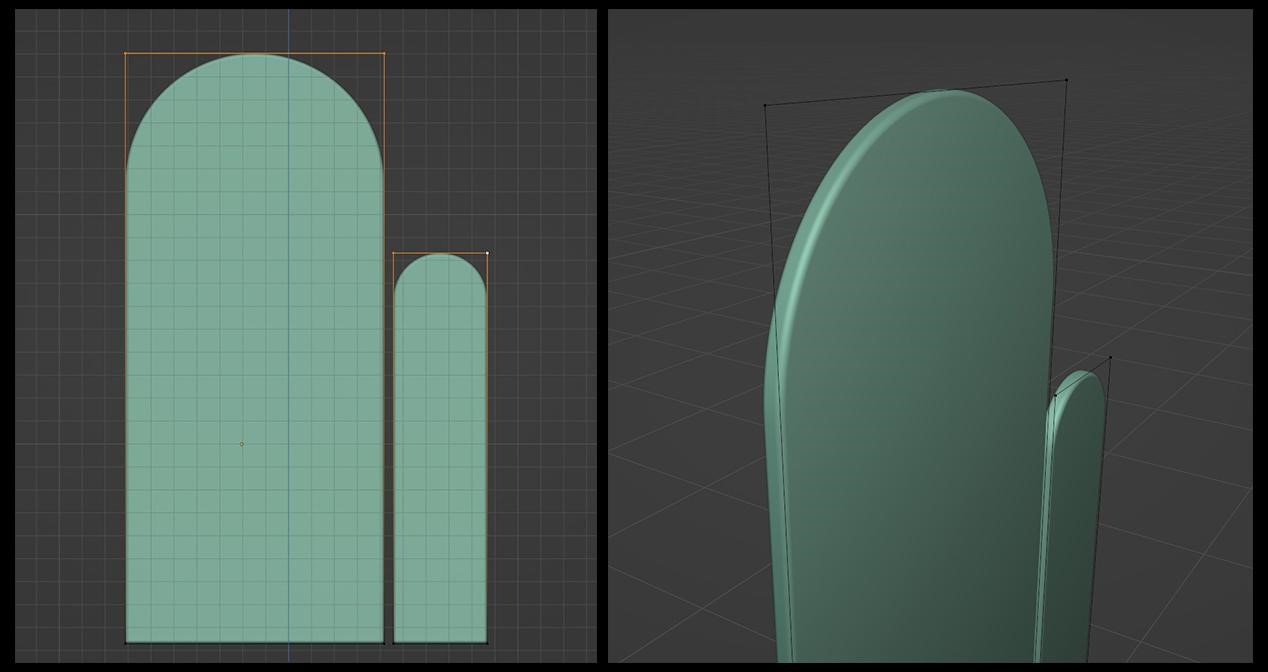
Then I added a solidify modifier to add some thickness and finally, another bevel on top of that to get beveled edges.

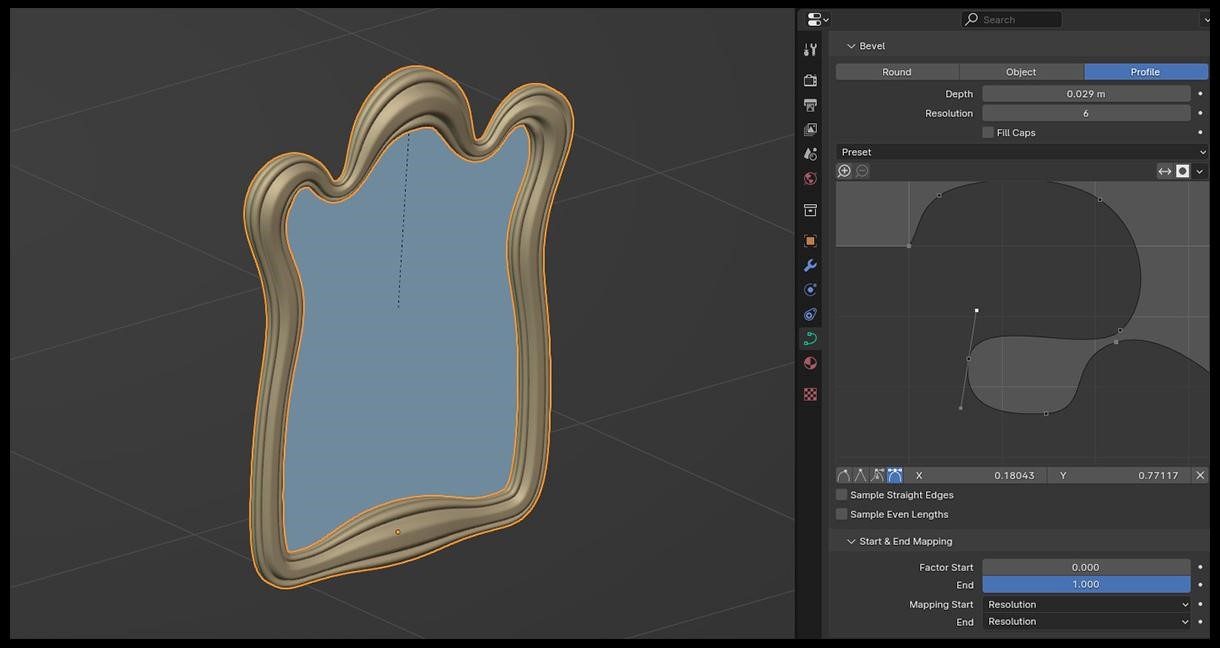
The mirror is a curve with a bevel profile.
Most of the objects were made using traditional poly modeling tools and techniques.

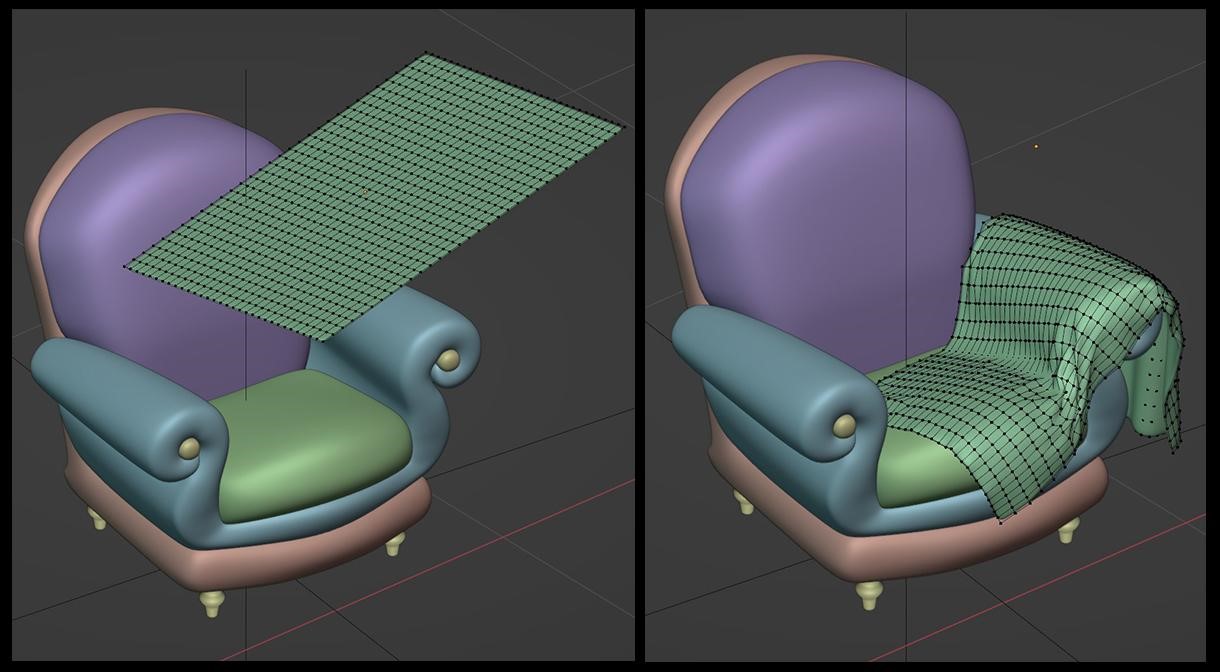
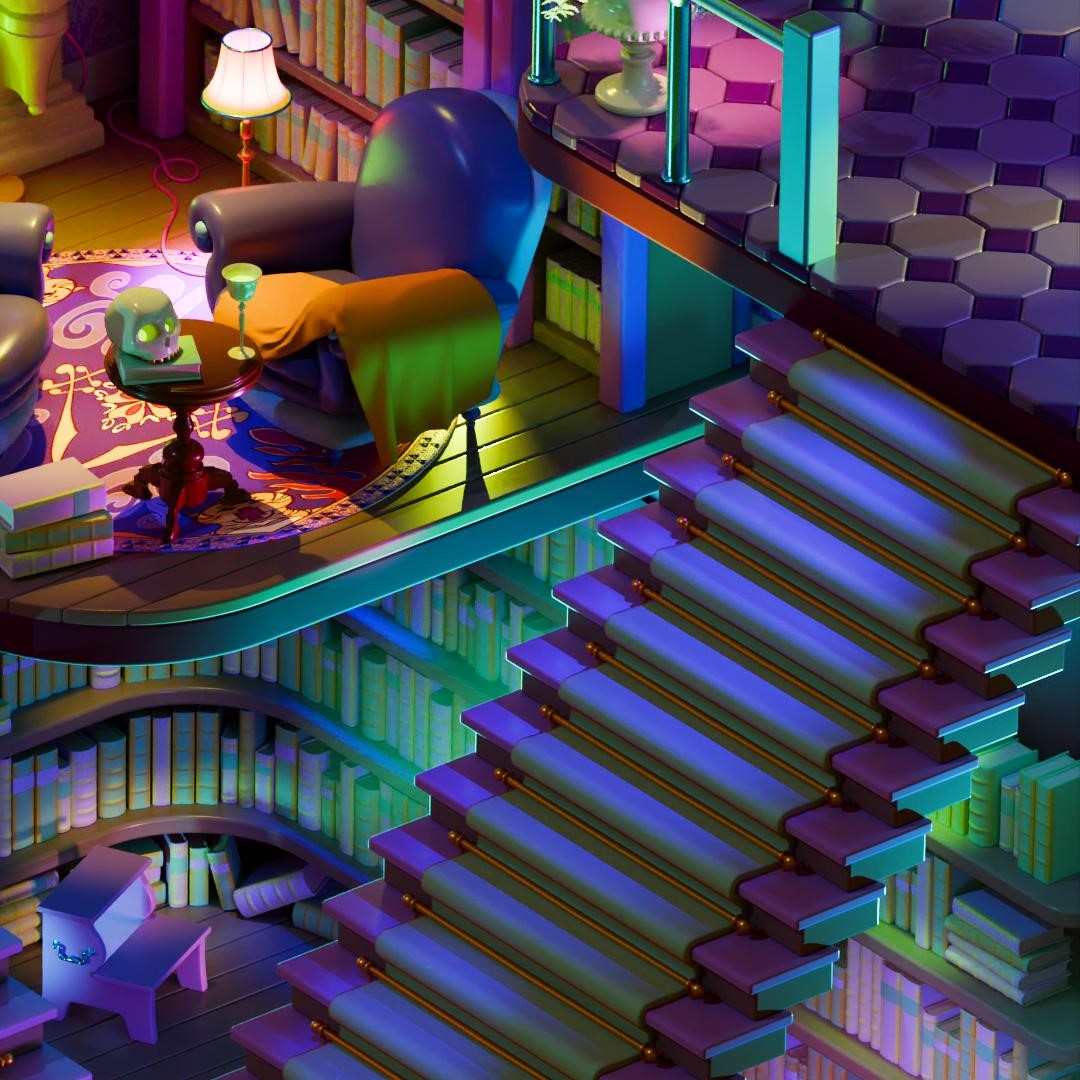
The blanket on the right chair is a subdivided plane on which I ran a cloth simulation with almost default settings. I then applied it into a shape key.
All the different books were modeled into their respective collection and then instanced in the scene.
I can then place a few of them on a line and duplicate it, swiping some for different book instances to add variations while tweaking their position and rotation to fit the need of the image.

You could certainly make something fancy with geometry nodes but I wanted fine control quickly to test and adjust composition ideas without committing too much or building any complex system.
There’s nothing particularly difficult to model overall; I kept adding more and more details until I was happy with the result.
Materials
The materials are even simpler.
I mostly didn’t use textures—just the principled shader with more or less roughness, sometimes with metal or subsurface scattering. I was really focusing on the colors, trying not to add too many and keep a consistent mood tone across the frame. There are a total of 3 textures in the entire scene.
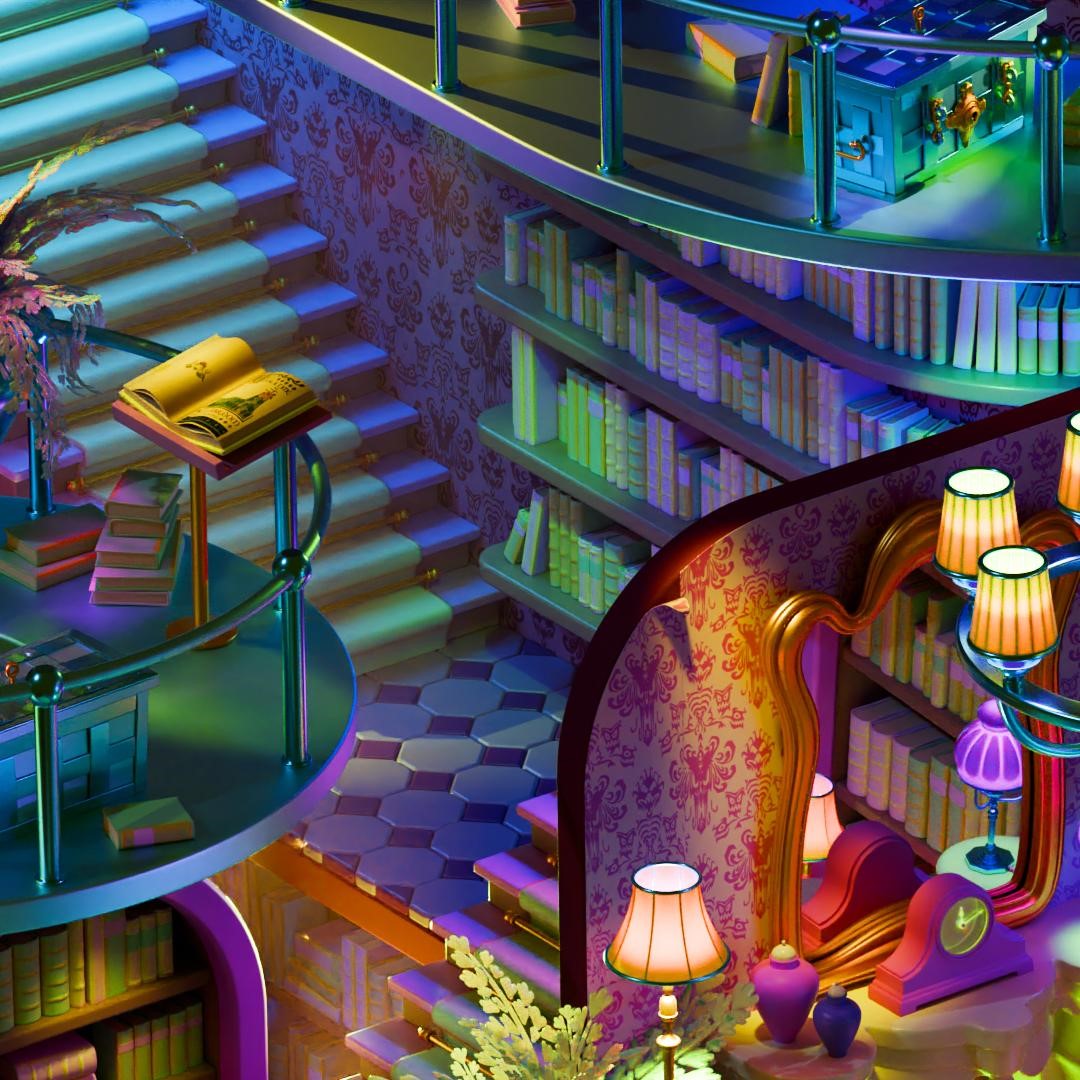
The main one is a direct reference to the inspiration for this work as it is the exact same wallpaper from the Haunted Mansion.
And the two others are for the carpet and one of the books.
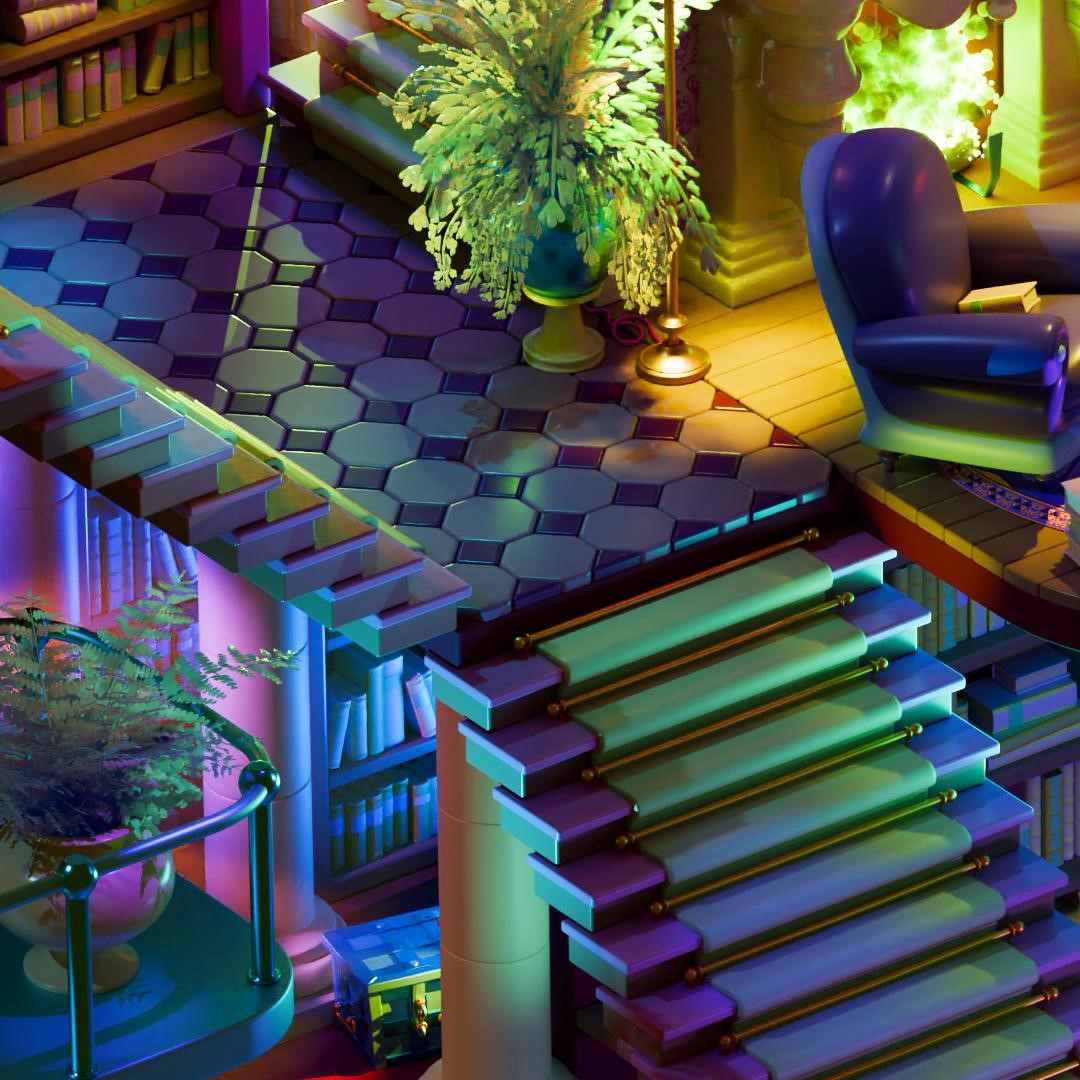
Lighting
The lighting is where I had the most fun. All of the materials’ colors were altered by very saturated lights which I placed everywhere.
My thoughts were on Disney’s ride where they use spotlights to draw attention to fine details of the set and immerse the guests into the story while they are being moved along the Mansion’s dark corridors.
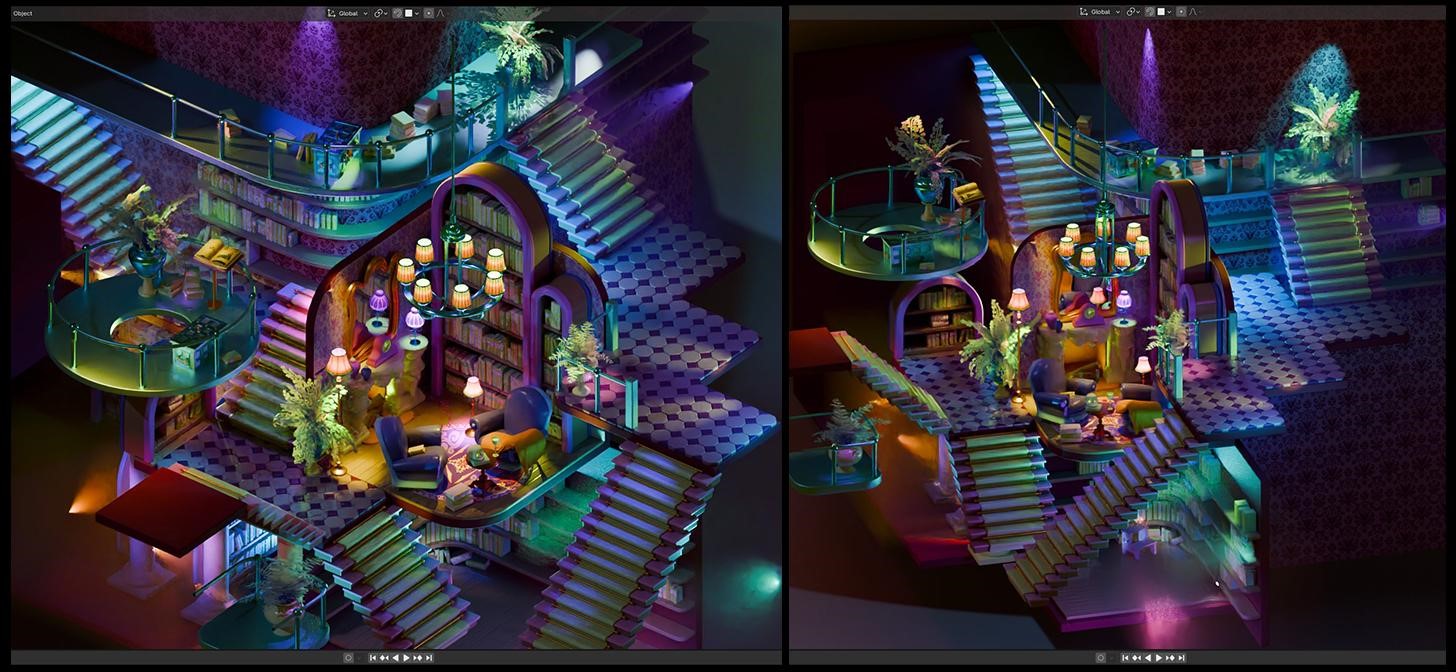
Many spotlights were positioned specifically to help understand certain shapes, and emphasize the volume of certain props.
Some areas of the image are actually quite empty but filled with shadows from various objects and a mix of colored lights—again, like in the Haunted Mansion where they make extensive use of lights to fill spaces.
Finally, I also added volumetrics in the corners of the frame to add depth to the different levels, and to make the center room stand out as the main focus.
Animation
For the animated version, I used just a few keyframes to make the flickering lights in the style of Stranger Things.
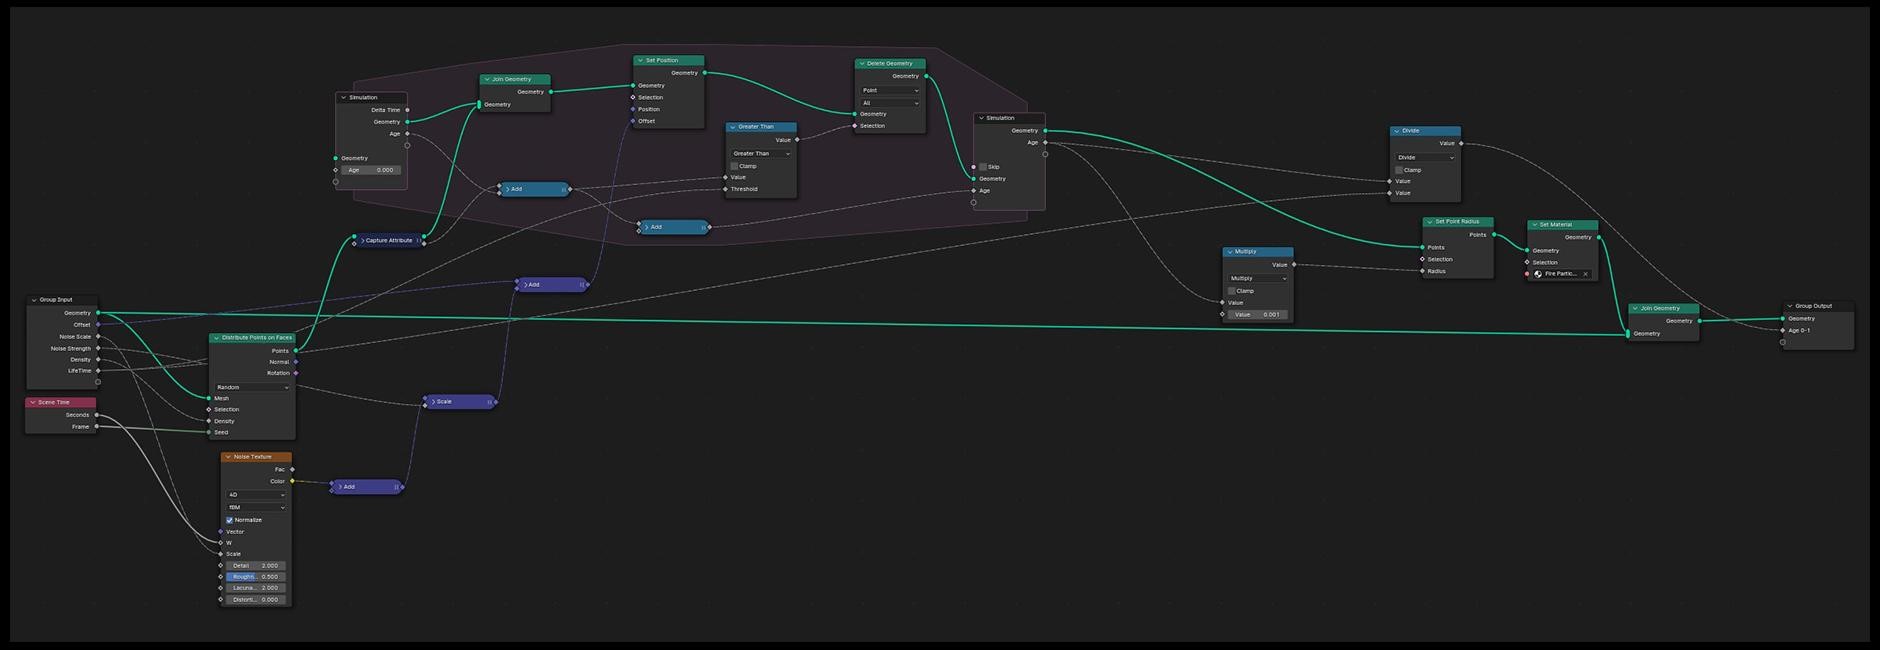
I also added a quick fire simulation with geometry nodes, which I very simply adapted from this tutorial:
A tiny bit of contrast and color correction in After Effects, and that was it.
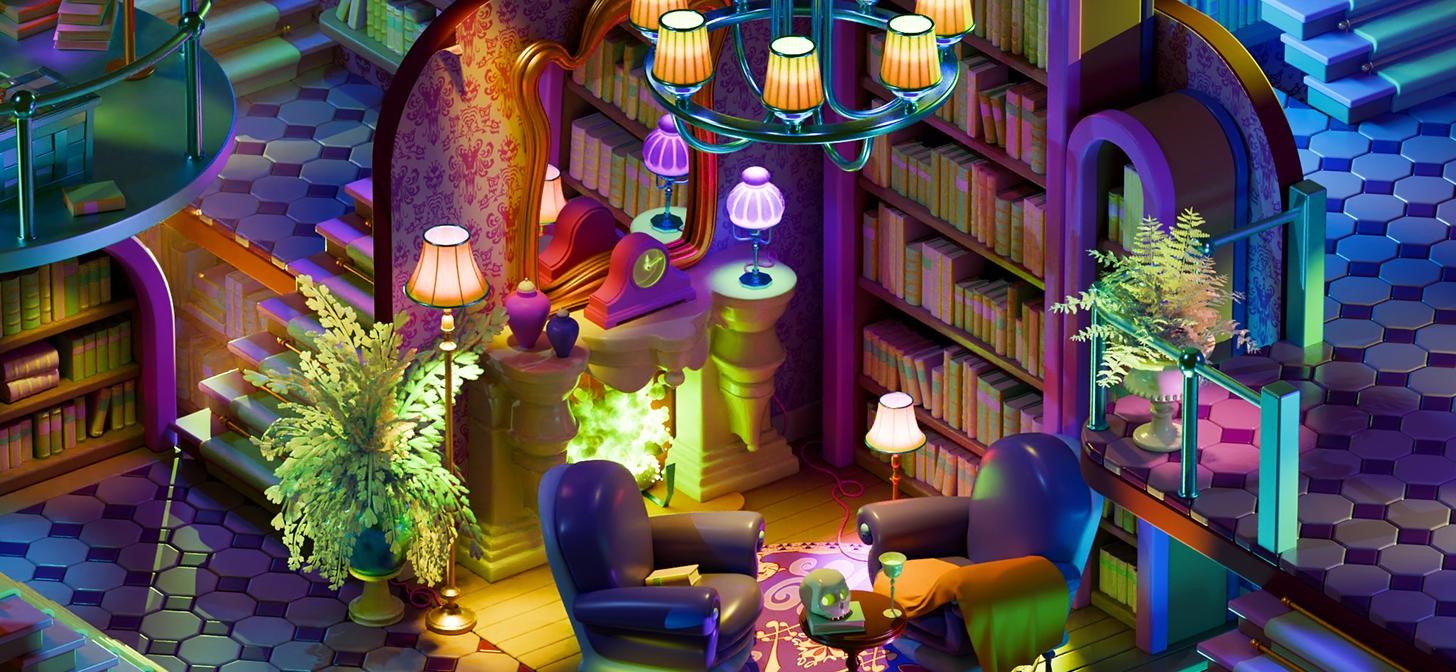
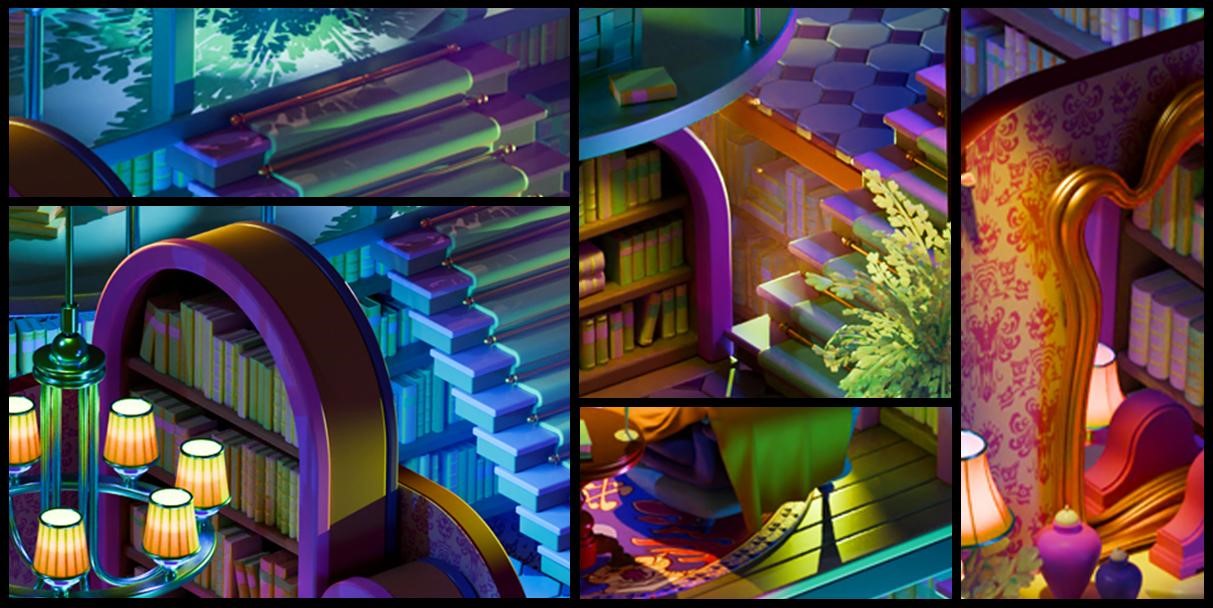
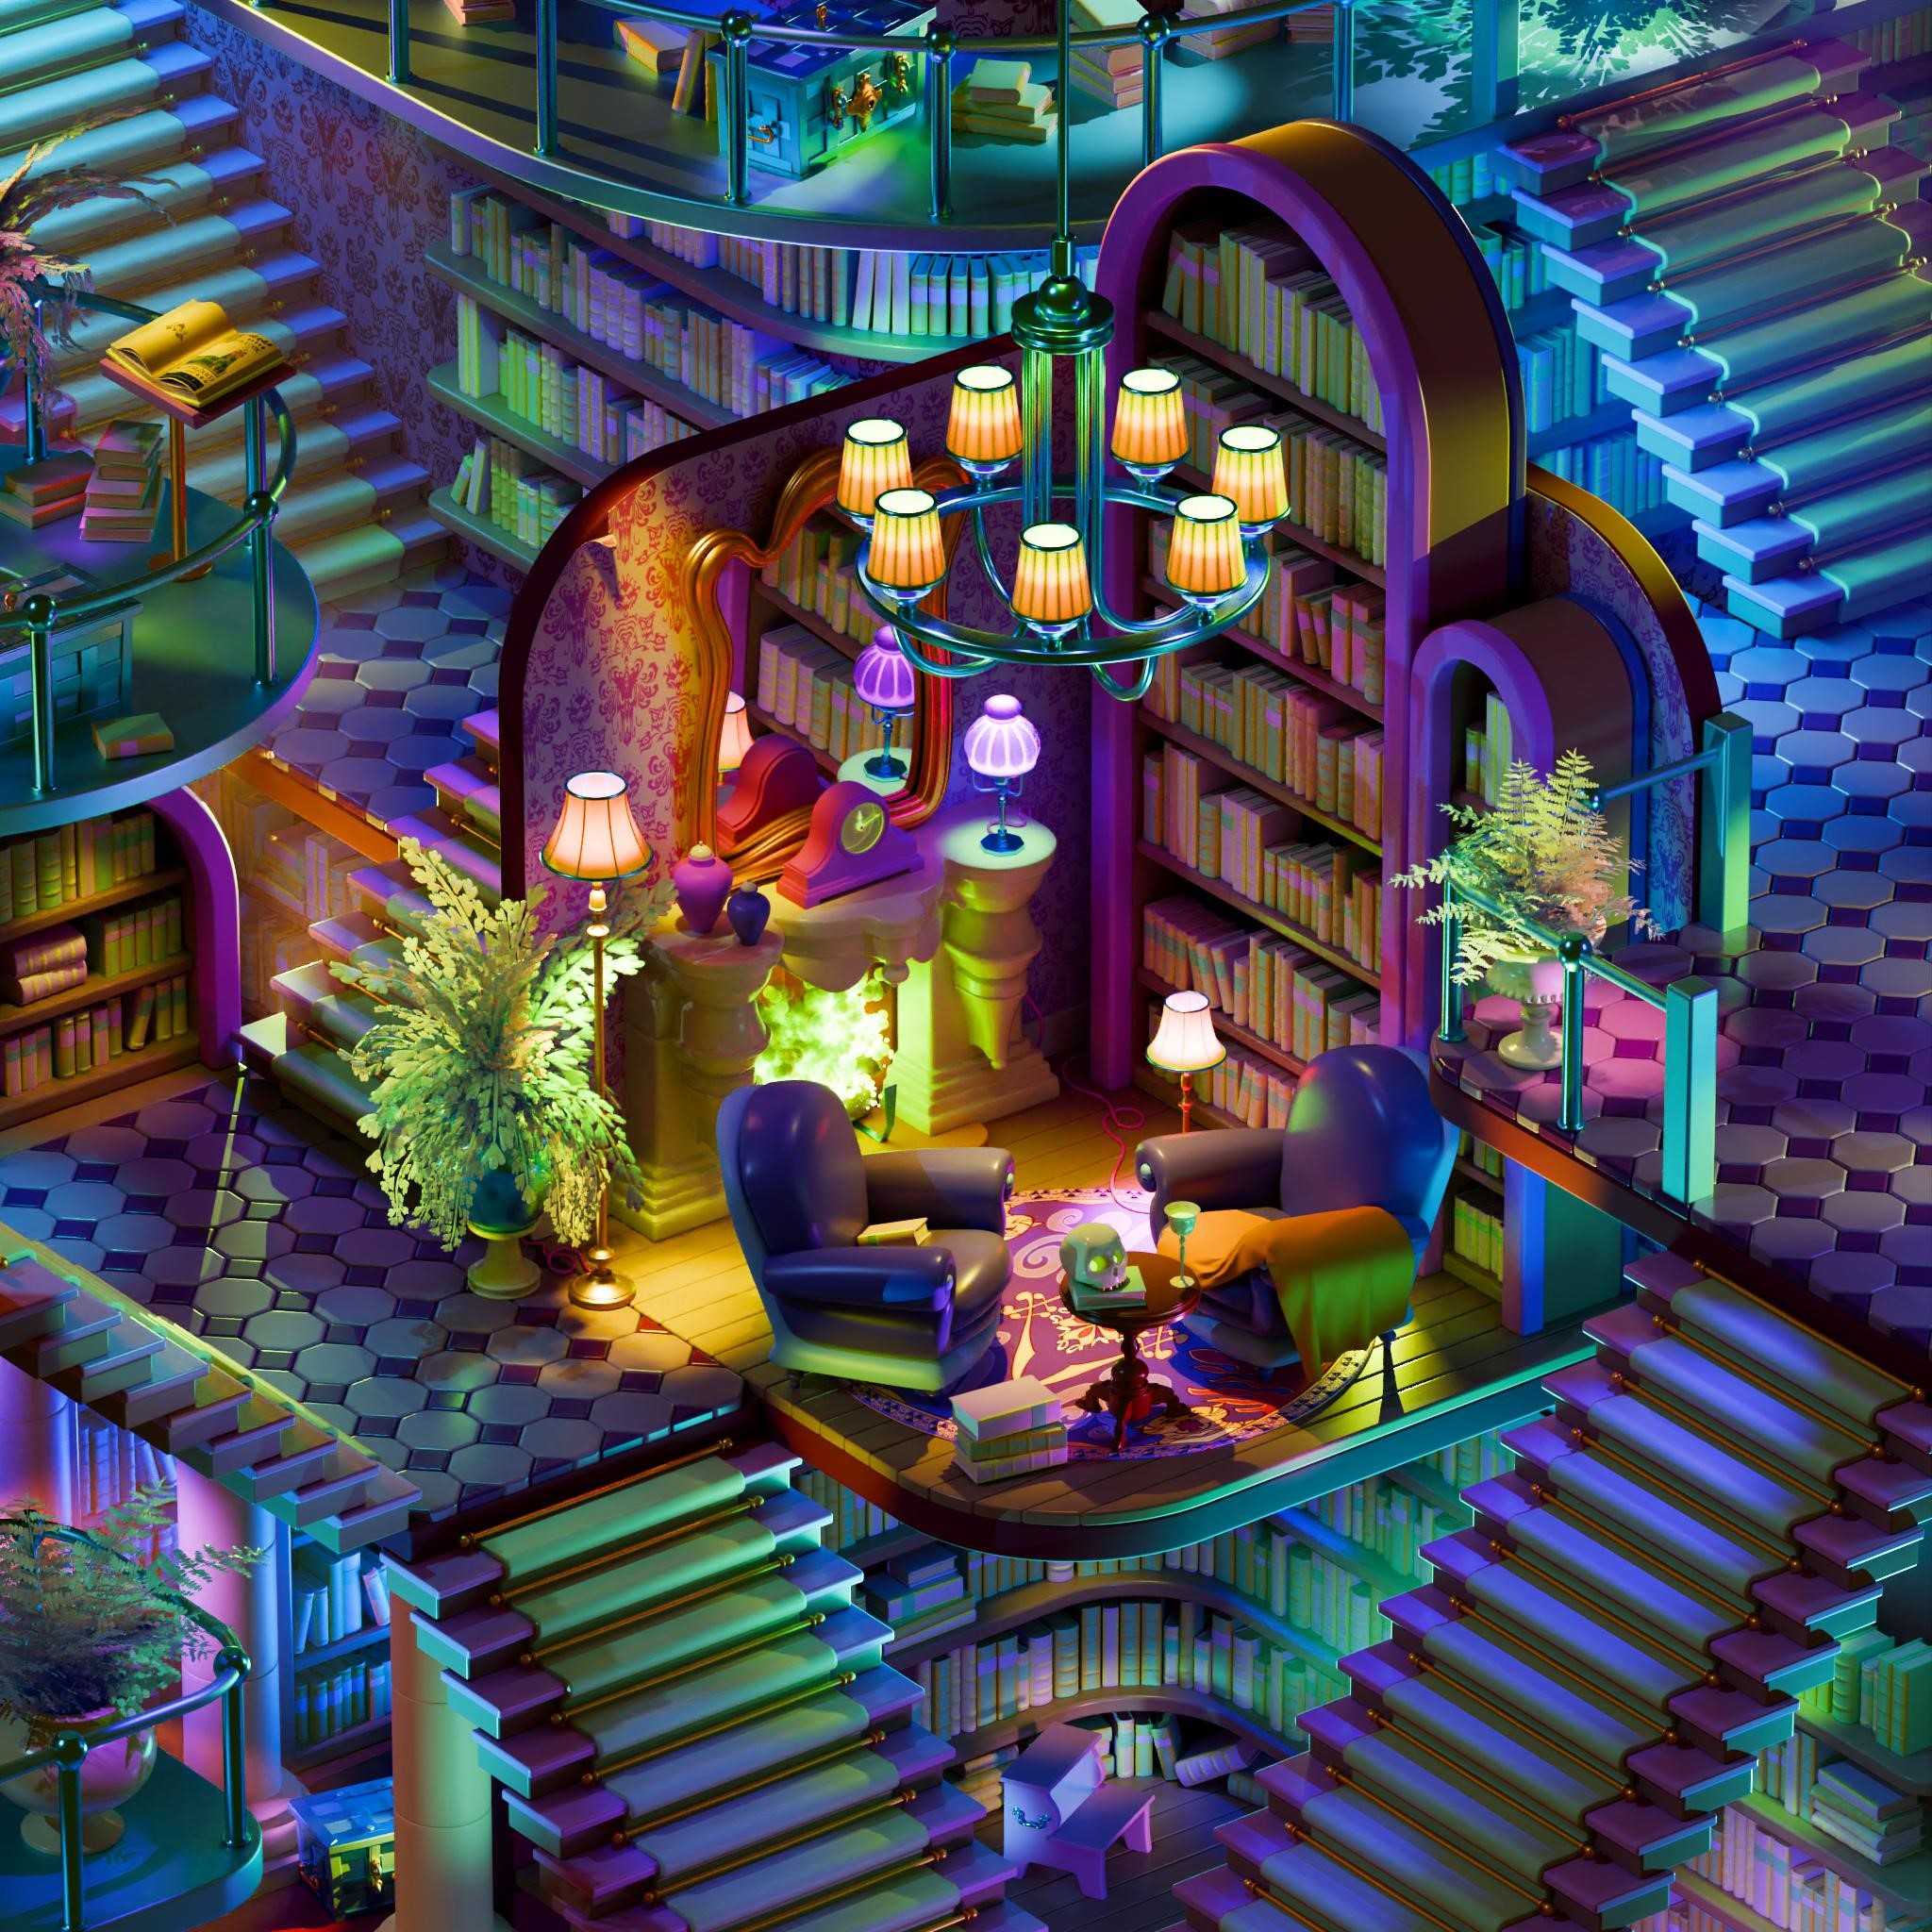
RENDER: The Library
Here is the animated version:
Process time-lapse:

Thank you for sticking to the end, I hope it was worth it!
About the Artist
Damien Boudot is a 3D designer and art director, currently working as a freelancer.