
Behind the Scenes: Zenit ET
INTRODUCTION
Hello, my name is Marcin Biel, and I’ve been learning Blender and 3D art for about two and a half years.
My first contact with the 3D world was during my time at university studying computer science. I was very quickly fascinated by it and could spend hours doing simple assignments we got. However, I didn’t do anything beyond until after I finished my degree. Then I decided to give it a shot and see how it goes when I put in some solid effort.
I picked Blender as it was free and started looking for tutorials. I followed a few of them, the famous donut tutorial by Andrew Price, sea shack by Grant Abbitt, and hard-surface videos by Josh Gambrell. After about a month of learning the ropes of the software, I’ve started doing my own projects.
INSPIRATION
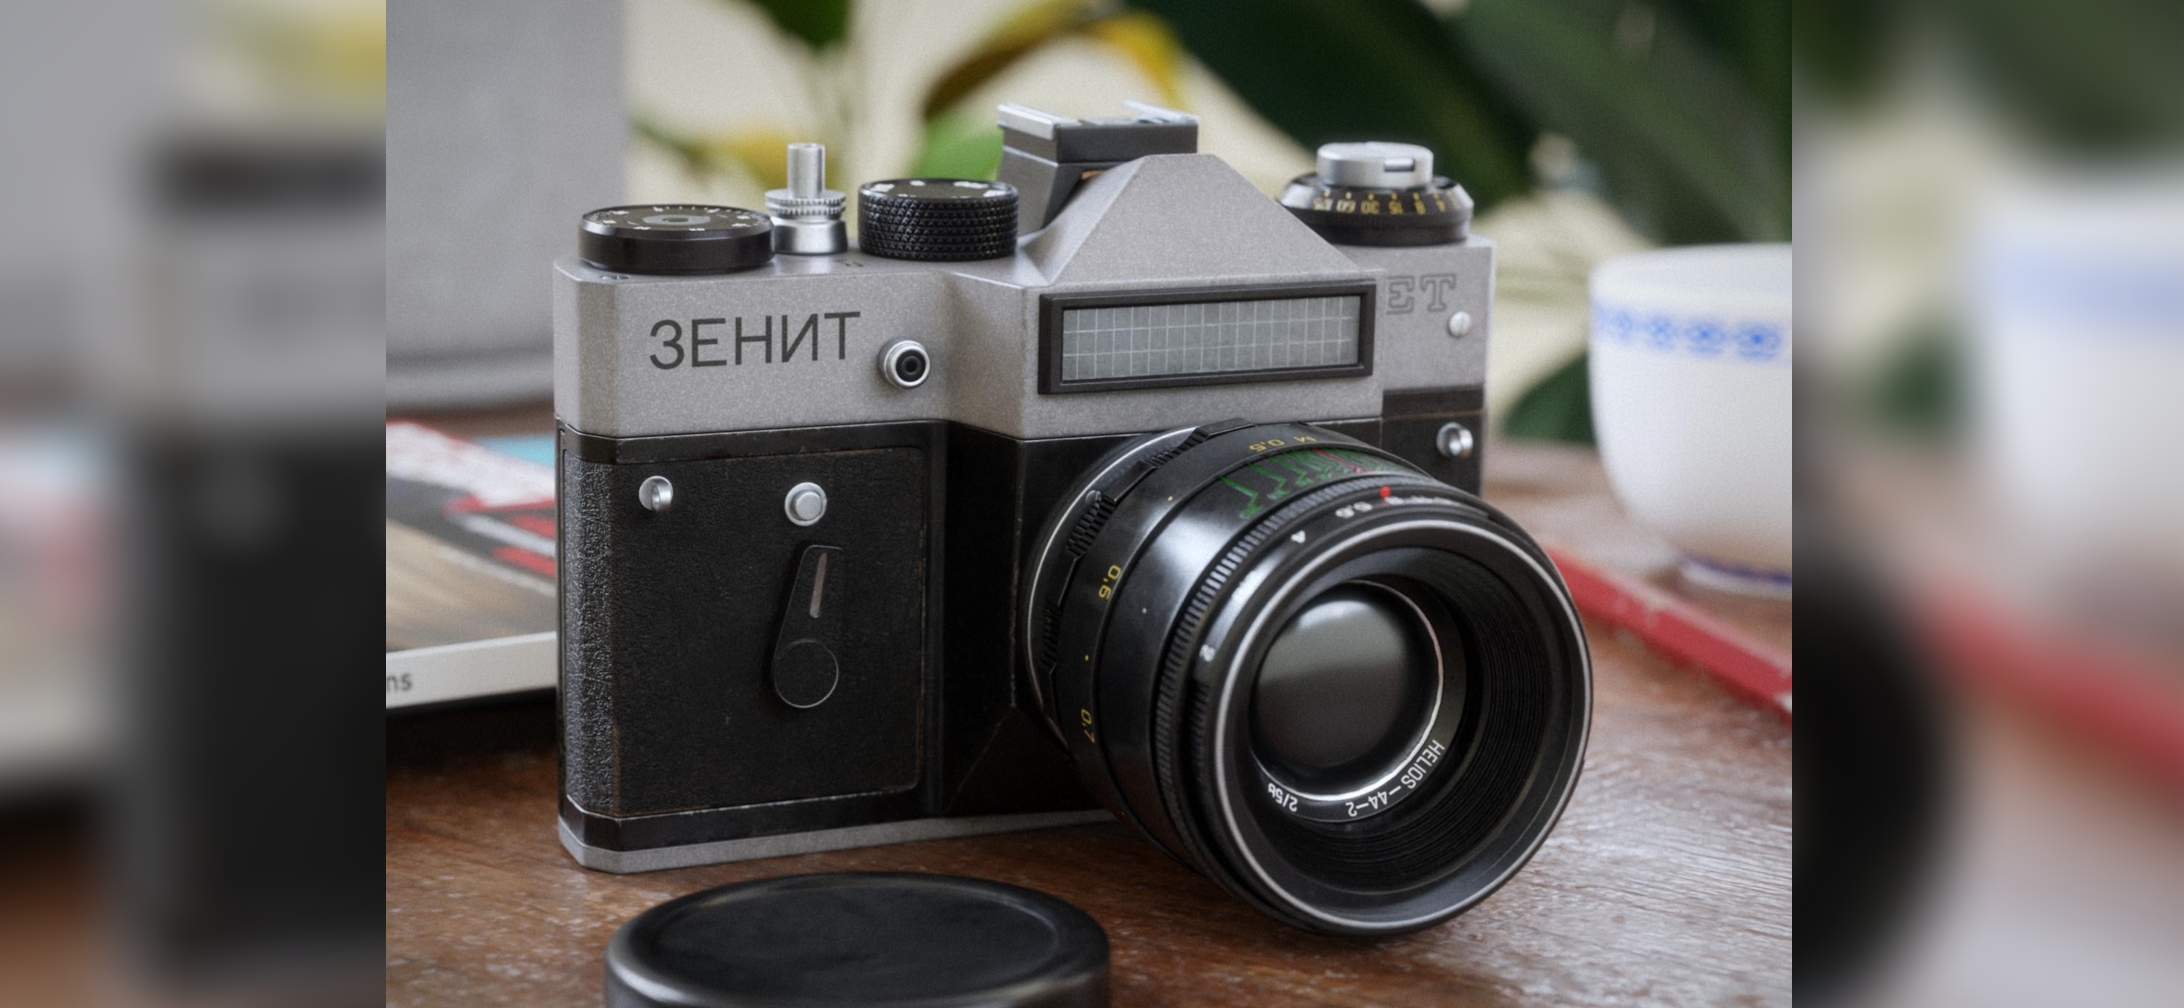
I’ve always loved how this camera looked—simple design but very appealing. Ever since I’ve become more proficient in modeling, I wanted to tackle making it in Blender but there were always other projects. So finally, a few weeks ago, after walking by the shelf the camera was sitting on, I decided to make it.
PROCESS
Software used:
- Blender 4.0
- Substance Painter
- Inkscape
- Gimp
Reference
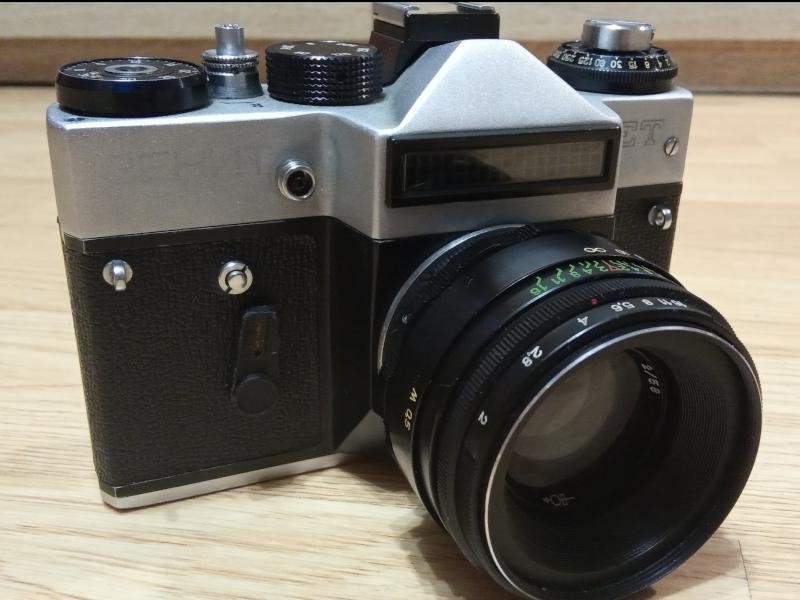
Having a real object as a reference while modeling is the best. I was able to measure things, look up close, touch it, and feel the surface of different materials. It’s a luxury that won’t often be present.
Modeling
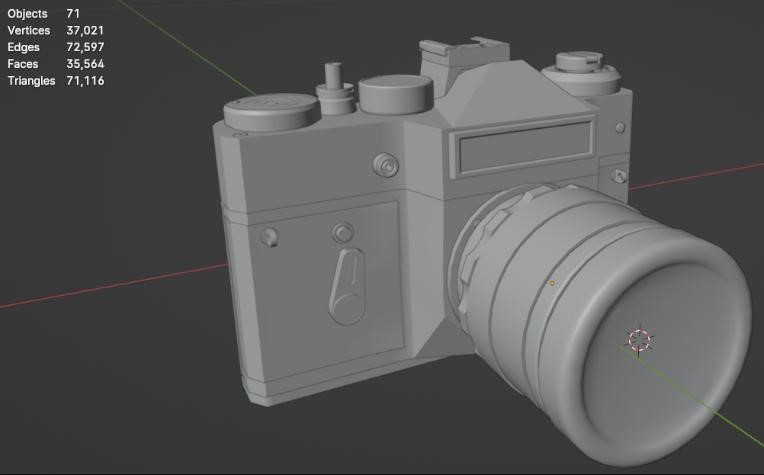
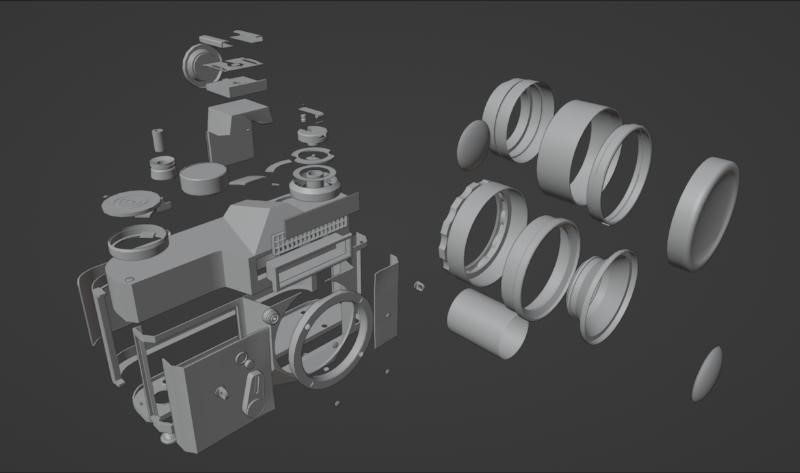
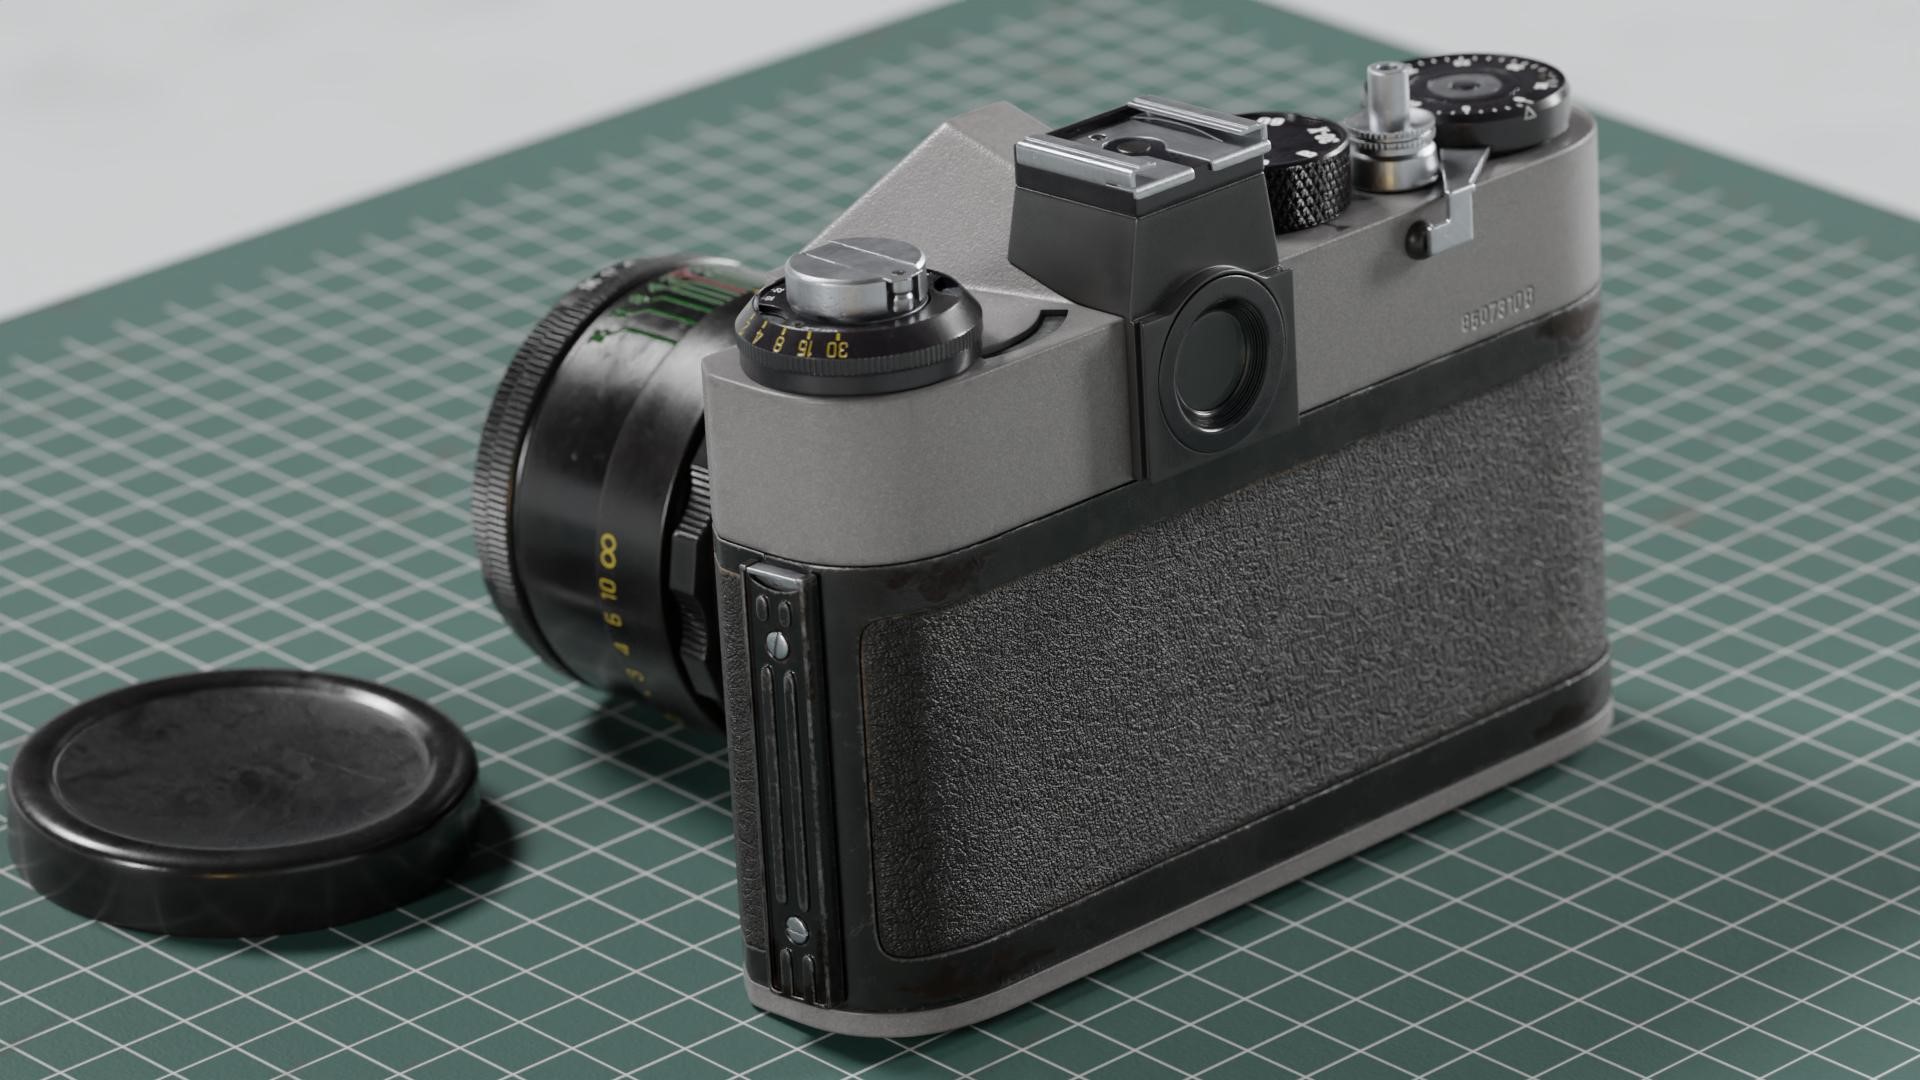
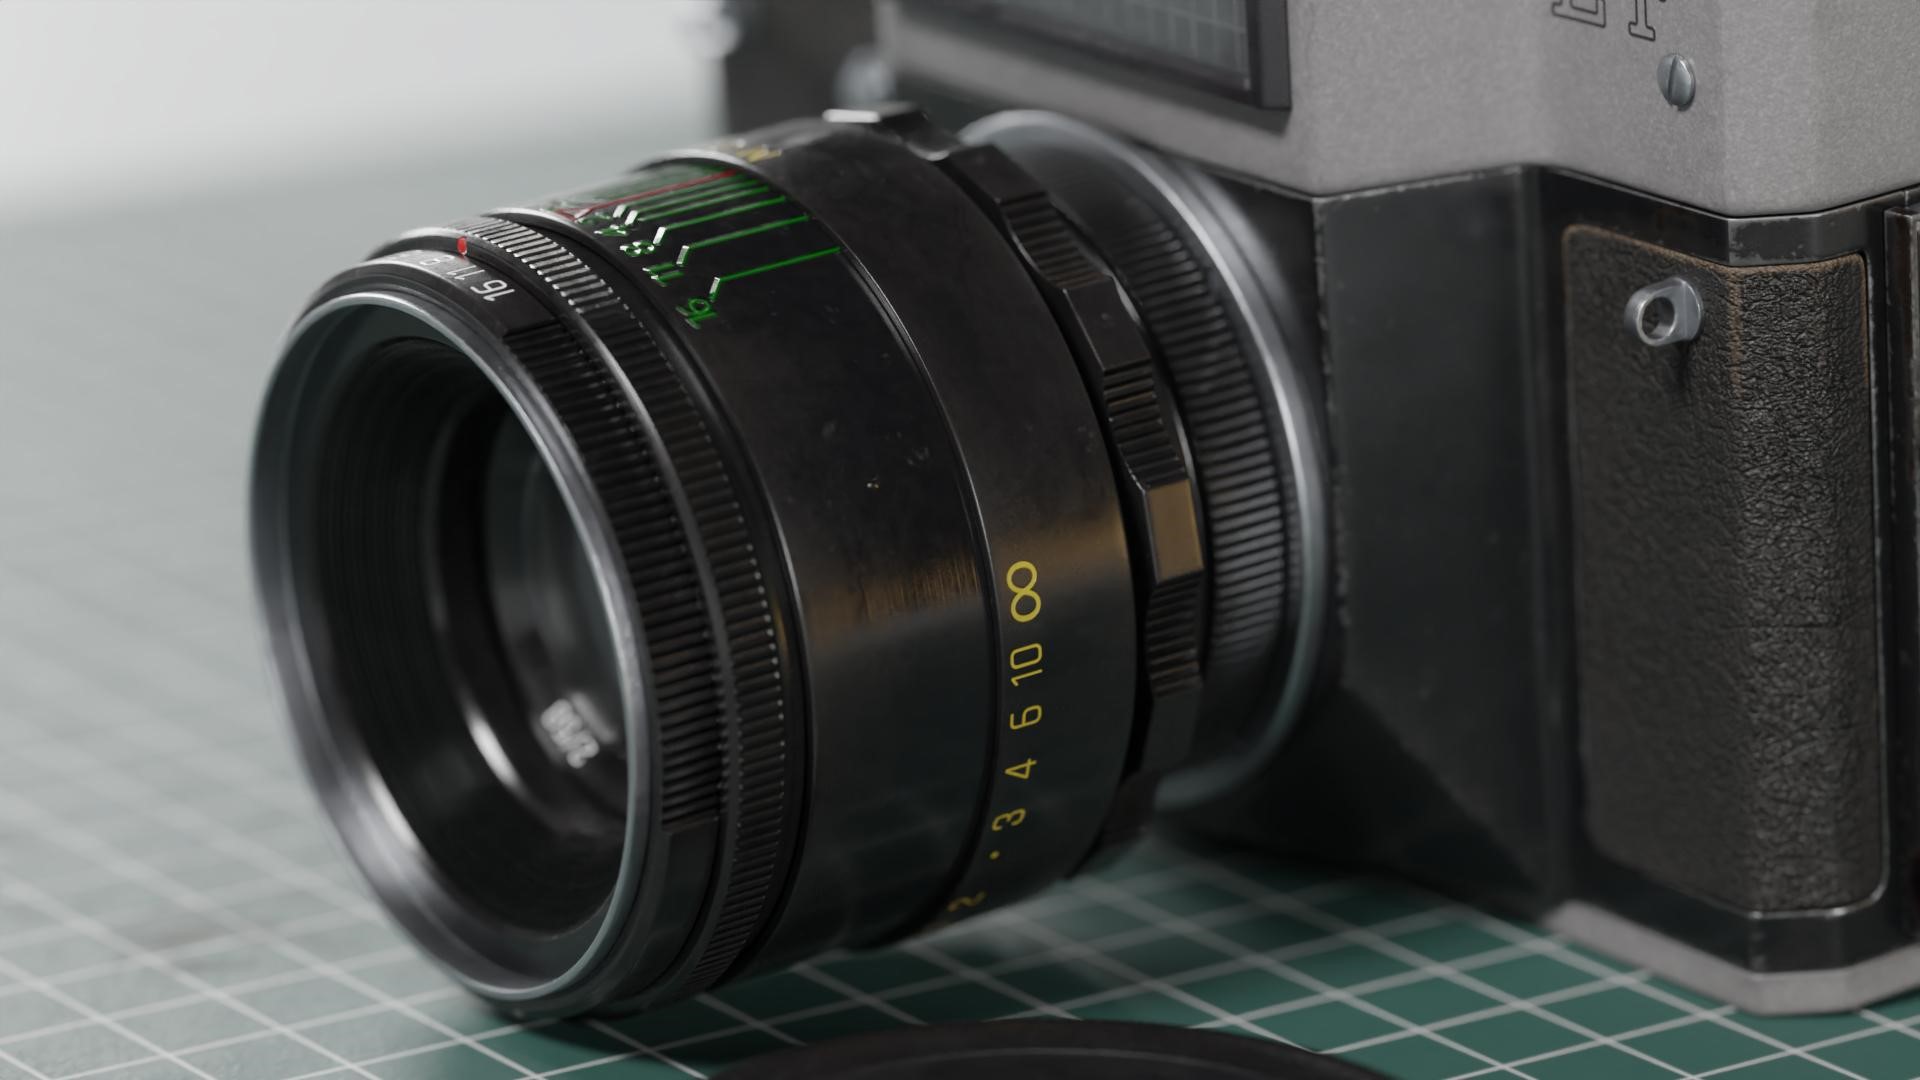
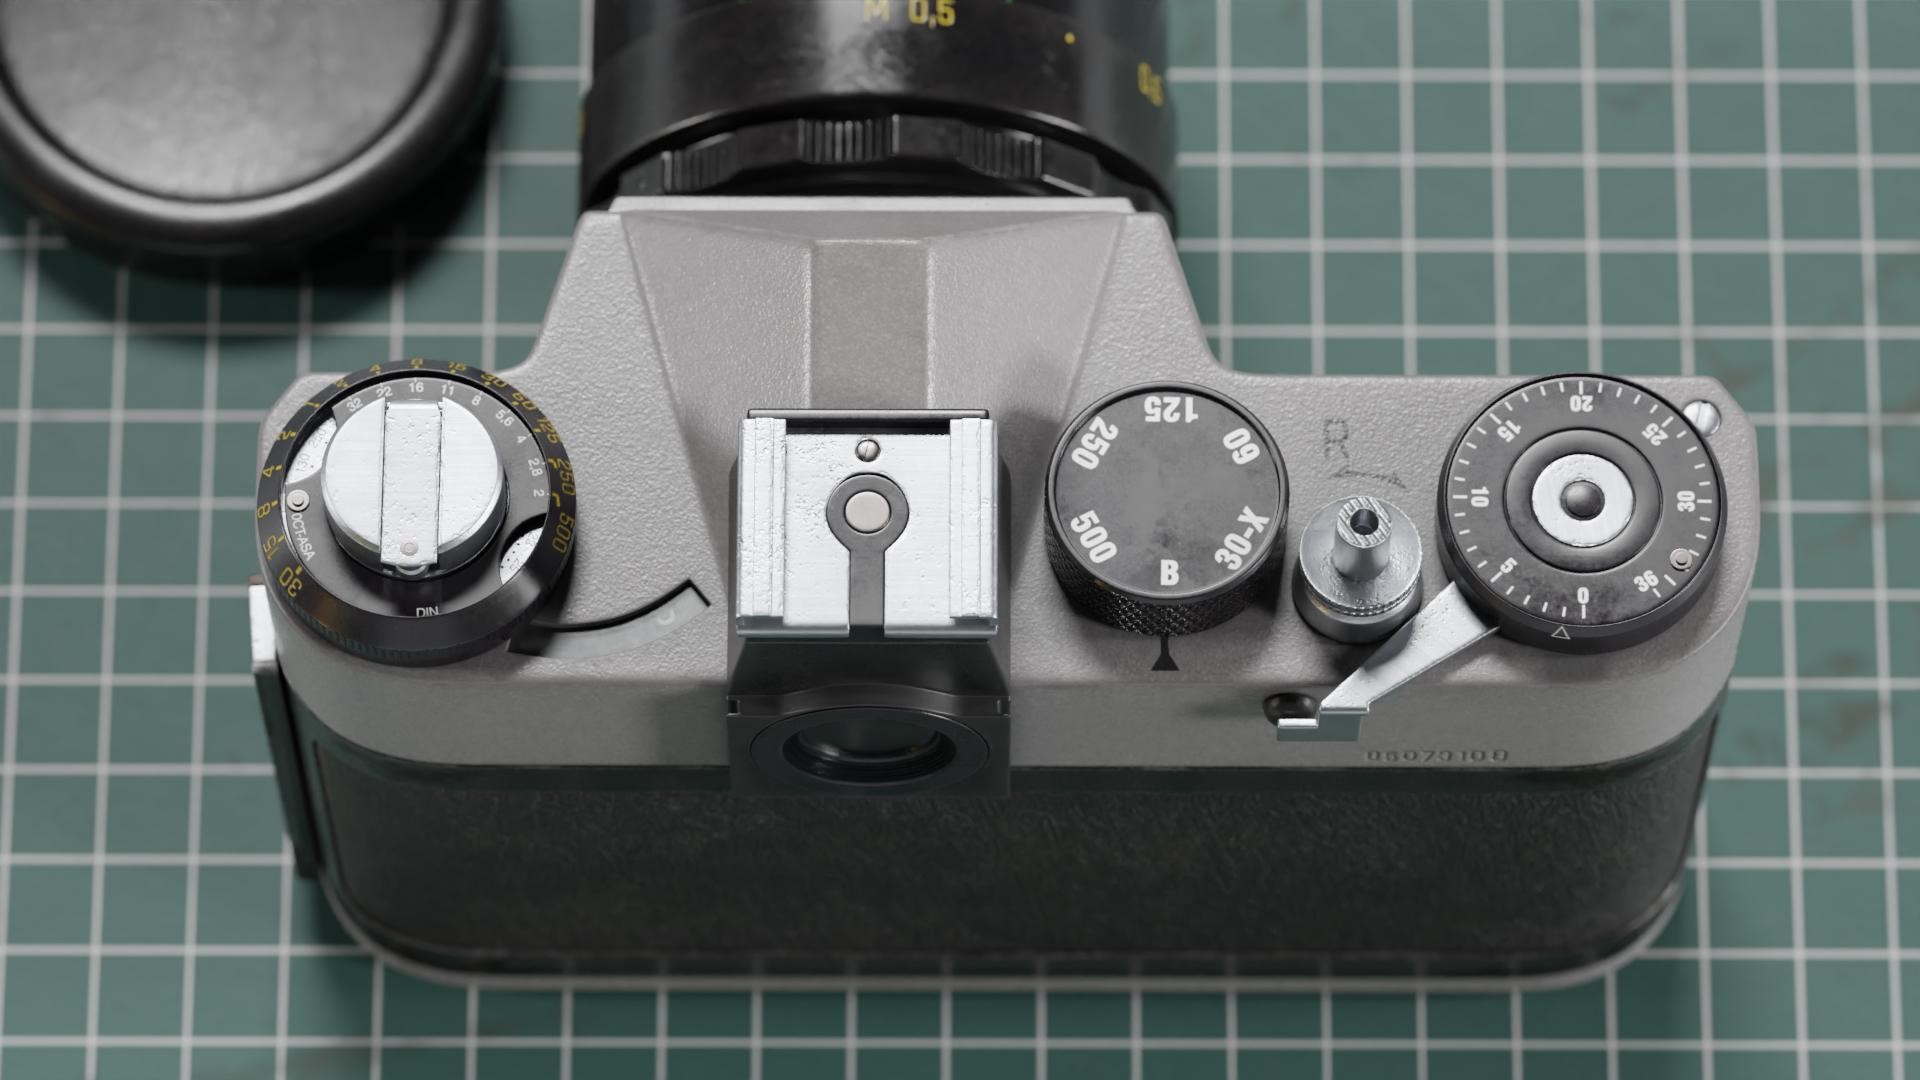
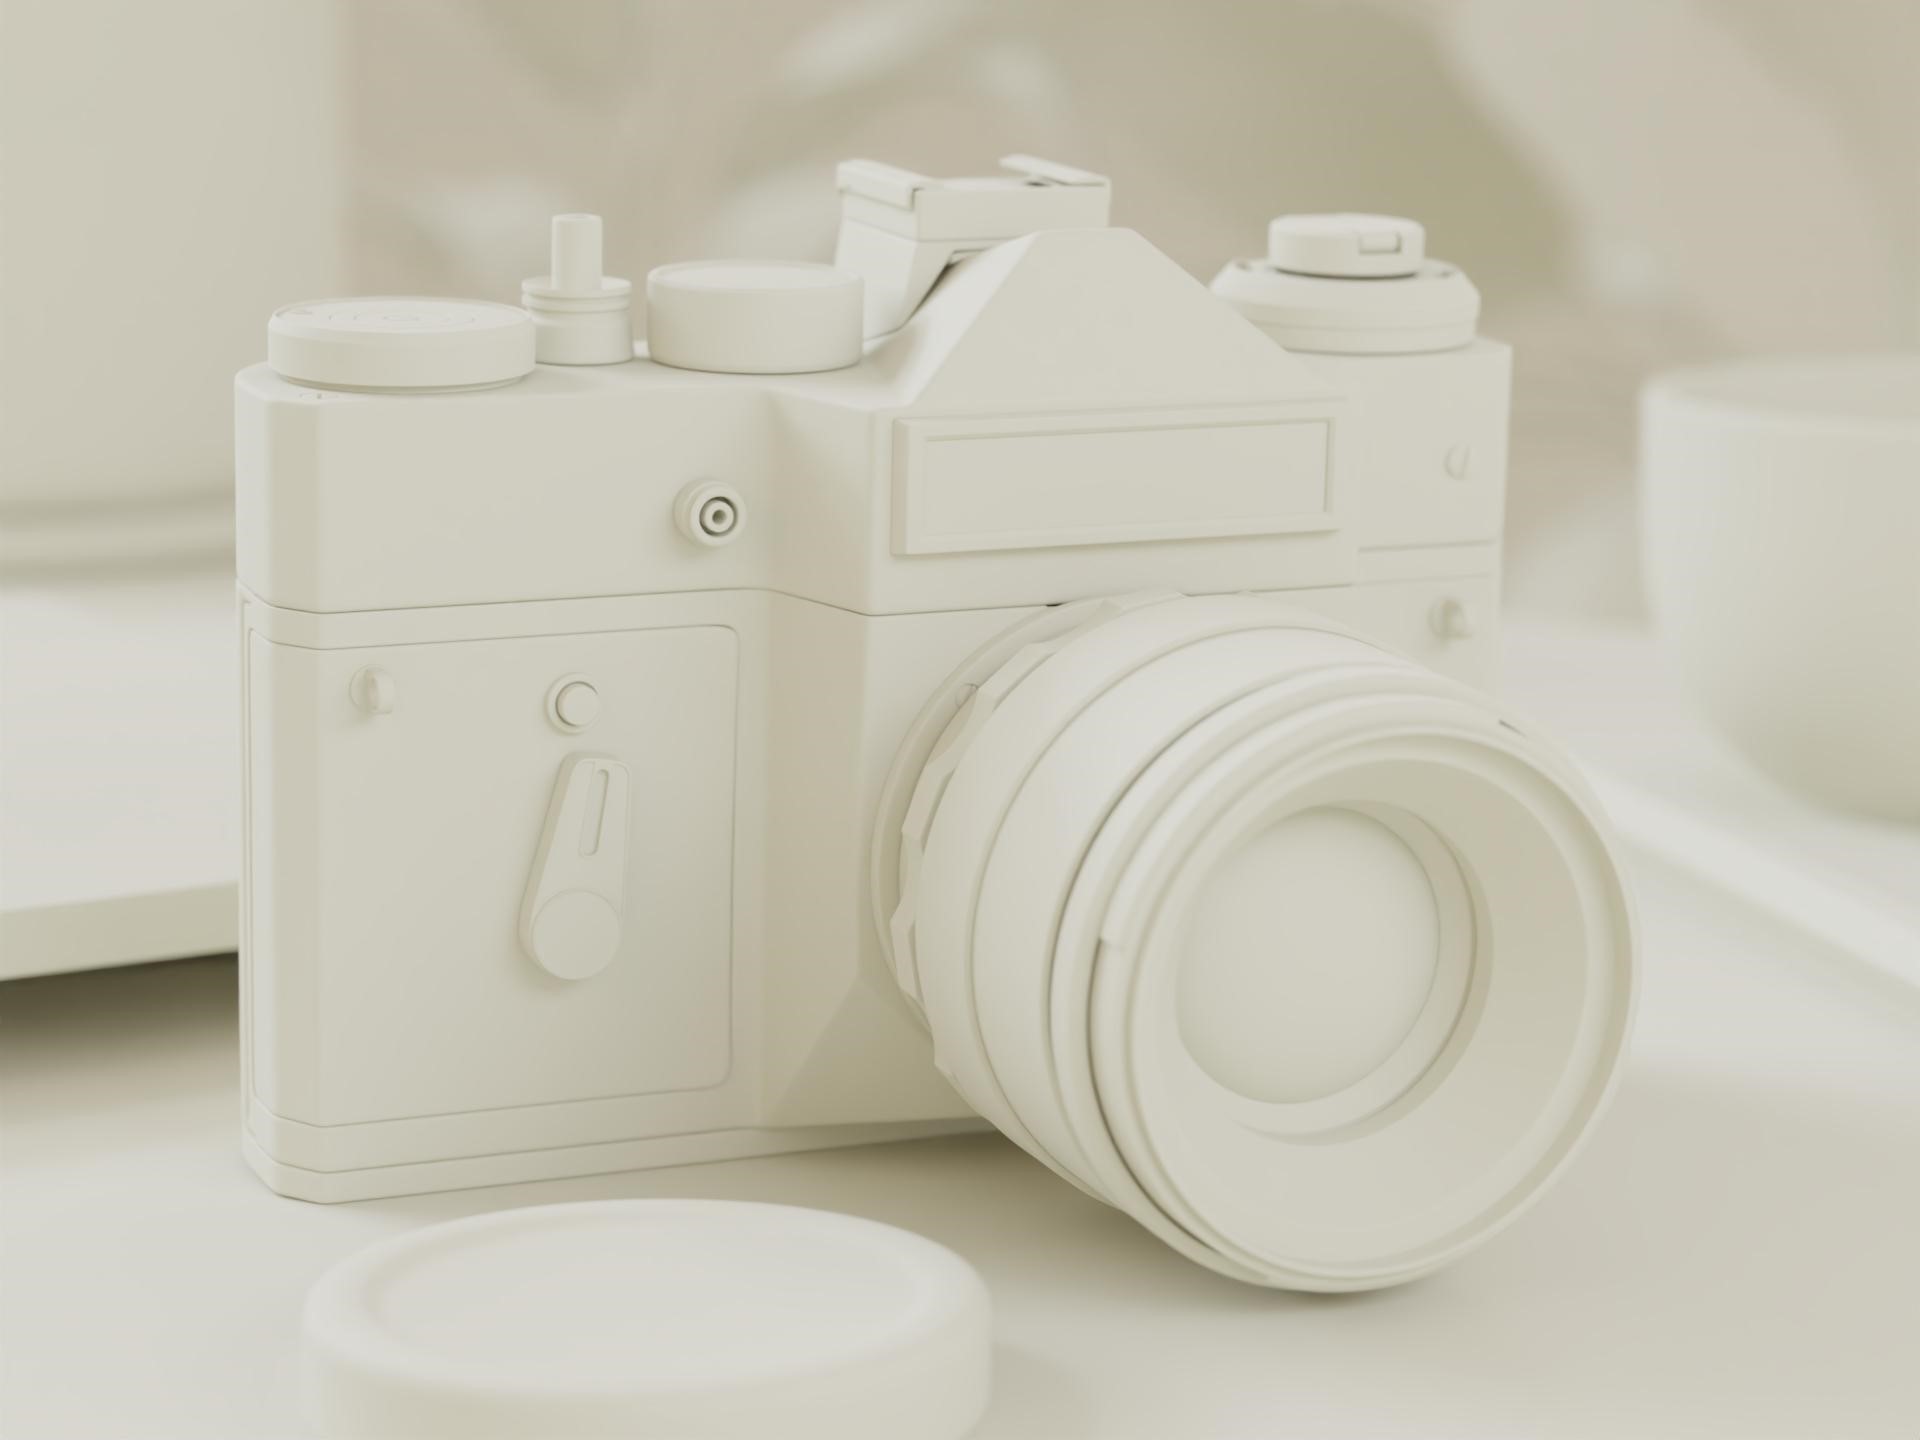
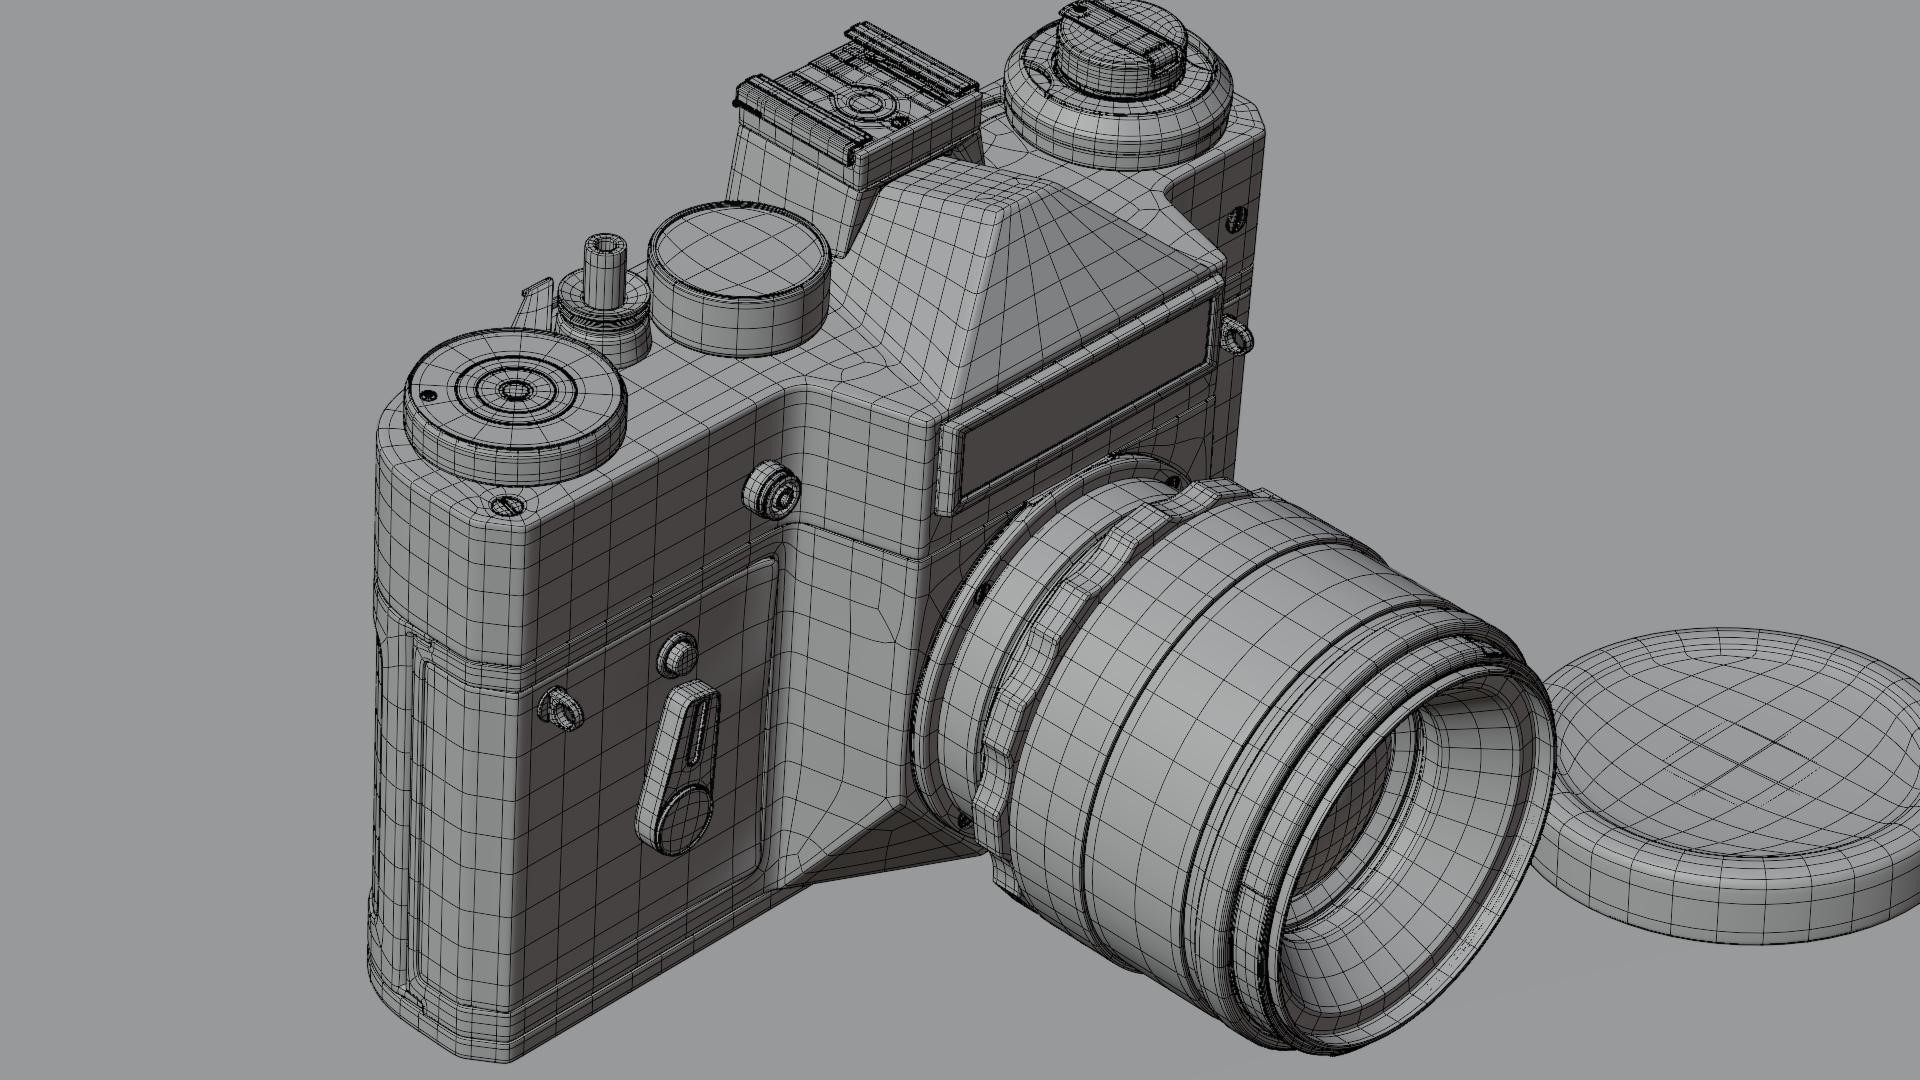
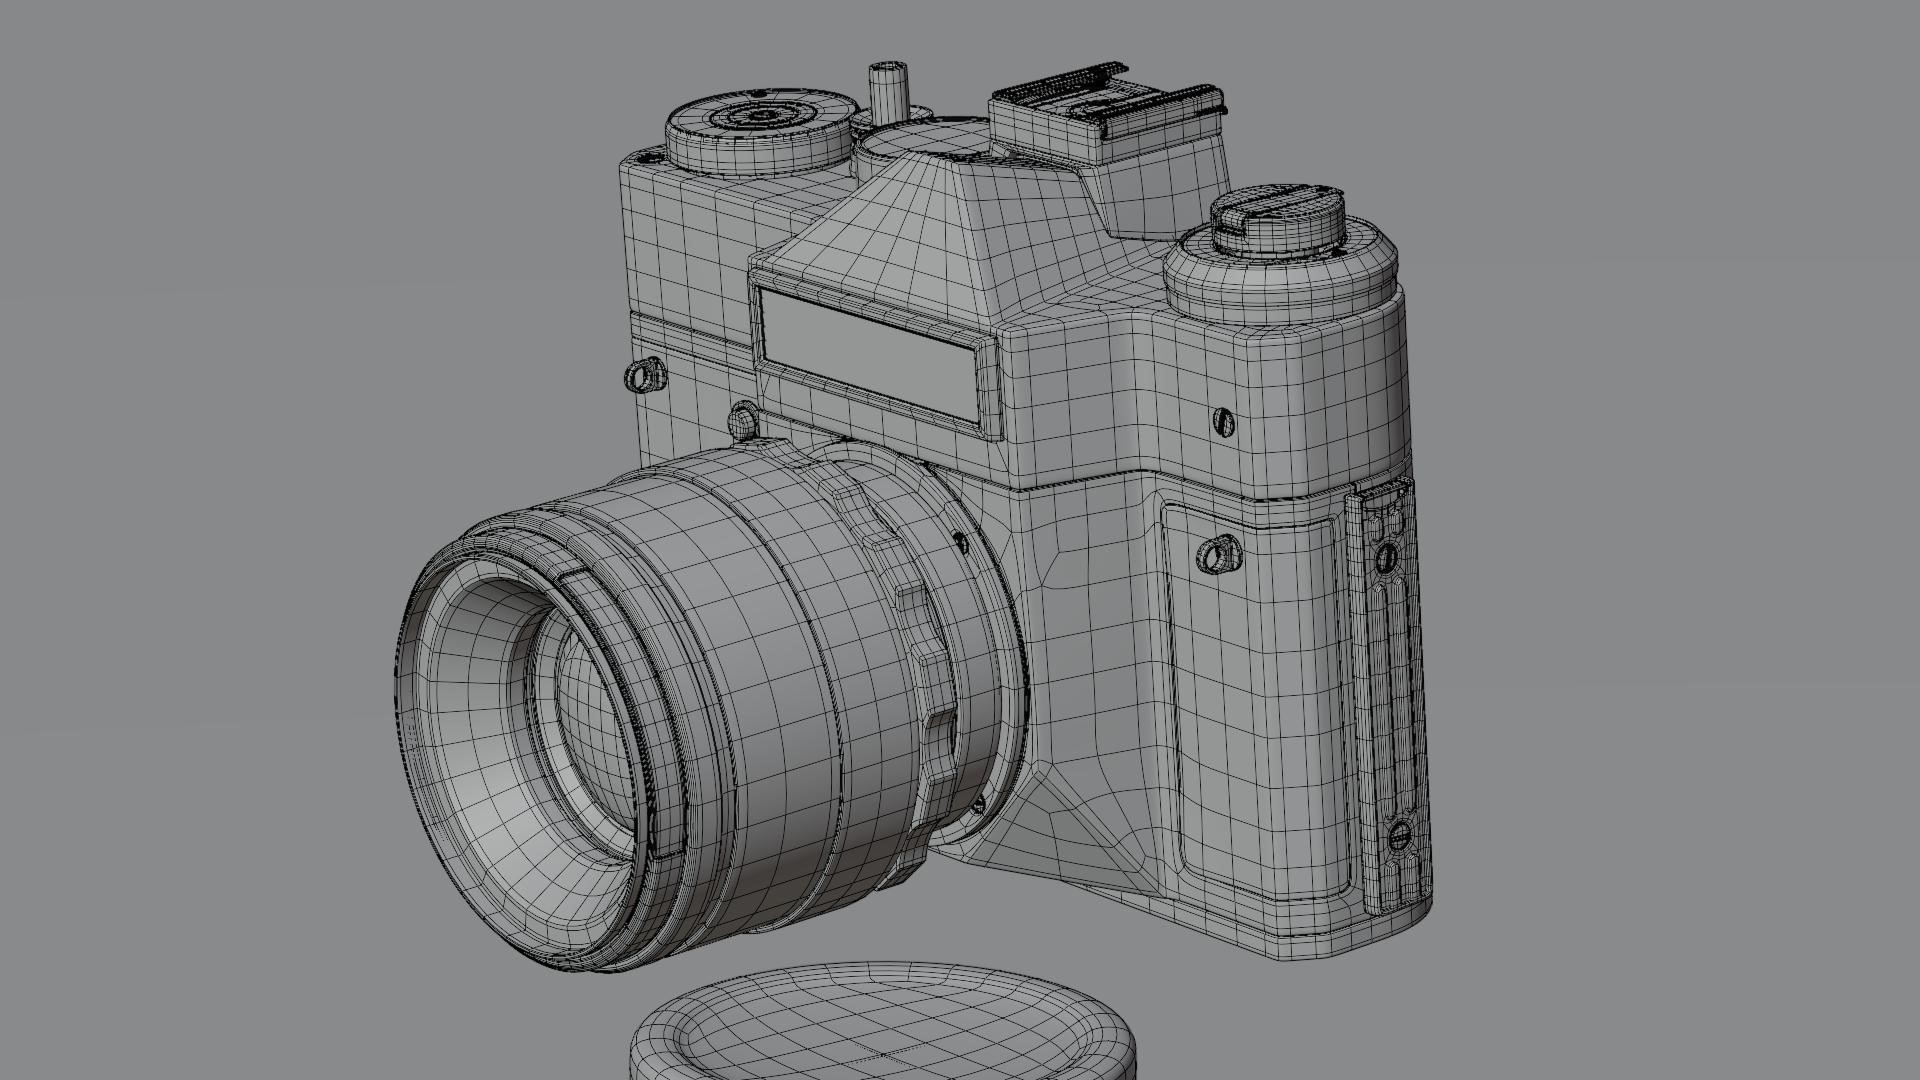
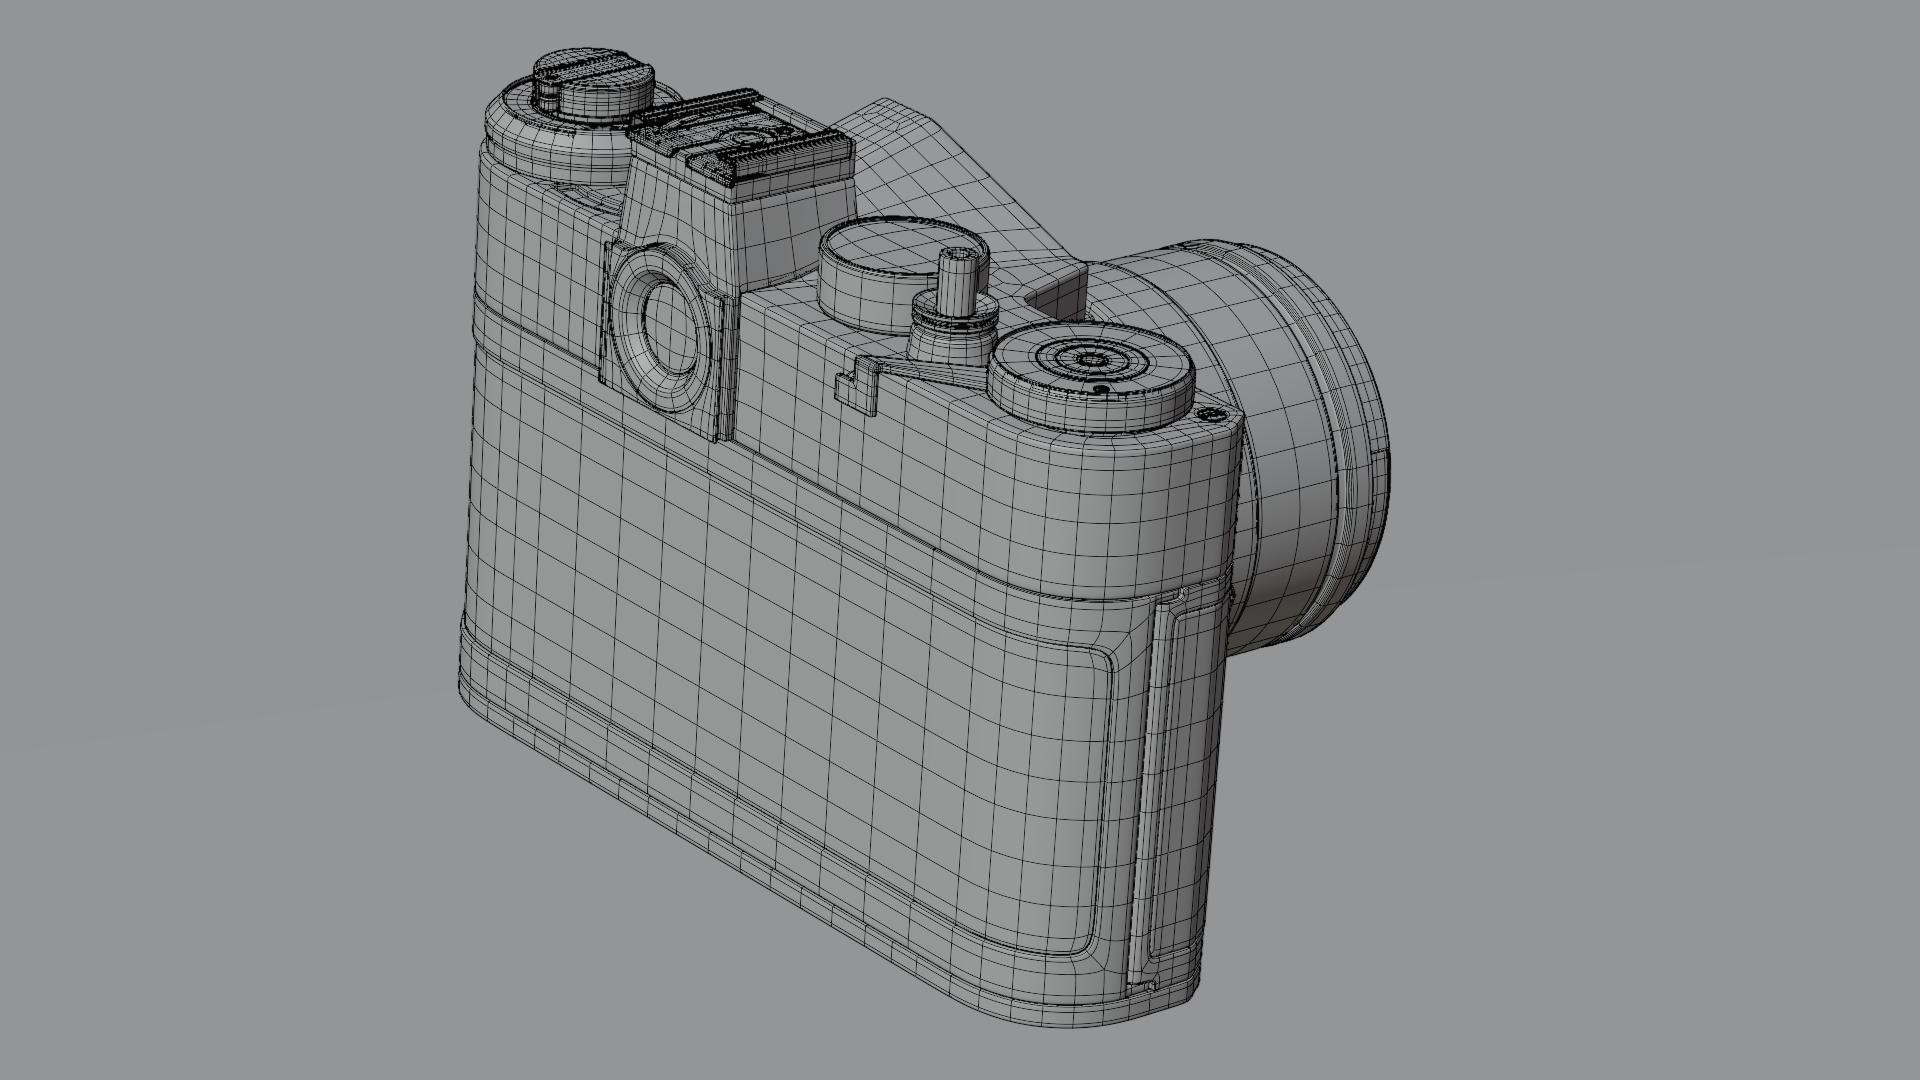
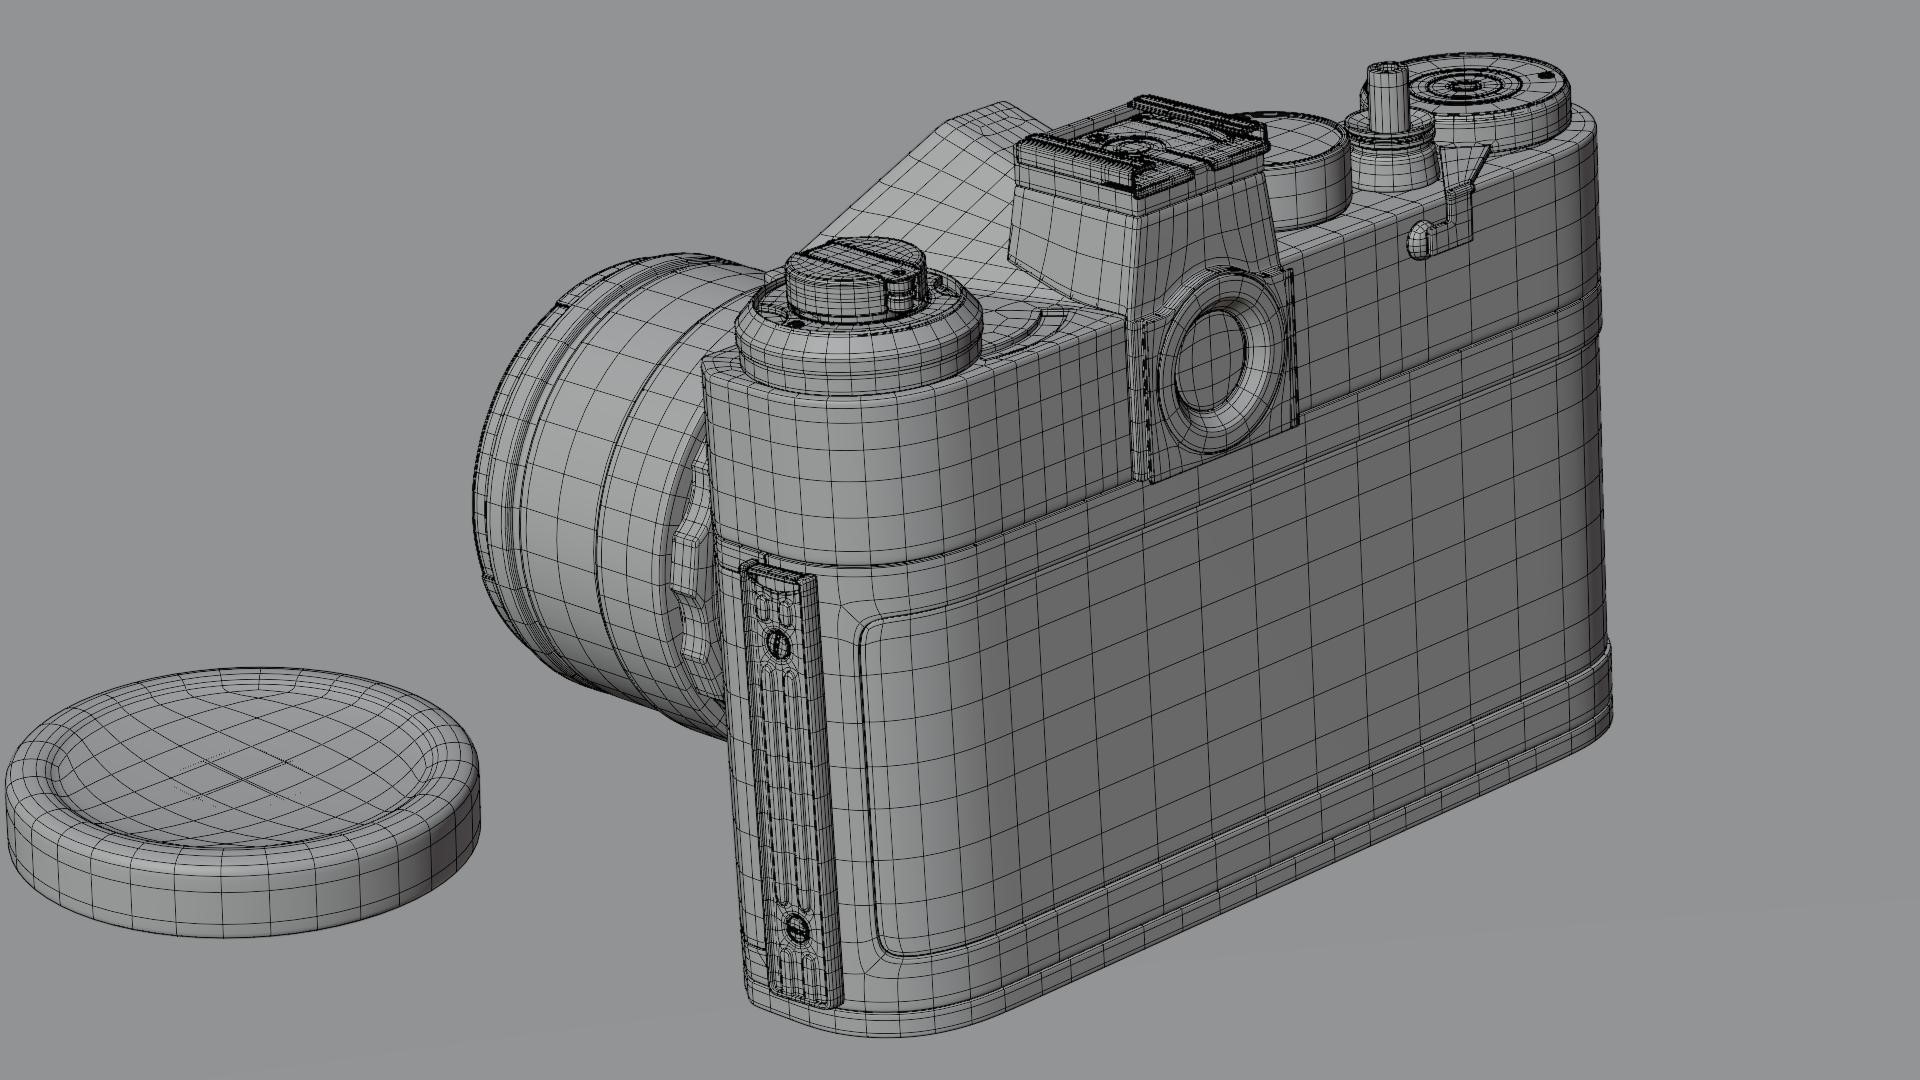
I really like modeling using subdivision surfaces and that was the choice for this project. I started with the simplest shapes to define the dimensions. While doing that, I was actively thinking how to approach different shapes, if and where I can use a mirror modifier. The lens mount is a little off to the side so I decided to separate that part from the main mesh and that allowed me to use a mirror modifier and speed up the process. Overall, making this camera was quite simple as its components were mostly cylinders with a few exceptions.
To save some space on UV maps, I removed the parts that weren’t visible to the eye, such as the bottom part of all the dials, parts of the case that were under the leather, and the inner part of the leather itself.
UVs and Texturing
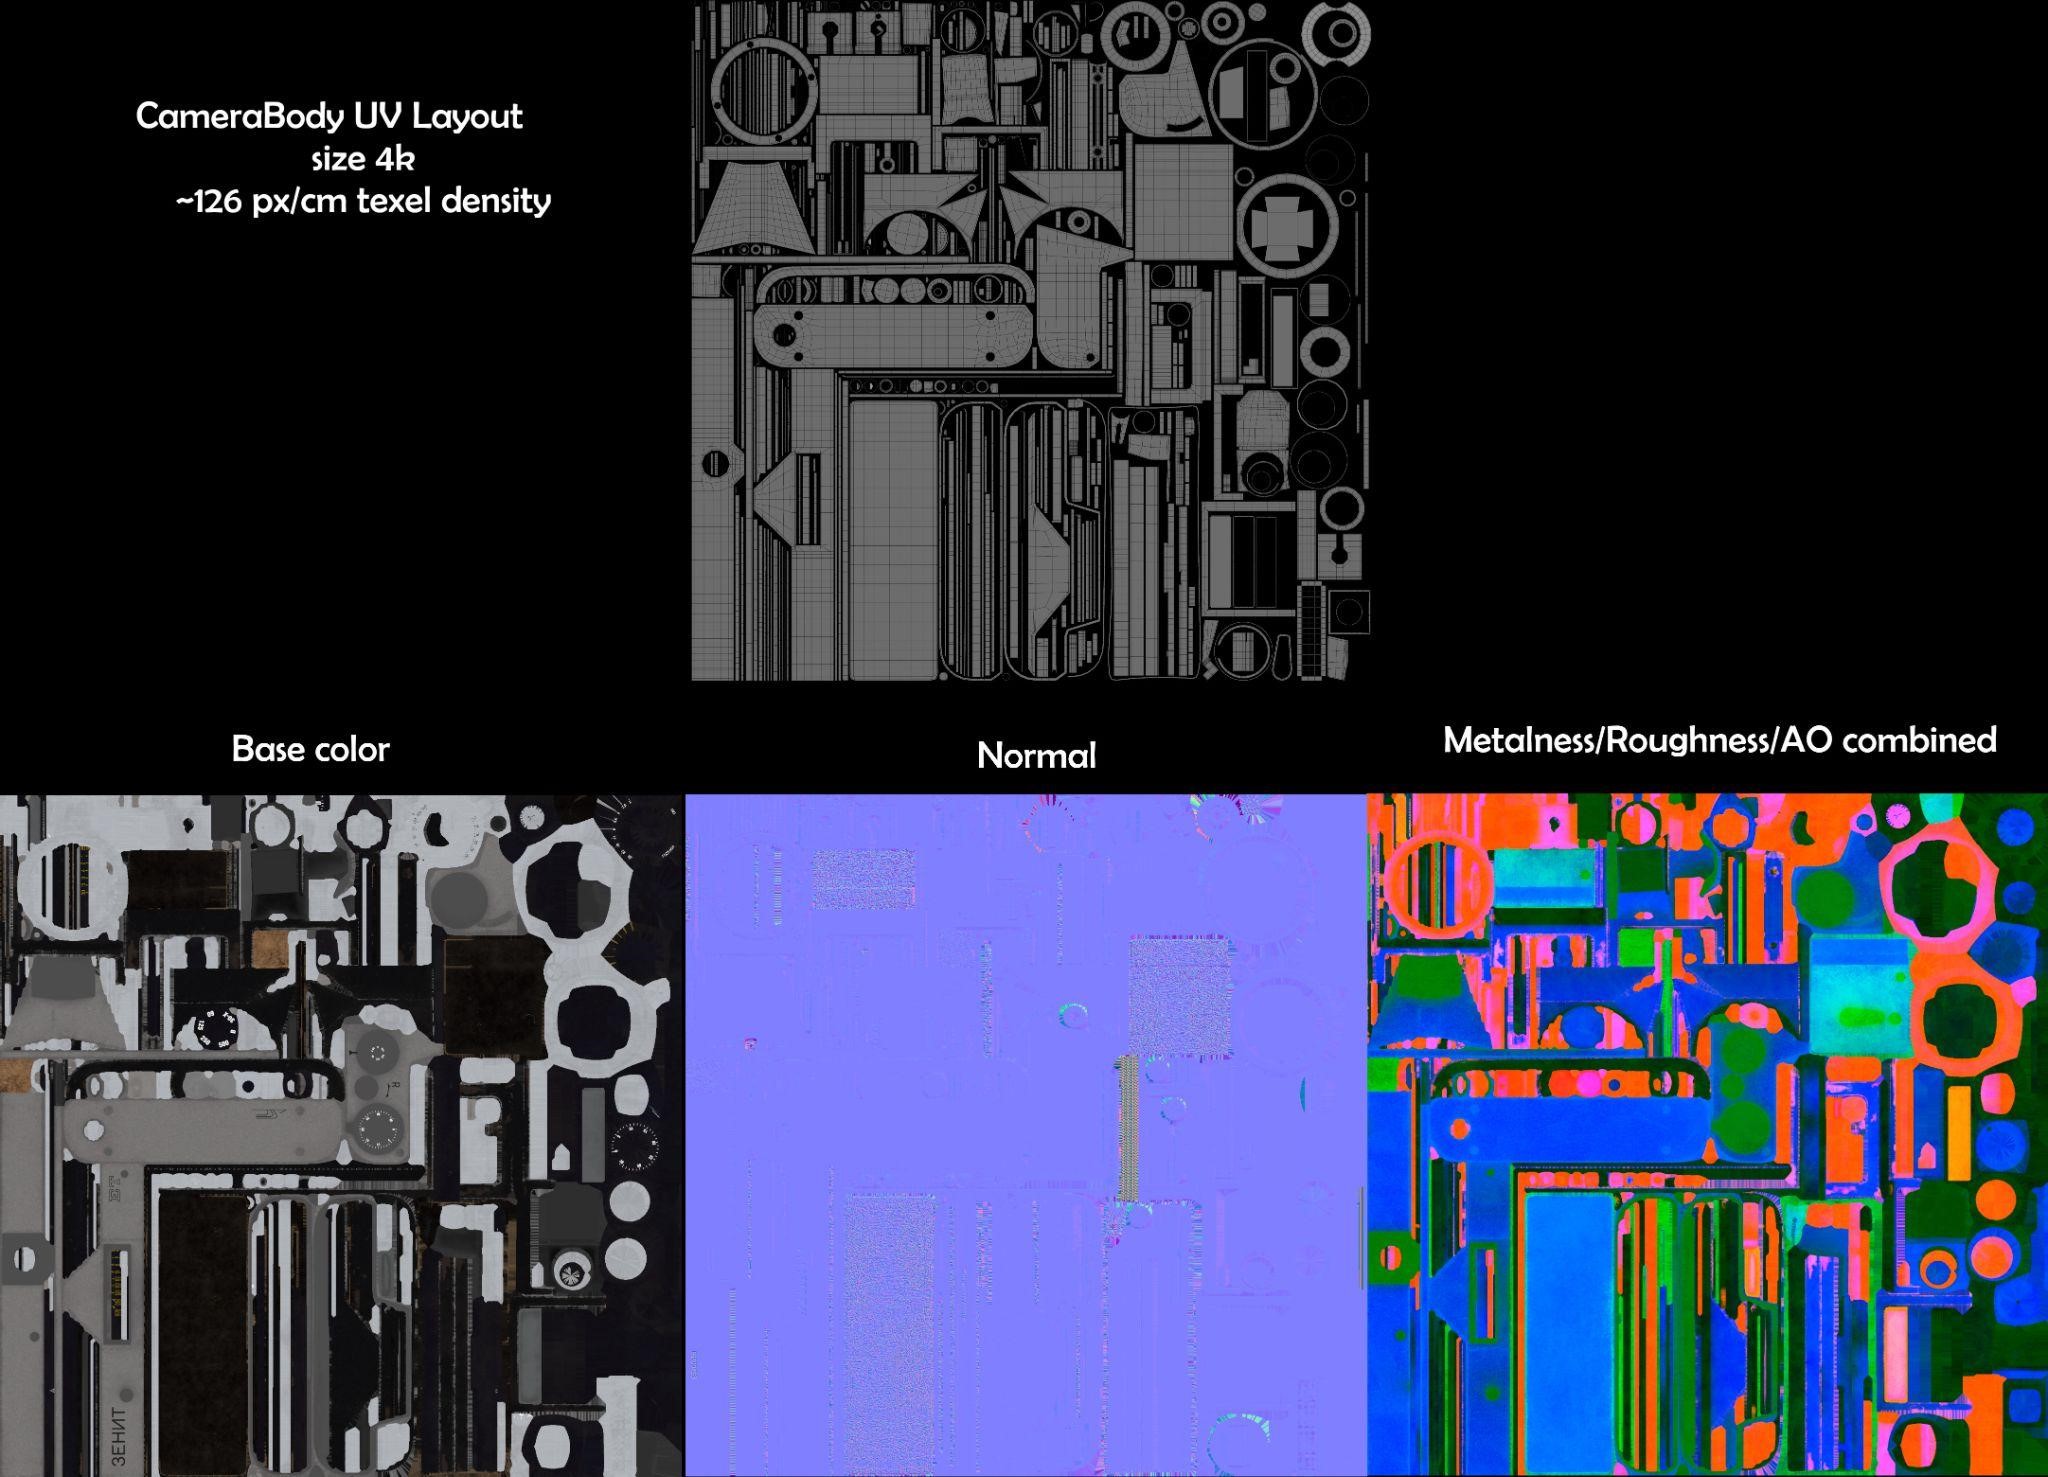
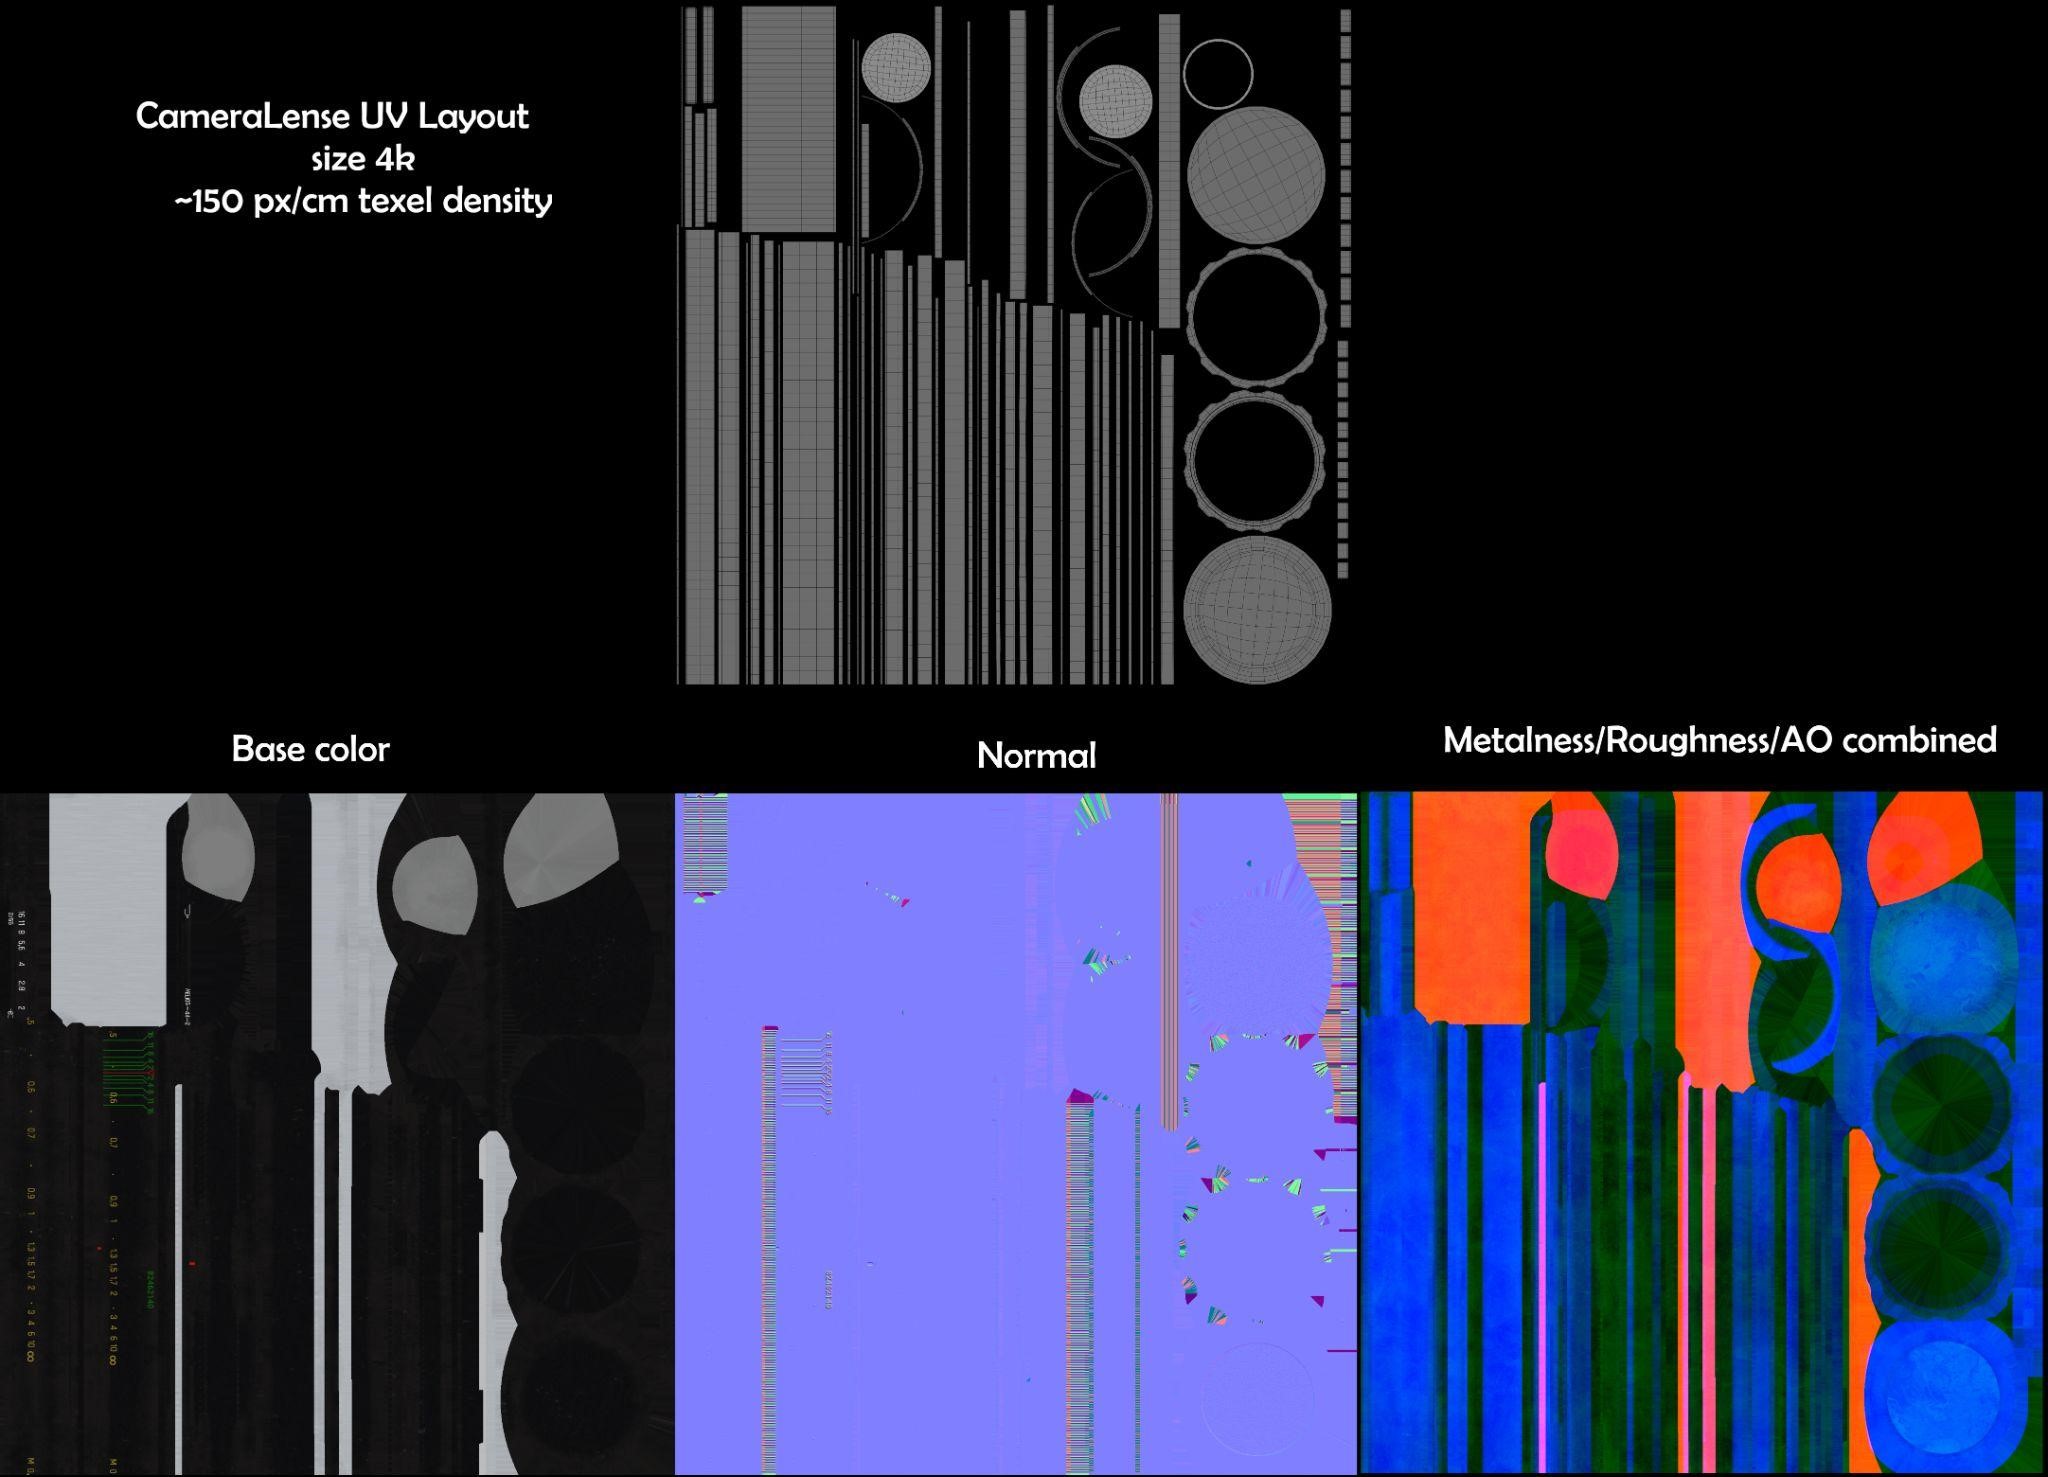
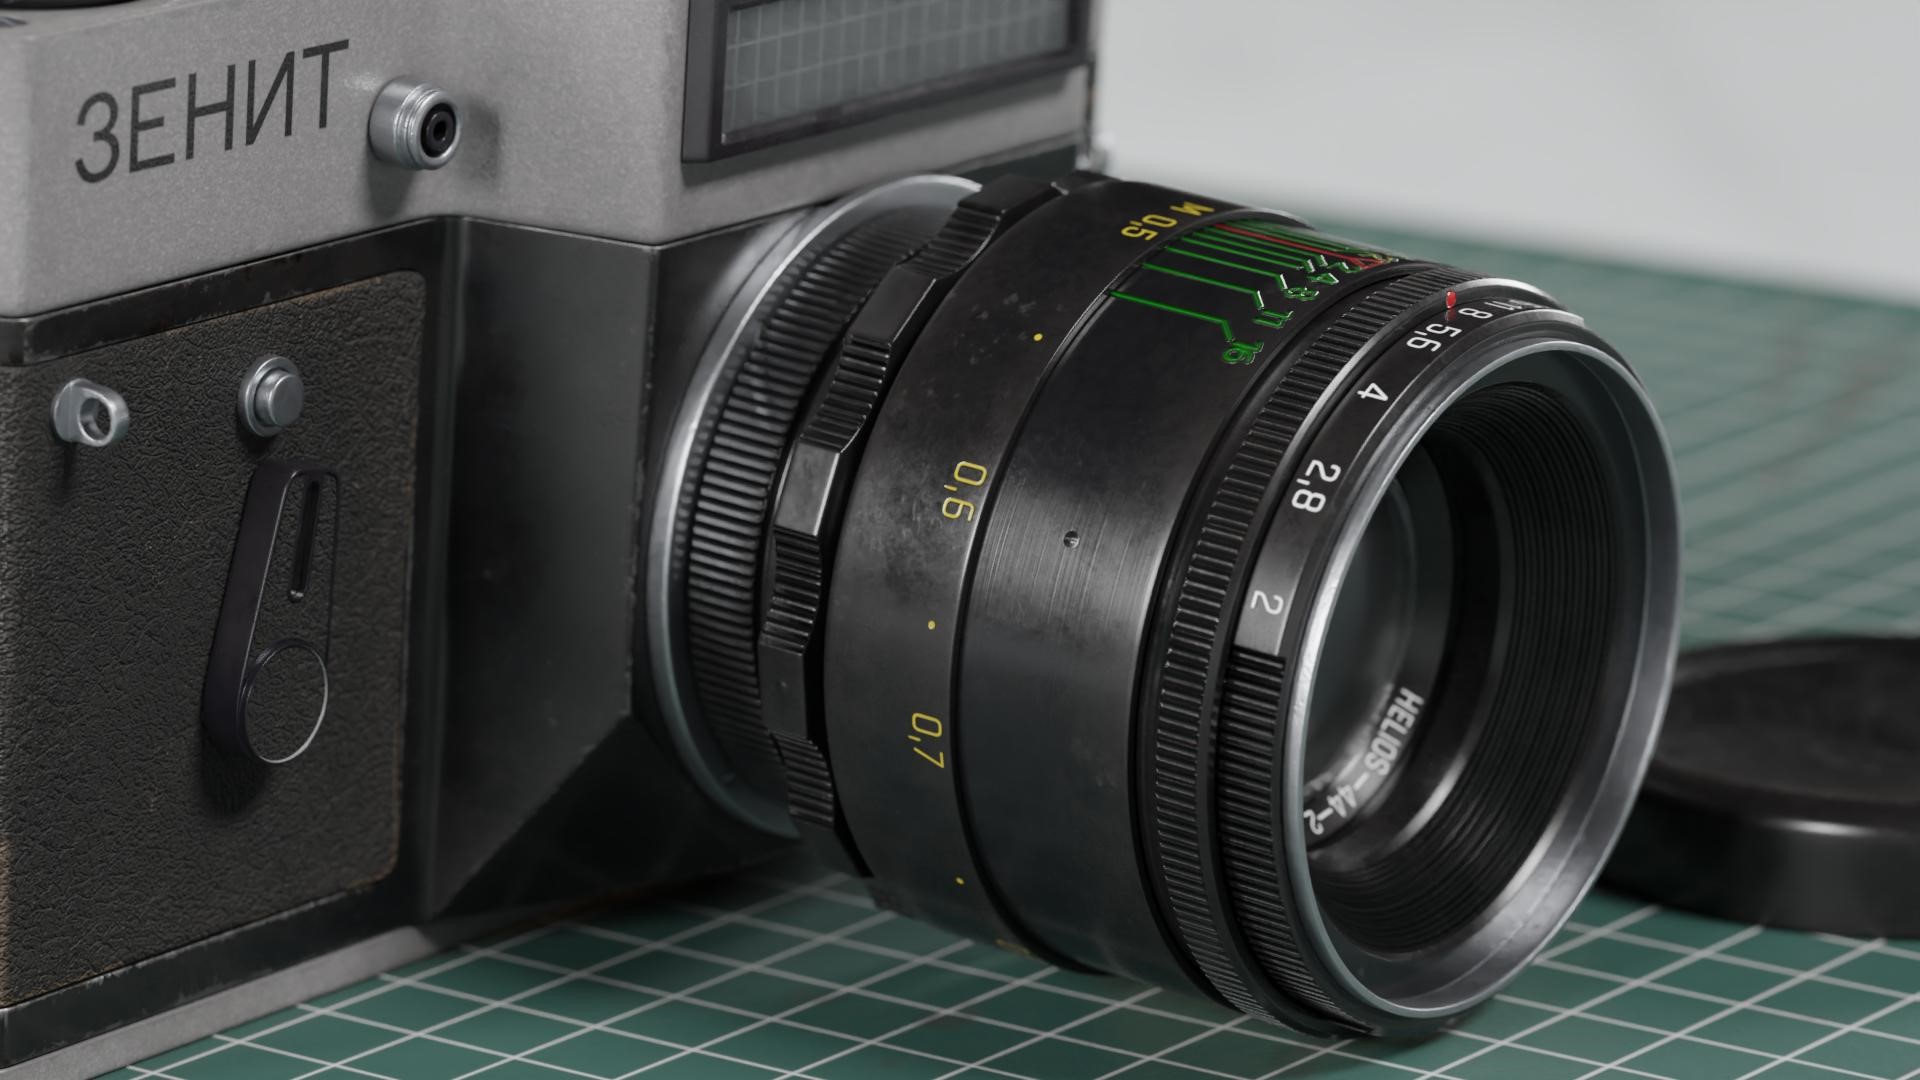
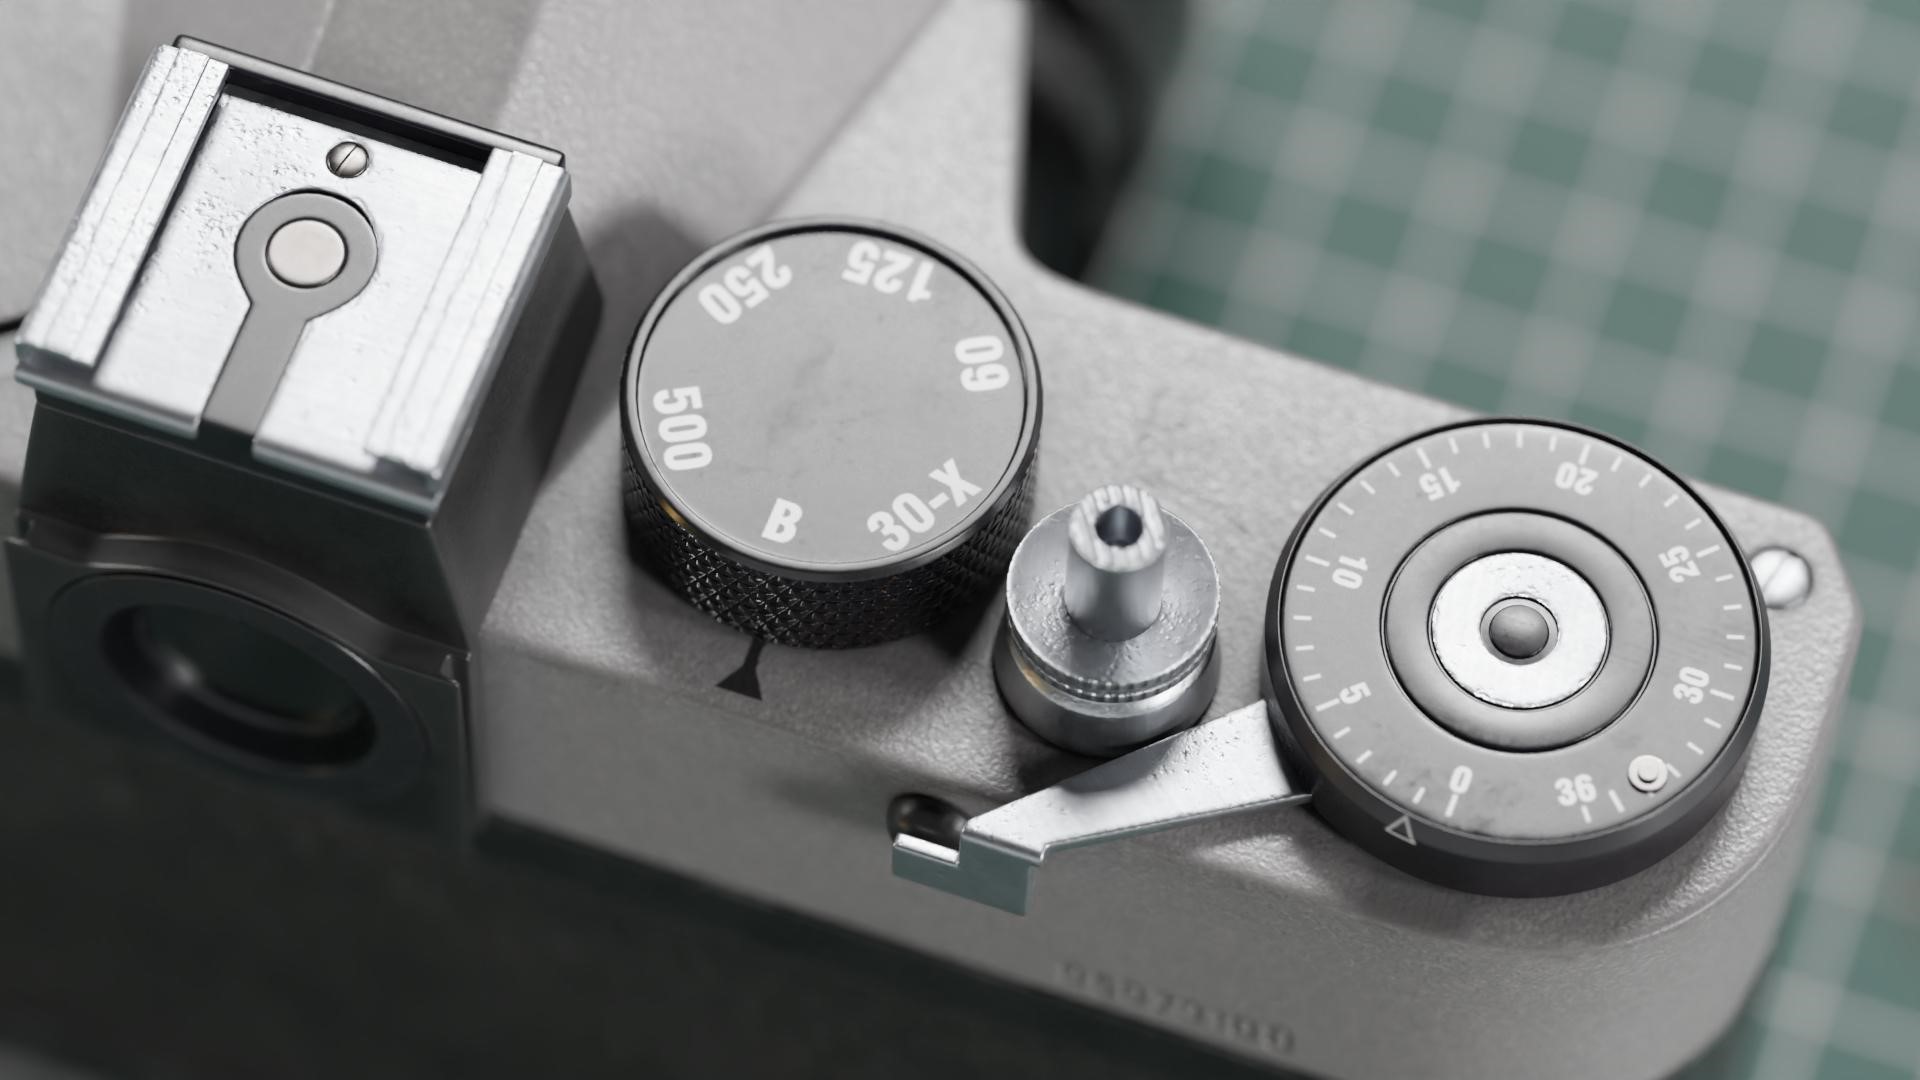
Since the beginning of the project, I knew what kind of renders I’ll be making and how close I will get to the model with the camera. This and my past projects dictated how I go about doing UV and separating objects. Knowing there is a lot of text on different parts, I knew I needed good texel density. In the end, I divided parts into two selections, one for the main body and one for the camera lens. I was able to reach 126 px/cm for the main body and 150 px/cm for the lens on a 4K texture. Using Texel Density Checker add-on was really helpful in having control over it. To pack UVs into tiles, I used UV-Packer. I had to go back and forth between Substance Painter and Blender a few times to fine tune the values that would provide the quality textures I wanted. After that, it was time to texture the camera.
The initial part was my usual process in Substance Painter. Start with a few smart materials, check if any of them have a similar surface to what I need, and start working from there. The ease with which you can switch different materials and masks is incomparable to Blender’s shaders. Buying the license for Substance was one of the best decisions I’ve made, and I just wish I hadn’t waited a whole year to do it. However, having a basic understanding of nodes in Blender also has its upsides so nothing is wasted.
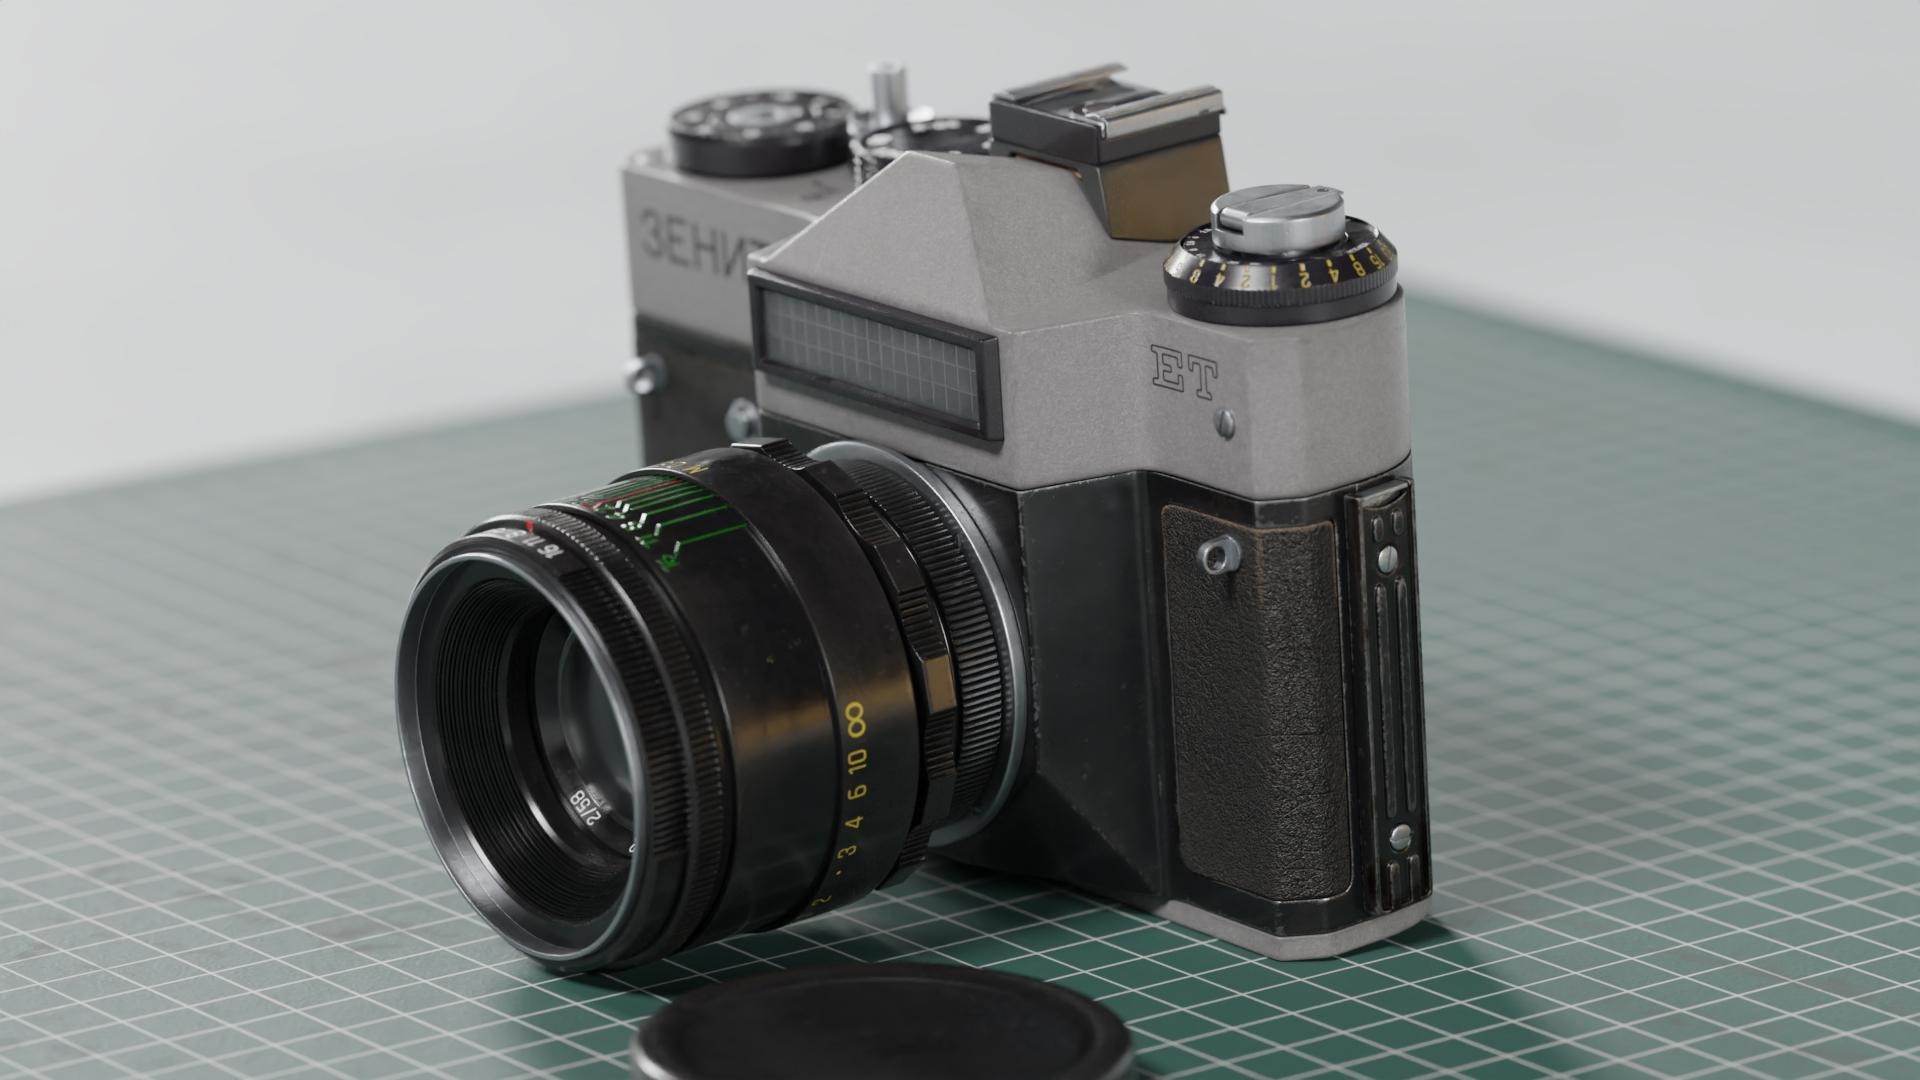
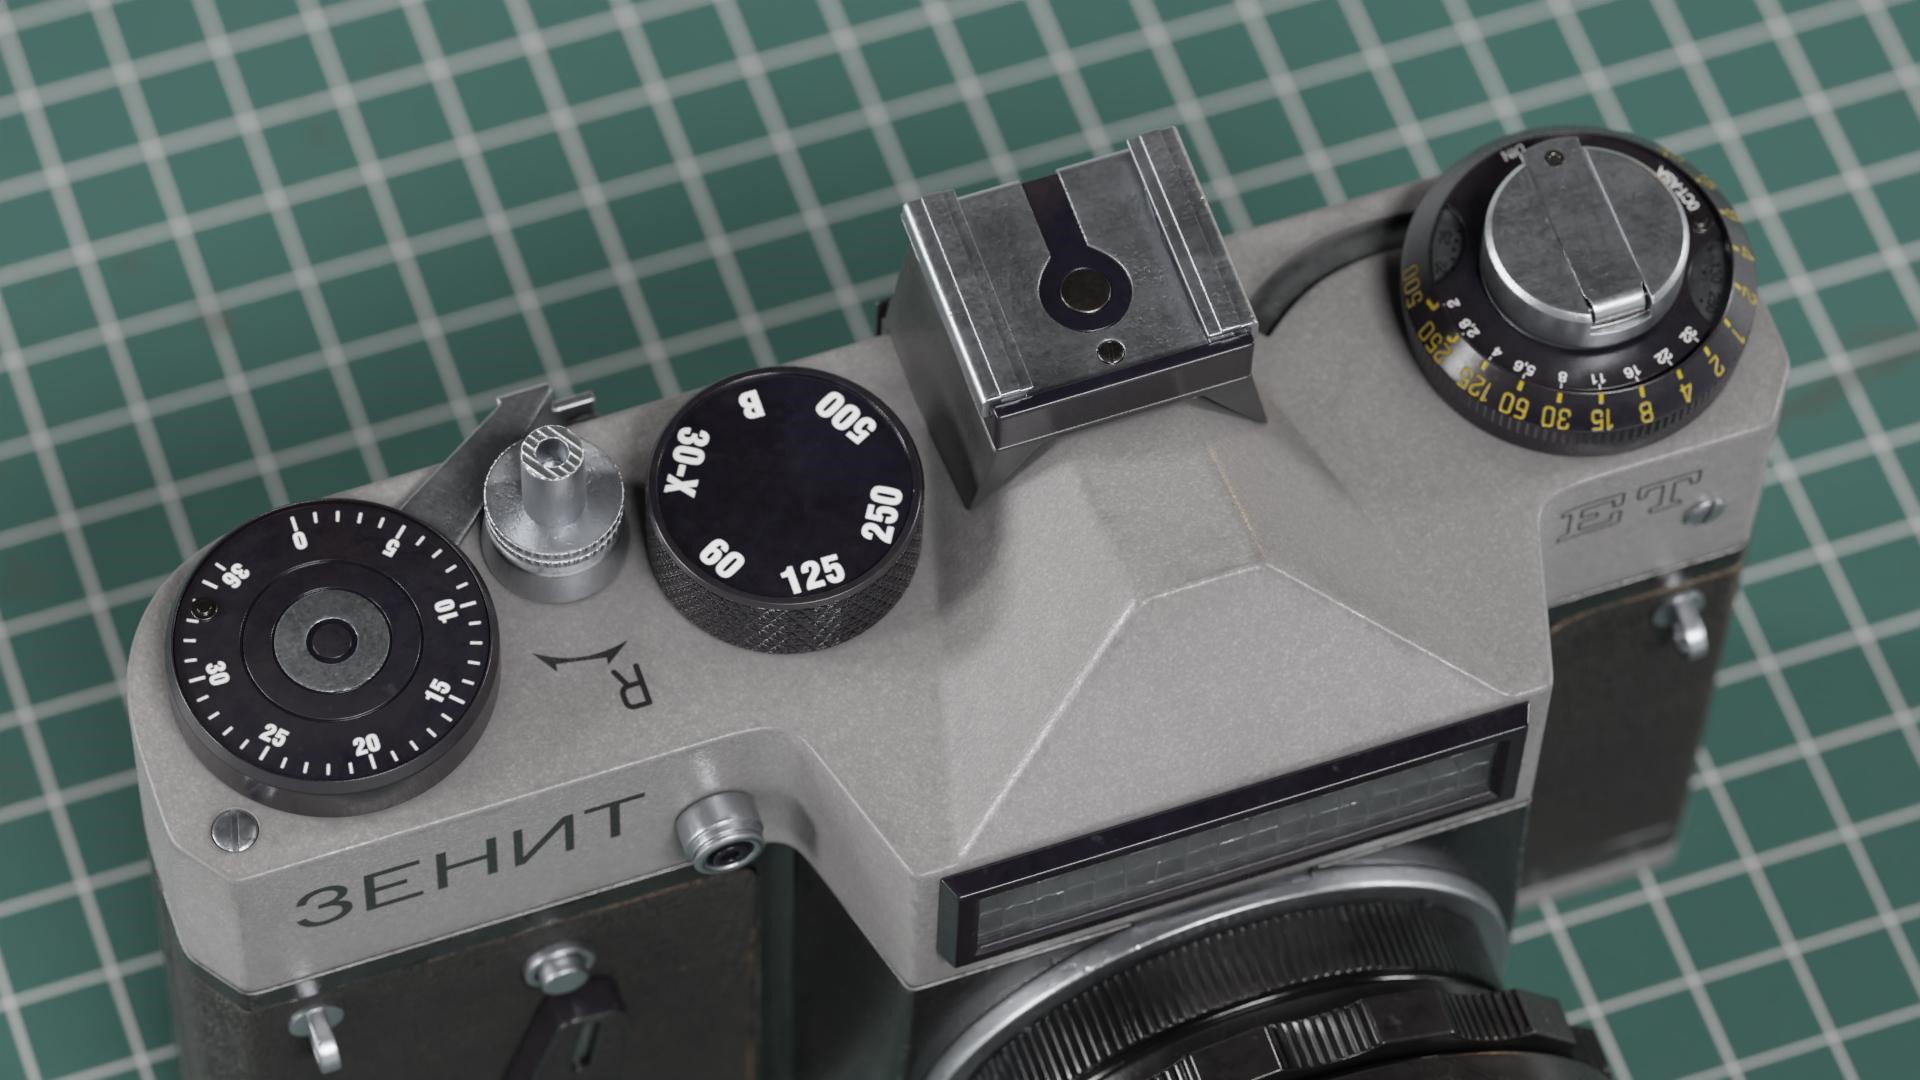
After a few hours of working on materials, I was really close to the finish so I decided to jump to Inkscape and work on preparing text alphas and different symbols that appear on camera. I went the lazy way and instead of researching actual fonts used on the camera, I just went with the most comparable or just what I liked best. This stage was one of the longest for the project. I’m not the most proficient in 2D software so figuring out the circular text and markings on dials took quite a while but in the end, I was really happy with the result.
The last step was to just import newly made alphas into Substance, place it, and make final adjustments. After that, and some more fine-tuning with the materials, I was ready to export. To save my laptop, I’ve decided to combine grayscale maps and use different channels to extract the information I wanted.
Environment
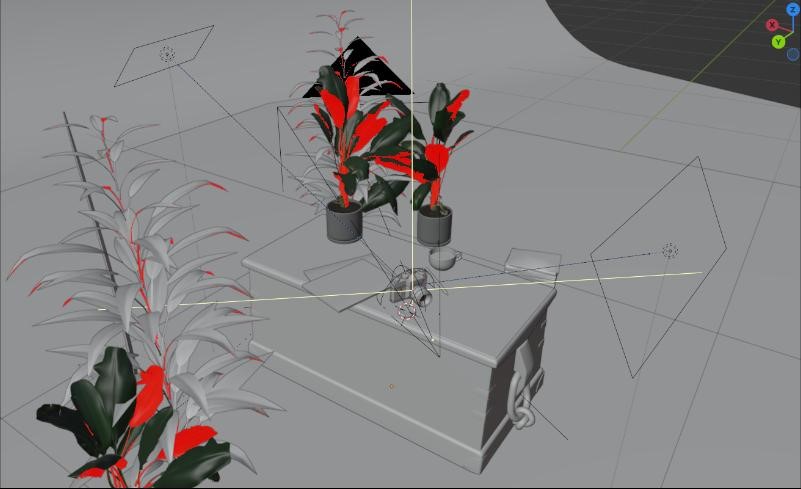
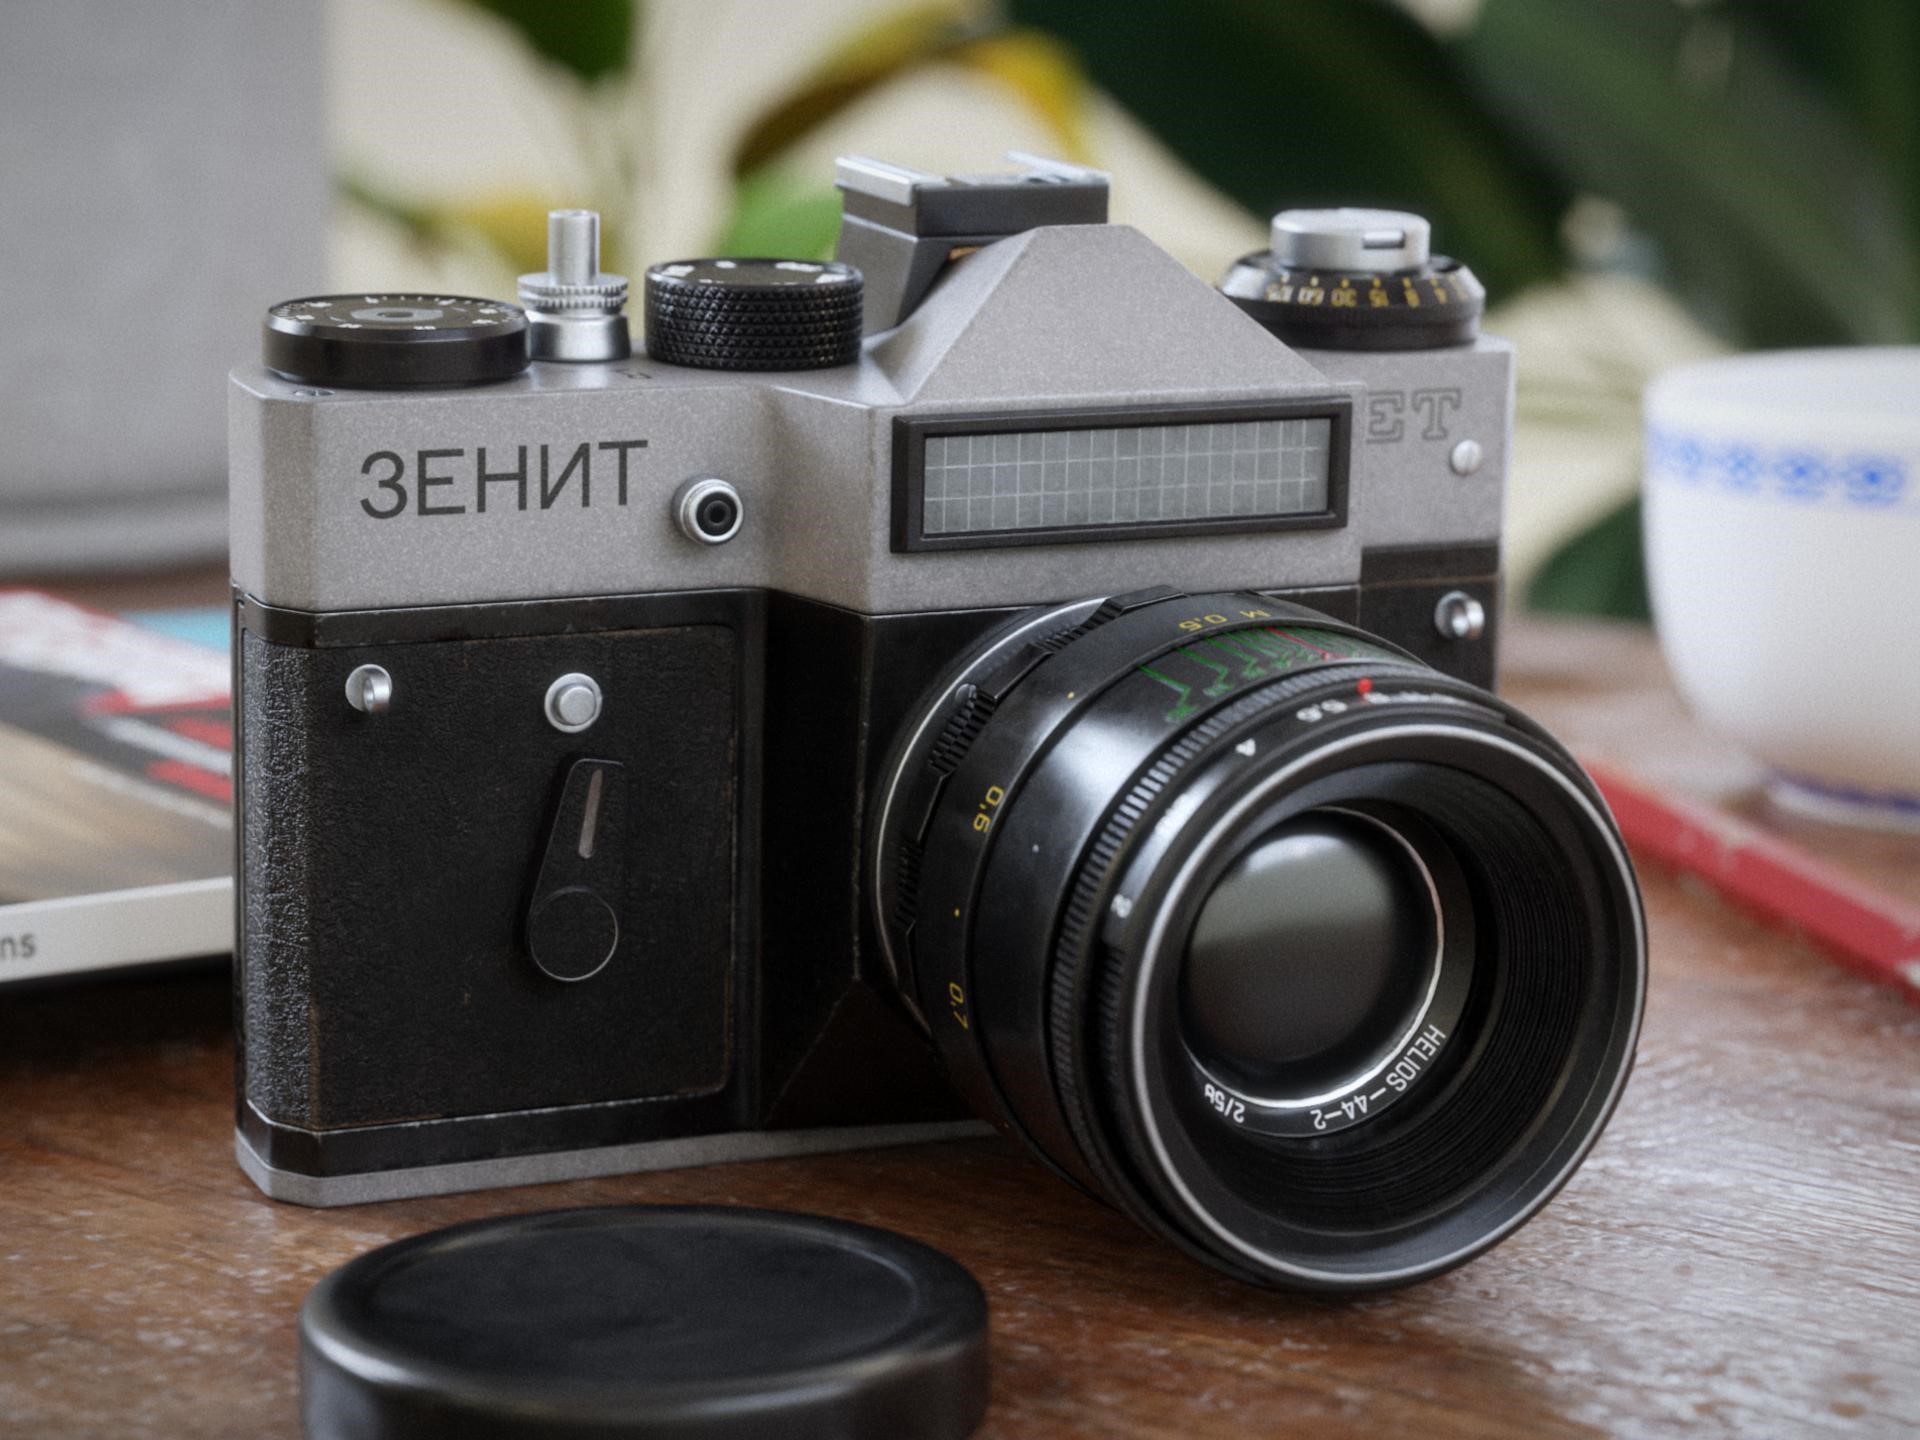
For the main render, I’ve reused a scene from my previous project—a very simple room setting with a desk (that originally is a chest), some magazines, a cup, some plants (sourced from PolyHaven and BlenderKit), and a backdrop. The scene is lit by an indoor HDRI from PolyHaven with two complementary lamps.
Feedback
After posting this artwork on social media, I’ve received feedback on how the glass of my lens is breaking the image and to look into a thin-film interference shader. I’ve found one on the Blender Artists forum made by Sir Code and after a bit of tweaking, it produced the effect that I’ve often seen but never knew what it was. It’s definitely something I will keep in mind for my future projects.
Rendering
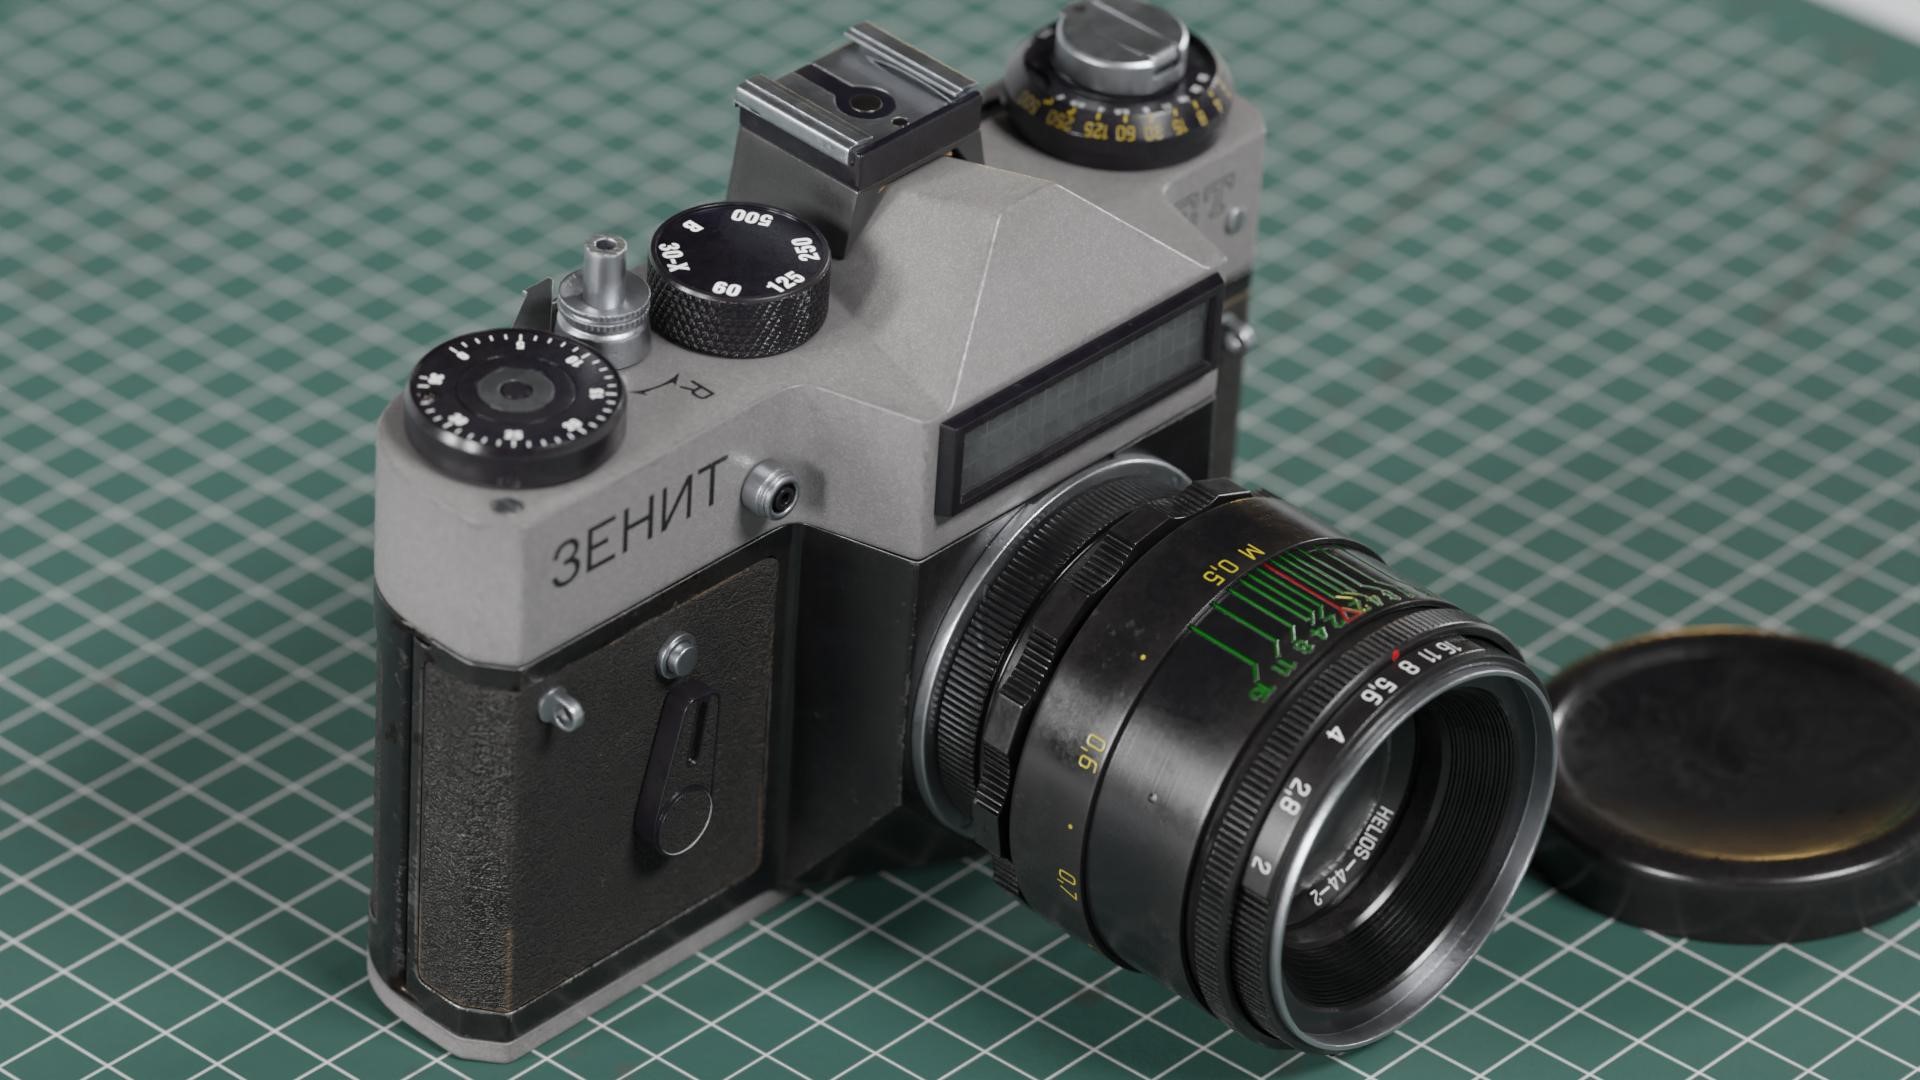
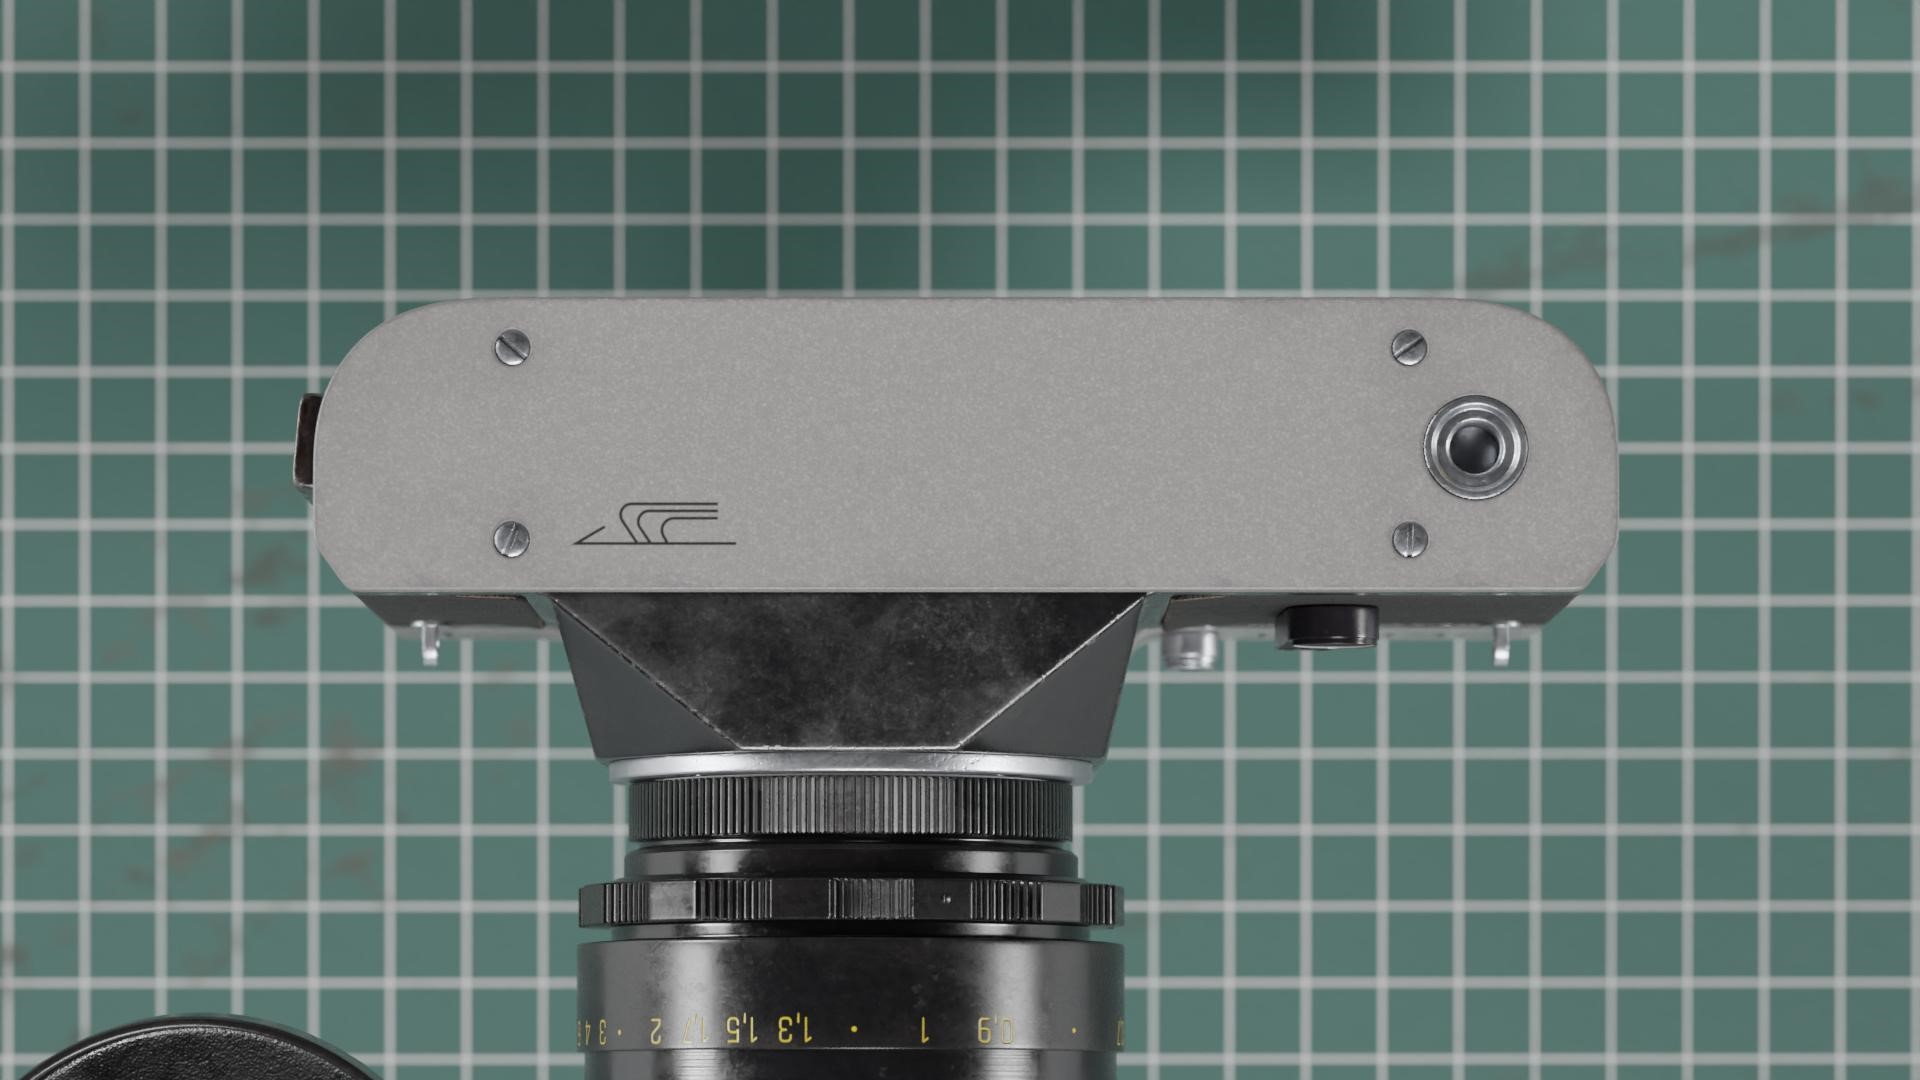
For the close-up renders, I’ve used a LookDev studio 3D model by Albin Merle. It’s amazing. It comes with different setups for different size objects, and it already has an animated turntable so all you need to do is place your model and make some minor adjustments and you are good to go.
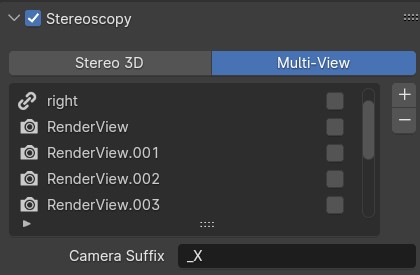
One tip I can share if someone is doing a close-up is to set up all the views you want rendered as different cameras and then bind them as markers on the timeline. Each frame has its own camera, then you can just render animation, and all the views are done. Or, make use of the Stereoscopy option in Output settings in Blender. After naming cameras with a suffix and connecting render view to that suffix, you can render out multiple views by just pressing F12. However, my Blender often crashes when rendering more than 3 views so it’s something to be mindful of.
To render out the turntable and close-up shots, I decided to use SheepIt Render Farm. Great way to save time. Instead of a half day of rendering, it took only one hour.
Post-processing
I used GIMP to do some small corrections. Nothing elaborate but I think it improves the final effect. Levels adjustments, color temperature, contrast, a little bit of blur, film grain, small lens distortion and a vignette—those are the aspects I mostly edit in post-processing.
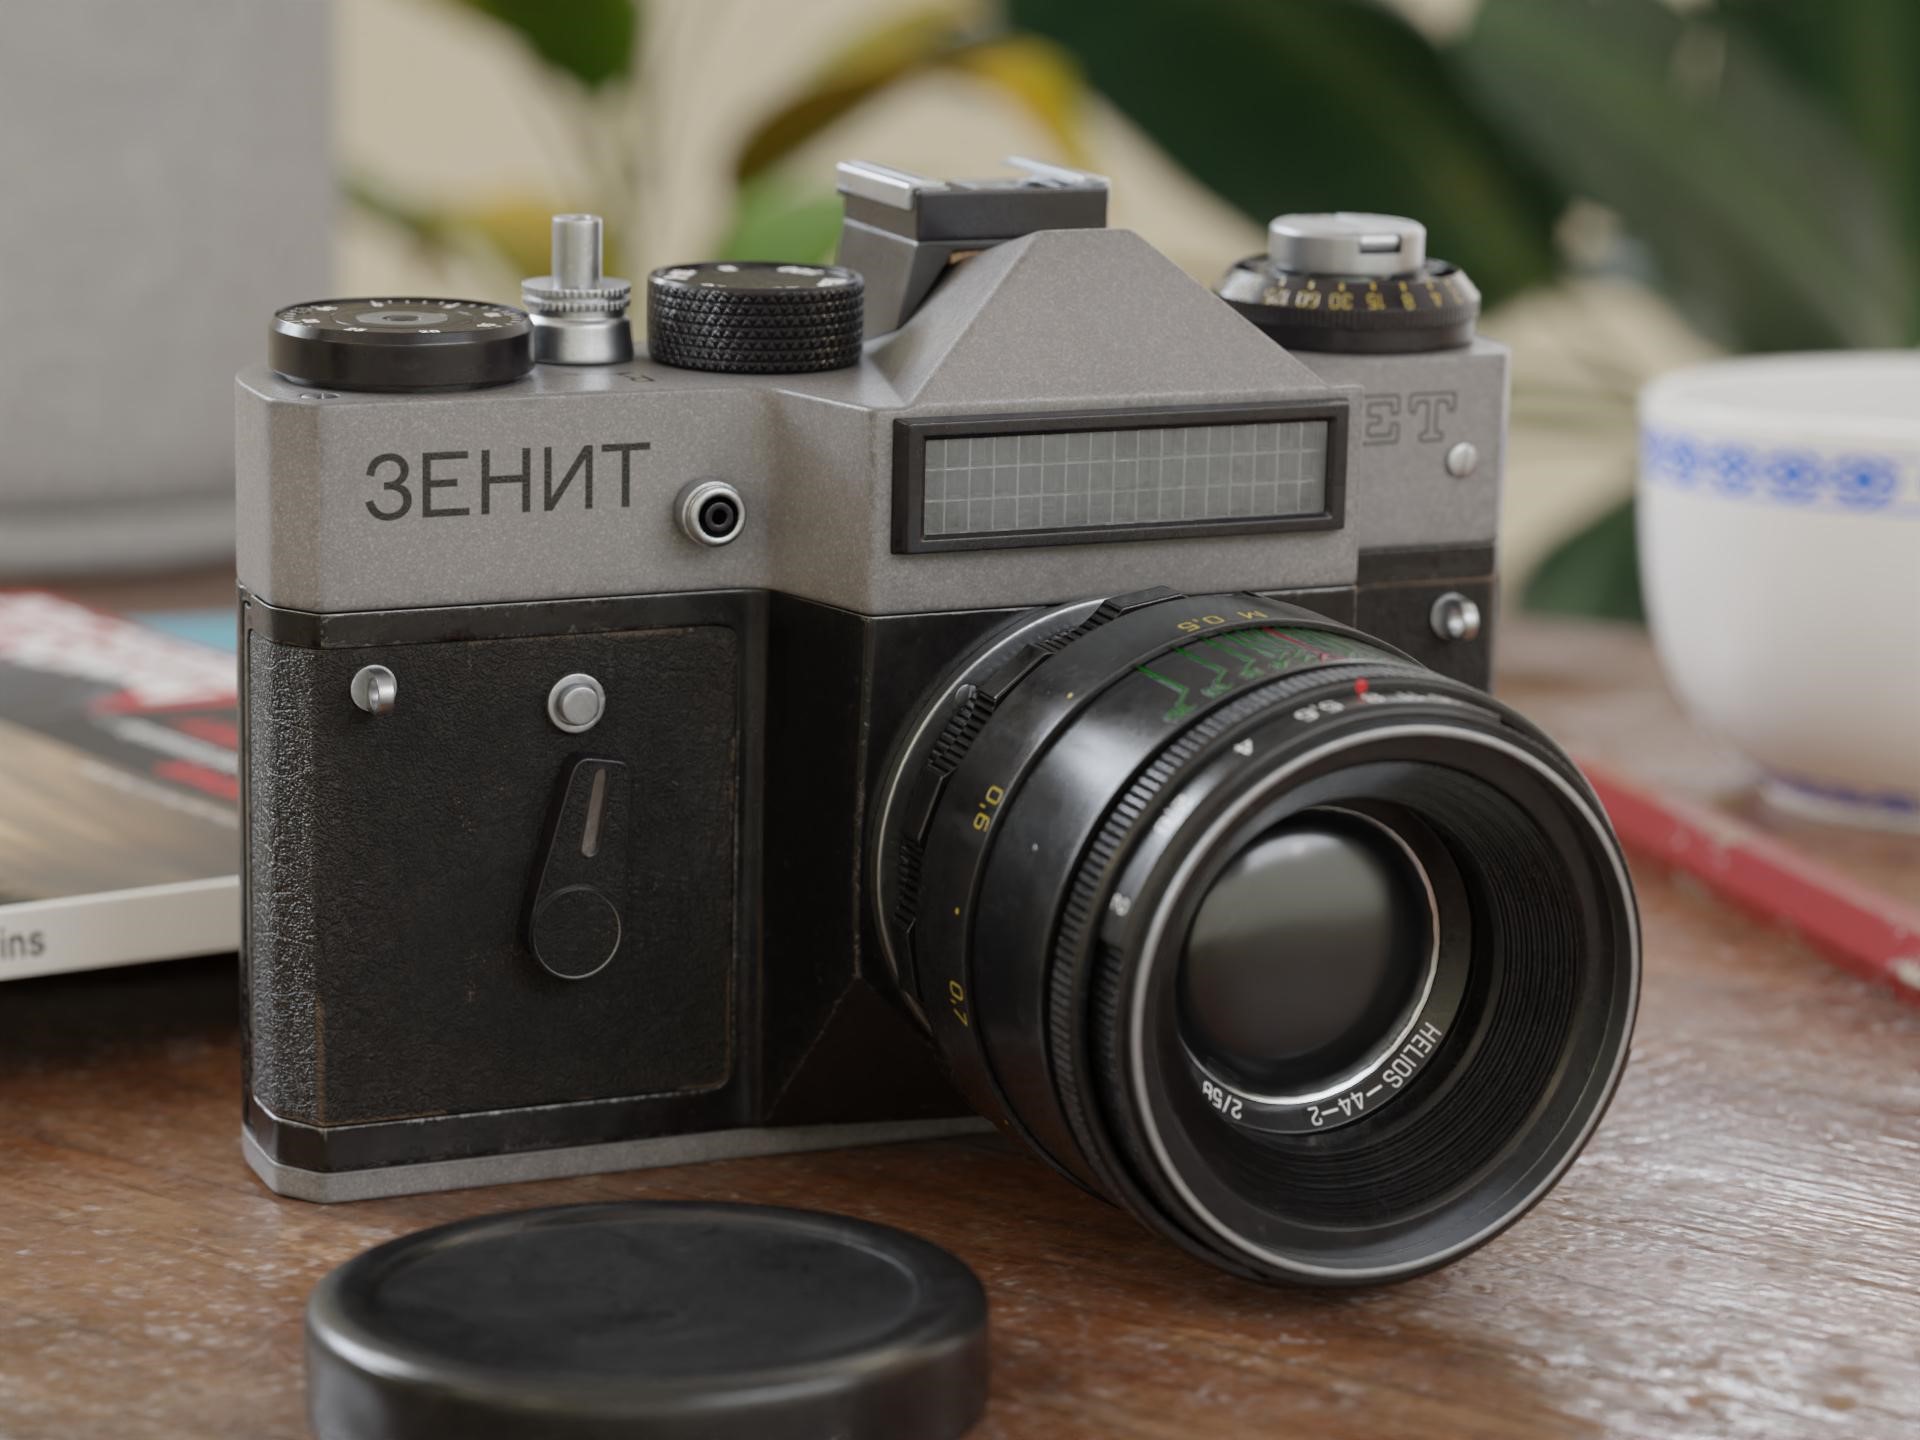
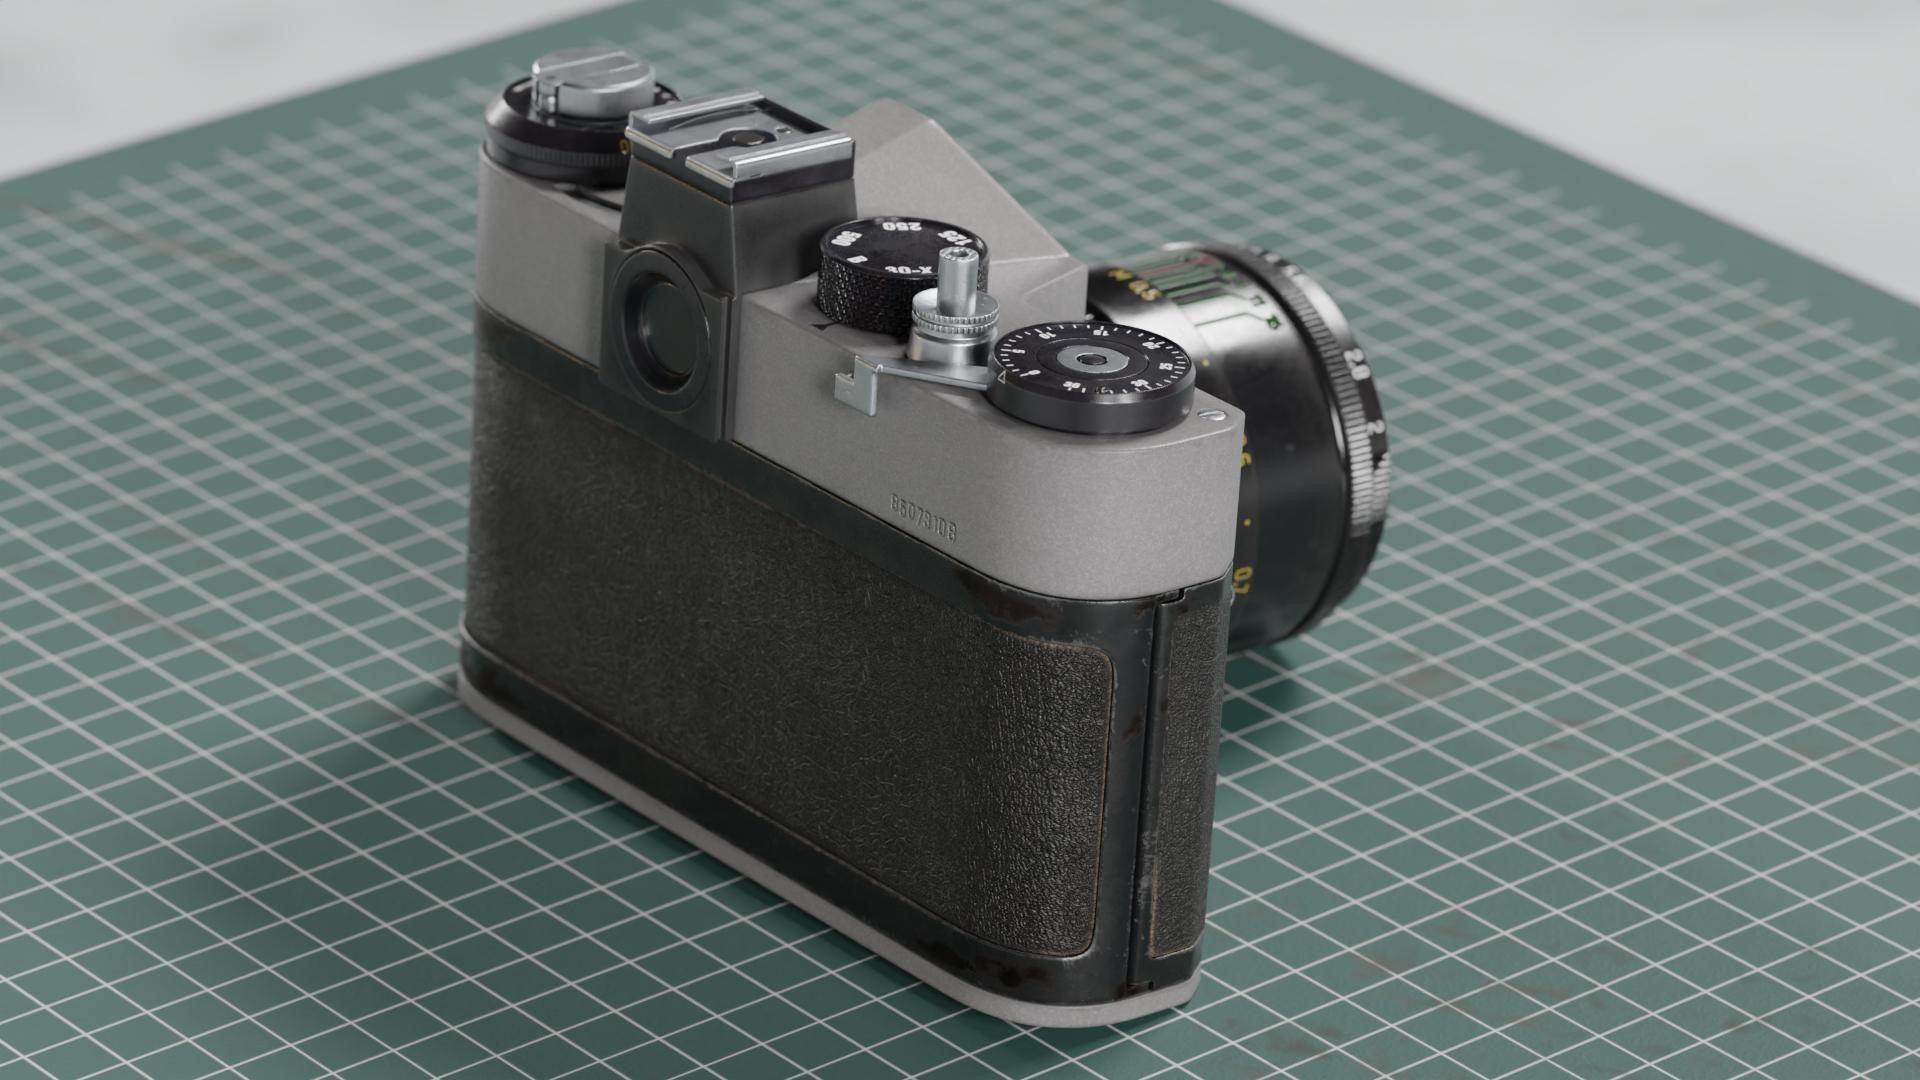
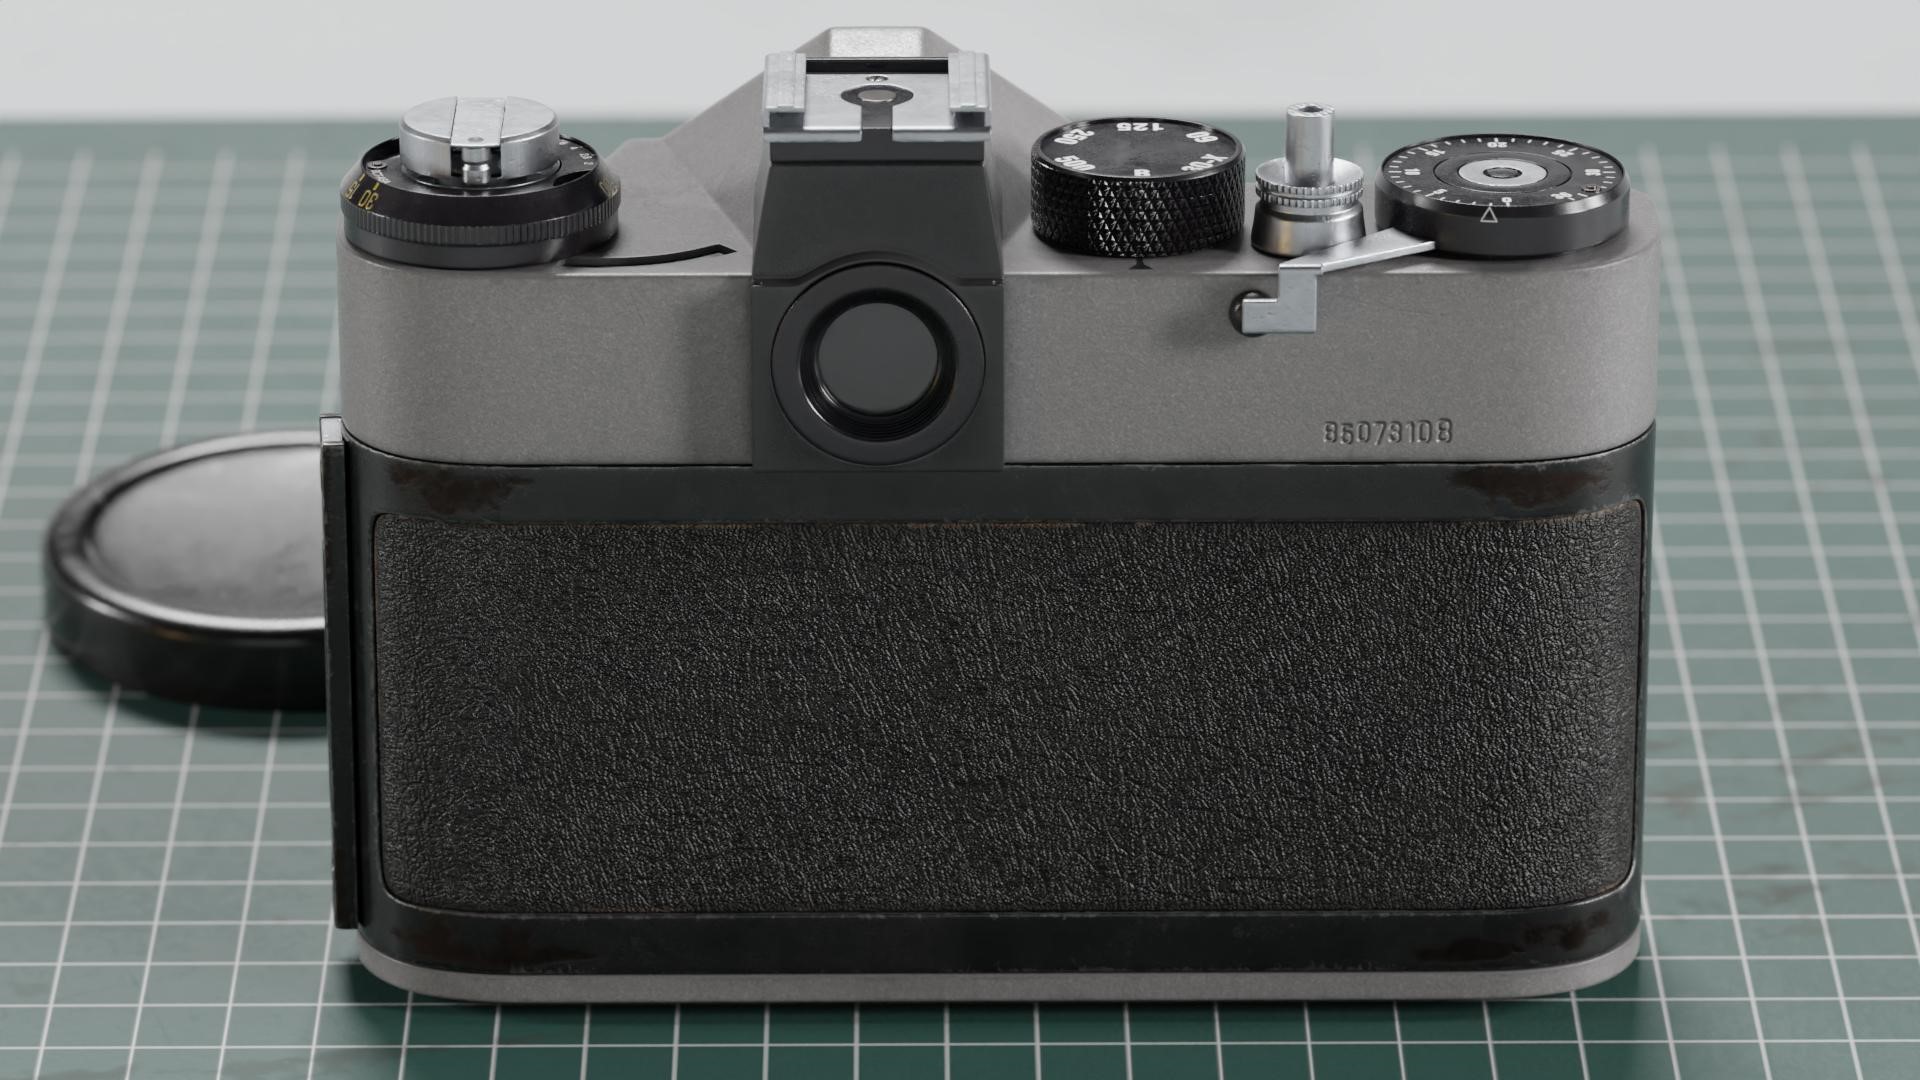
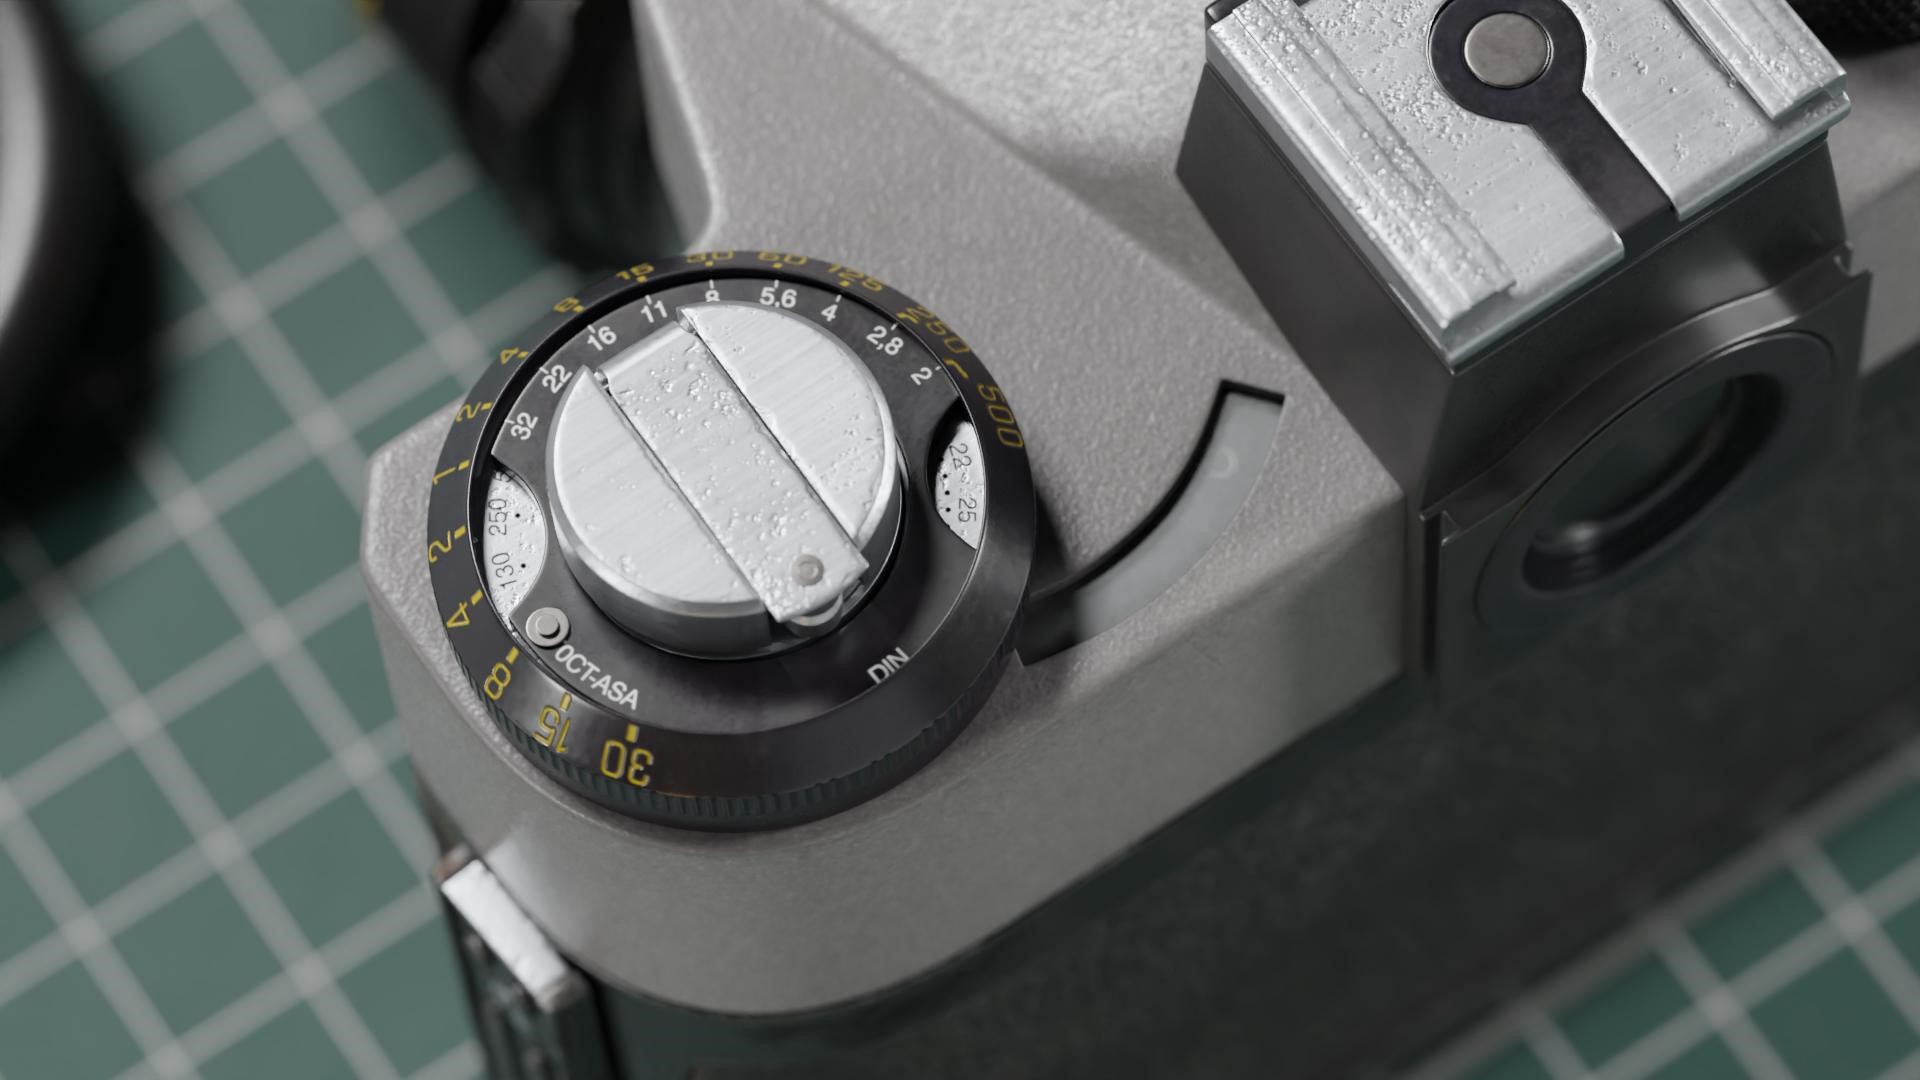
The close-up shots are all raw renders. I think it nicely shows the model how it really is and doesn’t require any post-processing.
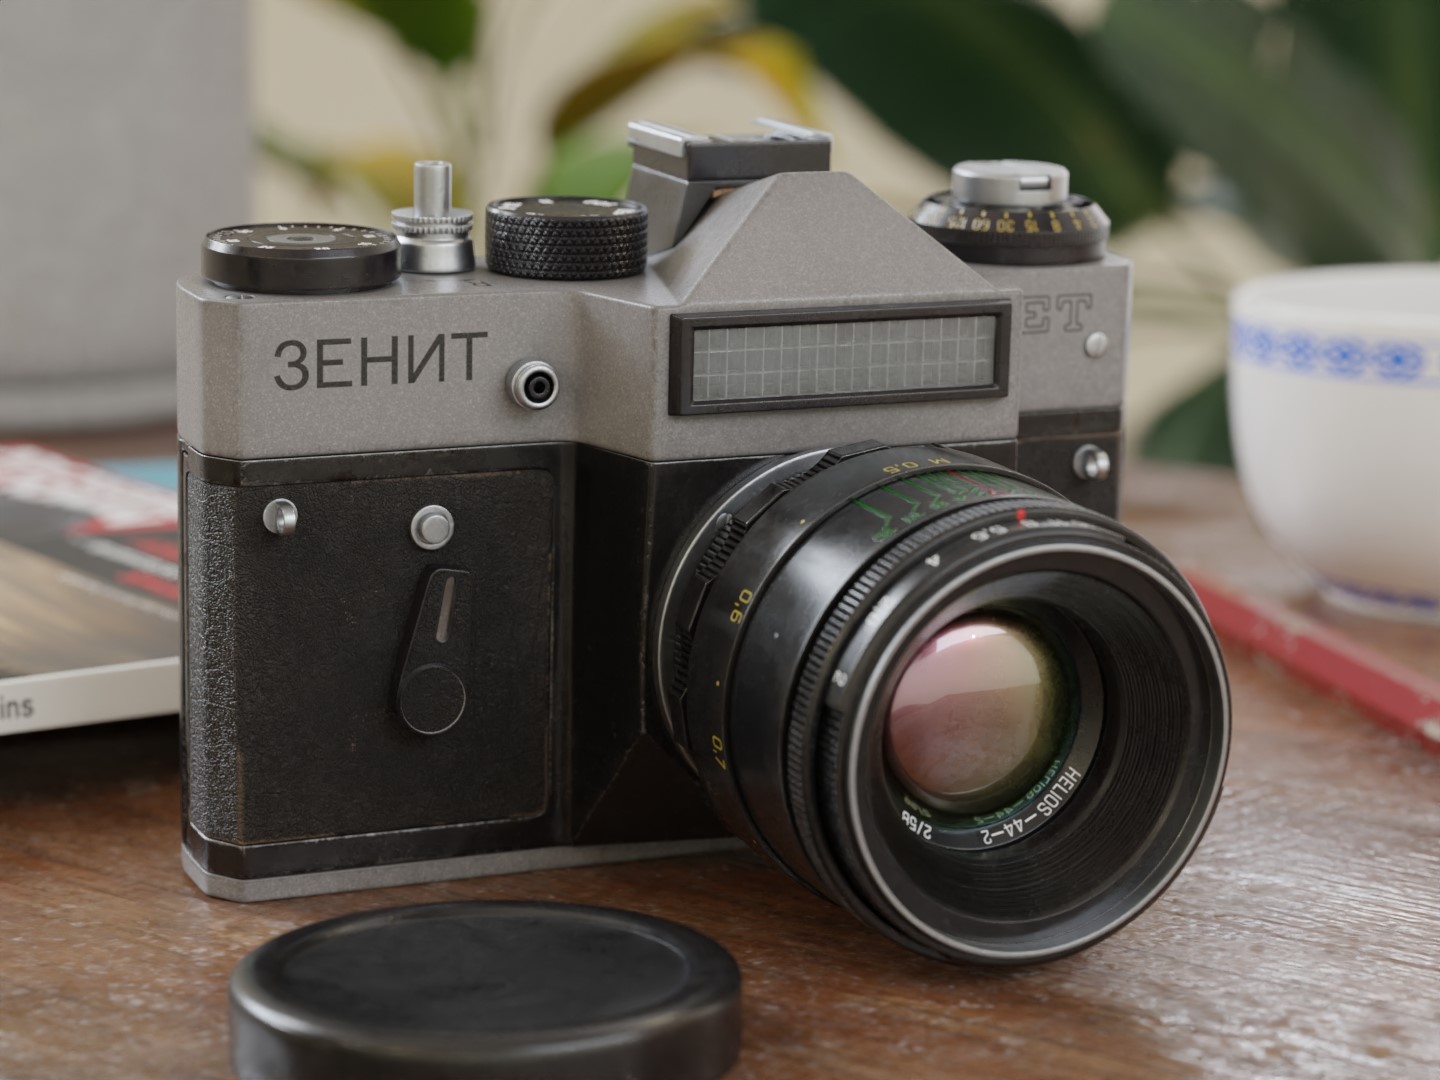
RENDER : Zenit ET
Thank you for reading this article. If you have any questions, please feel free to reach out to me through any of my social media accounts. Have a great day!
About the Artist
Marcin Biel is a self-taught 3D artist from Poland, specializing in hard-surface modeling.


Wow, everything is so on point here. I especially love the textures! Dobra robota! :)