Behind the Scenes: Polly Pocket Slumber
INTRODUCTION
Hello, my name is Michael Hickman and I am a 15-year-old living in the US. I am from Las Vegas, Nevada. I started using Blender when I was 11 years old, after discovering a free tool that allowed me to customize the software to my liking. Before then, I used Autodesk products at the age of eight for CAD modeling, which I thought looked terrible at the time. I hope you enjoy the explanation of my process, and learn a thing or two from my technique.
By the way, this isn’t my first article on BlenderNation; I have previously written an article on one of my artworks, Reaven Rave. You can check it out for tips on scene-designing and modeling in Blender.
INSPIRATION
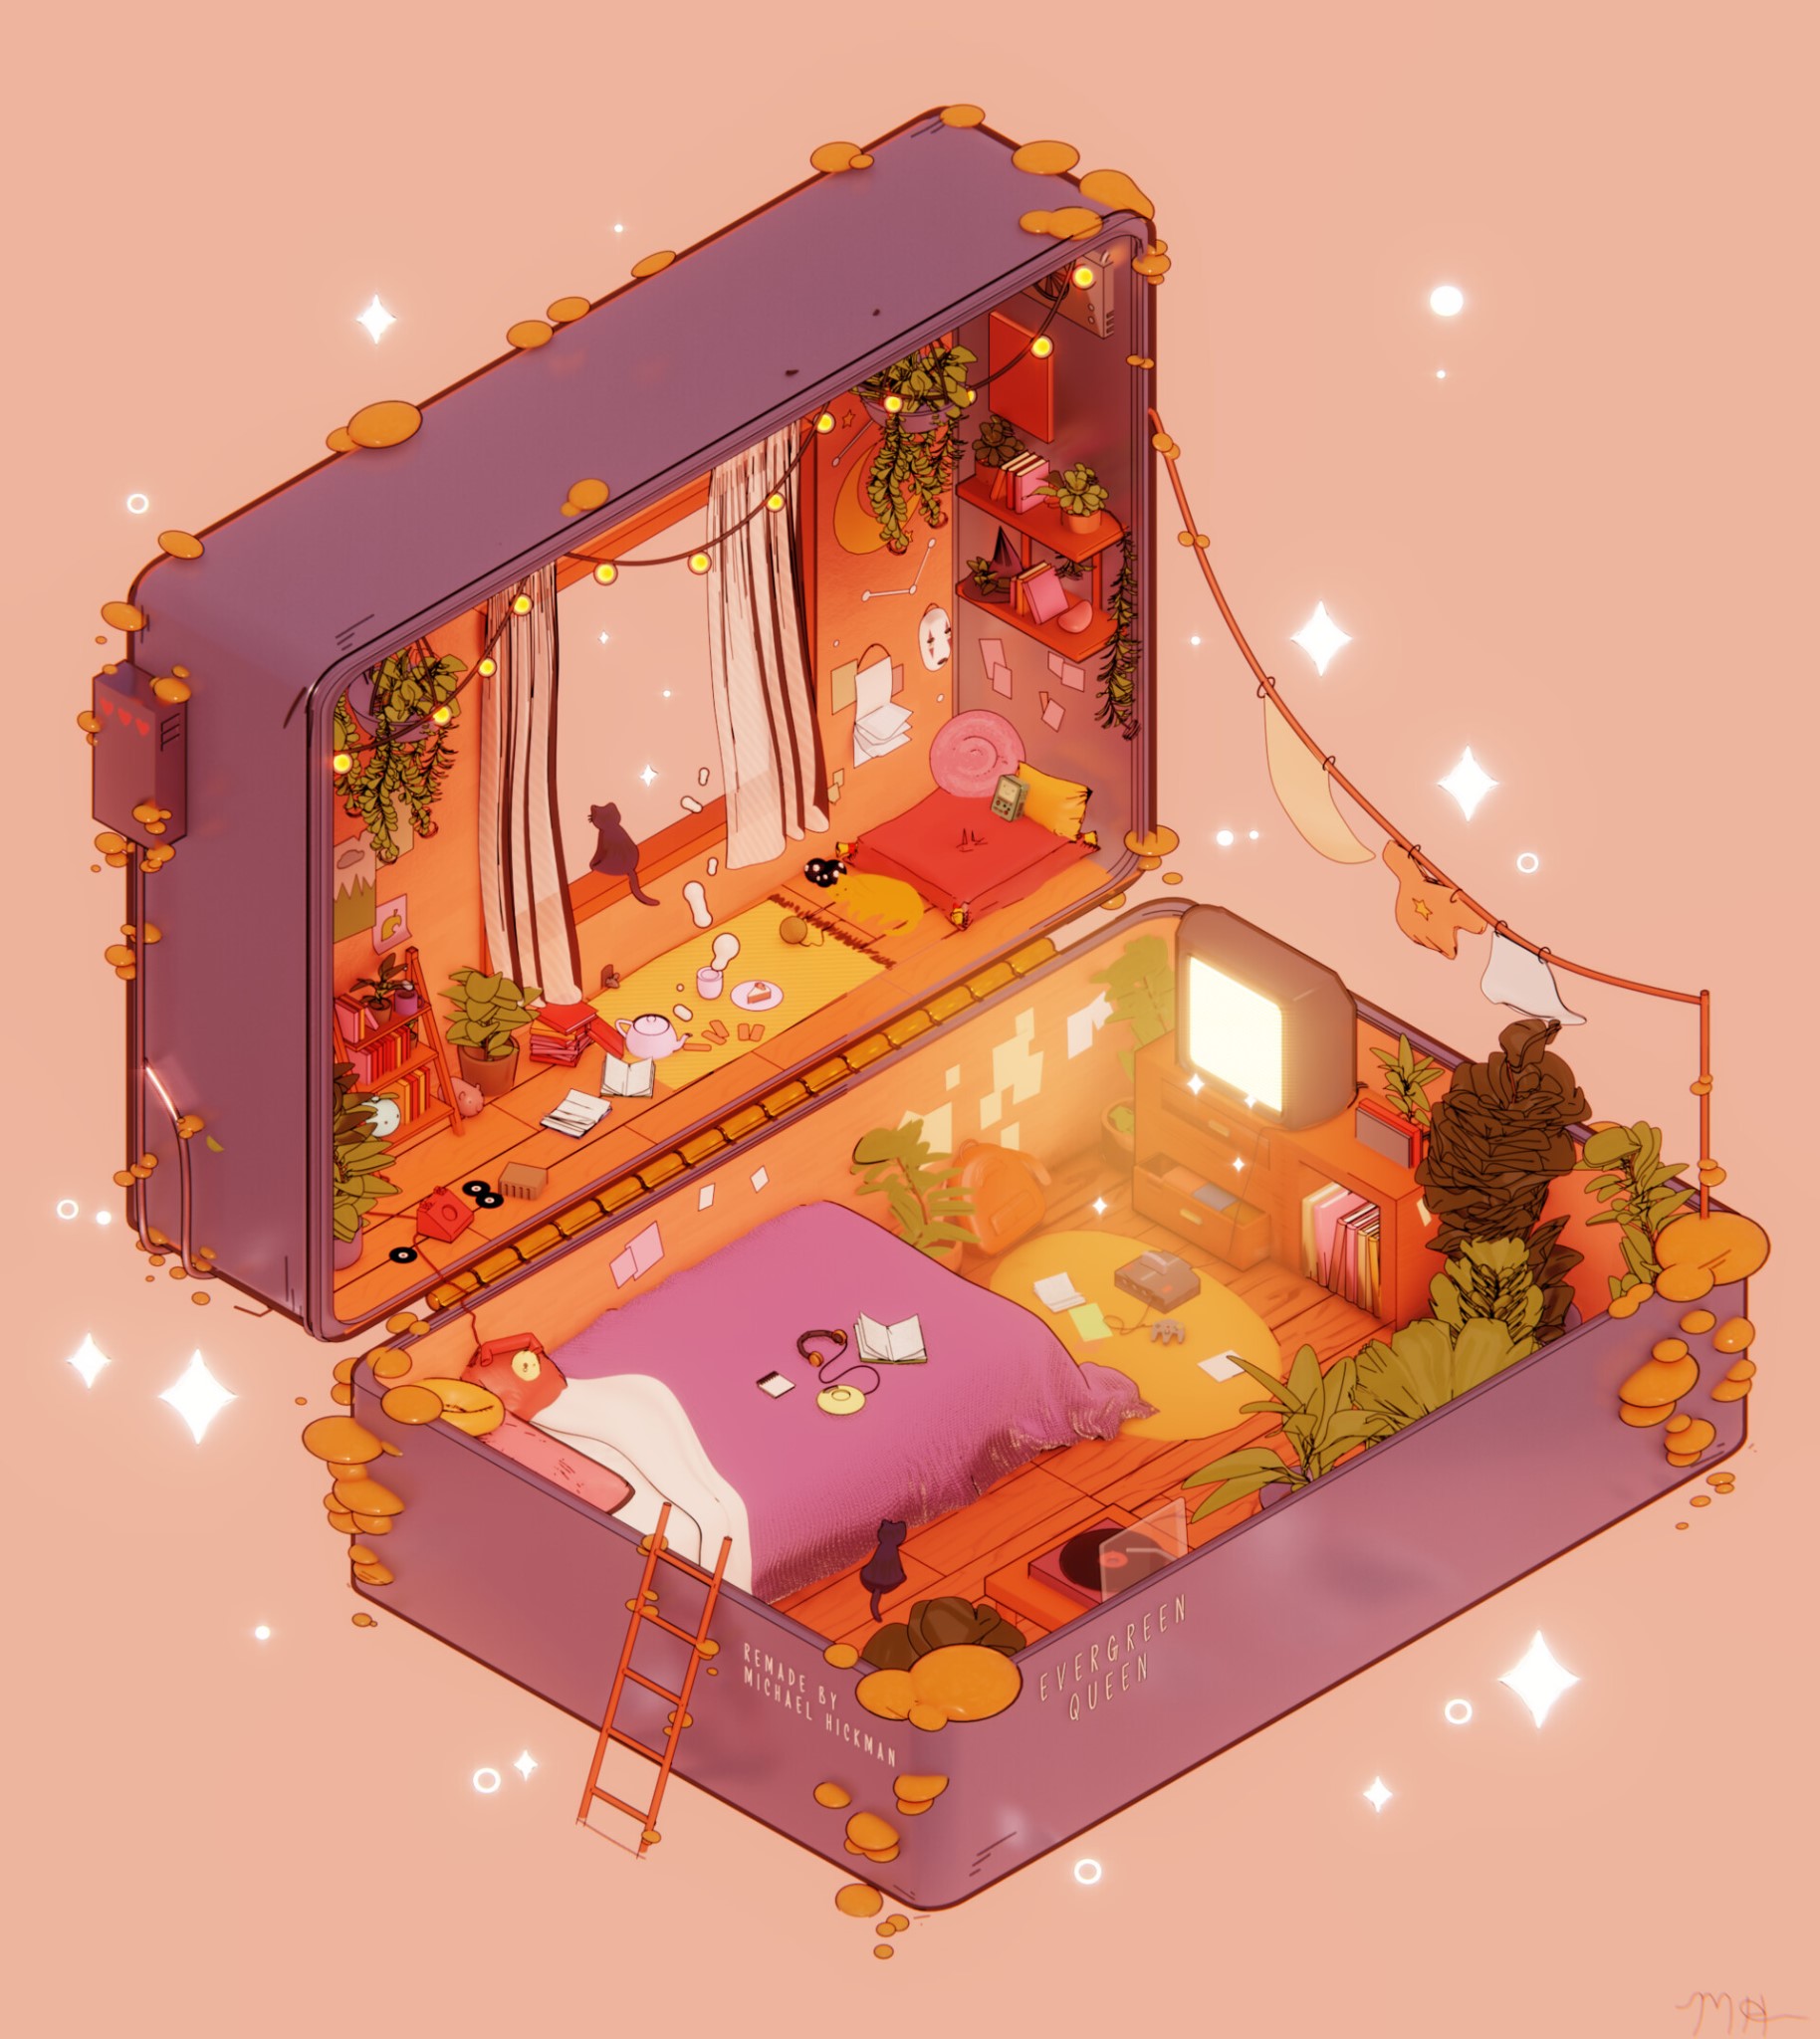
Browsing Pinterest for hours brings its many fascinating and interesting artworks as we go into an endless loop of eye candy. I found some amazing artwork by the Evergreen Queen, who has an amazing eye for color, detail, and composition (Can’t underestimate her brilliant talent!)
Her amazing art:
Pick your quarantine room: 1 or 2? pic.twitter.com/DRb1GlKh2c
— Britt Ortega (@evergreenqveen) March 24, 2020
PROCESS
My process starts with a fundamental perspective adjustment of the entire scene, getting the camera set in place, and finding where each corner starts. This can be easily done with cubes, from which I then start to analyze the design process of The Evergreen Queen’s artwork!
Modeling
During the modeling process, I mostly try to get the basic form or silhouette of each shape. Analyzing the reference will help you to look at sharp and curved surfaces to get an appealing look for the final result.
Tip: Model everything that catches your eyes the most; this makes it easier to place the more detailed pieces towards the end!
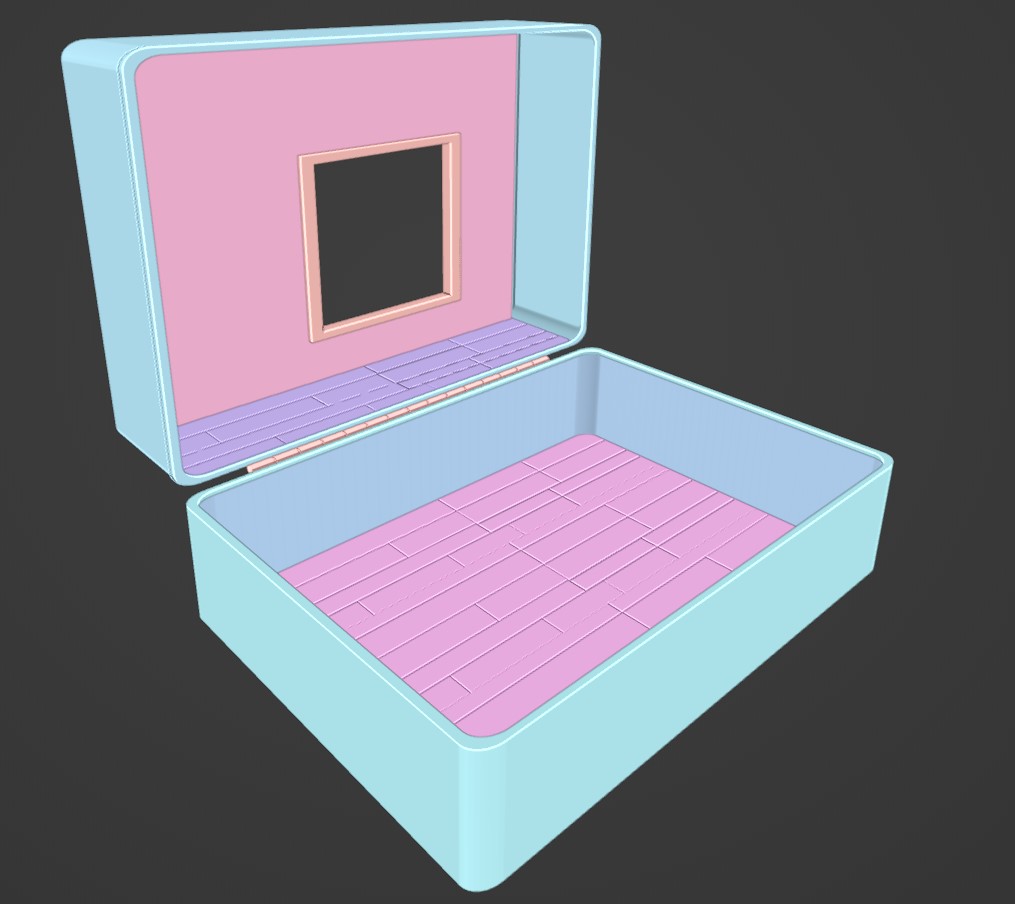
I first start by getting the basic form of the piece, quick modeling with subdivision surfaces and bevels to start getting the look for the piece.


I then have a hand at modeling some assets to preview the inside of the suitcase, giving me clarity inside of my vision for everything else.
Quick meshes and sculpts to give minimal details to show the silhouette.

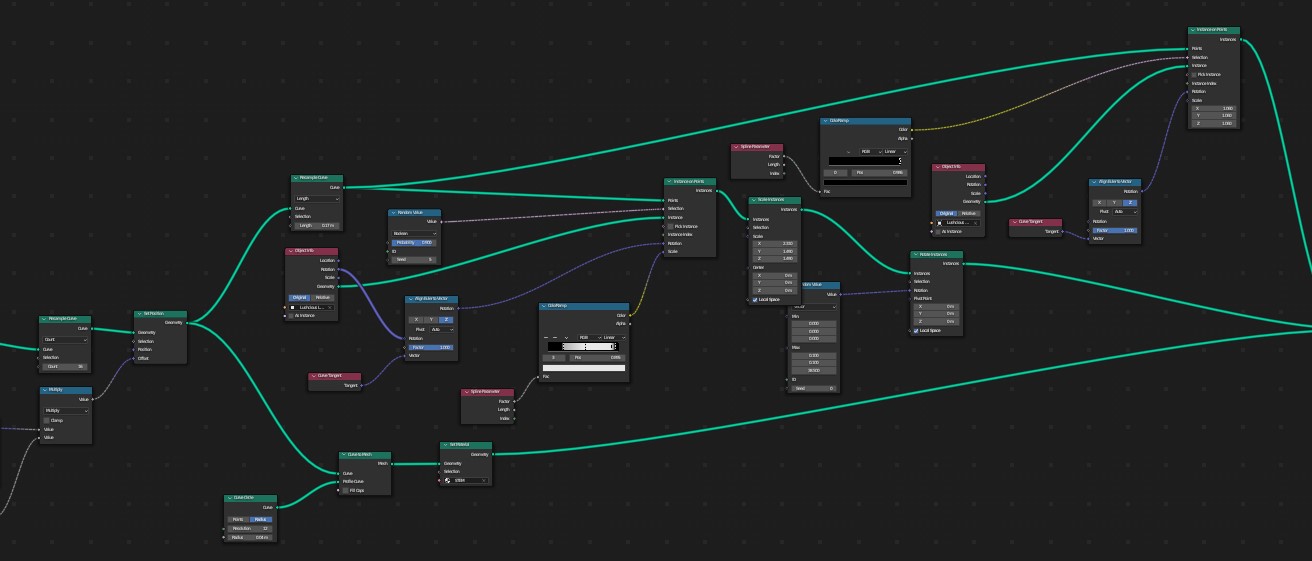
I model the props one by one to get the setup for the scene going and occasionally use methods like geometry nodes to speed up my workflow.
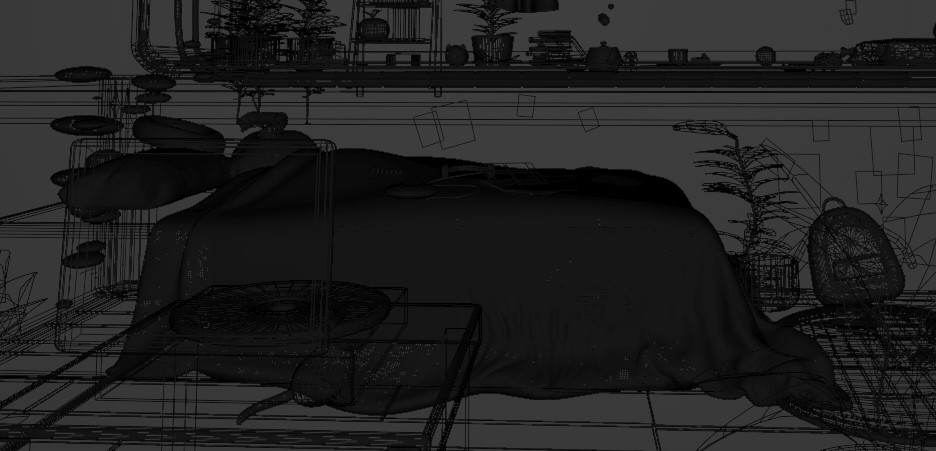
Here is how the scene looked after completing all the modeling,

Texturing
For most of the textures, I use an emissive and base color hybrid to create a contrast between all the contact shadows in the scene. Some of the textures are hand-painted, some are combinations of BSDFs, and others are using an emissive light technique.


This is the emissive pass which allows me to make certain elements stand out over others, giving me control over where the viewer’s eye goes.
Bloom pass (gives a nice pop to all lit or emissive surfaces)

The base color is used for most of what you’re able to see; it provides the essential colors inside everything!
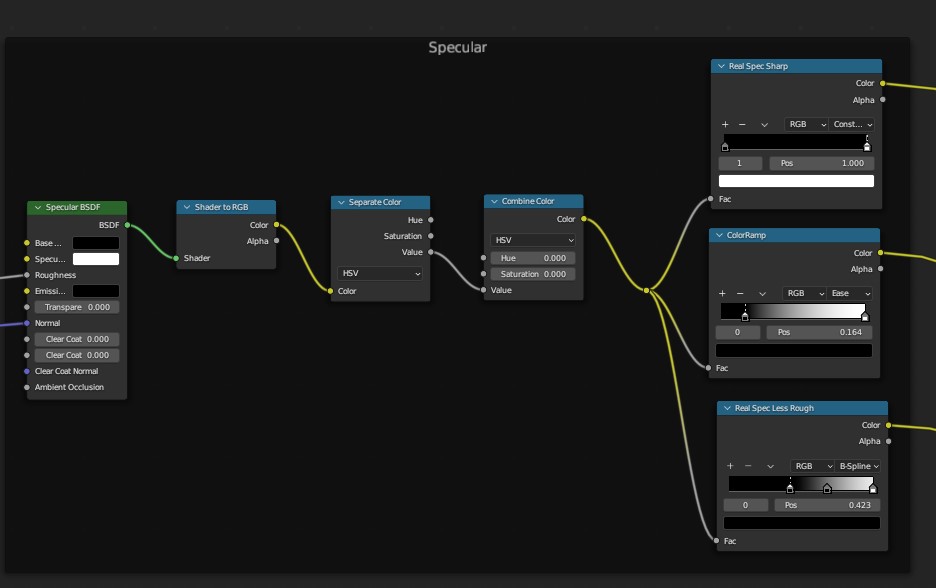
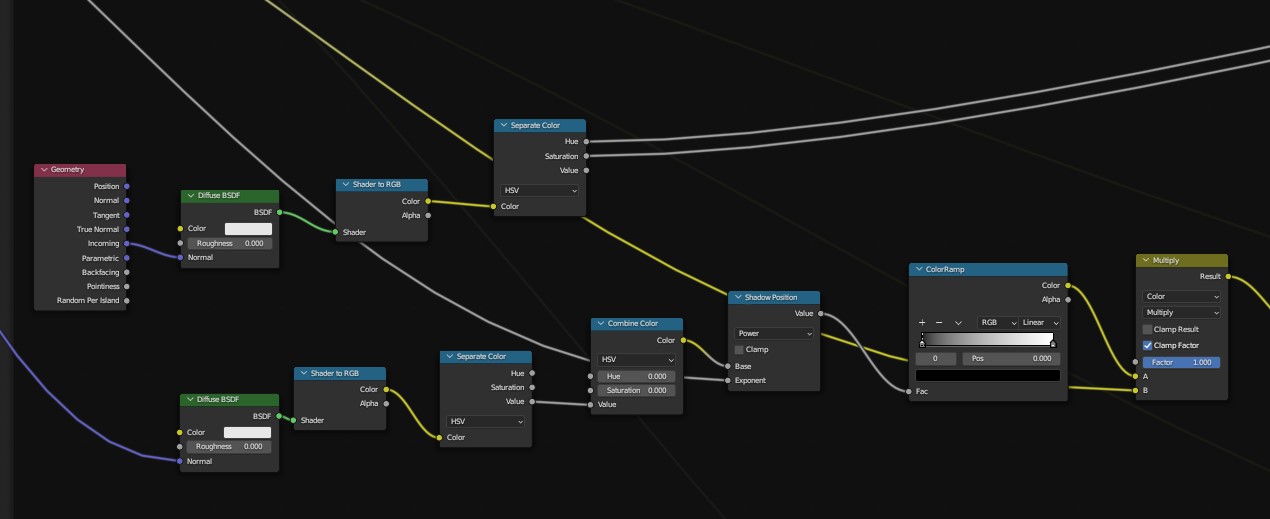
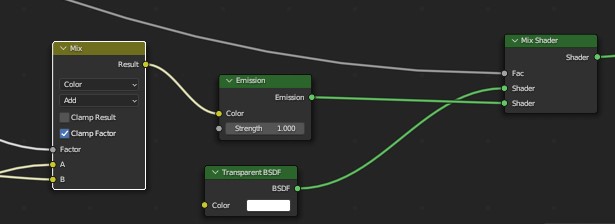
I have a technique to create a stylized shader at which I can control any shadow, highlight, or spectacular dot (the little shiny white dot) on an object. This gives me the ability to control how light interacts and hits objects. Mixing it with a diffuse shader gives a perspective shift to control this entire effect.
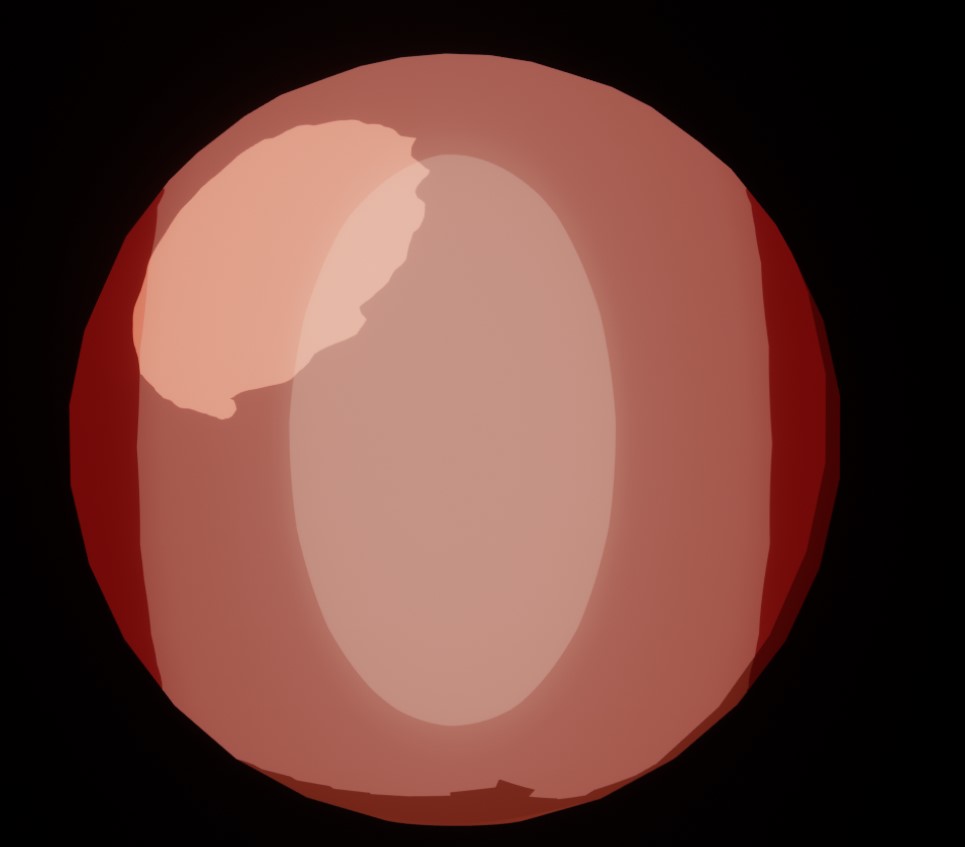
Separating this with an emissive channel gives a specular highlight volume.
For the outlines, I flipped the normals with the Solidify modifier and indexed the channel to a black emissive material called outline with an Alpha Blend (which makes it semi-transparent) on the material shader to create a cool outline effect. I use this in combination with the freestyle to give a consistent feel throughout the entire scene.
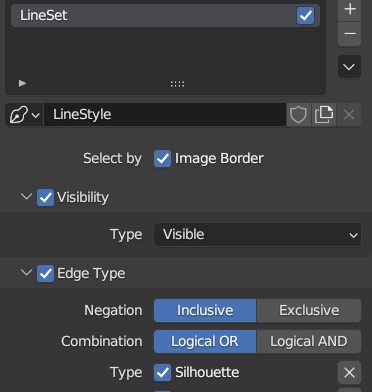
This is the outline which I can control to my desired thickness.


Color
I create color palettes by sampling the reference and finding the analogous colors for each major or common part of the scene where color is present. This is where I once again use the MVP (Minimum Viable Product) method to push out the best work in the shortest period of time. The details are profound at this stage, where I zoom in on specific areas to capture any possible flat areas.
I also add Grease pencil as extra hints for a cartoony effect.


Rendering
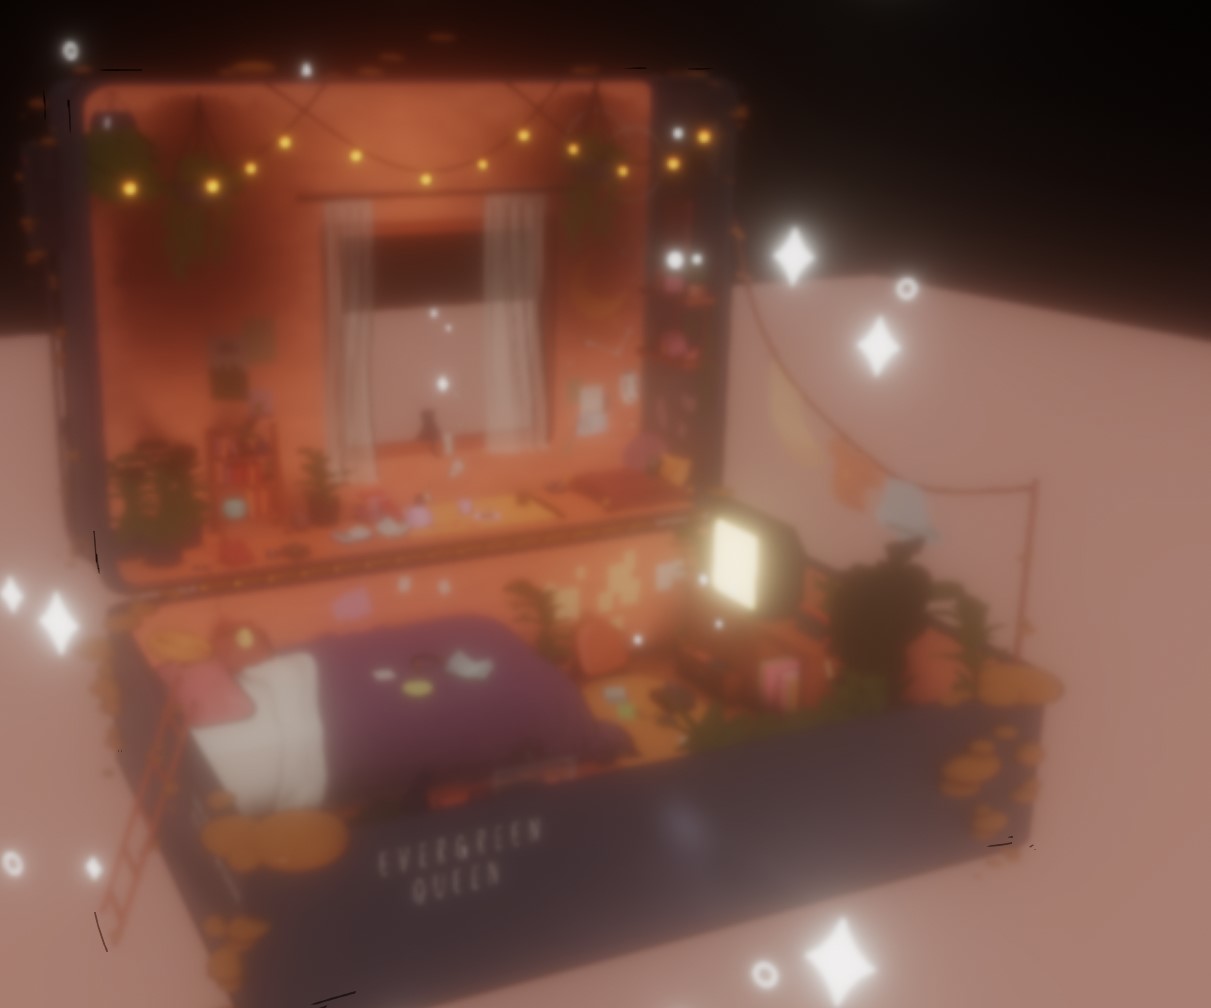
I do renderings of the progress until I get the right look, and this was the very first render of the scene with little to no color and basic props in the background. Looking forward to focusing on details and capturing the original nature of the Evergreen Queen’s work!

Adding color correction and a few other post-effects with Blender’s Real Time compositing for the lovely hue the final piece has to it!
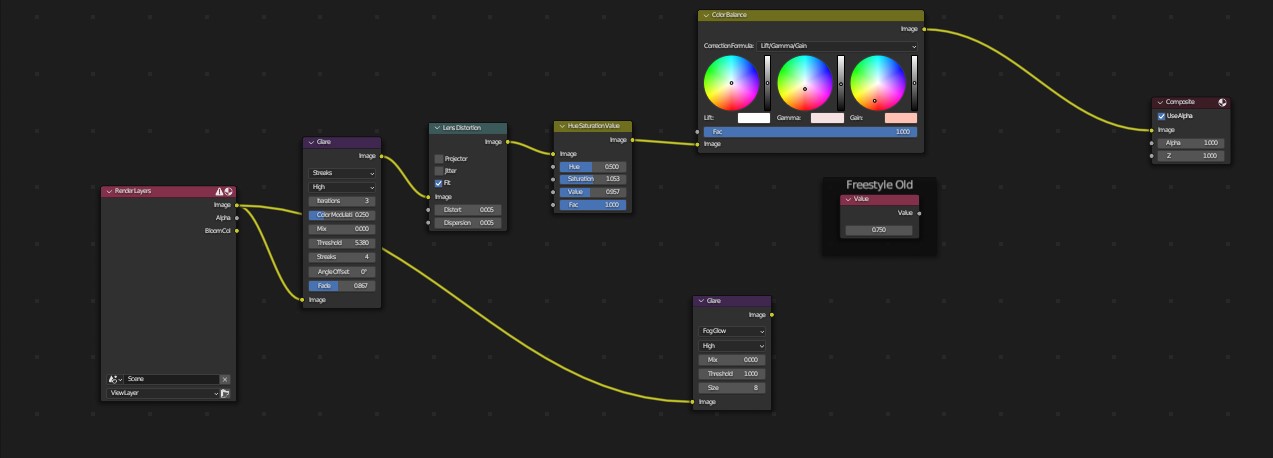
I got this result after a little bit of color correction and tweaking of the camera effects!

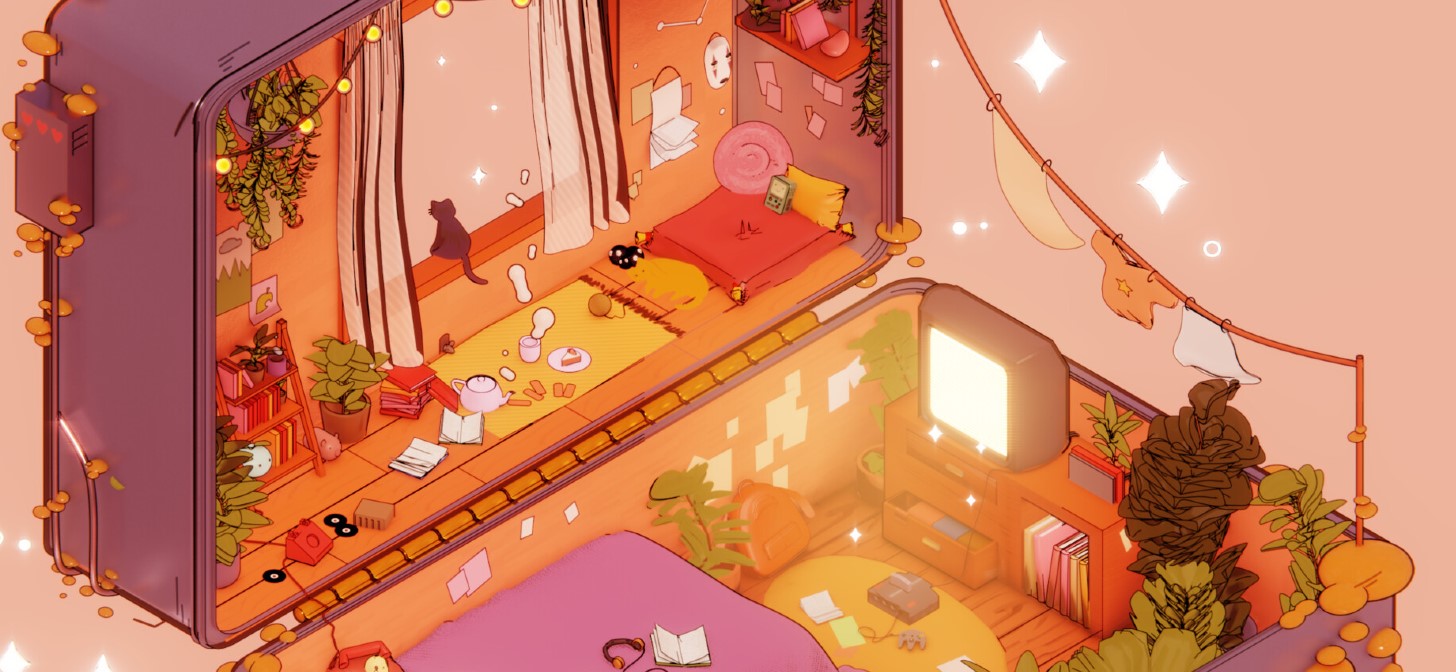
For the final render, I later added more plants and other items to fill any empty places in the scene. And that’s it!
Below are the final renders; I hope you like them.
RENDER – Polly Pocket Slumber

Thanks for reading, and feel free to ask me anything. Have a great day!
About the Artist
Michael Hickman is a 3D artist from Nevada, United States, currently doing freelance work.