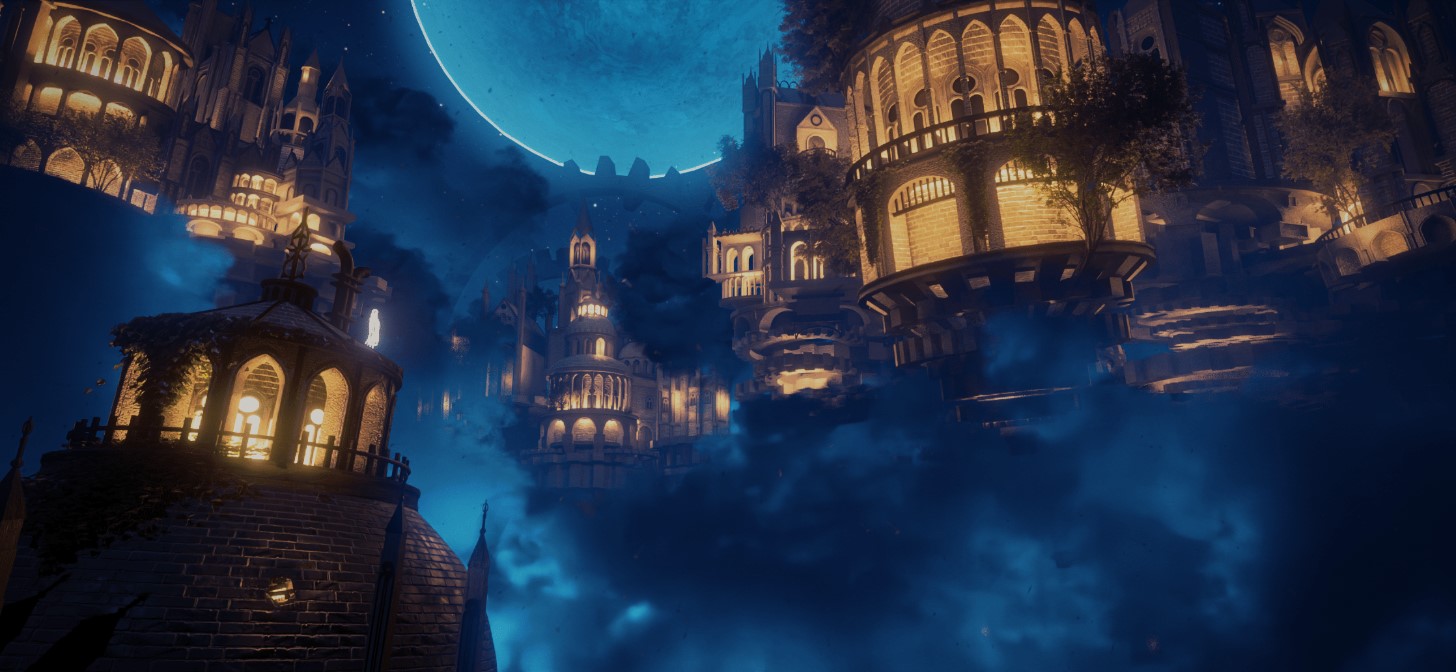
Behind the Scenes: Gear City Animation
INTRODUCTION
Hello everyone! I’m Galazi, a self-taught artist from Taiwan.
My first area of study was film editing, and then I began delving into 3D. I started learning 3D from CG Fast Track, and it has been almost two years now.
Currently, I’m focused on creating environment art. This is my second article on this website, the previous one was on my artwork, The Deepest.
INSPIRATION
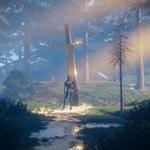
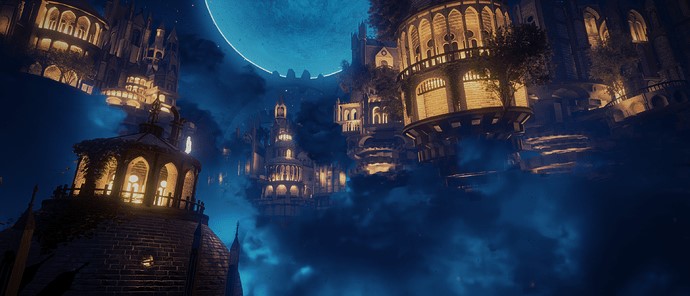
I made this work by referencing 2D concept art from artists on Twitter. This is a concept art made by an artist called 電鬼. I added my style to it and made it 3D.
Here is the 2D concept:
歯車の都 夜 pic.twitter.com/OEOv62WJ4J
— 電鬼 (@denki09) August 12, 2017
But the first time I saw this picture was not on Twitter. It was from a music channel on YouTube.
I was very excited when I saw this piece and heard the melody of the music. I always remembered it until recently, three years later, when I finally had the ability to try to make it.
But the funny thing is, at the time I saw this work, I was still a person who knew nothing about 3D. LOL
PROCESS
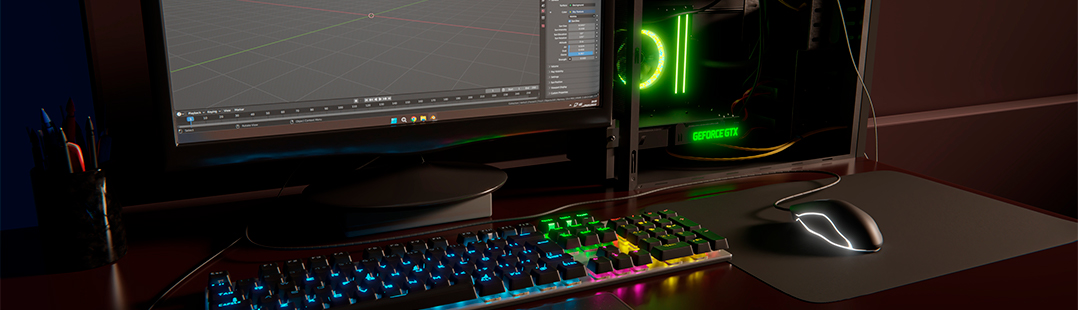
I do all my work using Blender, except for the music, which I adjust using DaVinci Resolve.
PRODUCTION PROCESS
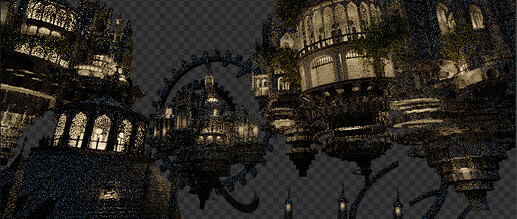
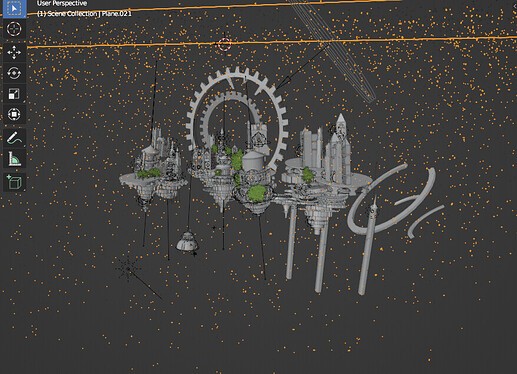
Basically, the modeling process is the same as my previous work “Church,” but this time there are more details and it is more complex.
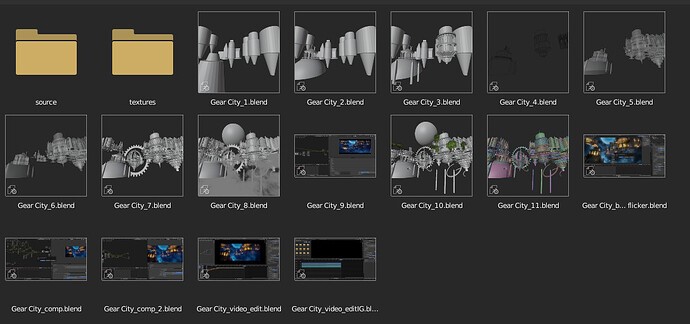
The real difference lies in the render settings and compositing. Due to the large scale of this scene, I cannot render everything in one breath.
RENDER LAYERS
Rendering all the content in one go would cause future problems that would be difficult to handle. Therefore, I divided it into several layers.
The tree models are from forestation on Blender Market.


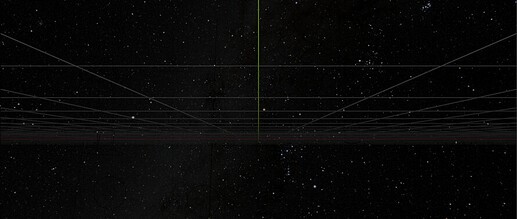
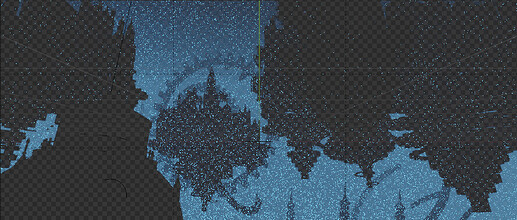
I also separated the blue and orange light sources. The blue light is for the clouds, while the orange light is for the buildings.
COMPOSITING
After the rendering was complete, I began experimenting with compositing.
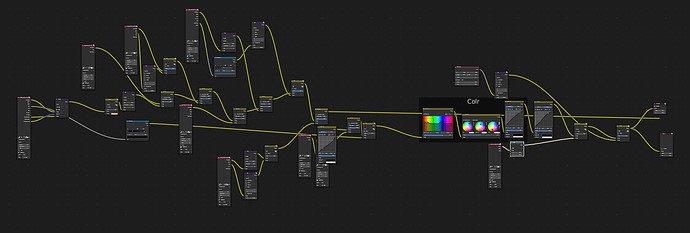
Dividing it into several parts really saves me a lot of time in compositing. I can decide for myself which parts to add the Glare effect to and which ones to leave as they are. Instead of applying the effect to everything and having everything change with it.
Everything was going well until I noticed an annoying flicker in my output video. I used these settings to achieve a flicker reduction effect.

RENDER – Gear City Animation

Animation Breakdown:
Thank you so much for reading this. I hope you learned something useful!
Have a nice day!
About the Artist
Galazi, a freelance 3D artist, currently focusing on environmental art.