Behind the Scenes: Water City BW
INTRODUCTION
Hi there, my name is Israel, and basically, Blender and the entire realm of art have become a religion to me. I love it, study it, practice it, and pretty much worship it whenever I have the time.
INSPIRATION
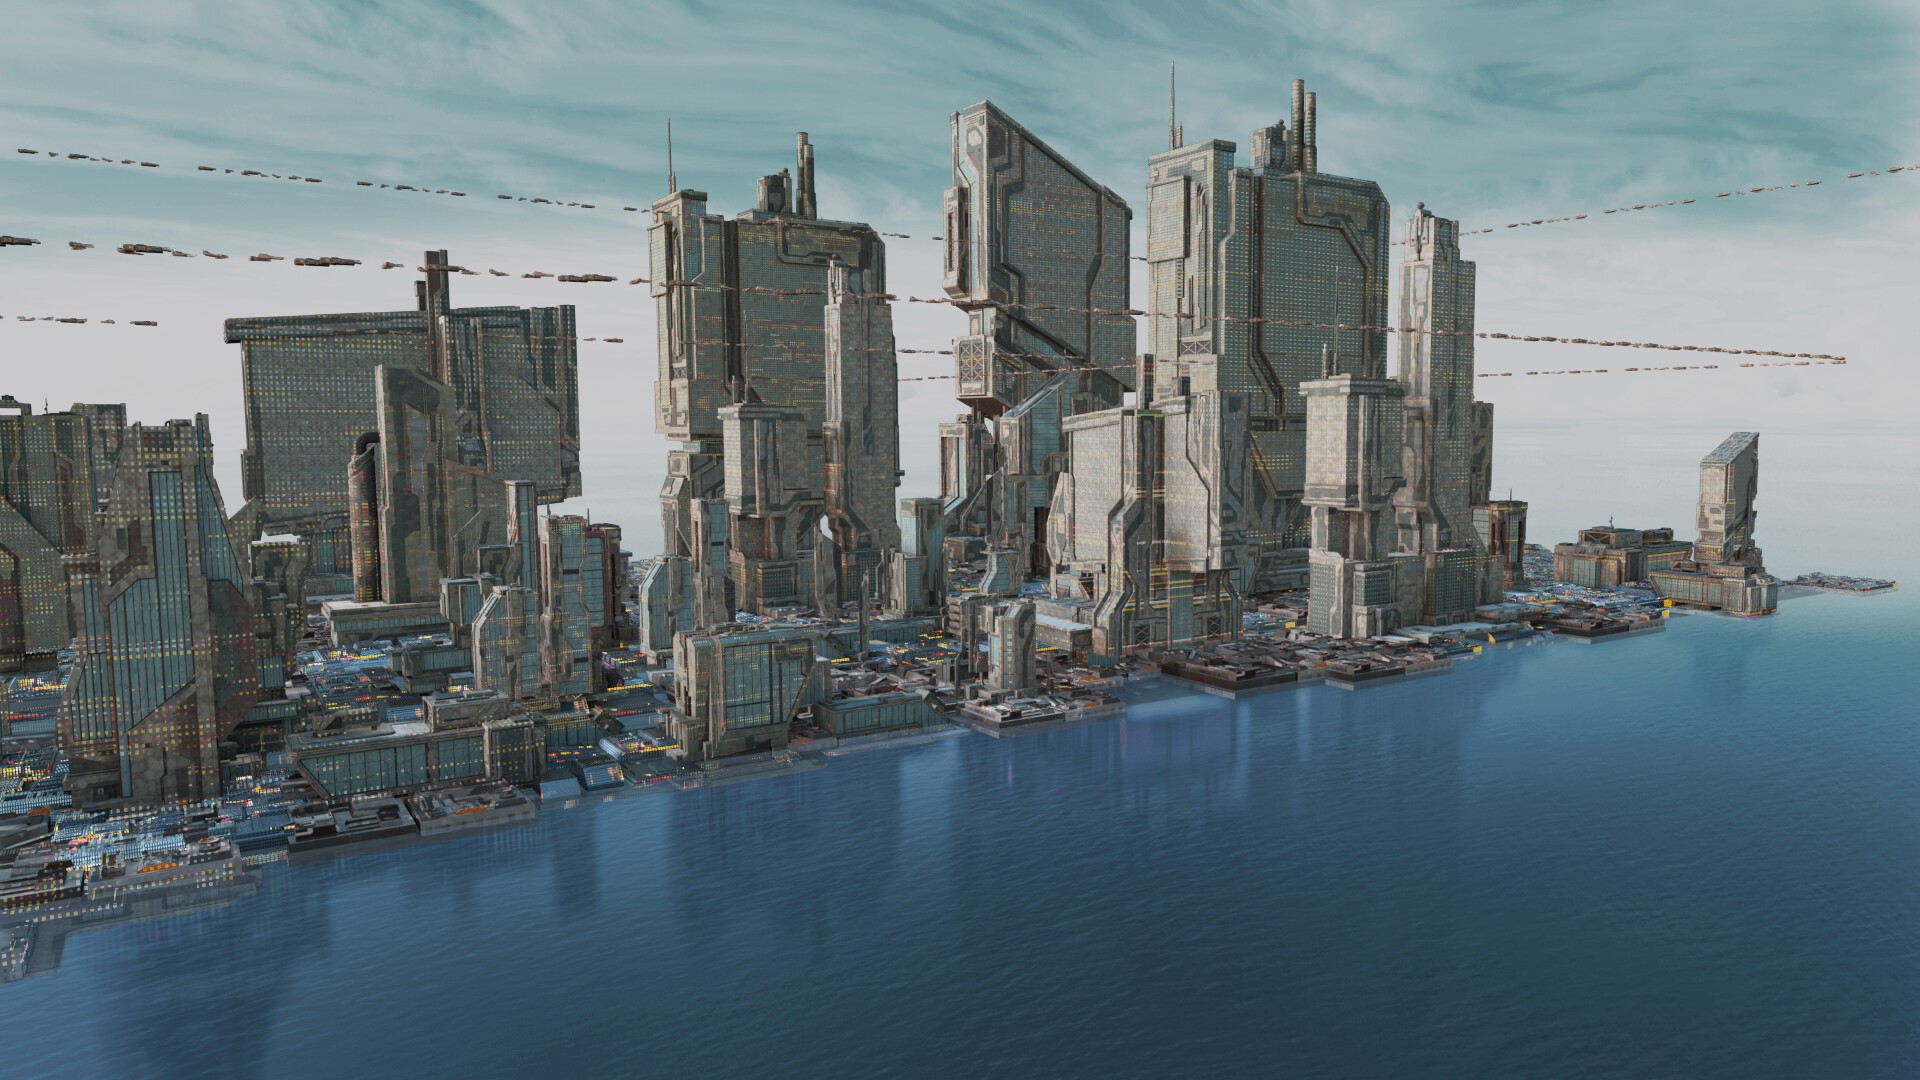
To be honest, I created “Water City” to test the performance of my new laptop, an RTX 3060 with 16GB RAM, i5-12450H 8-core, 12 thread cyberpunk automation. It is a “template” for future projects to determine what my computer can and cannot process. That’s all. And throughout the experience, “Water City” was not only a test but also an OK digital observation.
The “idea” was to put as many buildings on a water plane before the PC begins to slow down. Once the technical side was finished, I would begin with the artistic perspective.
GROUND
The buildings from sci-fi Industrial of kitbash3d are excellent models, but I still needed some solid ground to settle the buildings.
So, I decided to go for the “greeble look” and found a good tutorial on YouTube by CG Chuck to guide the way. The tutorial came with the Bagapie modifier add-on and a free greeble package.
I added a Sci-fi Wall Panel Texture for the floor from CG Trader.
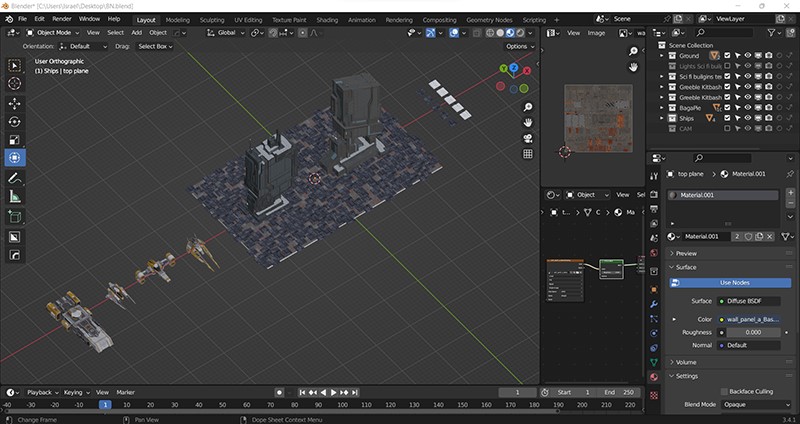
SCENE SET-UP
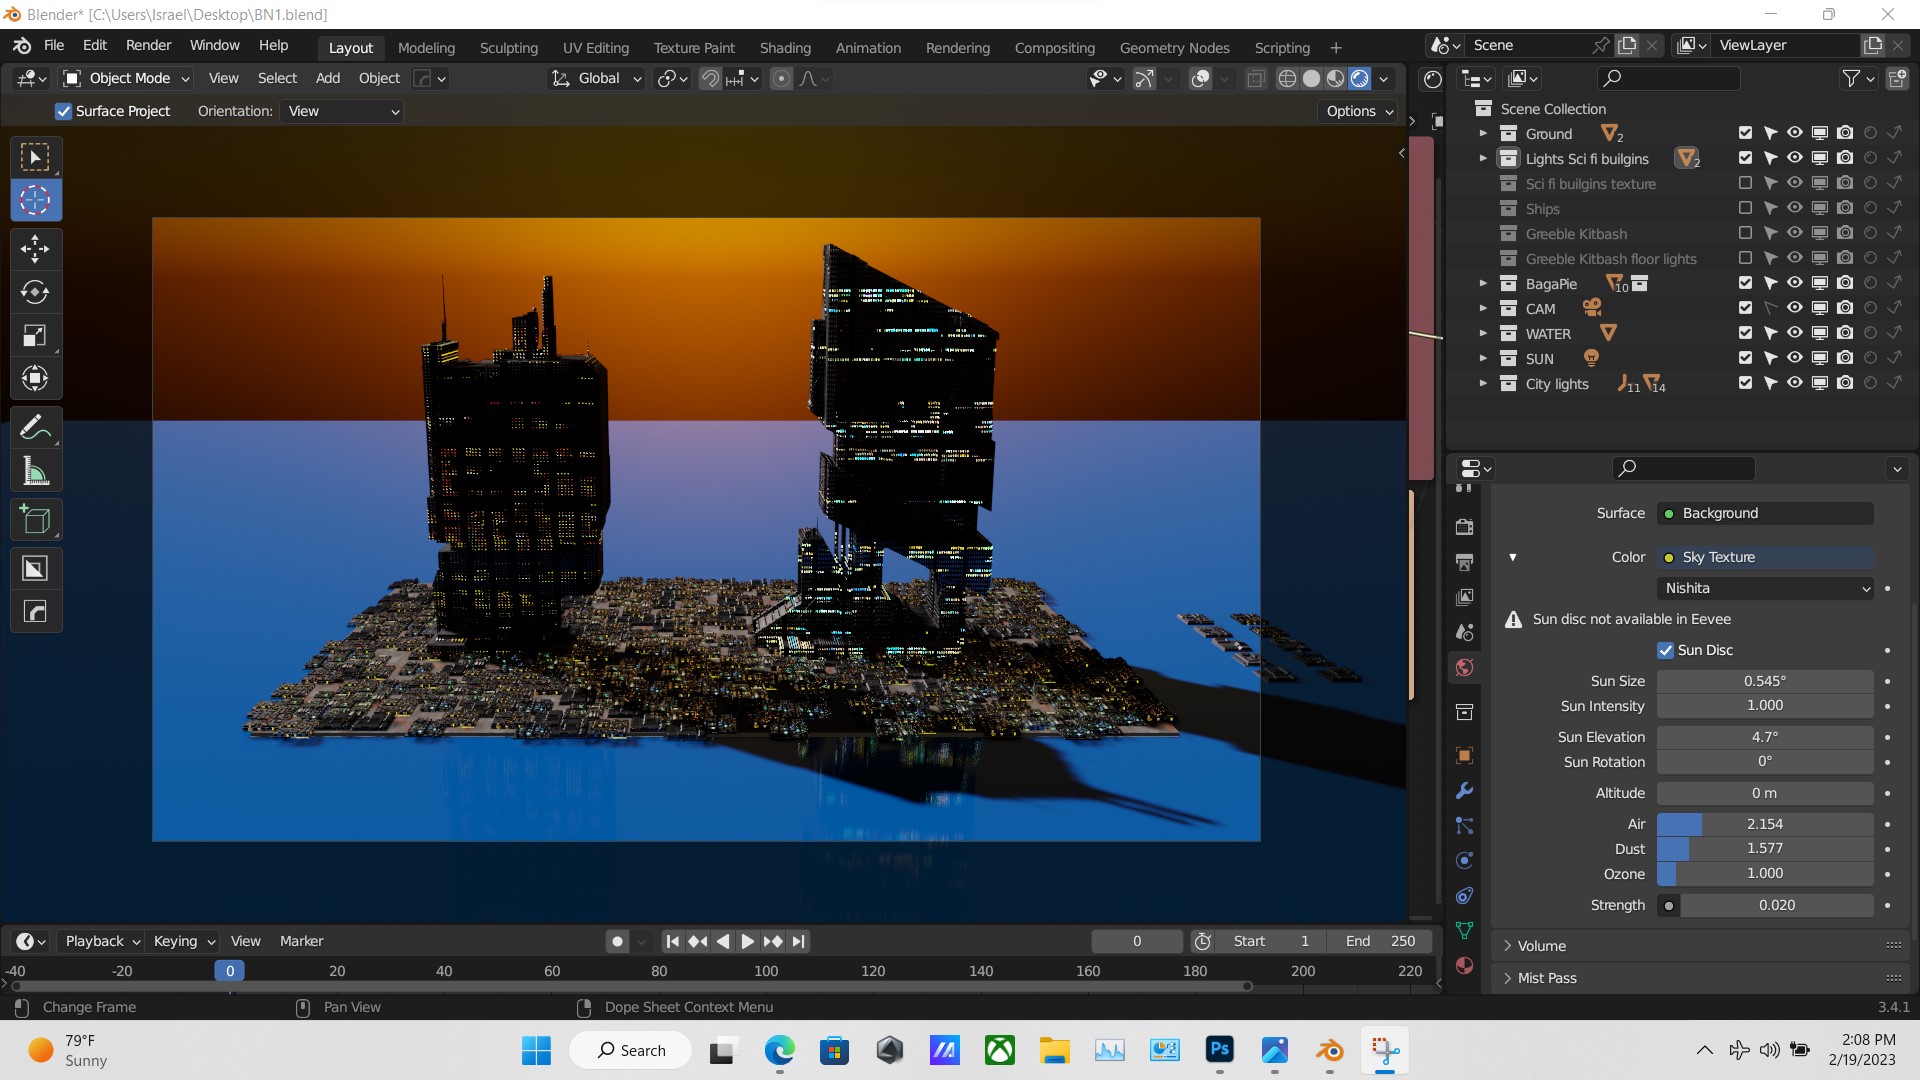
To set up the scene, I started by adjusting the origin points, scaling the buildings, and adding basic lighting. These are just the basic Blender navigation.

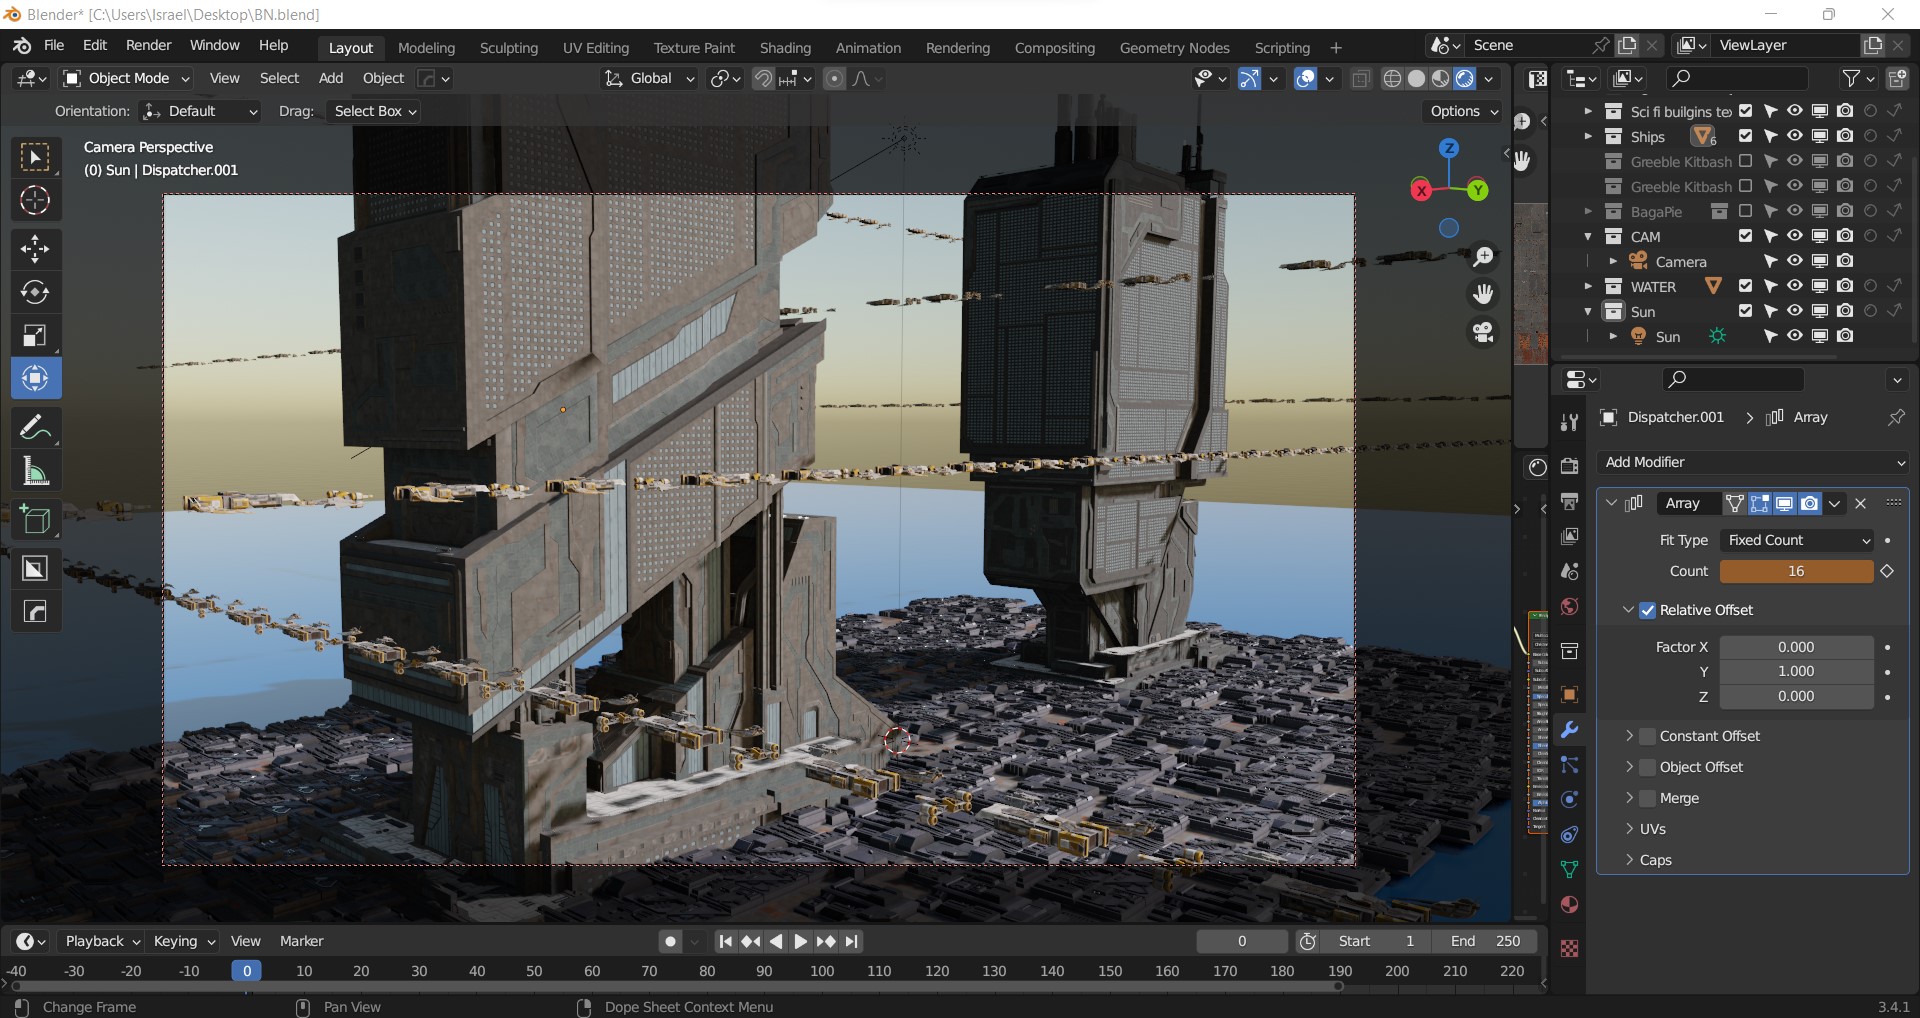
I used the low-poly ship pack Ultimate Spaceships from Quaternius. I added an array modifier on them to create a road path for the spaceships.
TEXTURING
I moved on to UV unwrapping and adding textures to models where needed. Once that was done, I picked up some building lights called Night Windows procedural material from ArtStation. Excellent work, Tony Skeor!

Now, the “brainstorm” of the project was how to get the building lights aligned and on the structures since the models did not come with sophisticated city light textures (sci-fi industrial and/or the greeble pack). There are many methods of doing this, but since I love Blender and Photoshop, I decided to render two layers of the object. One layer with the standard textures and the other layer (of the same object) with the light texture and overlap them later in Photoshop.
Here, I added the Night Windows material to the building and took a separate render.
The ocean was a bit simpler to create. I used the same blending overlap technique in Photoshop that I used for the buildings, along with an HDRI of an ocean.

To show the reflection of the buildings, I only needed a simple shiny plane in Blender.
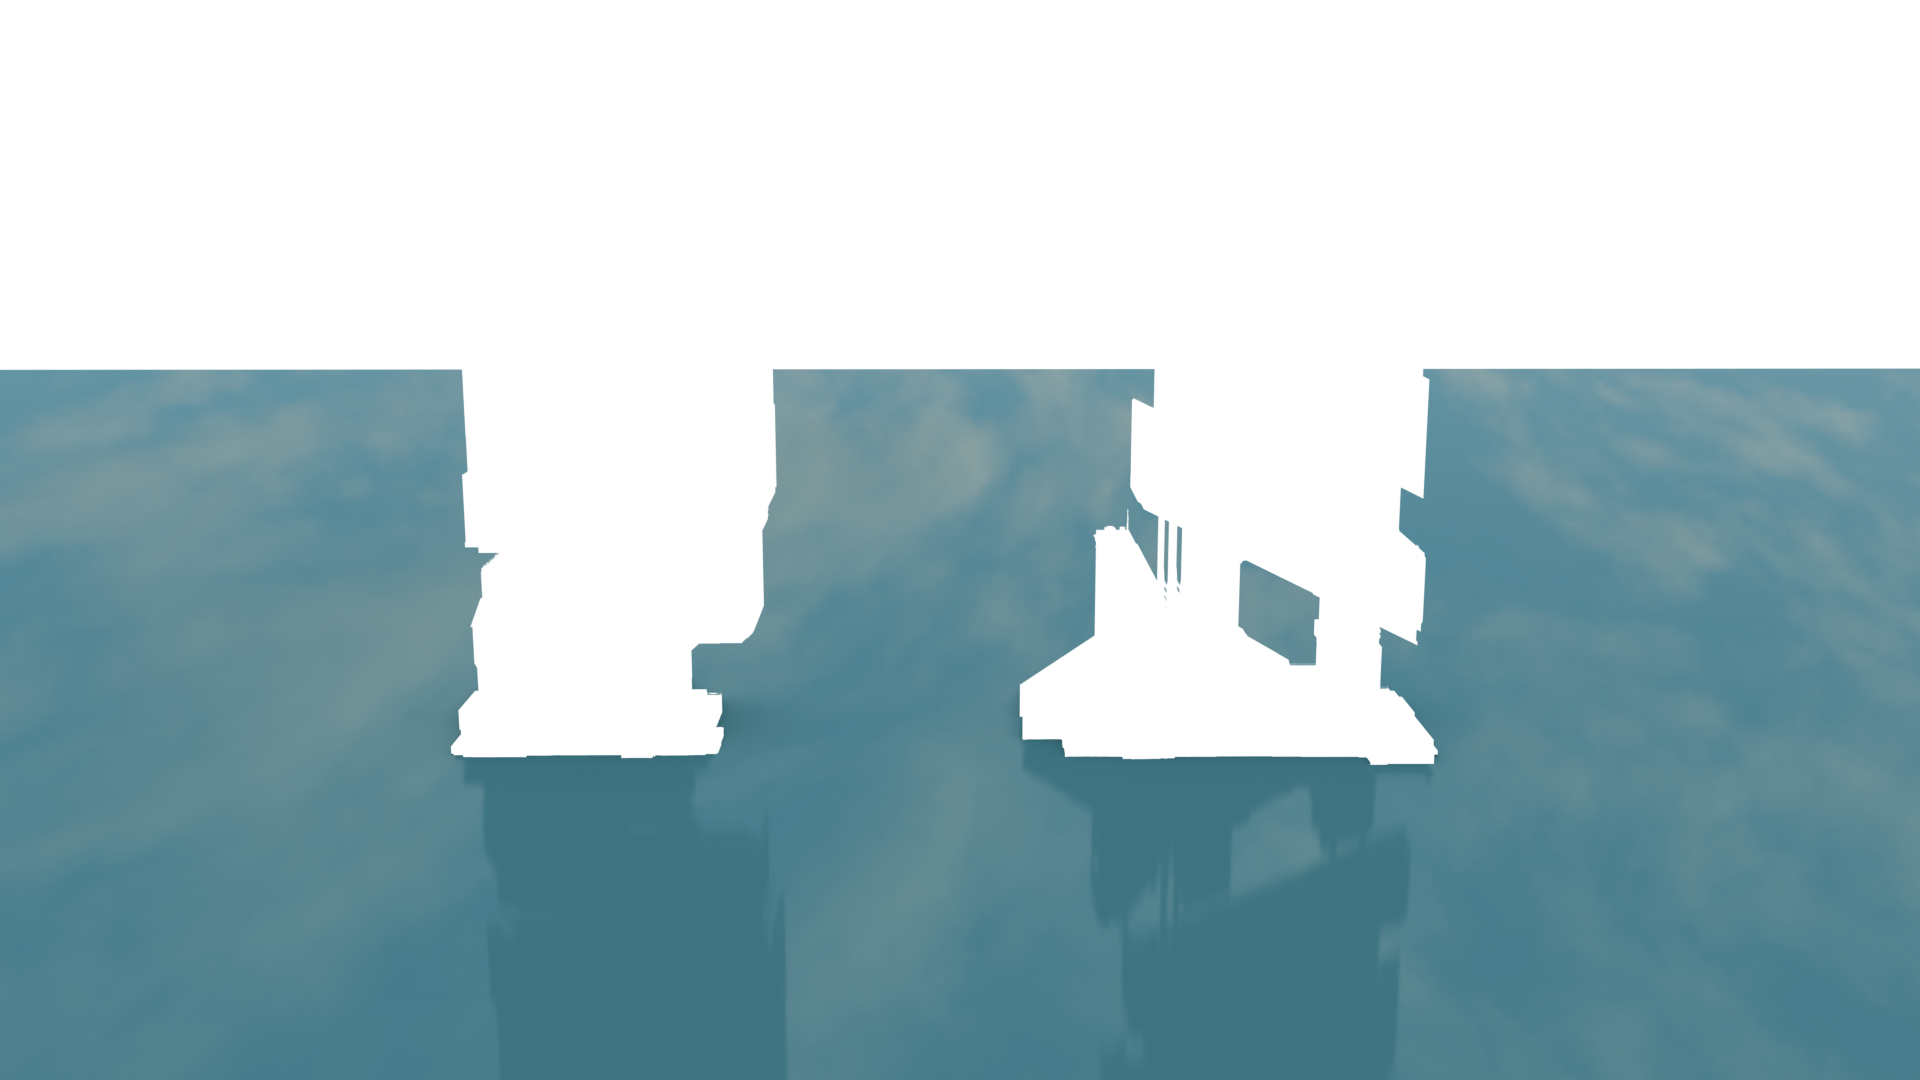
PHOTO-SHOP
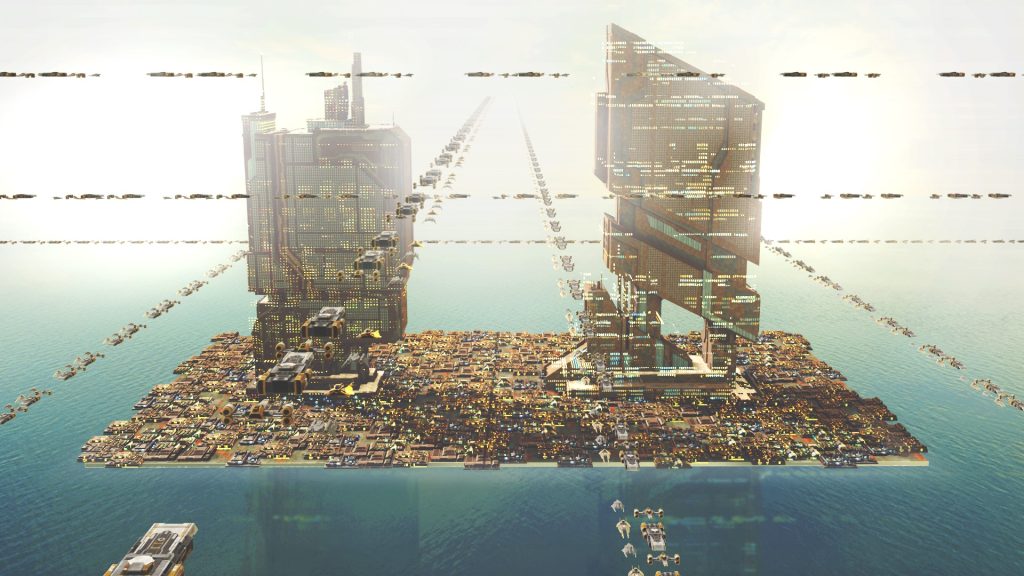
For the final result, I took the two separate renders of the buildings over to Photoshop and overlapped both layers accordingly with the corrected blend mode.

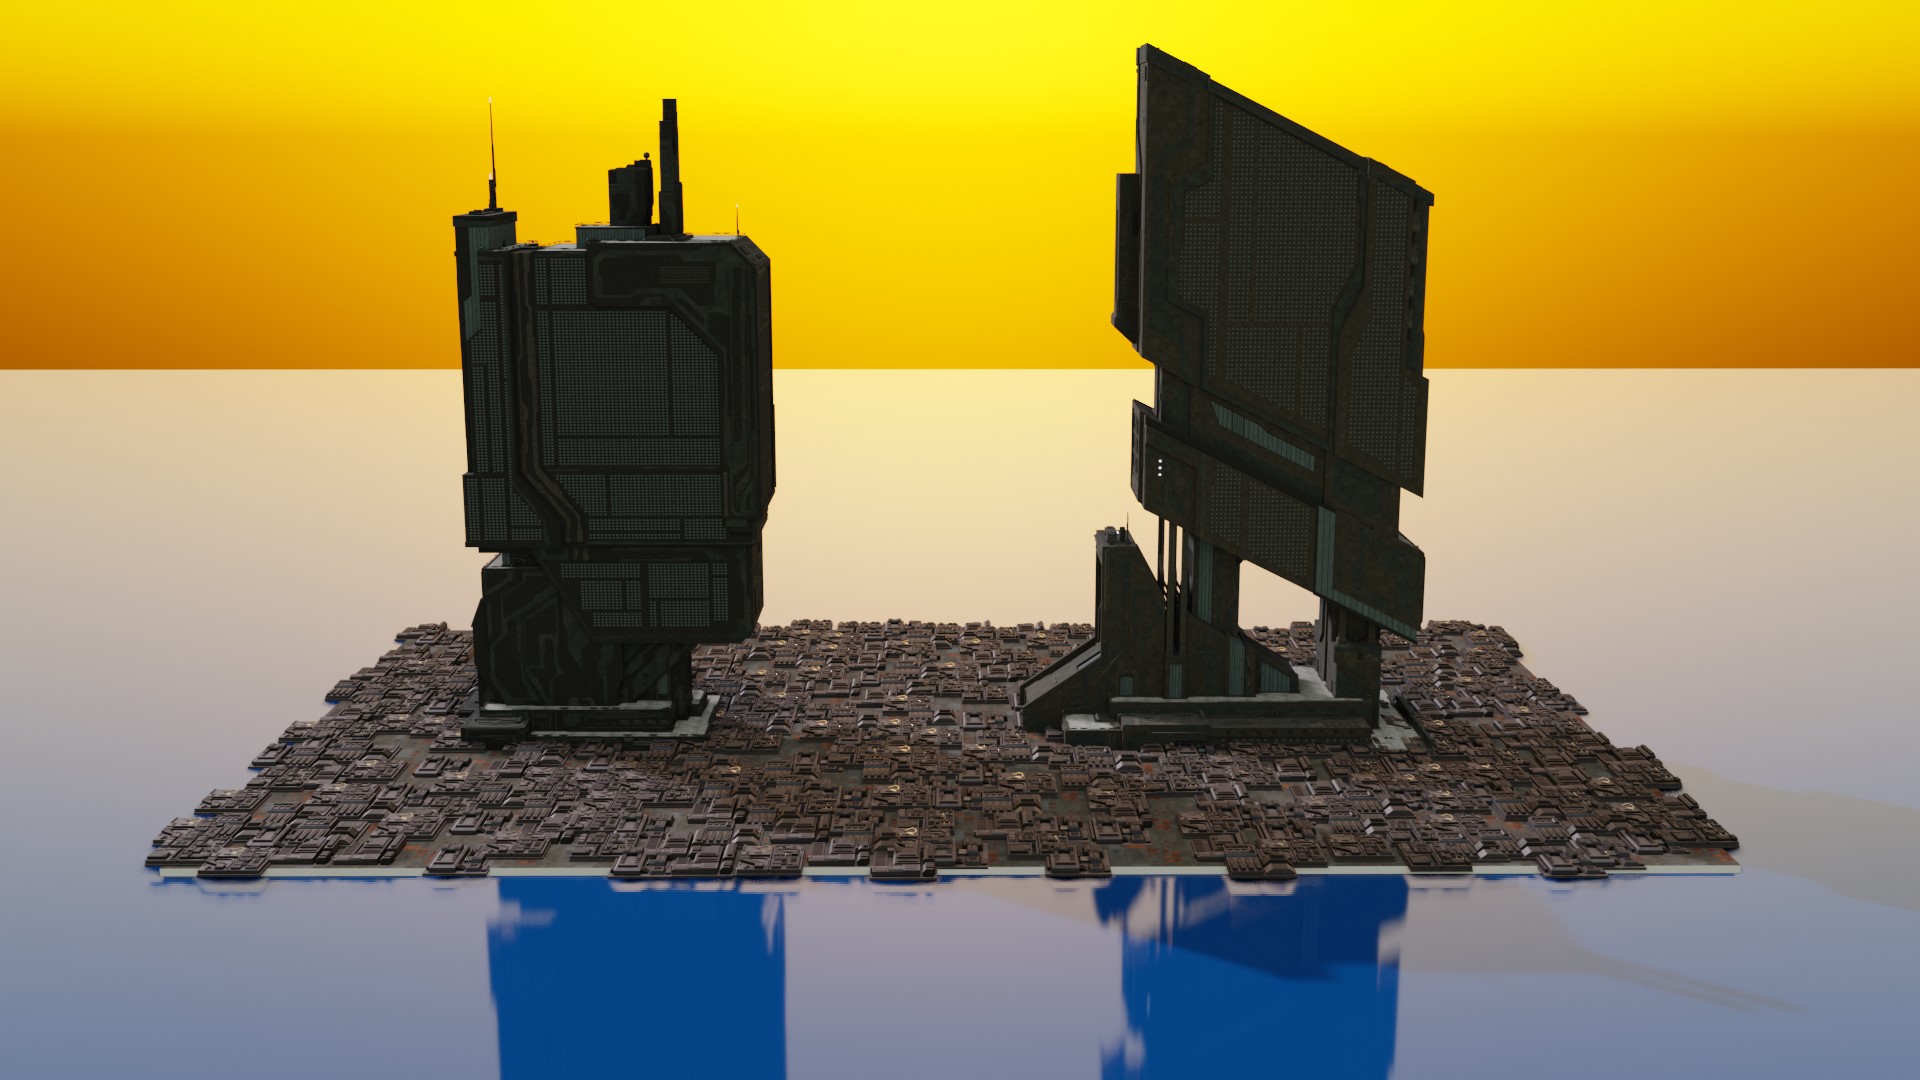
The background is not shown as I was going to add it in photoshop along with all the layers.

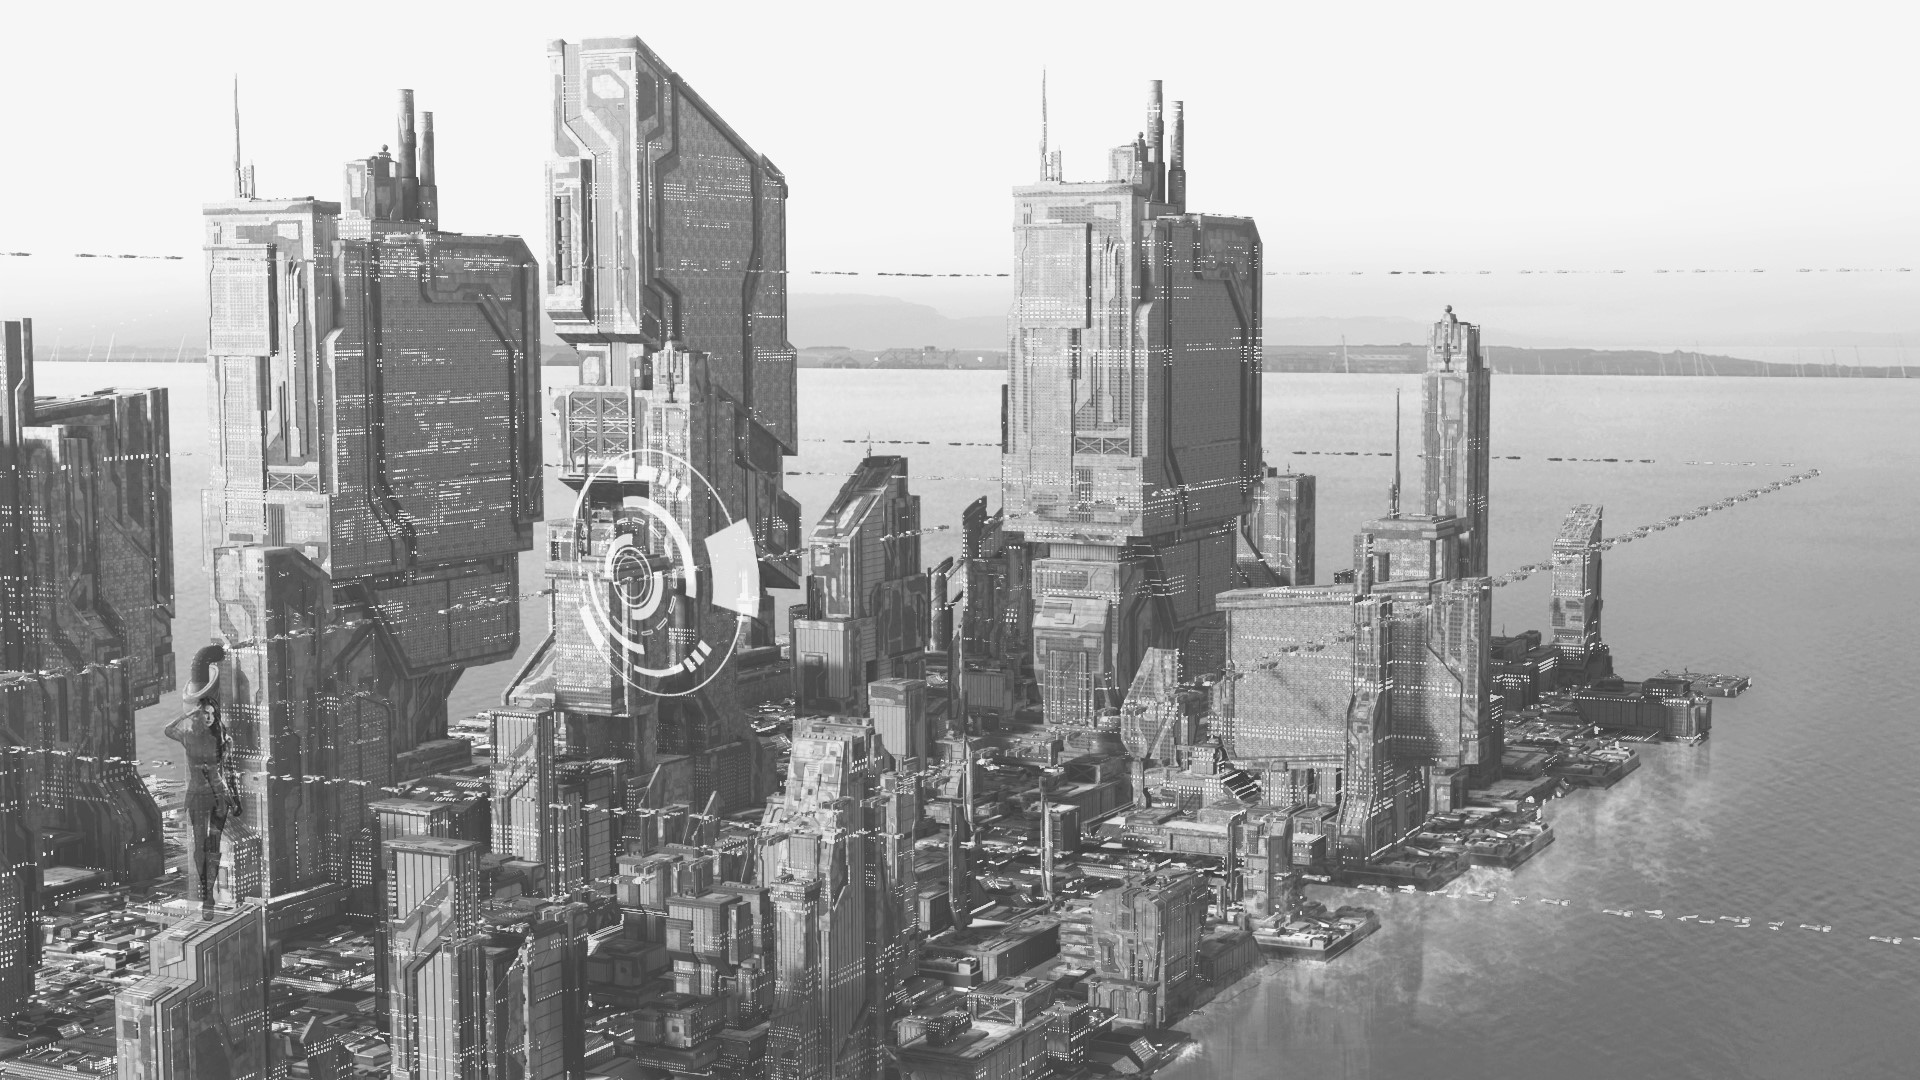
For a different approach to this work, I chose to decolorize the artwork and settled on the Black and White version of it. This version looked better with the sci-fi theme.
WATER CITY BW

And that’s it. Thank you for reading my article.
I hope you have a nice day!
About the Artist
Israel Carrasco, a 3D enthusiast, currently a full-time receptionist at my favorite call center. PEACE.