Behind the Scenes: First Ray of Sun
INTRODUCTION
Hello everyone, my name is Carlo Gioventù, and I am a university professor in Italy. Over my 35-year career, I have used a ton of programs, and I eventually landed on Blender, which I teach in school and use professionally.
I have been dealing with computer graphics since 1985, starting with a Commodore 64, then moving on to several Amigas, many PCs, the wonderful Softimage (<3), and finally Blender. Currently, I am a tenured professor at the Brera Academy in Milan, teaching 3D computer graphics and game development.
A big hug to all my current and former students around the world!
INSPIRATION
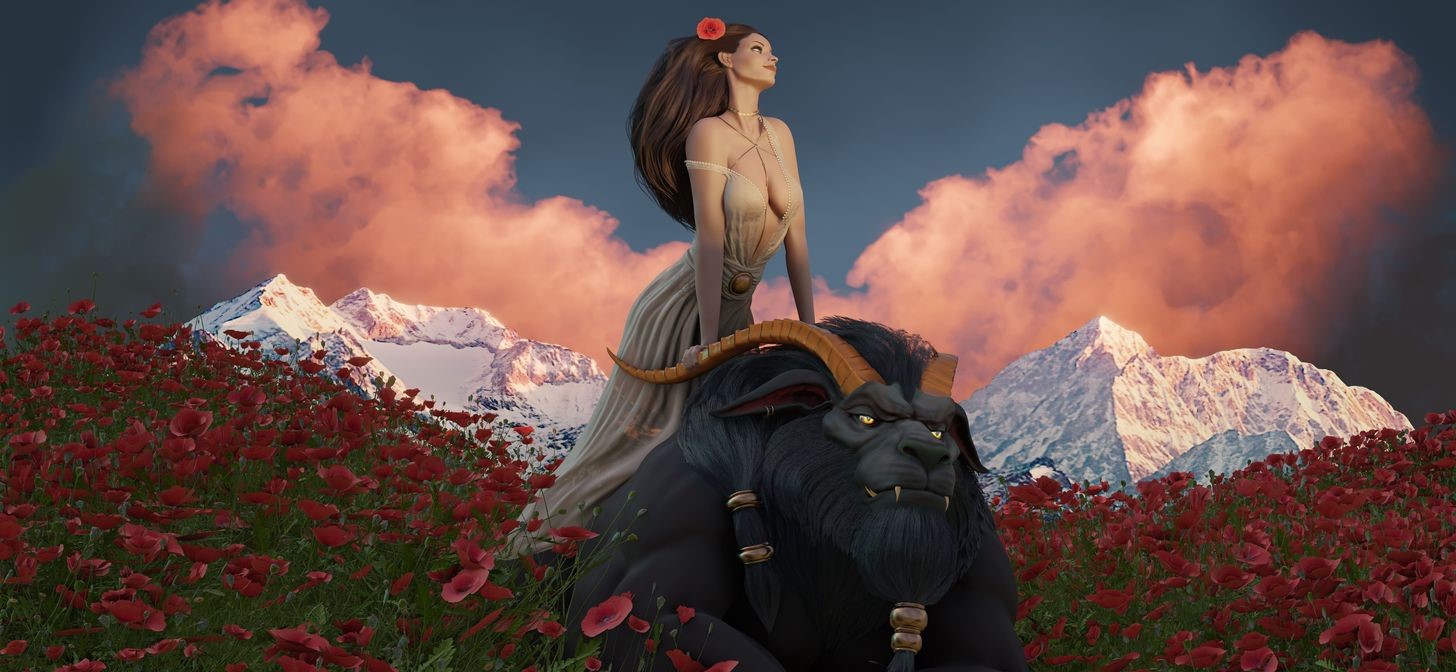
I was inspired by an image created by Ilya Ozornin.
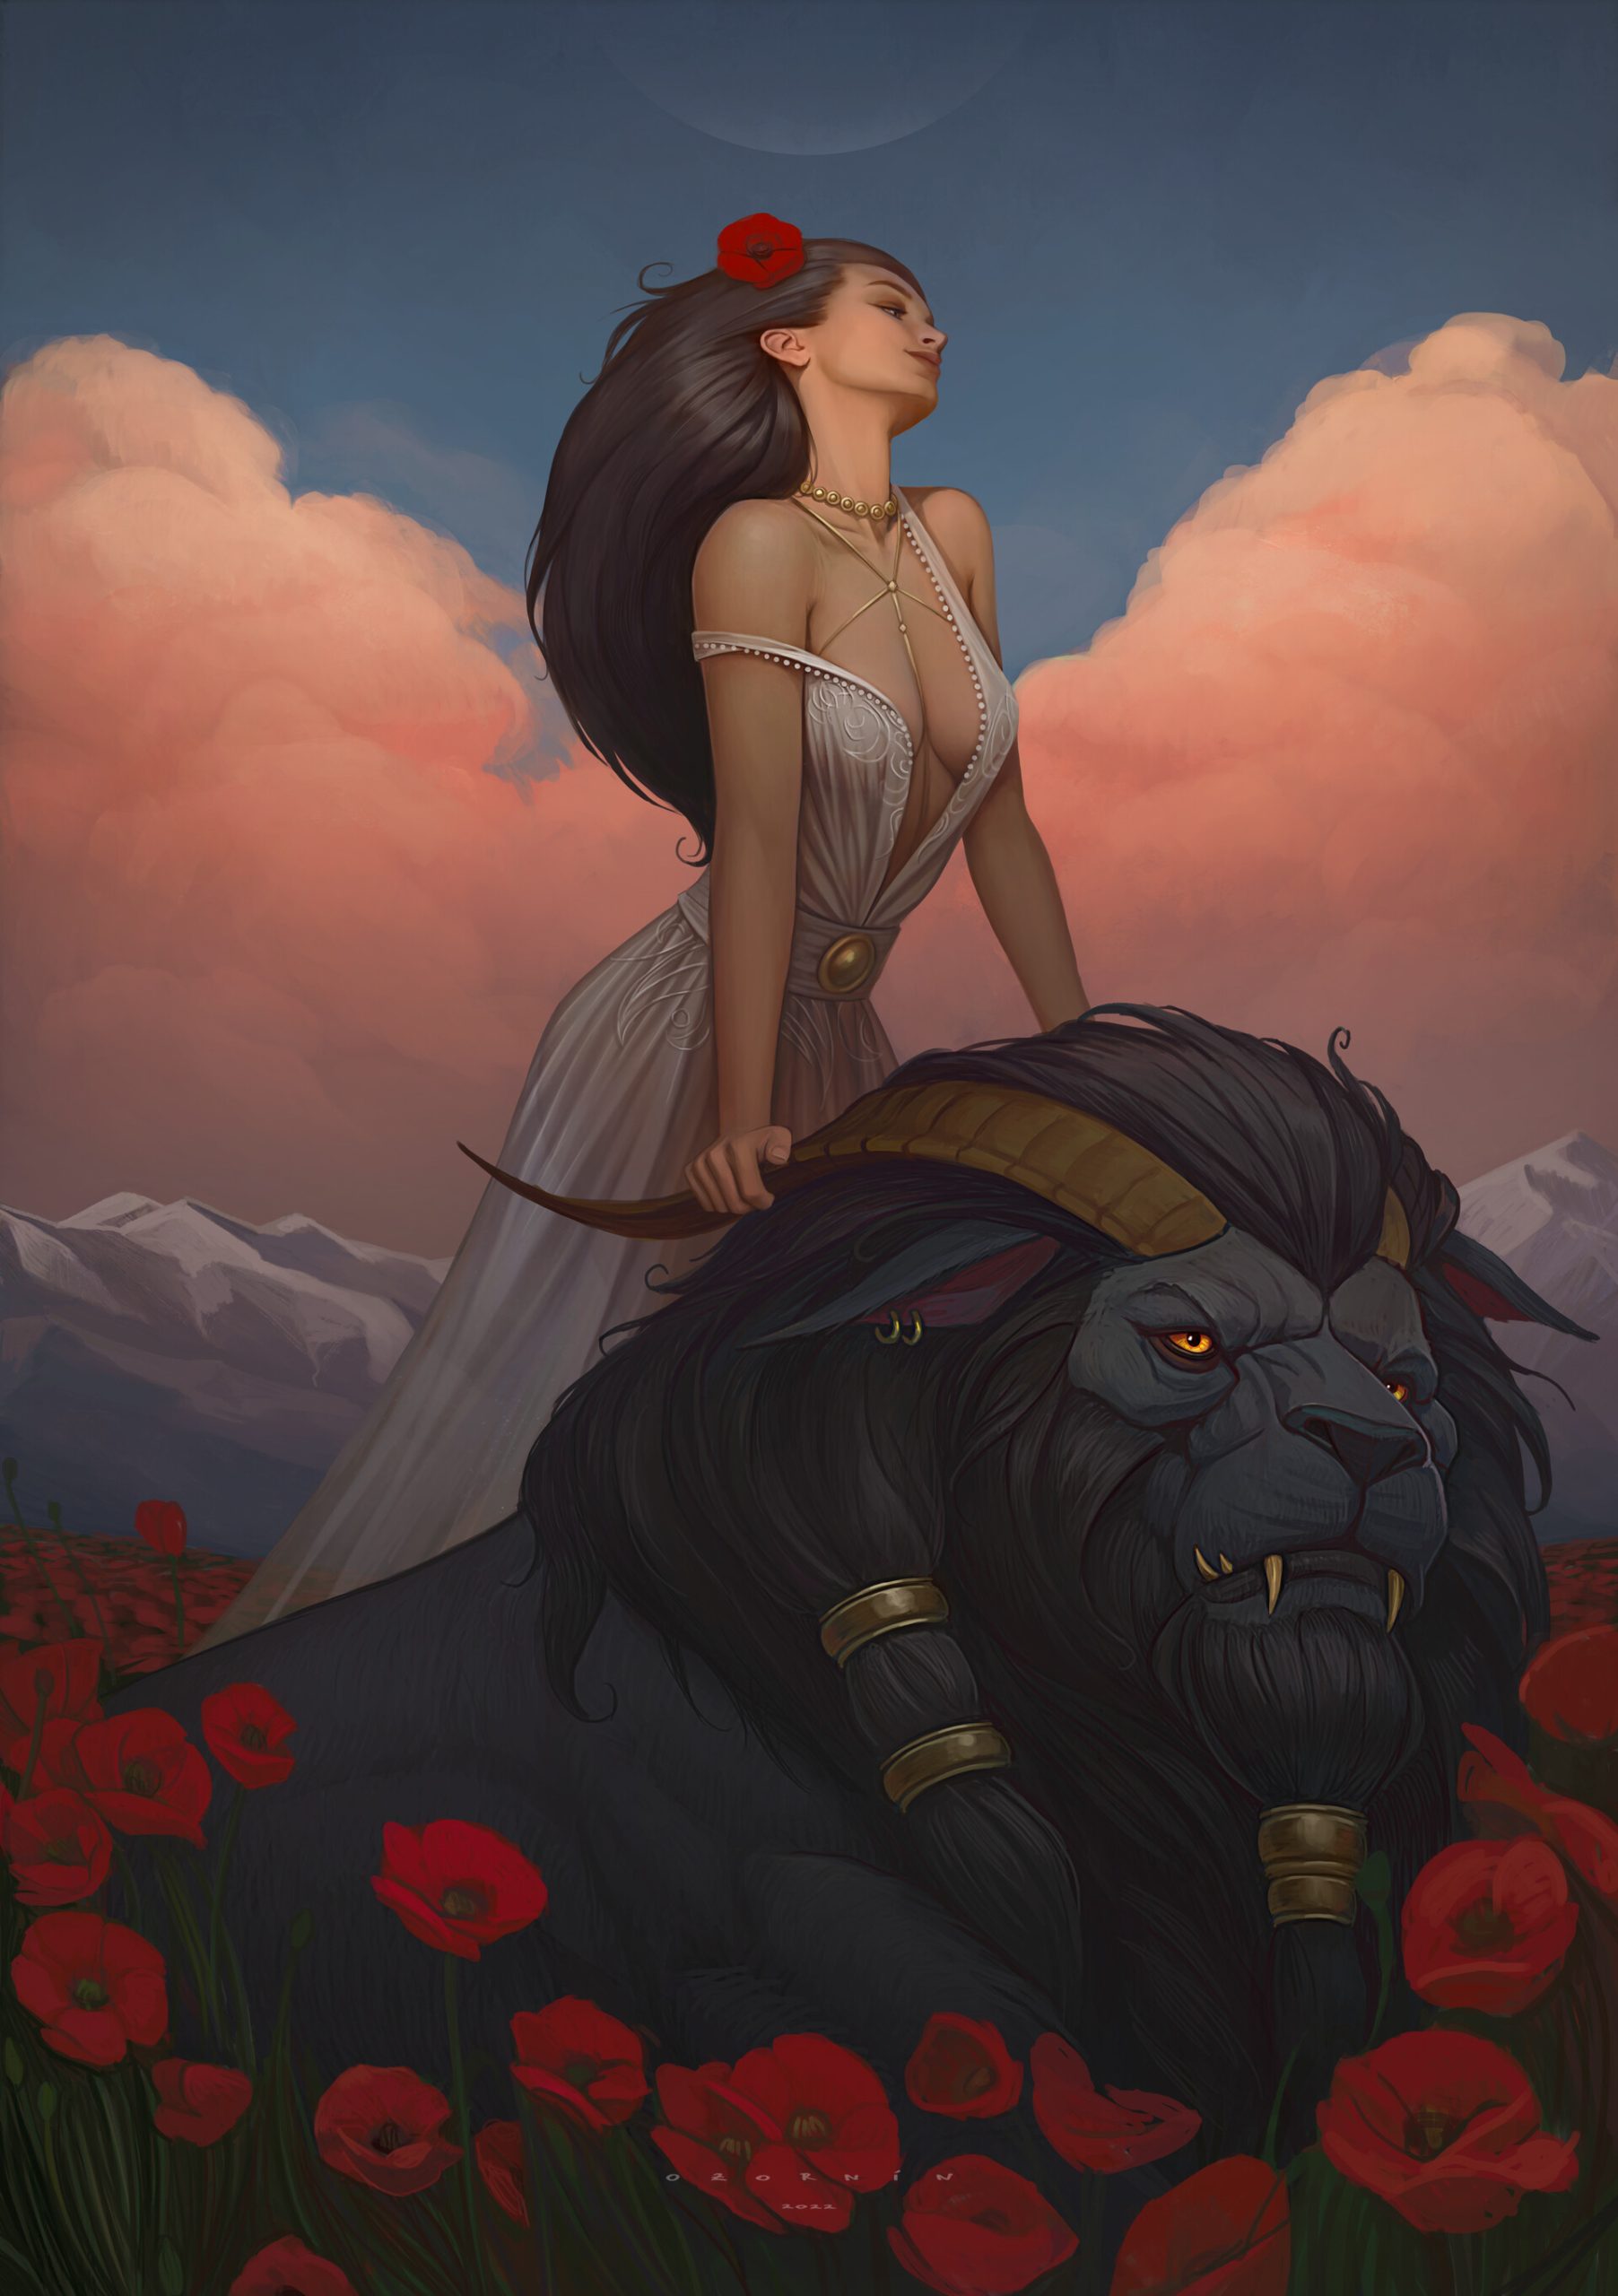
The challenge I faced was trying to reproduce the poetic quality of the illustration, so I aimed to create something that was a combination of both realism and illustration.
PROCESS
I wanted to experiment with various techniques in this image, such as using high-poly and vertex color models together with low-poly ones in subdivision surfaces and textures.
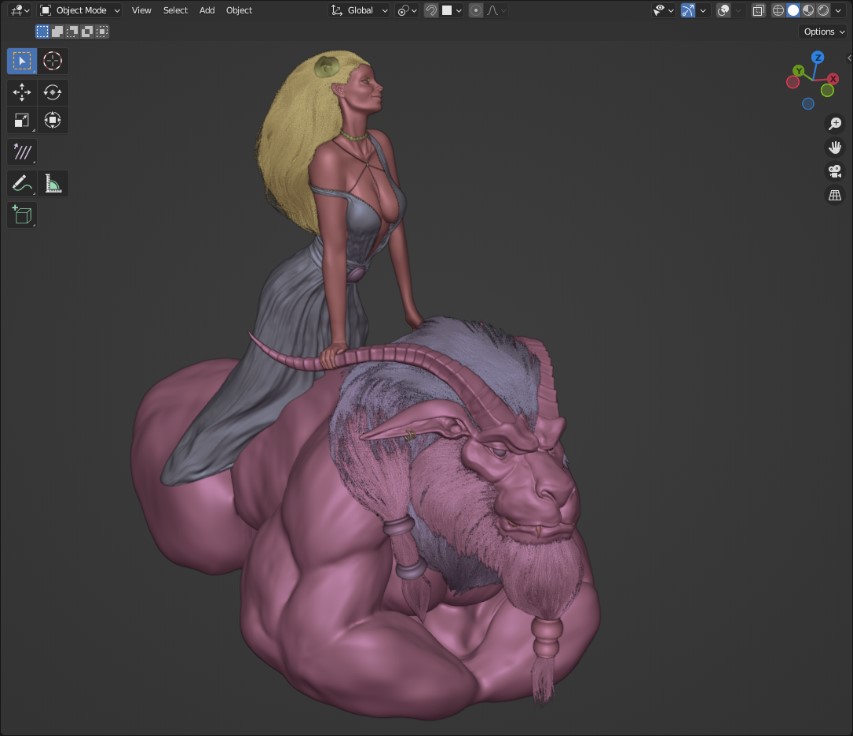
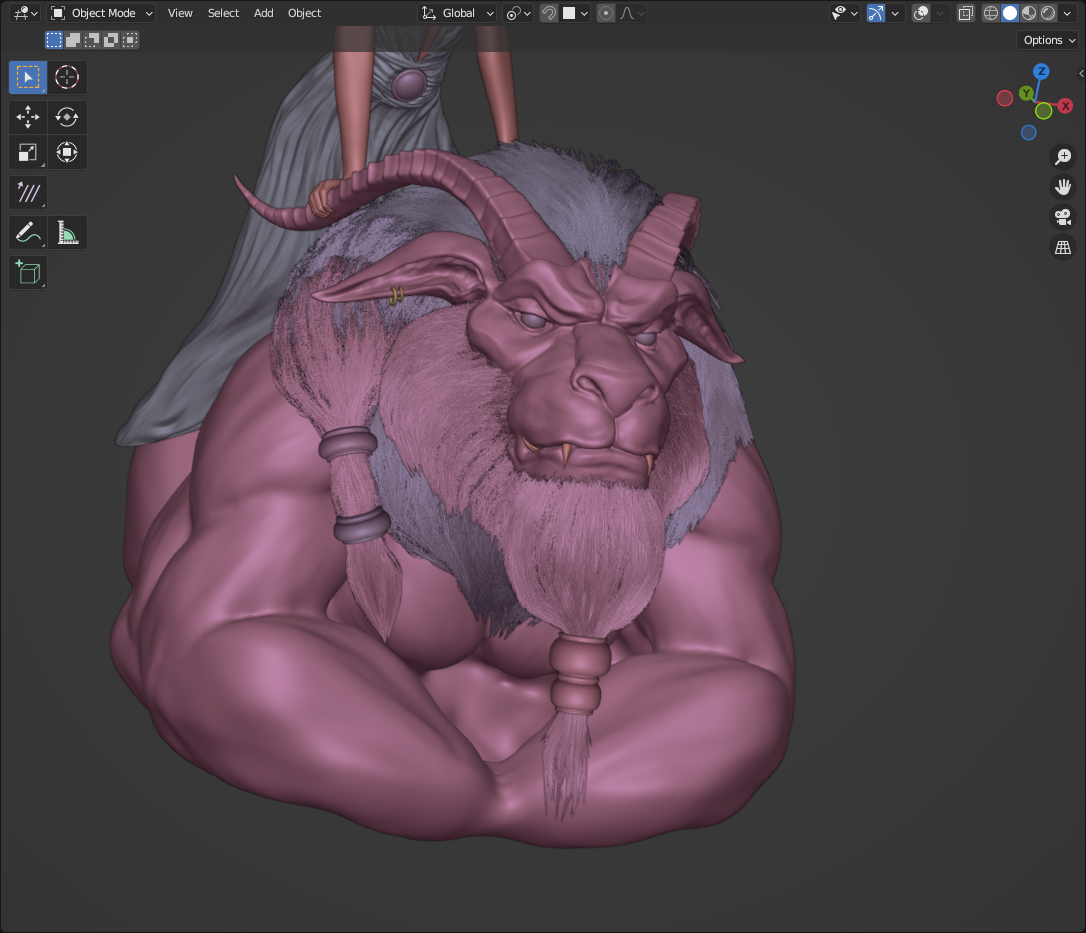
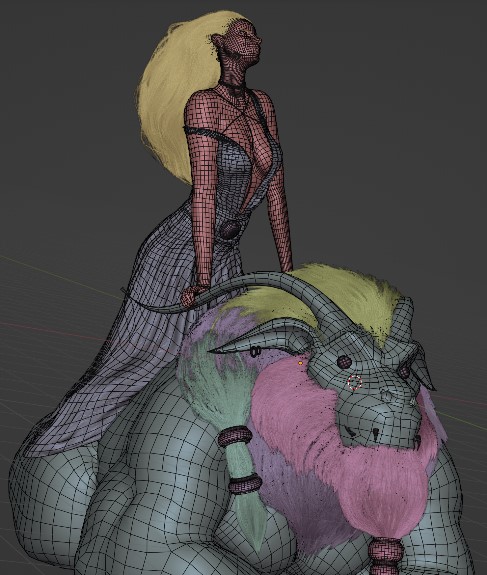
THE LION
The “Lion” is a high-poly model that was sculpted from a sphere and colored in vertex color. Below, you can see the shader where I tried to use various color attributes to create the model.

Unfortunately, the color attributes do not seem to support the alpha channel for transparency, making it quite difficult to use colors in overlapping layers.
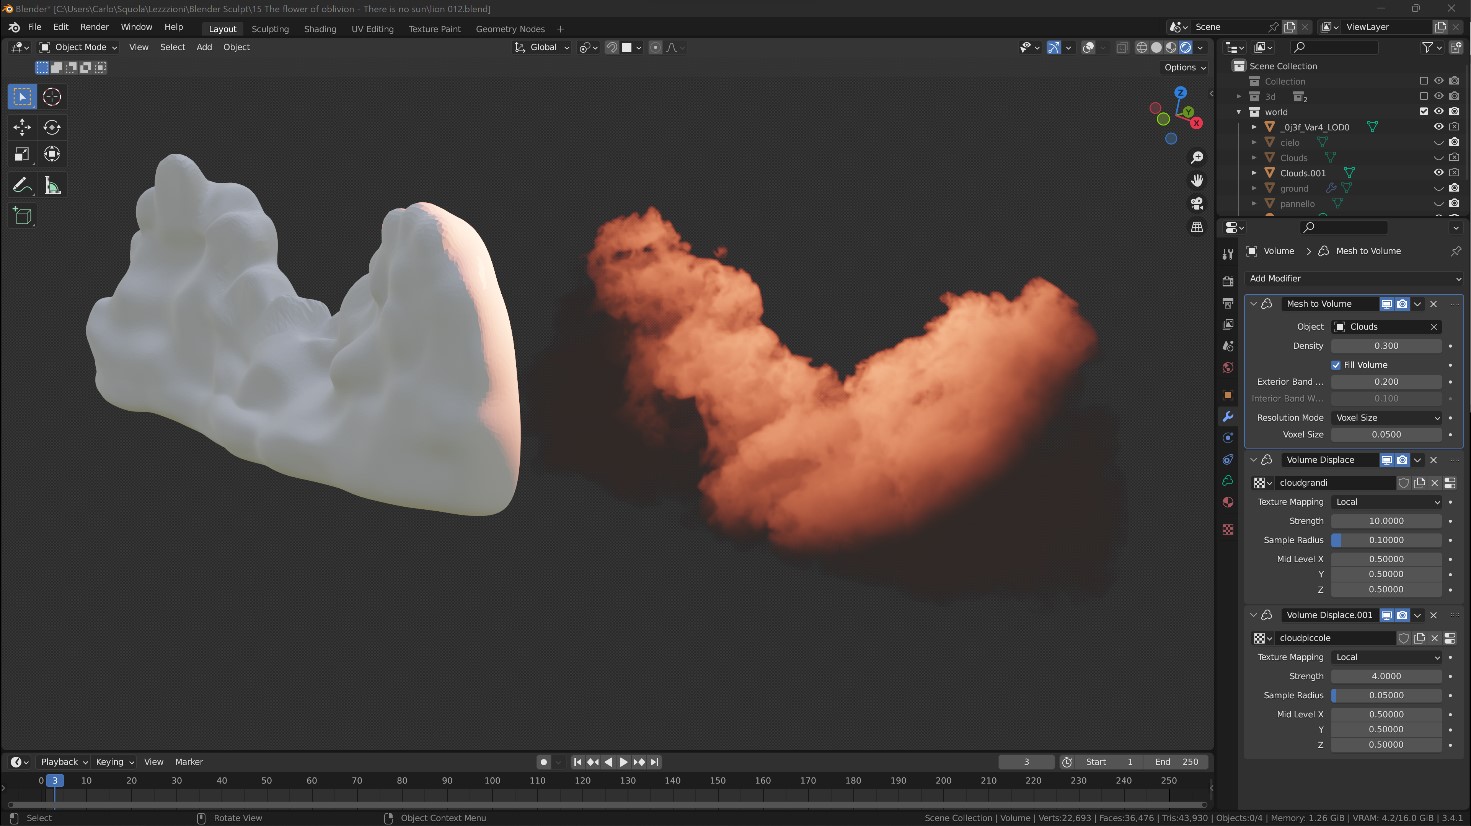
CLOUDS
For the clouds, I used mesh to volume, where I sculpted the rough shape of what I wanted to achieve with polygons and then applied the modifier.
Next, I used two volume displace modifiers to refine the edges of the cloud.
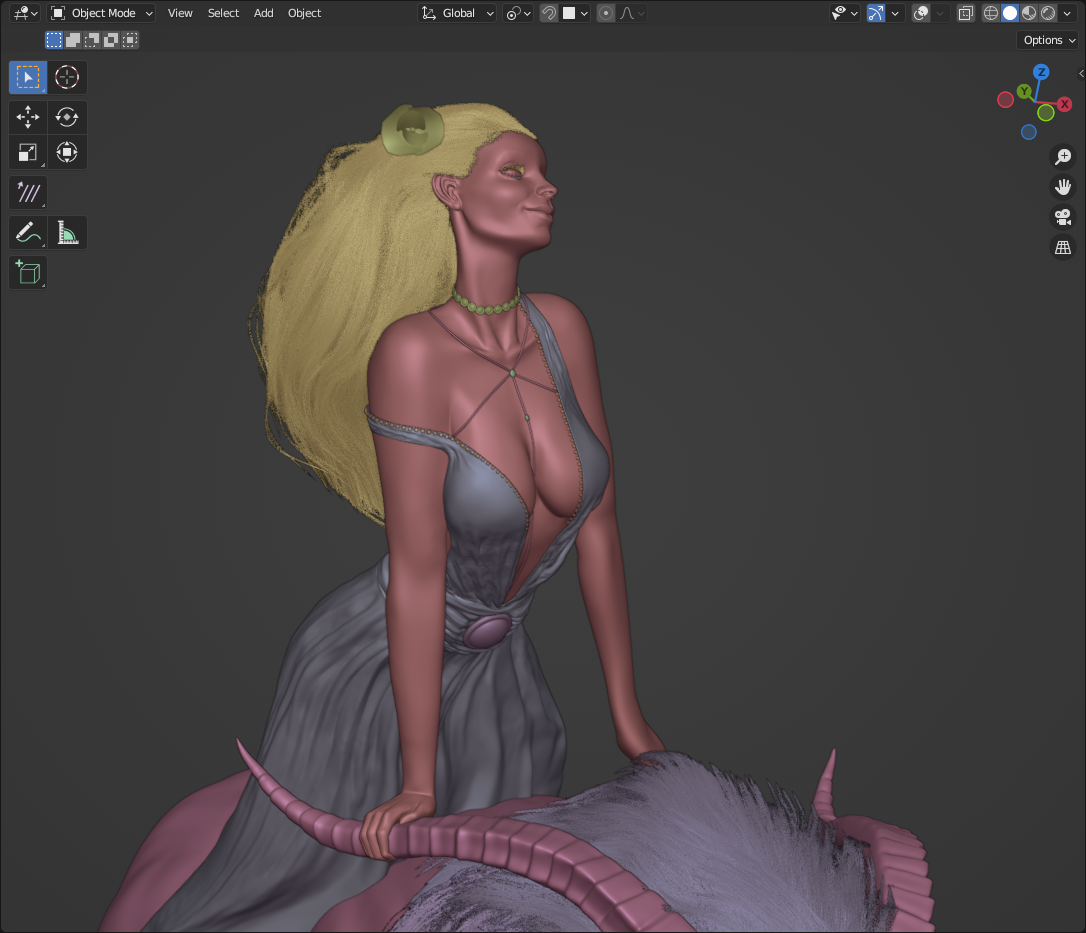
HAIR
Blender’s new hair system is very versatile and easy to use. However, you need to be careful because it requires a UV map to work.
For the Lion, I created a low-poly version to unwrap and generate the hair.
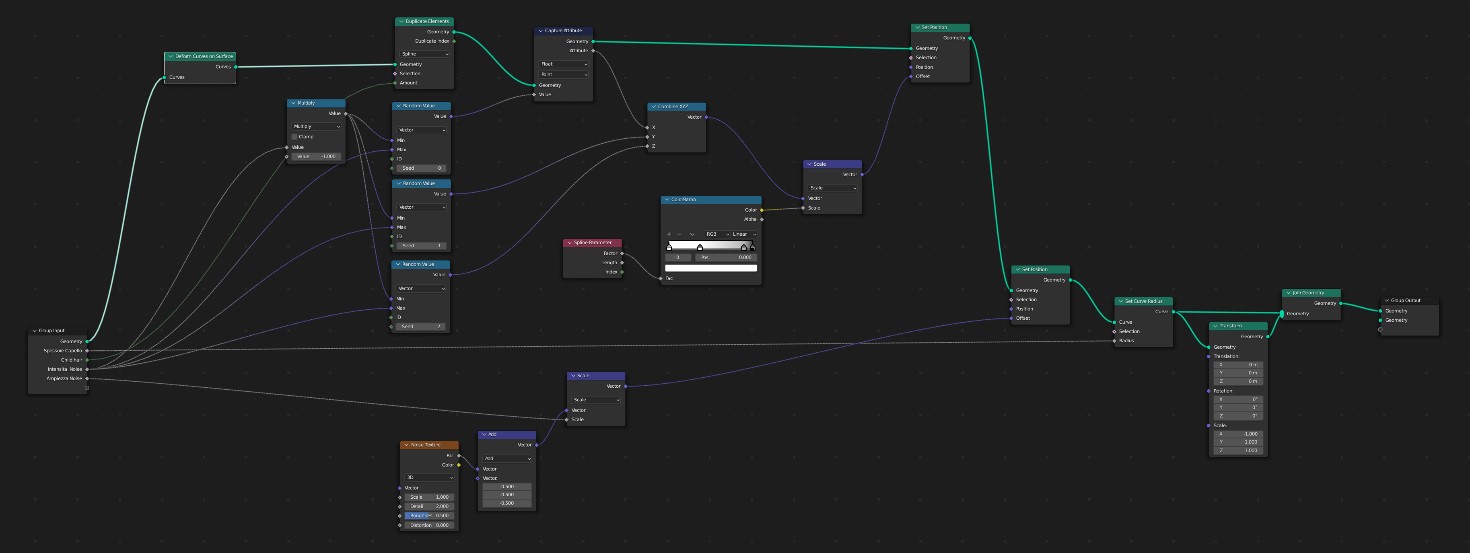
Since the new hair system is based on the nodal programming system, I experimented with managing fur and hair by multiplying them in strands, which made it easier to arrange them as desired.
I am attaching the image of the node scheme.
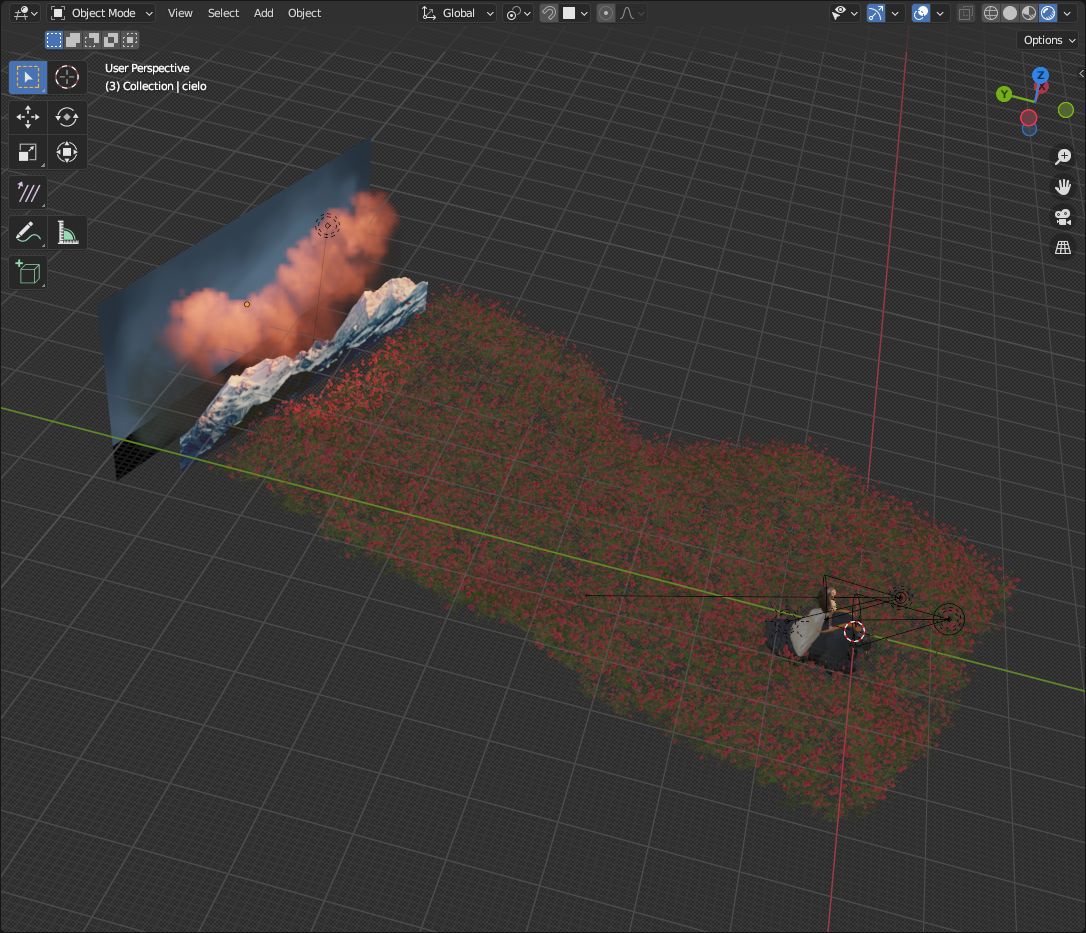
BACKGROUND
The background was just a plane with an image of a golden hour sky on it.
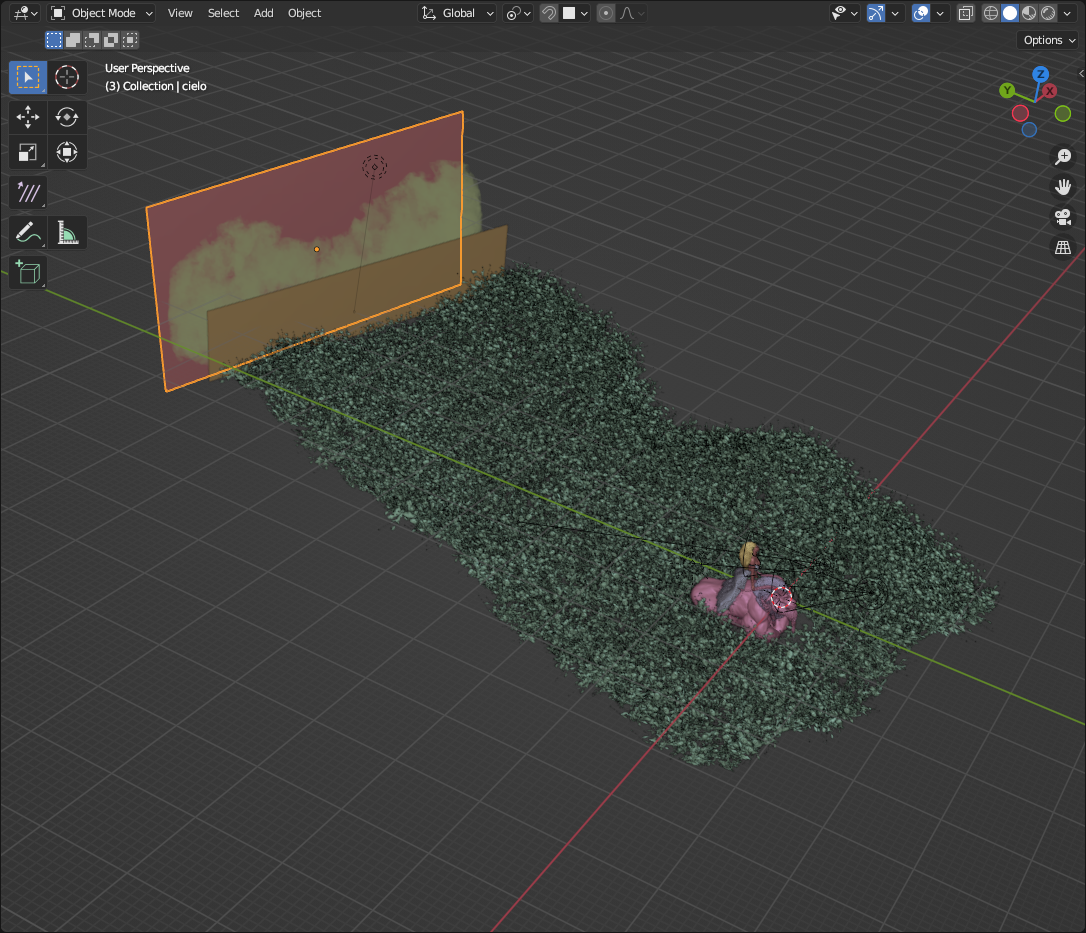
The lighting was fairly simple, with a sun lamp for the directional light and two point lights on the female character for adding a glow on her.

For the final render, I received help from my partner Biancamaria Mori in fine-tuning the lights and the render. I love you, baby.
FIRST RAY OF SUN

Thank you for reading my article and hope you liked it. Feel free to follow or contact me on social media using the links below.
Have a great day!
About the Artist

Carlo Gioventù, a professor at the Brera Academy in Milan, specializing in 3D computer graphics and game development.


