
Behind the Scenes: The Ranger’s Camp
INTRODUCTION
Hello again, it’s Lasse (WK042)! Not much has changed since my last Behind-the-Scenes article on BlenderNation (Behind the Scenes: The Appearance), except that I now have an additional half-year of experience with Blender and other 3D software, totaling 2.5 years. Since the last time, I have expanded my experience with Substance Painter, taken my first small steps with Unreal Engine 5, and started using World Creator.
INSPIRATION
The inspiration for this render came from being stuck on a larger project and the workflow I’ve started to use in that one, which involved the creation of the landscape and texture masks with World Creator. At the same time, I had not “published” a render for quite some time because I had dedicated a lot of time to asset modeling and texturing for some freeware mods for Microsoft Flight Simulator 2020, so I really wanted to create something.
The idea for the clearing in a forest, acting as a framing backdrop for some focal element, had been on my list for a long time. So, I used it to focus on a smaller project for which I could still use the World Creator workflow and gain more experience with it for the larger project that I had gotten stuck on.
REFERENCES
As always, the process started with gathering reference images for what I had in mind. This time, I didn’t go into minuscule details. Instead, I was looking for references for the overall feel and look of what I had in mind and to serve as inspiration along the way.

The reference board.
LANDSCAPE
Next, I proceeded to create the landscape in World Creator and exported the height map, as well as the texture maps for the different parts and features (such as slope, concavity, convexity, sediments, etc.) of the landscape to Blender, which I used to recreate the landscape and the rest of the project.

The World Creator Landscape.
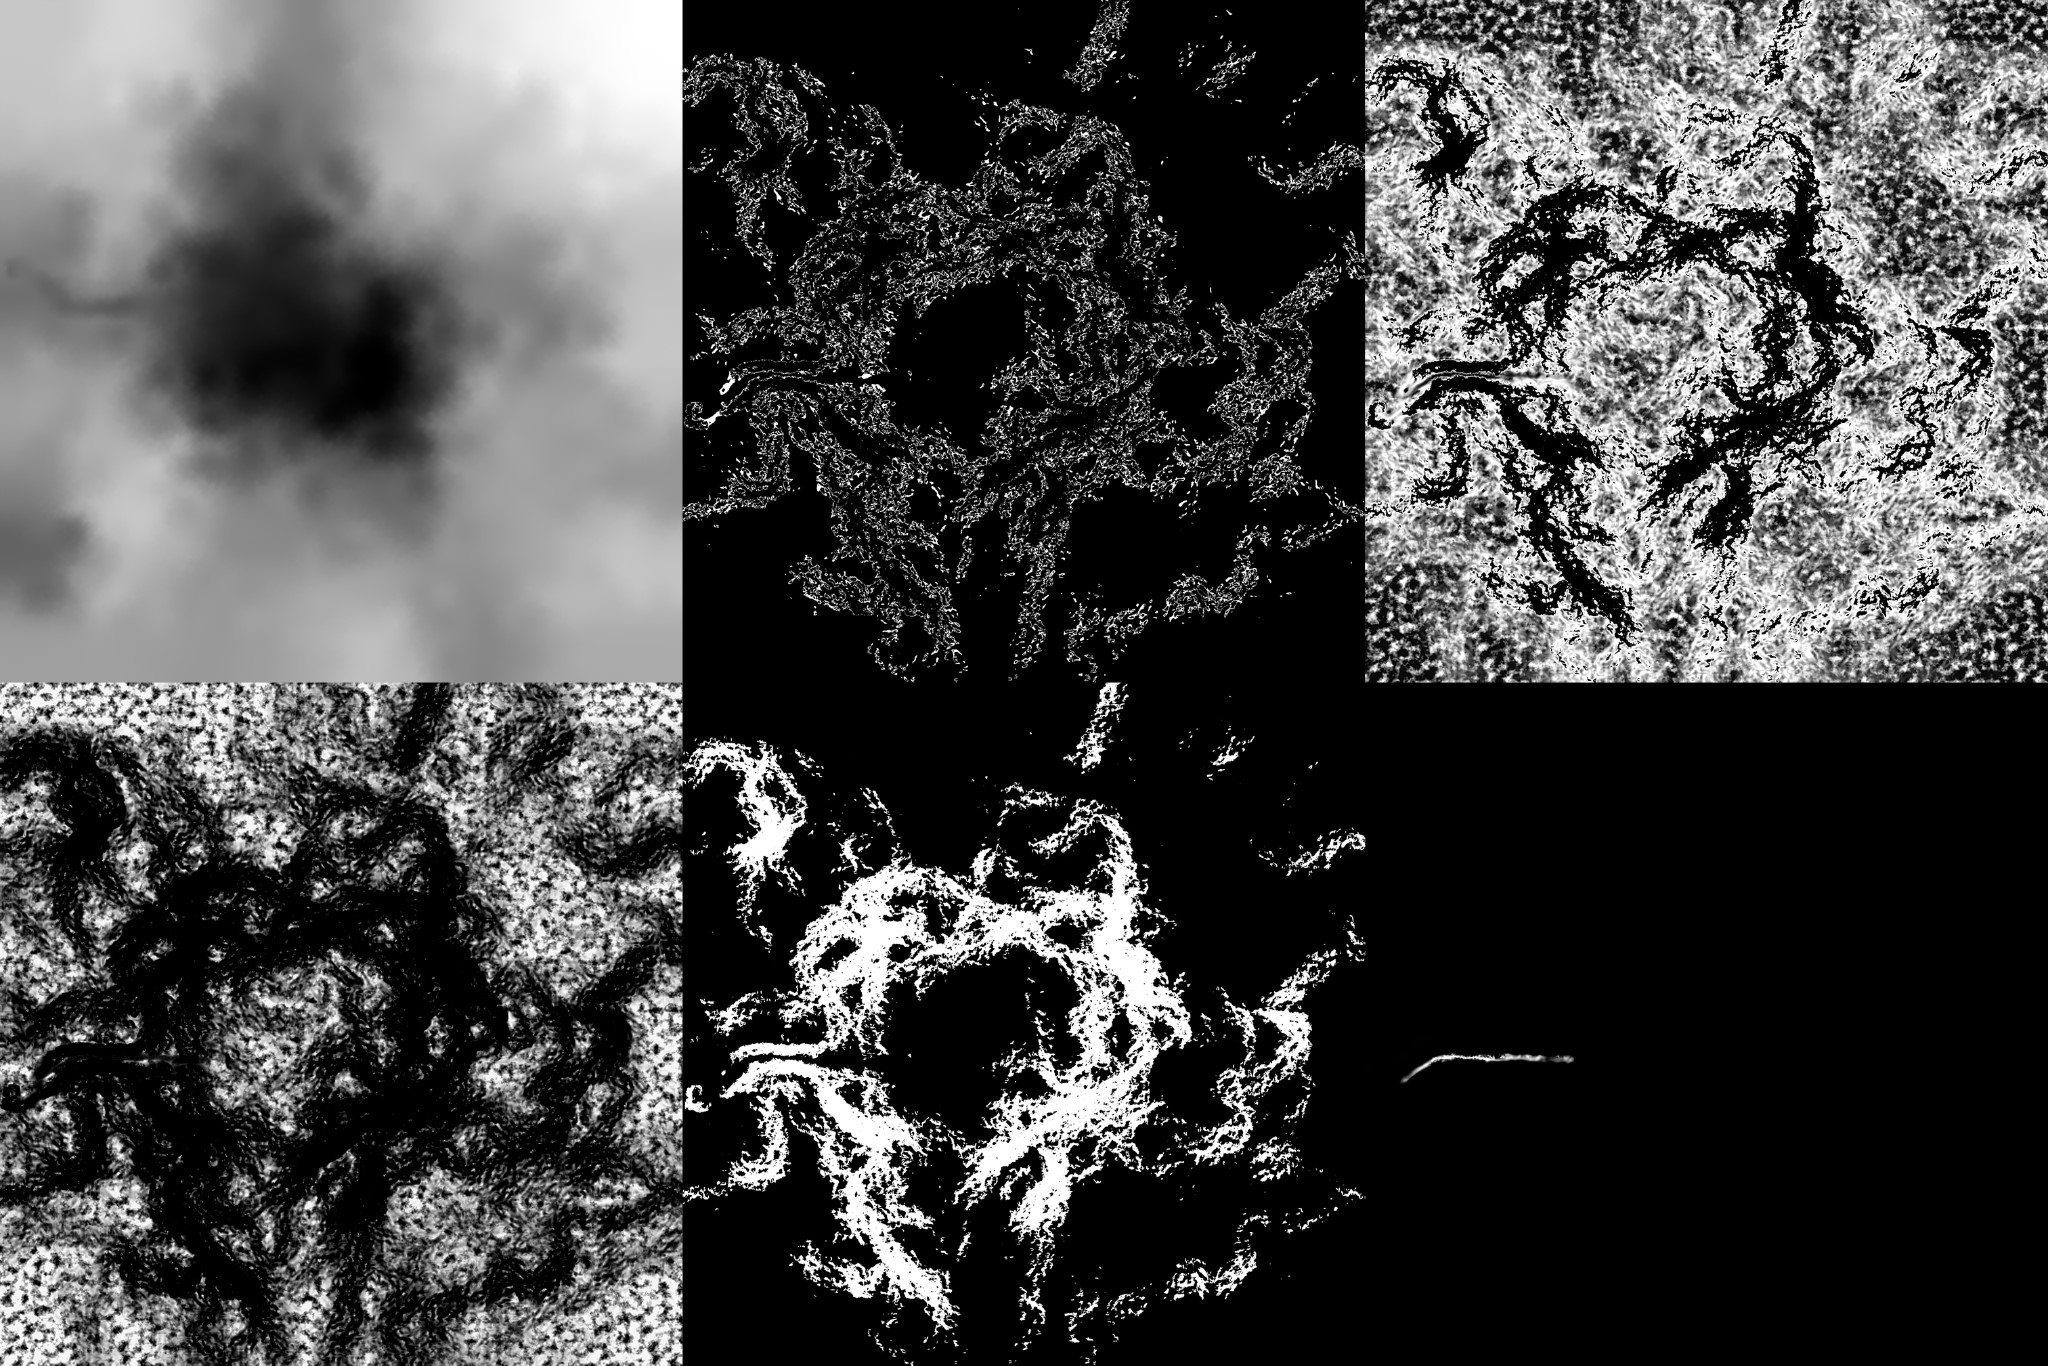
The World Creator Maps (heightmap on top row left).
BLOCK-OUT
Once I had set up the landscape plane, I made a basic block-out to determine a good camera angle and where to place the main elements of the scene. At this stage, the scene was planned as a pure nature render without any human elements in it.
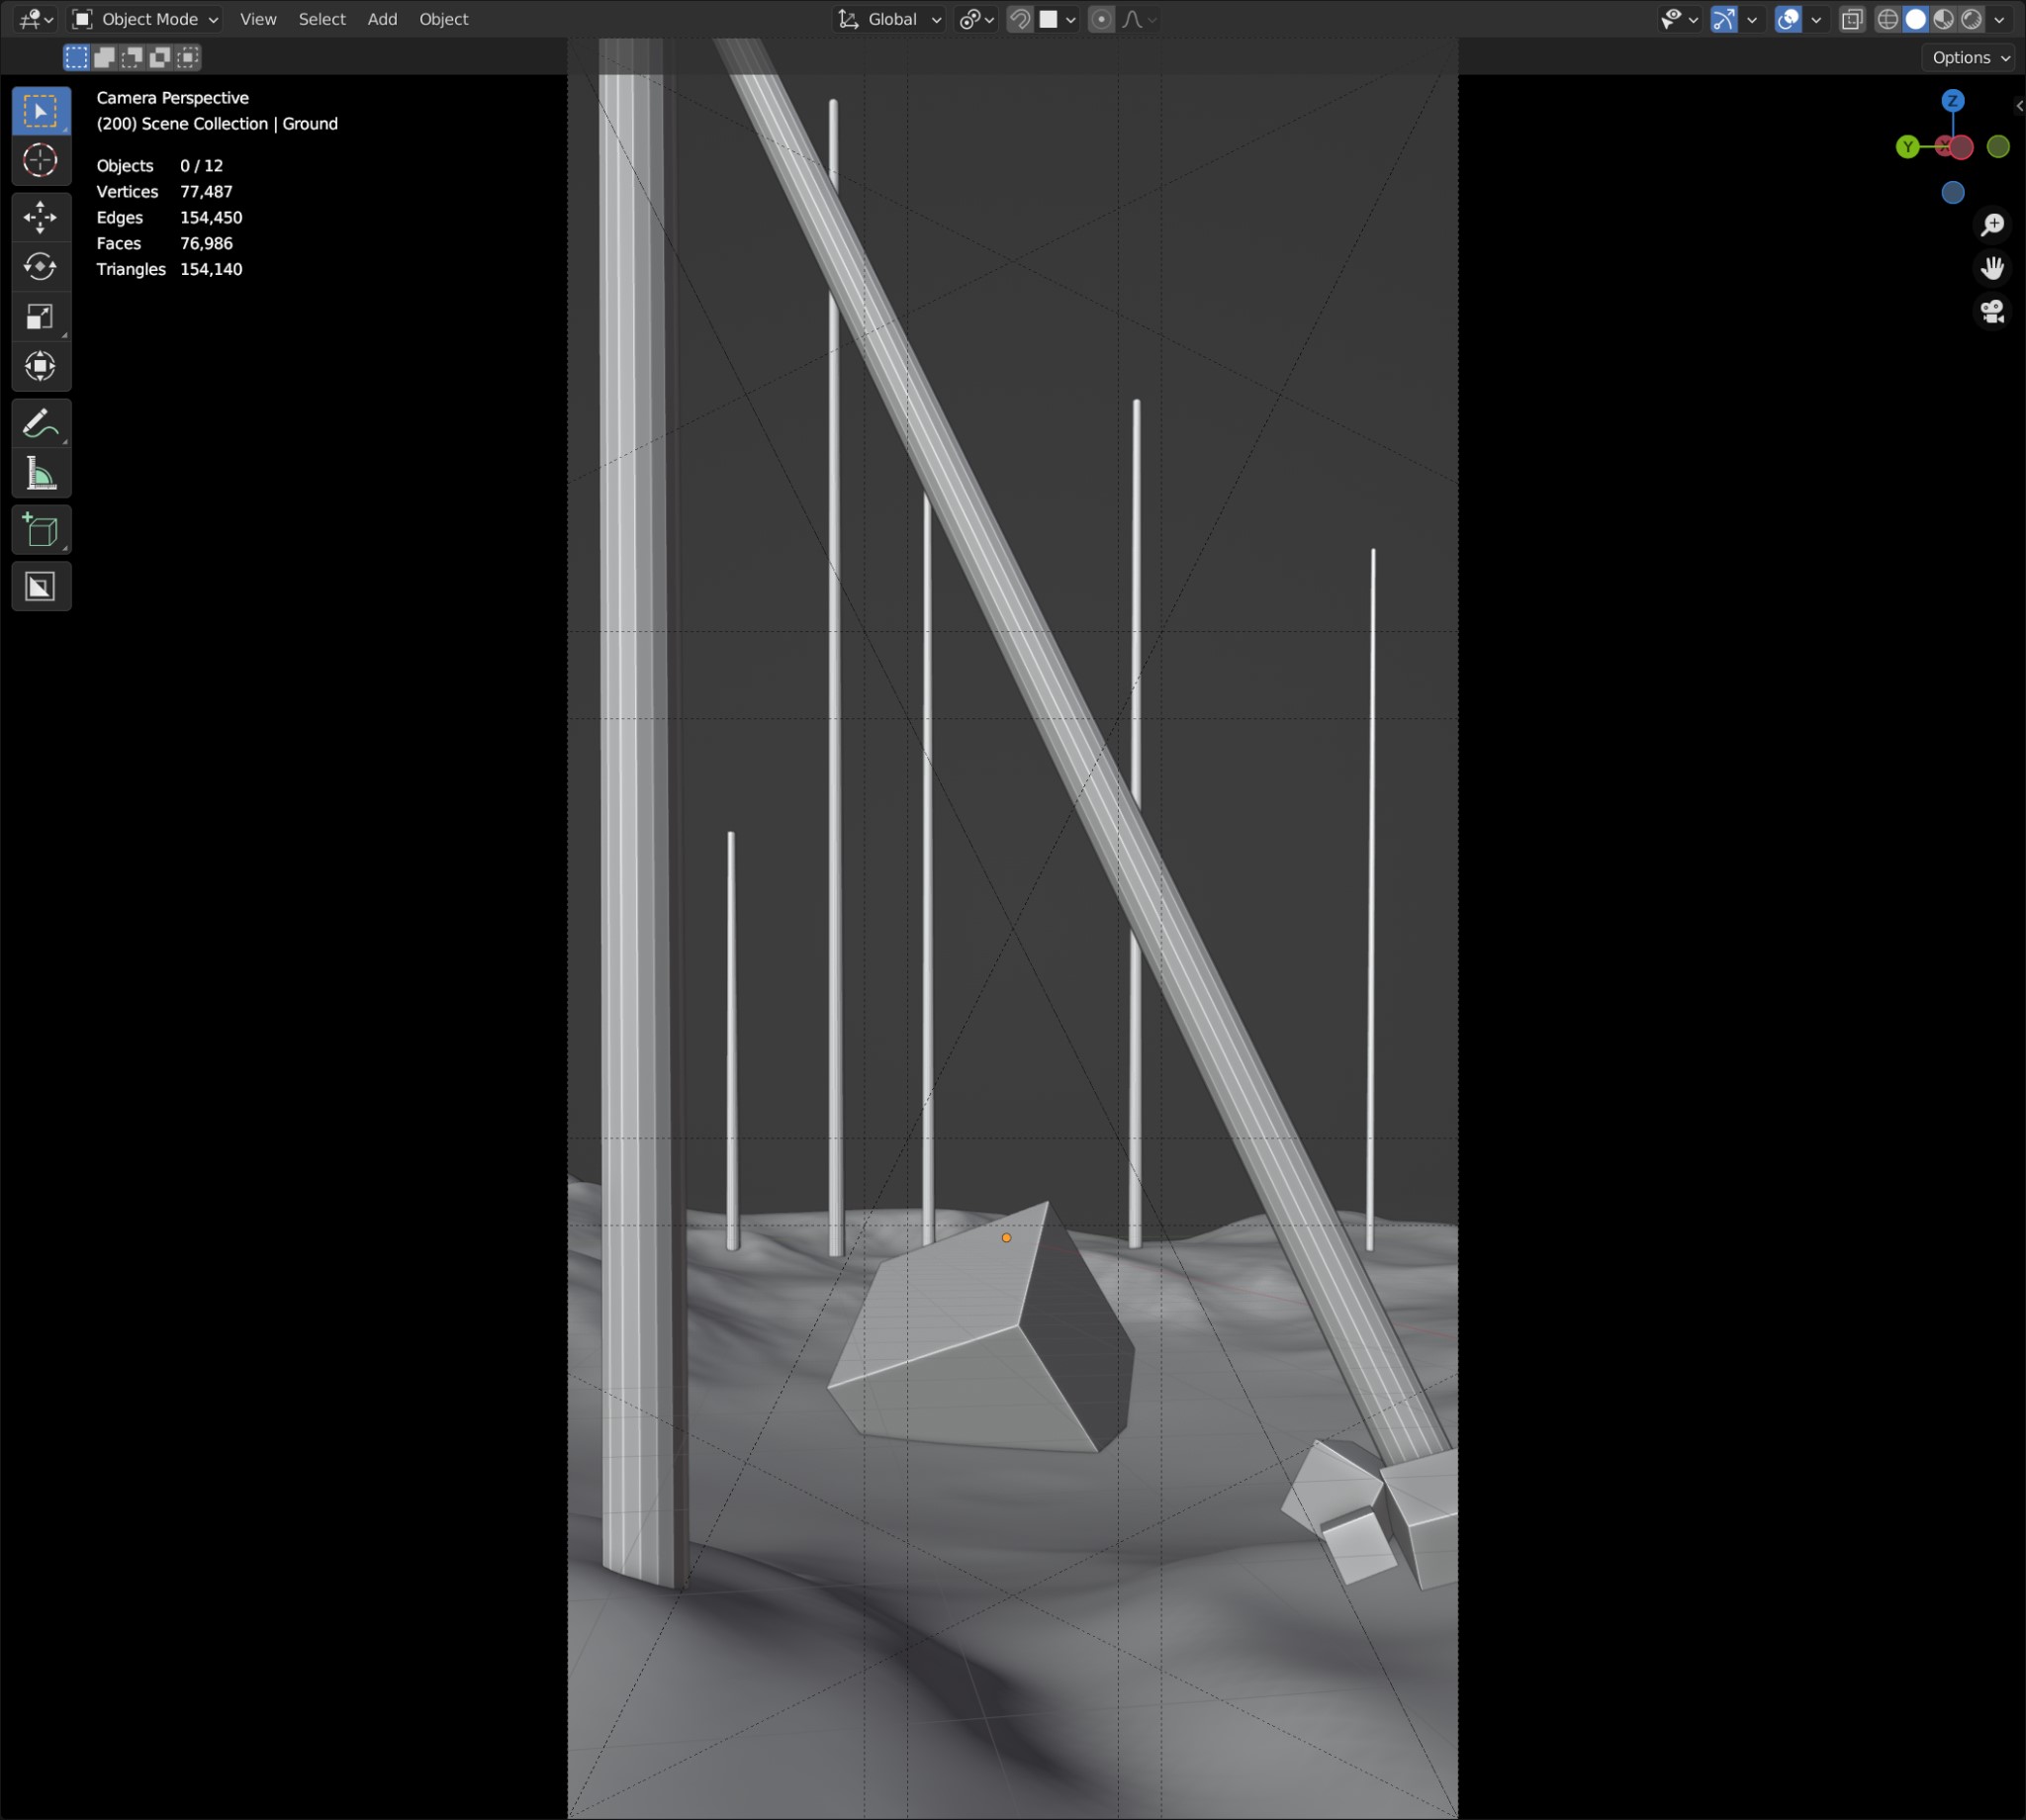
Simple scene block-out.
GROUND TEXTURING
Again, I paid a lot of attention to the texturing of the ground plane, even though I knew that a lot of it would be covered with foliage in the final render. I used this project to fine-tune my landscape blend master material with techniques I’ve learned from setting up master materials in Unreal Engine 5, and in order to get the shader noodle soup under control as well as adding more accessible functionality.
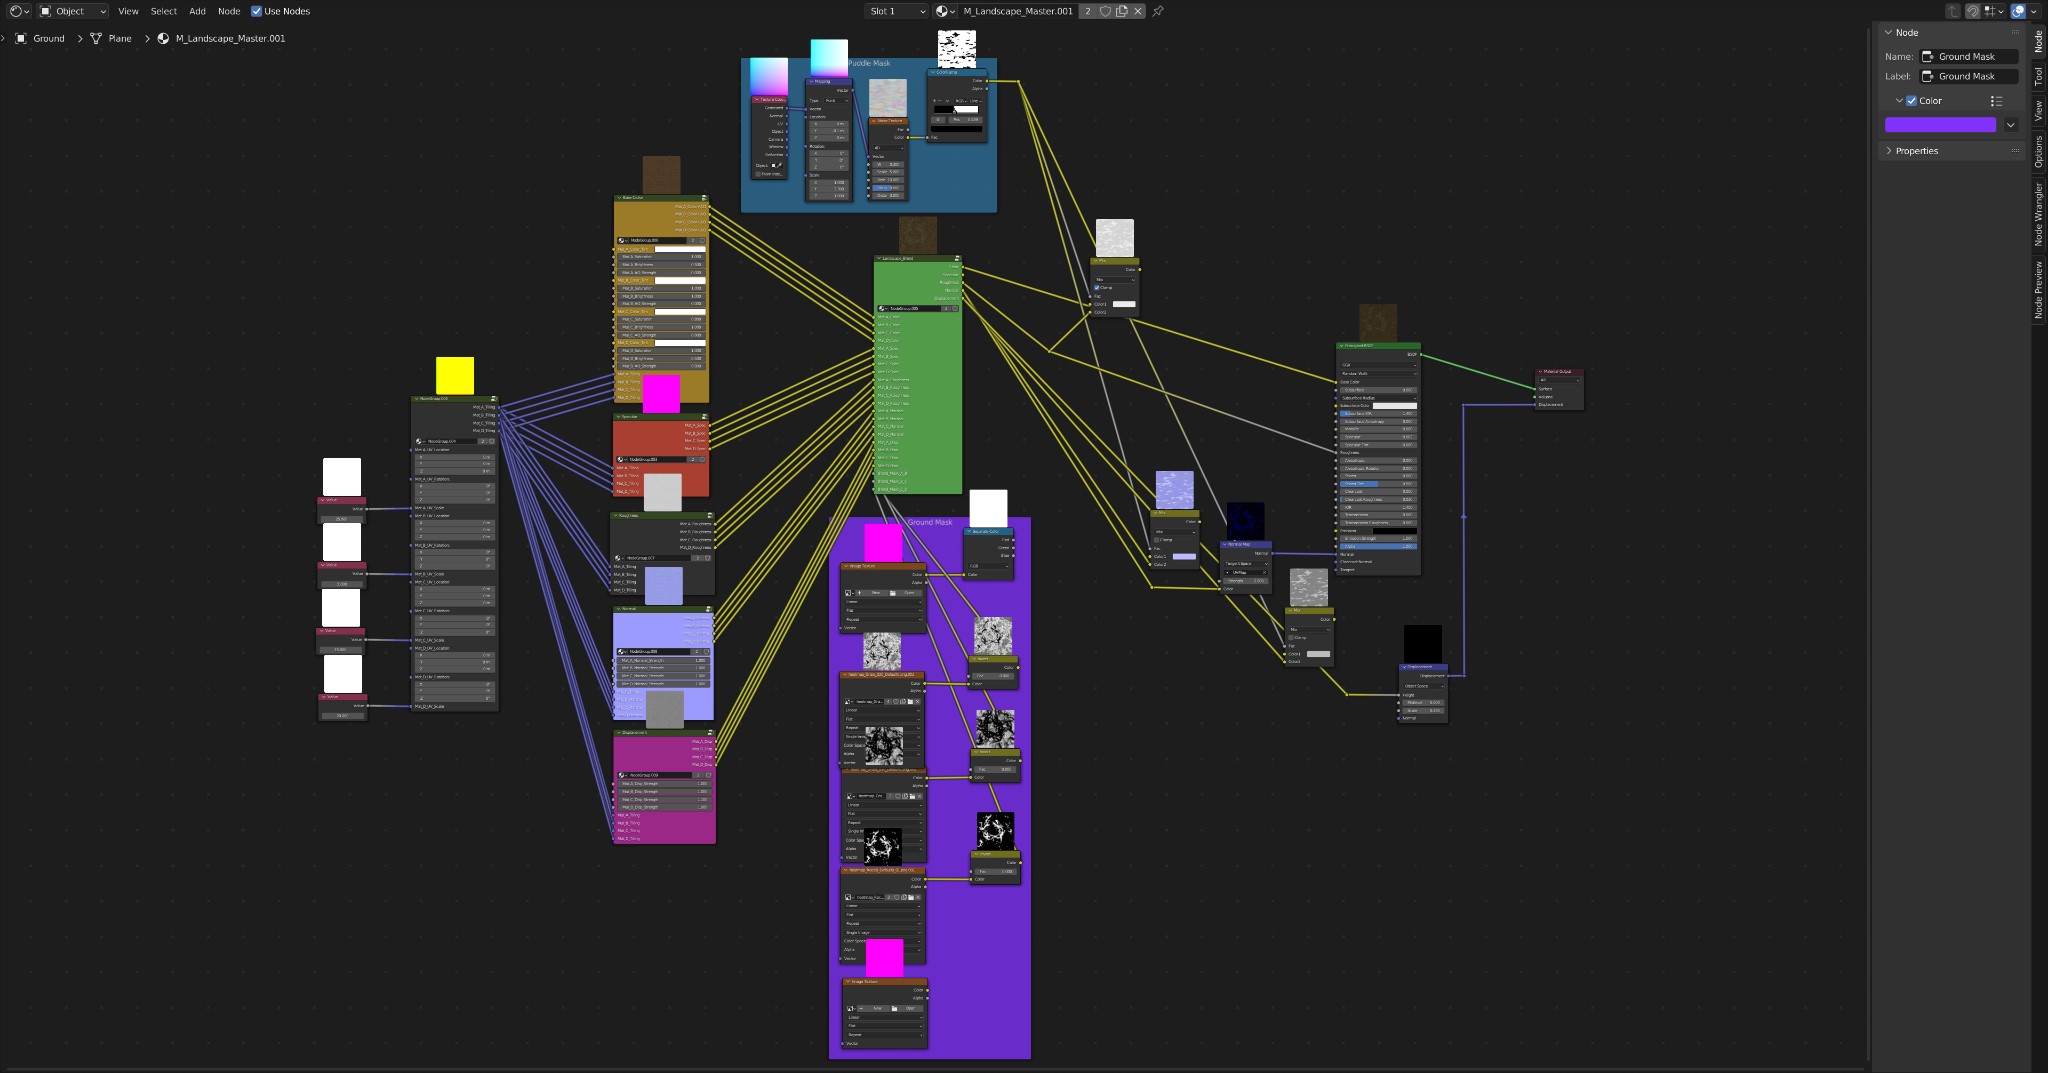
Landscape master material setup.
This master material is set up to blend between four different materials with the help of texture masks that I can export from World Creator. In addition, it has a slot for a custom-painted mask, but I didn’t need to use it here. Also, the puddle mask was not useful for this project. I exposed some common adjustment parameters to be accessible from outside the node groups (i.e., color and brightness adjustments, AO strength, normal and displacement strength, etc.)
I’m sure there are smarter ways of setting these up, but for now, it works quite nicely. If you know how to optimize such a setup, please let me know.
In order to add more depth to the ground, especially in the foreground, I micro-displaced the ground plane, in addition to the overall height map displacement, with the help of an adaptive subdivision surface modifier, making use of the blended material height maps in the shader.
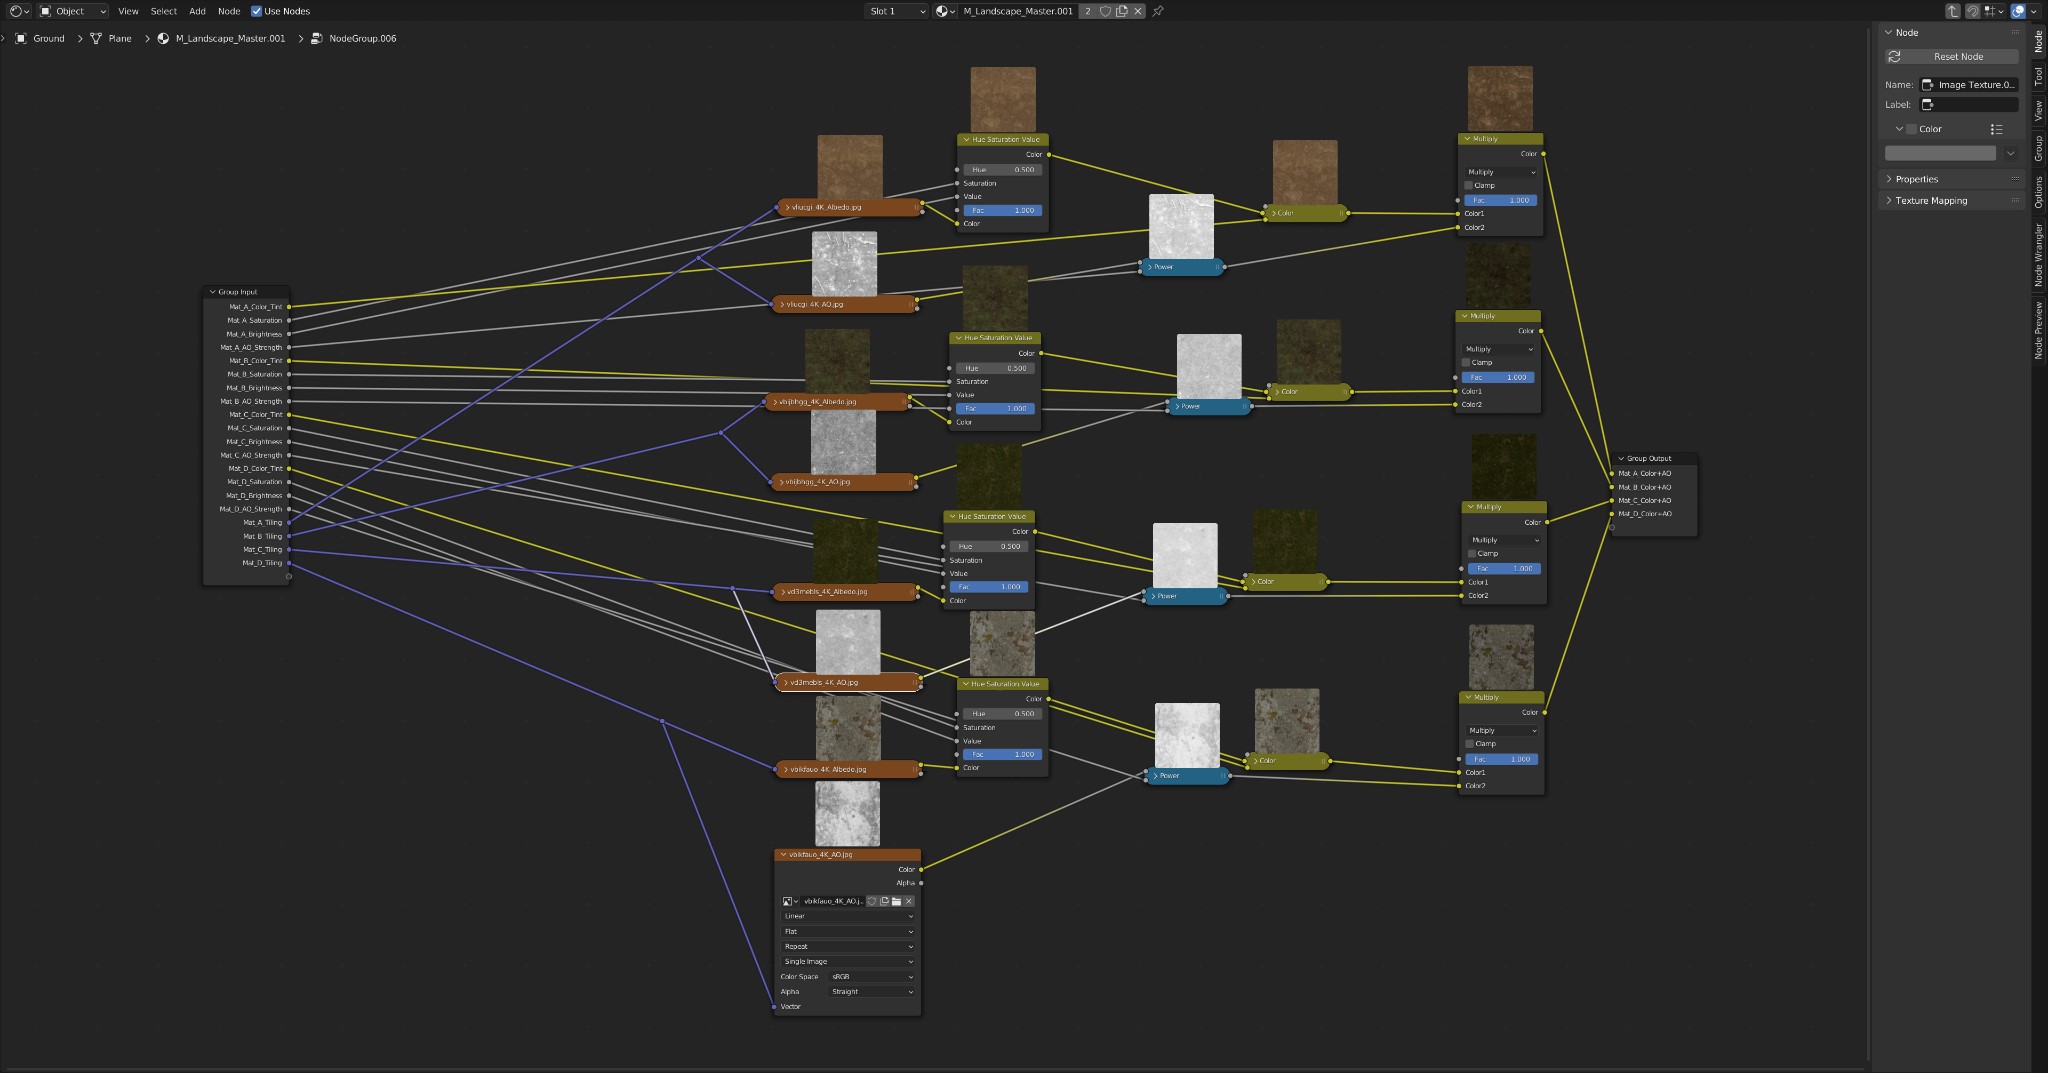
Base color & AO group.
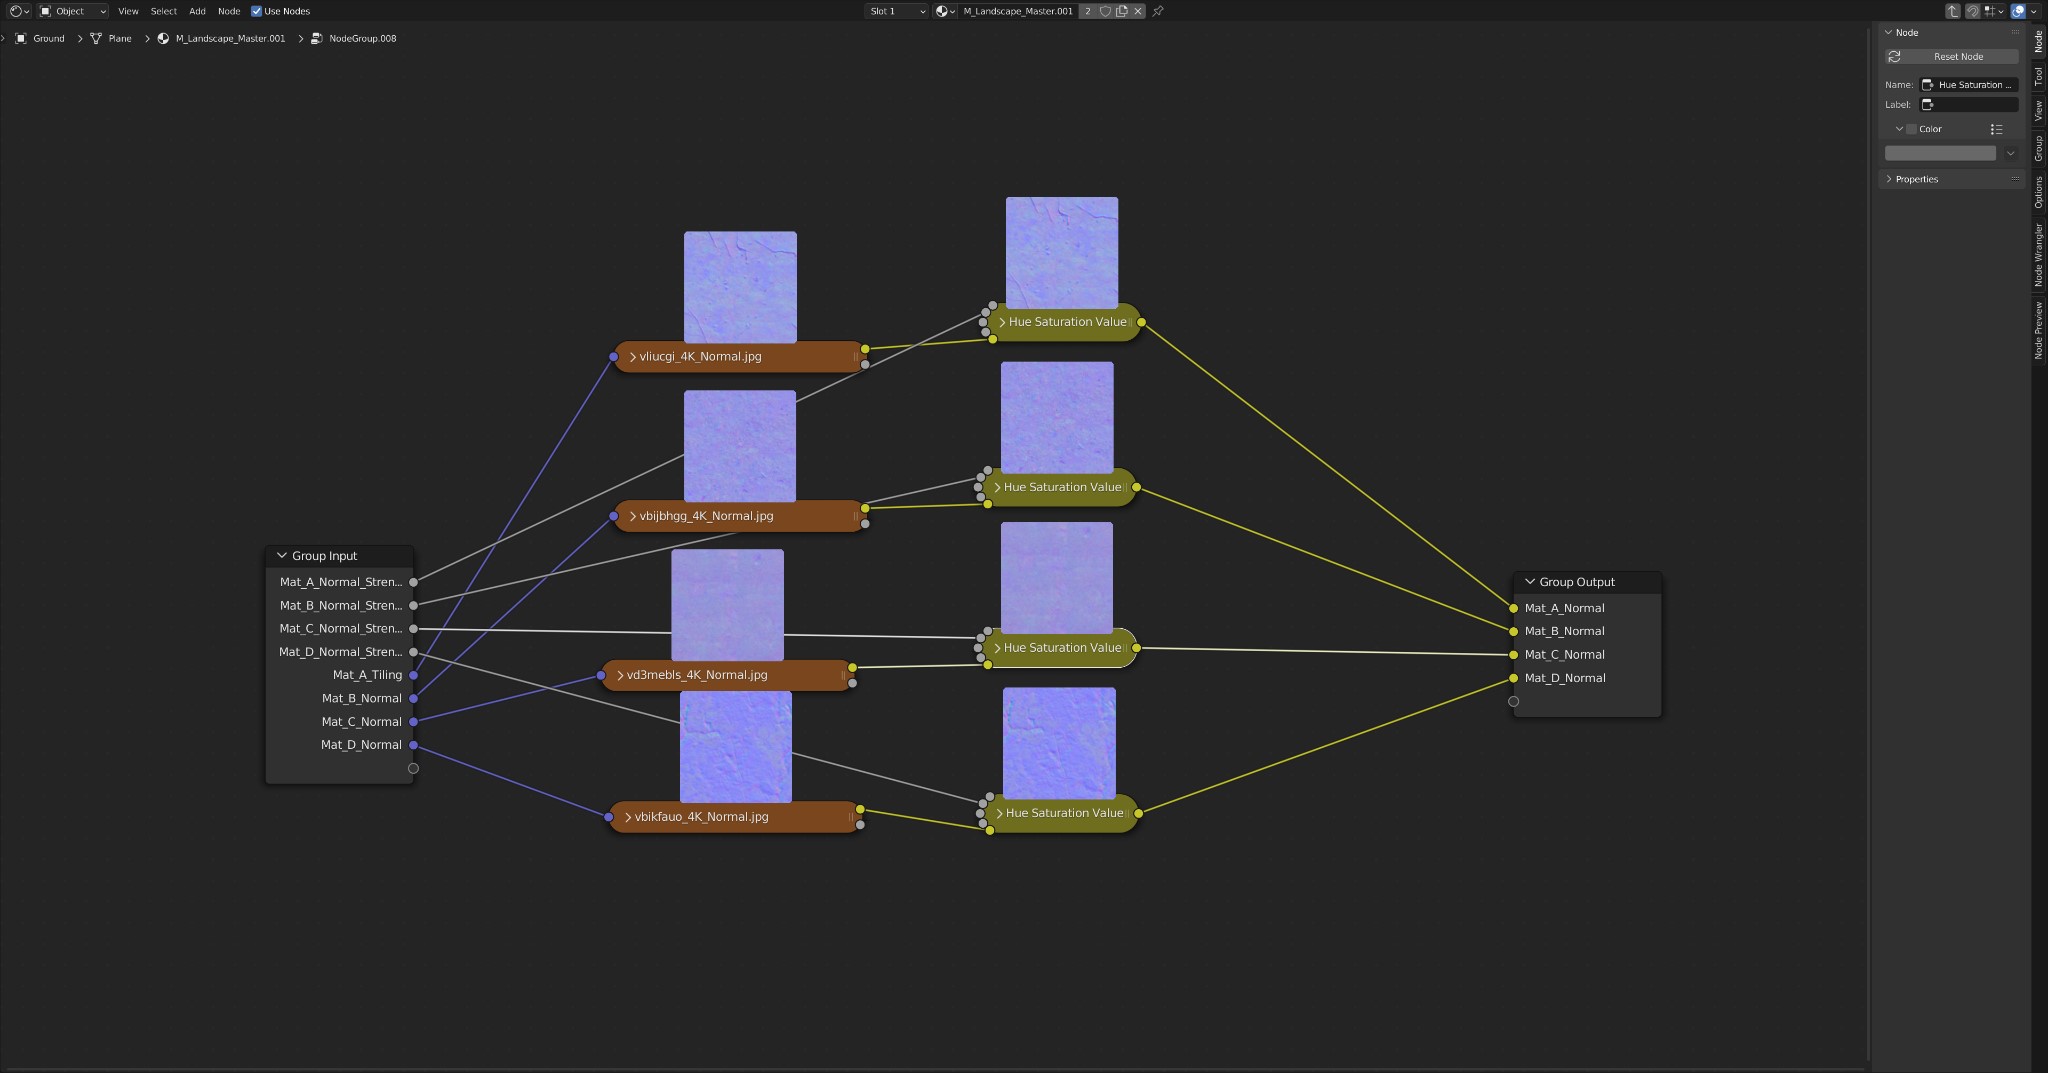
Normal map group.
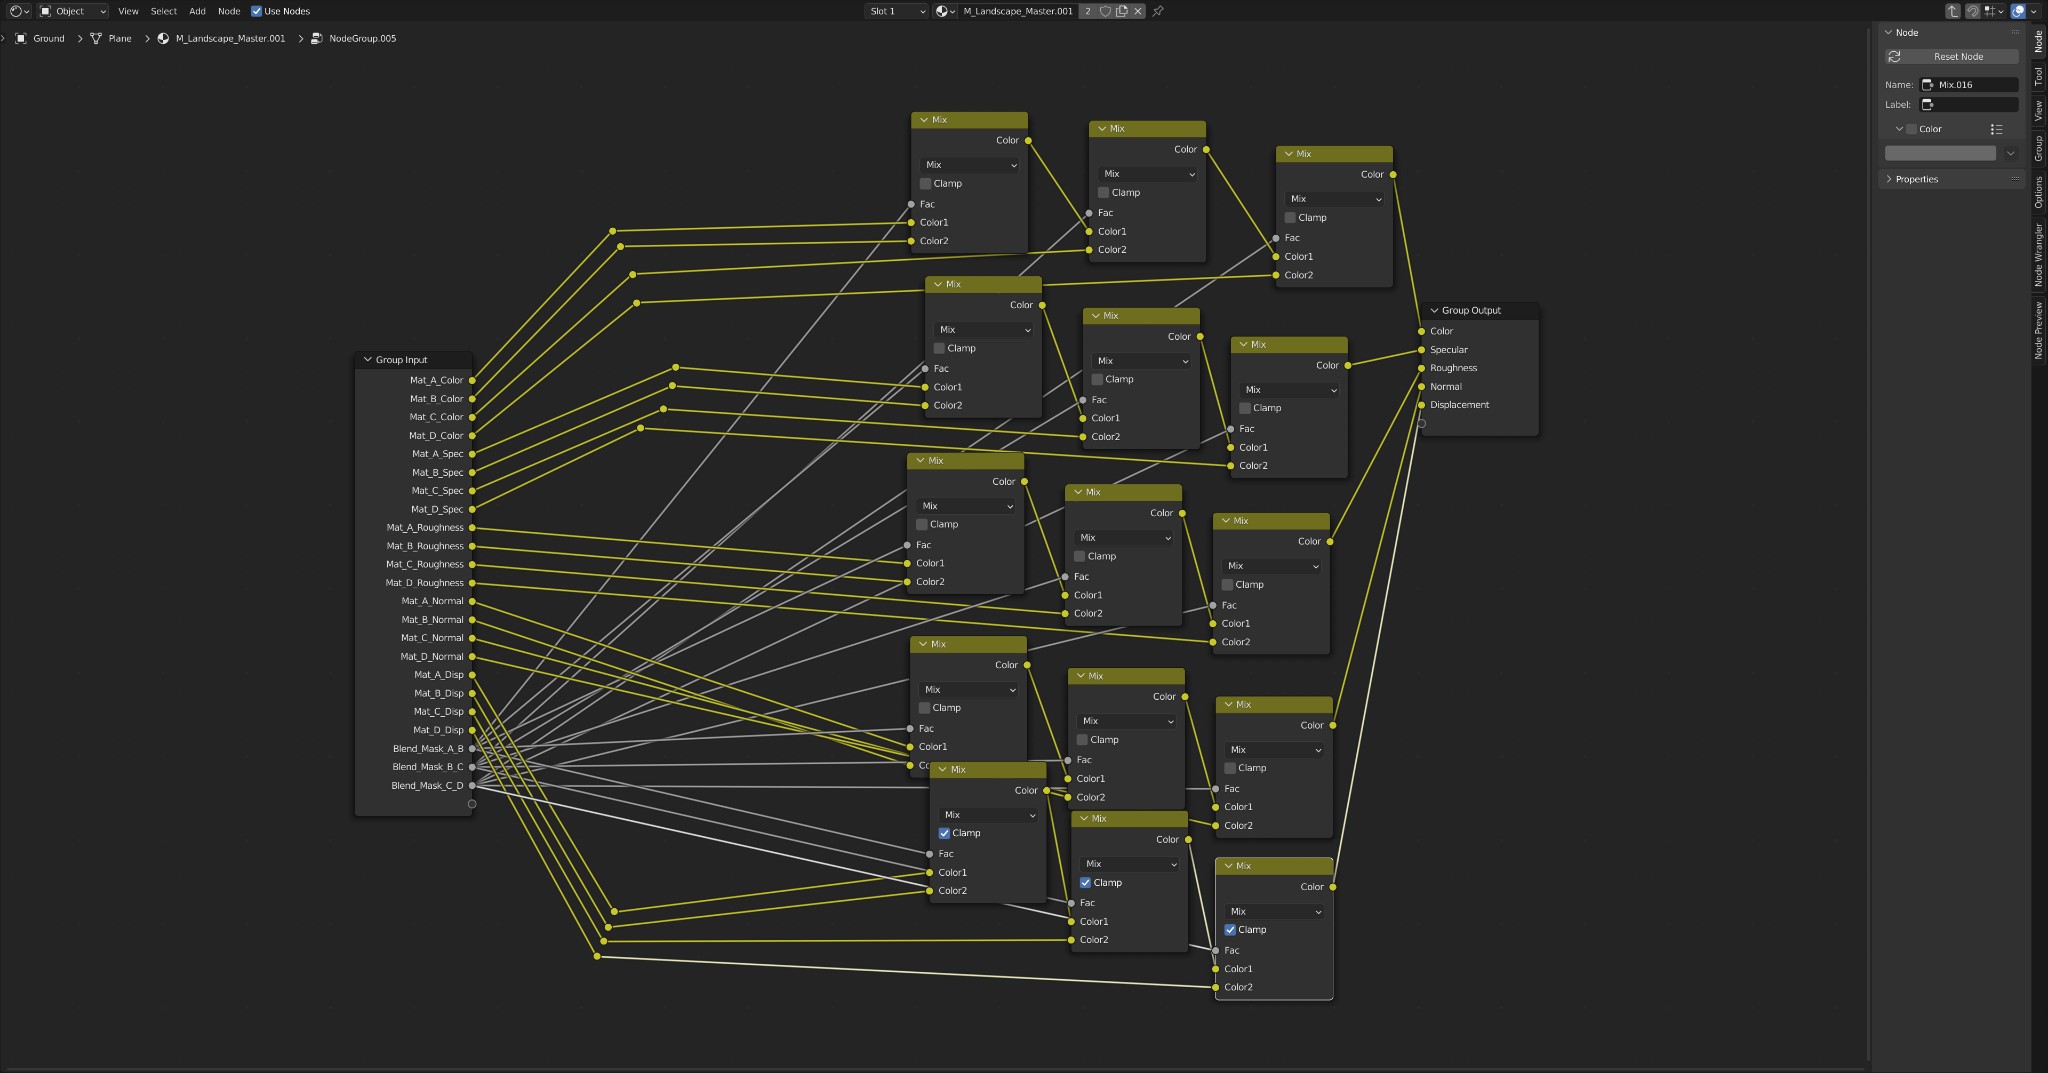
Mask blend group.
LIGHTING
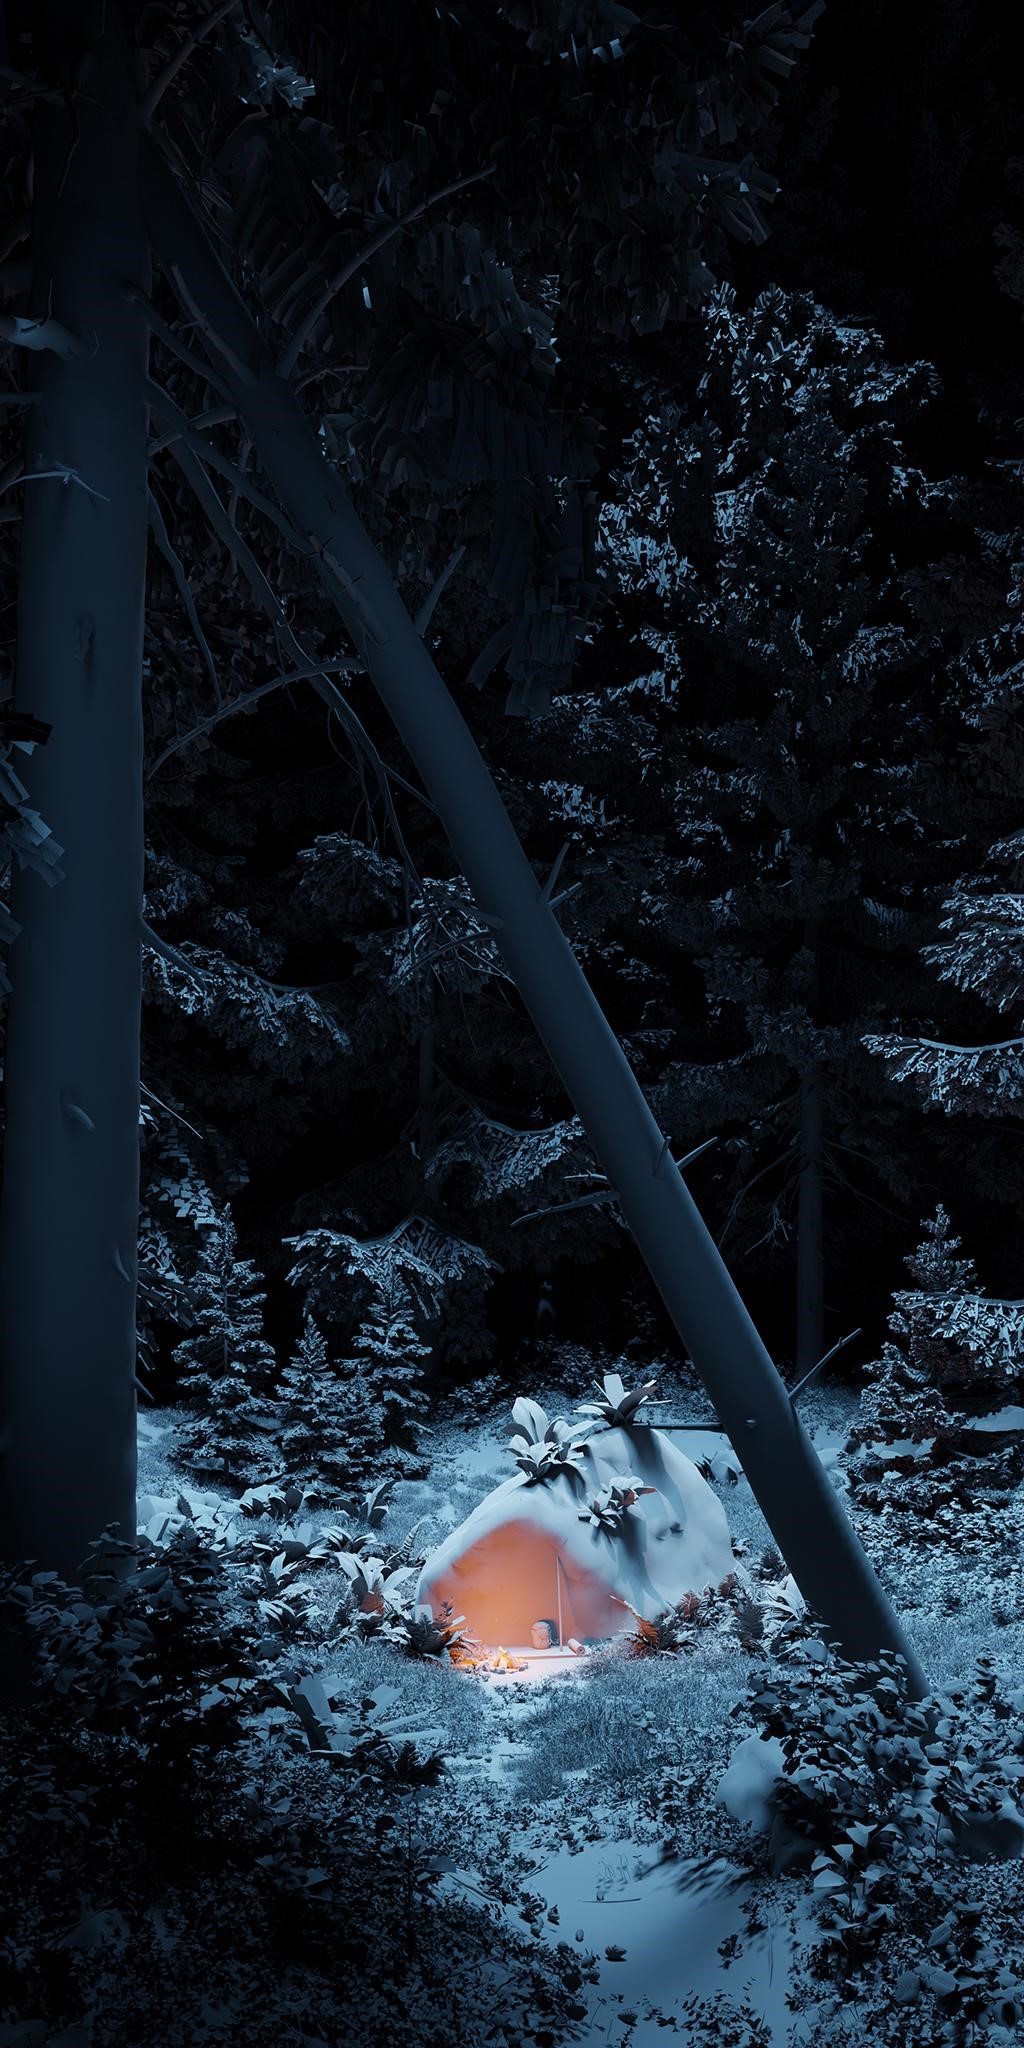
For the lighting setup, I used a total of six lights. The main light is a pretty strong spotlight in a bluish color that I positioned right above the clearing facing straight down. The main spotlight is complemented with two more spotlights to brighten up the boulder and the trees in the background. I also used two area lights to lighten up the trunks in the foreground, which otherwise would have been completely black. Lastly, I used a point light to help the emissive fire shader brighten the area around it.
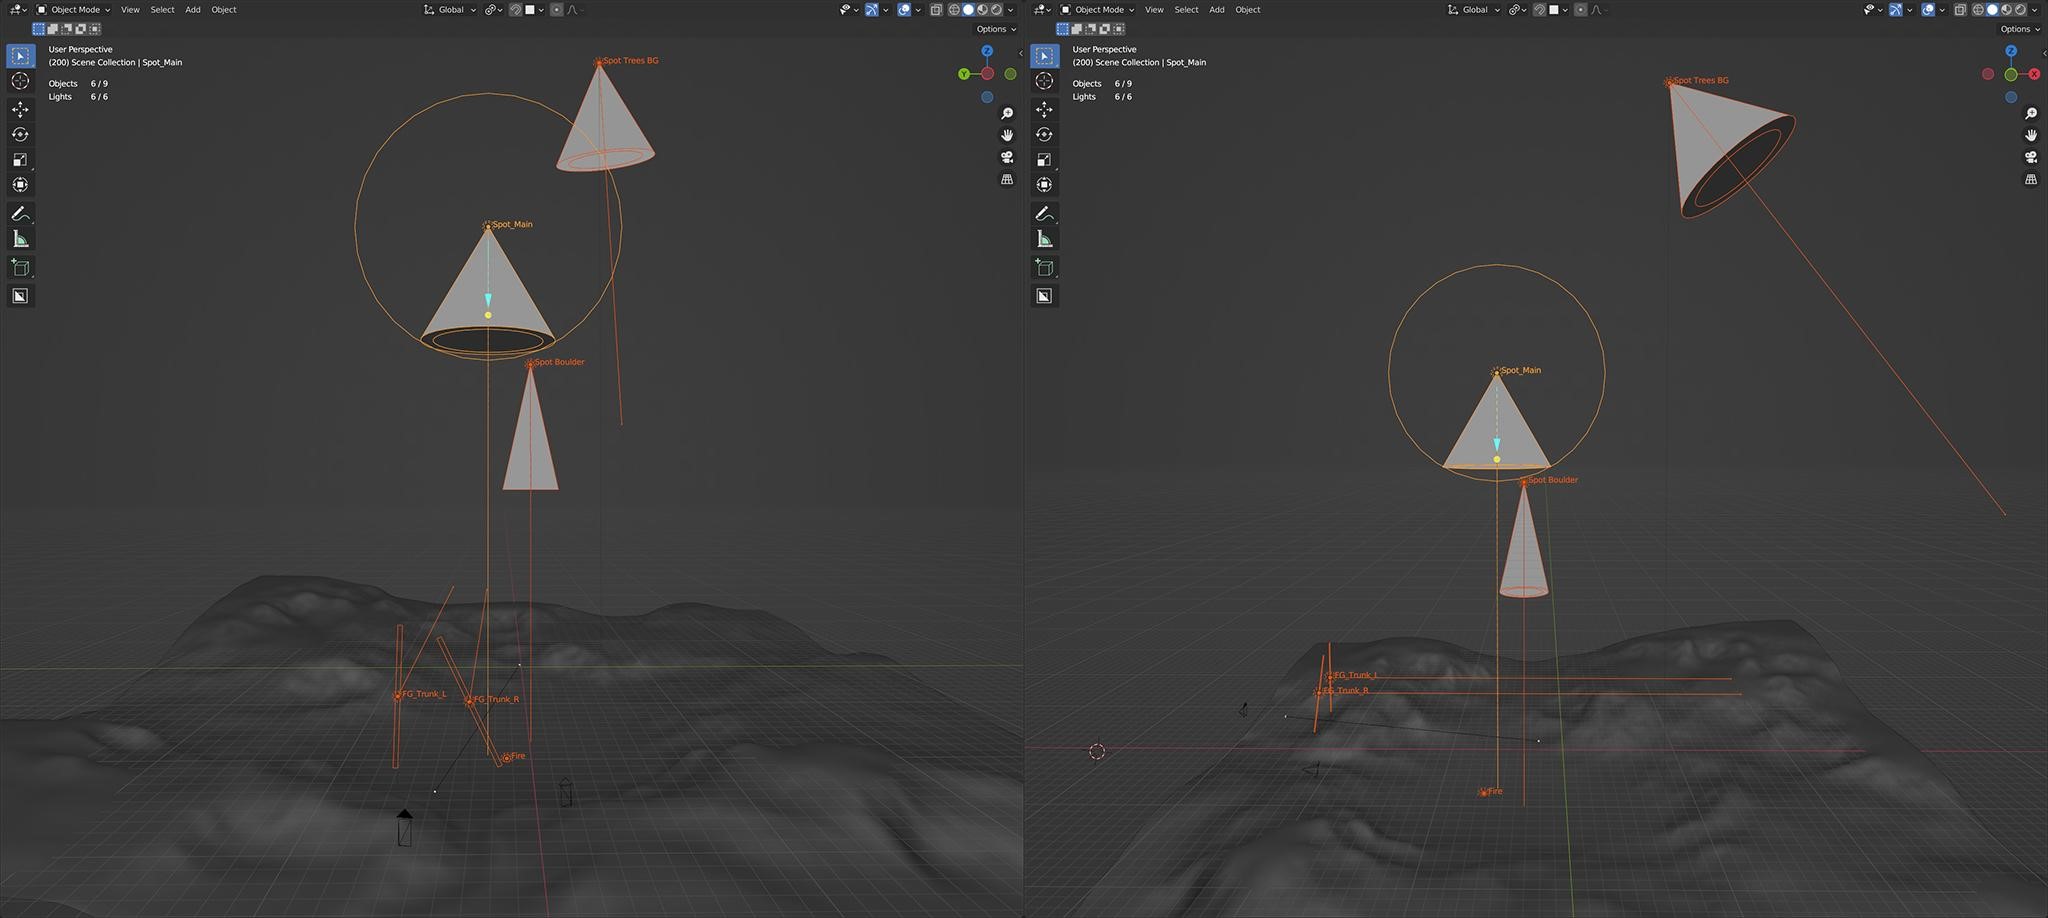
Lighting setup. Front view on the left. Side view on the right.
VEGETATION
For the vegetation, I mainly used vegetation and tree packs that I bought from Evermotion last year. The models are super detailed, which makes them rather performance-heavy. I had to spend some time decimating the geometry while still maintaining the shapes and texture mapping. Also, I had to adjust the materials to work with my lighting setup.
For the background trees, I used simple 2D billboard trees that I created myself from the tree pack I used. I made an orthographic front view render of some of the trees with transparent background enabled and mapped that image to the planes used in the background.
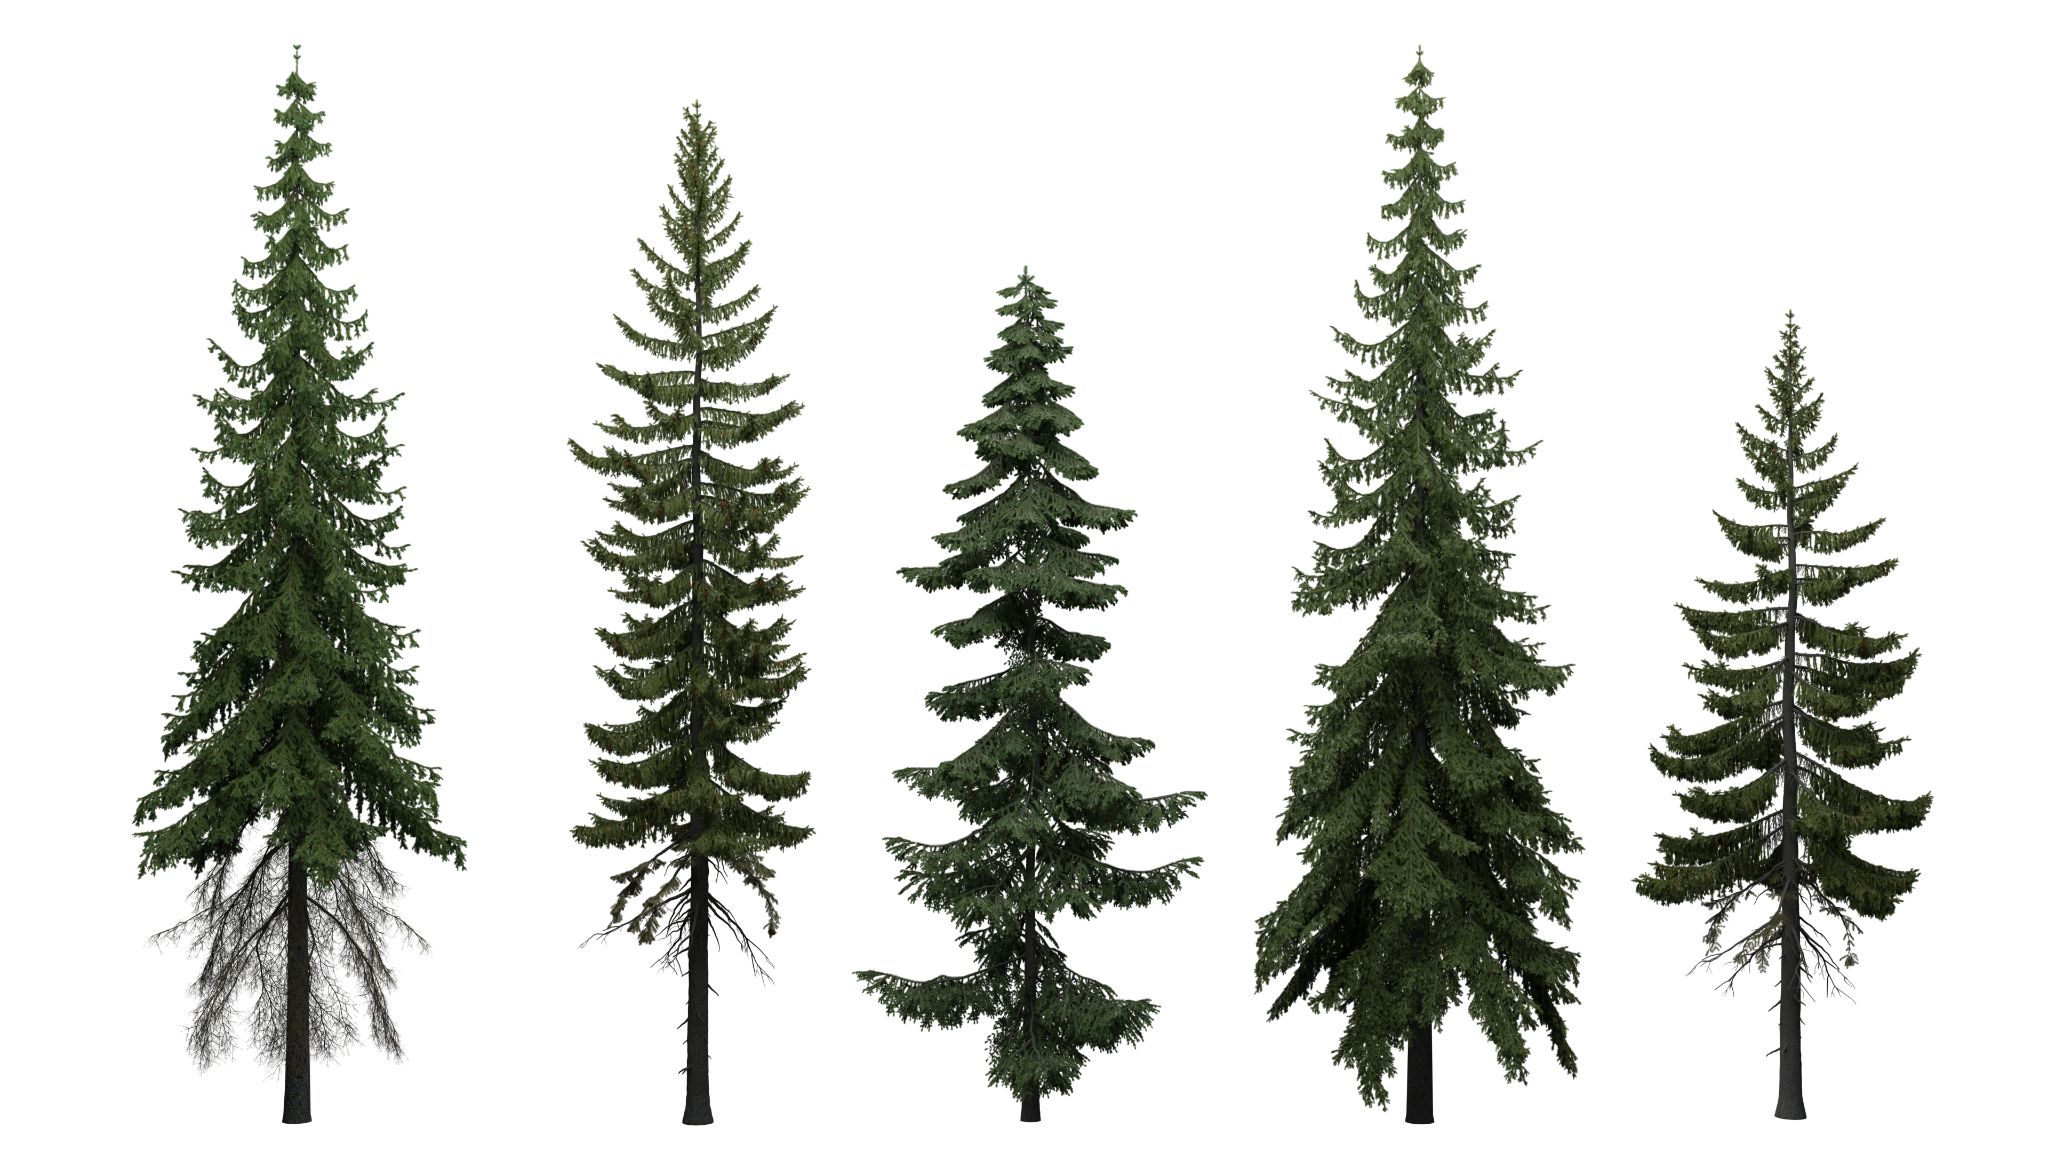
Tree billboard texture.
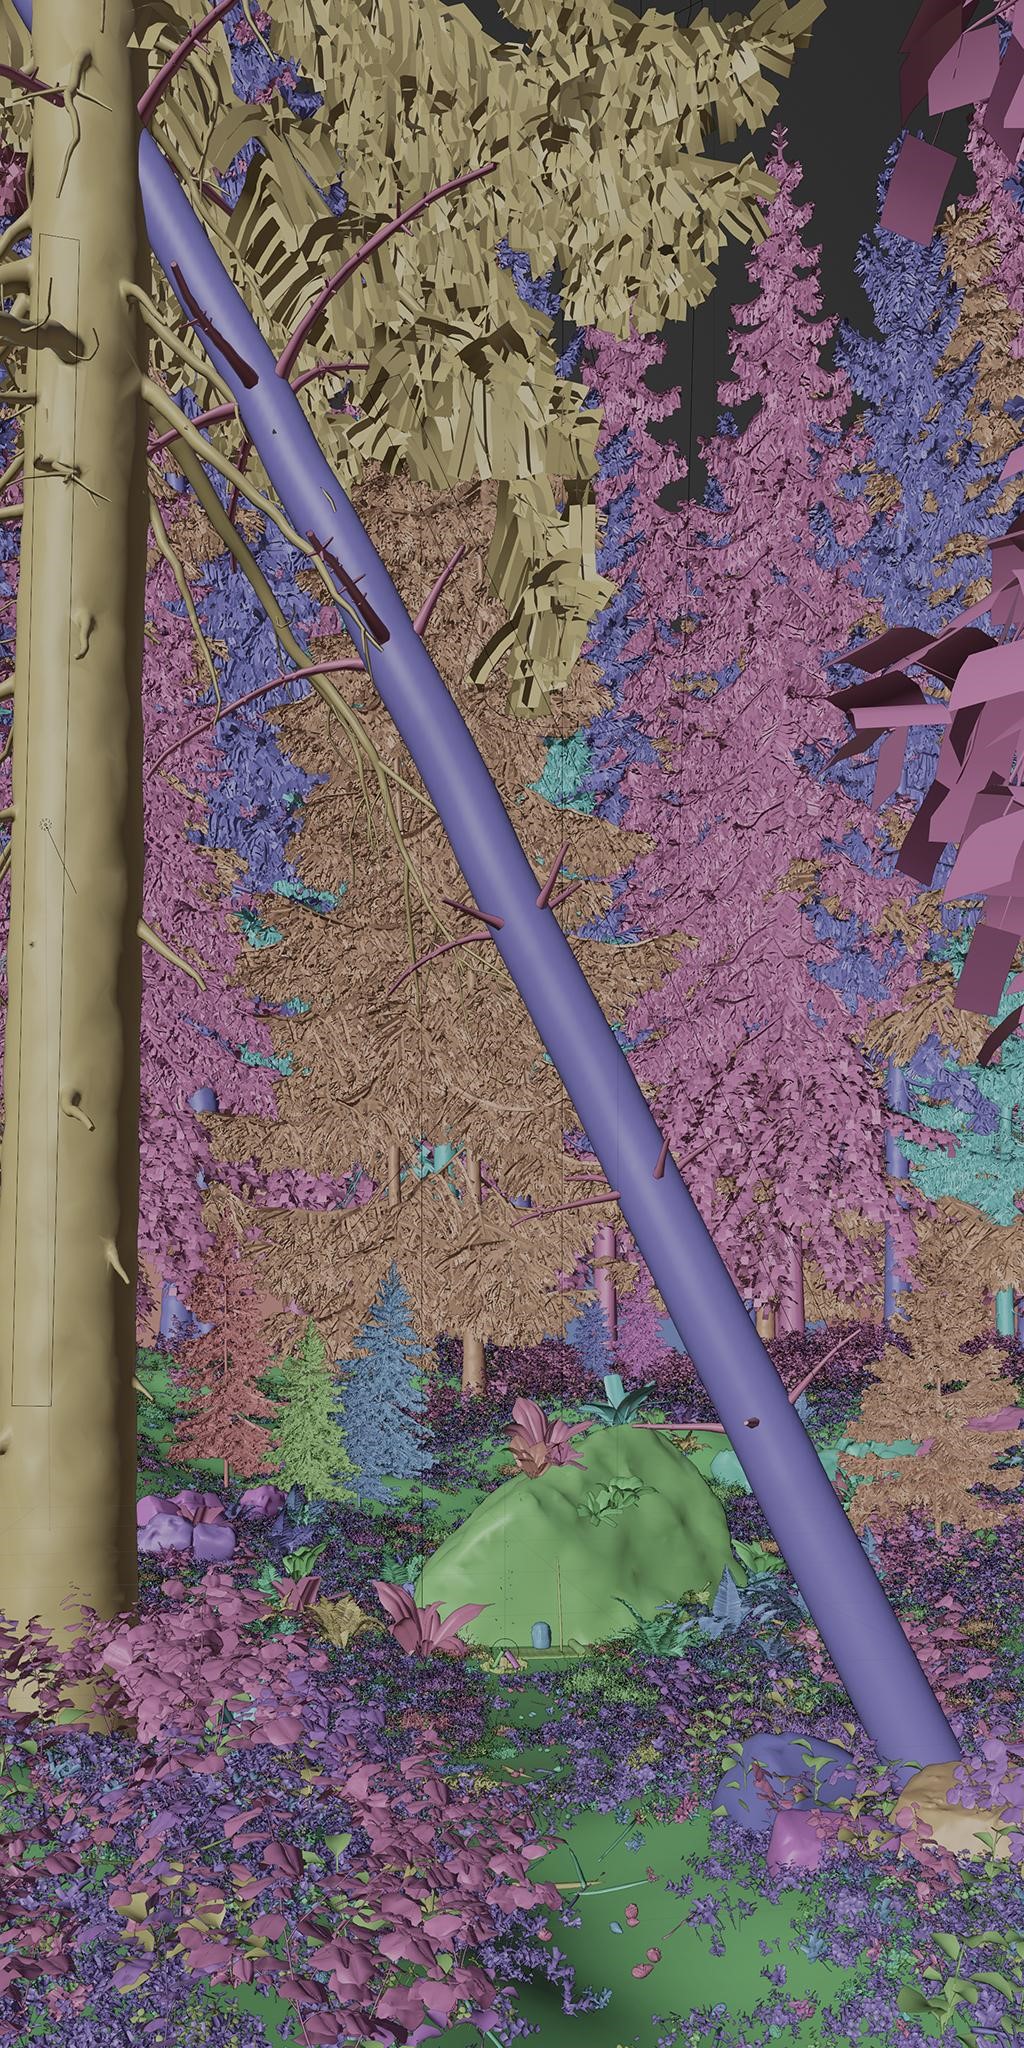
For the scattering of the vegetation, I heavily relied on the add-on Geo-Scatter by BD3D from Blender Market. I used a dozen scatter systems for the various plant groups (trees, shrubs, grass, debris) and placed and removed some other plants by hand as finishing touches.
POST-PROCESSING
I saved the render as a multilayered exr file, which I took to Photoshop to do some color correction, compositing, and post-processing. For example, I used the AO render pass to boost the ambient occlusion in some parts of the render to better integrate some objects into the world. I also lightened up the trail leading to the small camp to increase its role as an eye lead.
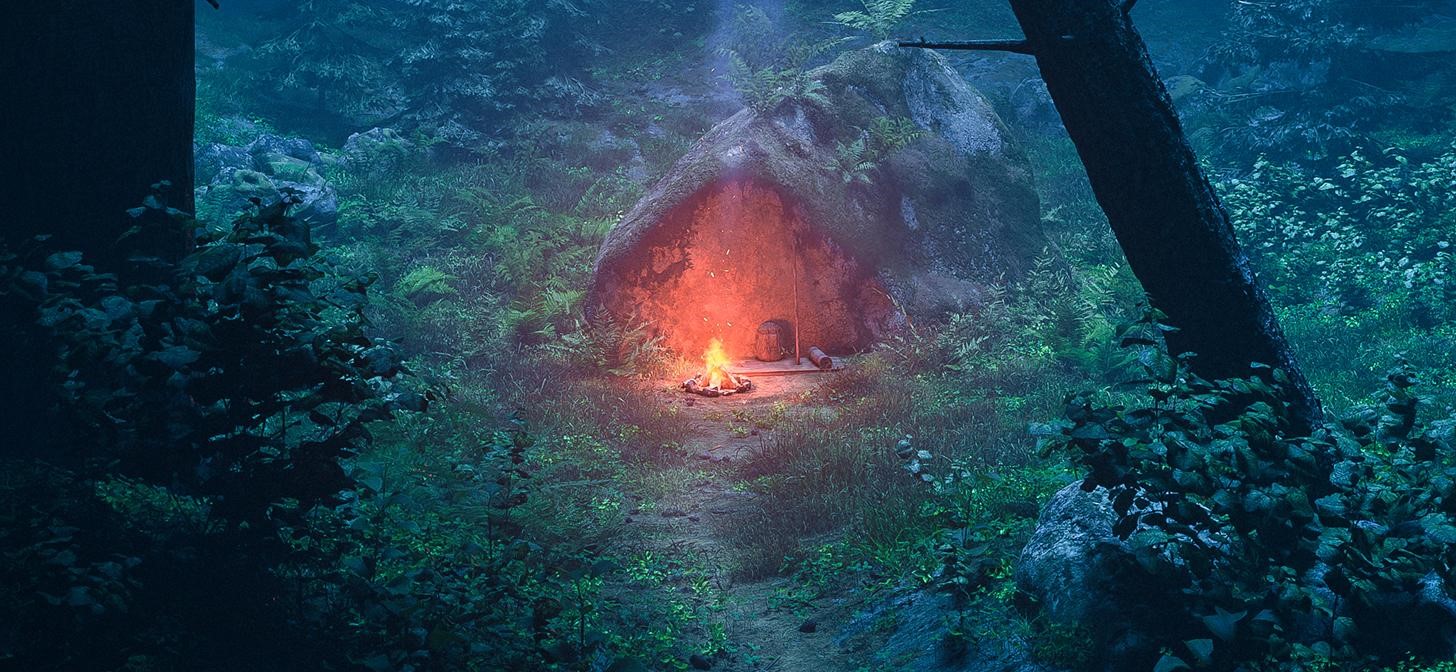
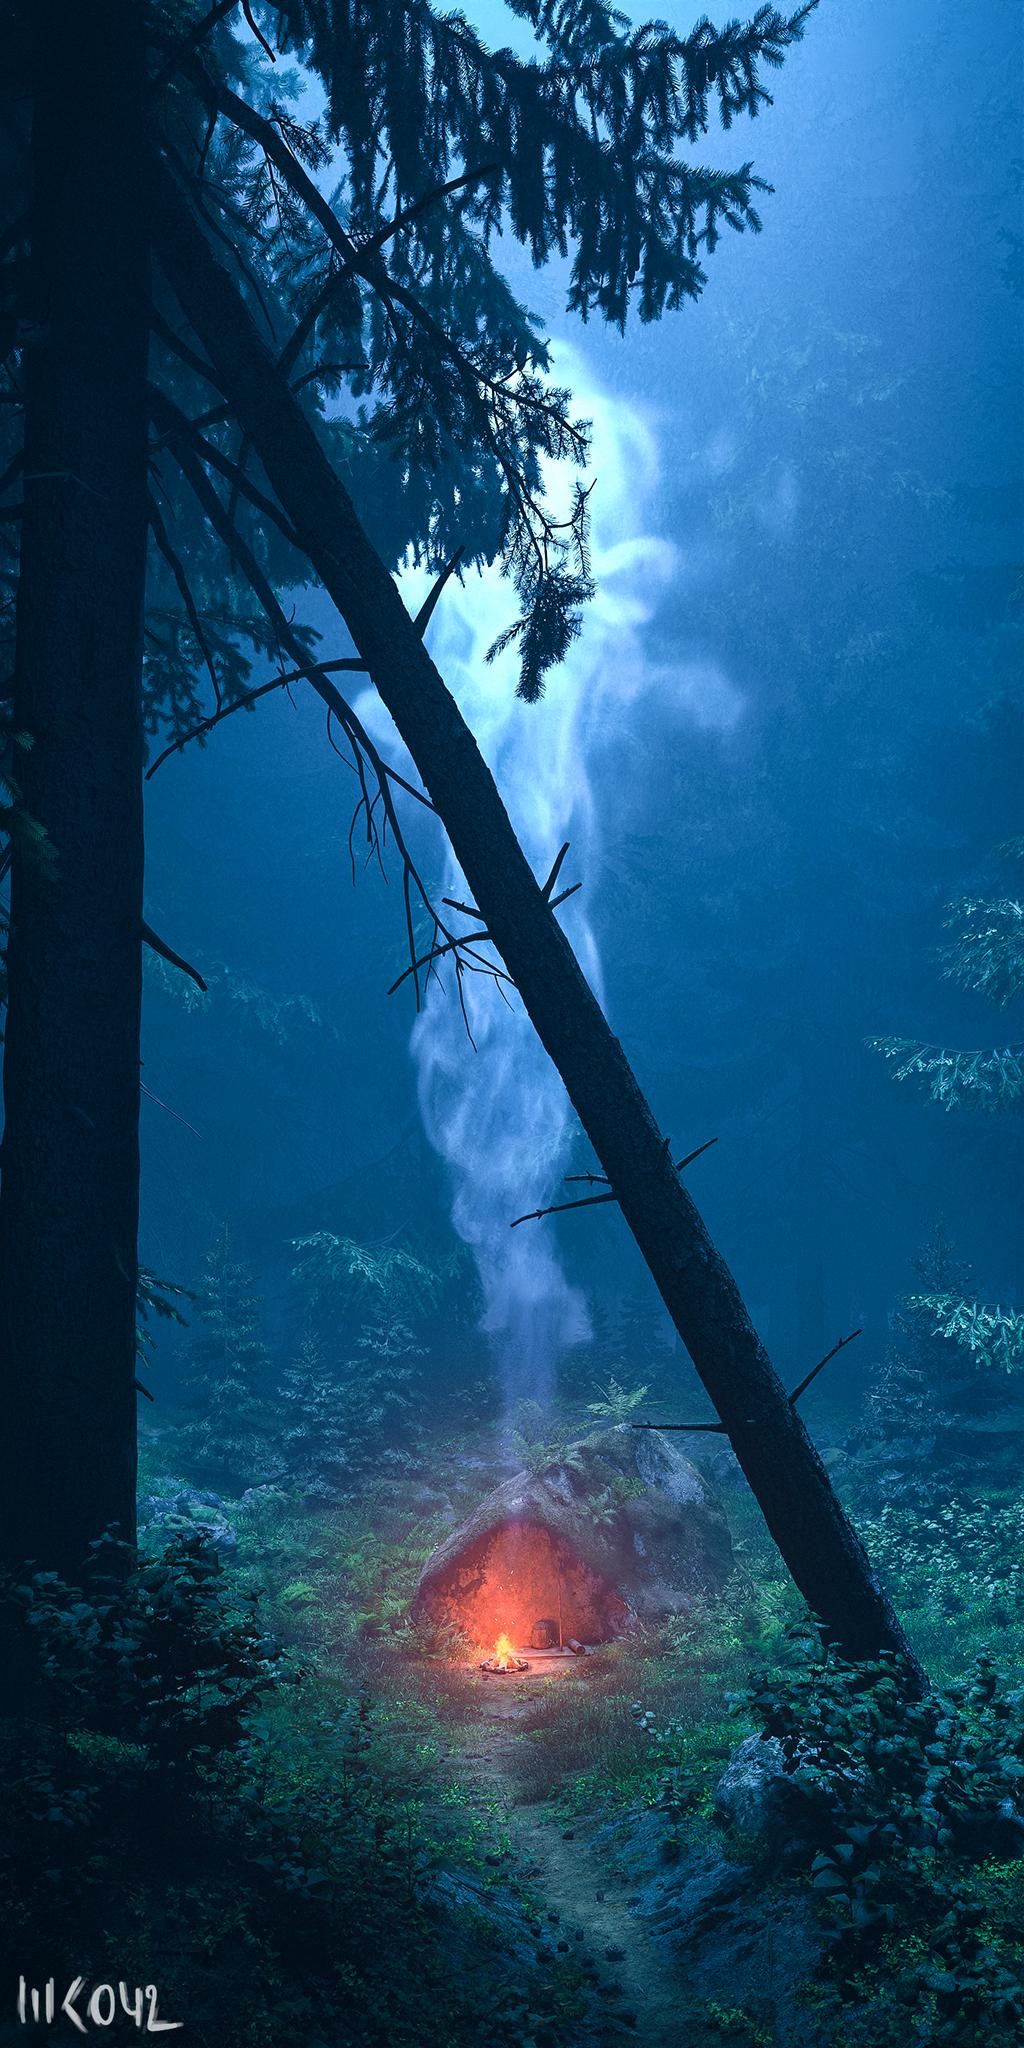
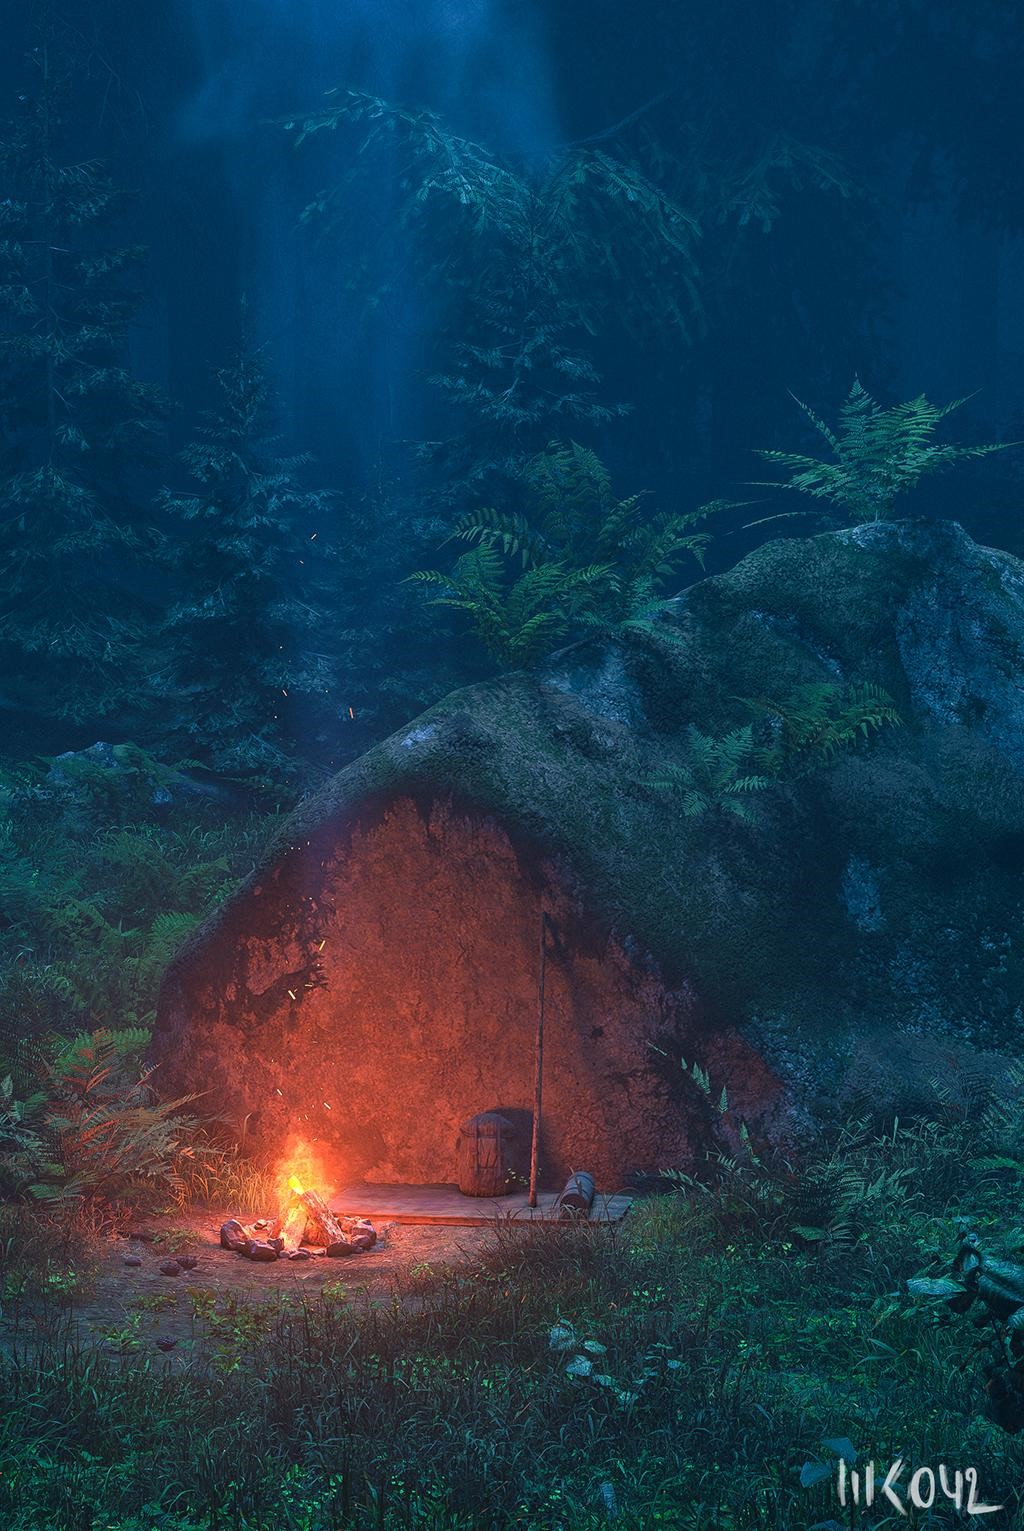
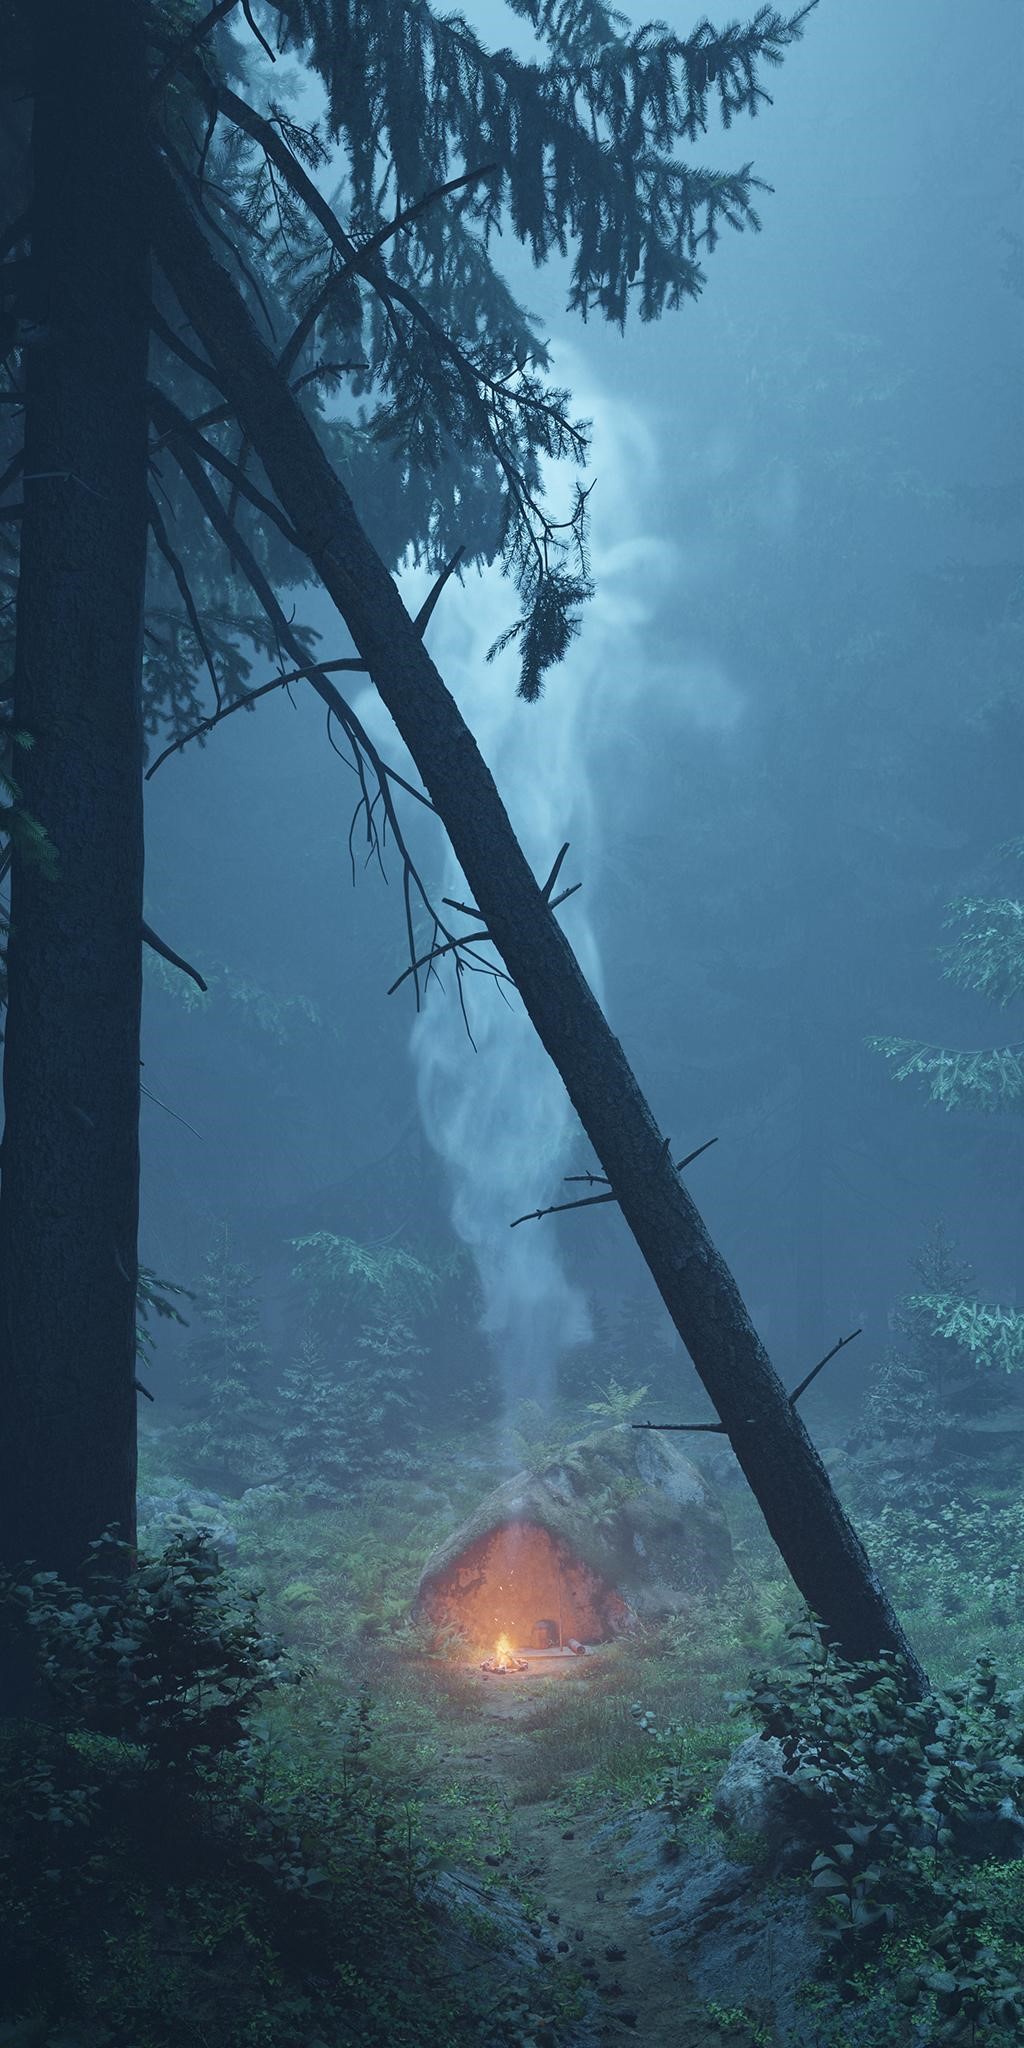
THE RANGER’S CAMP
If you have any questions or comments, please feel free to contact me via my social media accounts. I am always happy to discuss and answer questions.
Thank you for reading!
About the Artist
Lasse, aka. WK042, a 3D enthusiast and freelance artist living in Leipzig, Germany. Currently expanding his experience in the 3D world and working on his portfolio.


