Behind the Scenes: The Appearance
INTRODUCTION
Hello, my name is Lasse, using the alias WK042. I’m currently living in Leipzig, Germany. Right now, I’m in the process of finishing a Master’s degree in Political Science. I stumbled into the 3D world when I needed to create some custom-made low poly props for a free computer simulation mod I was working on back in 2020.
I fell down the Blender rabbit hole and I’m still falling, discovering what else is possible beyond some simple prop modeling. For the time being, I’m mainly focusing on environment and concept art, together with some limited world building. I mainly do 3D/CG stuff in the spare time I’ve got, slowly building up a portfolio and working on my first commissions.
Having focused exclusively on Blender the last 2 years, I’m slowly trying to experiment with other software tools on how I can change up and diversify parts of the workflows I currently use.
INSPIRATION
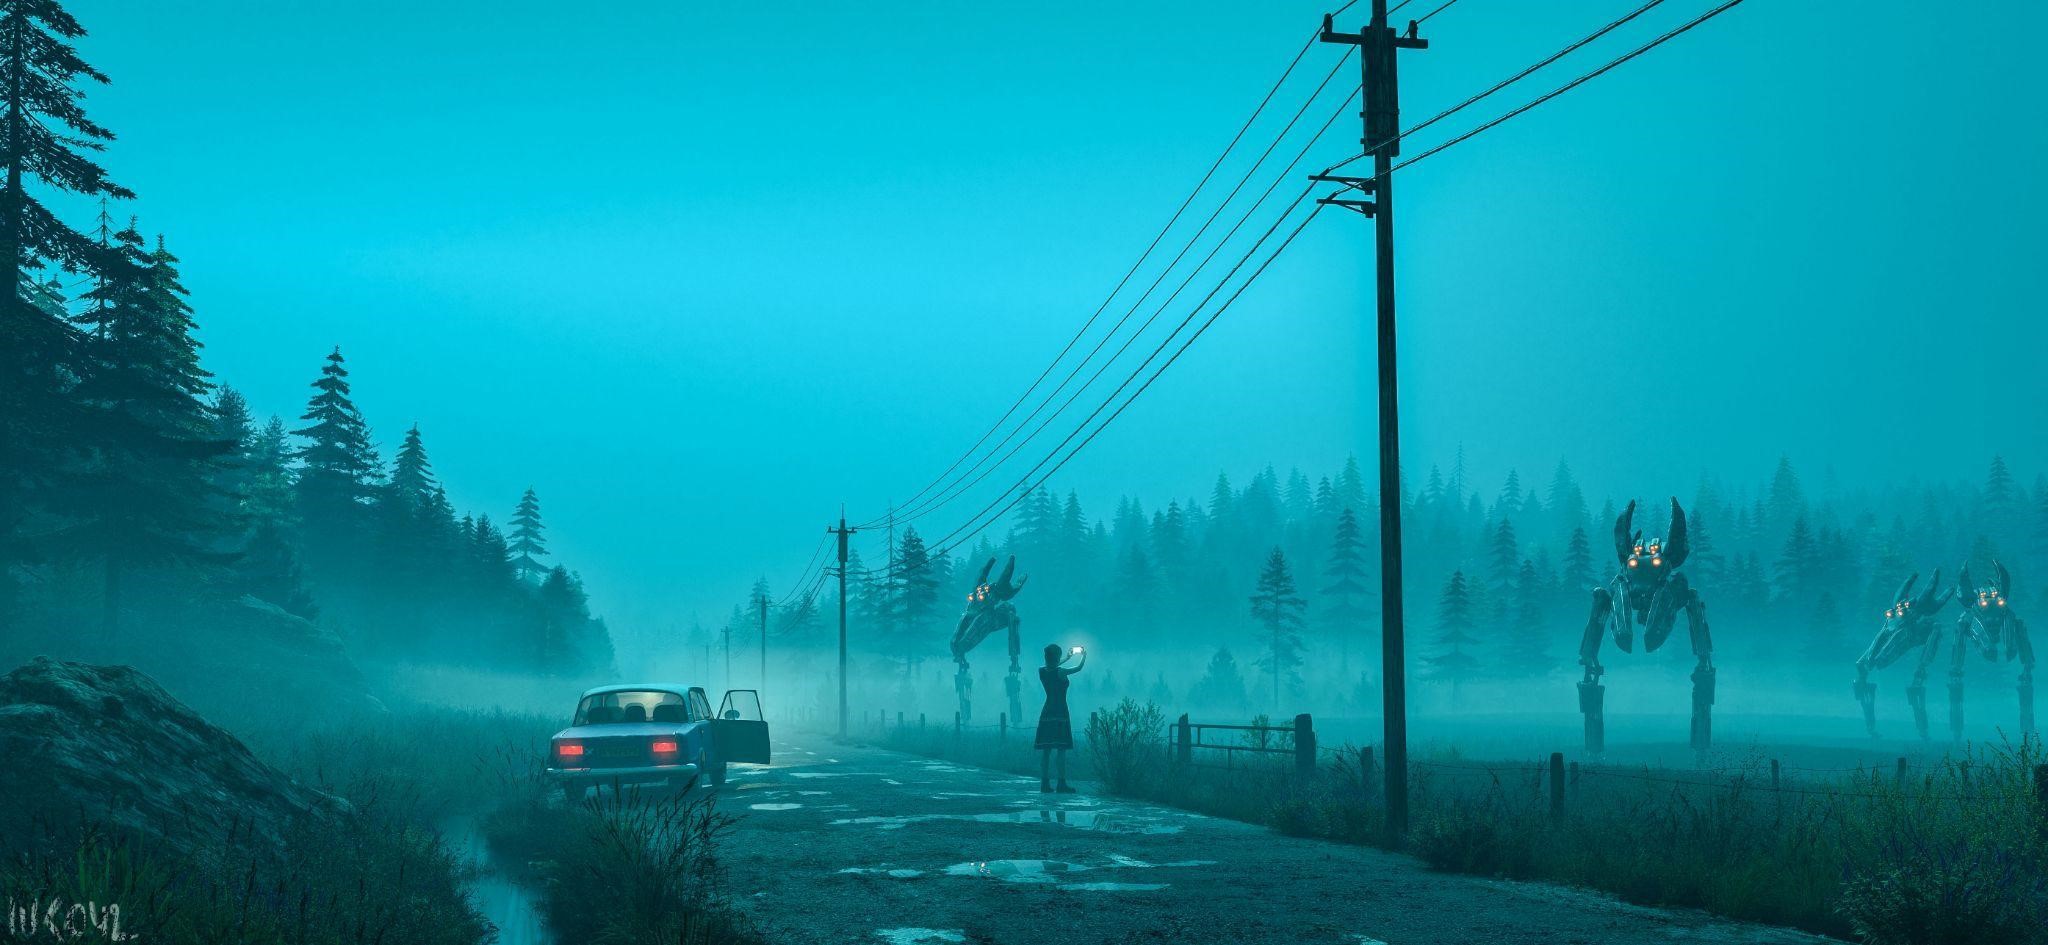
The main inspiration for this project came from a road trip to Scotland I did together with a couple of good friends in the beginning of August. The render combines some of the recurring themes of this trip. The damp environment after a prolonged rain shower, the small backcountry roads leading through the sparsely populated countryside, the gloomy atmosphere of thick, low hanging rain clouds and fog ascending from the ground, pastures in the seemingly middle-of-nowhere, combining the mundane with the extraordinary were some of the themes I experienced through that trip.
In the beginning, I wasn’t sure where I wanted to go with this. I firstly had a normal nature render in mind, but with time, I came up with ideas how to combine this concept with some of my more recent work, going for a dark, futuristic, and dystopian style. This also gave me the possibility to build directly upon some of the ideas behind a project called ”The Last Stop 01.”
PROCESS
For modeling, sculpting, texturing, and lighting, I mainly stayed inside Blender. However, I used Reallusion’s Character Creator for the character mesh, clothing, and posing. I did the post-processing in Photoshop.
BLOCK-OUT
The block out stage was relatively easy, since I had pictured the motive in my head for at least a week during the roadtrip.
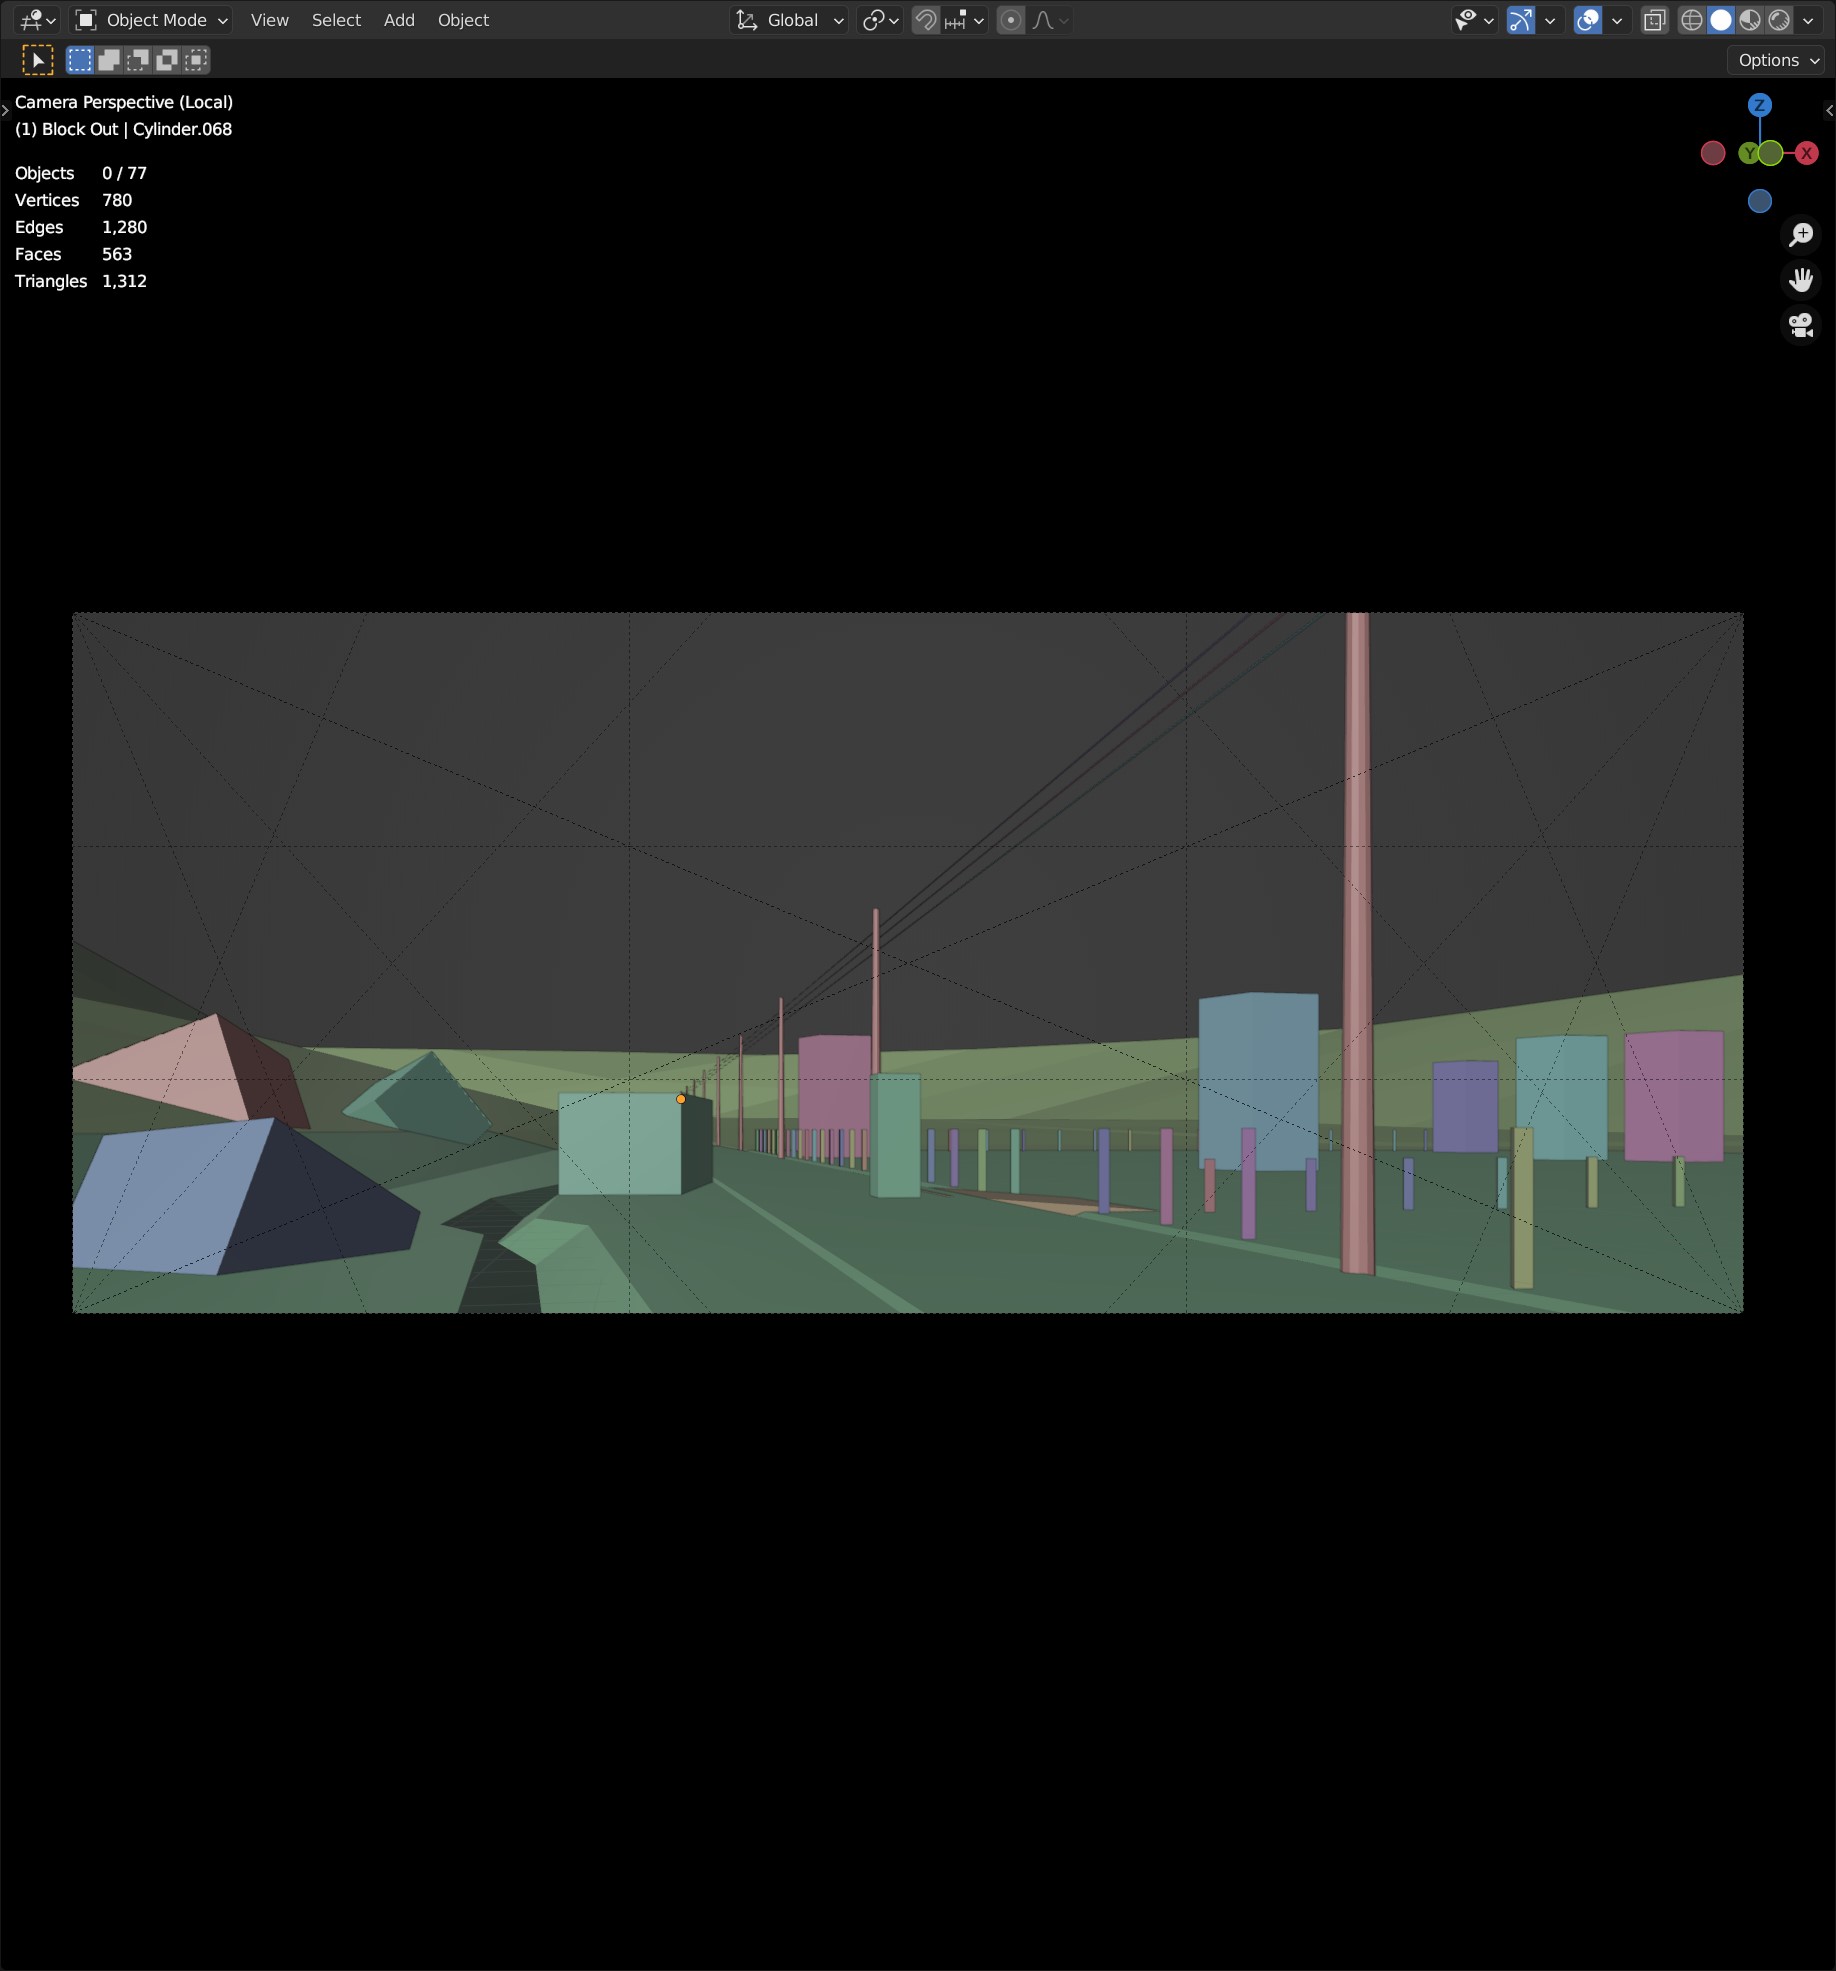
Originally, I had a more open landscape in mind, but changed that in order to strongly frame the main elements in the render.
GROUND
For the ground, I took the blocked-out ground plane and sculpted in some more details and smoothed out the sharp edges.
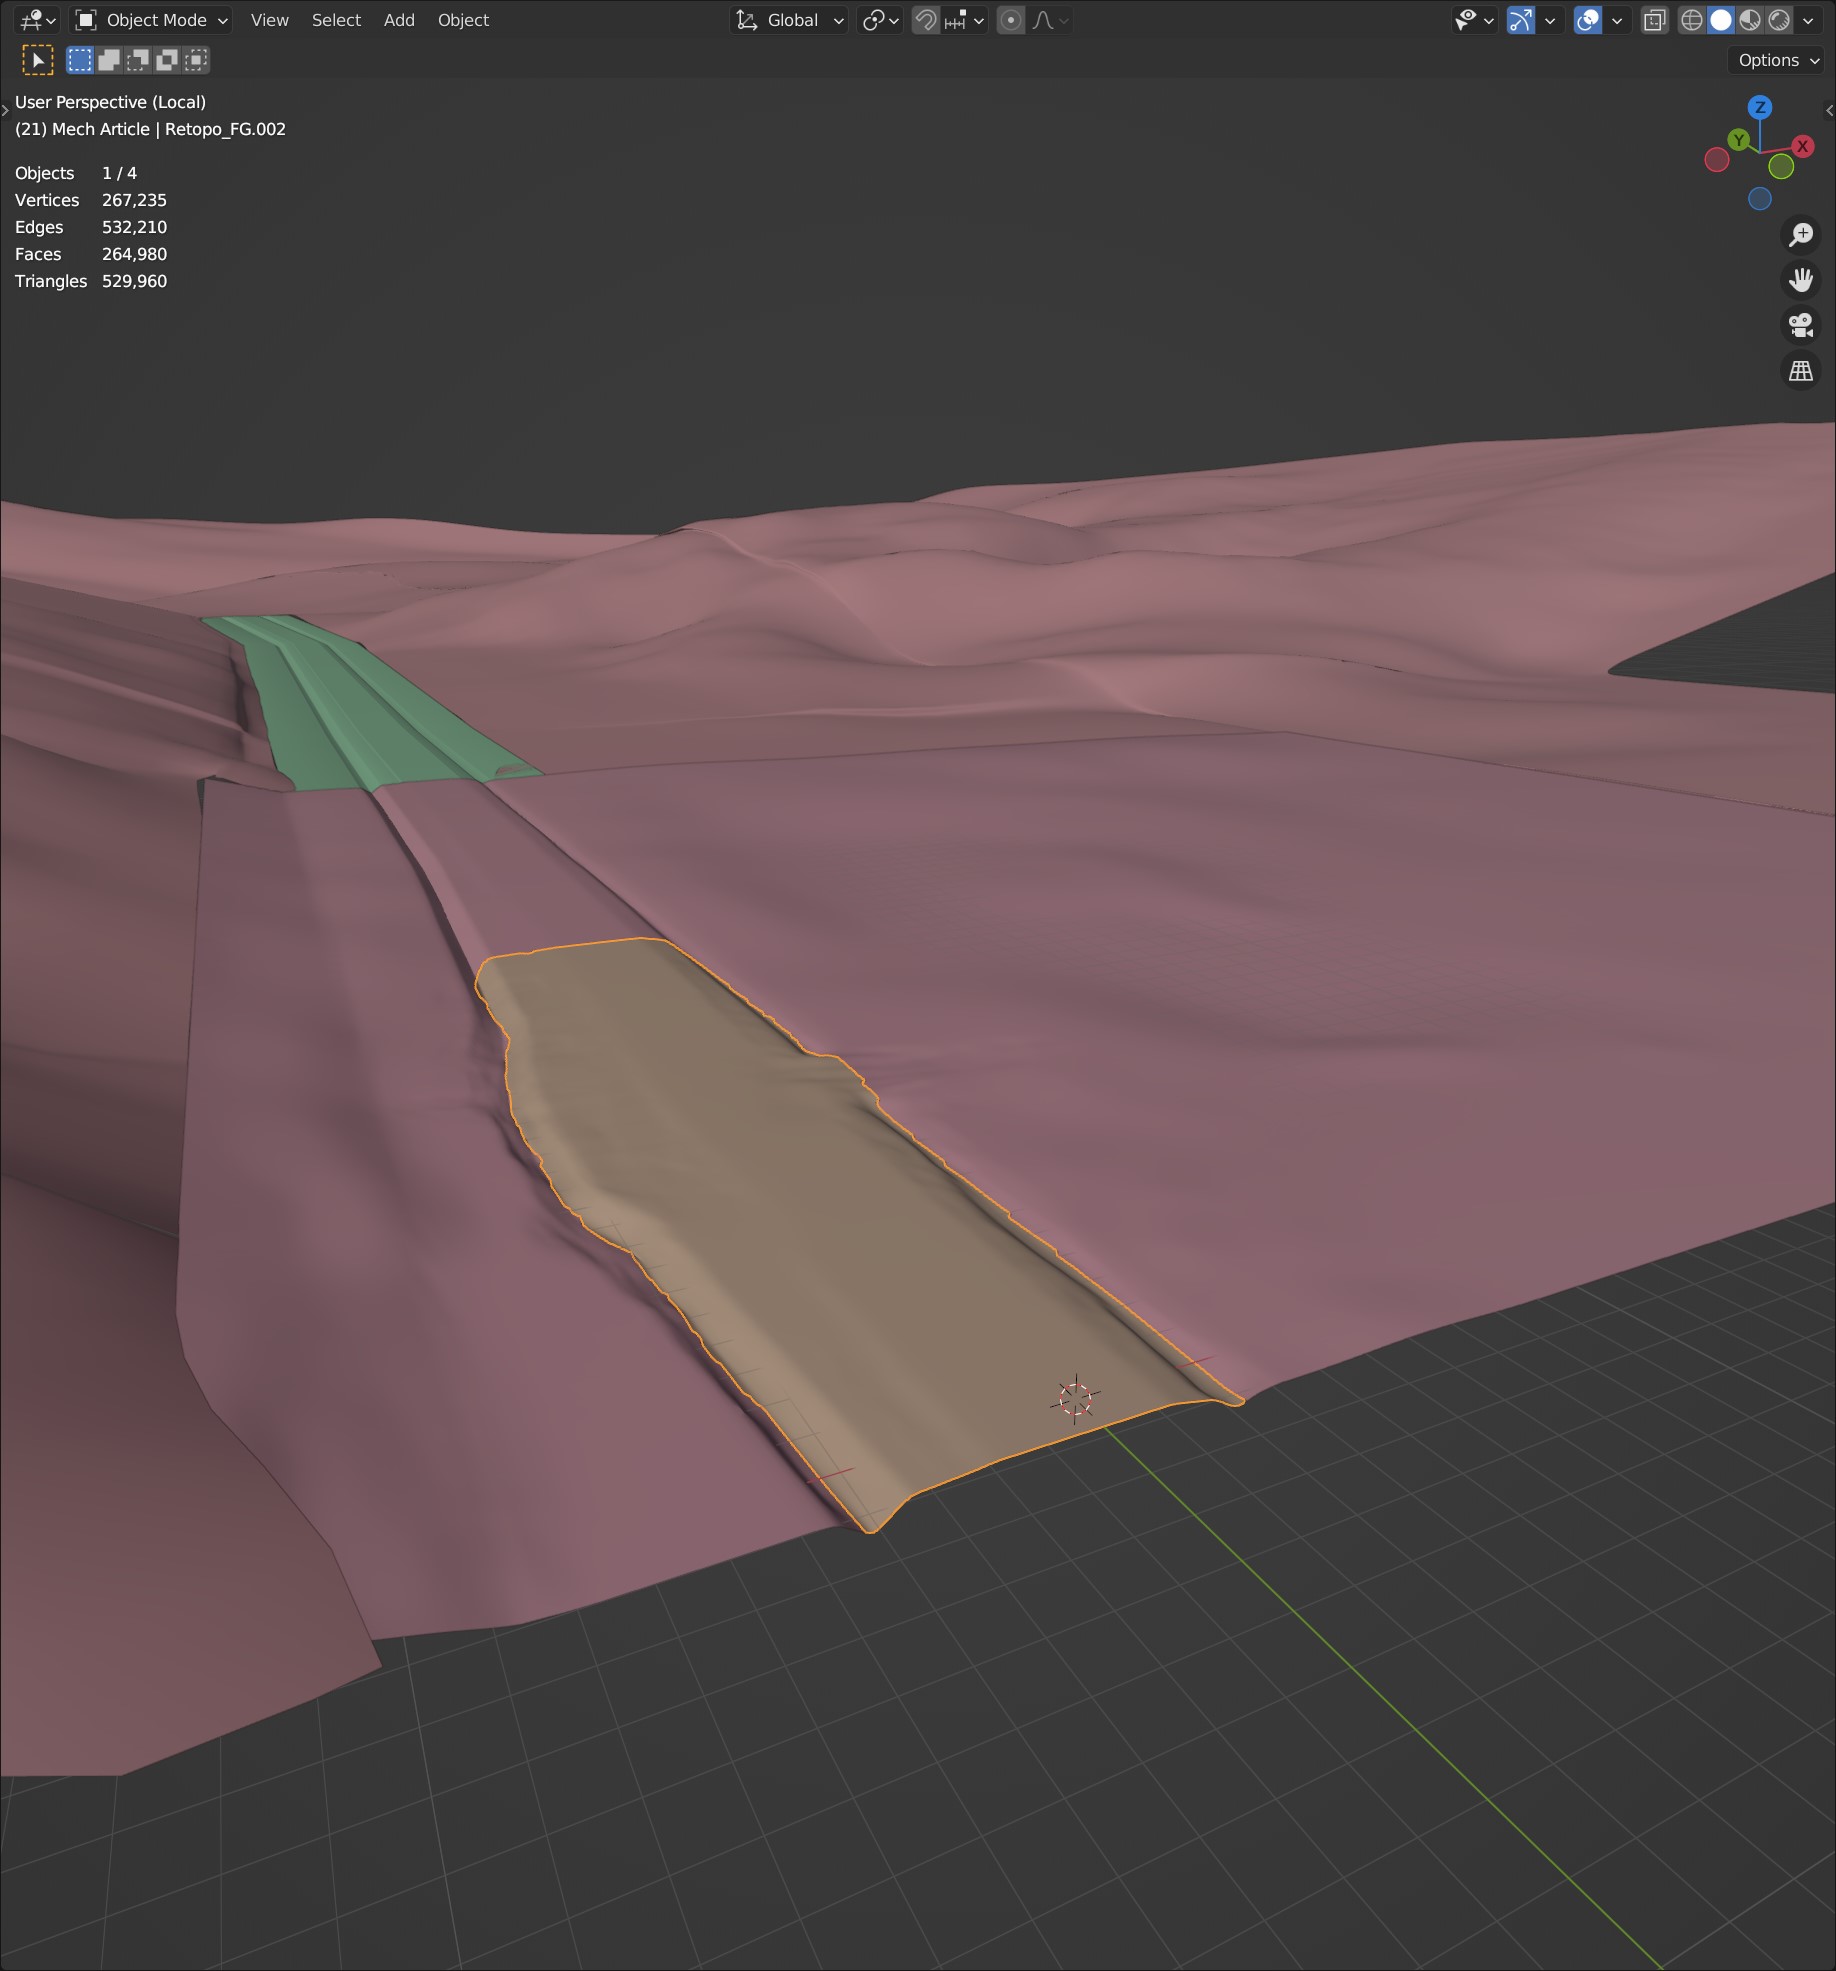
Knowing that a lot of the ground would be sitting in the background as well as being covered up by vegetation, I decided to split it up into three parts—the background (hills), the midground (pasture and roadside), and the foreground (road)— in order to optimize the mesh density I would need.
PROPS USED
For the vegetation, I mainly used premade assets which I scattered over the scene using the Scatter 5.2 addon for Blender. I used around a dozen scatter systems and masks to fill the foreground and midground with different vegetation types and patterns. For the trees, I went for simple alpha cut-outs, which was for the first time. In the past, I wasn’t a fan of working with cut-out trees because I simply could not make them work as I wanted, but it kind of fell into place this time. However, I had to do quite a bit of color and lightness correction in order to fit the cut-outs into the overall scene lighting.
These are some of the props I used.

The awesome Lada model I got was from INuruhusssen over at Blendswap. I did some texture clean-up and minor changes to fit it into the scene. For example, the model was not really made to have open doors.
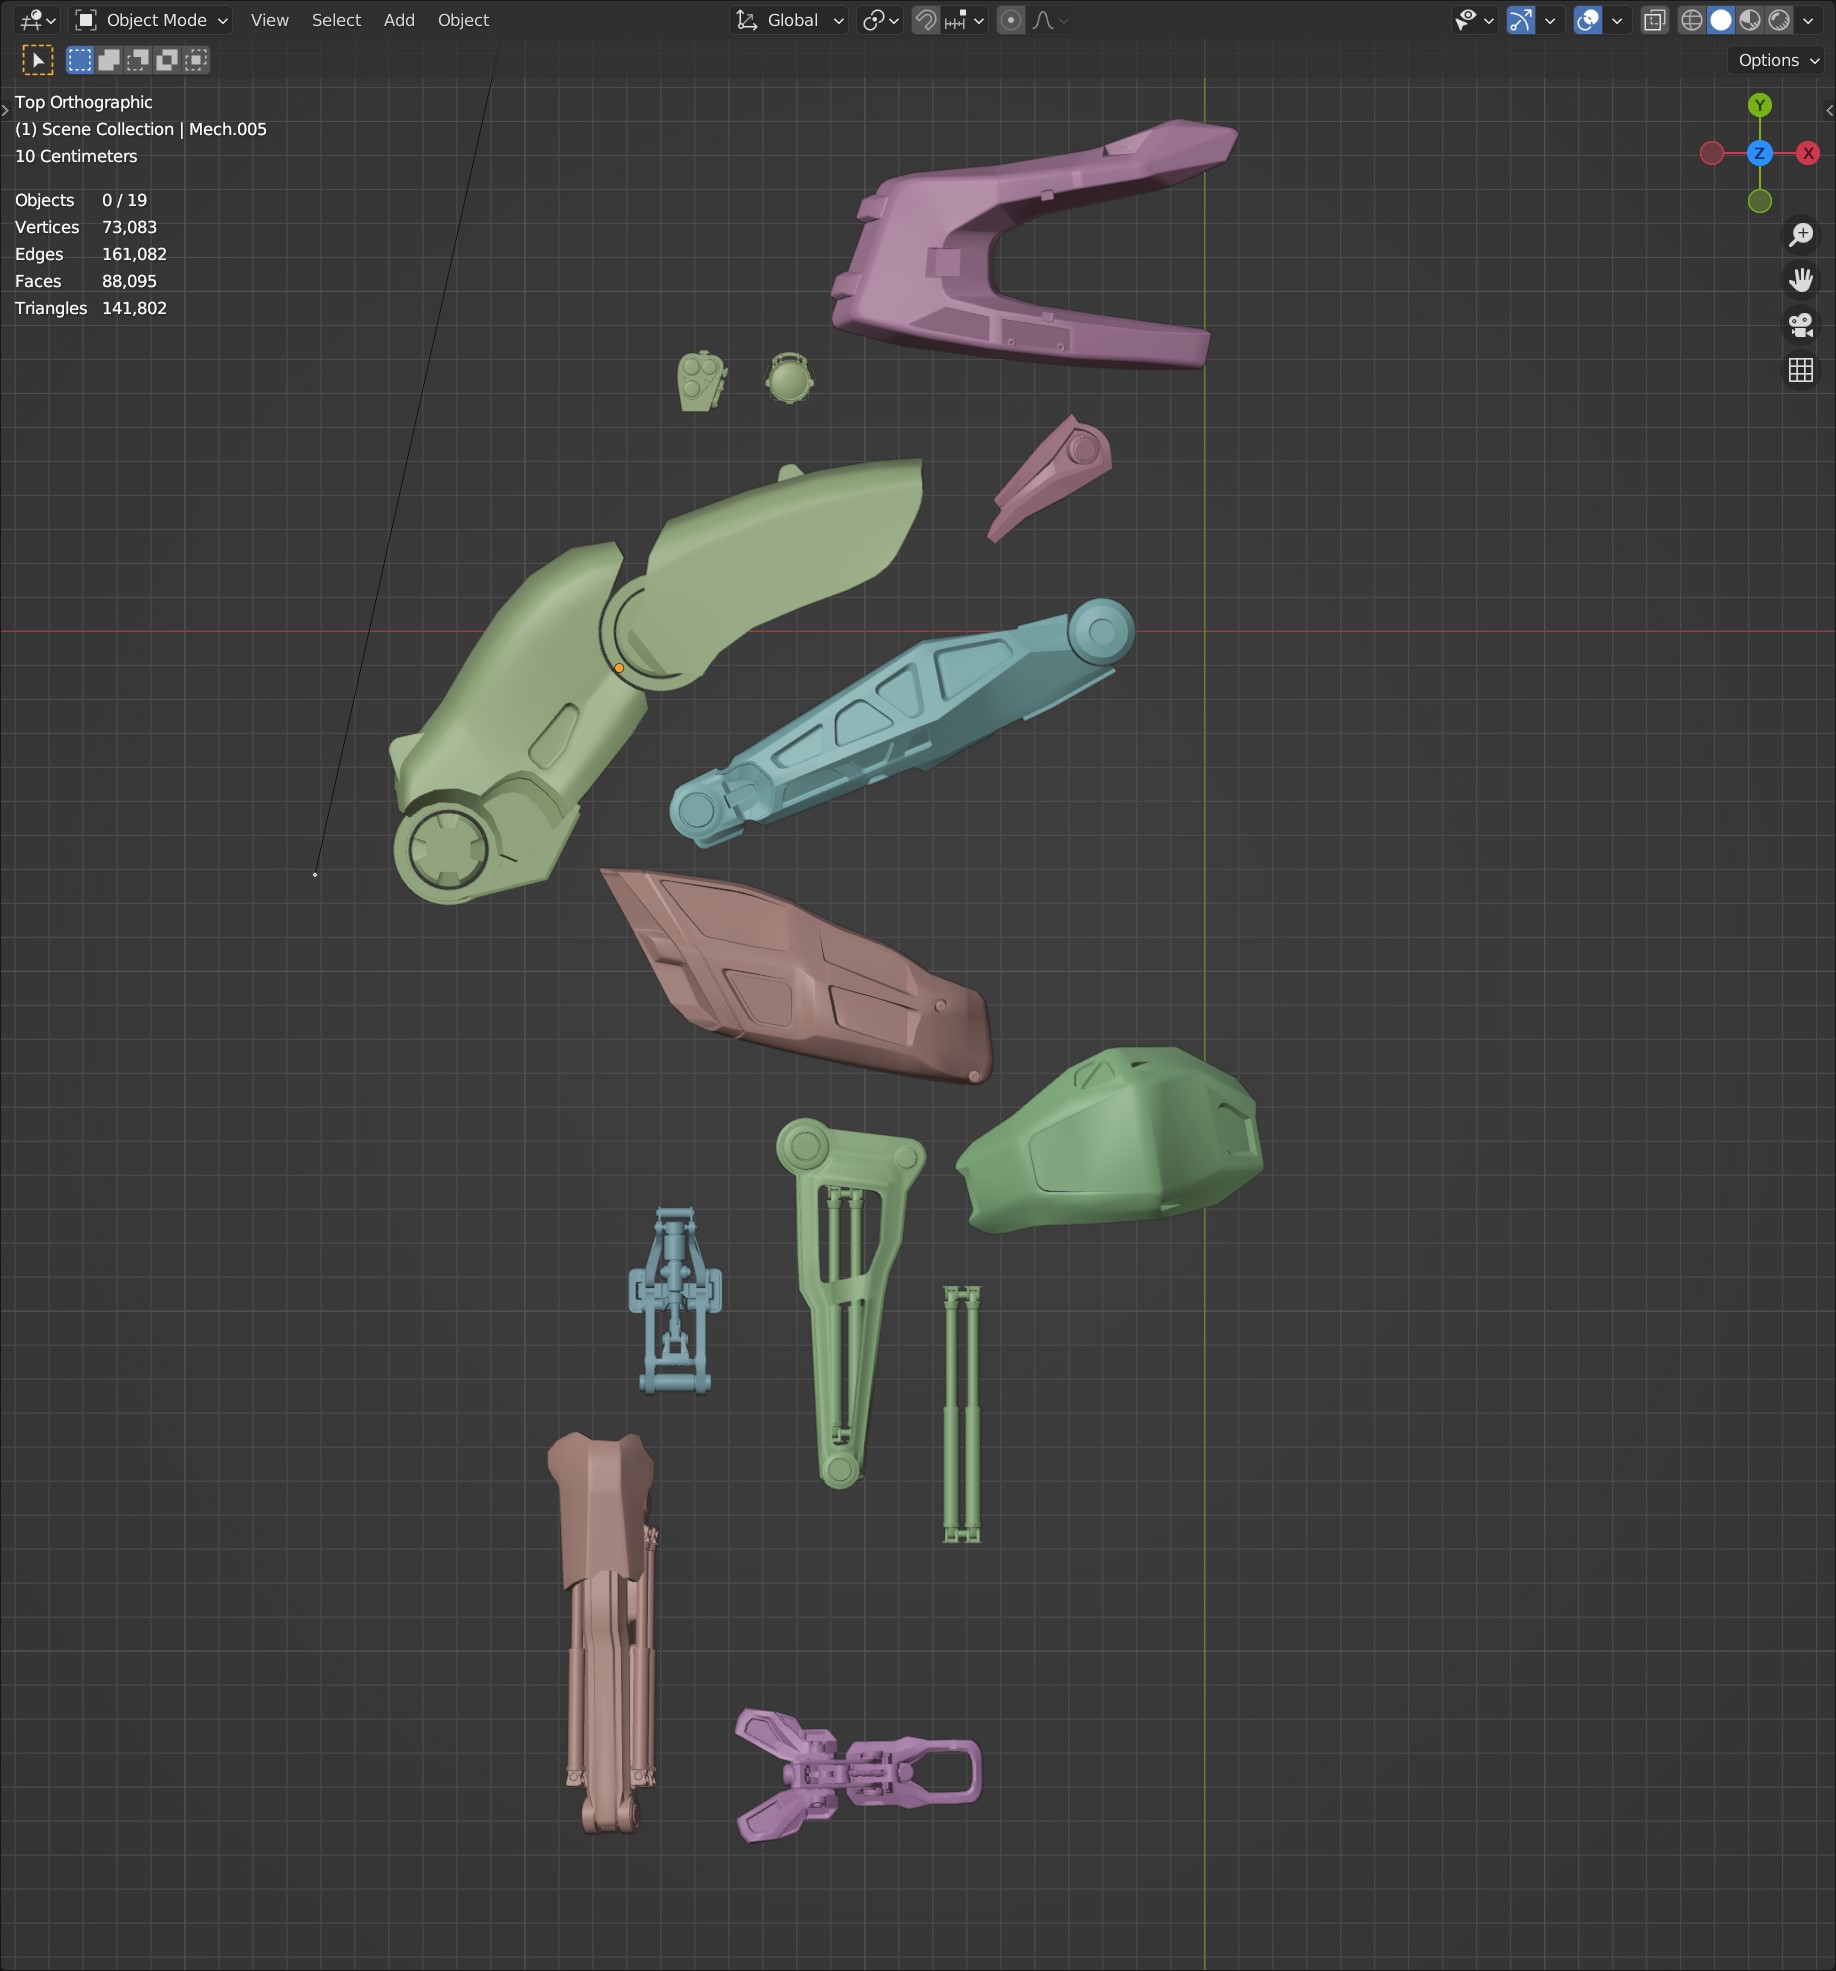
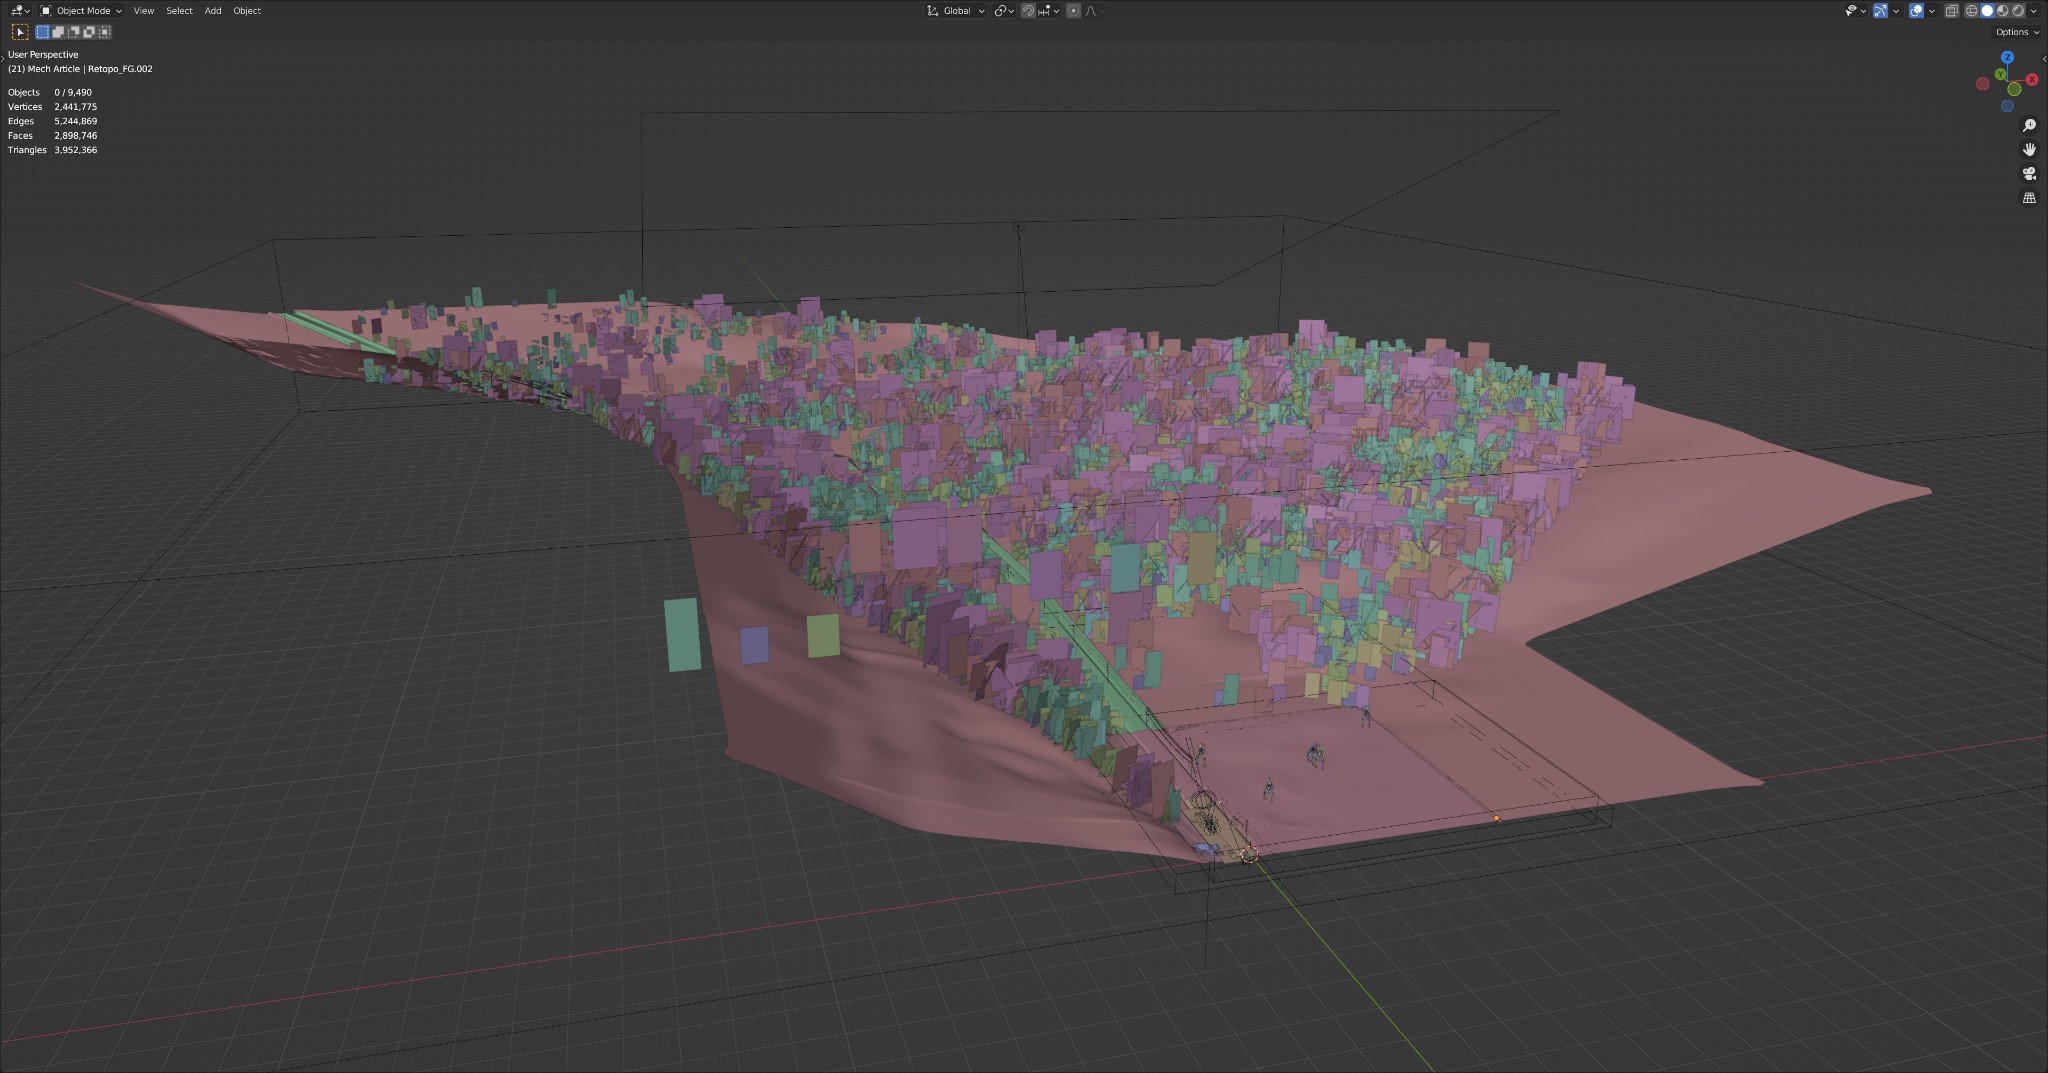
I recycled the mech concept from another project of mine. I originally kitbashed them using around a dozen parts from various kitbash sets, experimenting with some shapes and forms. The general concept is rather simple.
These are the mech parts and the concept.
TEXTURING
I paid special attention to the texturing of the ground plane. Since I’ve always found it challenging to cover large features with organic-looking and non-repeating textures, I’m slowly adapting a texture painting workflow where I paint different masks in order to blend between a variety of PBR materials.
I’ve used this mask to blend between a grass/moss ground texture (red) for the pasture, and different gravel and asphalt/road materials (green & blue). Since most of the pasture and left roadside would be covered in vegetation, I could get away with a single repeating material. However, I had to take some time to blend between the different materials I used for the road in order to make it feel organic.
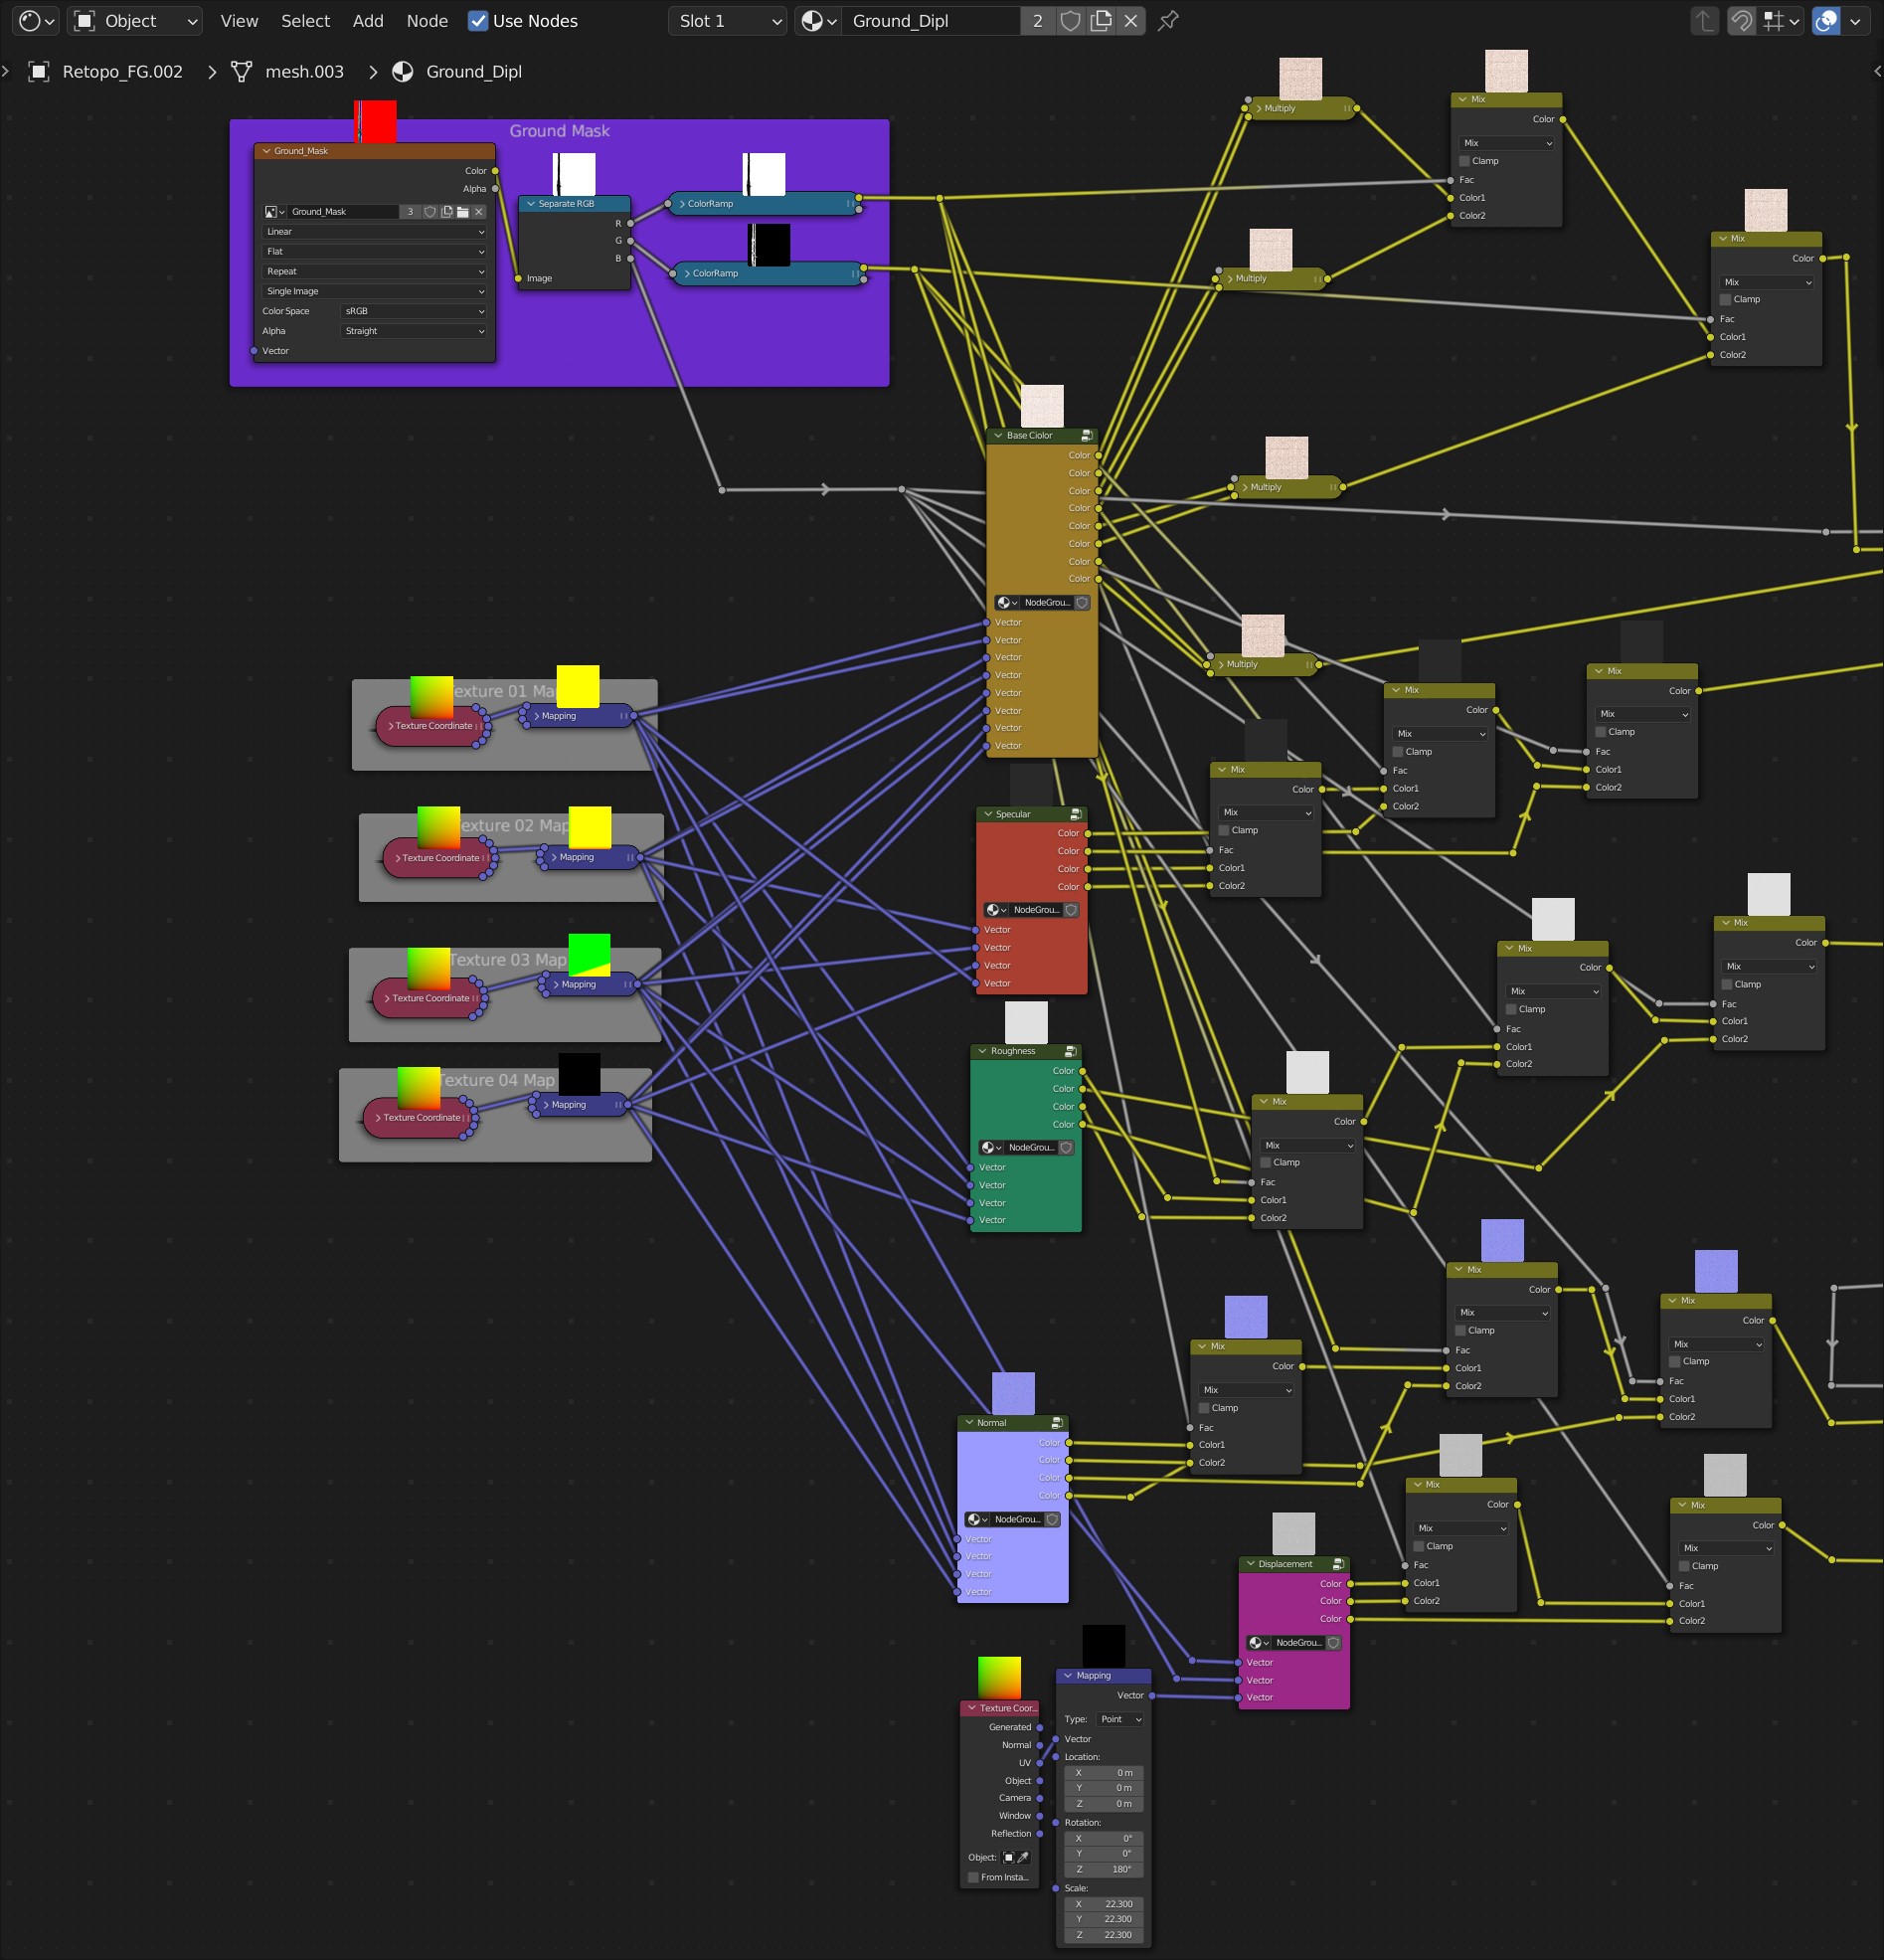
This mask drove the blending between the different color, specular, roughness, normal, and displacement maps of the PBR materials I used. I built the shader setup on the go, so it became quite the noodle soup in the end, but I hope it still gets clear what I did here. Hopefully, I’ll have some time to set up a clean master shader at one point in the future :)
This was the ground mask driving the blending of different textures.
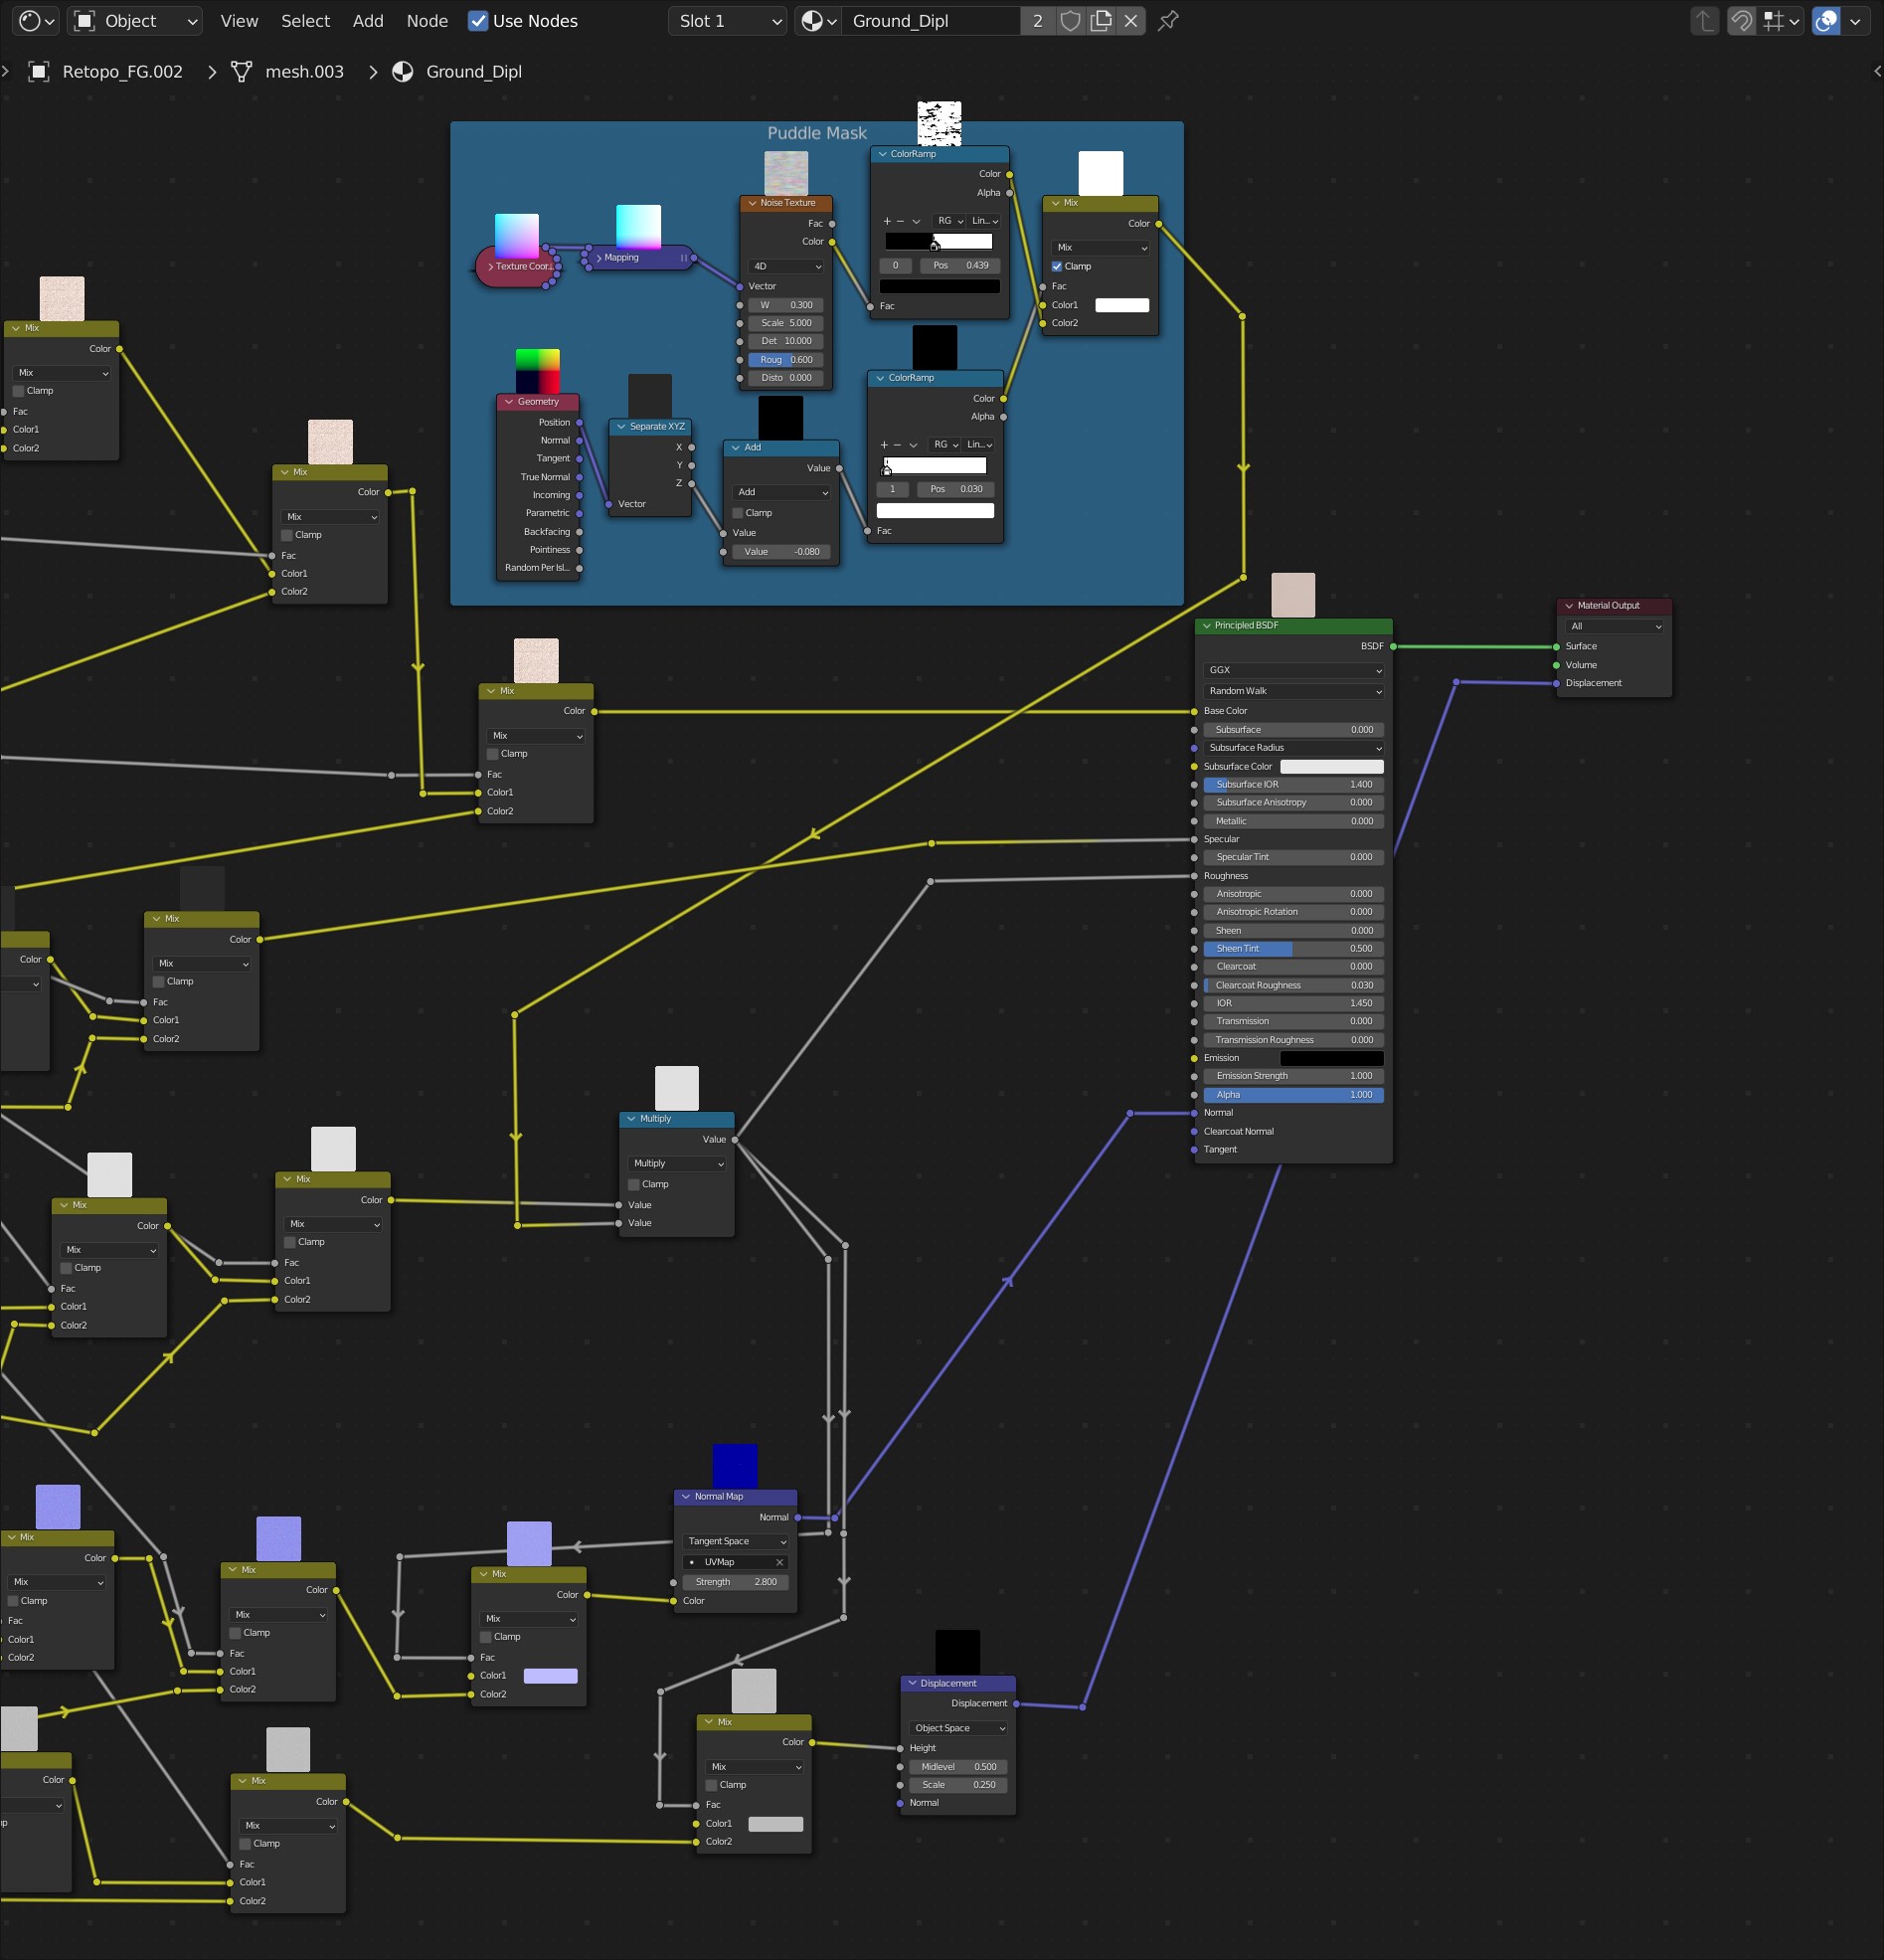
The puddles are made by a procedural noise-based mask, which I’ve used to influence the roughness, normal and displacement maps of the road materials. In order to cancel out the normal and displacement maps where the puddles would sit, I introduced two Mix RGB nodes following a neutral normal map and displacement map color, driven by the aforementioned noise mask.
This was the puddle mask driving the roughness, normal and displacement values.
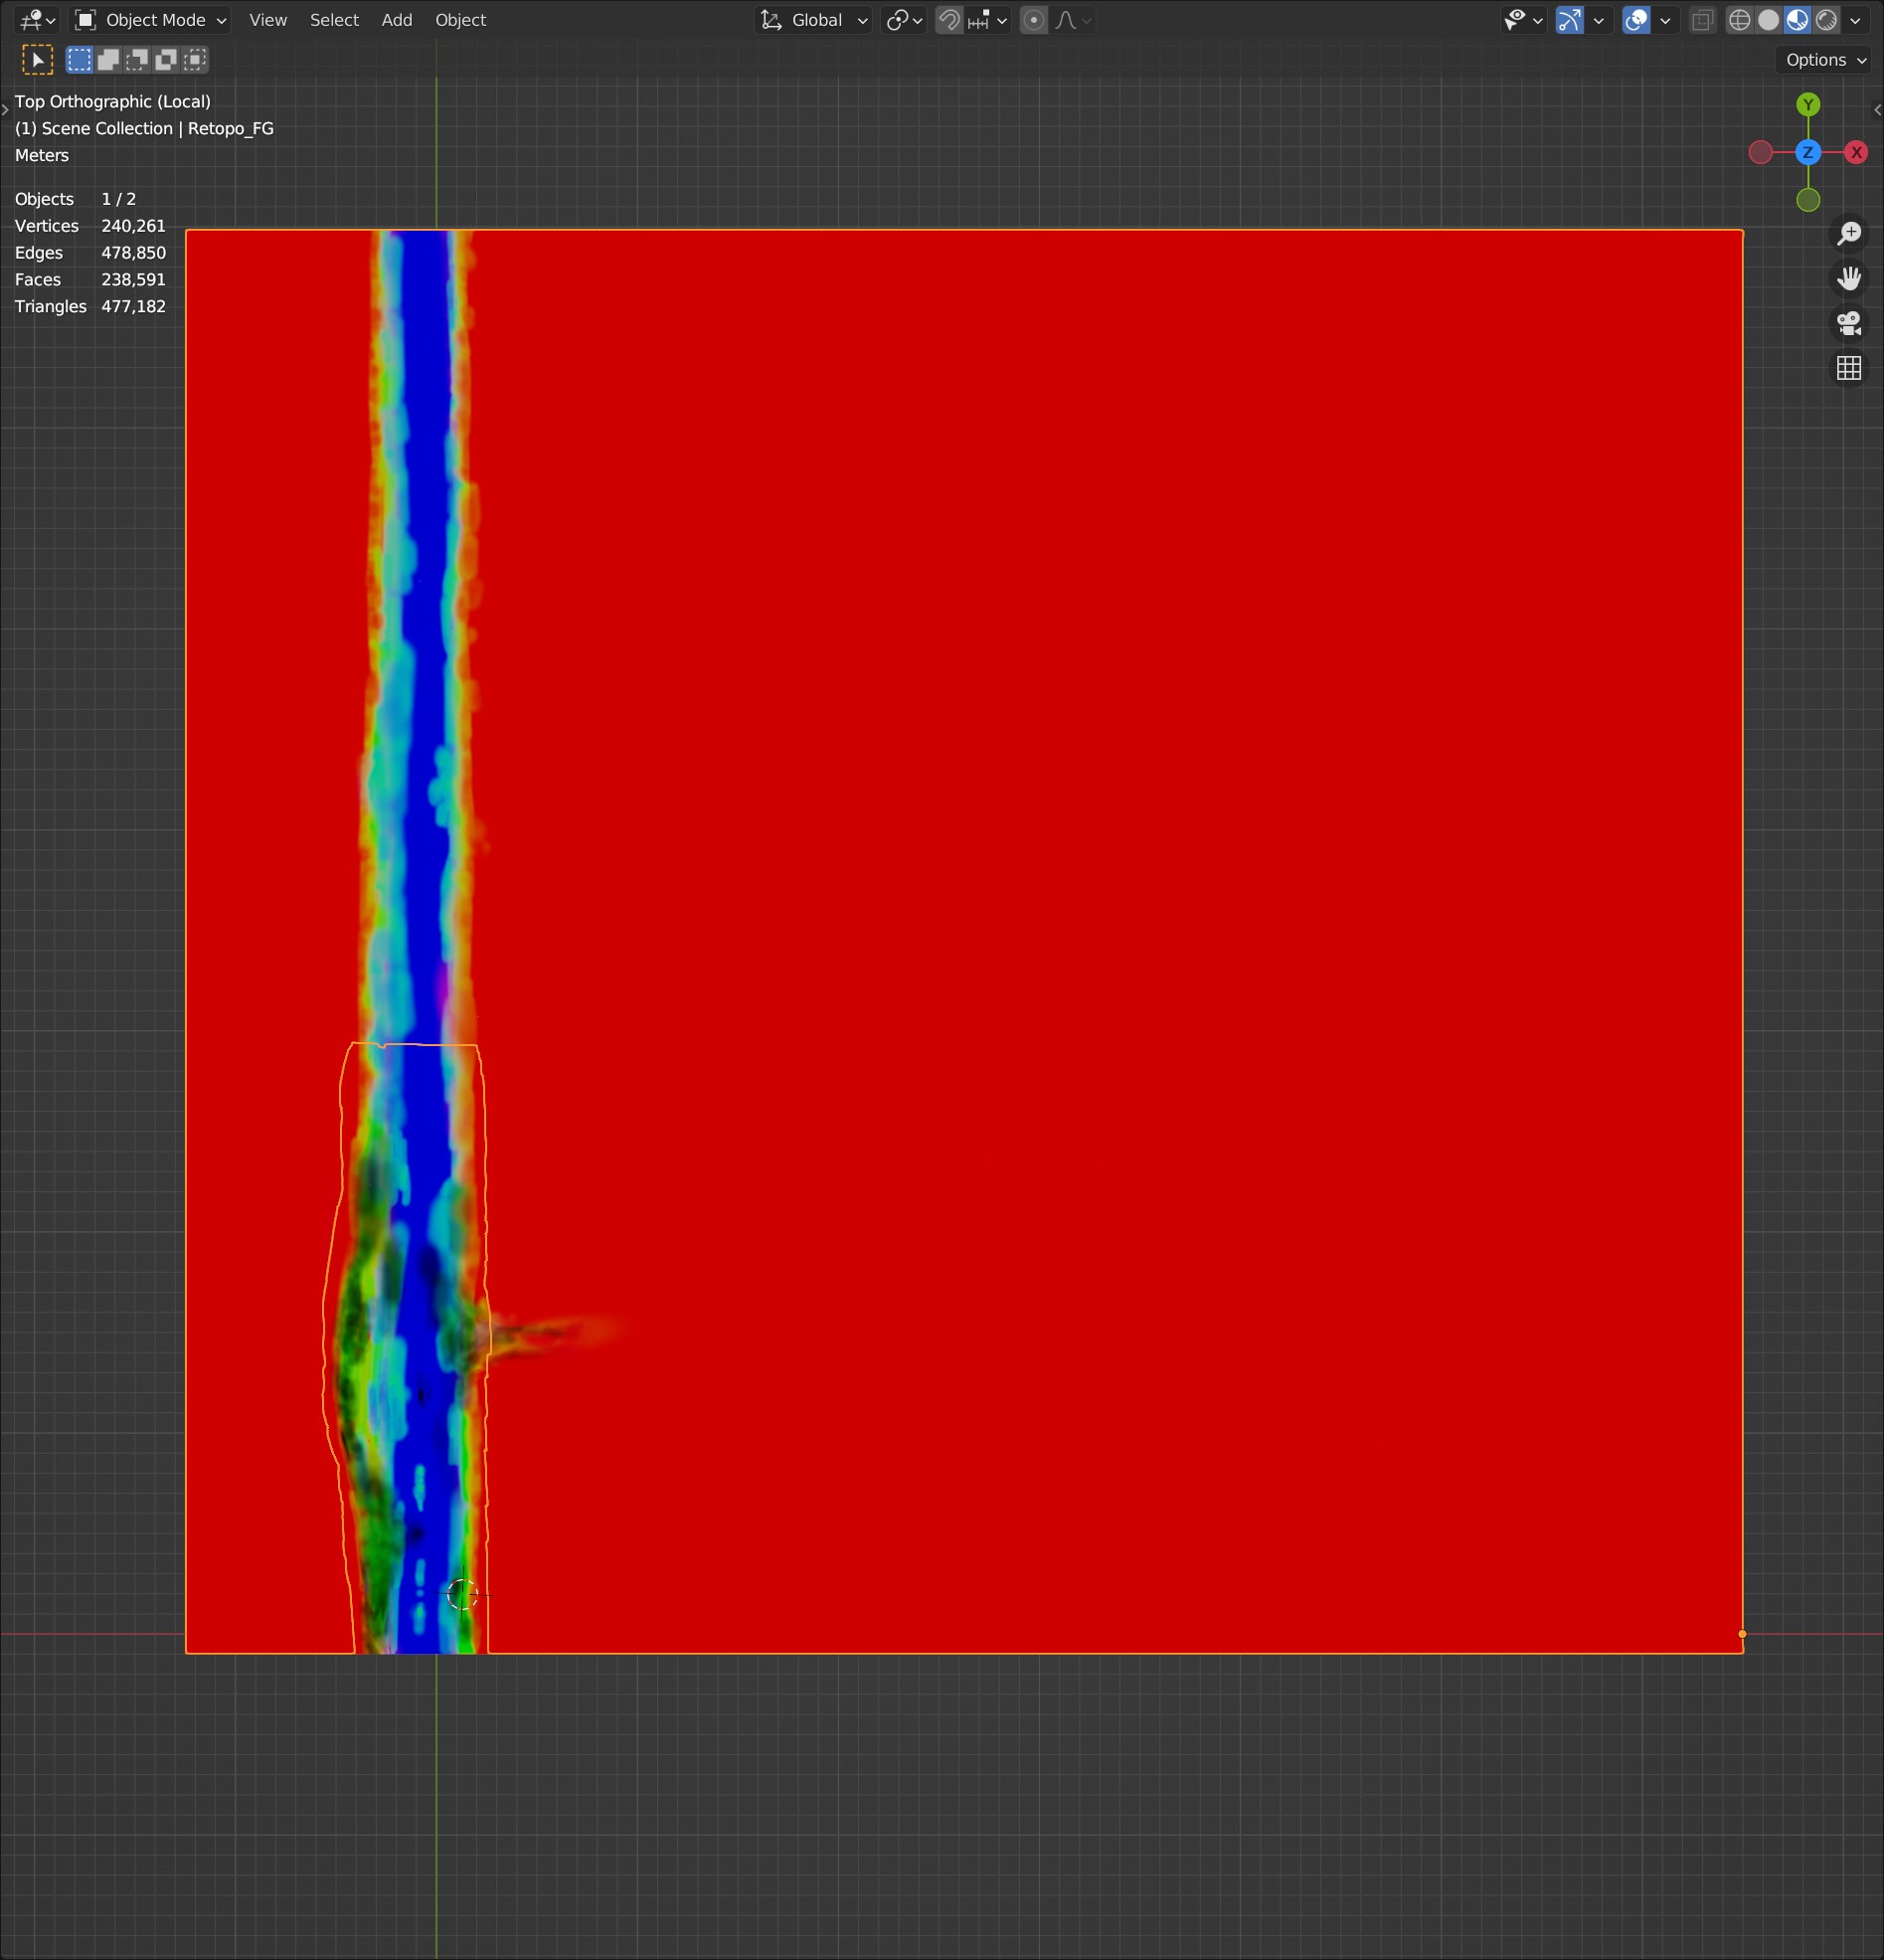
In order to avoid a flat texture look in the foreground due to the flat camera angle relative to the ground, I decided to micro-displace the ground shader for the parts of the road closest to the camera. Since I used an adaptive subdivision and displacement on the shader level, I had to restrict it to only a small part of the final image due to performance reasons. This is also the reason why I split up the ground plane into different parts, increasing their complexity towards the camera.
LIGHTING
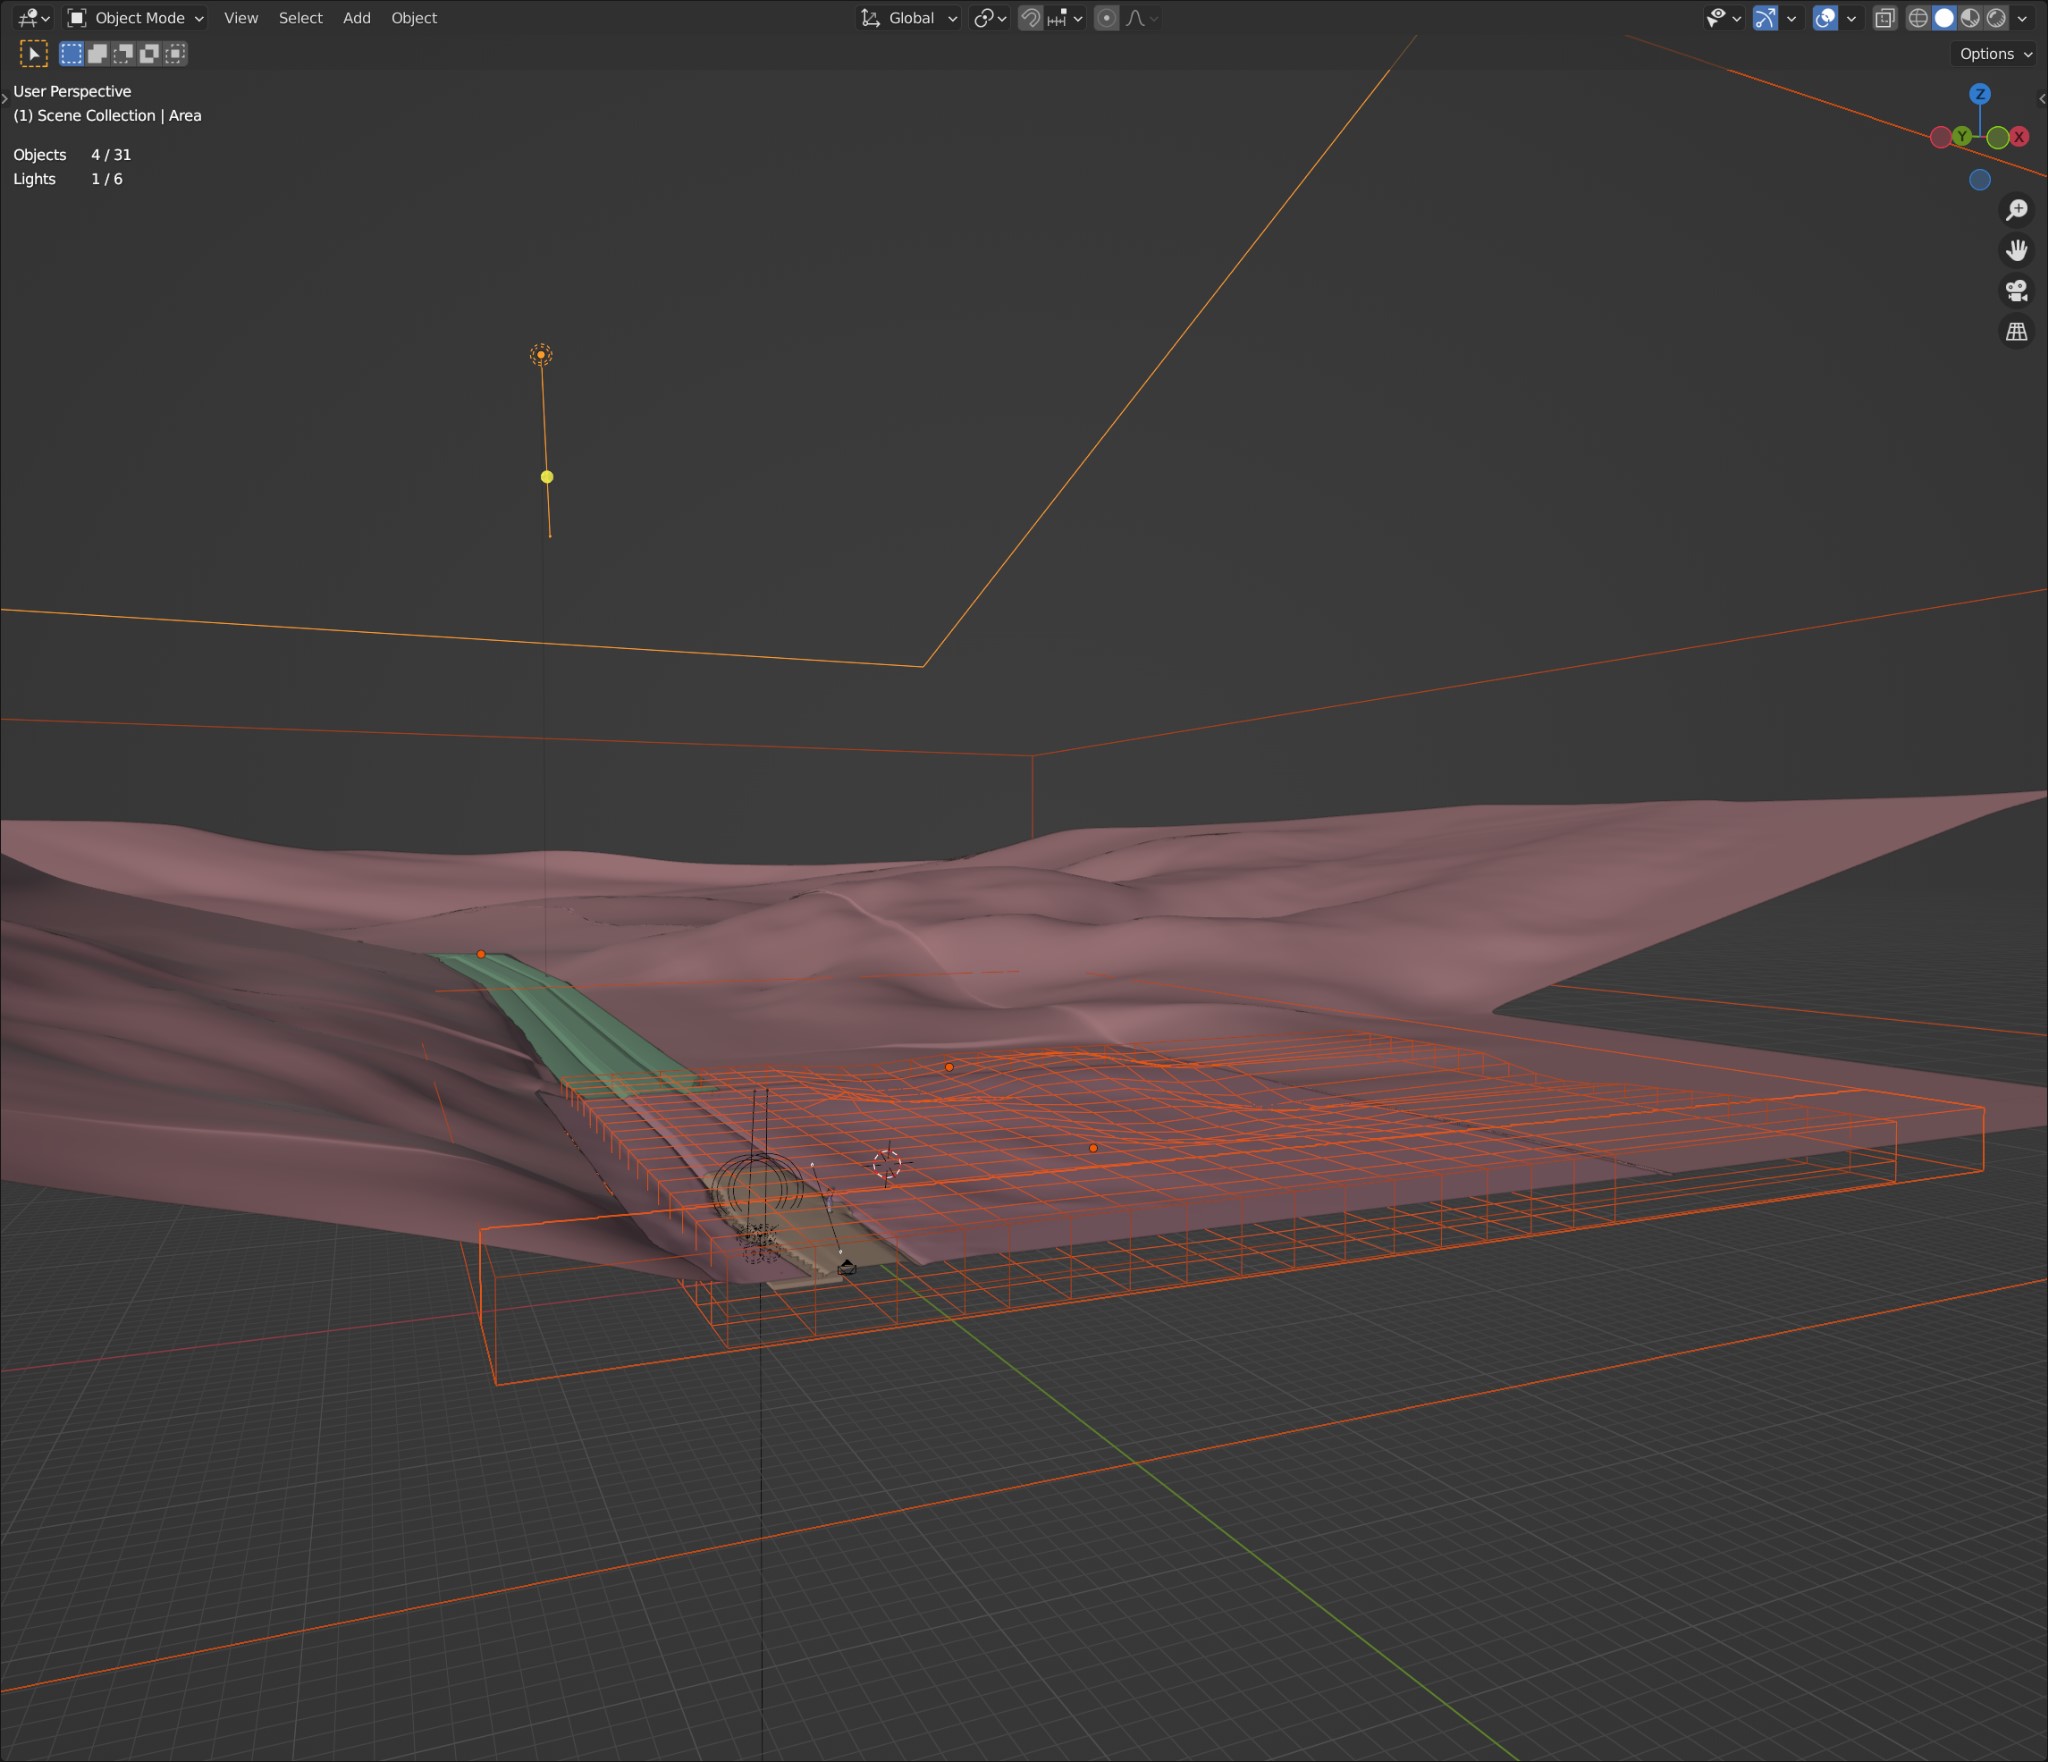
The overall atmosphere and lighting setup is rather simple. In total, I’ve used three cubes for the volume distribution. One large all-encompassing cube for the overall atmosphere and two smaller ones for the ground fog. In order to break the visible limits of the ground fog cubes, I subdivided one of them and changed its geometry using proportional editing. All volumes use a simple volumetric material, only varying in their color and densities. The only main light source was created by a huge area lamp, casting a cyan-blue-ish diffused light over the entire scene.
These are the three volume cubes and the area light.
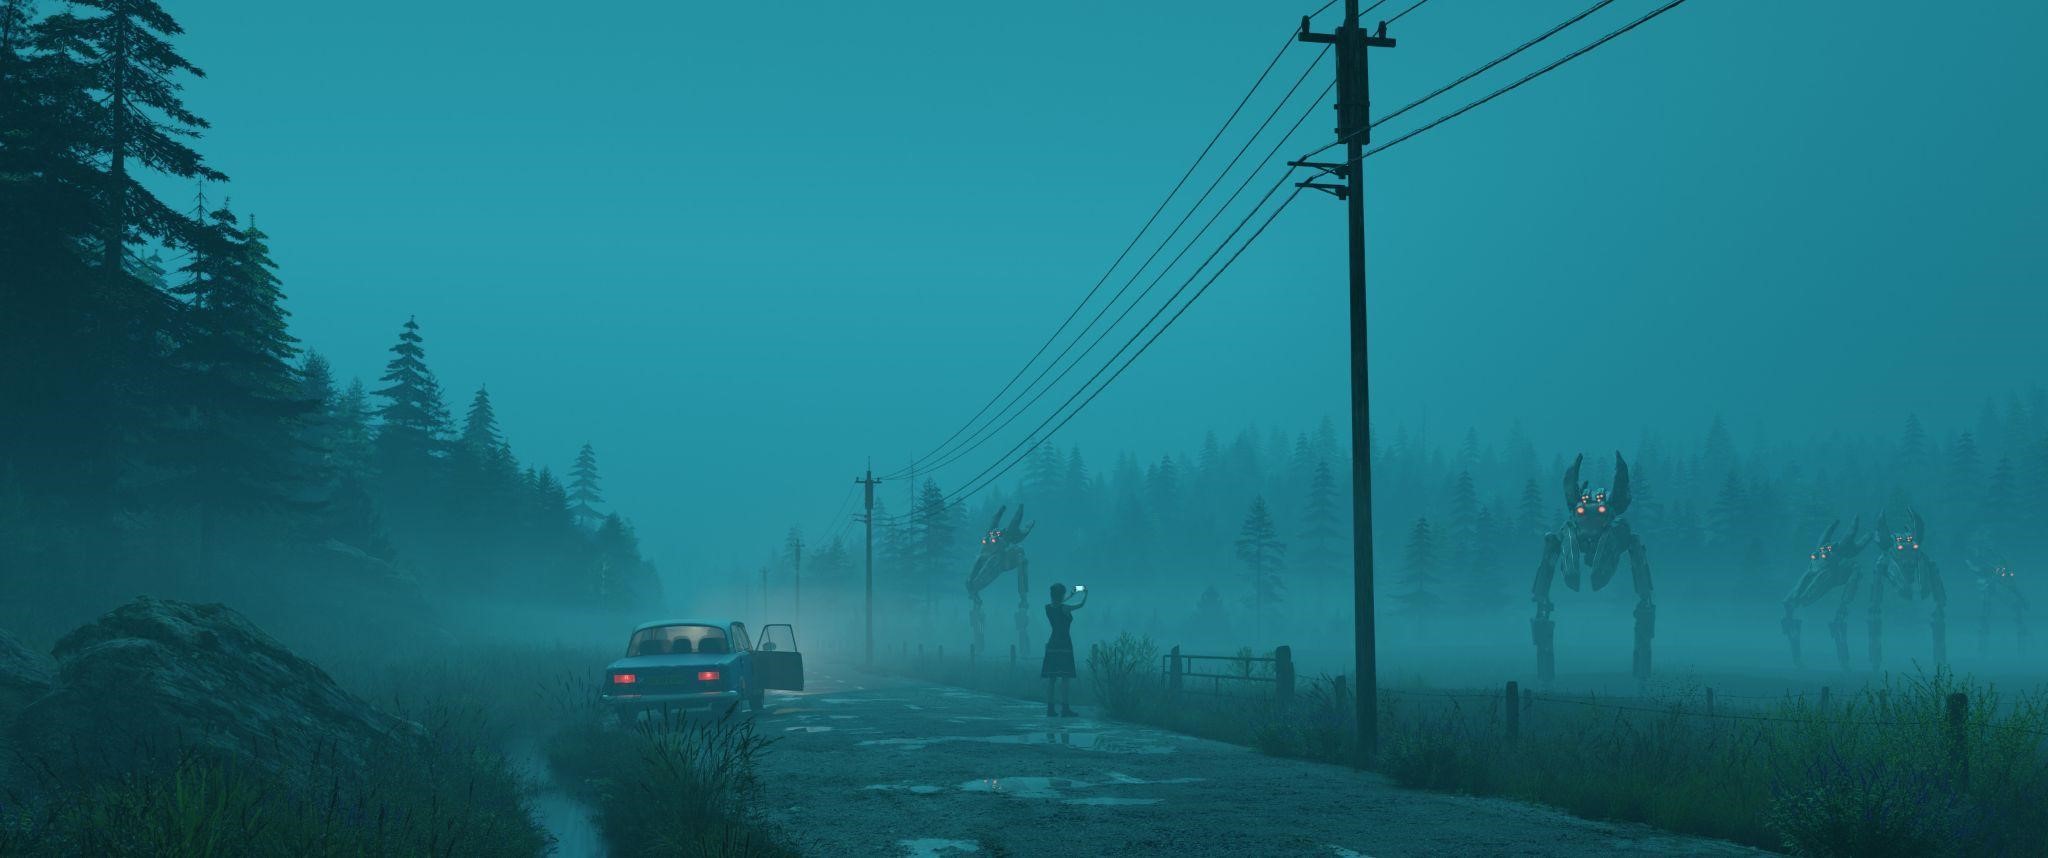
This is the entire scene.
This is the raw render straight out of blender.
POST-PROCESSING
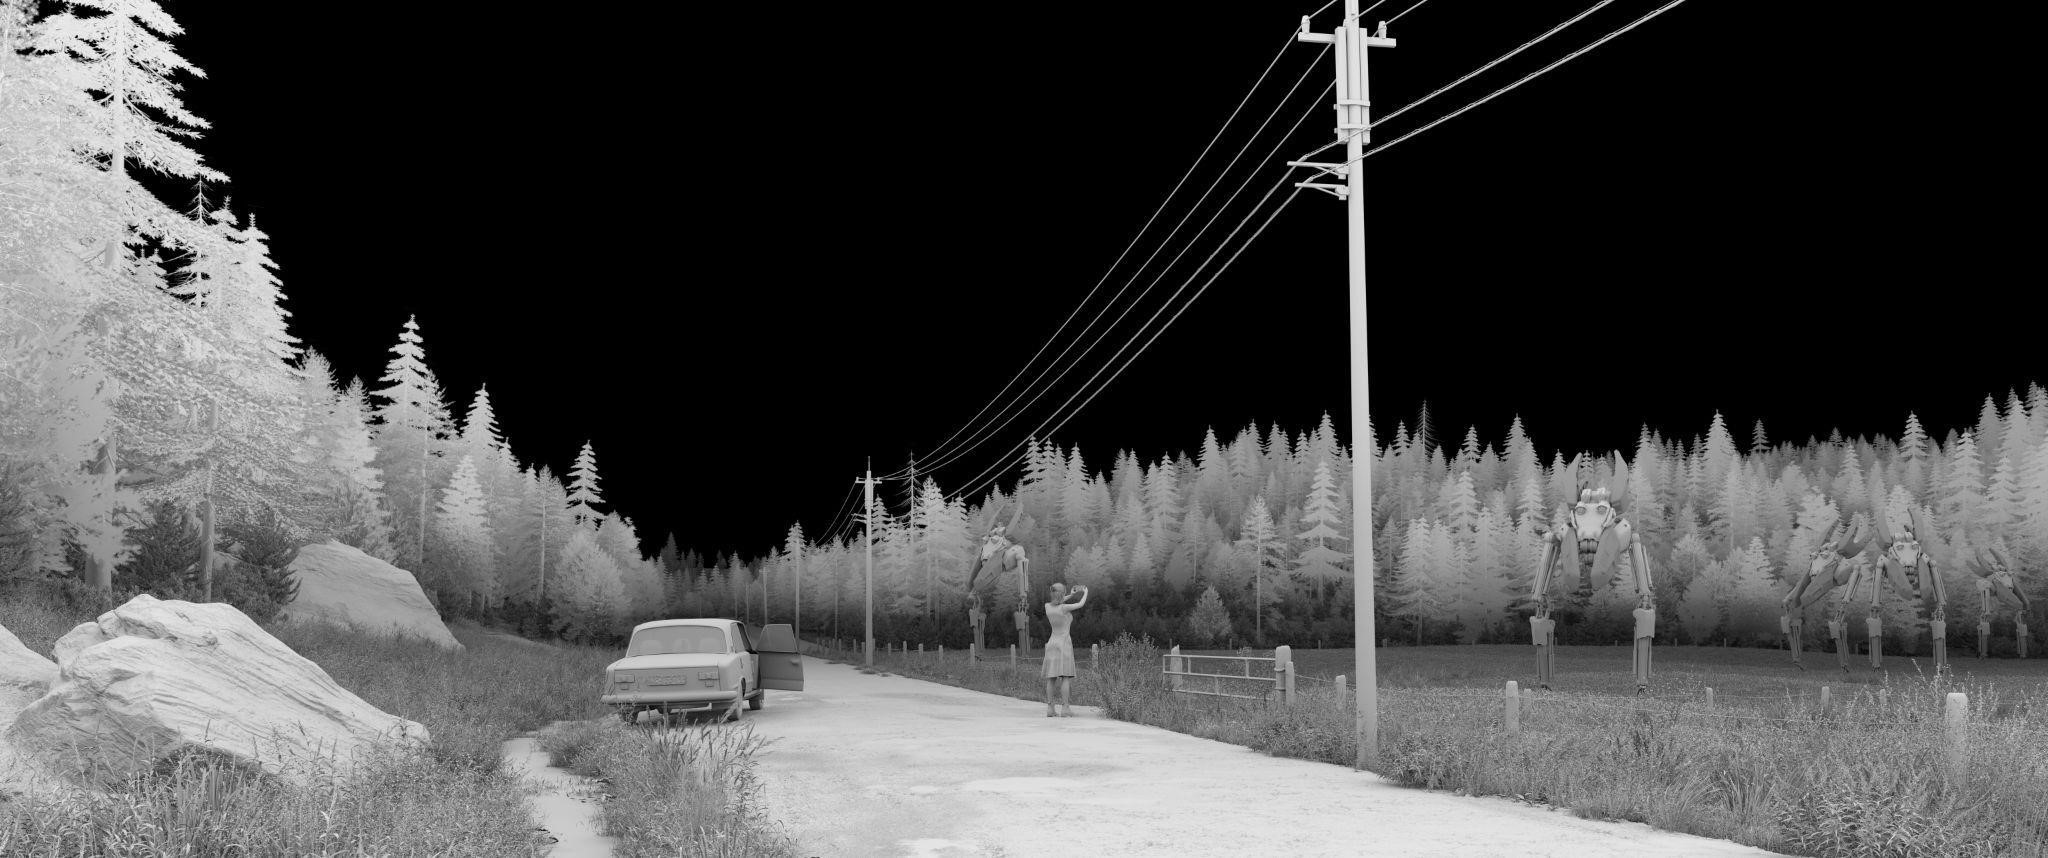
I used Photoshop for post-processing with the AO Pass and the Direct Volume Pass.
Here is the AO Pass for post-processing.
And, this is the Direct Volume Pass for post-processing.

THE APPEARANCE


Thank you for reading, I hope you enjoyed this article. Have a nice day!
About the Artist
Lasse, aka. WK042, a 3D enthusiast and freelance artist living in Leipzig, Germany. Currently expanding his experience in the 3D world and working on his portfolio.


Thought this was a new piece by Simon Stålenhag at first glance. Love it.