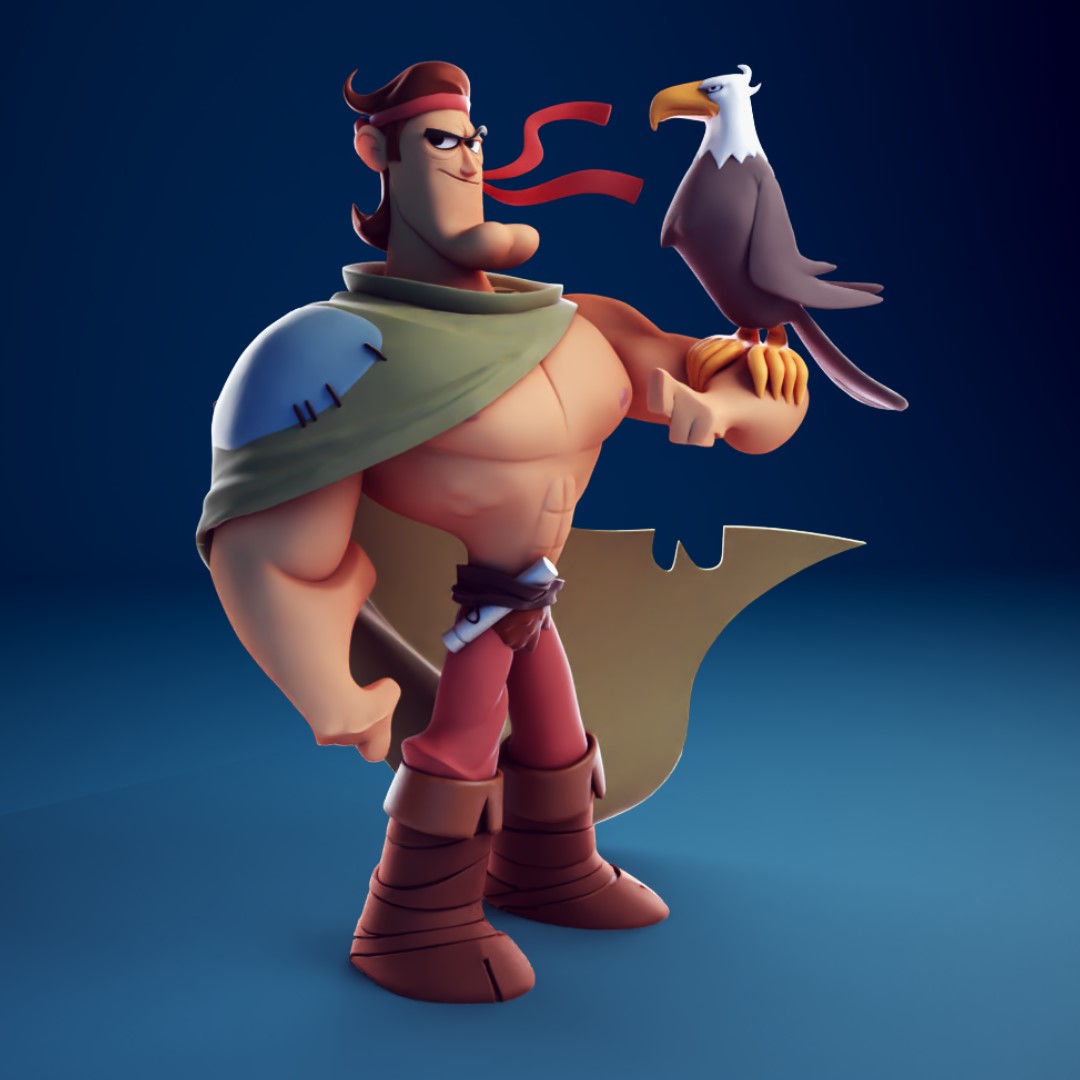
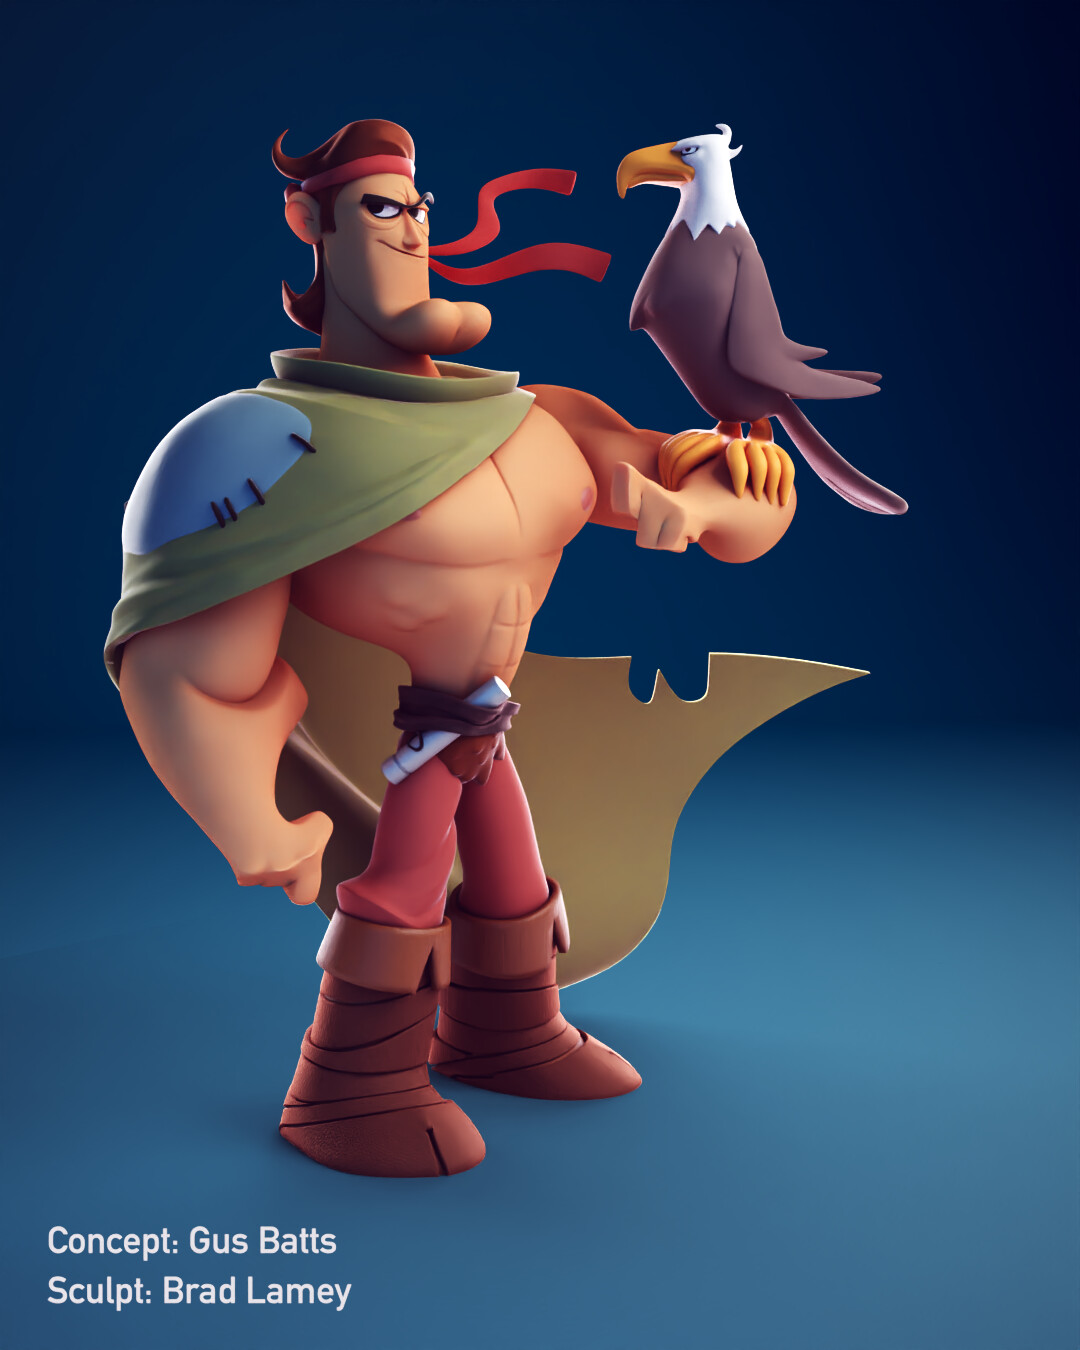
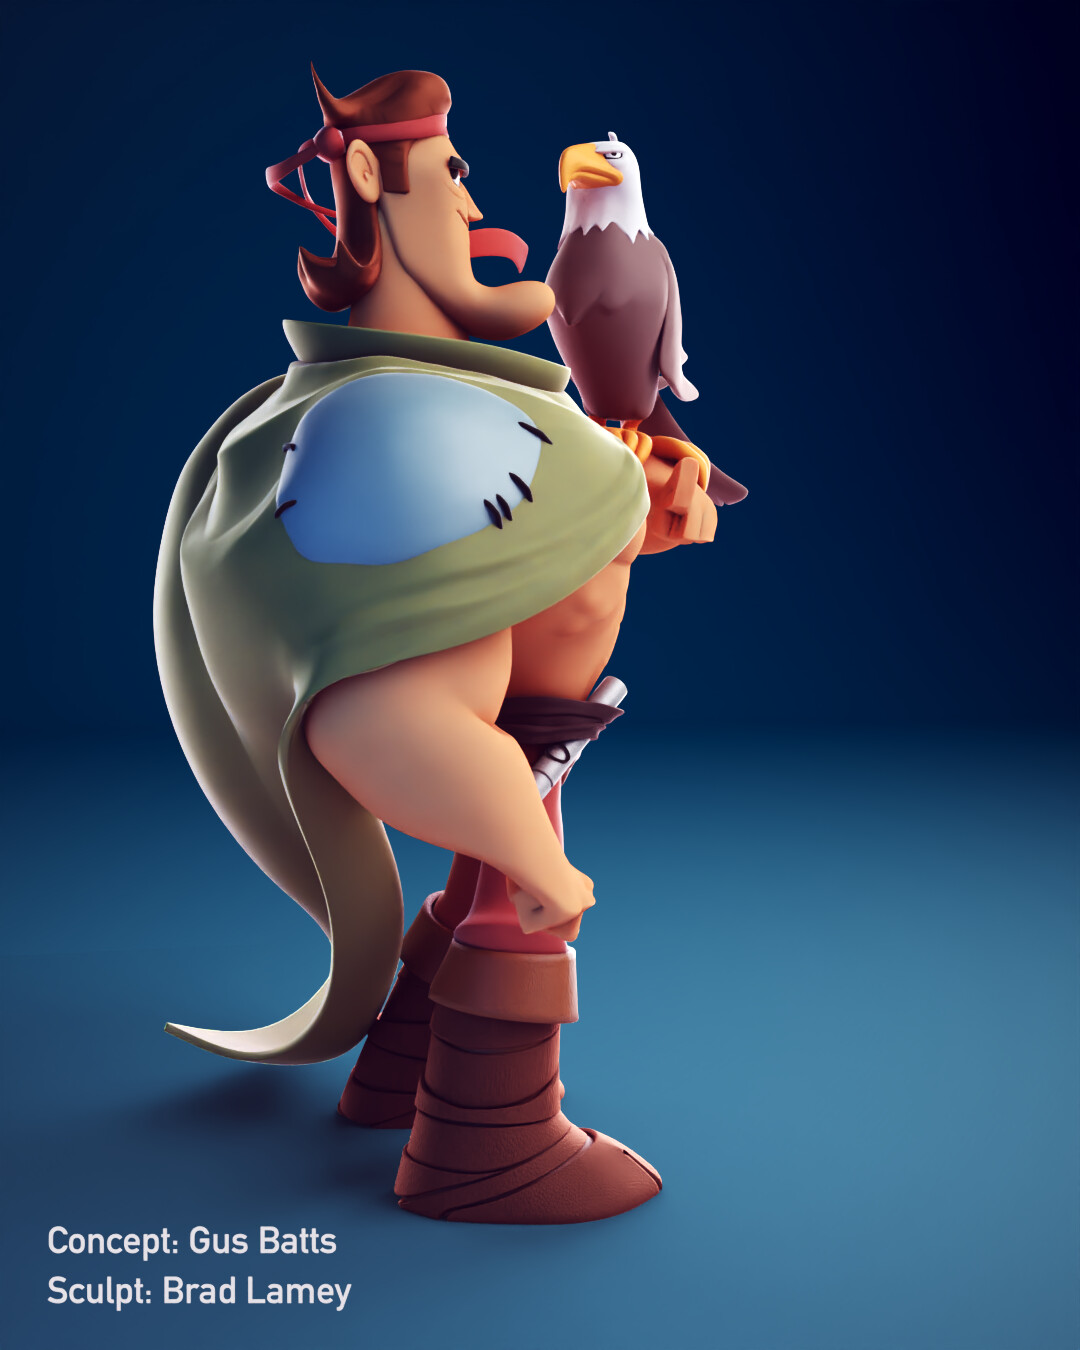
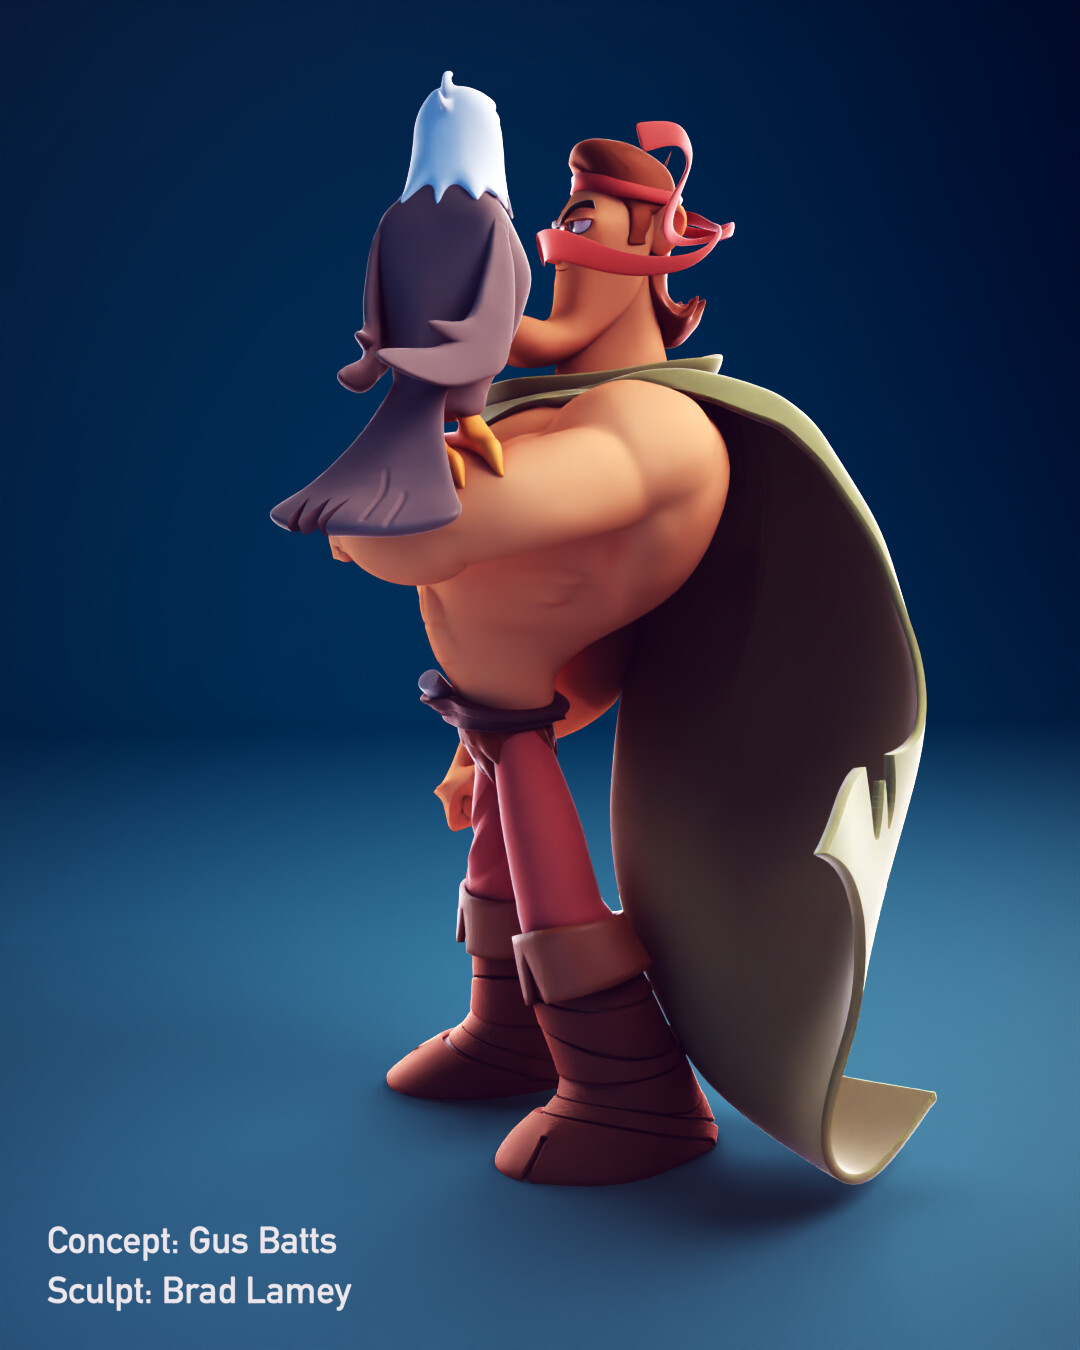
Behind the Scenes: The Fighter
INTRODUCTION
Hi, I’m Brad Lamey. I hail from New Brunswick, Canada. I’m originally a Graphic Designer, though I started using Blender to help speed up the process of doing backgrounds in my illustrations. Blender slowly started taking over my workflow and I was drawn to the low poly look for a long time, until I watched a talk from a ZBrush summit featuring Shane Olsen and Matt Thorup who both worked on Disney Infinity, sculpting the stylized figures.

At that point, I knew I wanted to make stylized characters, so I started my research. It took me to Pixologics Youtube page where Shane Olsen does a weekly live sculpt every Monday. Even though he uses ZBrush, I was determined to reproduce his workflow in Blender. When I discovered that he offered a 3D Character Workshop, I signed up. The workshop and the videos are all ZBrush based, but I was quick to find out that his process translates perfectly to Blender.
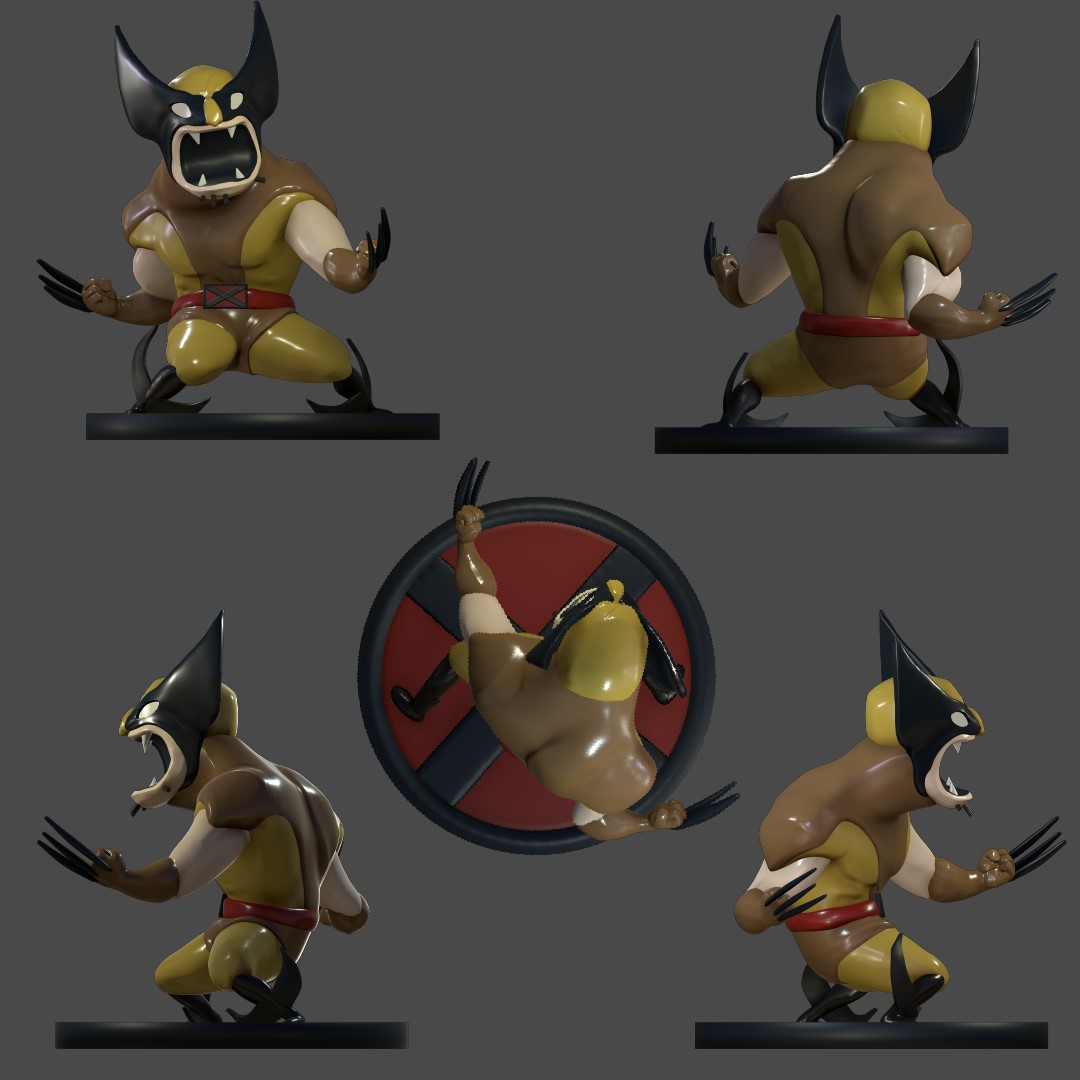
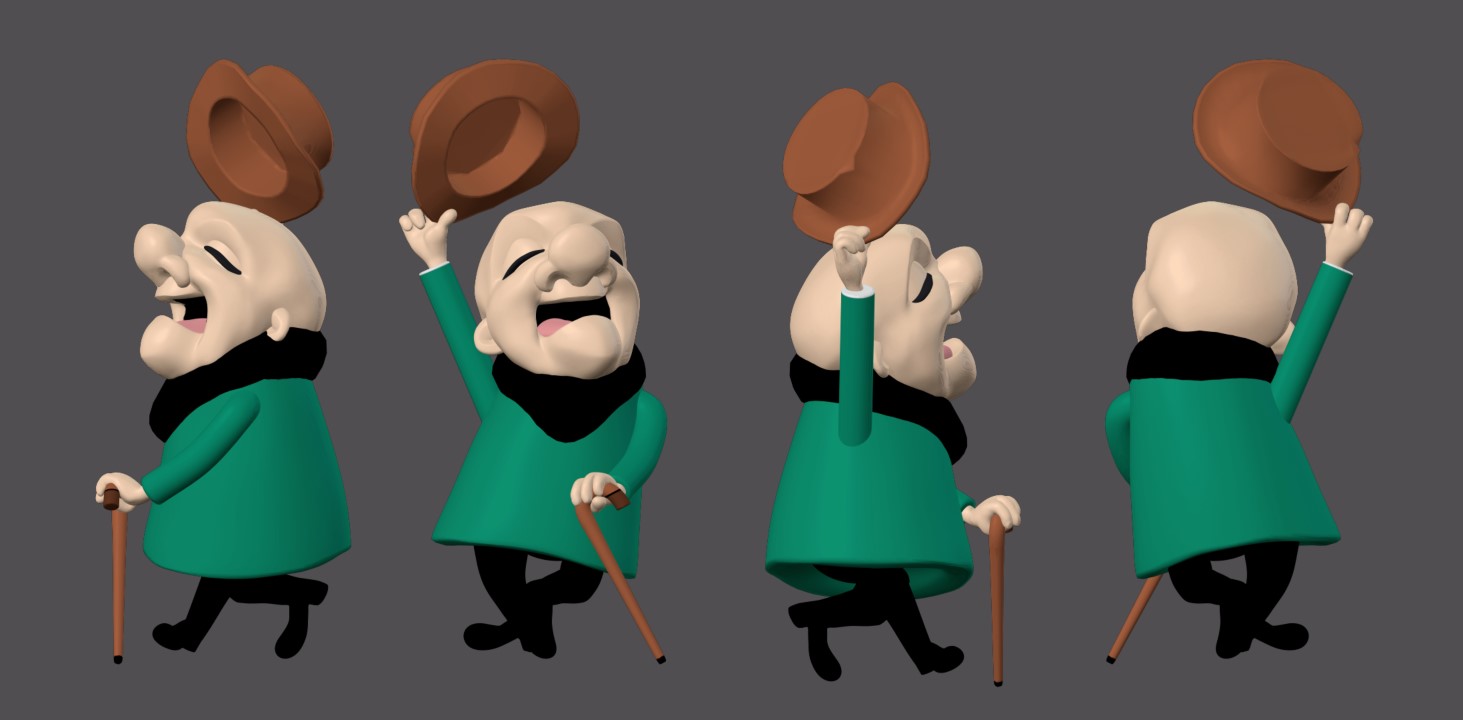
These are some of my early 3D Character Workshop sculpts.
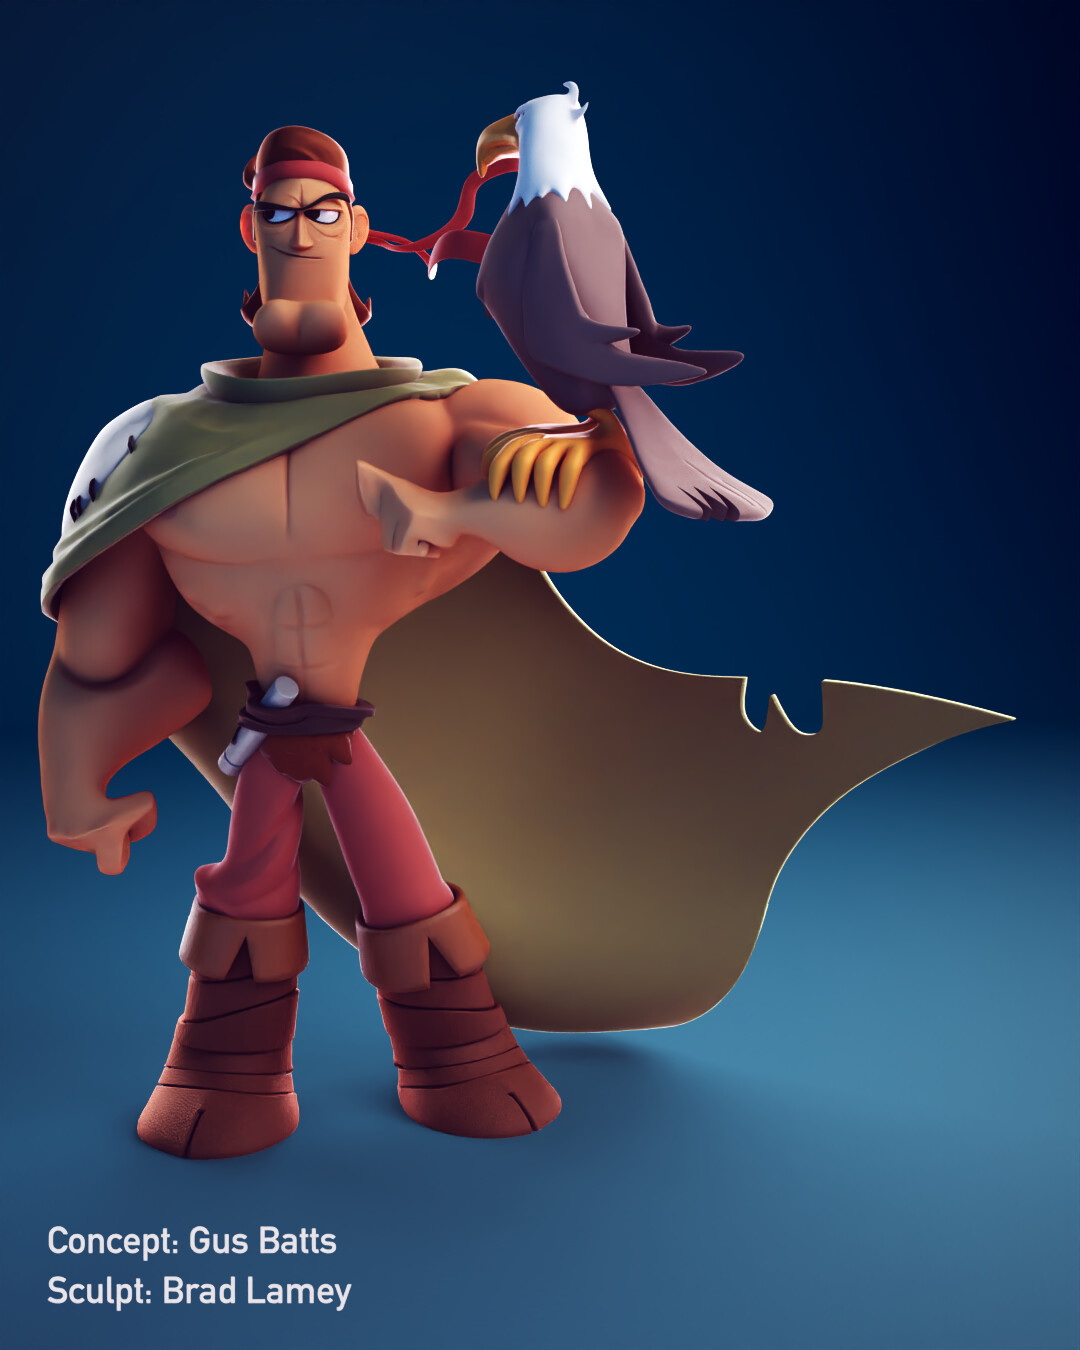
That brings us to the Fighter. One of my goals in creating stylized characters is to make them look like vinyl toys.
THE CONCEPT
For me, the first step is to find a concept that stands out to me. I’ve been fortunate to have come across some extremely talented illustrators that have been supportive in allowing me to use their work.
The Fighter concept is one from Guss Batts, a fantastic illustrator.

THE SET-UP
I like to use a three window layout.
I put the reference in the top left corner and a view from the camera underneath it. This allowed me to see relationships a lot better so I can hit the concept as close as possible. My objective was to keep as close to the original concept as I can while making it look like a vinyl figure.

I also set-up three layers (character, background & text) that I composited together in the compositor.
BLOCK-OUT PHASE
I started by blocking out all the shapes I saw into the simplest primitive shapes.
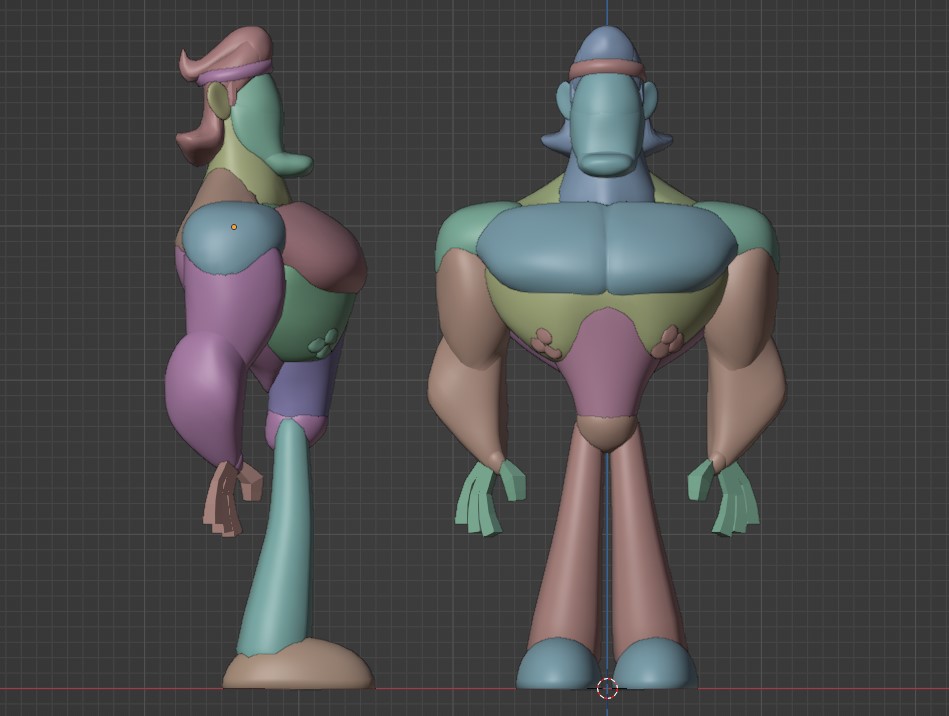
Once I was satisfied with these shapes, I started to refine them a bit more.

I tried hard not to rush through this phase because it’s an important one. As Shane Olsen said, “The block-out is 80% of the work.” Meaning, if you put your time into the block-out and make sure you get your shapes in, all the heavy lifting is done. As you can see from my second pass on the block-out, most of the final character is there.
STITCHING PHASE
Once I was happy with the shapes from the block-out, I started to stitch them together. Keep in mind to only join together the shapes that are made of the same material. So, all the shapes that represent skin get stitched, the boots, and so on.
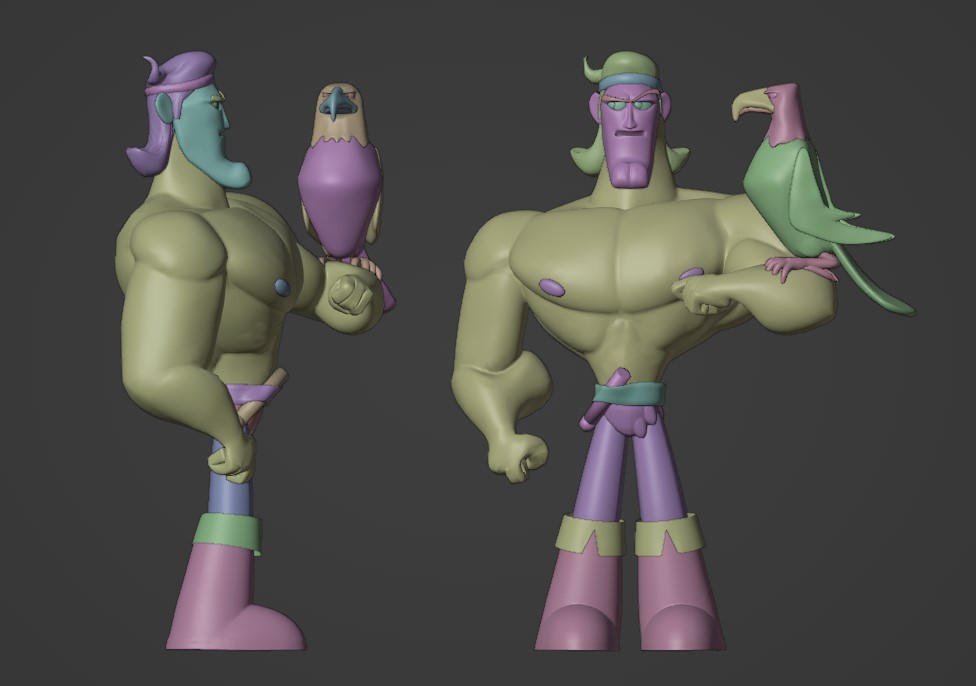
POSING PHASE
After everything was stitched, I moved on to posing. I like to pose at this point because there is going to be a reworking of the mesh to correct the inevitable worbals that would occur. I’d rather fix them now then when I’ve added a lot of details.

Now that I had a pose I was happy with, I could start adding the details and secondary elements that the pose defines, such as the cape.

The cape took me a while to get, and with each rendition, I could sense myself getting closer to capturing the feel of the concept and working in 3D.

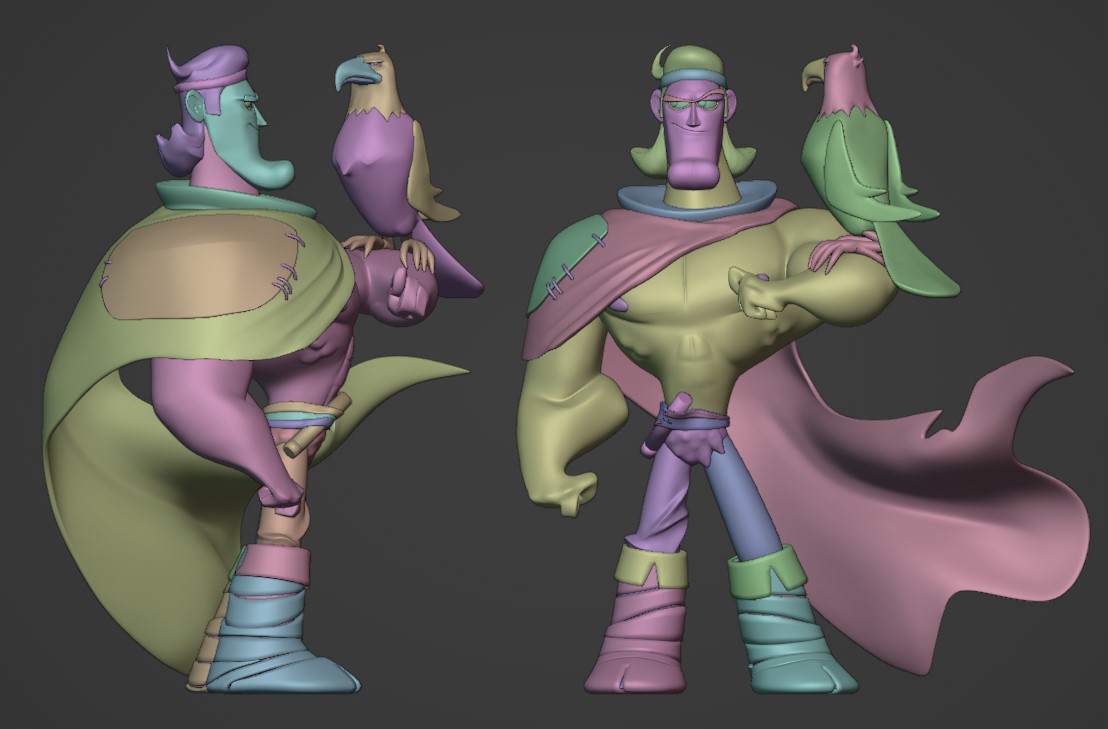

As you can see, I went through a lot of iterations. A good lesson from this is that don’t be afraid to redo or start over if something isn’t working.
The final wireframe was not great for animation but just what was needed for a render/concept.

MATERIAL PHASE
I typically start using materials pretty early on in the process. I believe it helps me find the character I’m trying to capture.
As my main goal was to try and make them look like vinyl figures, my material setup was pretty simple and I was constantly tweaking it for each character, even the different parts used.
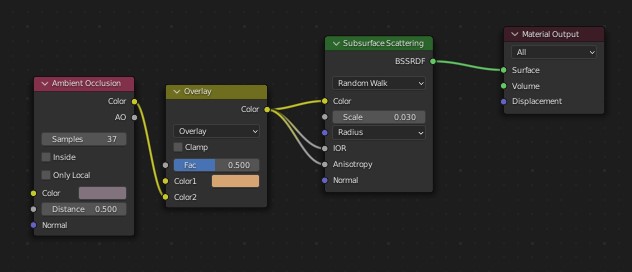
For the skin, I wanted to experiment with using the SS node to try and replicate the translucency of vinyl. I added an Ambient Occlusion node with an Overlay node to help give some color and depth to the creases. The effect didn’t turn out too bad.
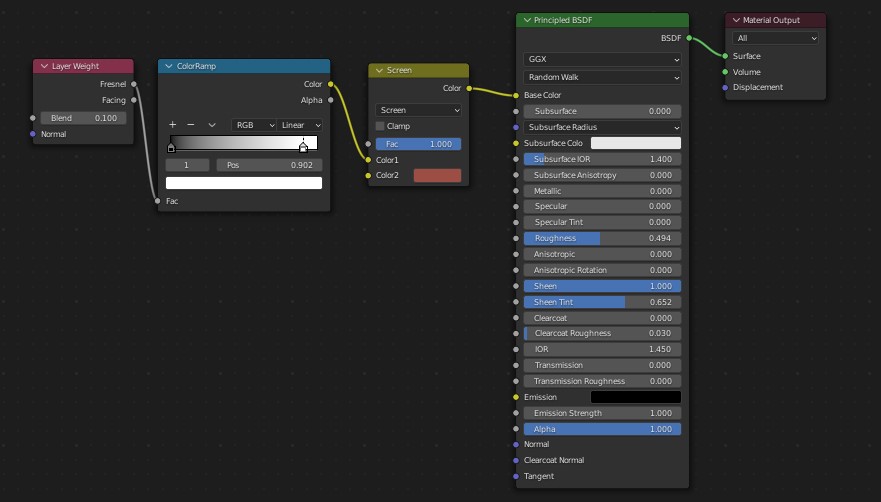
As a contrast to the skin for the pants, I went a different route. Again, I like to experiment with each new piece I do. With this one, I used a Layer Weight node and a Ramp node to help give a nice rim light and gradient to the pants.
LIGHTING PHASE
In this phase, I started with a basic three point lighting setup and went from there. I customized and rearranged the lights based on each concept.
As you can see, this one required a lot of lights to get the look I was going for.
For starters, I used the three basic lights, Key, Fill and Rim.
This was a good start, but it didn’t give me the look I was going for. So, I added another Rim light for the bird and the Fighter’s outstretched arm.
Now it’s getting close. At this point, if you remember, I render my background on its own layer so I have more control over the color after the fact. But with this, I was missing out on all that awesome bounced light I’d be getting from the ground. So, I added a few area lights to replicate the bounced light.

With all these combined, I got the final lighting results you see in the finished render.
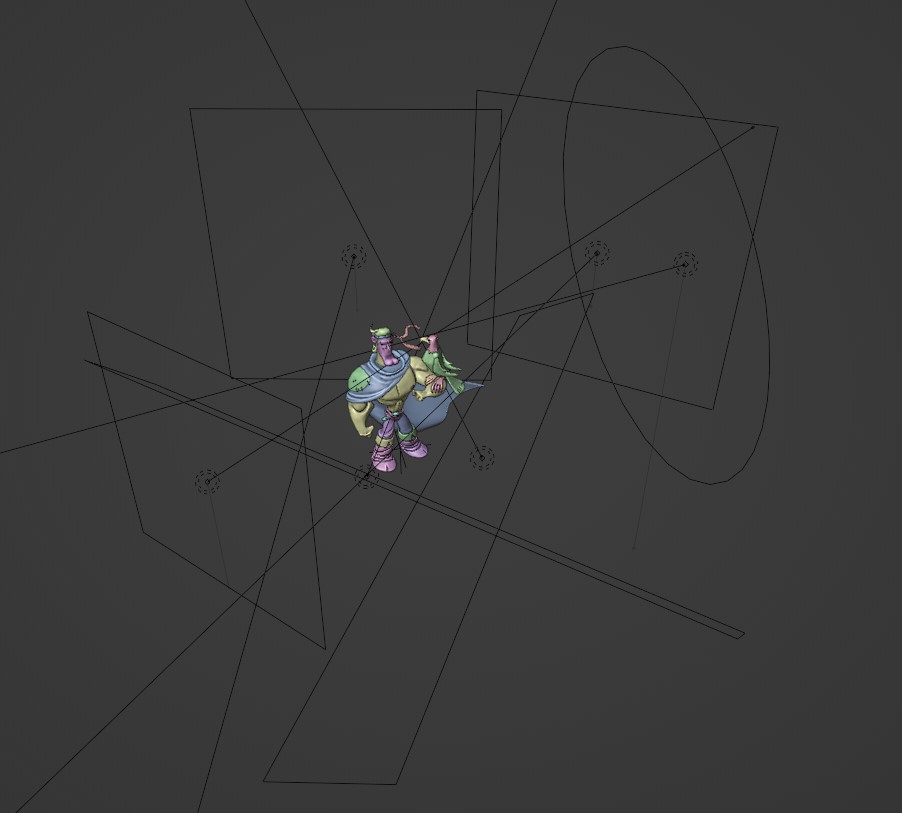
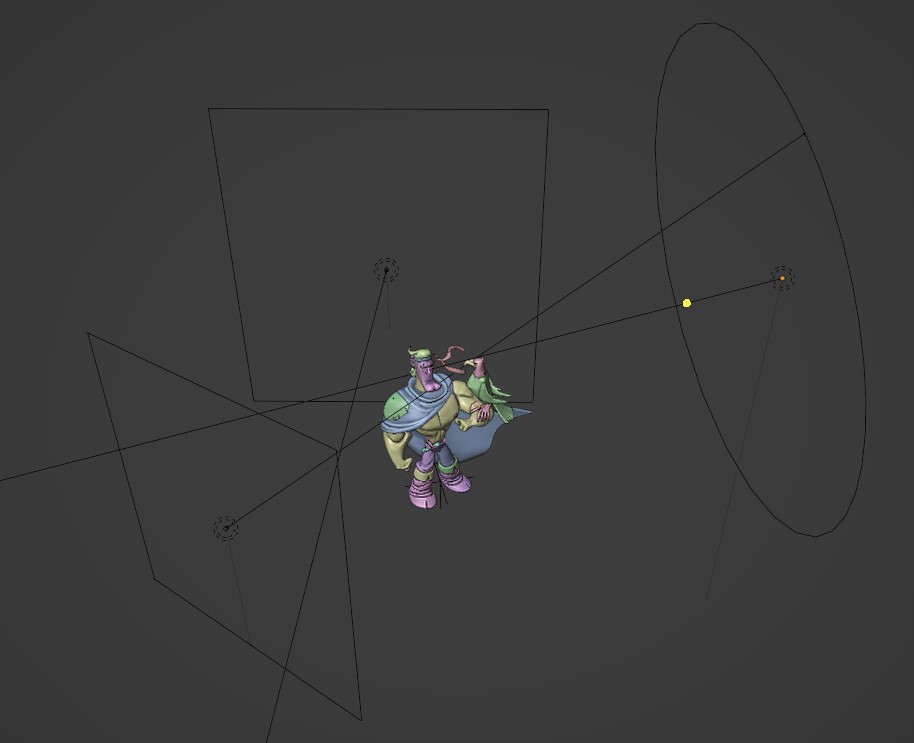
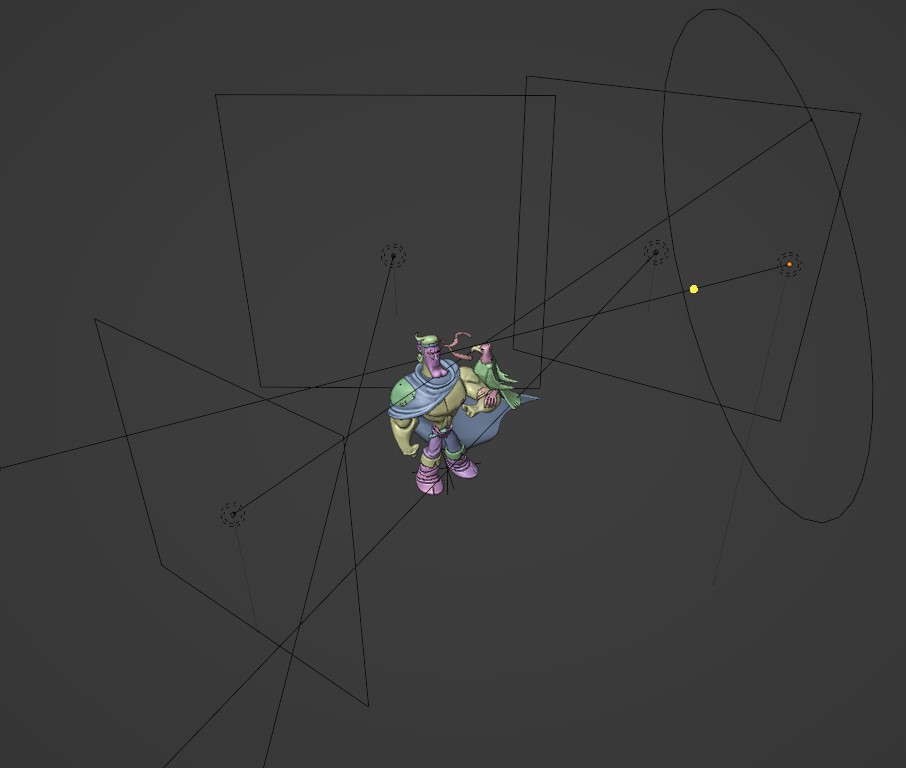
CAMERA ANGLE PHASE
Now that I had all the elements in place, I set up my different views.
I like to add an empty to the world center and parent all the lights and the background to it. This way, I can keyframe the rotation of the empty object on different frames for each view I want. Then, I render the animation as PNGs. This way all my text and color correction done in the compositing phase will be applied.
COMPOSITING PHASE
For me, this phase can take just as long as every phase leading up to this point. I do all my color correction, compositing, and text right in Blender. I rarely use anything like PhotoShop or Affinity Photo. Sometimes, I have no choice though, but I try to stay in Blender as much as possible. It just saves me a lot of time with all the angles I render.
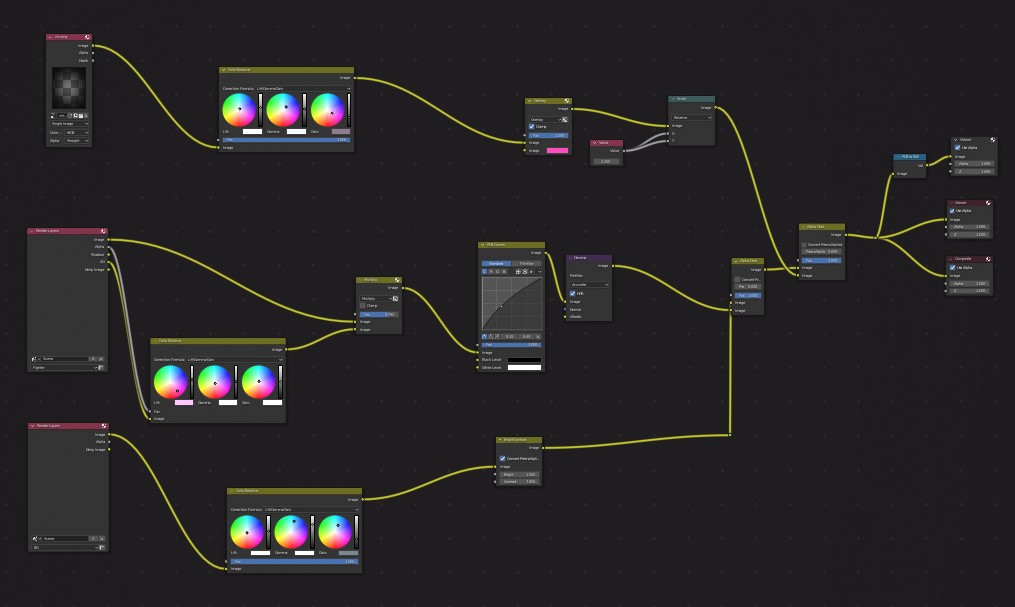
This is the compositor setup I used for the Fighter. It’s not too crazy. It shows the BG layer, Character layer, and the vignette layer. You might be asking, “Why do you have two viewer nodes?” I like to make sure none of my values are blending together. So when I’m choosing a color for the background, I look at both the coloured version and the greyscale version. This allows me to make sure the character will stand out from the background and if I need to go back and adjust any of the materials.
RENDER PHASE
This is pretty much the easiest phase. I just hit Render Animation and watch, or take a coffee break. However, I can’t remember the amount of times I had to stop the render because I saw something I wanted to fix, but I eventually finished.
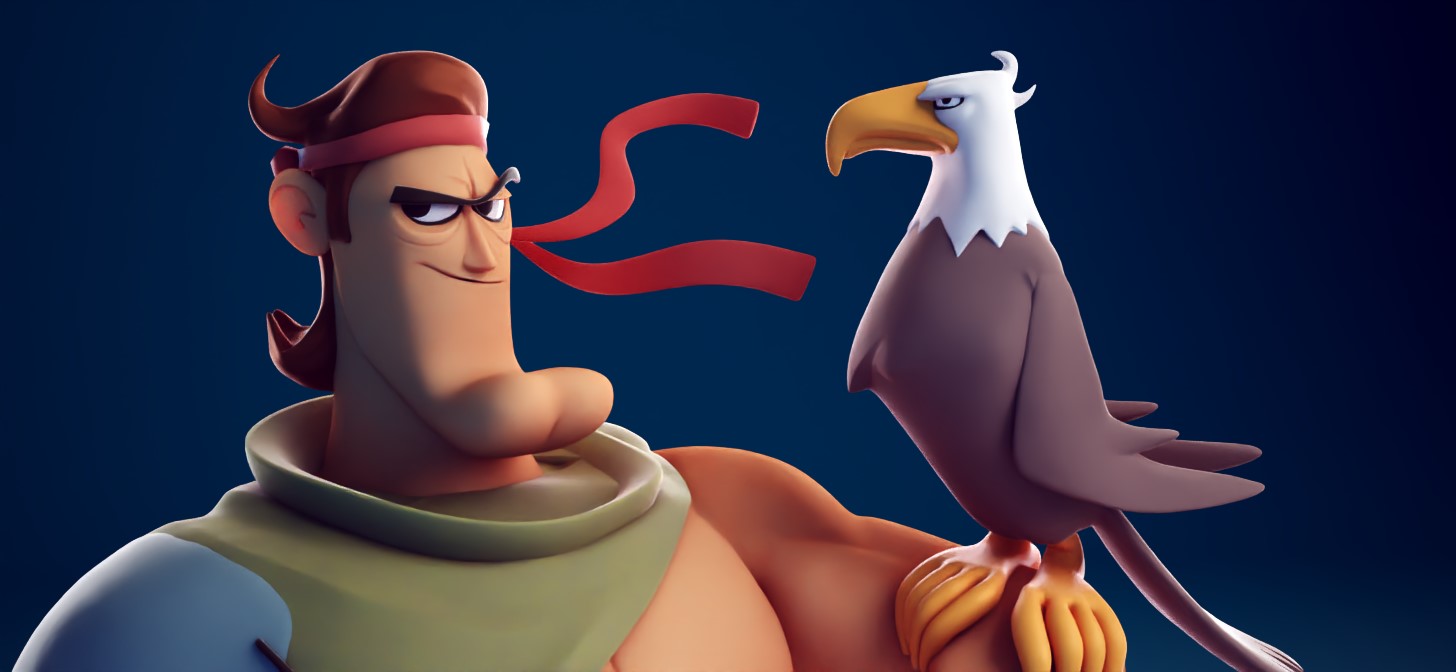
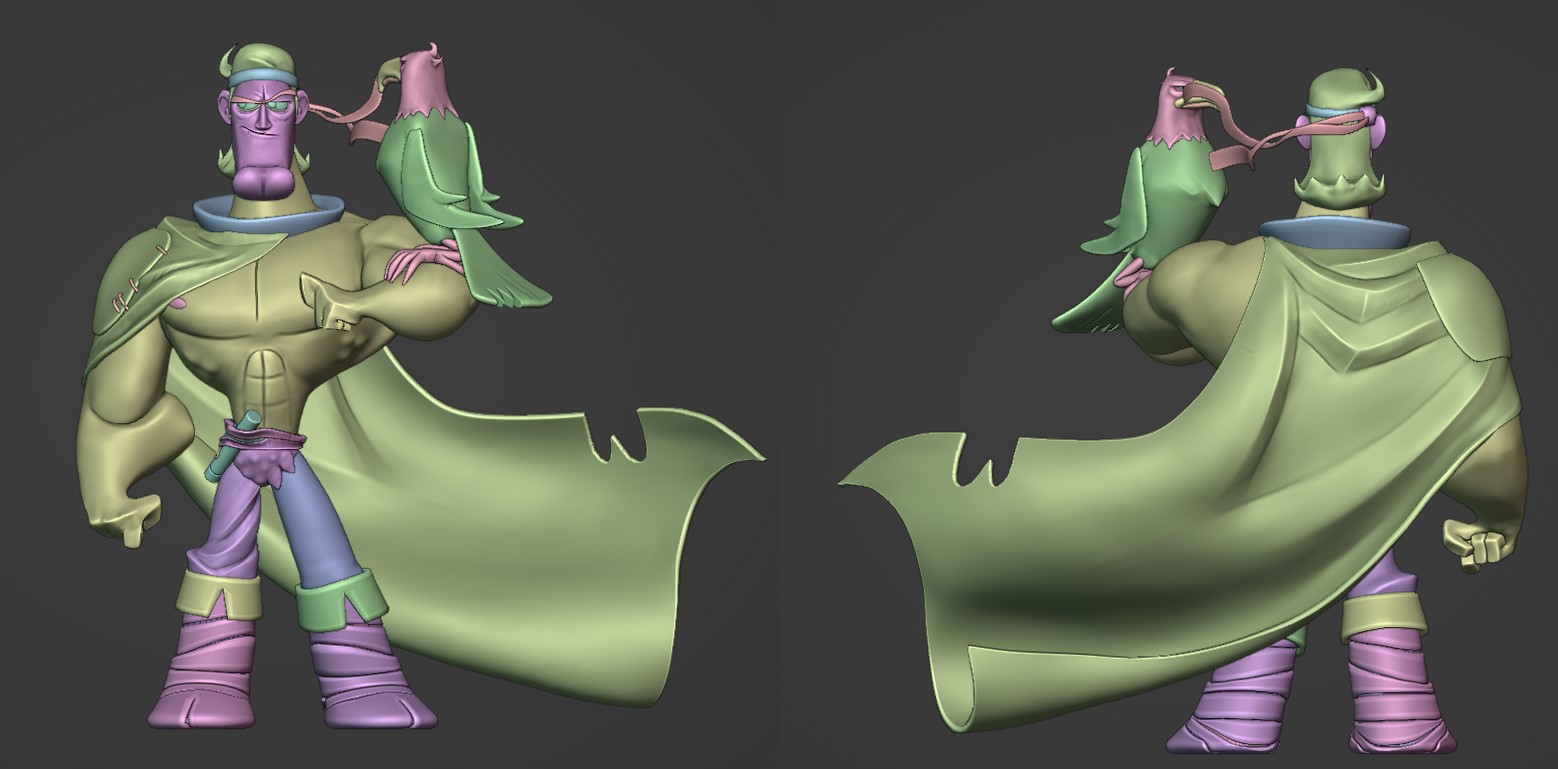
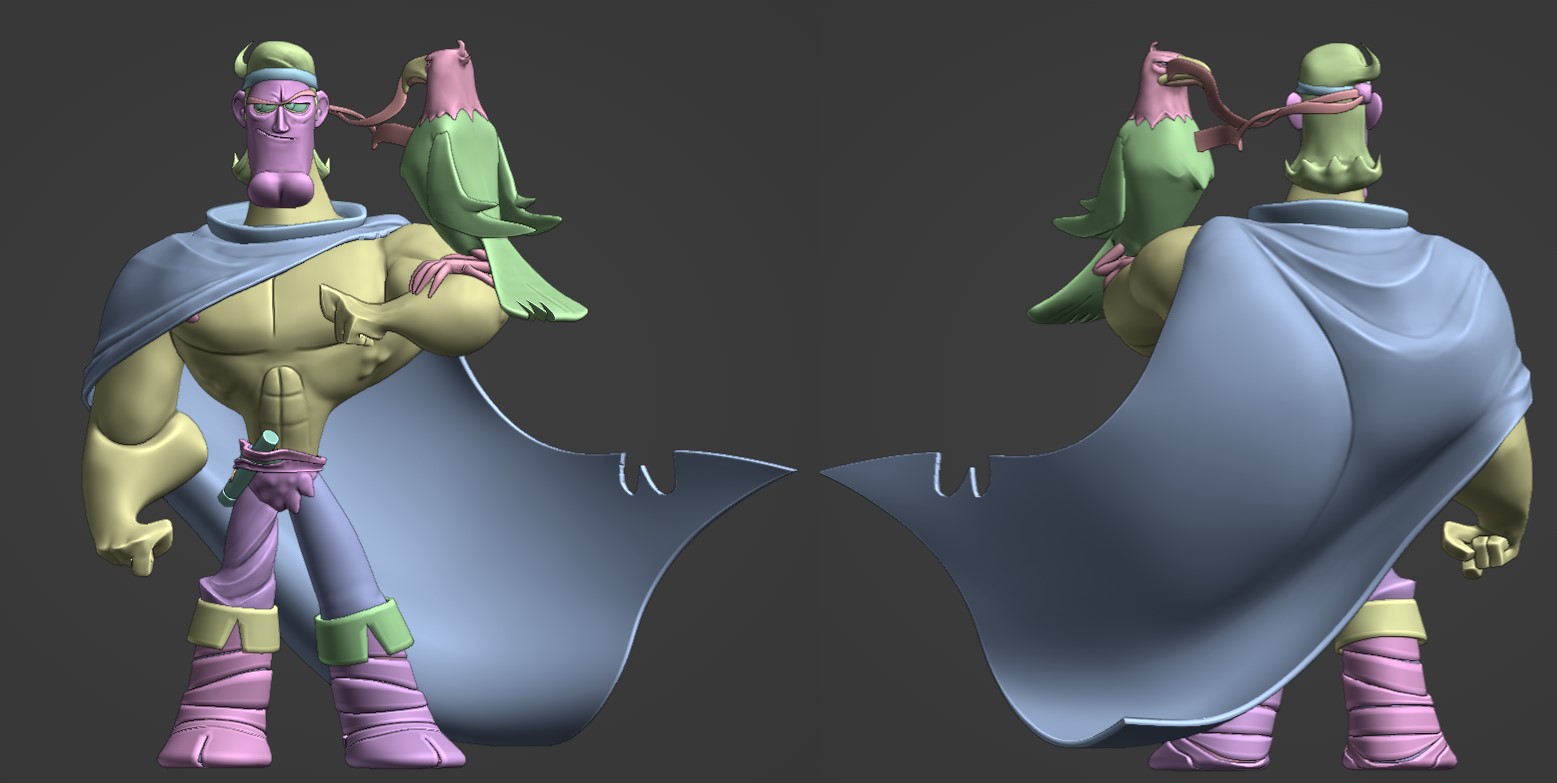
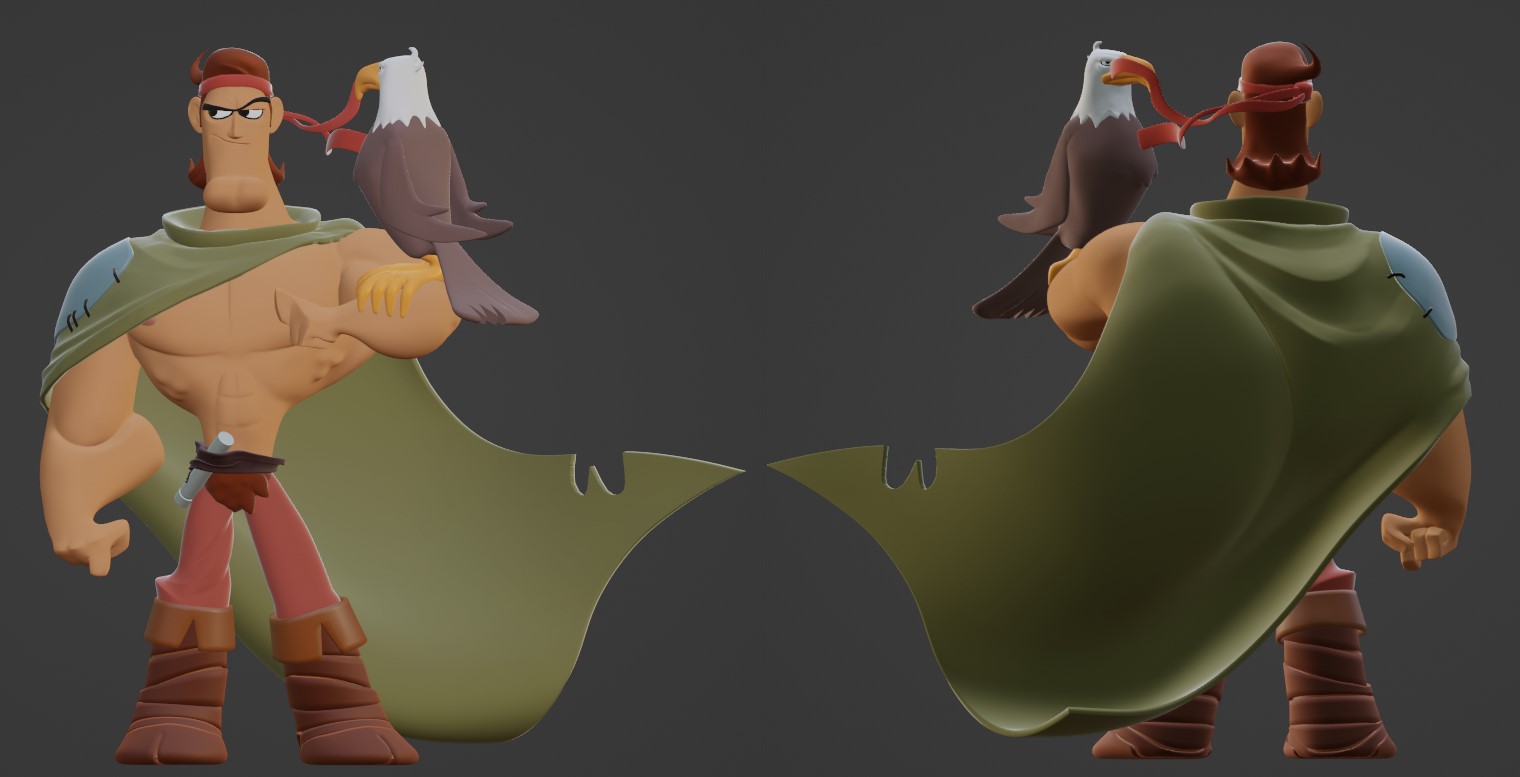
THE FIGHTER


I hope this has been helpful. If you have any questions, feel free to hit me up over social media and I’d be happy to answer them if I can. I’d also like to thank Shane Olsen and the 3DCW community for their tremendous support.
Thank you for your interest!
About the Artist

Brad Lamey. I am just a guy who daydreams of one day working in the toy industry and walking into a store to see something I made on a shelf… or sold out.


