Behind The Scenes: Blender Proposal Animation
Hello! My name is Nick Clarke, I’m a 3D artist from Abington, MA. I got my start in animation when I was working as an intern for a video production company creating 2D explainer videos, logo animations, and VFX in After Effects. While working there, a fellow intern introduced me to 3D animation in Maya. I continued to bounce back and forth between 2D and 3D throughout my animation career, until 2019 when my coworker mentioned Blender was coming out with version 2.80. I downloaded the beta version to try it out and loved the new interface and EEVEE render engine, and from then on I’ve been using Blender for my full-time job as well as my own personal projects.

Project backstory
When I was planning on proposing to my fiancée, I knew I had to make her an animation about us and the night we met. I had this idea in my head for a while but hadn’t fully begun production on it until COVID-19 lockdown began. I was only able to work on it after work hours and on weekends. Luckily for me, lockdown meant there was nothing to do, and my fiancée is a third-grade public school teacher, so us working after hours and on weekends is common. From start to finish it took me about 9 months to complete. This is the behind the scenes process of how I made it:
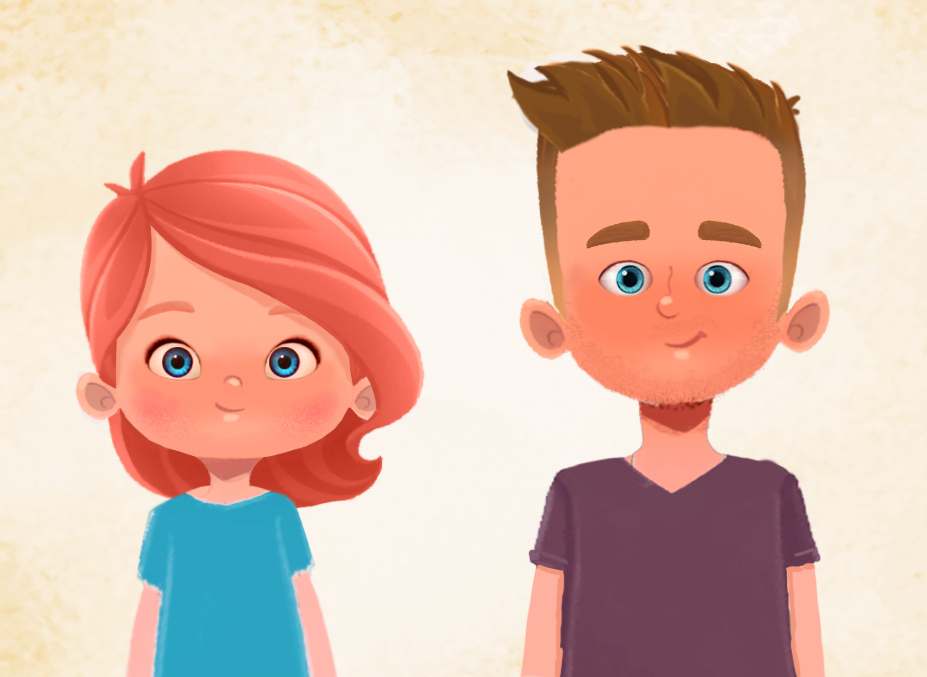
Character designs
I knew I wanted to keep our two characters pretty simple, so I Photoshopped some quick character designs to get the ball rolling in preparation for sculpting.
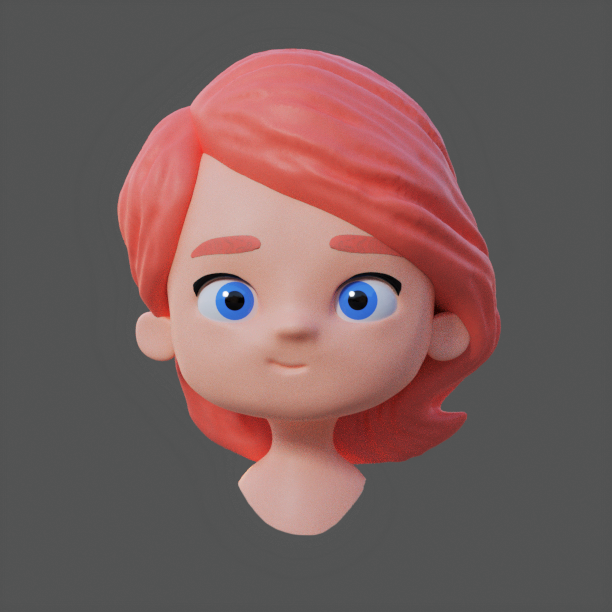
Sculpting and retopology
When it comes to sculpting a character in 3D, I’ve learned that every sculpt is going to scare you a little bit at the beginning. I mean, look at this nightmare fuel right here:

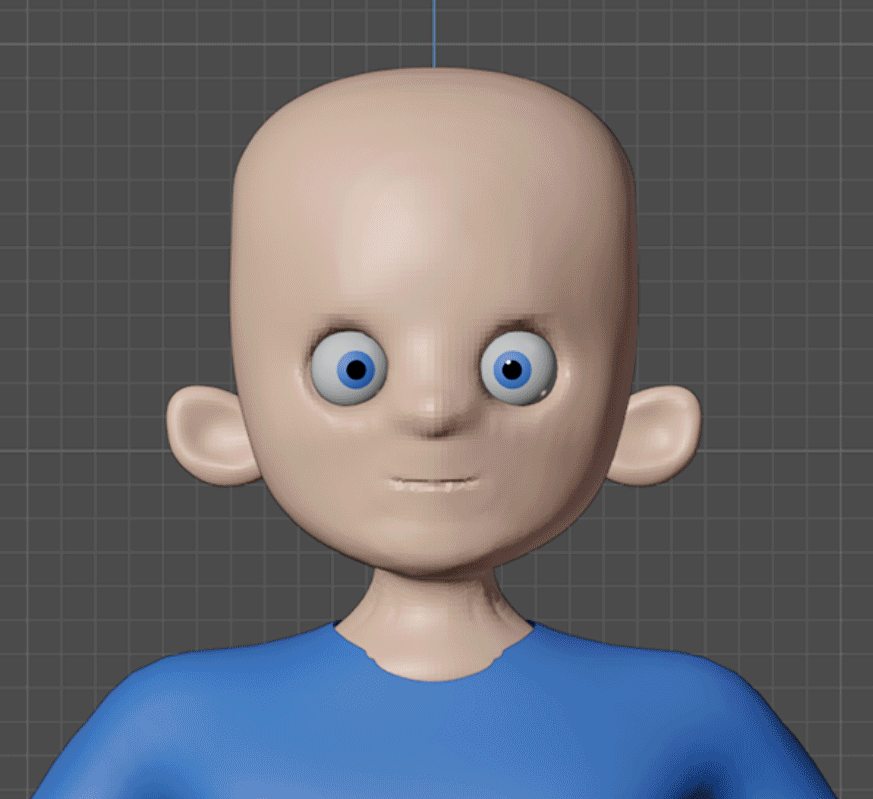
You have to learn to push through that phase, to keep iterating and working at it until you get the result you’re looking for. Sometimes when you’re sculpting, you’re not sure what the end result will be, but with enough pushing and pulling you’ll discover it. I found that lining up the character design in the background helps with finding the silhouette and proportions.
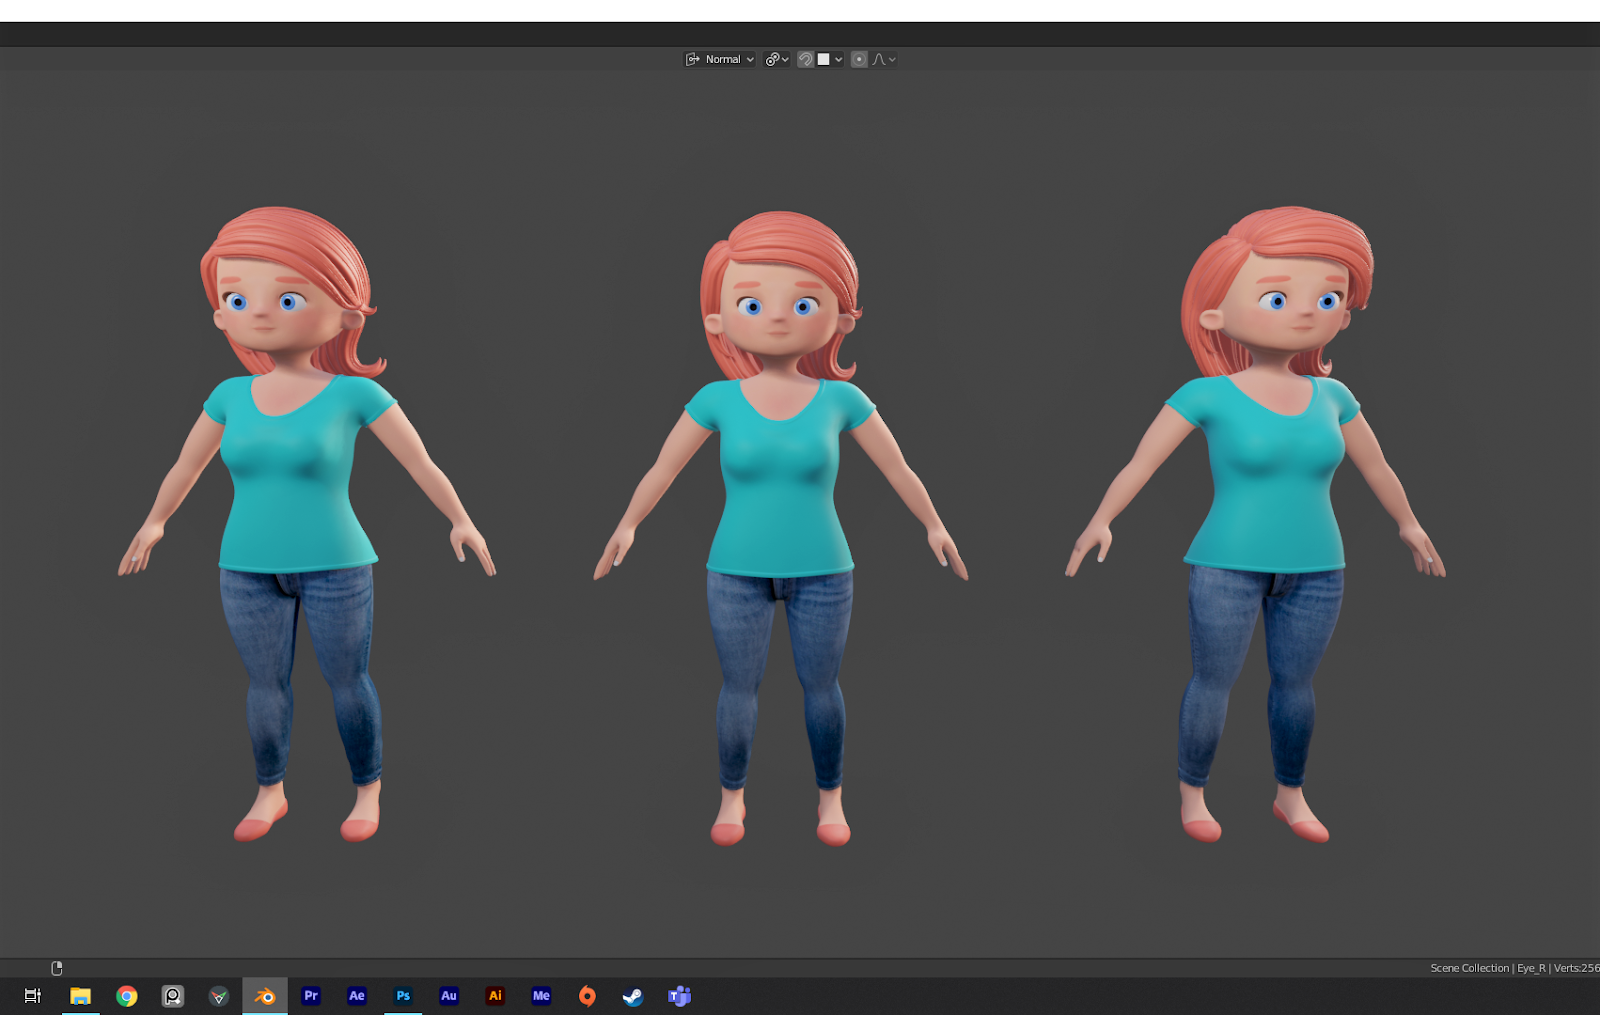
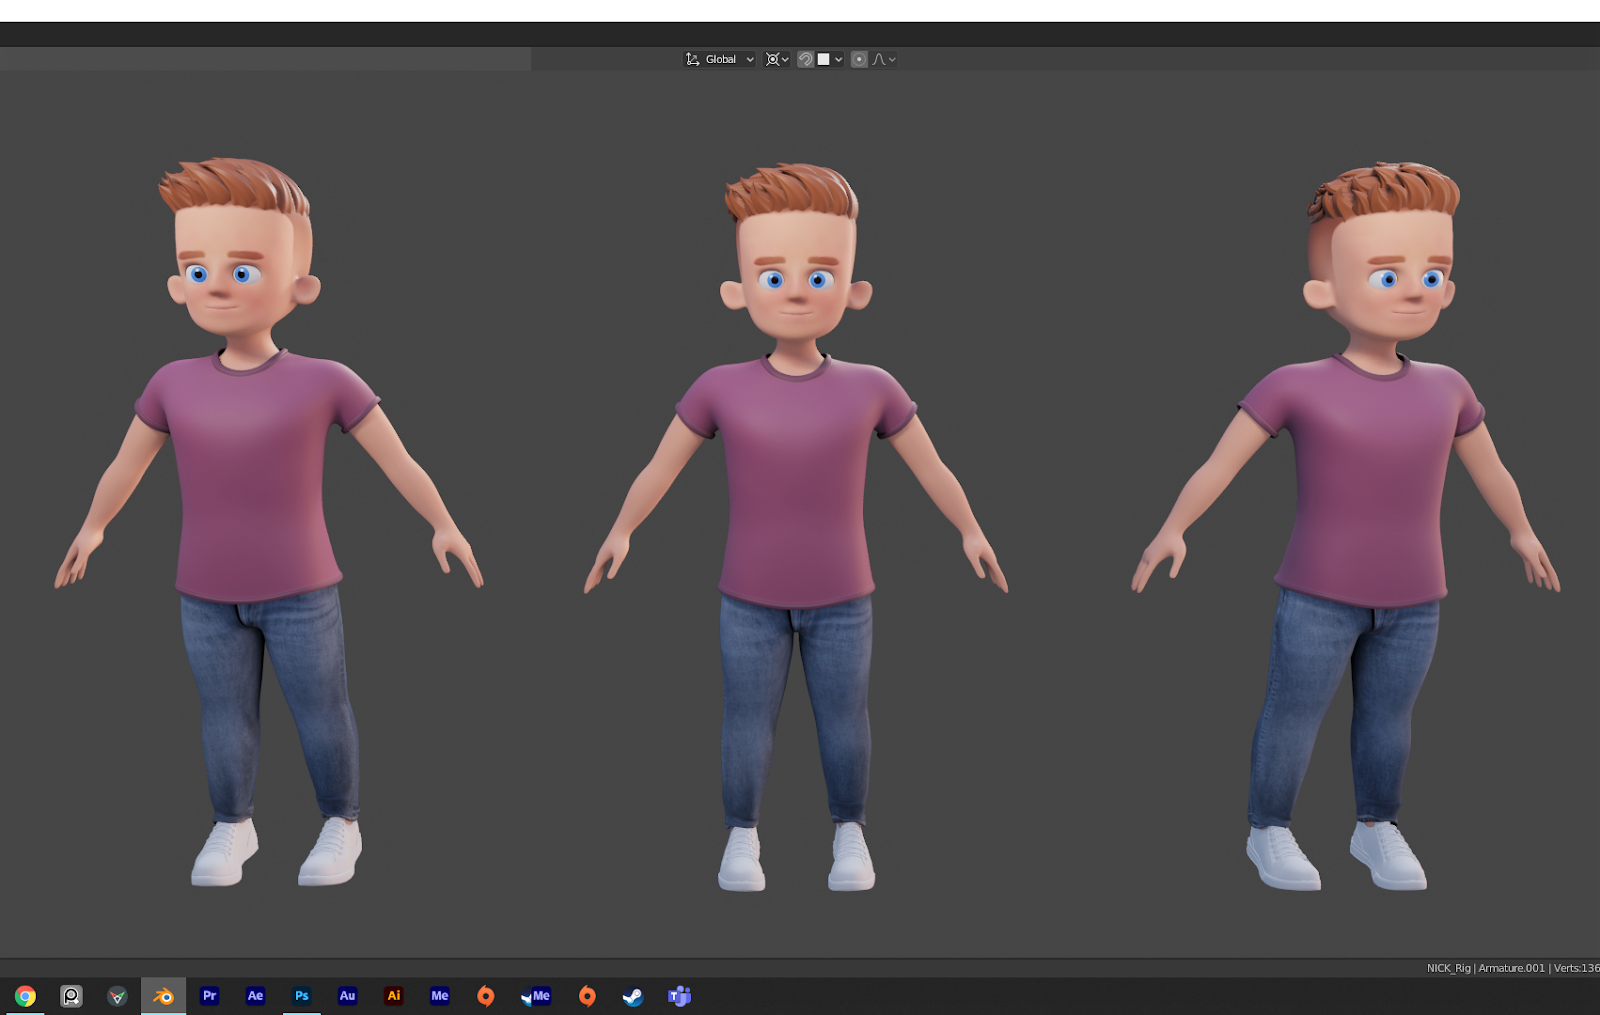
After the characters were retopologized, I modeled the clothes and created the hair using curves. Everything was then UV unwrapped and textured in Blender.
Mixamo process
From an animation and production standpoint, there were a few obstacles that I had to overcome in order to recreate the night we met. One, we met at a crowded bar, which meant I needed to fill every shot with additional background characters, and two, all the characters in every scene are dancing, including our characters as well. That’s where Adobe Mixamo comes in.
There’s no way I would have been able to get all of this done in time if it wasn’t for Mixamo’s amazing software. Not only do they have a massive motion capture library, but they also have a lot of characters that you can download. This worked out so perfectly for my project. Mixamo provided the background character that I needed, and the dance moves that our characters would be busting out. Now, I had to figure out how to apply Mixamo’s rig to our final character models.
In order for the rig to bind properly, I found it was best to join the character’s parts into a single object. This would act as the dummy character that I was going to use in Mixamo. I exported the dummy character as an .fbx and uploaded it to Mixamo. After adding the anchor points, the software gave me a base rig that I could export as another .fbx. I made sure to export the rig in its original pose so it would match the final model.
I imported the Mixamo dummy rig .fbx into Blender and transferred the paint weights to the final character model’s body, clothes, and shoes: this step required some additional minor weight painting. Then, I disconnected the Mixamo rig from the dummy character. I added an armature modifier to all the parts of the final character model and targeted the Mixamo rig.
I imported that Mixamo dummy rig .fbx back into Mixamo so I didn’t have to realign the anchor points and generate another rig and could keep the same rig. I used the Mixamo dummy rig .fbx to search and download motion-capture animations. Then I imported those dancing .fbx files into my Blender scene, selected my final character’s rig, then selected the dance in the Action Editor, and there you have it.
The face rigging and animation were all done by hand using shape keys. I didn’t have time to generate drivers and controls for our characters, so I stuck to the classic panel controls.
Storyboard and layout
During the character creation process I was finalizing the story in my head, beginning with the night we met, our adventures together, and all the dancing in between. I did storyboards and layout for the shots of the night we met and listed set pieces to animate for the second half because I wasn’t sure how many scenes I would be able to create. Layout is helpful to get your ideas for composition and camera angles down early in the process.
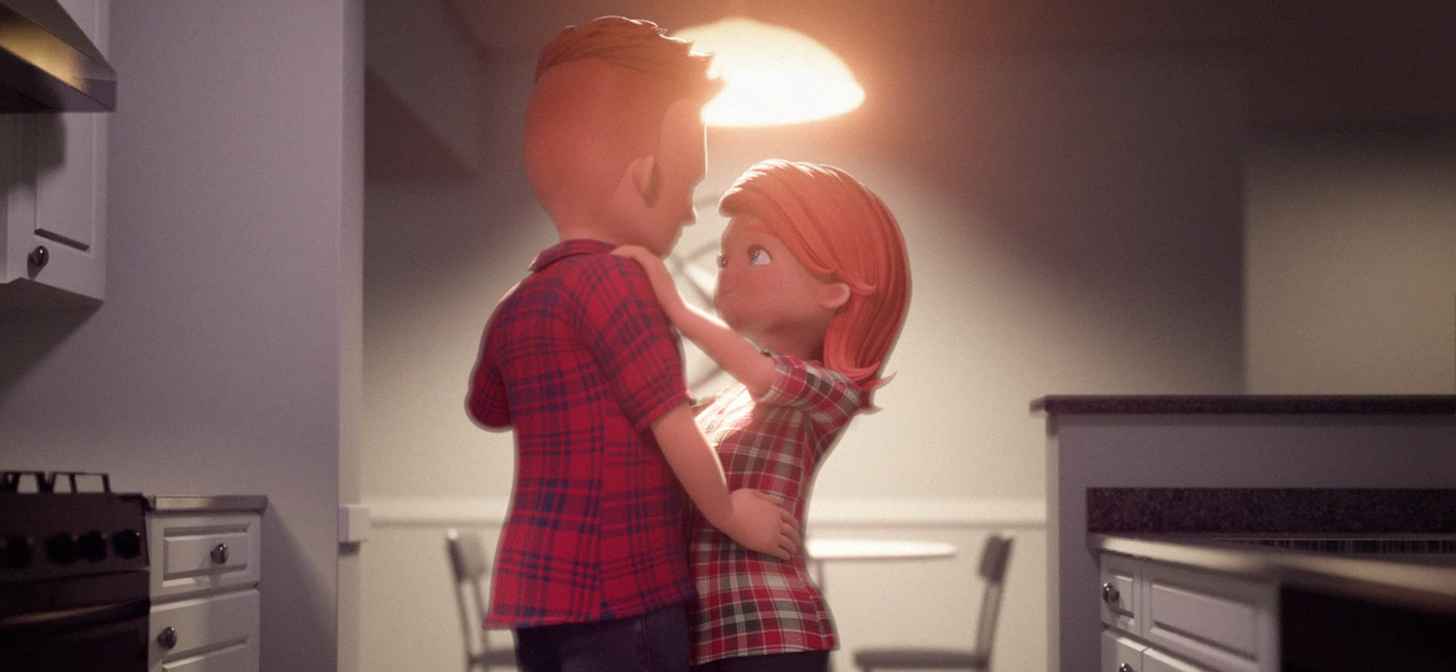
Lights, camera, render
At this point, the most challenging and time-consuming part of the production process was still ahead of me: creating all the environments, lighting, staging, animation, cinematography, rendering, compositing, sound design/mix, and editing/color grading. With so many shots to complete, I tried to move on as quickly as possible and avoid focusing too much time on a single shot. At a certain point, you have to say “good enough.” Being a 3D generalist allows me to have a hand in each stage of the project, which is what I enjoy most about the work that I do.
Conclusion
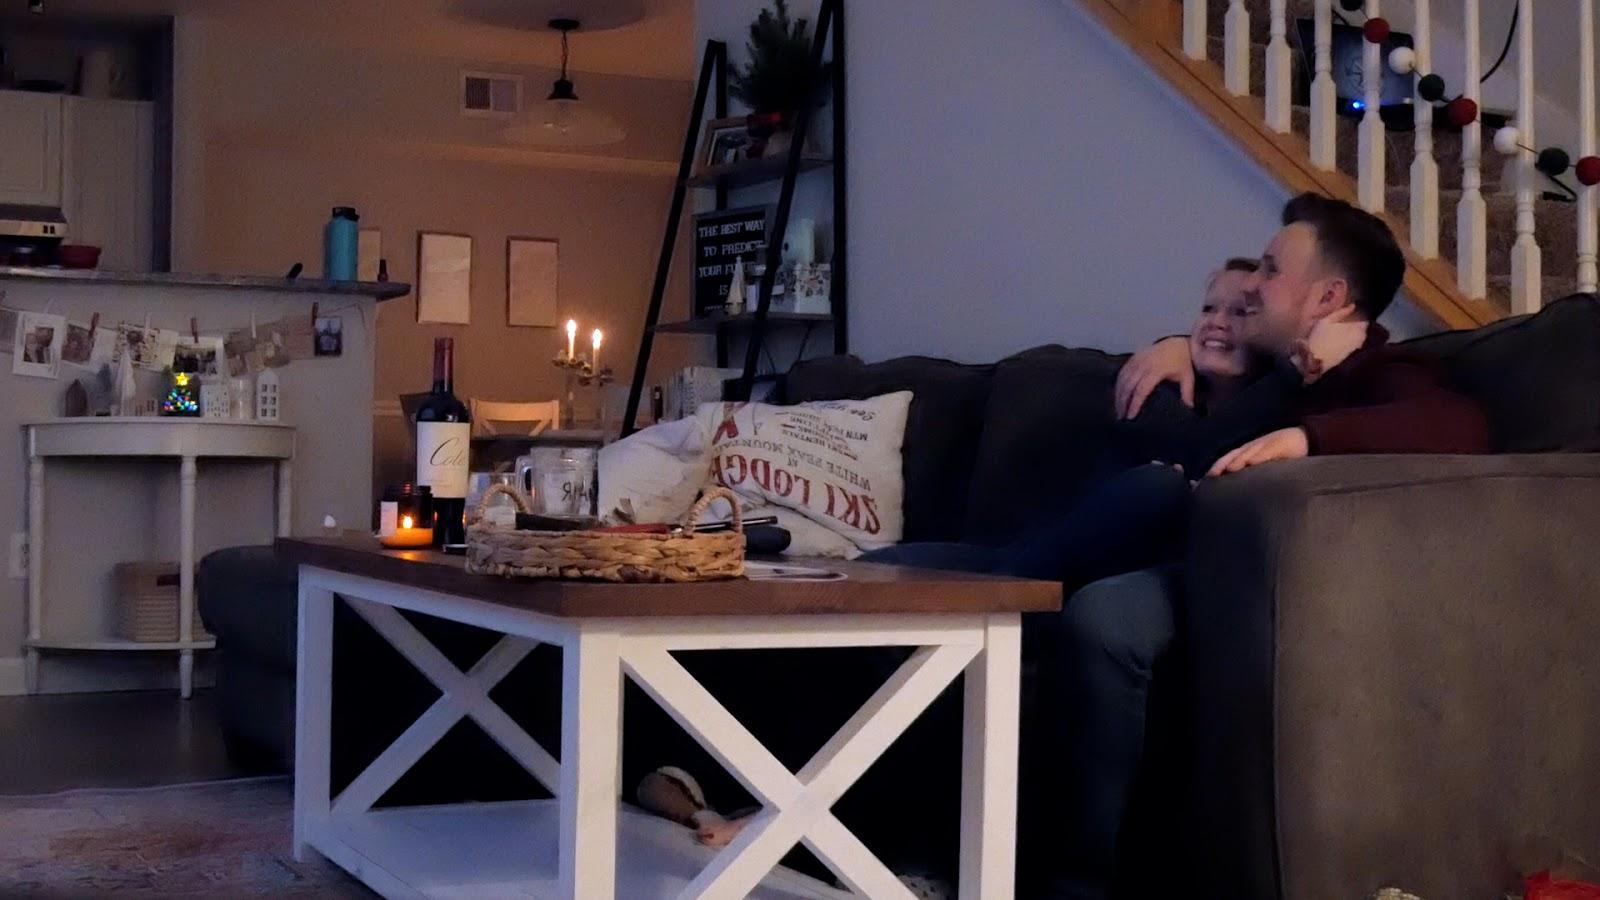
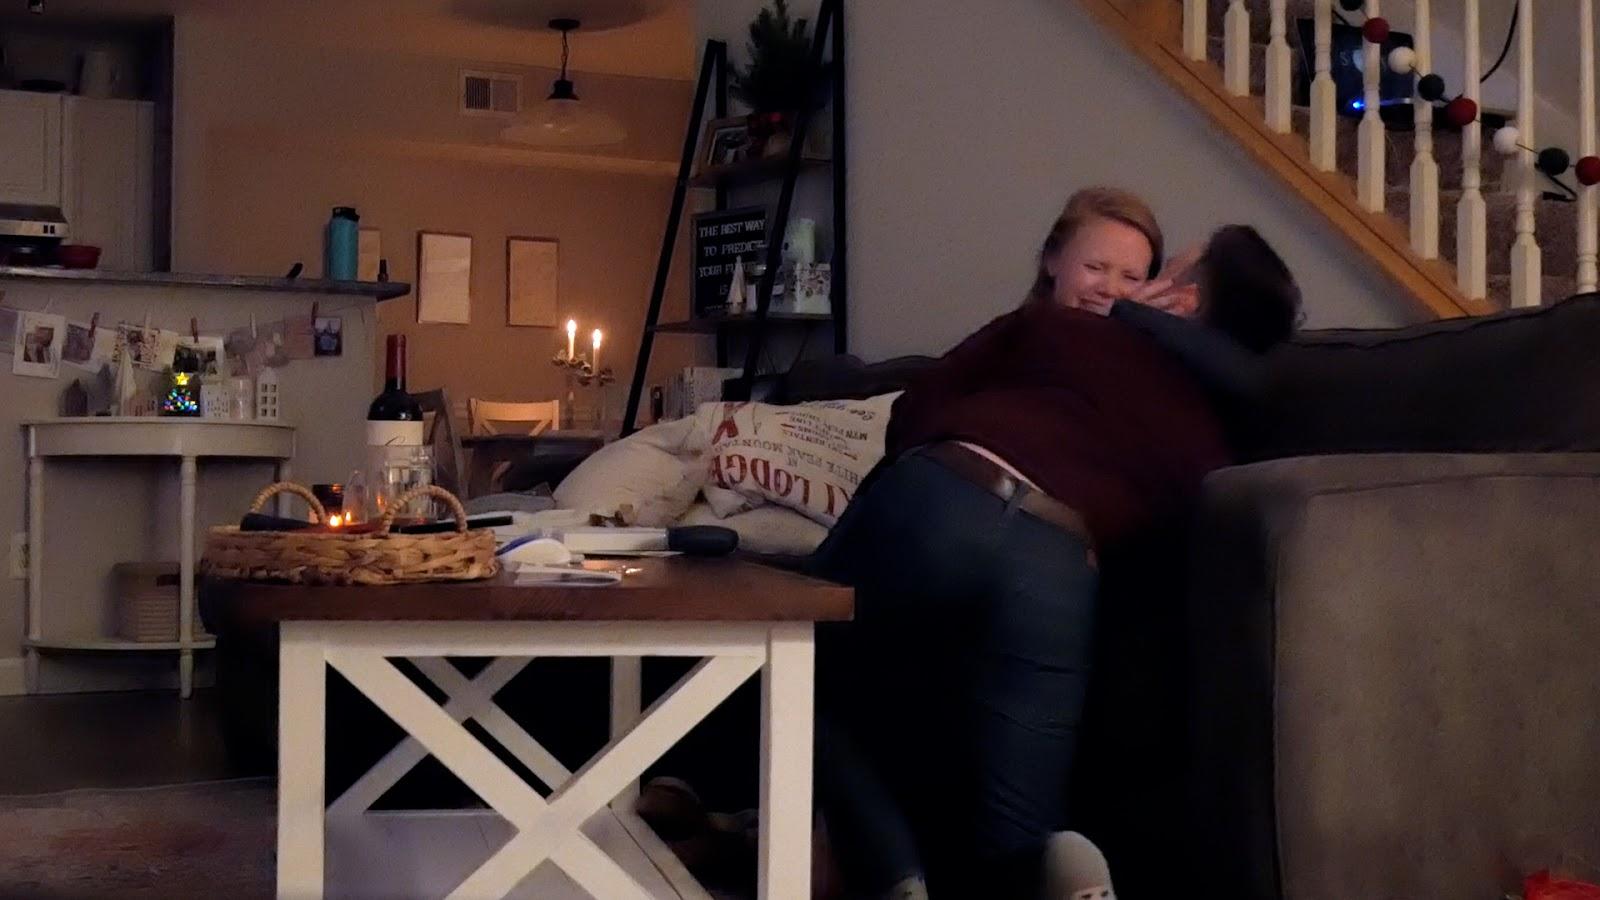
After the last audio level was adjusted, and the final export rang its glorious chime, it all worked out and went according to plan. I completed the project at the start of December, and right before Christmas on December 22nd, with hidden cameras tucked in the shelves, I popped the question, and she said yes!
Thank you so much for reading this and your interest in the animation. It was a lot of fun to work on, and I can’t wait to share with you what I’m working on next. Another final shoutout to Blender and Adobe Mixamo for making such amazing products for all us creators out there.
About the Author
 Nick Clarke, 3D Artist


nice work!
Nice movie! Warm story :-)
Good luck in your work, your passion and with your loved one.
We need more stories than 3d. Great stories are harder than great 3d. Look at all the movies in US released in the last 20 years so far. Almost all of them sucks. Another 20 years will give us the same stuff. Fill Netflix and youtube servers with more waste.
Nice work! Congratulations!
Incredible work, and such a great story. Thanks for the breakdown as well!
Very nice idea and great execution. Love it. And congrats!