Behind the Scenes: 77 Offices
About me
Hey guys, my name is Cristian Taborda, I’m from Medellin-Colombia and I’m 24 years old.
My experience with Blender began about 9 years ago when I started to learn Blender by myself with the few videos that existed at the time.
I started creating everything I wanted at the time and, little by little, I started to focus on architectural visualization. Then, over the years, some courses started to come out (Andrew Price’s architecture course) and I gradually began to learn how to improve in Blender and Cycles.
After a few years, I started to work as a freelancer with small jobs in 2014. Later, in 2017, I started to have the idea of creating an architectural visualization studio based on Blender. Today, in 2021, I help multiple clients in different parts of the world, creating professional visual content for project sales.
[sponsor id=’qarnot’]
Step by step
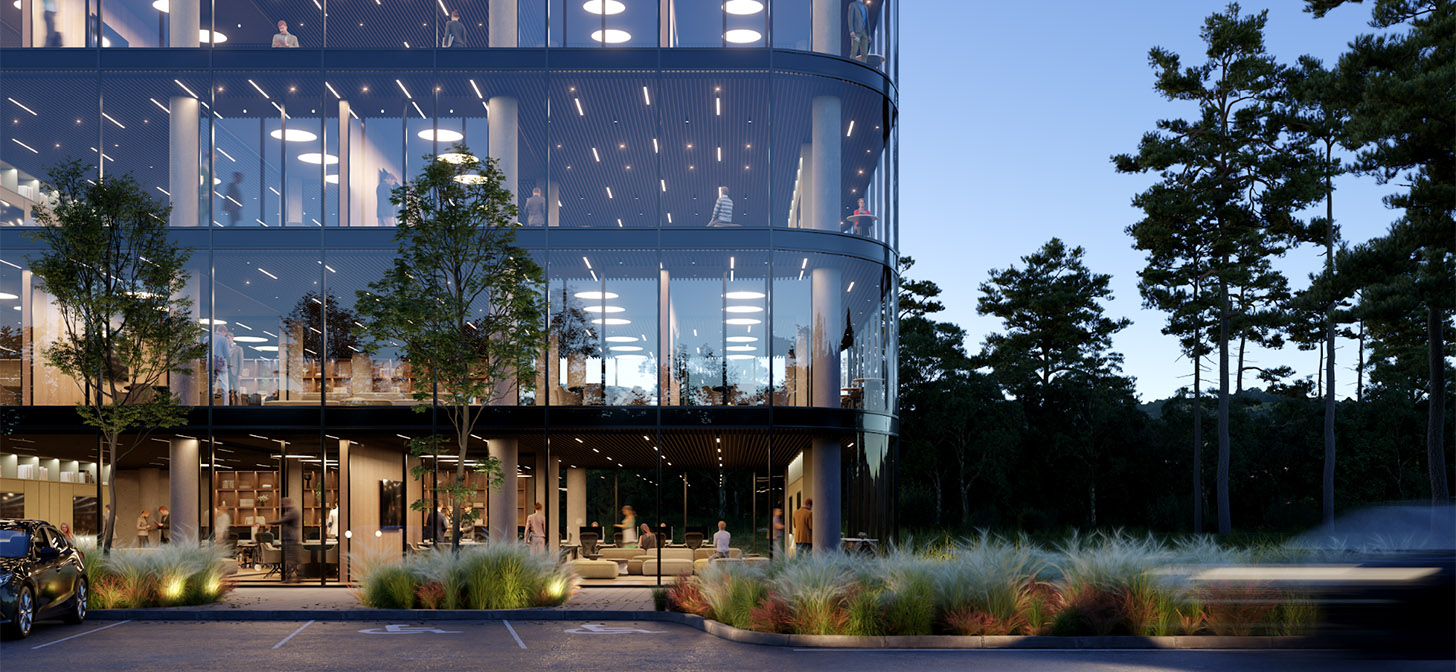
This project was mainly not a commercial project. This project was created because a potential client came to me with a construction project (a large scale project) and said, “Hmm… you have a great portfolio but I don’t see large scale building projects”. You know that the creation process is the same, it’s just a matter of changing the scale of the project. So I decided to create something like an office building based on my personal taste; a structure that you can appreciate is a little bigger than a residential house.
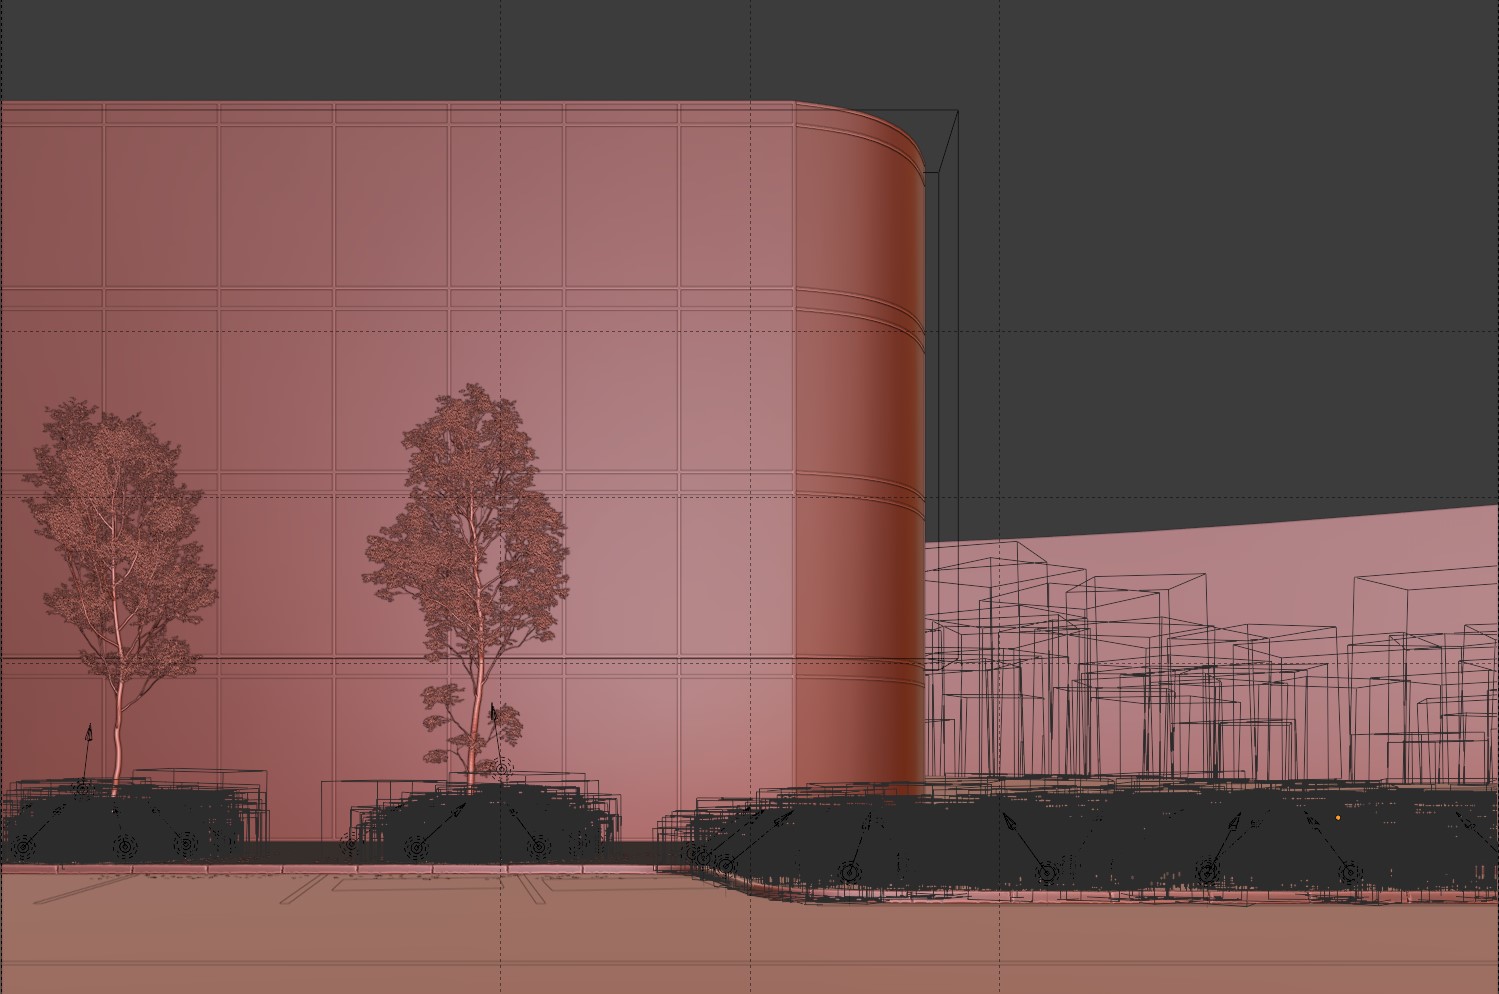
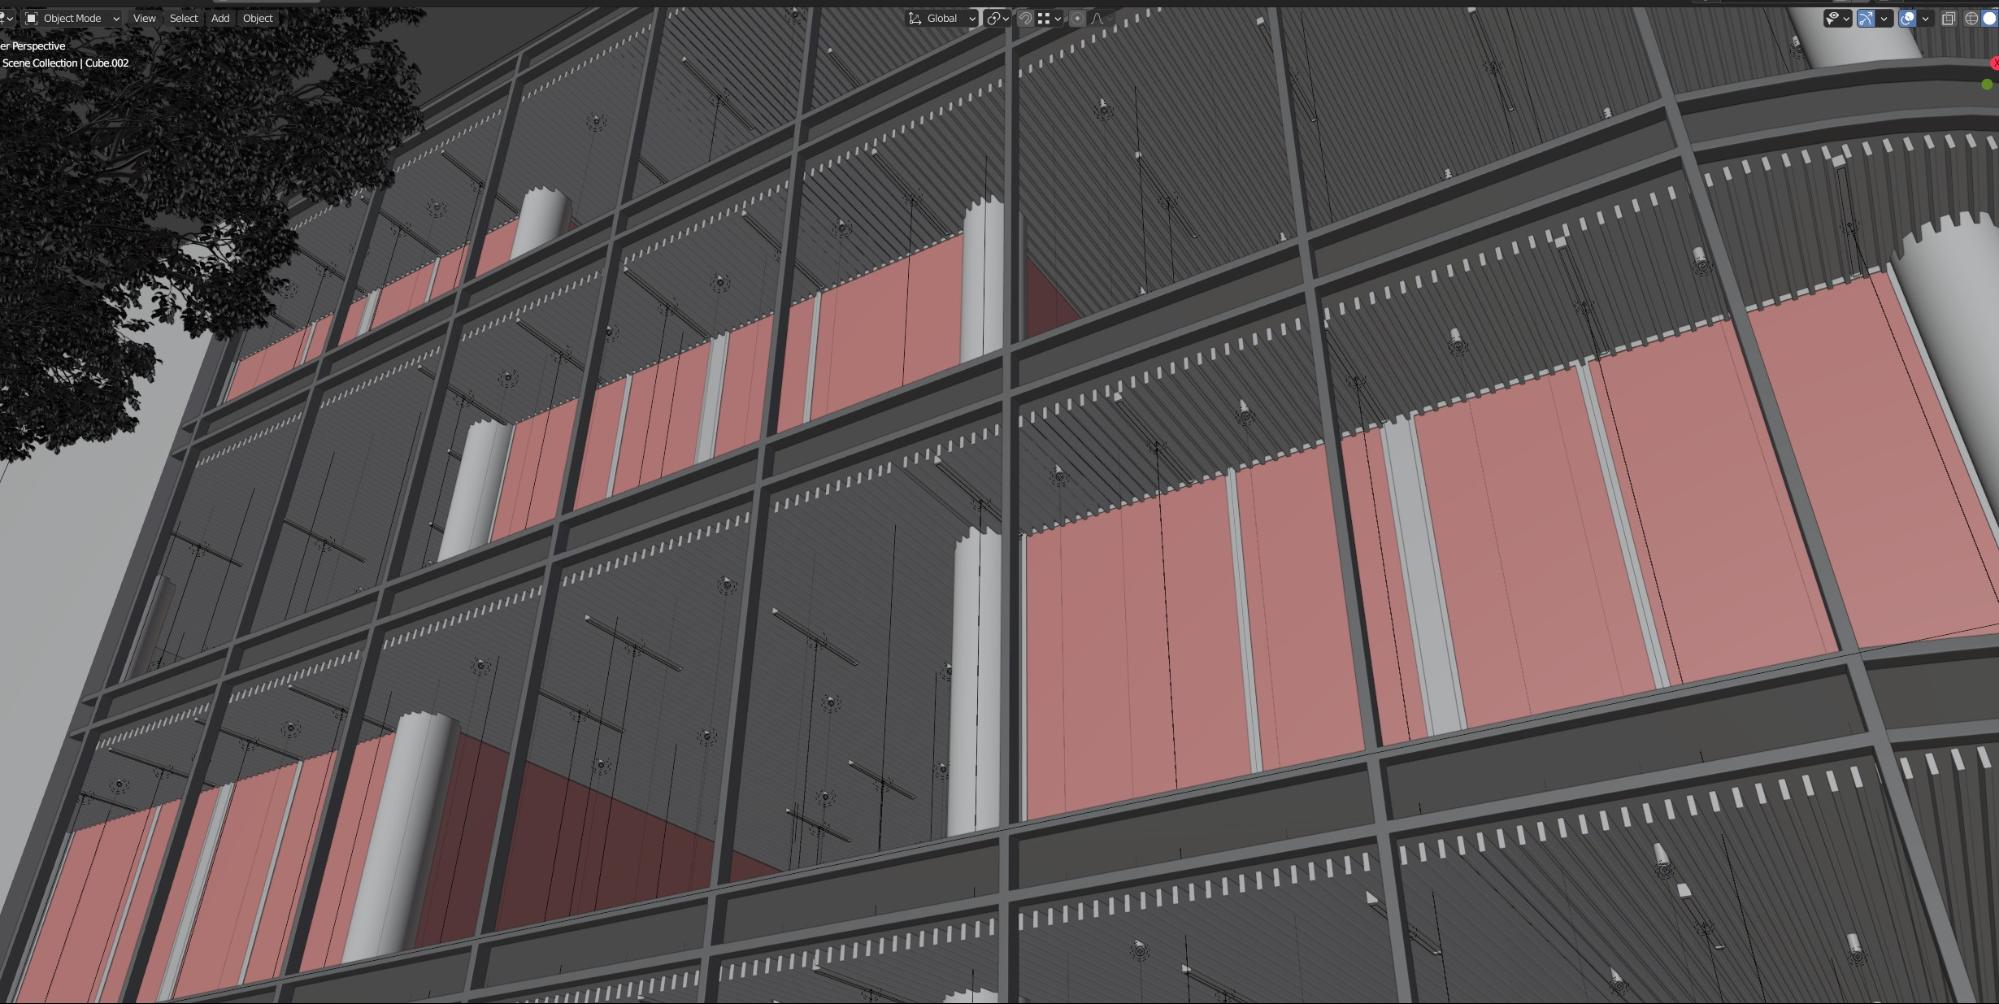
Modeling the building
To begin with, I used many references—both photos and renders—that inspire me day by day.
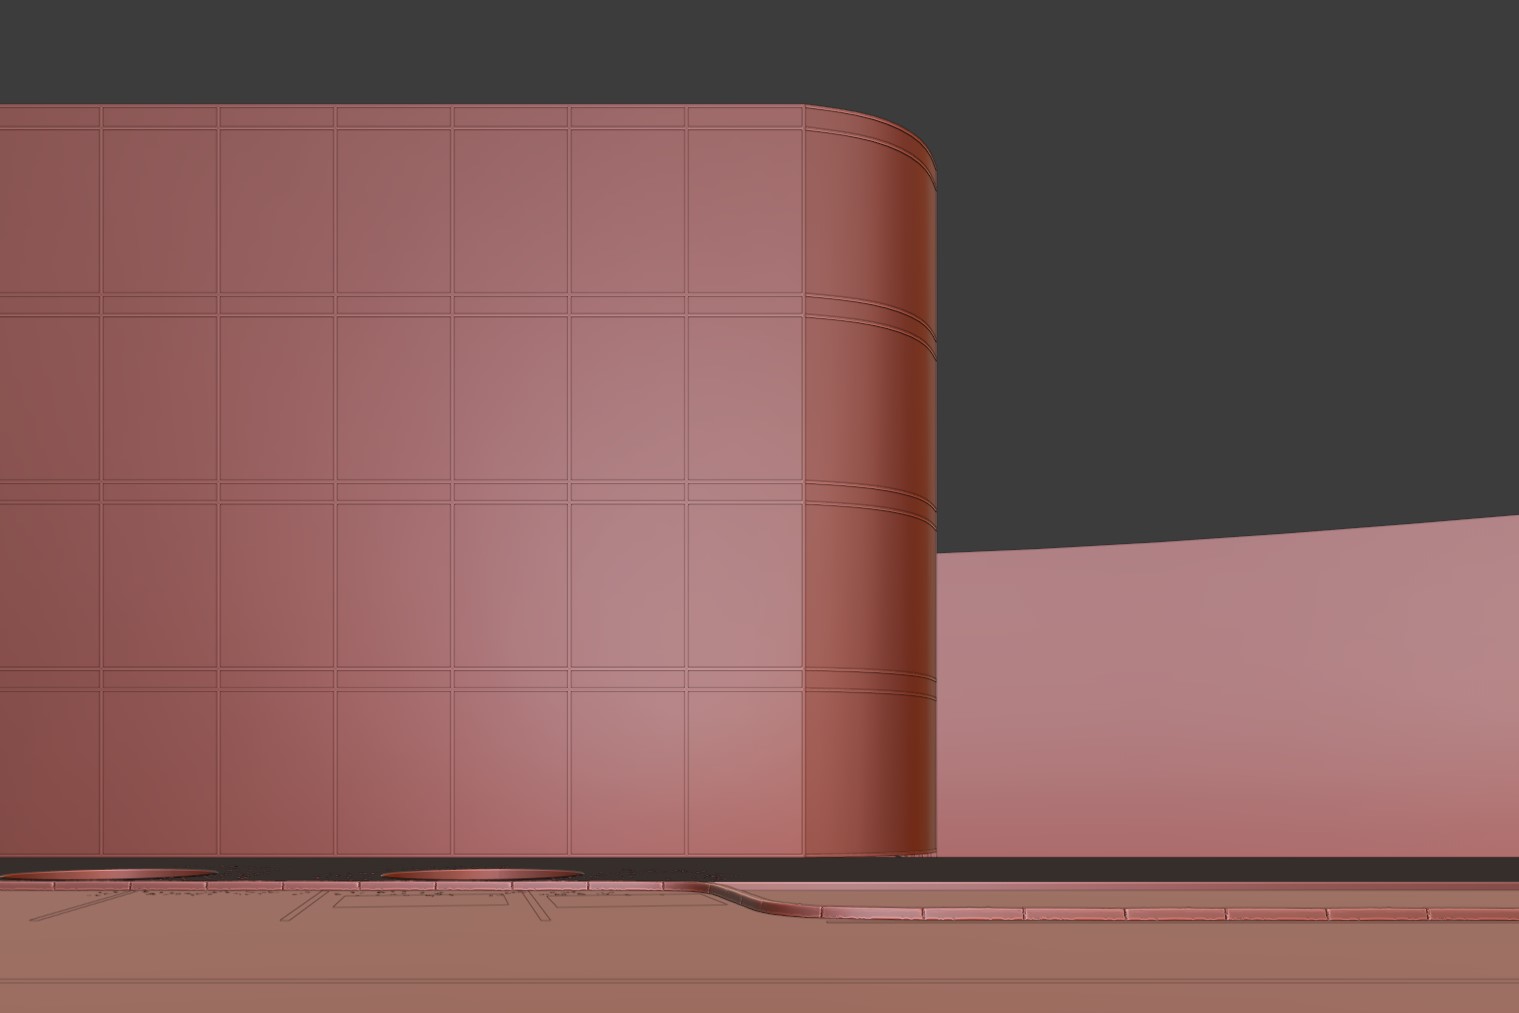
Then the action began. I started organizing the modeling of the main structure. I wanted it to have some key materials: metal, concrete, wood, and glass.
Greenery
The next step was to create some atmosphere. I created a small field with some Evermotion and Maxtree trees and use scattering particles to distribute the trees in the background.
Then I used Grass Scapes for the plants distributed all over the front garden. Then for the grass, I used one of Scatter’s simple biomes since I did not want to spend much time on it. Since the final image would be a night scene, not much detail of the grass would be noticeable.
Finally, to optimize the scene a little, some trees are linked and all are visually in bounds.
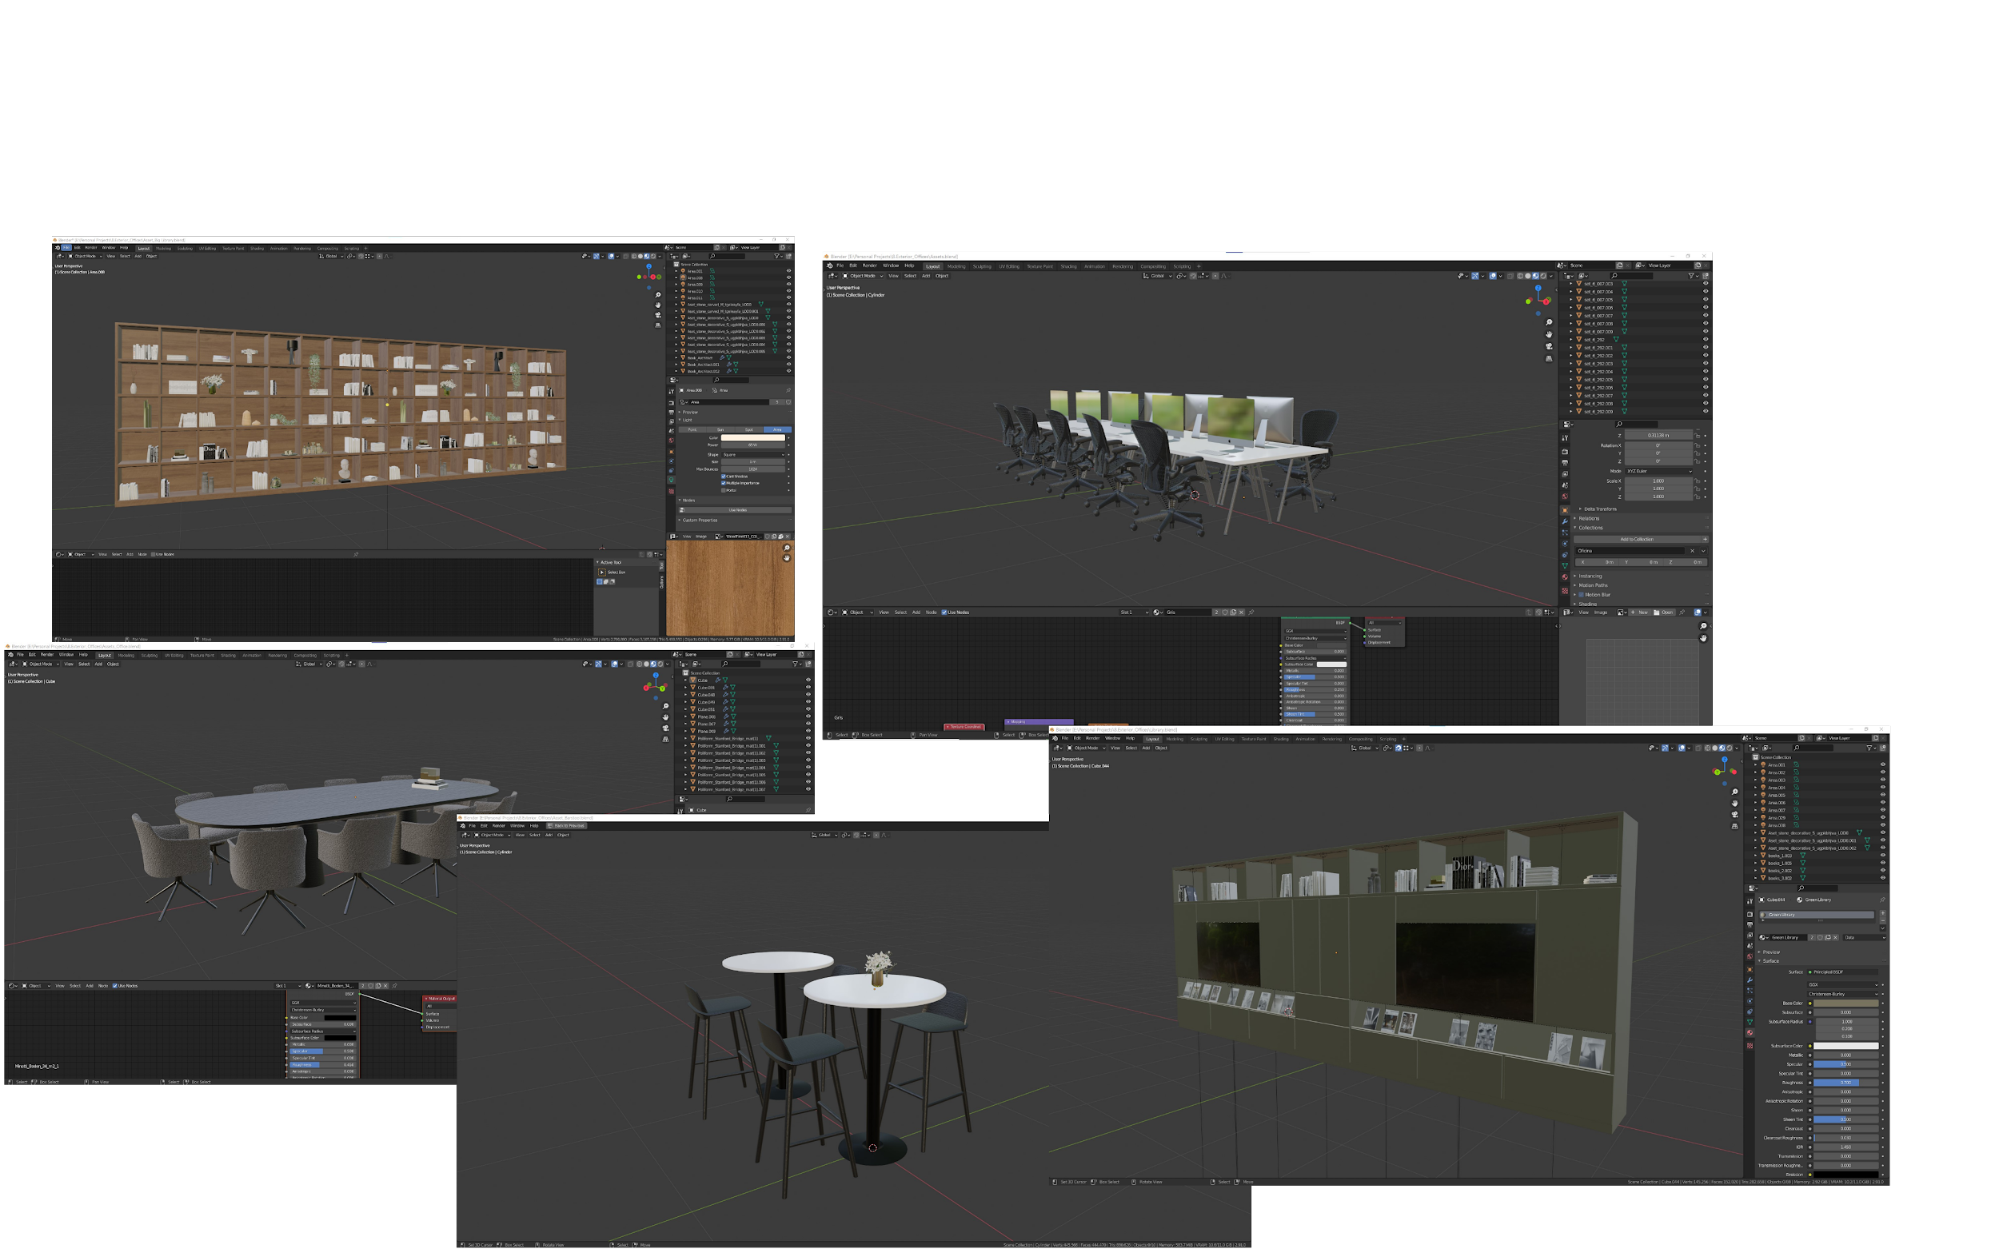
Interior assets
For the internal assets, I used some purchased models and others that I had already created for previous projects, which I used in a separate file and then linked to the scene.
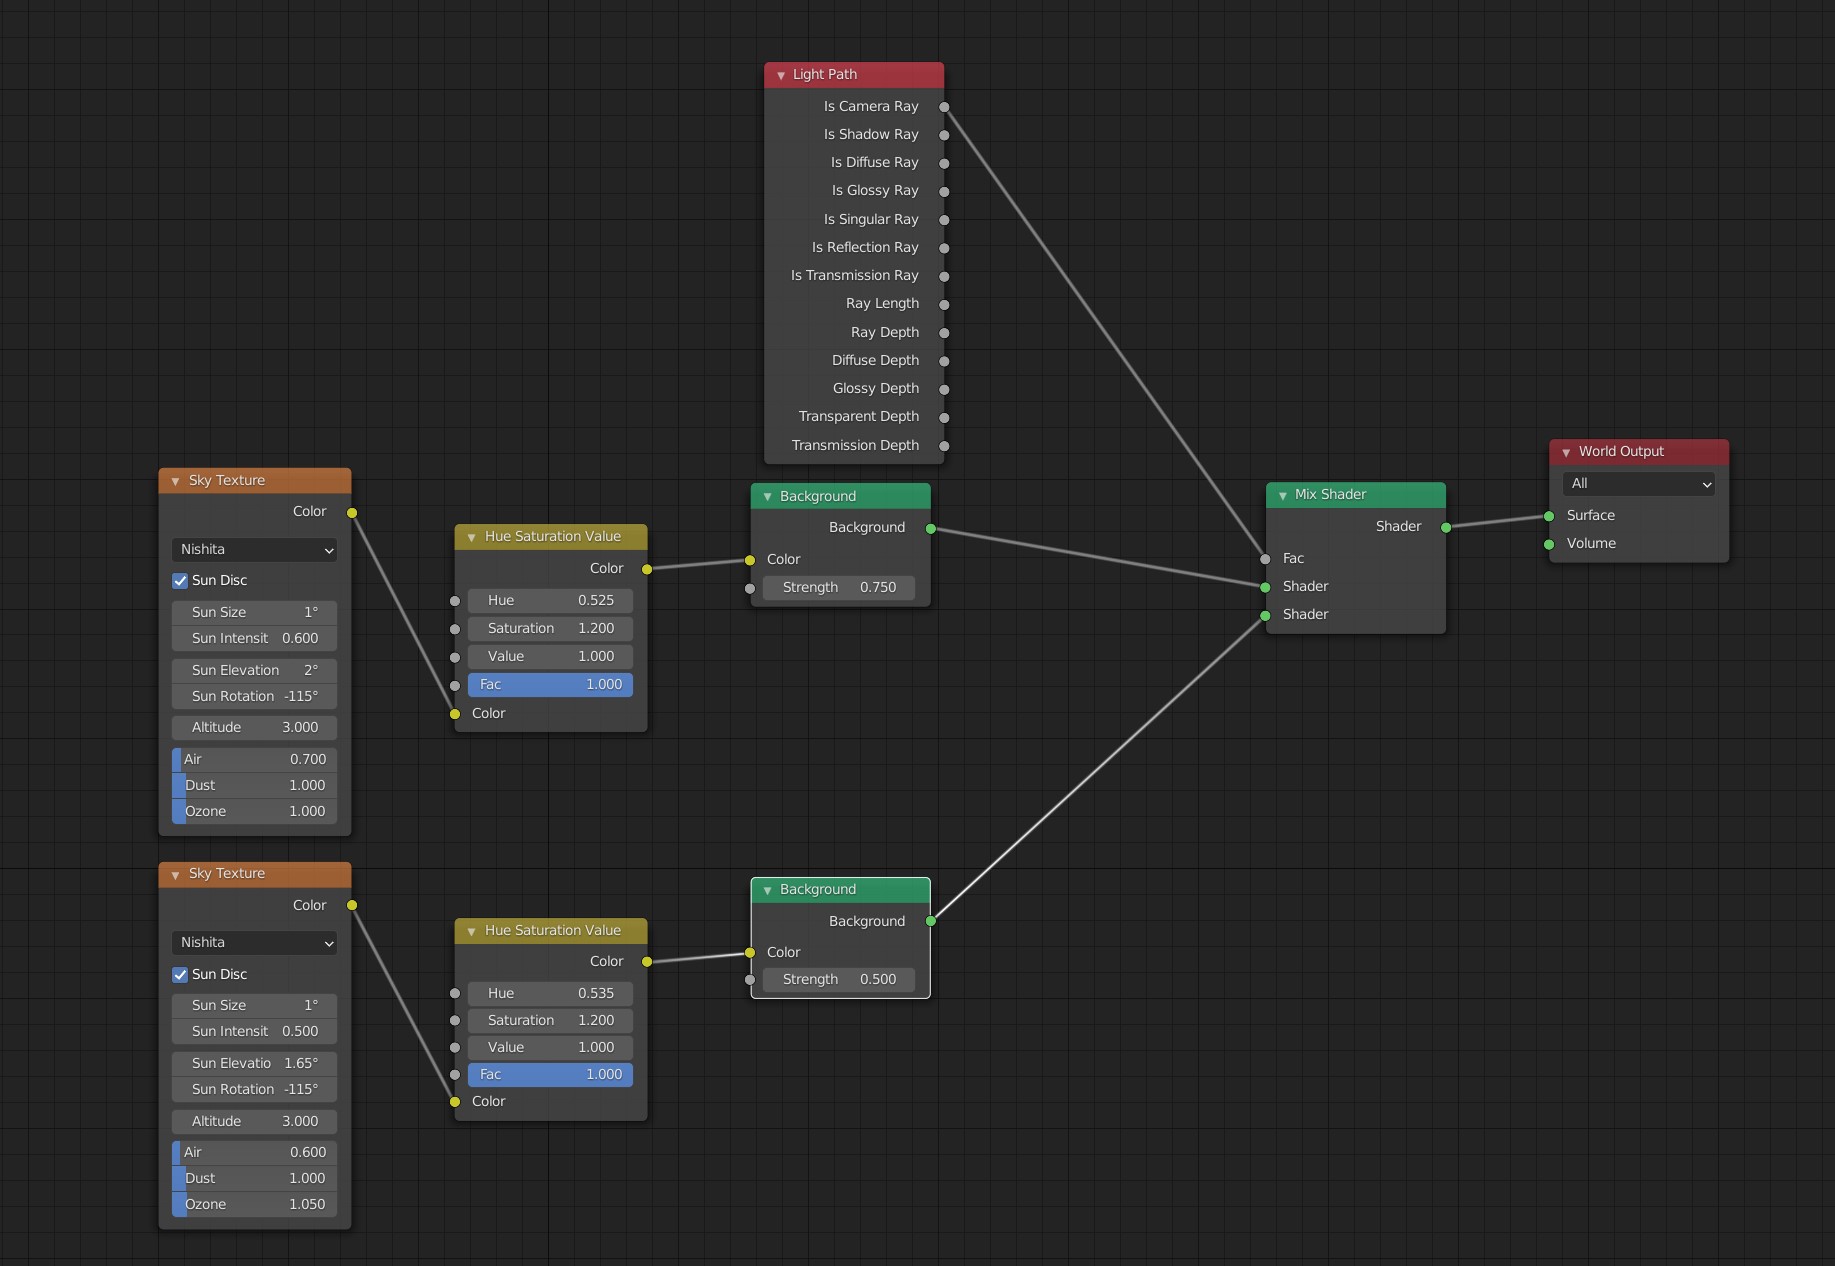
Lighting
HDRI: I always like to create one HDRI for the lighting and another one for the rendering, both on the same node material.
Scene: For the interior, I used multiple IES light points….and also illuminated the front plants and trees to create a nicer atmosphere.
Extra items
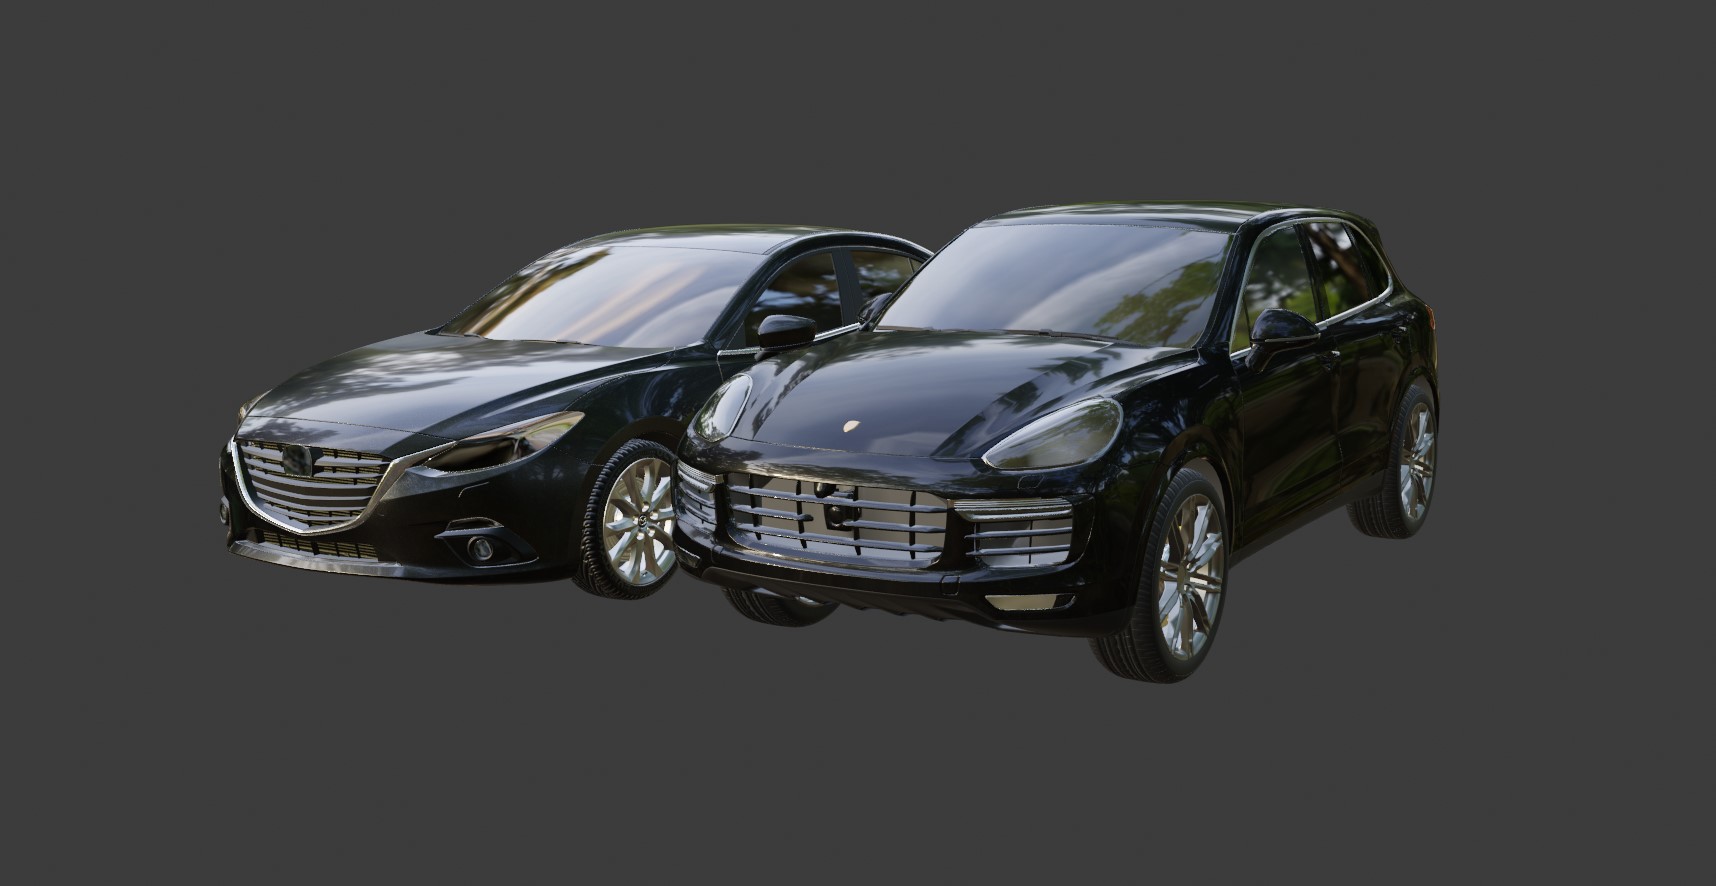
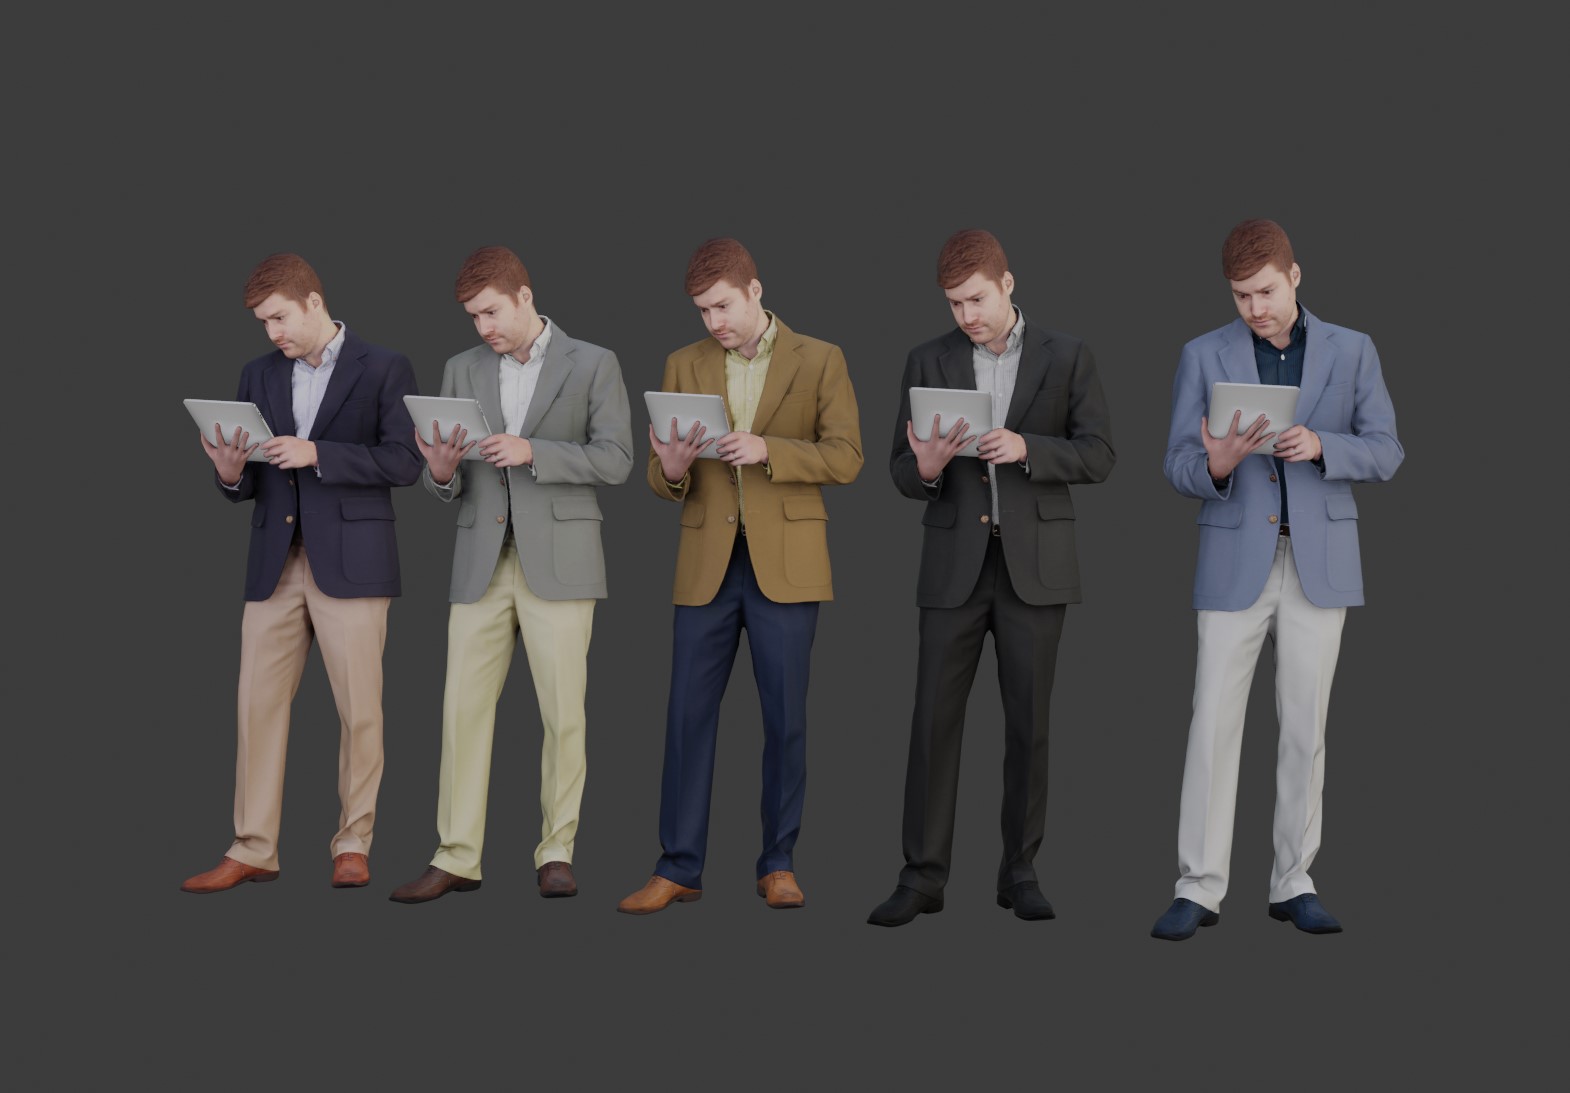
I included extra items such as people and cars; I used AXYZ people and cars from Evermotion and Chocofur.
I used motion blur to give the scene a life and movement effect.
Textures
For the textures, I used sites like Quixel, poliigon, and Friendlyshade. I created the textures inside Cycles and adapted them a bit to the scene.
Conclusion
Finally, I made the render with GPU; on an RTX 2080ti, it took about 5 hours to produce the image with a resolution of 4500×3000 px and 2500 samples.
After this, I made some small color corrections in Photoshop.
Thank you all for reading, I hope you enjoyed the creation of this scene as much as I did in writing it.
If you want you can follow me on my Instagram where I’m active uploading my latest works.
About the Author
 Cristian Taborda, 3D Artist


Heya! Hope you’re well and this is incredible. I am impressed by the world shader settings. Can you tell me how to set up Glazed Glass like this? Thanks, great work.