Behind the Scenes: Swarm Bot
INTRODUCTION
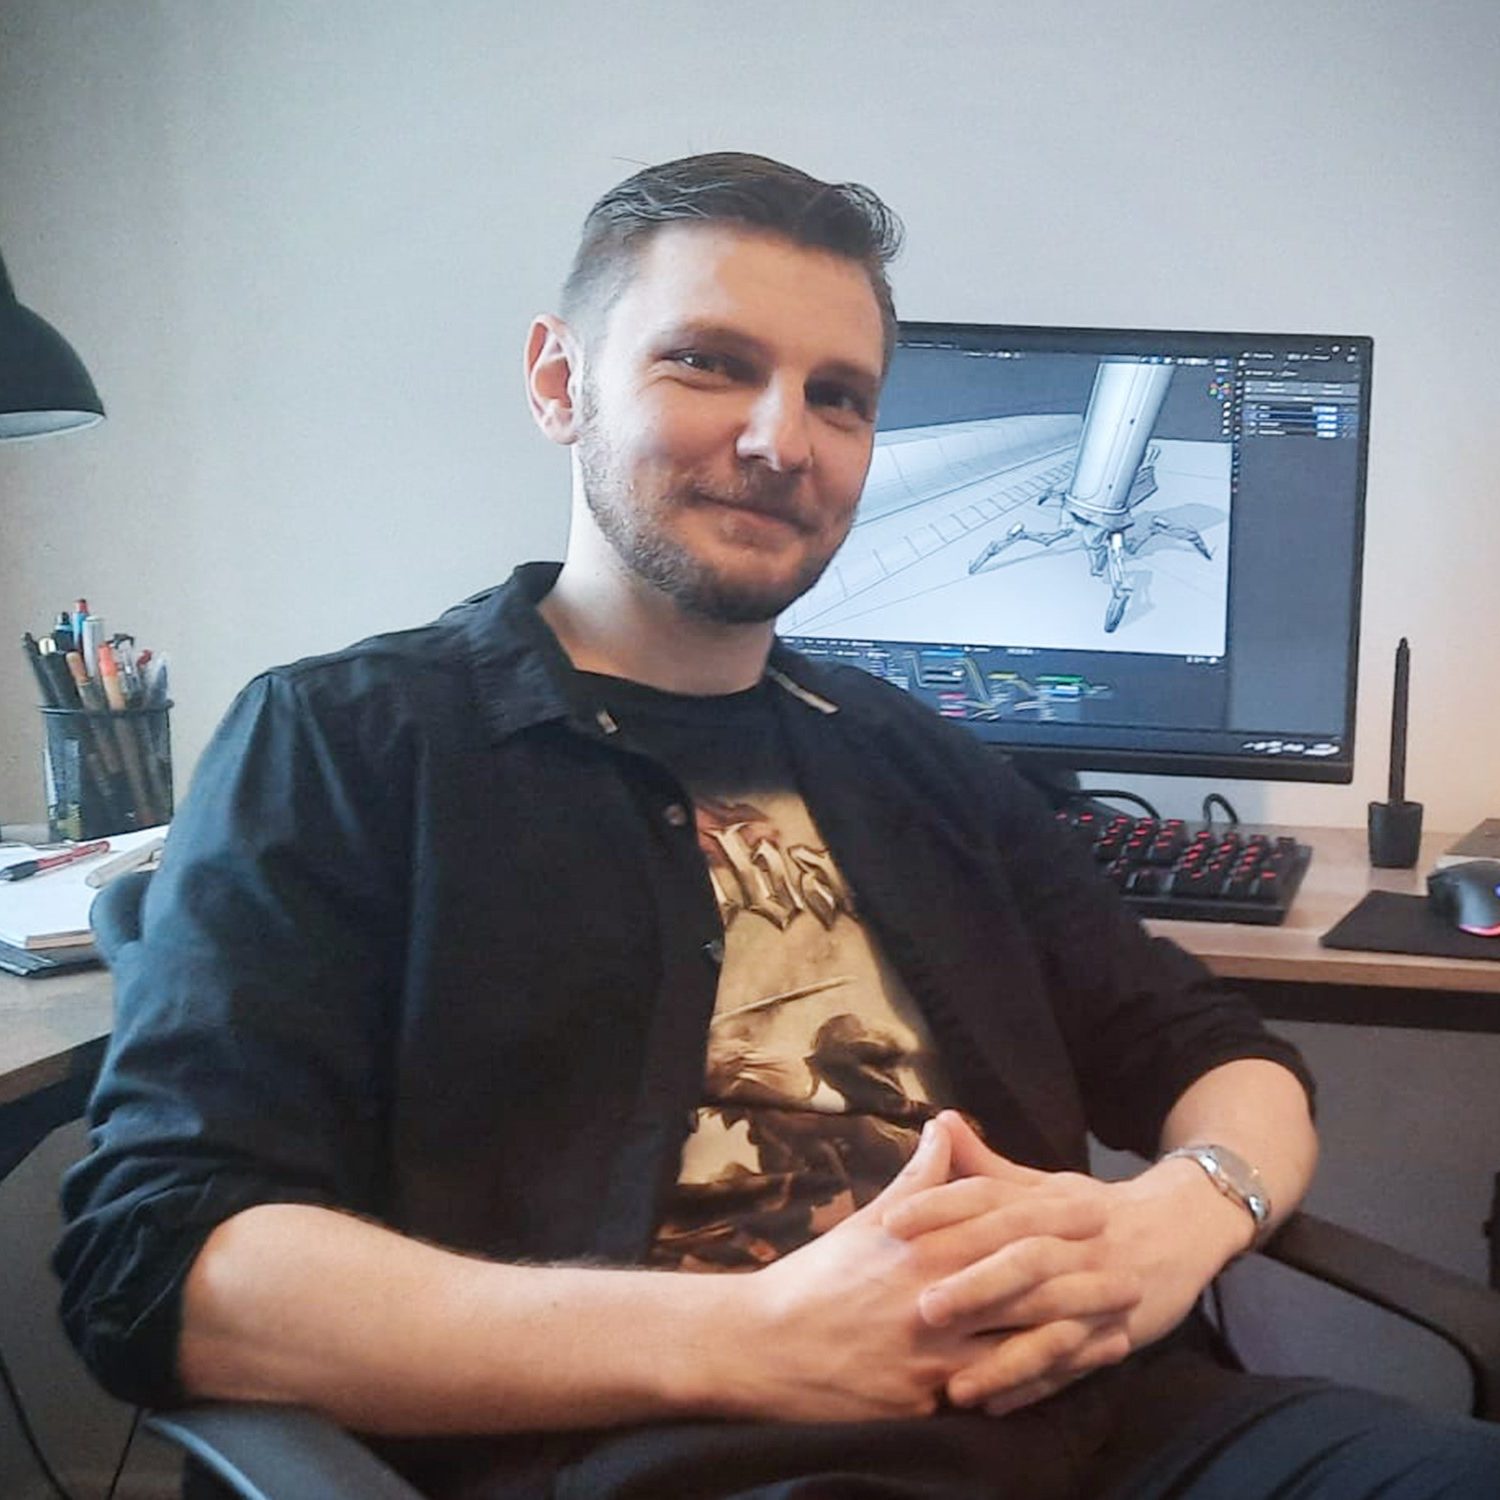
Hello there! My name is Janis Eidins. I am a 3D artist from Latvia who loves highly-detailed hard surface modeling. I mostly worked as a 3D generalist for mobile game studios and have pushed pixels around the screen for about 10 years so far.
My modeling experience started with 3DS Max but quickly continued with Blender (2.45, I guess). It felt more fluent and unrestricted compared to the previous tool I used back then, and I was already familiar with the modificator workflow. During my time as an in-house artist, I did modeling and animations both in Blender and Unity, a little bit of VFX, and lots of troubleshooting. In my spare time, I cultivated my love for hard surfaces and guns, which was vastly opposite to my day job that consisted mostly of cute and fluffy stuff.
Also, I am a gamer. This is where my alias “Glumais” comes from.
INSPIRATION
I like making mechanical models, although I don’t get many opportunities to do so at work. The longer there are gaps between such projects, the harder it is to get back to the right problem-solving mindset. Like, what the fastest way to get the desired shape is, which tools to use, and how to tackle awkward geometry. So, I have to sharpen my “knife” whenever I can.
This artwork started as a collection of simple 3D doodles inspired by the increased use of drones in conflicts, a project to relax after work and do something fun.
PROCESS
Shaping operations
After less than an hour of moving boxes around, I ended up with three distinct directions: a crawly type, one on tracks, and an aerial drone.
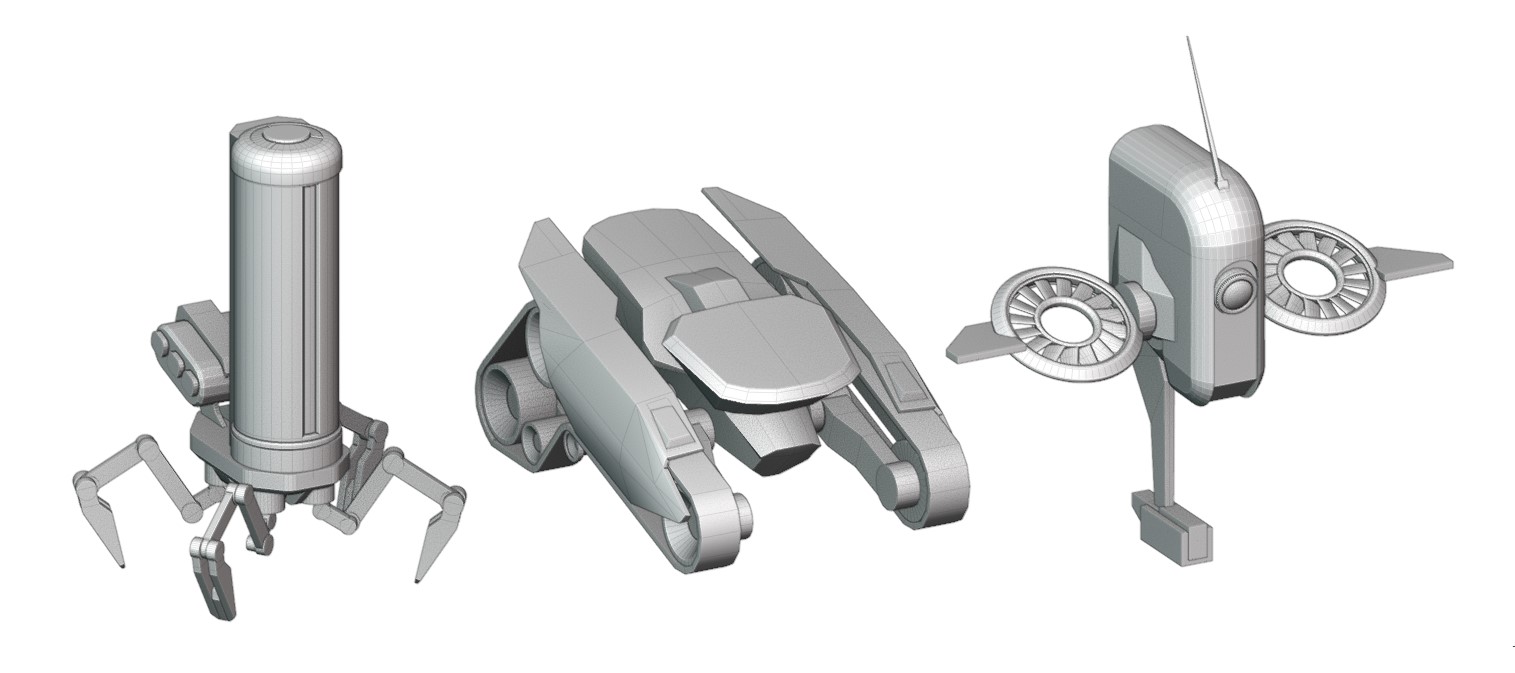
At that point in time, I was considering making all of them, but I had to start somewhere and see how things go. Apparently, I was heavily influenced by the tiny liberator robots from Fallout 76 since one of them looked rather similar. So, I started with the crawler. I was intrigued by its simple yet prominent cylindrical hub.

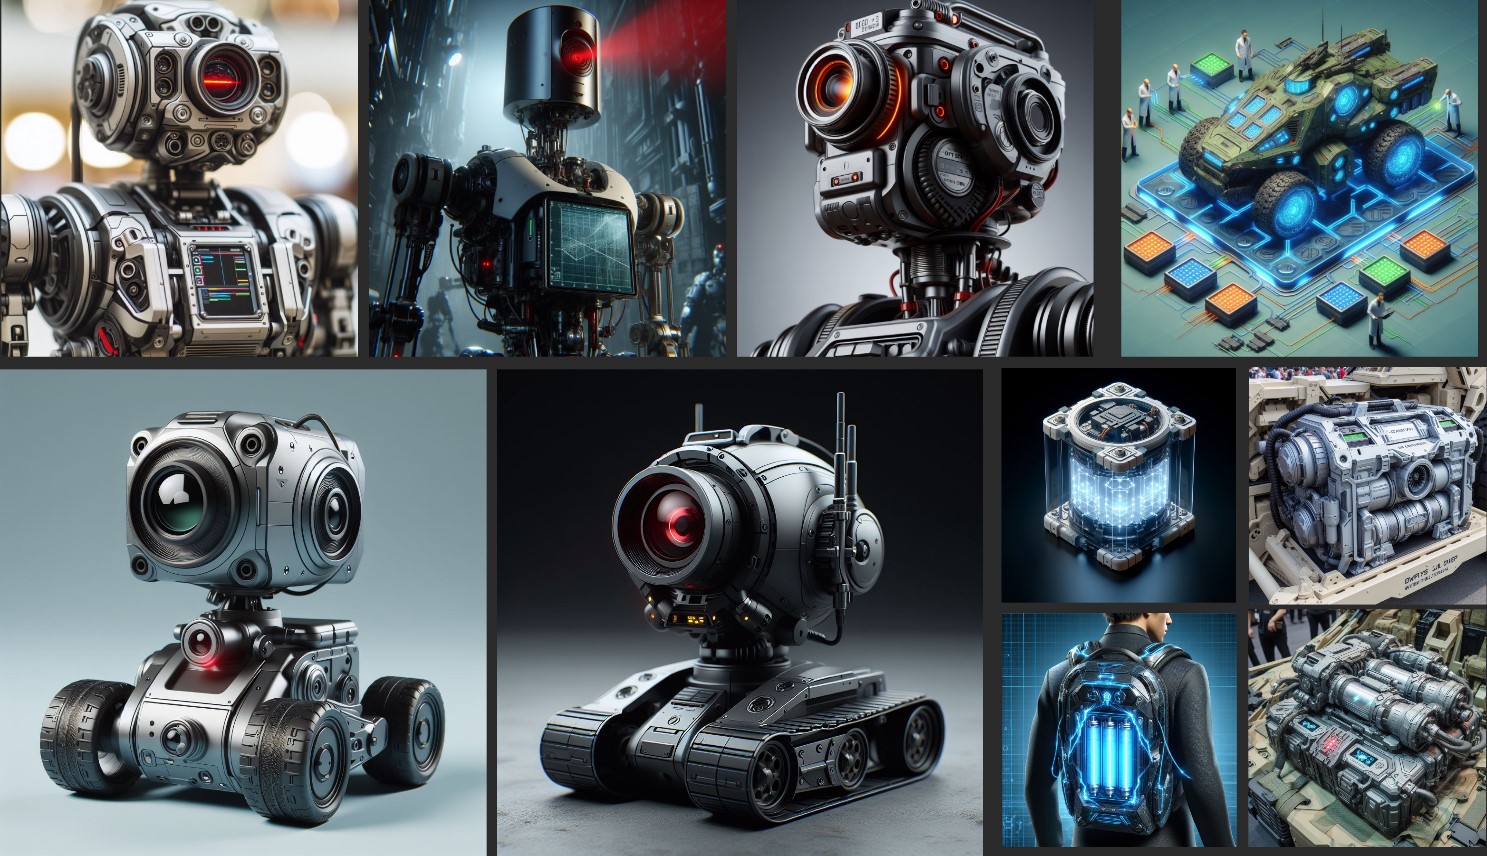
I played around with AI to get some extra ideas, maybe come up with something resembling a moodboard. I was looking for drones with cameras and powerpacks. The results that came out were promising with images that had material feel and detail density.
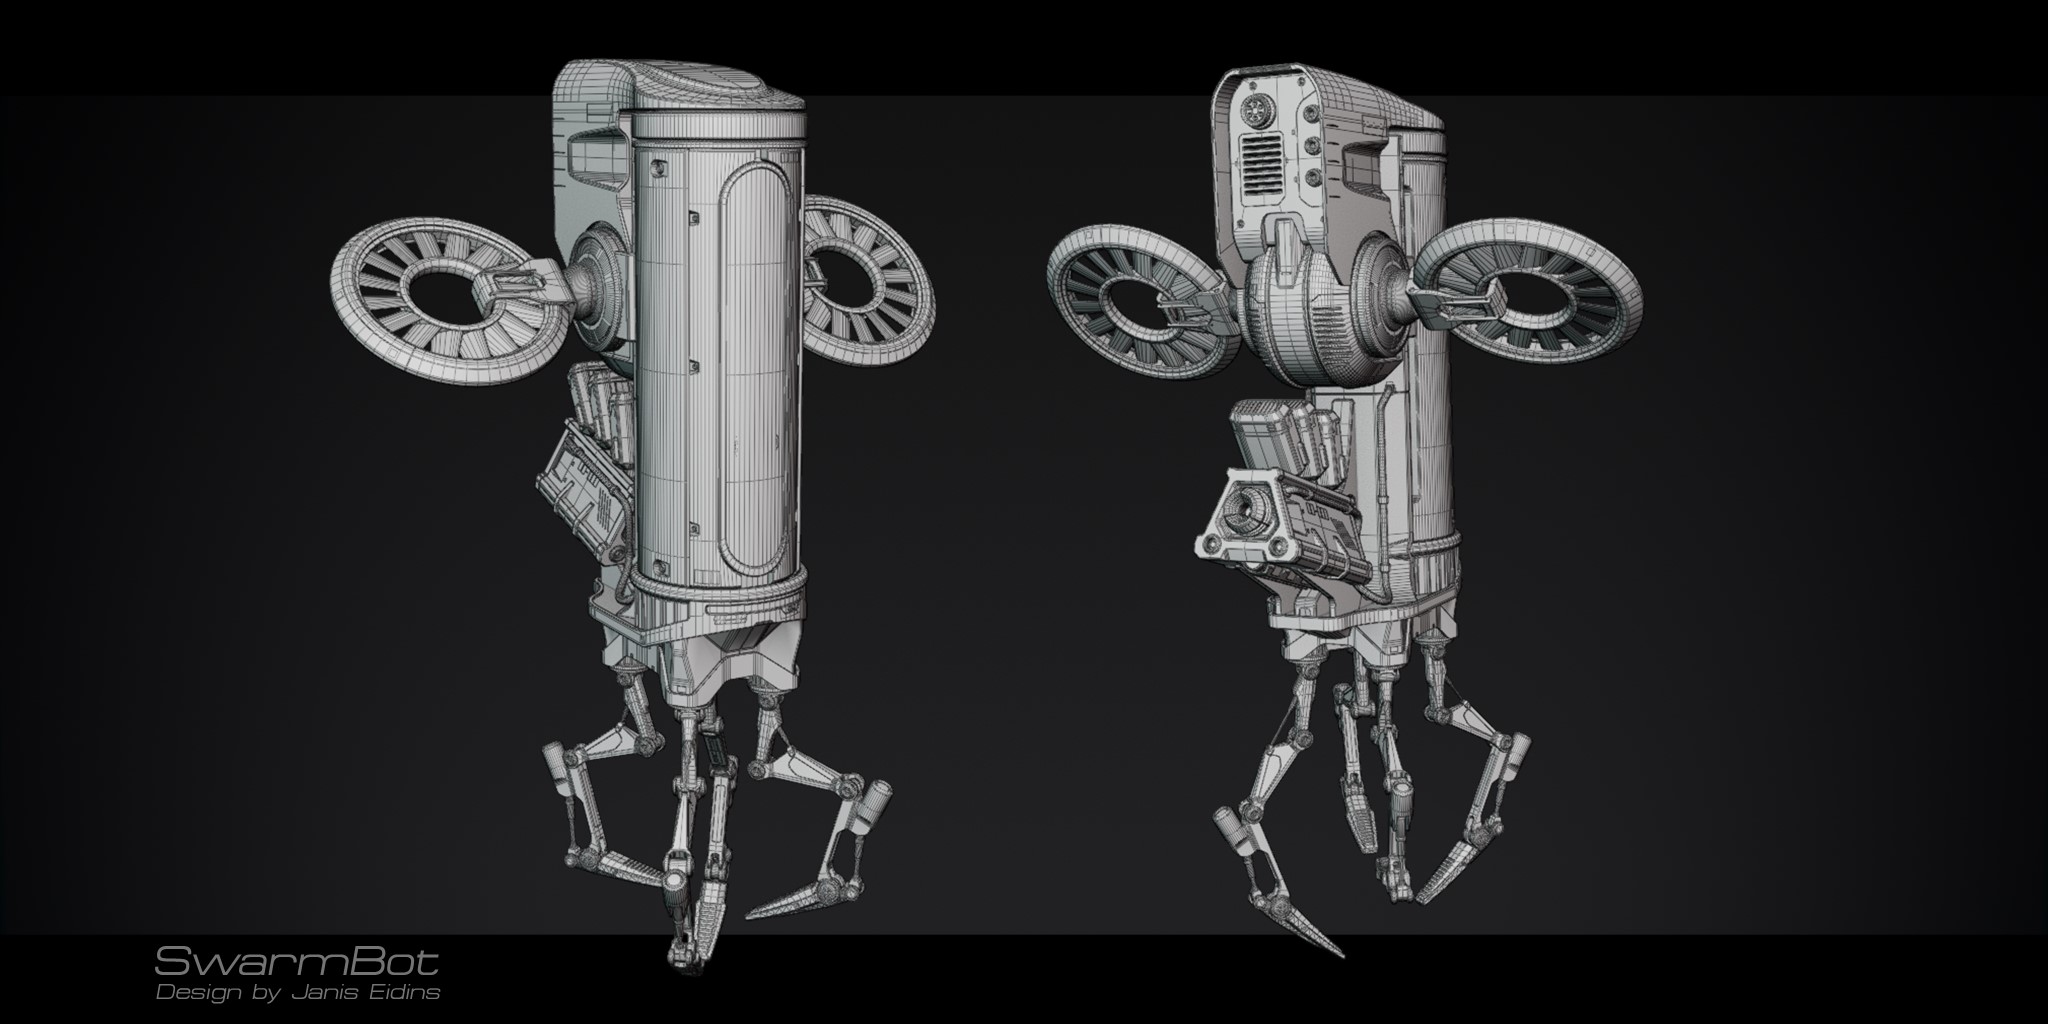
In the beginning, there was no point in making surfaces look pretty. All that mattered was focusing on interesting shapes, so I kept all surfaces flat to prevent the normal artifacts from distracting me. Yet, geo was dense enough so there was less faceting and more geo to work with.
There was a heavy use of booleans and manual bevels. Most of my techniques can be found in this modeling course by Creative Shrimp, which I highly suggest.
This is where I used the only plugin during my whole process. I stick mostly to vanilla Blender, since I love to be aware of every attribute that mesh has and be less dependent on addon developers, but Meshmachine allows you to re-edit bevels, and that is HUGE.
Design decisions
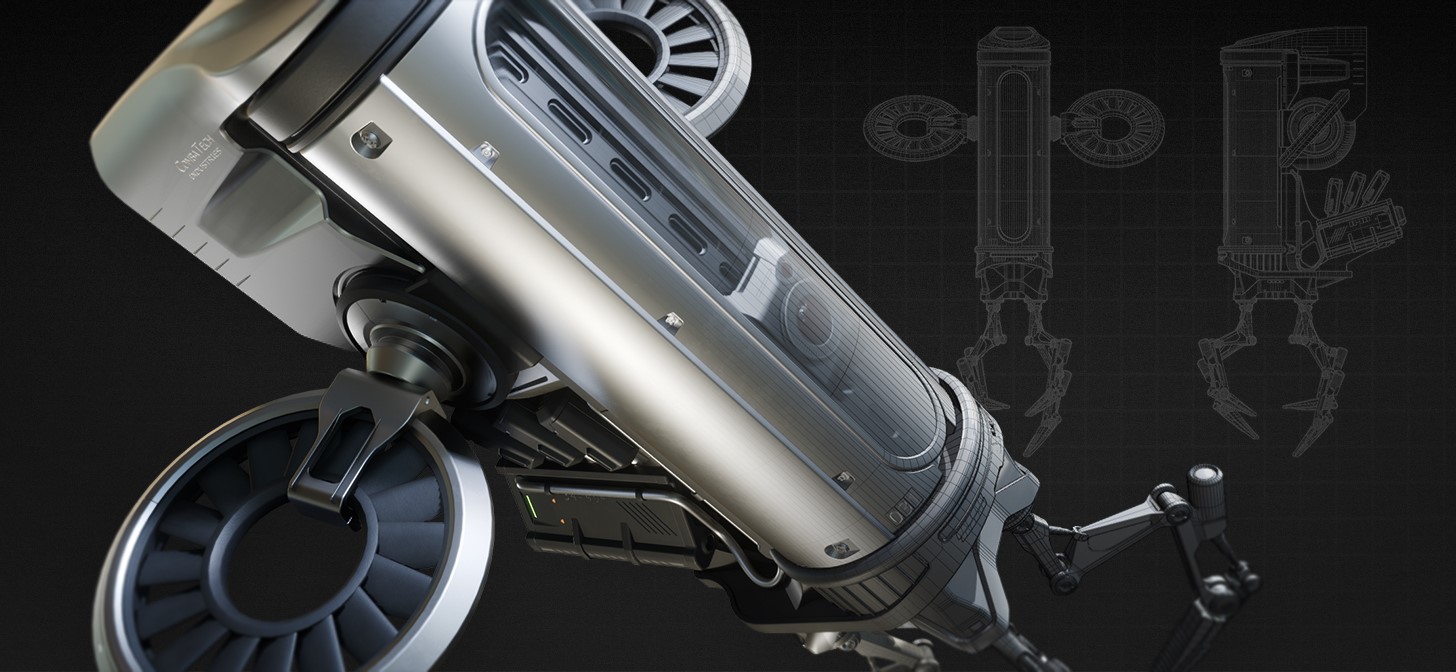
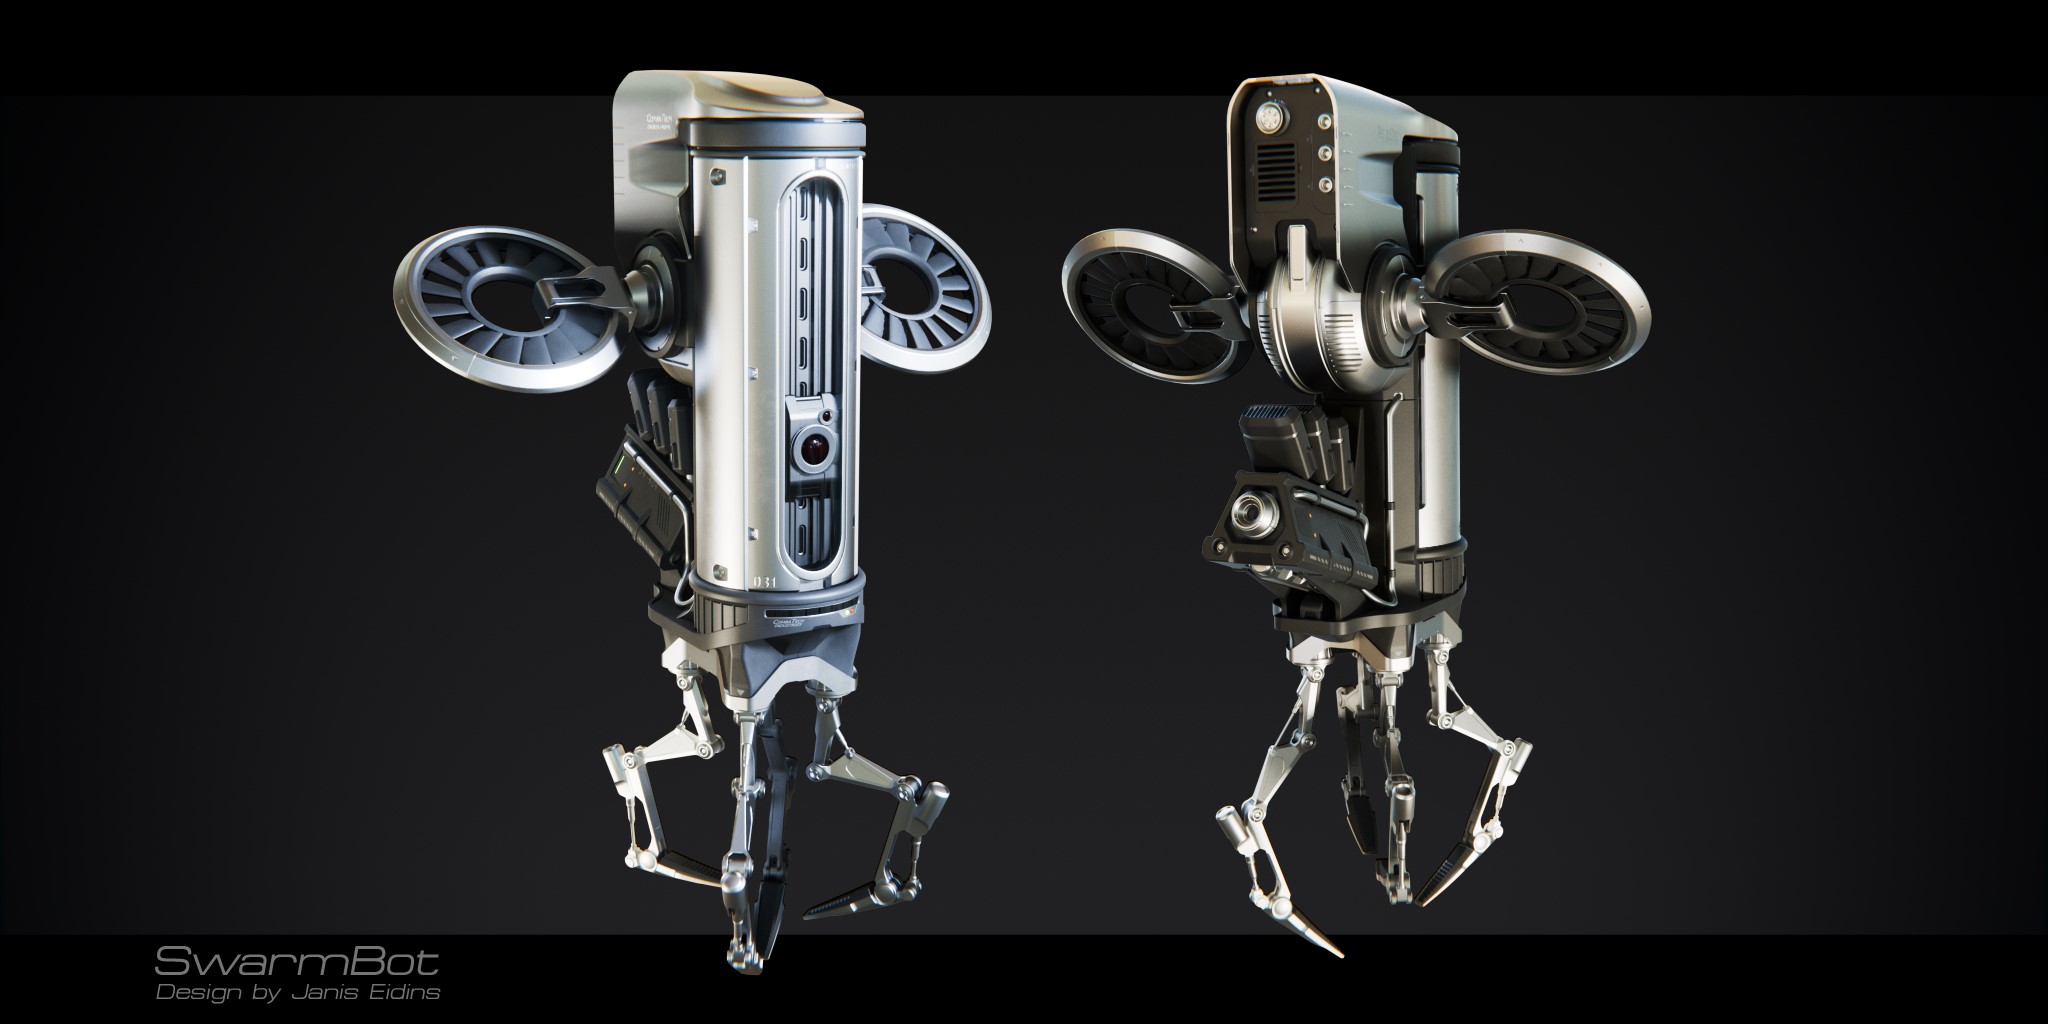
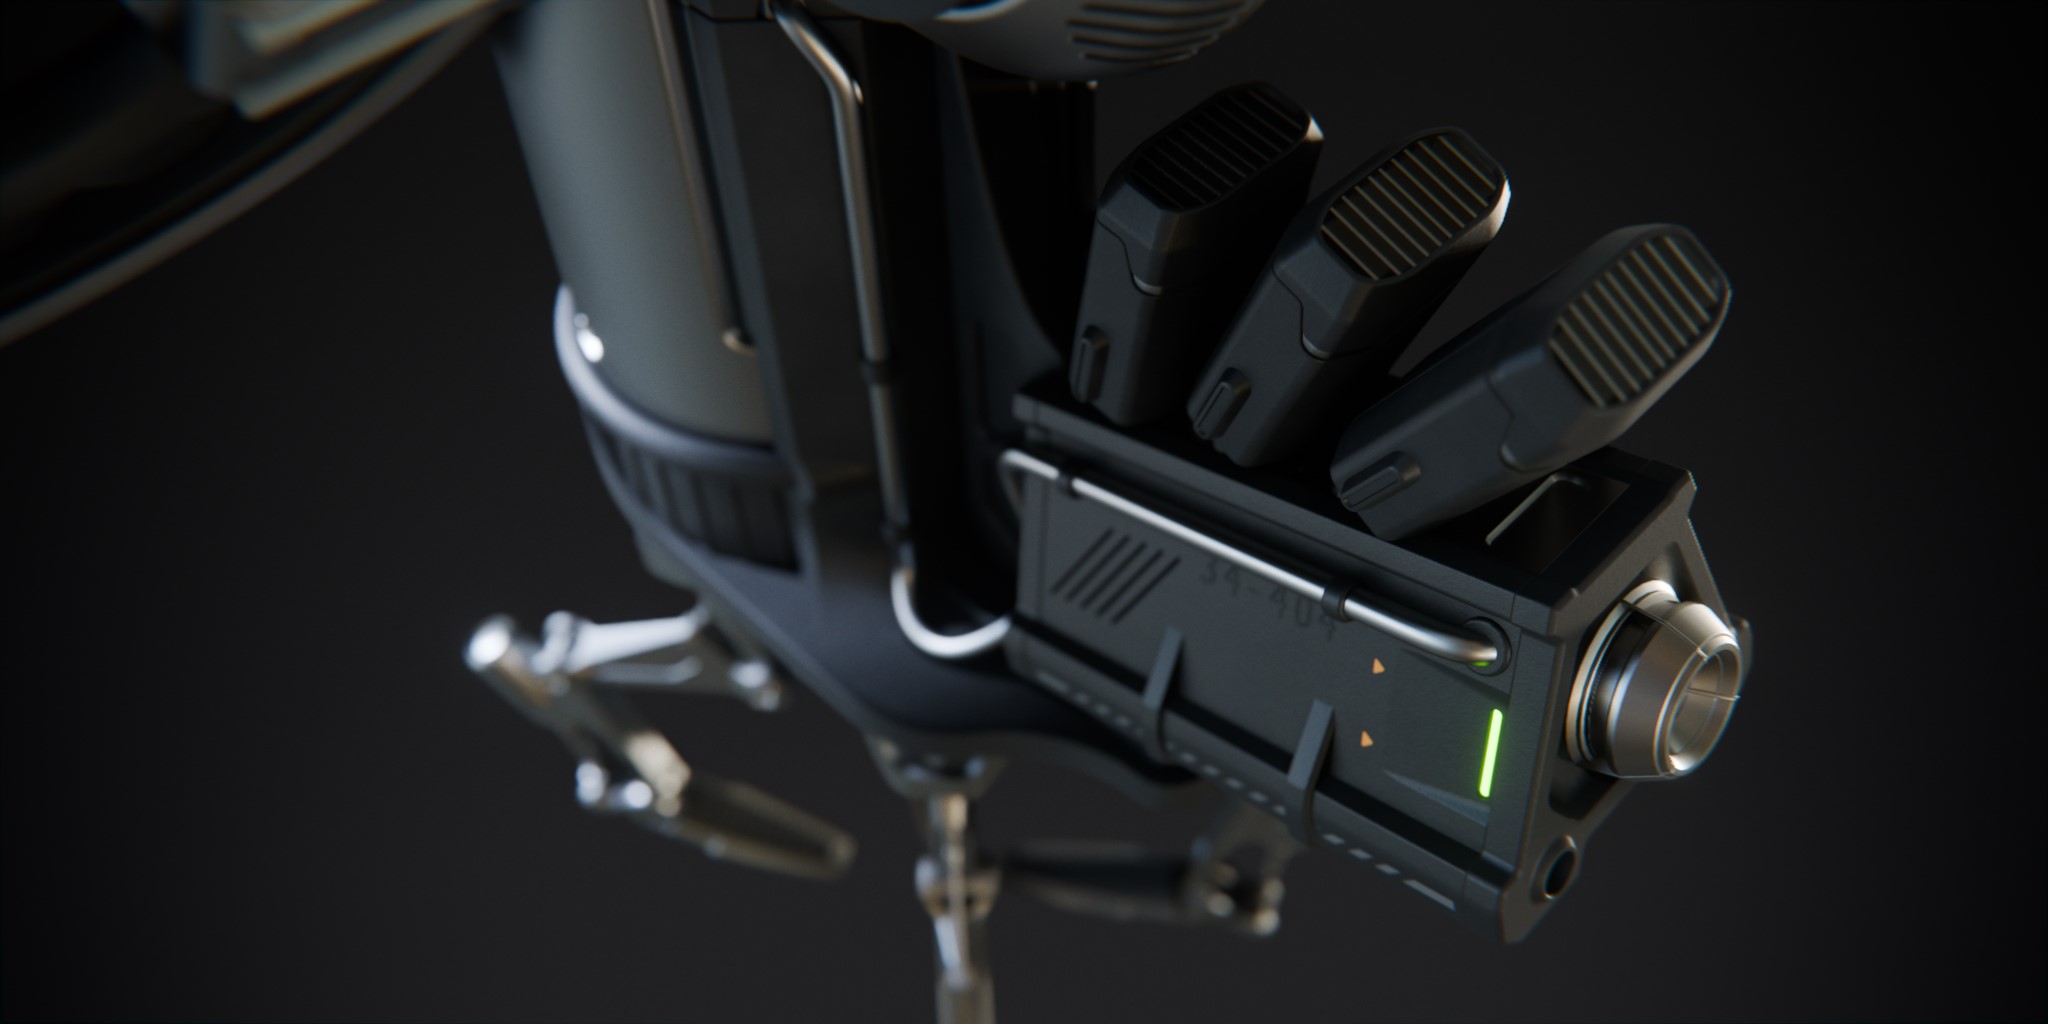
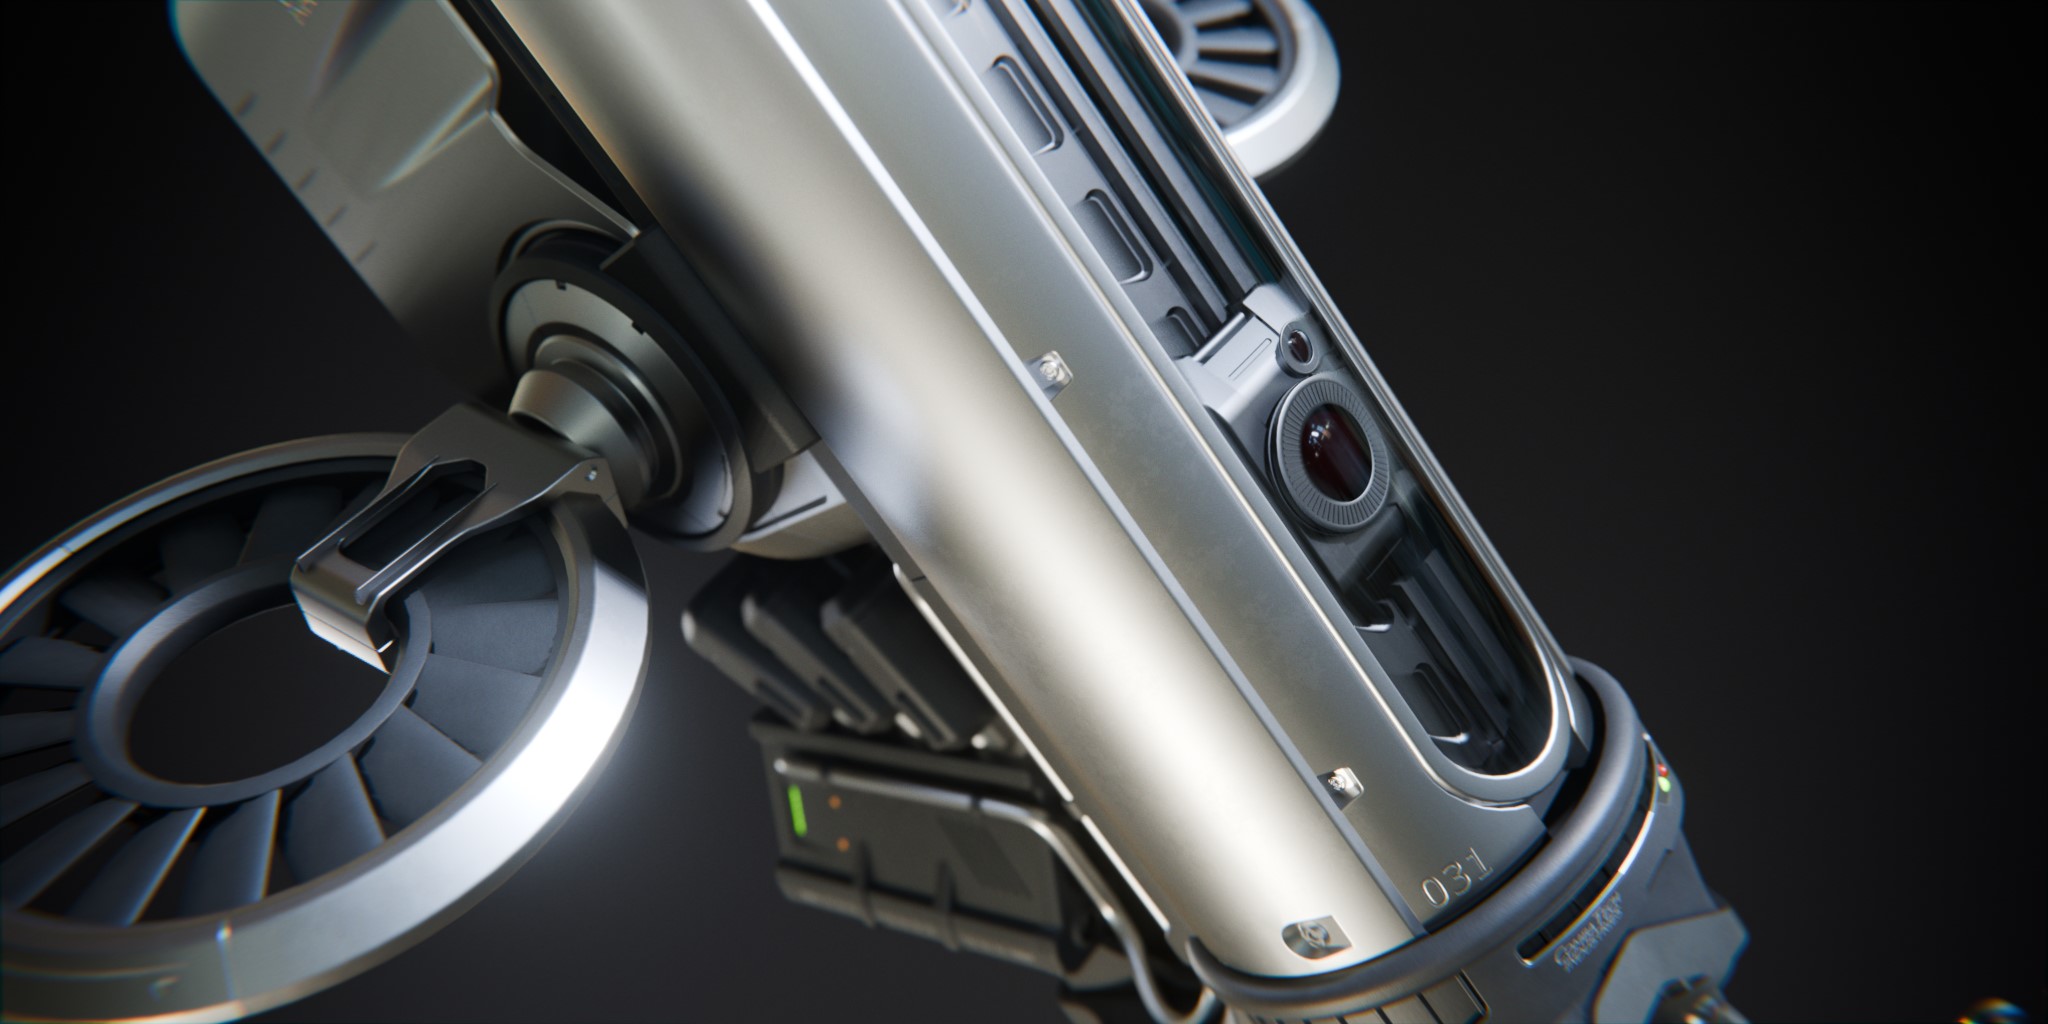
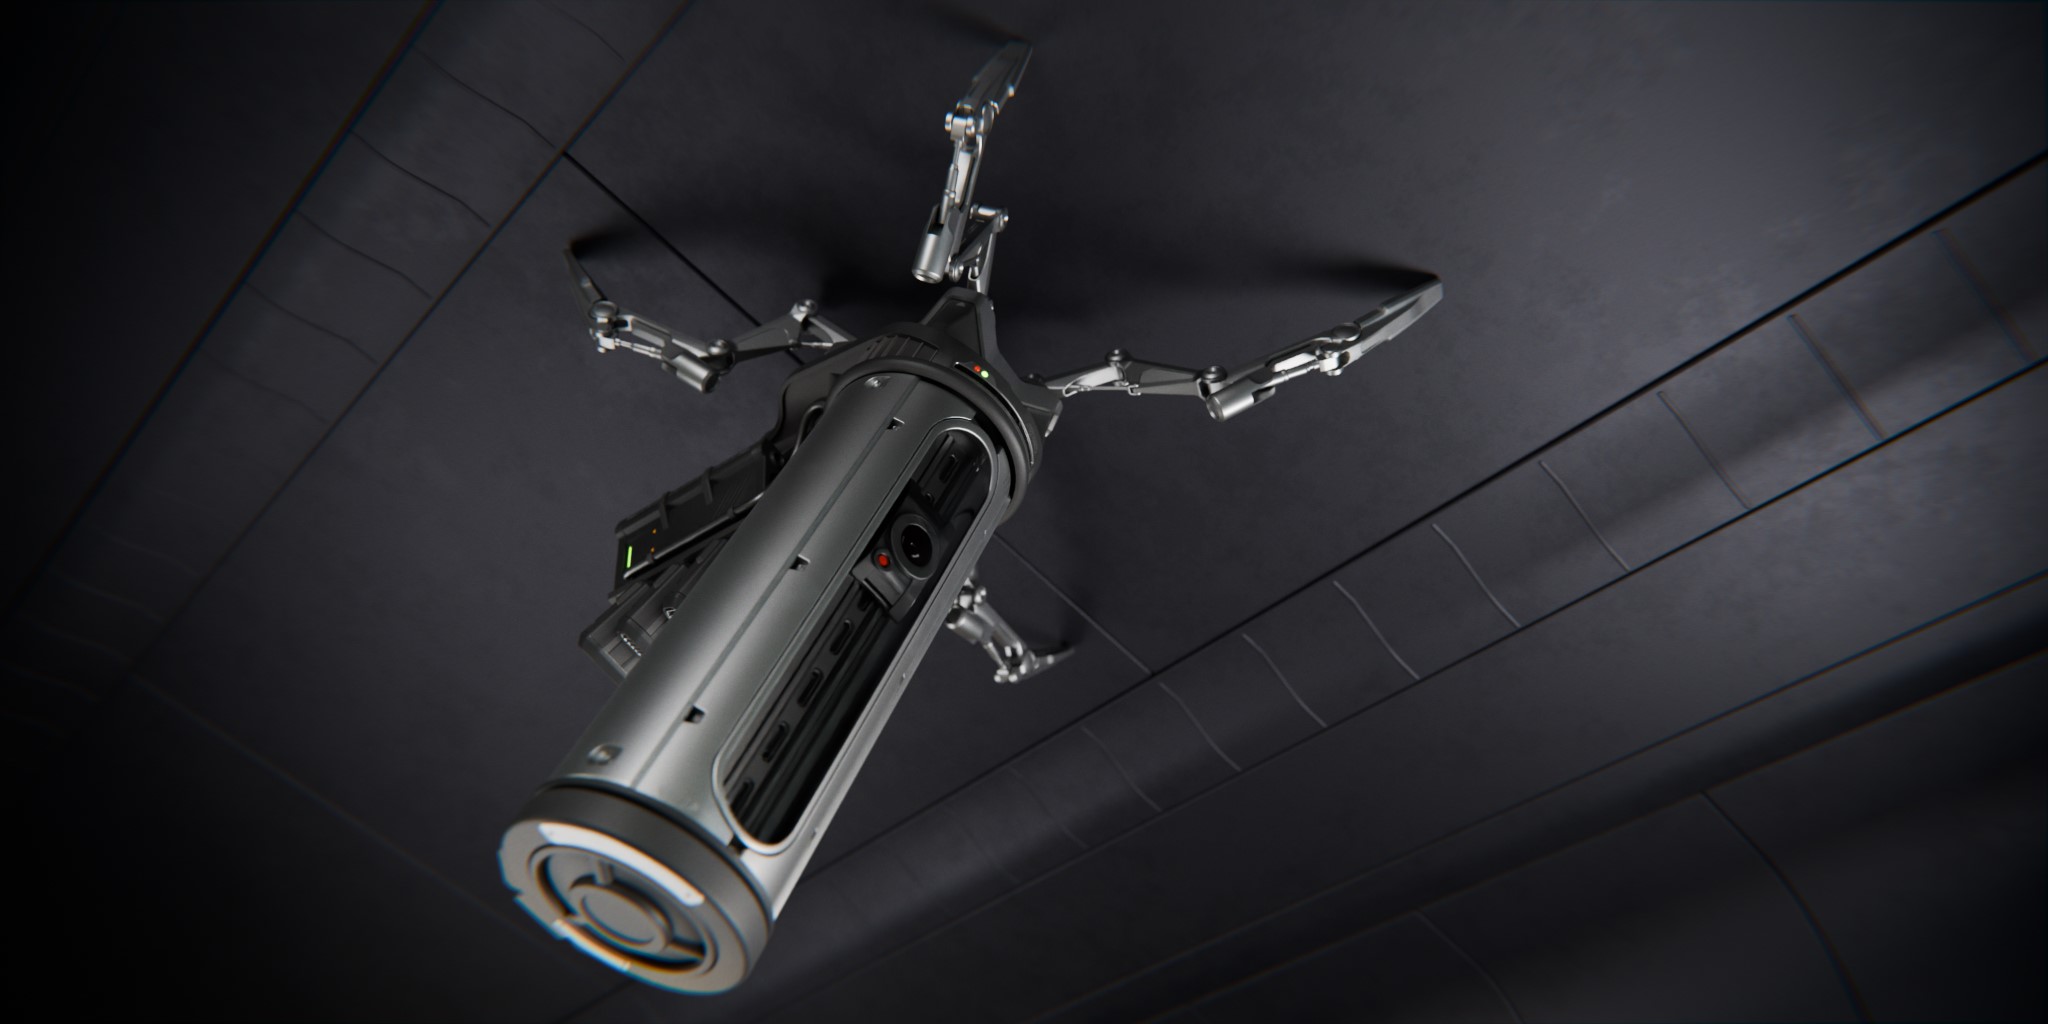
The arachnid design had four distinct elements: a large cylindrical head that would house a slit for an eye, an abdomen as a power unit, insect legs, and a platform that would link all the previous parts together.

The head was meant to be rather absent of details, like a simple steel tube except for the slit. The legs consisted of generic piston-driven segments. They were skinny like a skeleton but combined with the rest of the model, they gave a localized cluster of details.
The abdomen had two major iterations: where there were two rows of cells, and where all cells were placed on top to give a narrower overall shape. I’m still a bit conflicted about that decision.
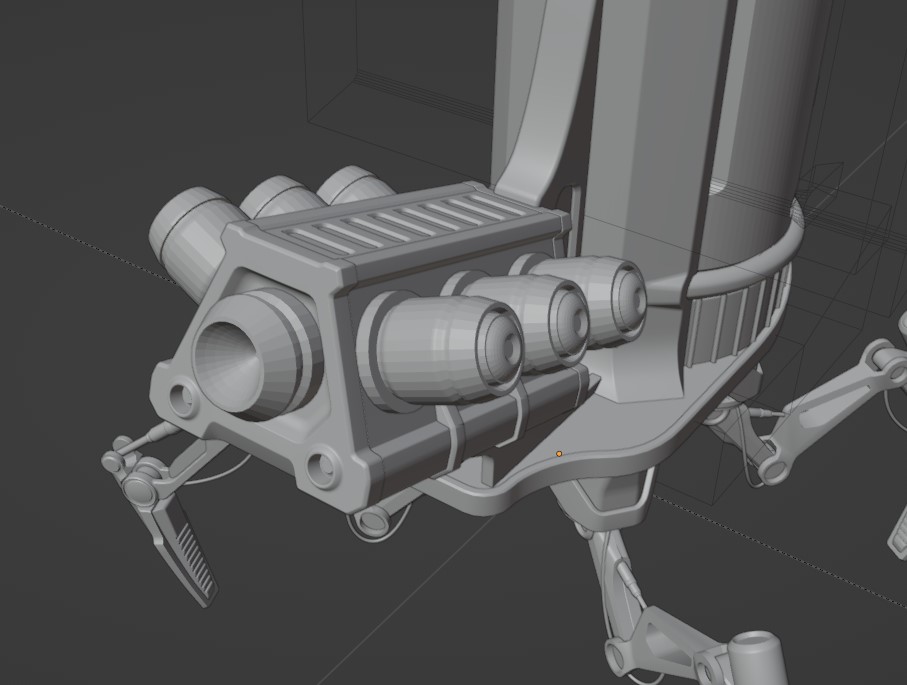

Connecting-platform was a bit tricky since it had to combine rather distinct shapes. I’m still not very fond of the backside.
During my clicking-through-collections, I noticed that when the blockouts overlap, they create a new and rather interesting version of the drone. So a decision was made to push this idea further.
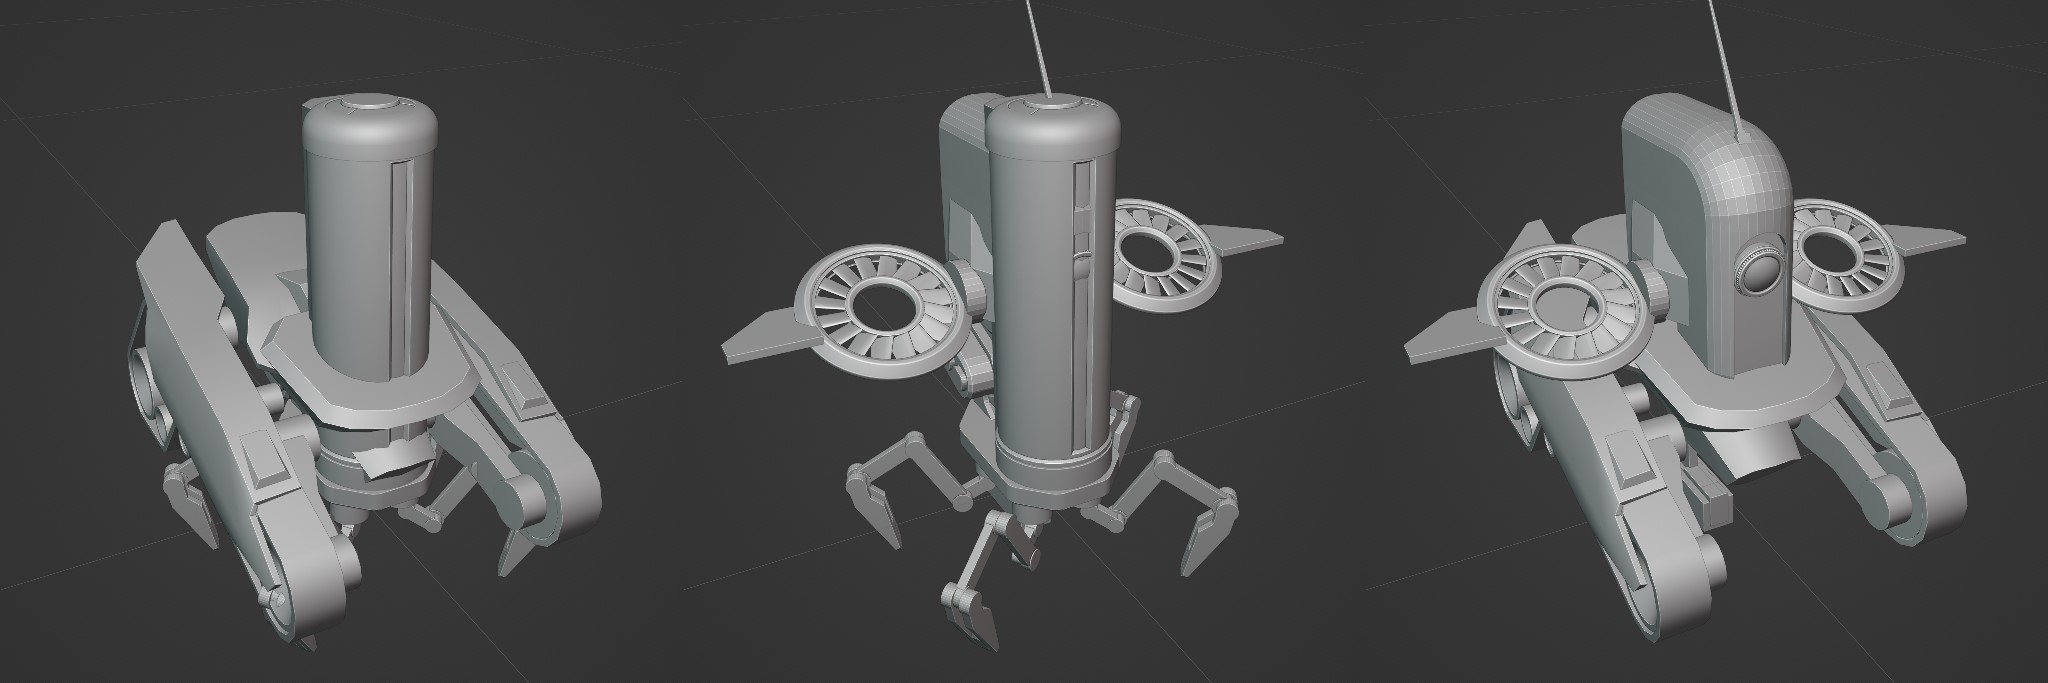
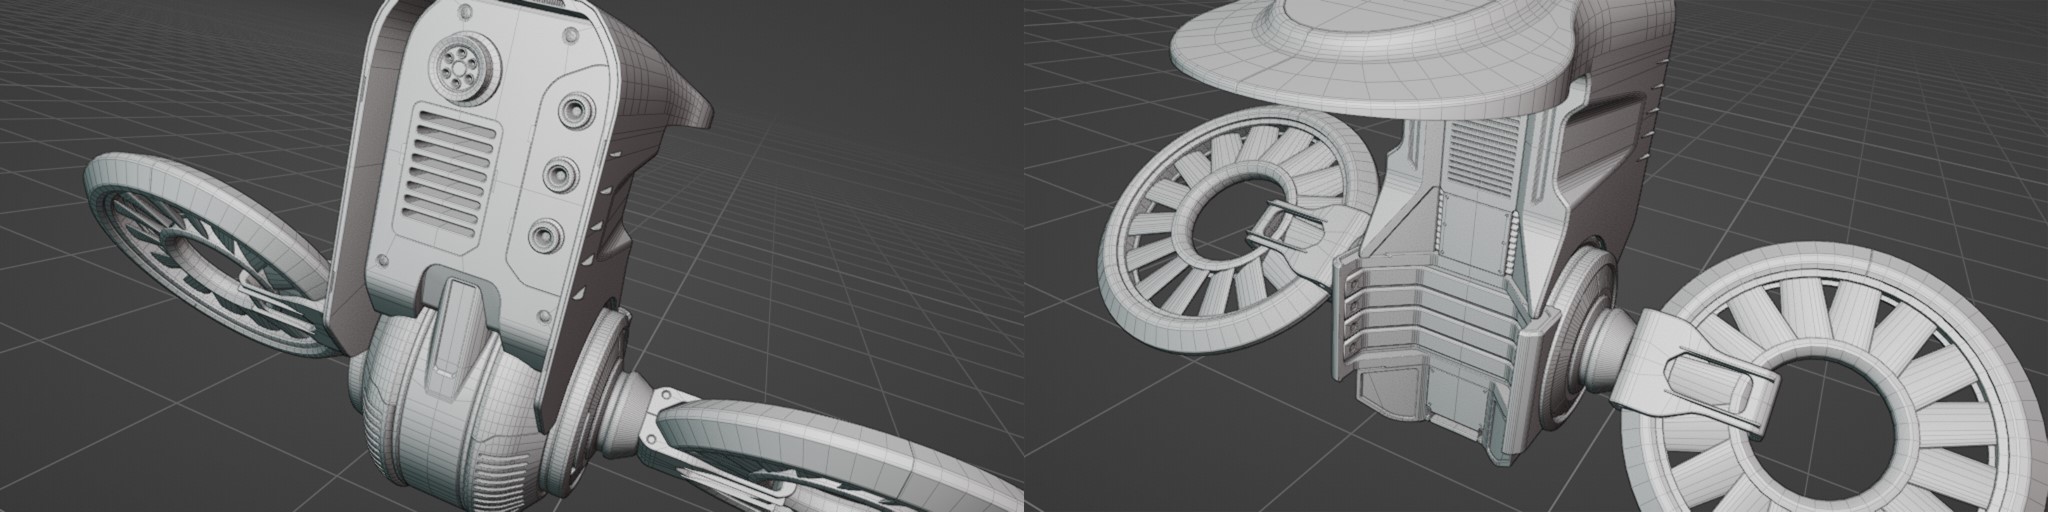
Fans on the sides looked nice. All I had to do was reshape the connecting piece, cut out a cylinder shape where the bot’s head would sit, and round off the bottom. Now all I had to do was make it look like an engine.
Workplace organization
Since these kinds of models consist of multiple parts, I start to organize everything into collections as soon as possible, which makes finding, hiding, and instancing specific parts easier.
Whenever I move on to a new stage, start working on a new part, or apply some modifiers, I make a new file iteration. This allows me to maintain access to previous versions. You have to get destructive eventually, and it is relieving to know that you will be able to move back.


Design iterations
For this project, there was no concept art. Design evolved with each step. Thus, adjustments were made while I was modeling. Since I had to deal with loads of design iterations and unintended changes in my experience, I have found tools and methods that allow me to adjust design even after I have gone destructive. Deformer modifiers, like displacement, surface deforms, shrink wraps, and hooks, combined with vertex groups and shape keys, allow me to do precise deformations and make tools to do corrections, while MESHmachine is irreplaceable for operating with bevels.
Manipulating with normals
I enjoy working at the midpoly level, where the weighted-normals modifier is very handy, but it struggles with a very dense geometry, especially when there are small, curved faces next to bevels. Then, you need to do some tweaking manually. Once I discovered the normal panel, my life changed. Making custom normals was fun and artifacts were no longer an issue.
Normal operators can be found under mesh>normals. They are very useful tools to set custom normals. Some of the most often used during this project are:
- Set face strength—used in conjunction with weighted-normals to manually set which faces are strong and which are weak.
- Set from face—creates normals for selected faces as if they were “strong.”
- Face area—to place weighted normals in edit mode.
- Split/merge—is just for placing and removing sharp edges.

Presentation
I will combine materials, cameras, lighting, and rigging under this section because all these steps were meant to show off the model.
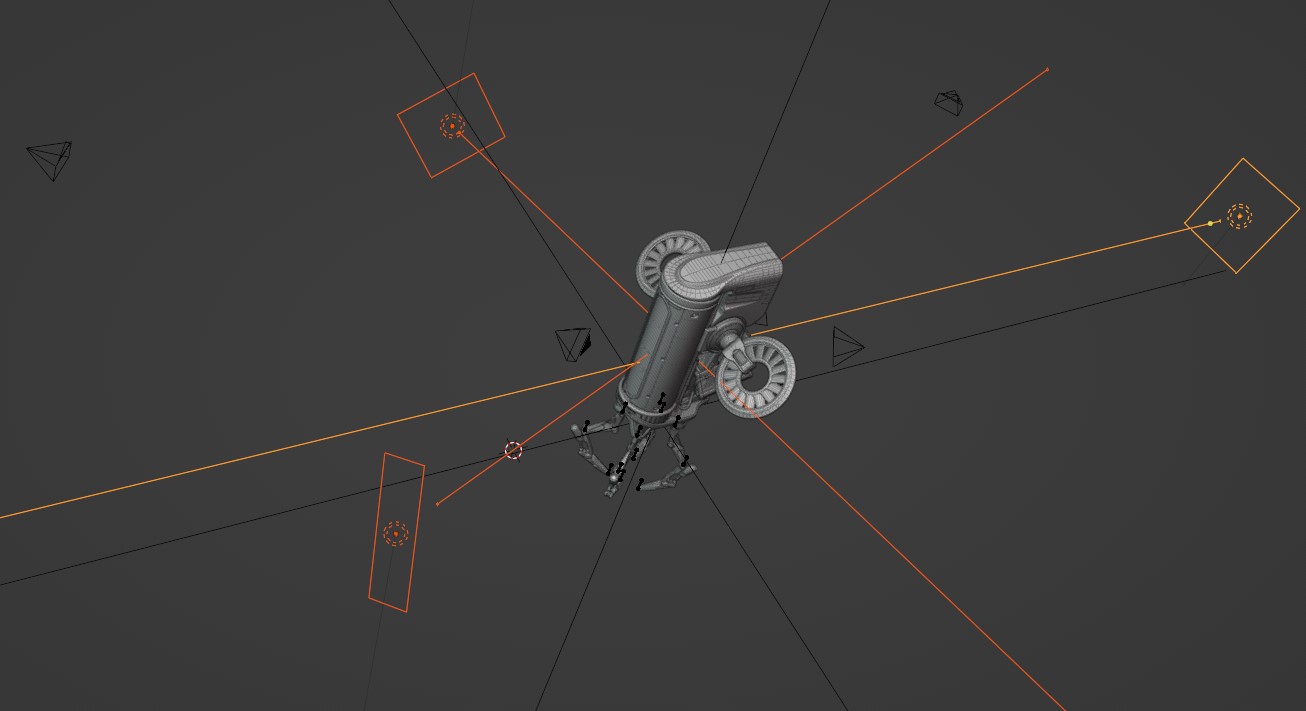
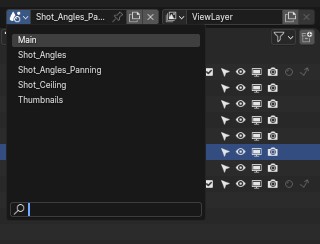 I wanted to make multiple shots from different angles. Maybe in different environments, maybe some animation. This time, I contained everything in a single file. Why not? Fewer files to manage. So, I made multiple scenes that had somewhat unique lighting and camera setups, but all linked to the same model.
Picking up camera angles early helped me find areas where I should focus and where I should not invest my time. Usually, it was like, “It’s a great shot, but there is something missing.”
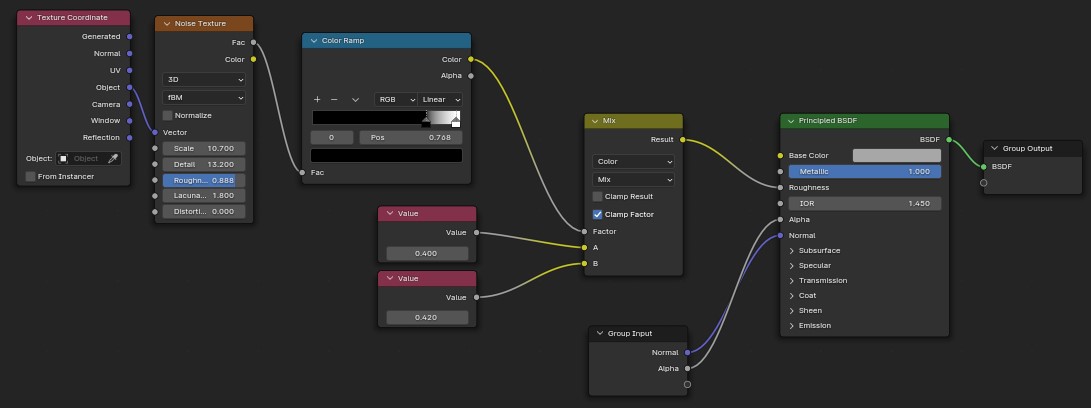
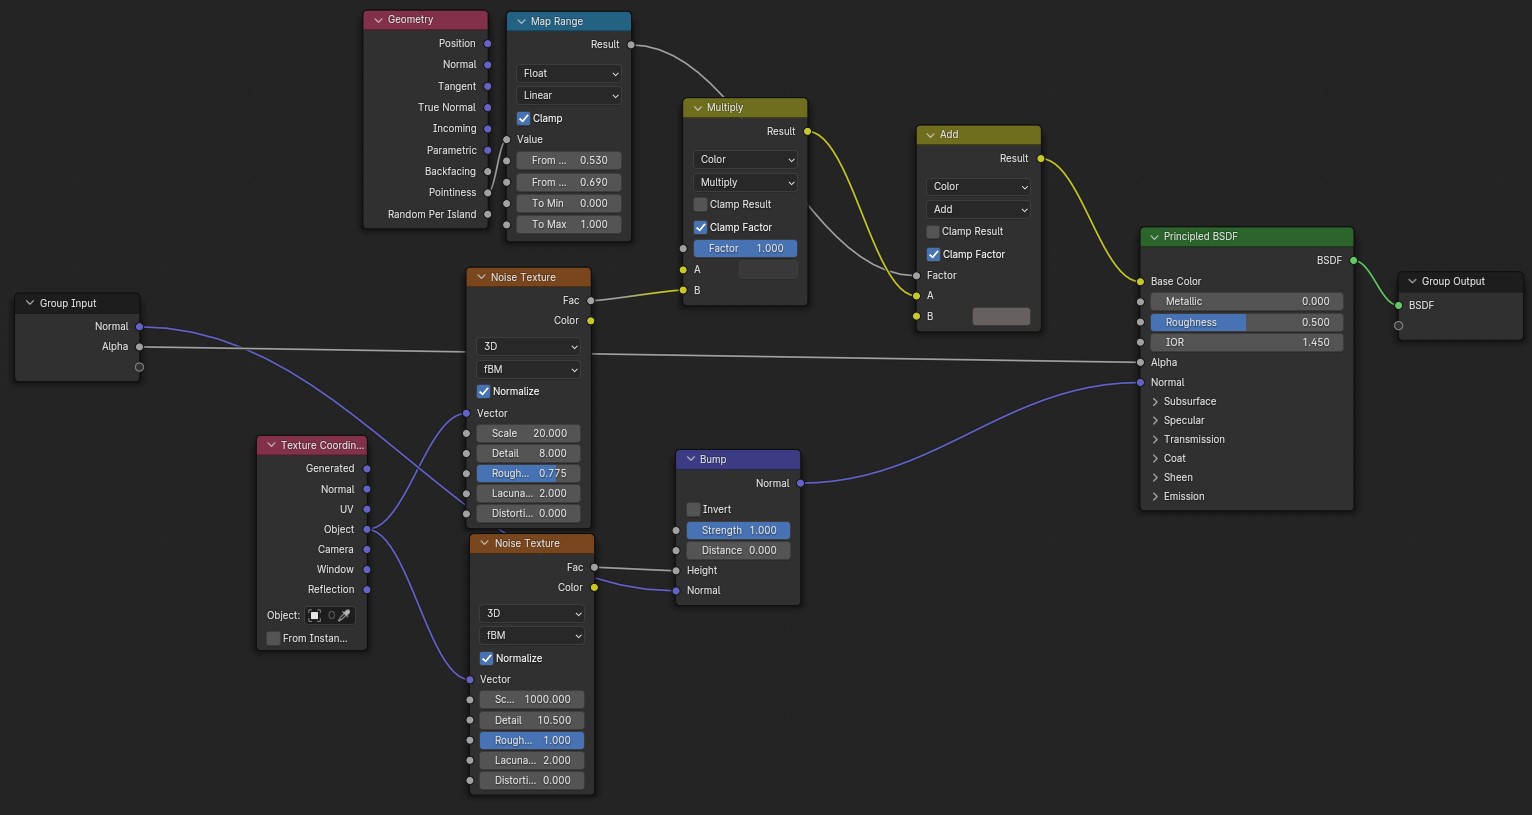
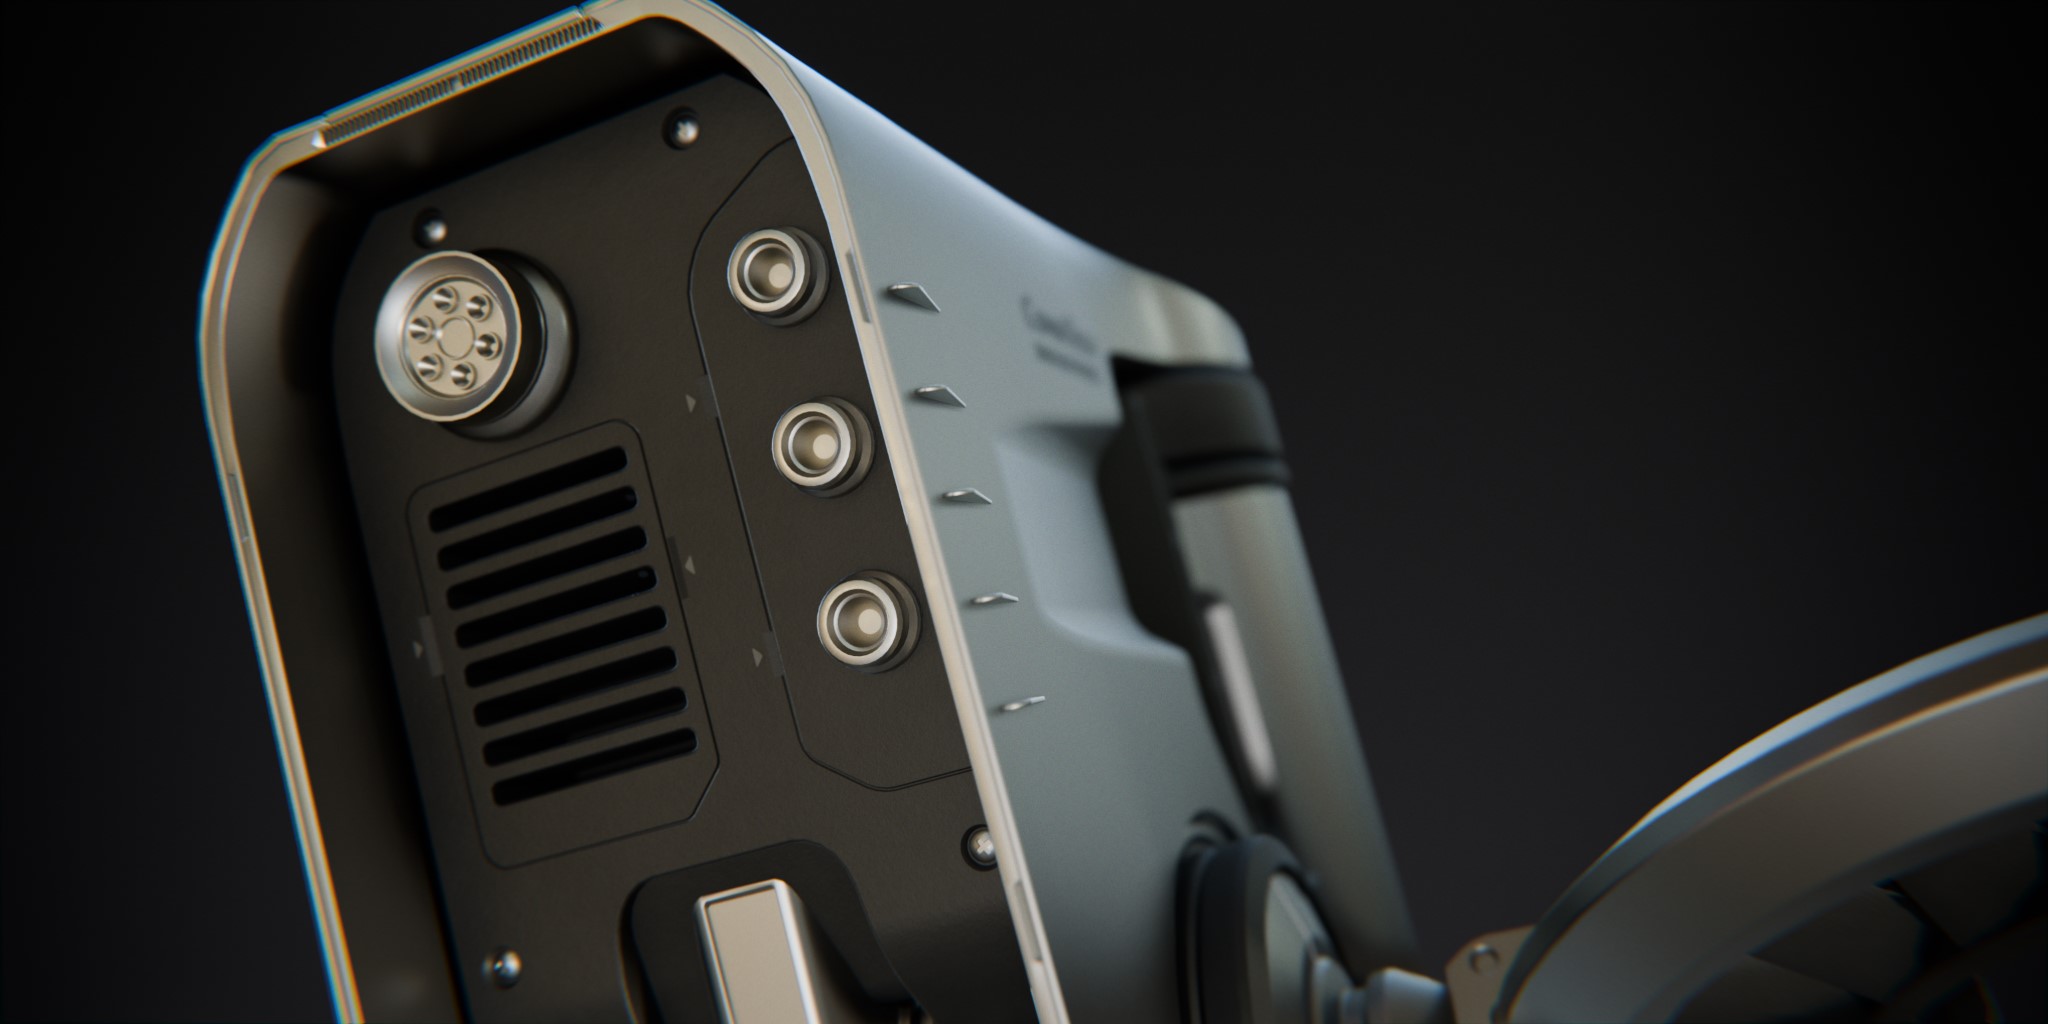
Materials were rather simple. I wanted to stick to a grayish, graphite look with very little color to show shapes, not how crazy I can get with colors. The bot had very few materials—steel, polymer, and glass. Since there were large and clean areas, simple materials felt too boring. So, I added some details to the materials. For the metal, I added faint roughness noise. For the polymer, I used small grain.
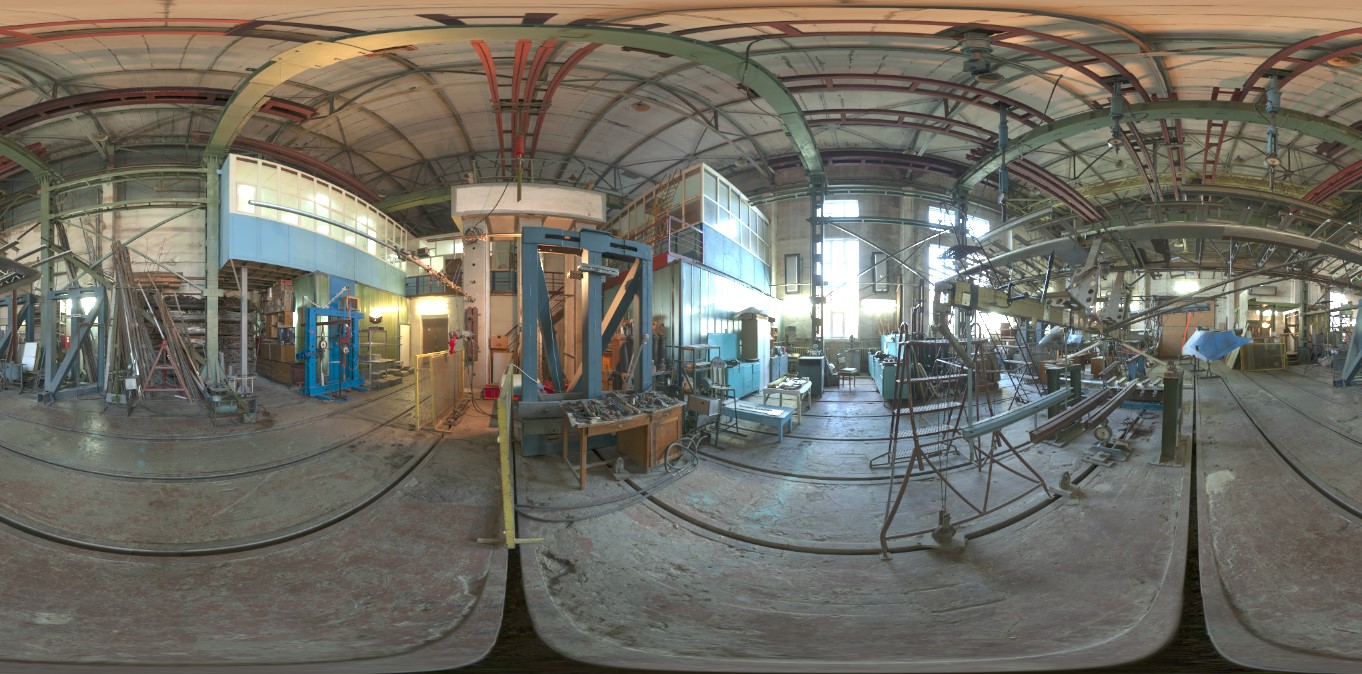
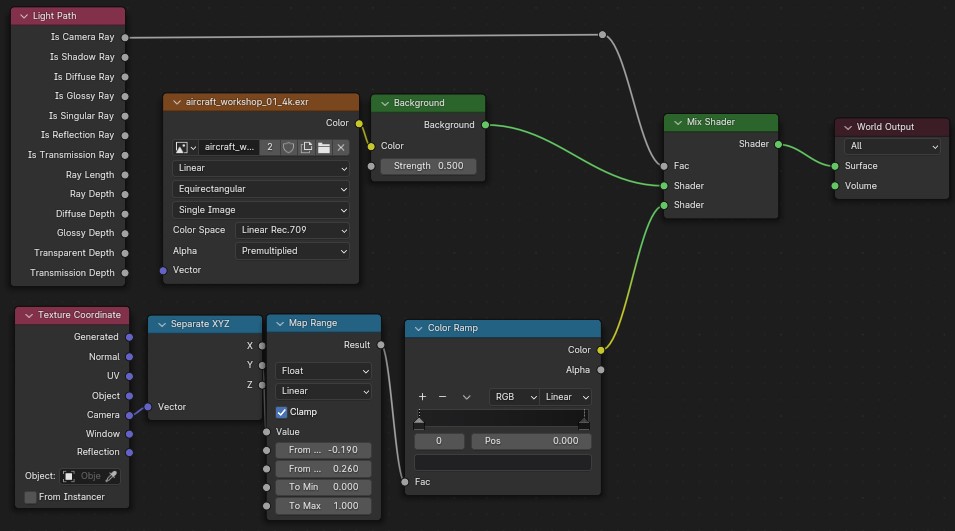
I picked an HDRI from Hdri Haven that had some industrial vibe. It gave me interesting reflections and faint color variation but as a background, I went for a dark gradient.
The main light source in the scene came from area lights. They had soft highlights and shadows that were not too distracting. Placement was guided by chosen camera angles, and reflected HDRI image. I wanted the bot to be evenly lit from all angles as much as possible.
The scene with the ceiling was a quick and simple idea to show the spidery characteristics of this drone and how it is capable of crawling on the ceiling.
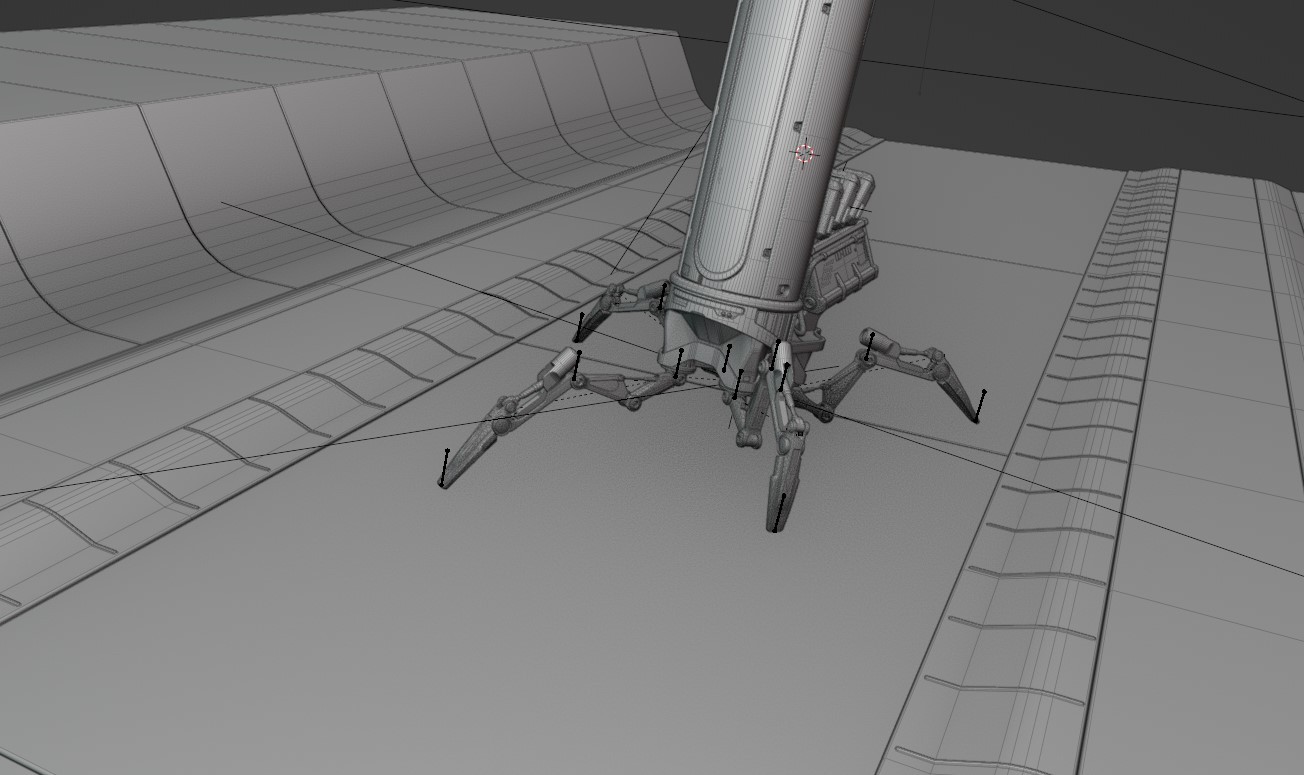
Making the surface was the simple part—make panels, deform them, and add some noisy texture—but the legs needed to be manipulated.

Rigging a single leg wasn’t too difficult, and there was no point in merging if simple posing was all I needed, though a crawling bot would be a pretty cool animation.

Final thoughts
This project scratched my itch for modeling mechanical assets and allowed me to tinker with intricate details. And, during the modeling phase, I was able to zone out and get lost in the flow. But…
I might like what I see, but I must also “sell” my work by presenting it. This is where the headache mostly comes from. Are angles interesting enough? How do I place a vertical asset in a landscape frame? How do I make this work stand out in the ocean of insanely amazing art? And so on. It feels that ⅔ of this project is taken by presentation and worrying alone.
Yet, I have gained new experience, found new techniques, and sharpened my skill.
RENDER: Swarm Bot
Swarm bot from different angles:

A 360-degree view of the swarm bot model:
The progression of the swarm bot model from blockout to final design:


Thank you for reading my article, and I hope you enjoyed it! Feel free to ask questions on my social media. Have a great day!
About the Artist
Janis Eidins is a 3D game artist from Latvia with 10 years experience in the game development field, currently working at Polysquid Studios.