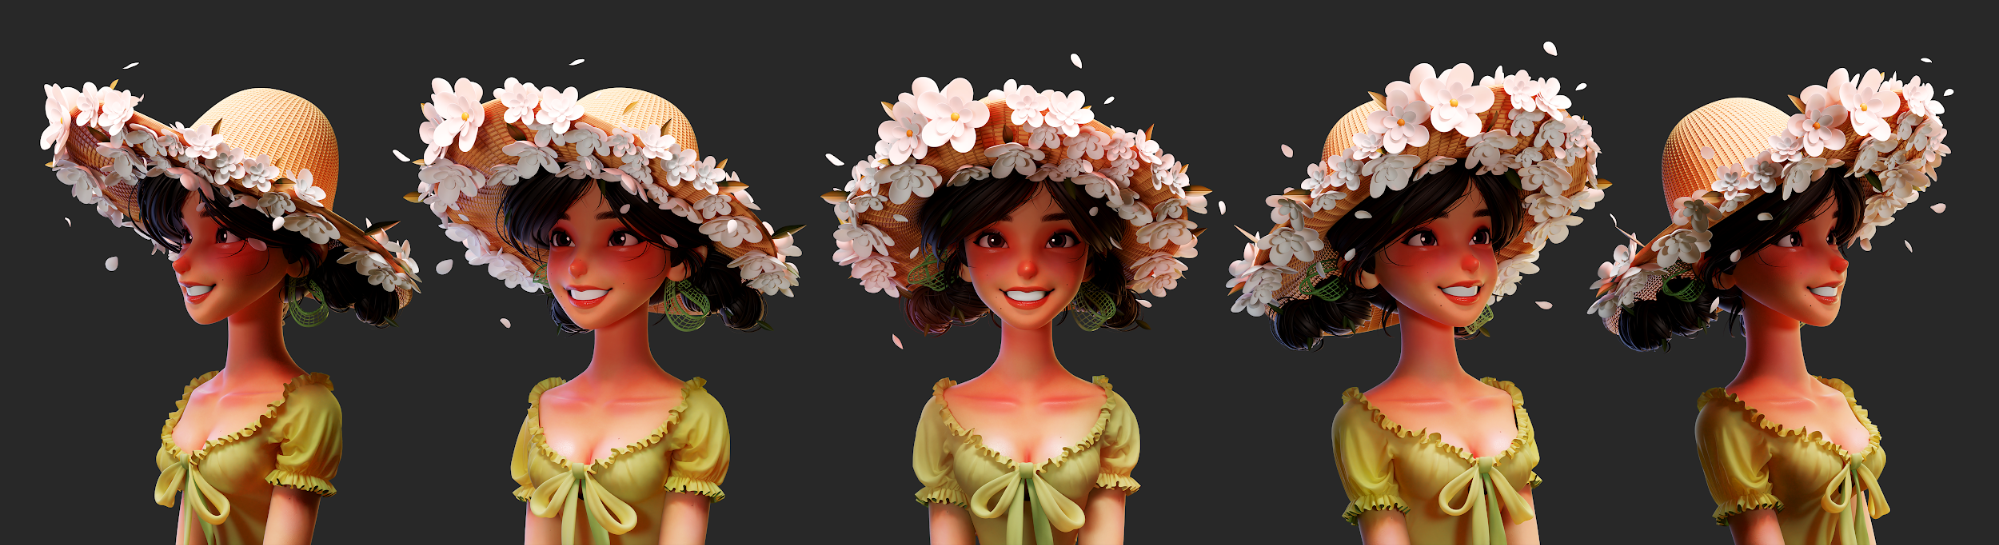
Behind the Scenes: Summer Girl
Hello! My name is Min Jeong Shin and I’m a character designer and a 3D artist. I’ve lived in Korea for my whole life. I love creating 3D characters. You can check out my works on my Instagram.
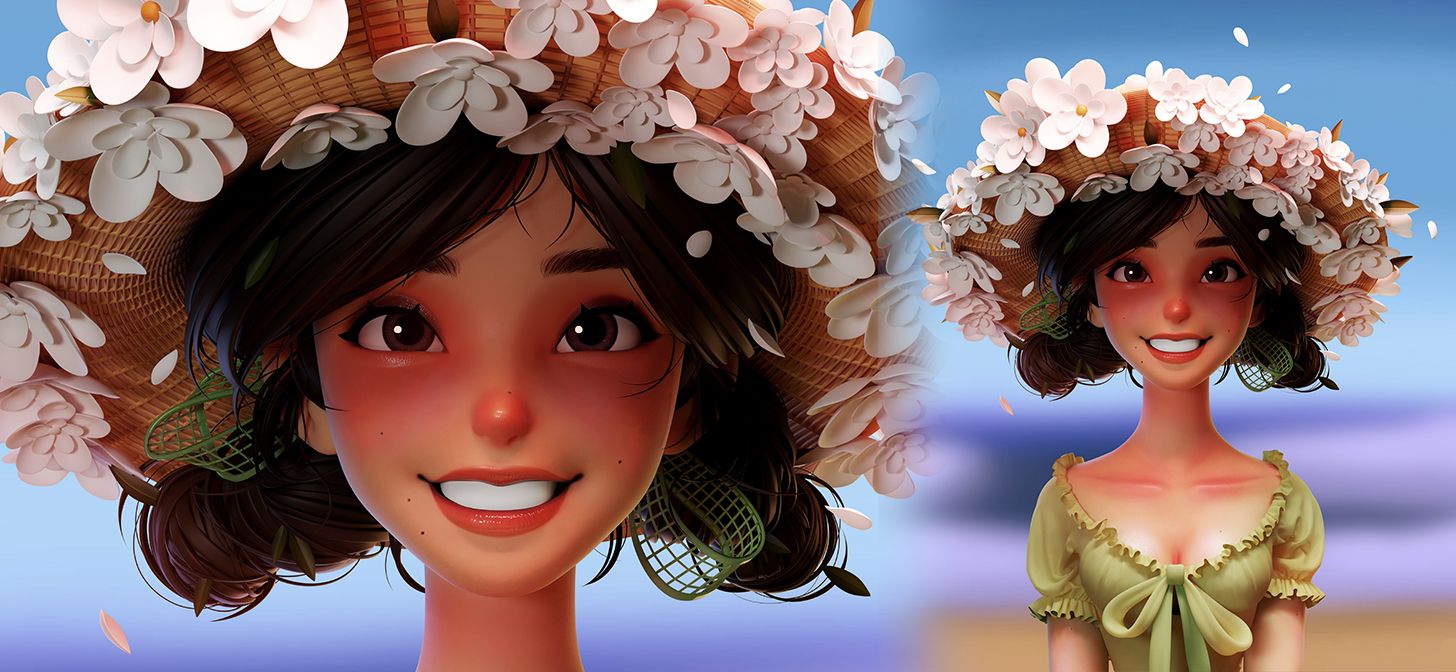
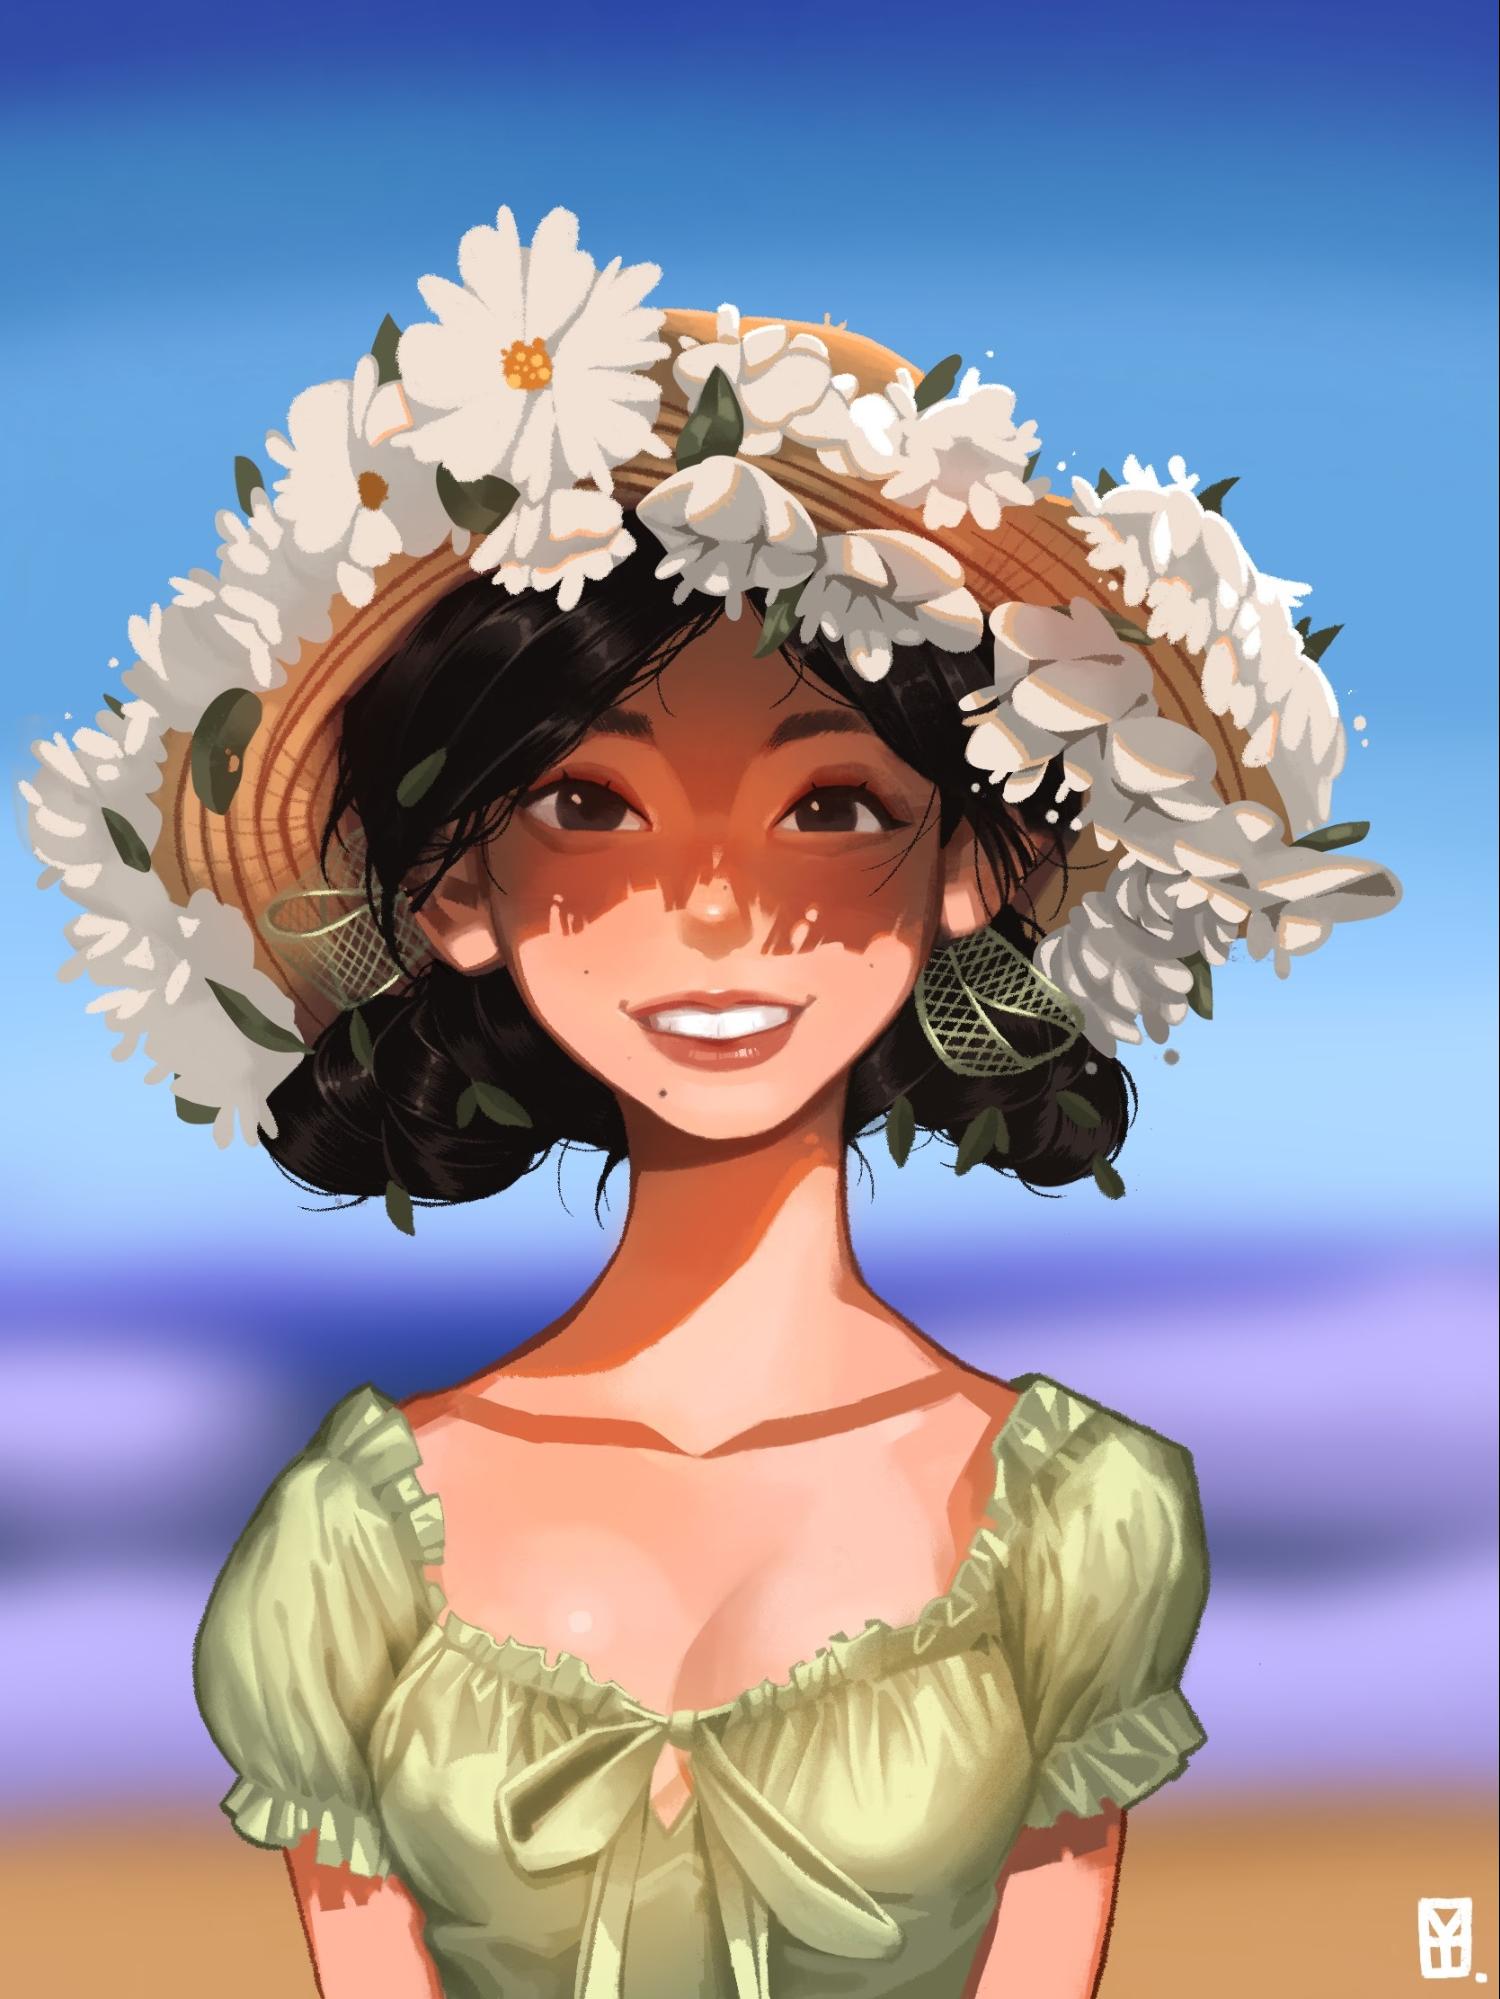
If I ever find a 3D character that I like, I enjoy recreating it in my own style. This project was inspired by an illustrated art piece by my friend, Han Bin Yoon. If you want to check out Han Bin’s original work, you can take a look at his Instagram. I sincerely recommend it—it’s truly amazing.
In this article, I’ll simply write about my workflow and the techniques that I use. I learned some of the techniques on YouTube and will share the links to the videos. It will be faster to understand the techniques by watching the videos than if I explain them myself.
I have a workflow like this: Sculpting → Retopology → Rigging(Posing) → Modeling → Mapping → Lighting → Rendering → Editing.
And the softwares I used for this project were Blender, Marvelous Designer, Substance Painter, and Photoshop.
[sponsor id=’qarnot’]
Sculpting
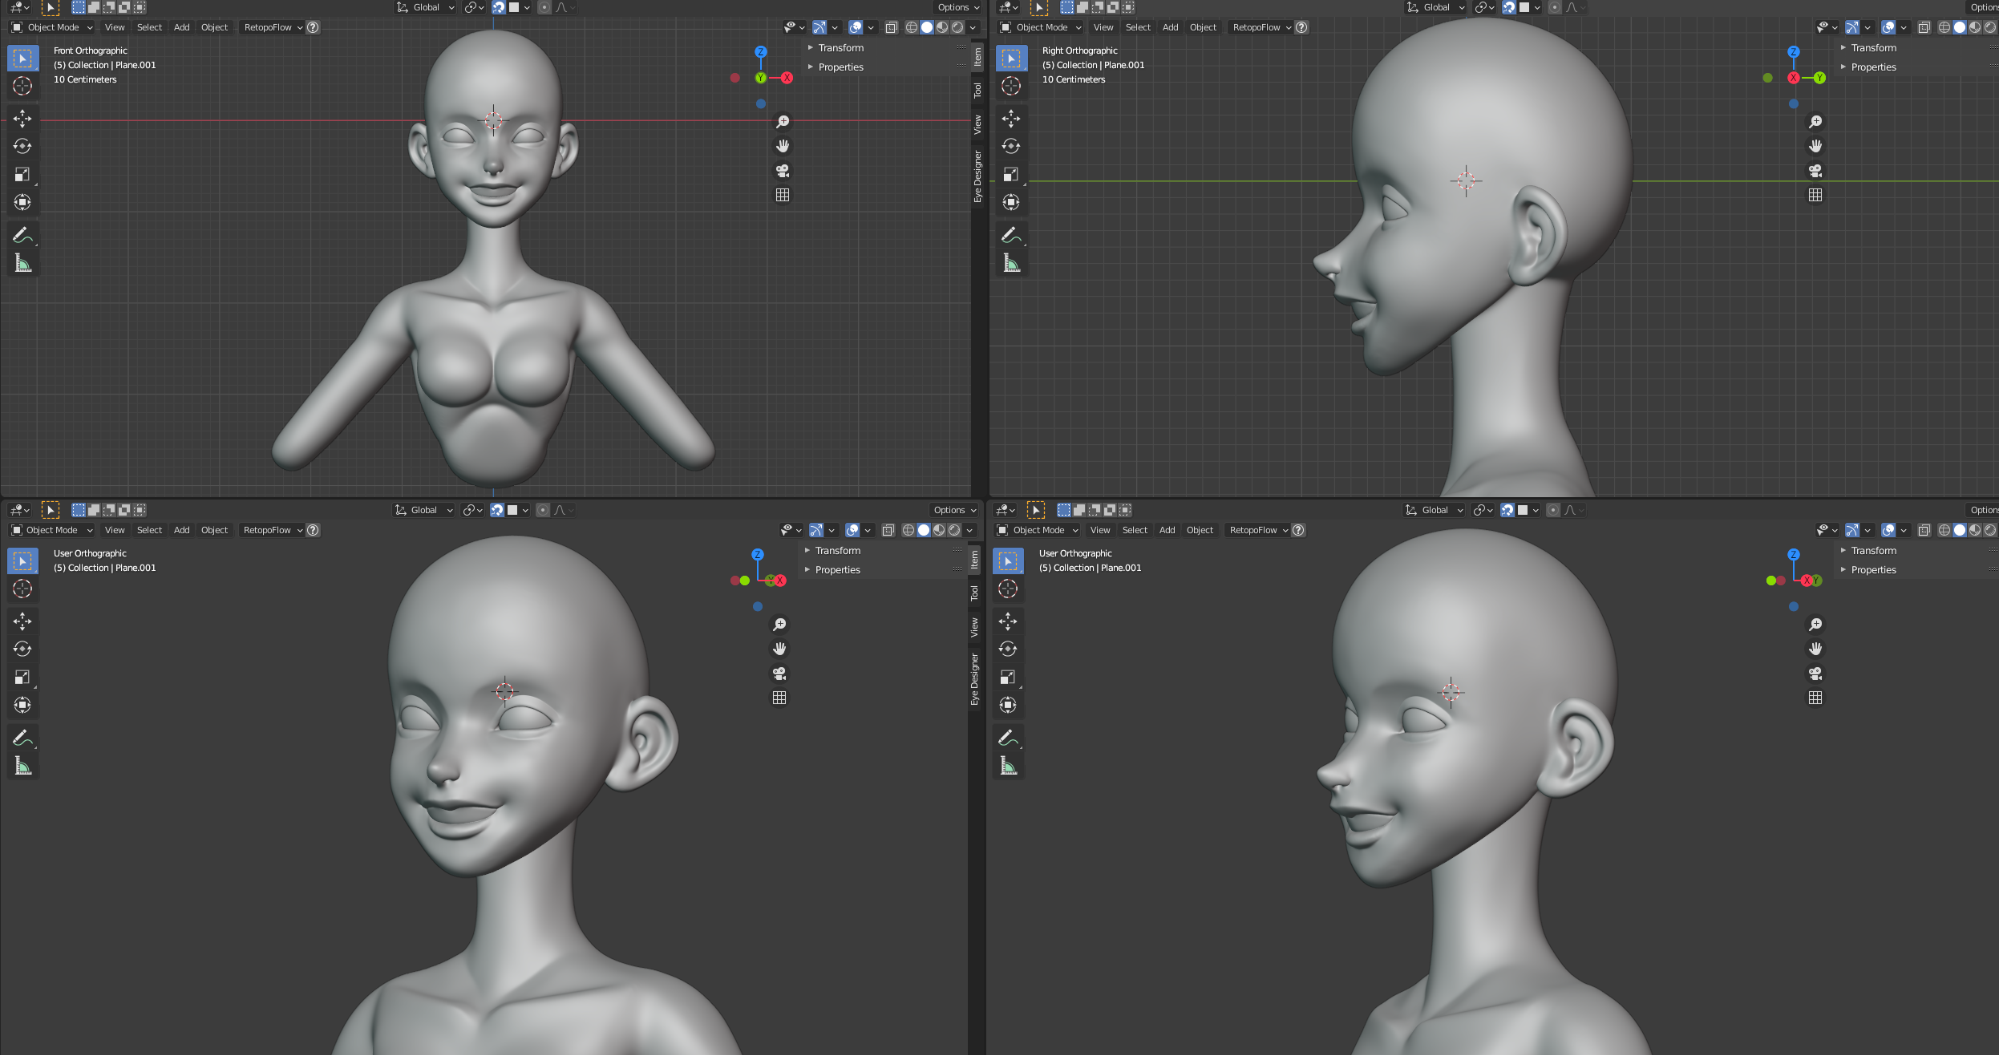
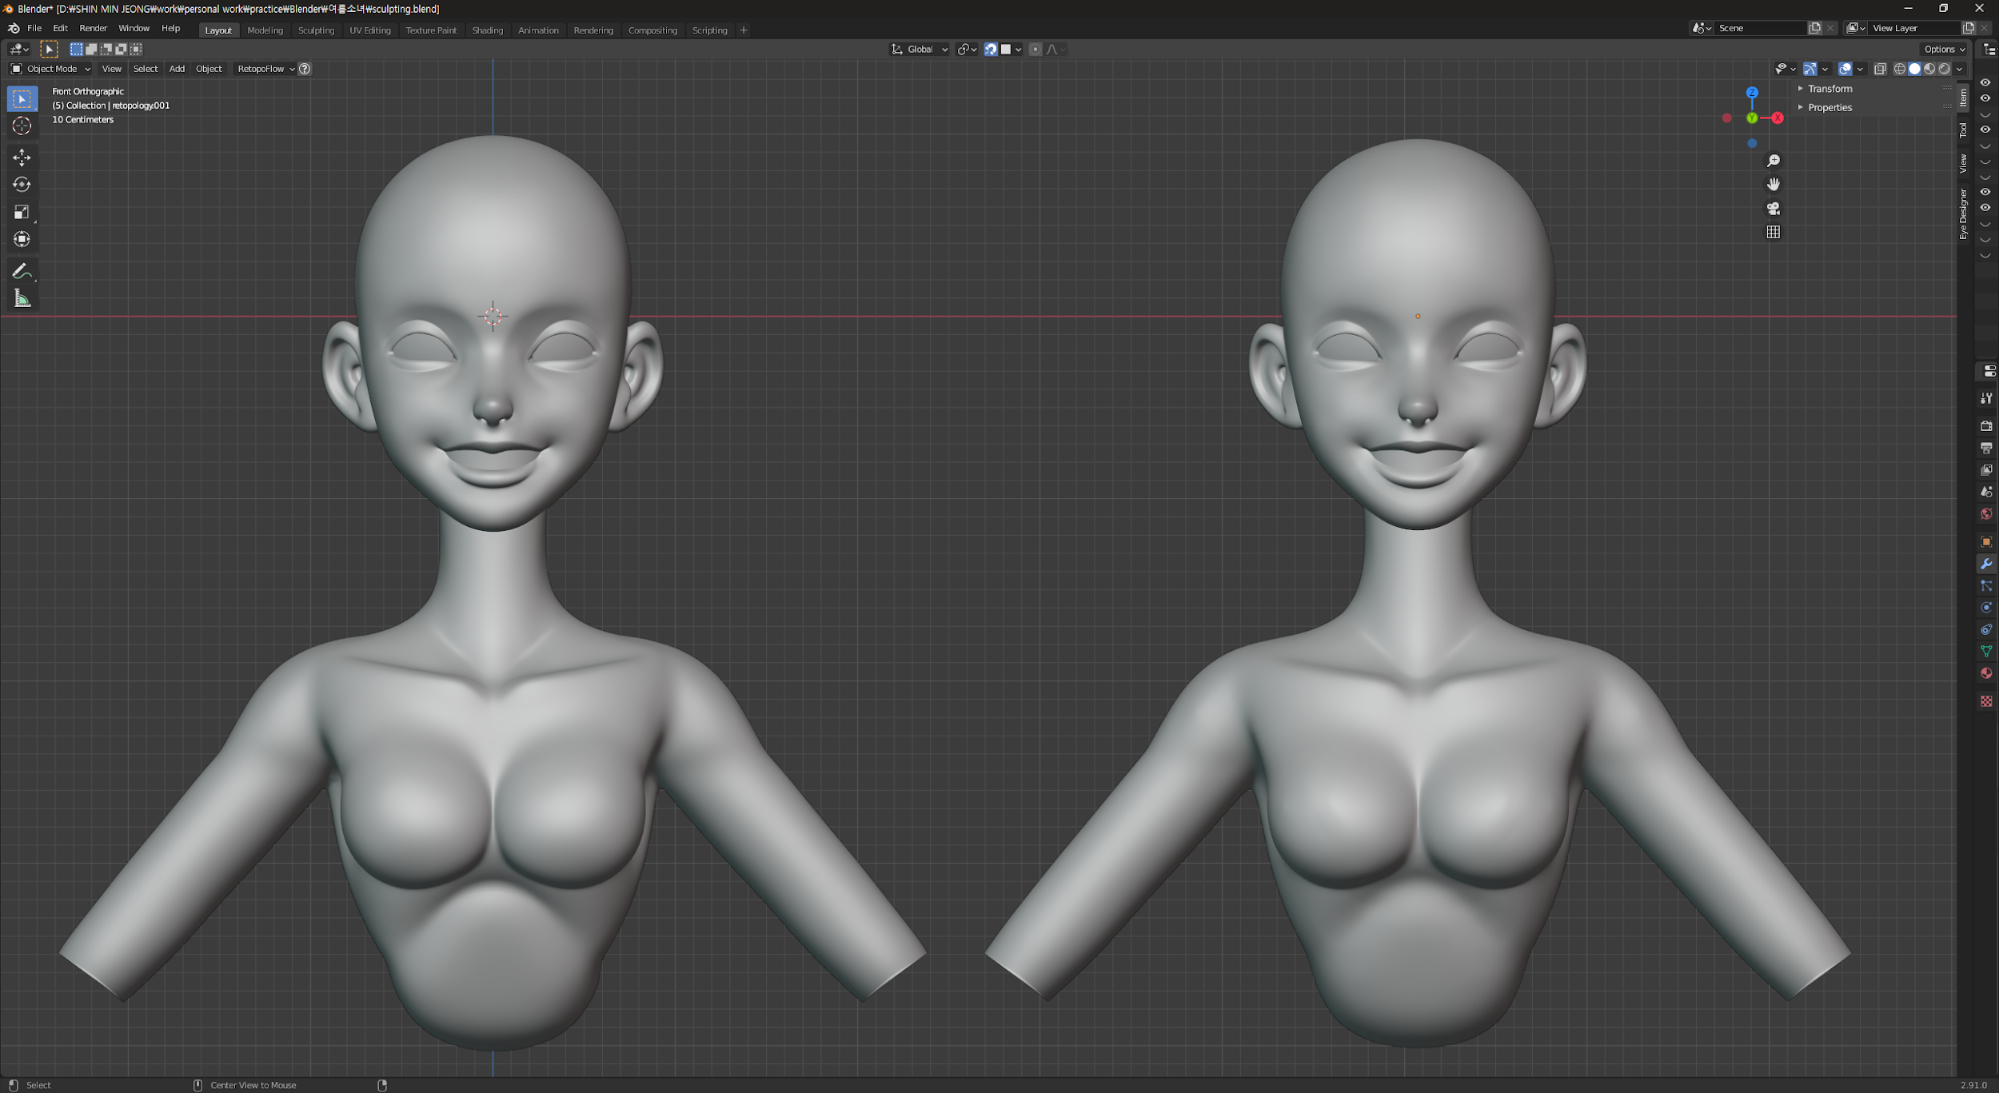
For the first phase, I do the sculpting. I try to catch the details of the original character’s essence. It’s the most important part of creating the 3D character for me since this sculpting part affects the final result the most.
I use the Remesh tool instead of Dyntopo and adjust the voxel size to 0.01 in order to create the basic form of the character. Once the shape is made roughly, I readjust the voxel size to 0.005 to allow for more details. This is approximately what I do with the sculpting phase.
Retopology
My next phase is retopology.
Let me give you a tip for this phase: after the process of Retopology, I utilize the ‘Multiresolution’ and ‘Shrinkwrap’ modifiers in order to transfer the same details from the Sculpting phase to the object in the Retopology phase.
I apply the ‘Multiresolution’ modifier to the retopologized object and I set the target to the original sculpt in the Shrinkwrap. (I personally think that using 2-3 for the Level Viewport in Subdivision is good enough.)
Eyes and eyebrows
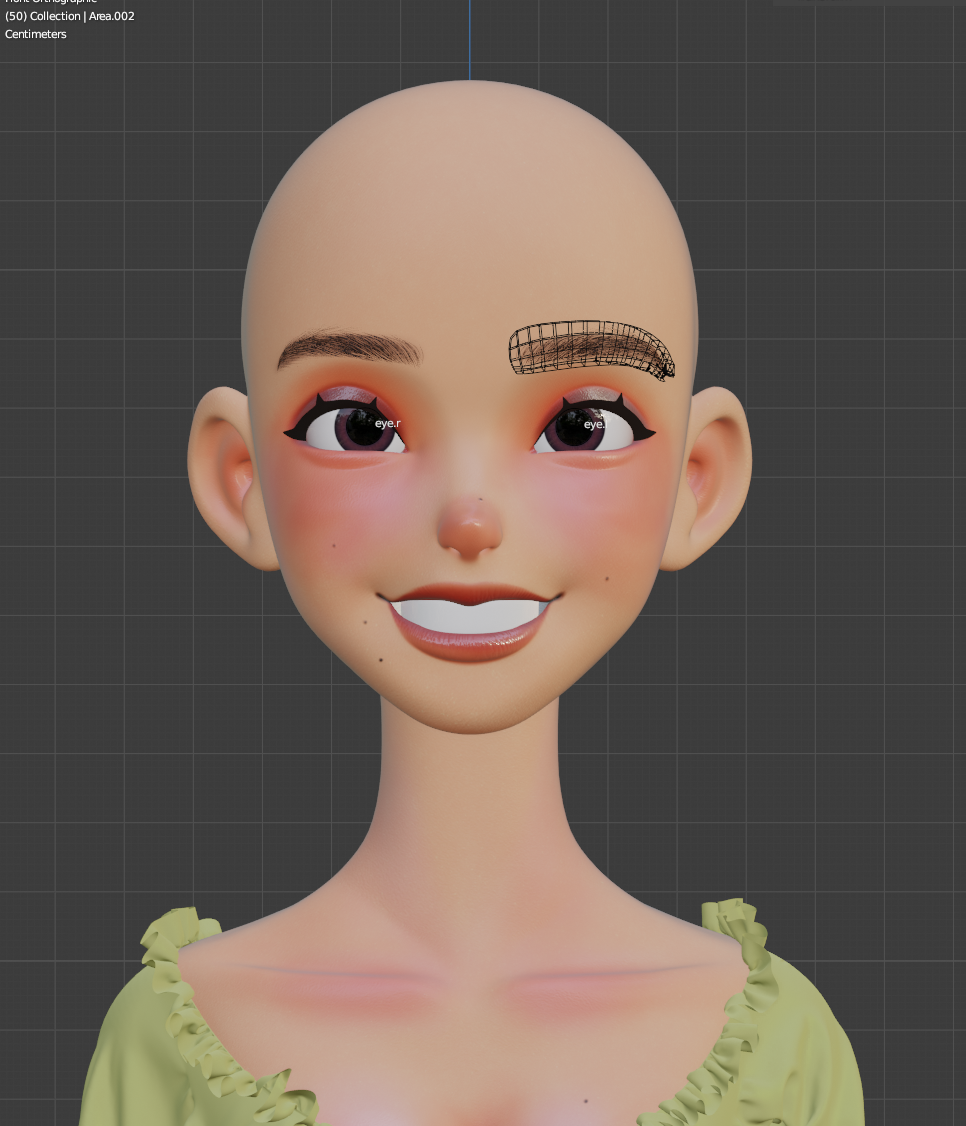
I purchased the resources for the eyes and the eyebrows. I bought ‘Eye Designer‘, created by Danny Mac, on Gumroad for the eye and ‘Eyebrow Pack‘, created by Nazar Noschenko, on ArtStation Marketplace for the eyebrows.
Modeling
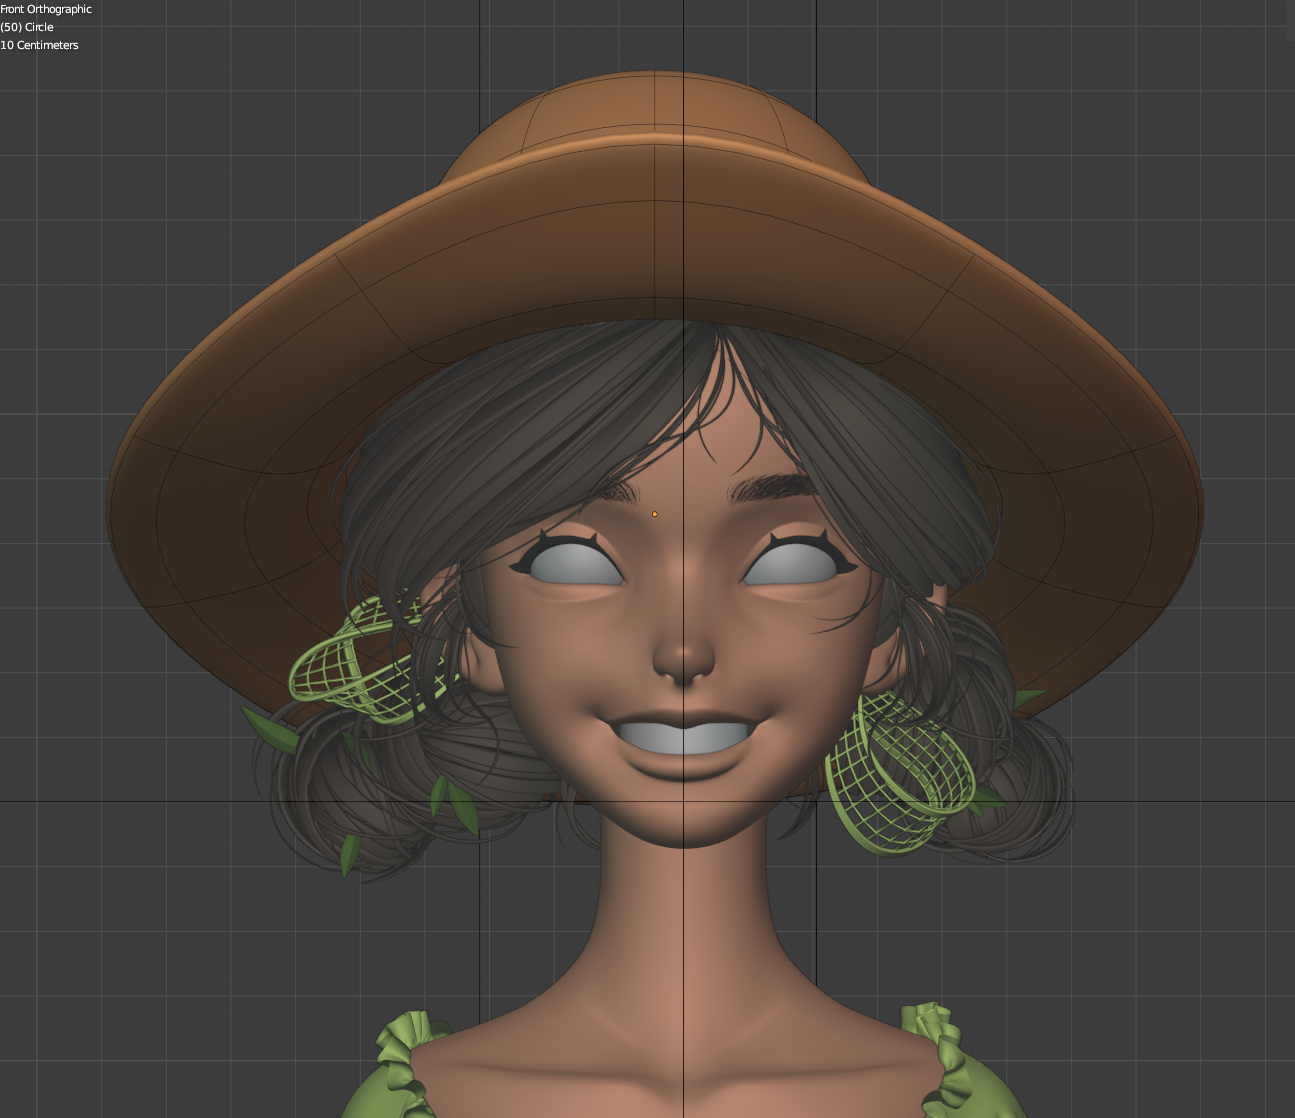
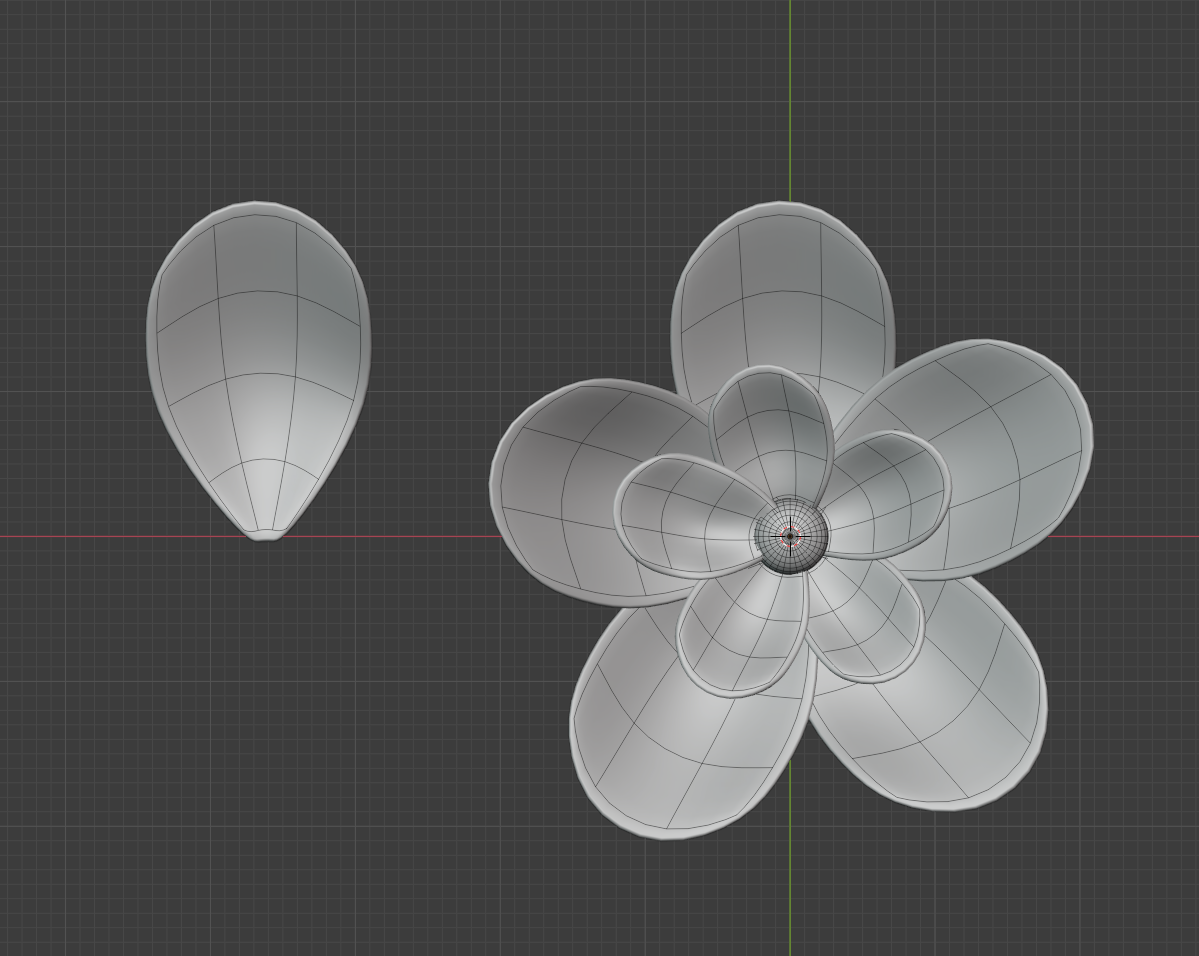
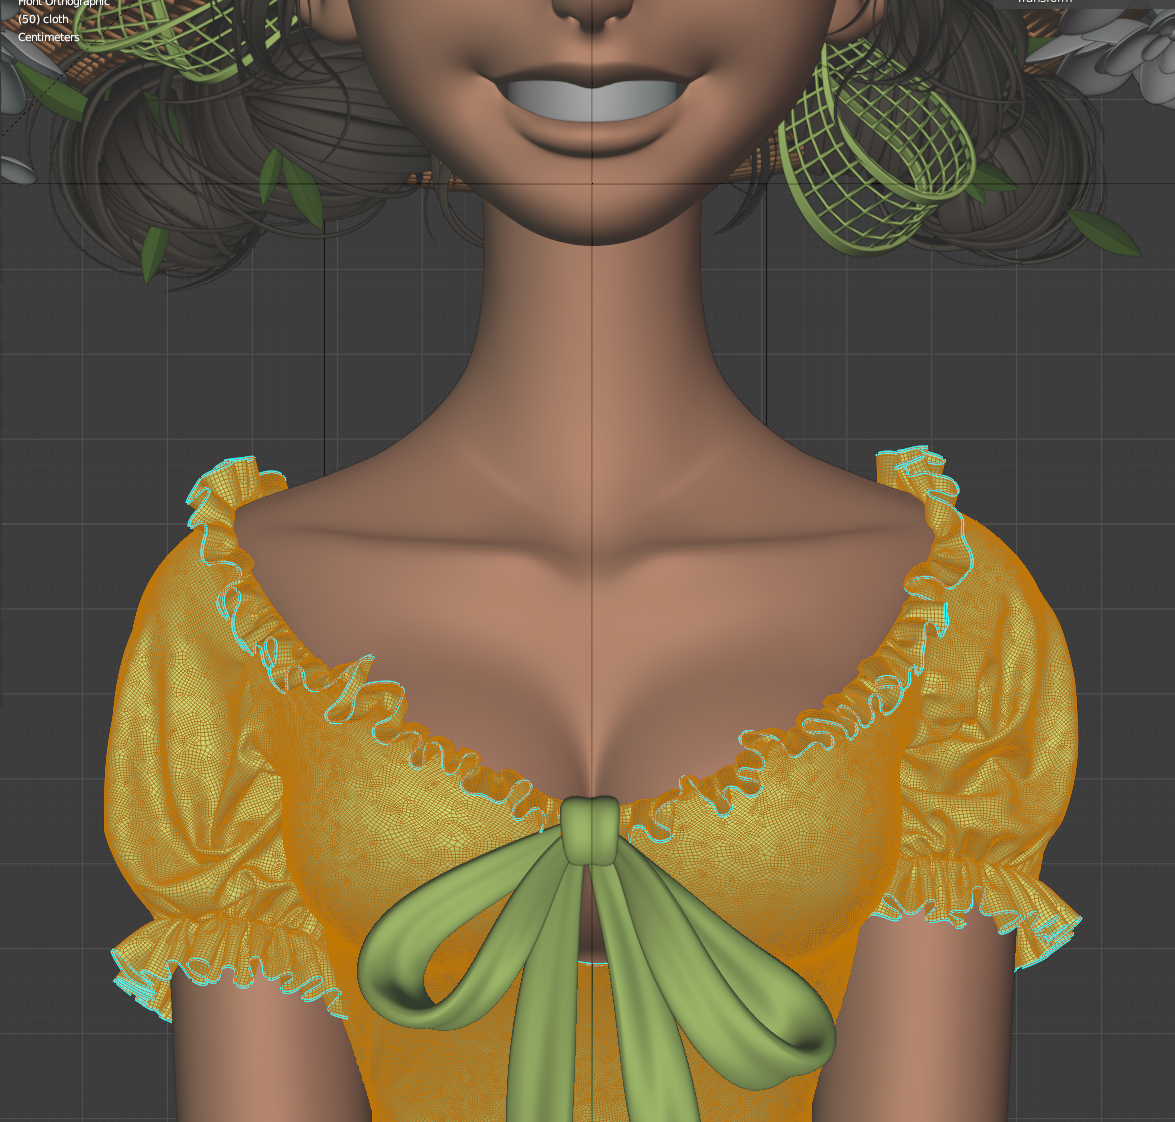
I created the flower and the straw hat using Blender and I created the clothes with Marvelous Designer.
I utilized ‘Subdivision Surface’ and ‘Wireframe’ in order to create the straw hat.
I exported the model of clothes that I had created on Marvelous Designer and imported it to Blender and gave it details in Sculpt mode.
Hair

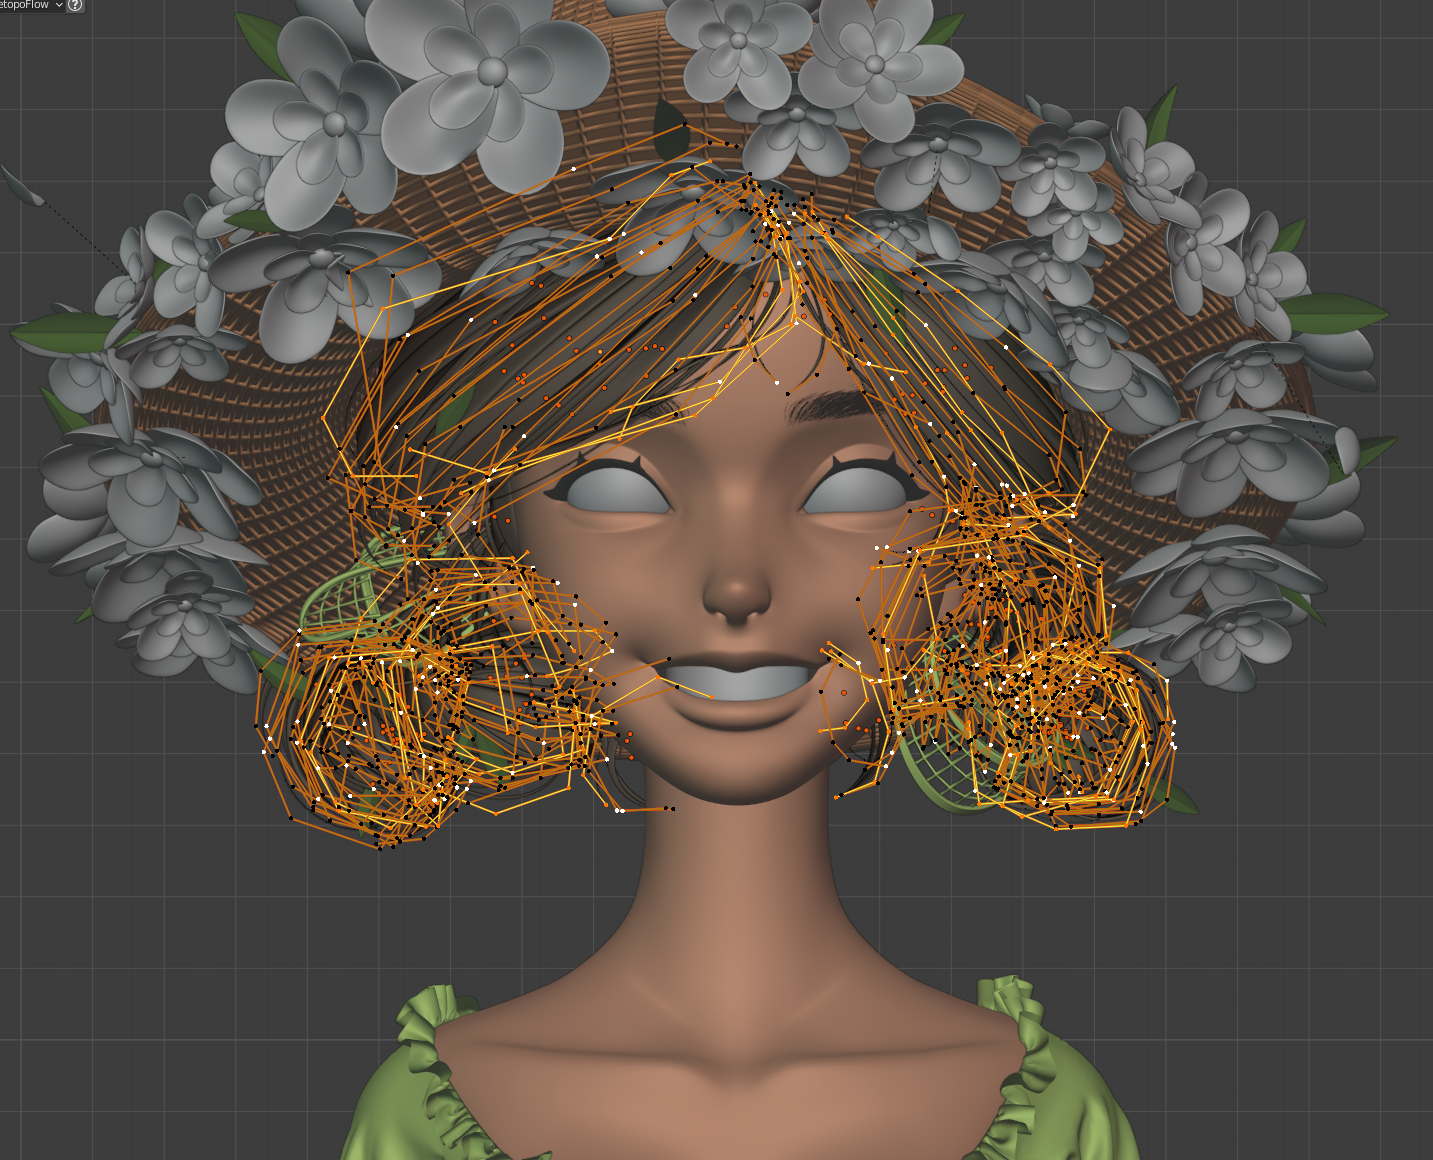
When I create hair, I utilize ‘Curve’ to make the strands. But before that, I sculpt a simple model of the hair. It’s like creating a rough sketch for the hair’s final result.
After this process, I use ‘Path’ from ‘Curve’ to create the strands.
Materials
I’m not too confident about this phase and I feel like I need to study more about it.
I recommend you watch the following videos, which I found super helpful.
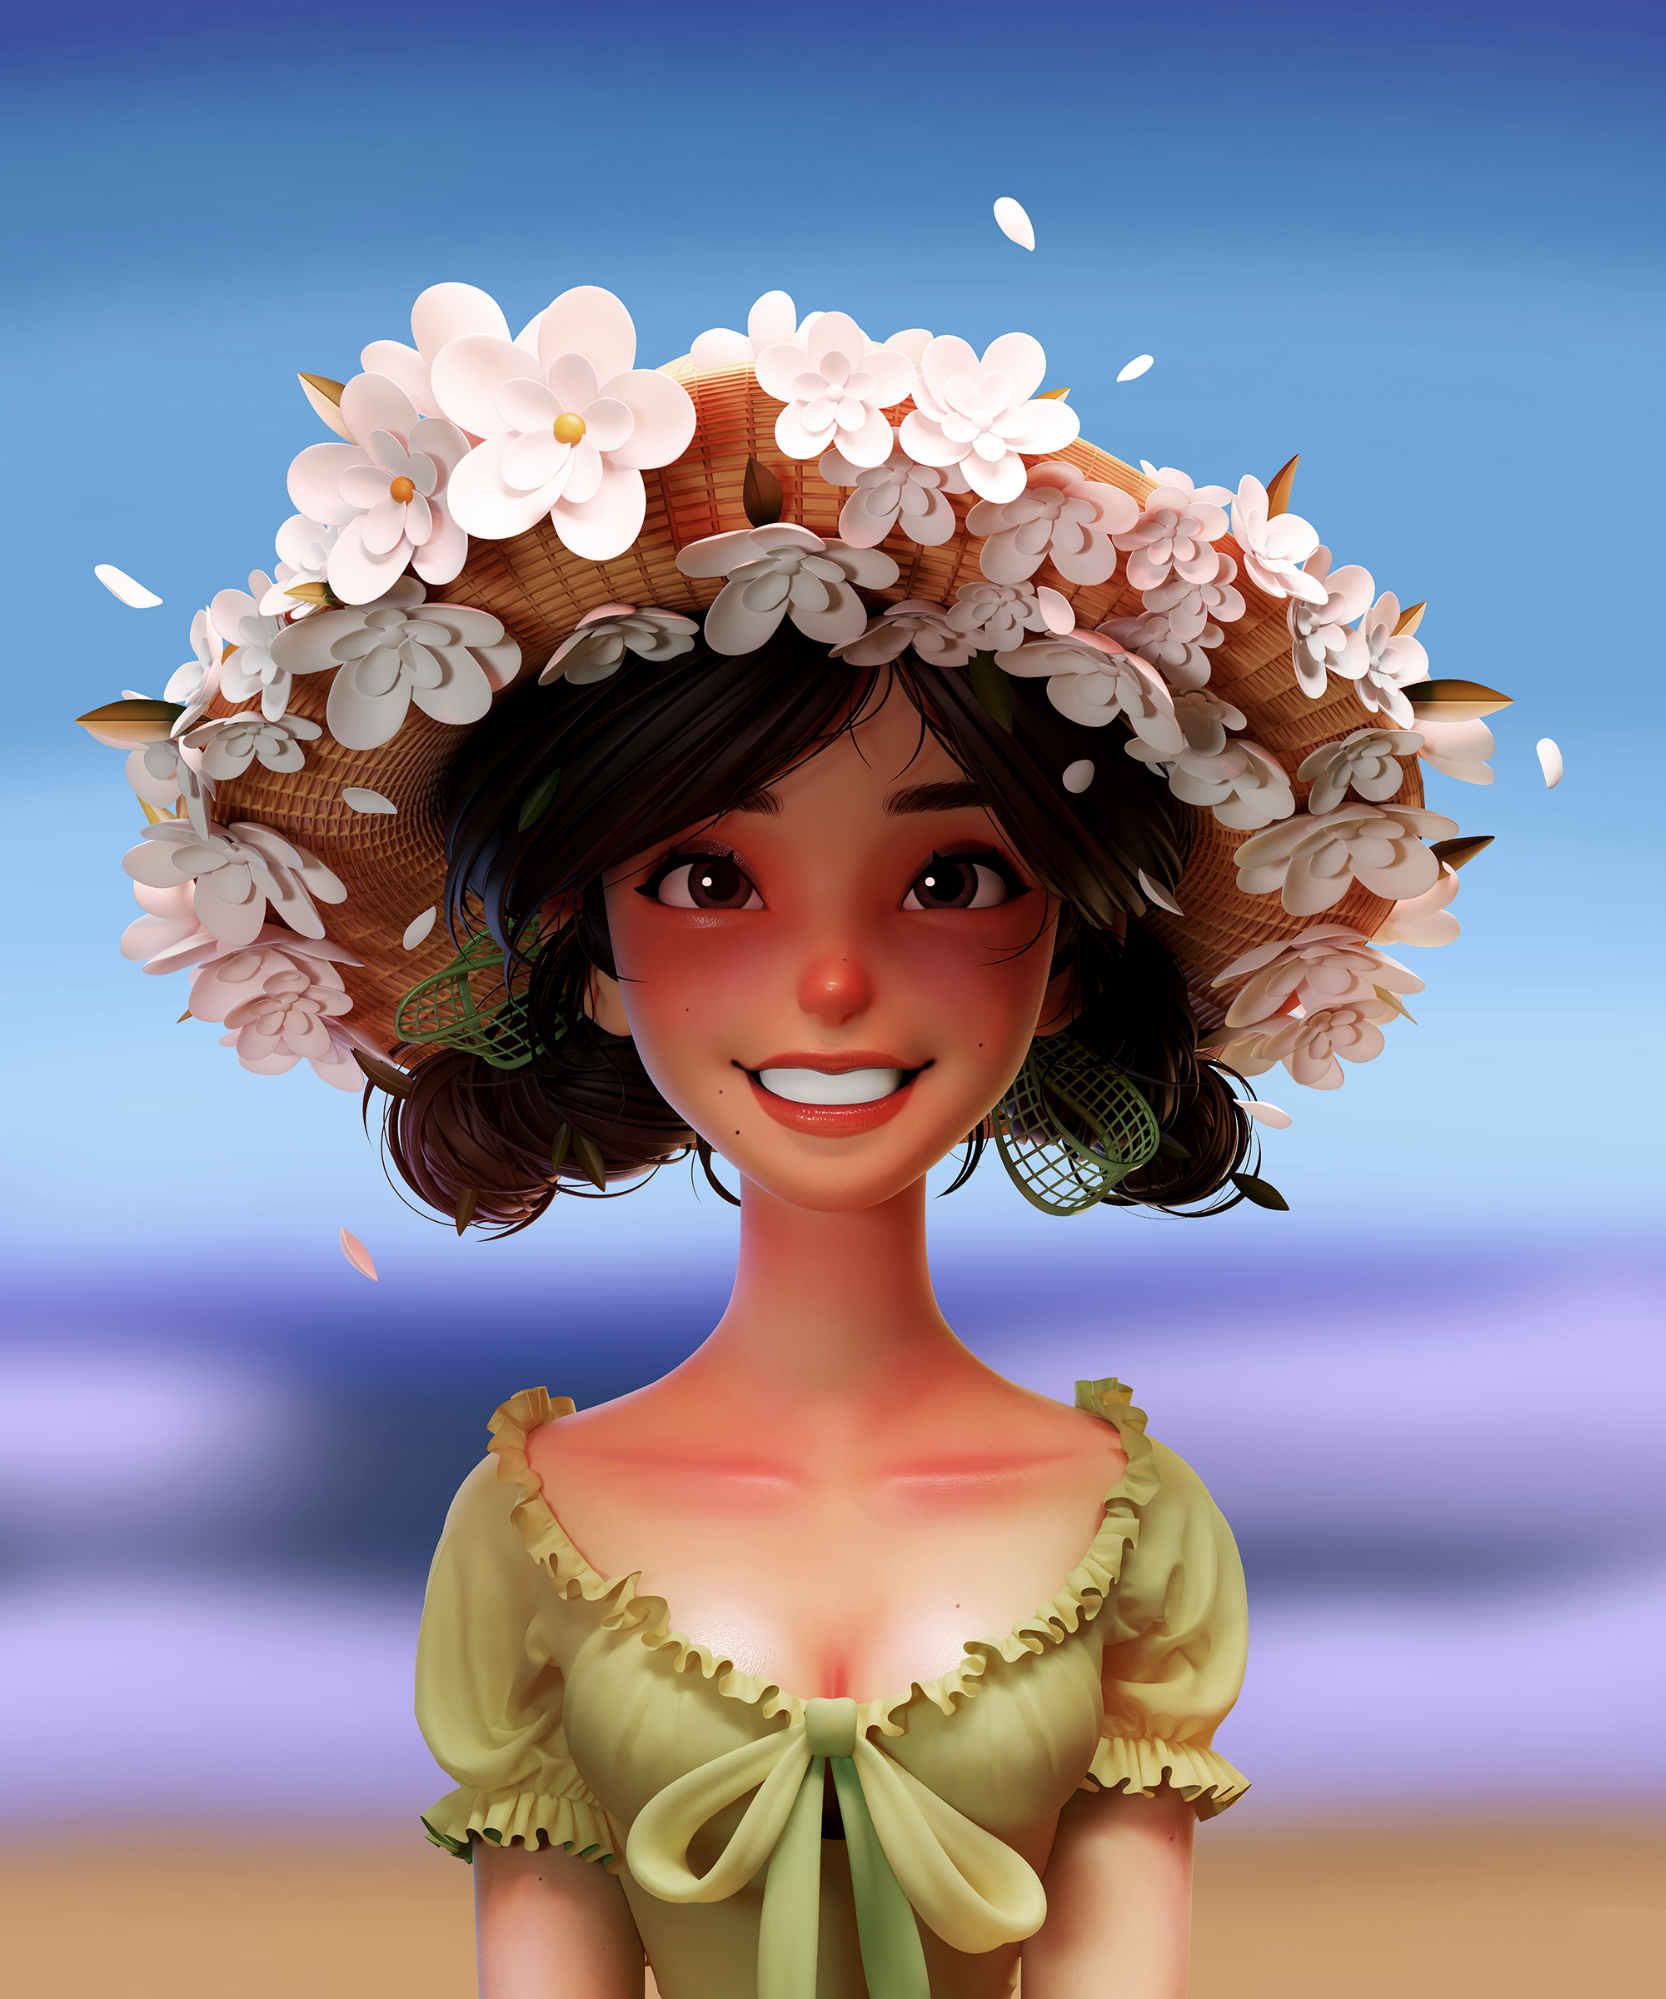
Lighting, rendering

I didn’t really put a lot of effort into the lighting since there’s an HDRI. (You can download and use free HDRIs from HDRI Haven.)
I created the blue rim light on the left and the yellow rim light on the right.
In order to express the strong sunlight of the original image, I placed an orange light that illuminates from the top to bottom.
I used Cycles for the render engine to render the image; creating a large image like this takes such a long time.
Editing
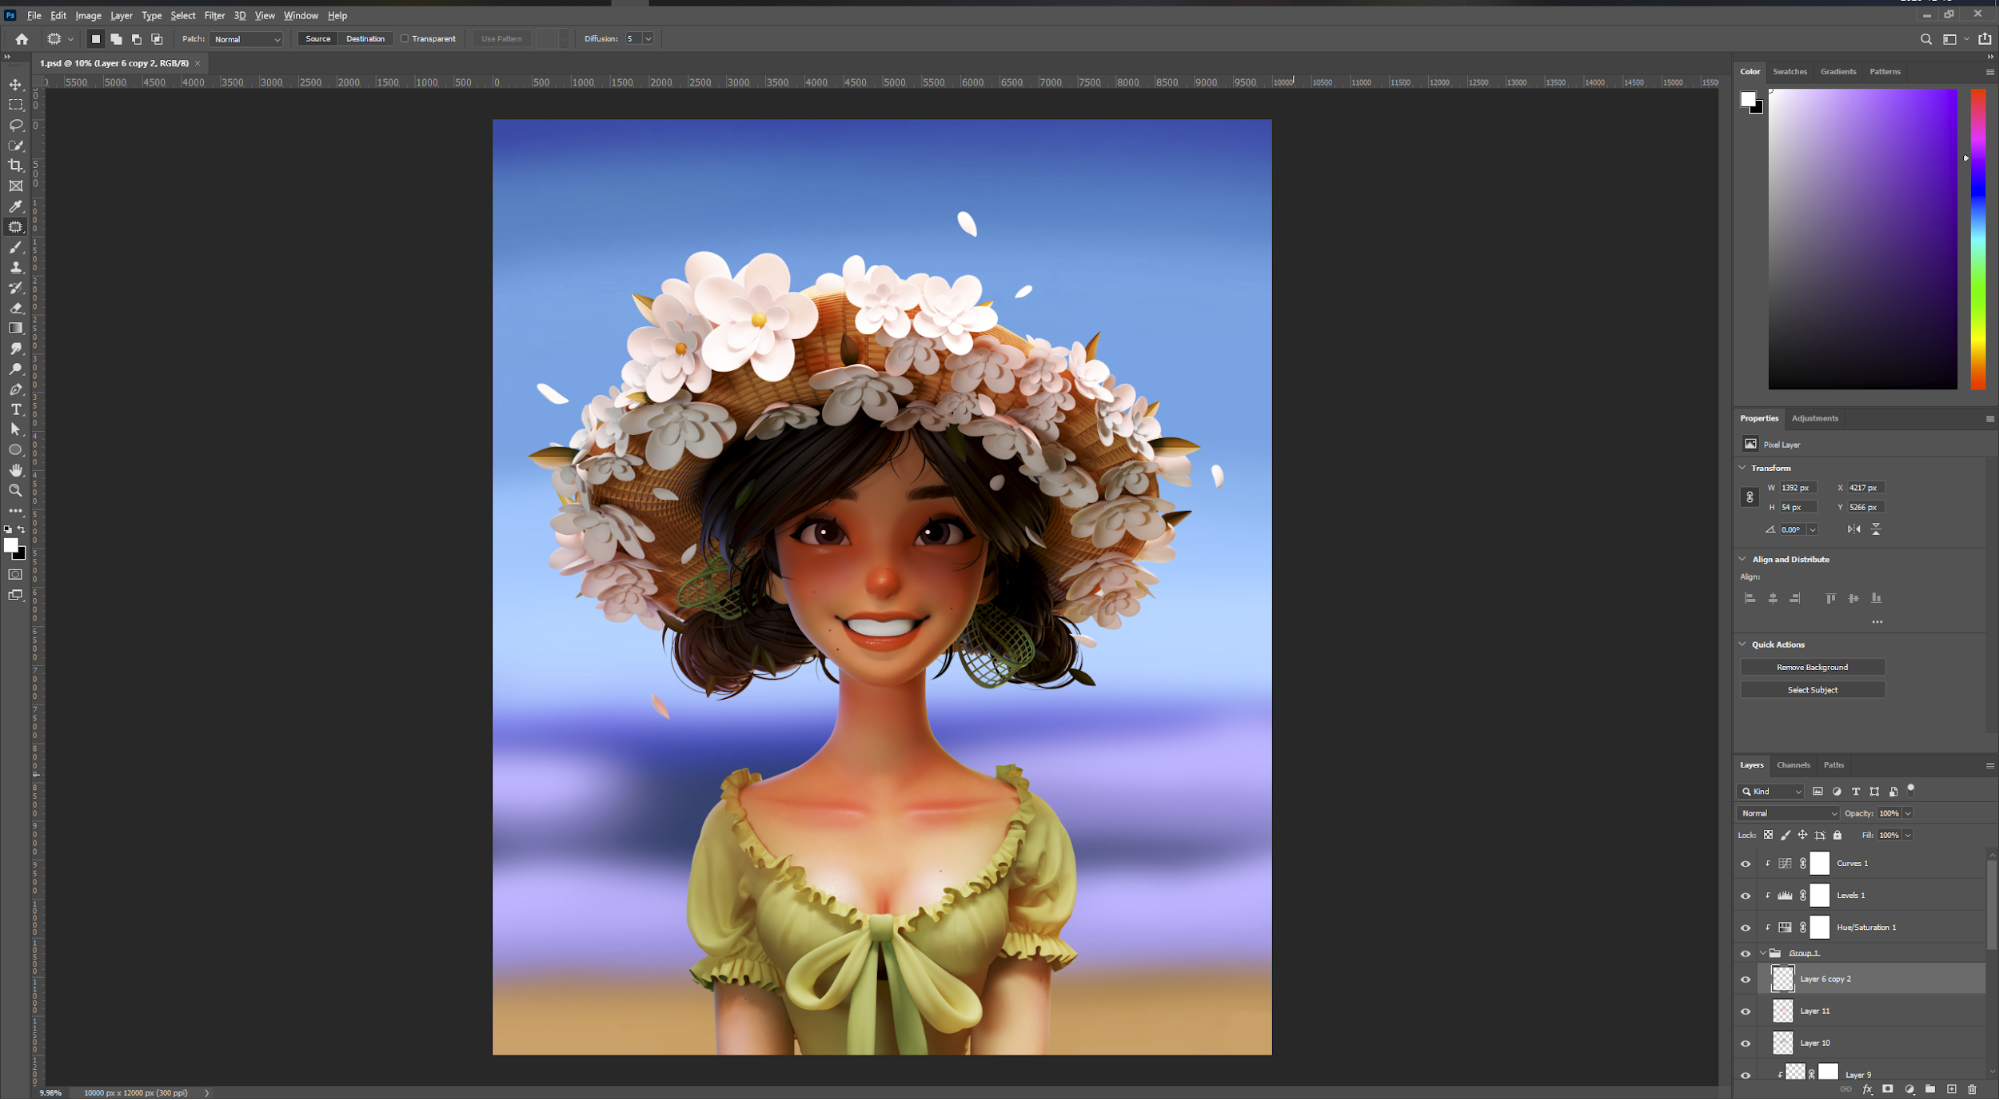
After rendering, I imported the image into Photoshop and I added the background image to adjust the colors to match the original illustration.
I brightened the bright parts even brighter and I darkened the dark parts even darker in order to make it look more stereoscopic.
After these adjustments, the work was finally done!
Lastly…
I’m still not good enough and I need to study more.
I’m quite flattered to have the opportunity to share my ‘Behind the Scenes’.
I hope you liked my project!
Thank you so much.
About the Author
 Min Jeong Shin, 3D Character artist


thats some excellent work… its very inspiring.
greak work :)
Awesome :)
A masterpiece!
Que lindo! Muito lindo! Ficou maravilhosa! Parabéns pelo trabalho.