
Behind the Scenes: Portrait of a Man

About Me
My name is Taeke Keuning, I’m 29 years old and I work at Generous, a design studio with offices in Amsterdam and Lisbon. I use Blender every day to create videos and motion graphics. However, as a designer, I also use it for almost any other design project. I find working in 3D a great way of initiating ideas, blocking shapes, light study or for layout—anything that helps me speed up my work, really.
In my spare time, I enjoy working on personal projects; it’s a great way to work on things that inspire me and improve my skills as an artist.
Inspiration
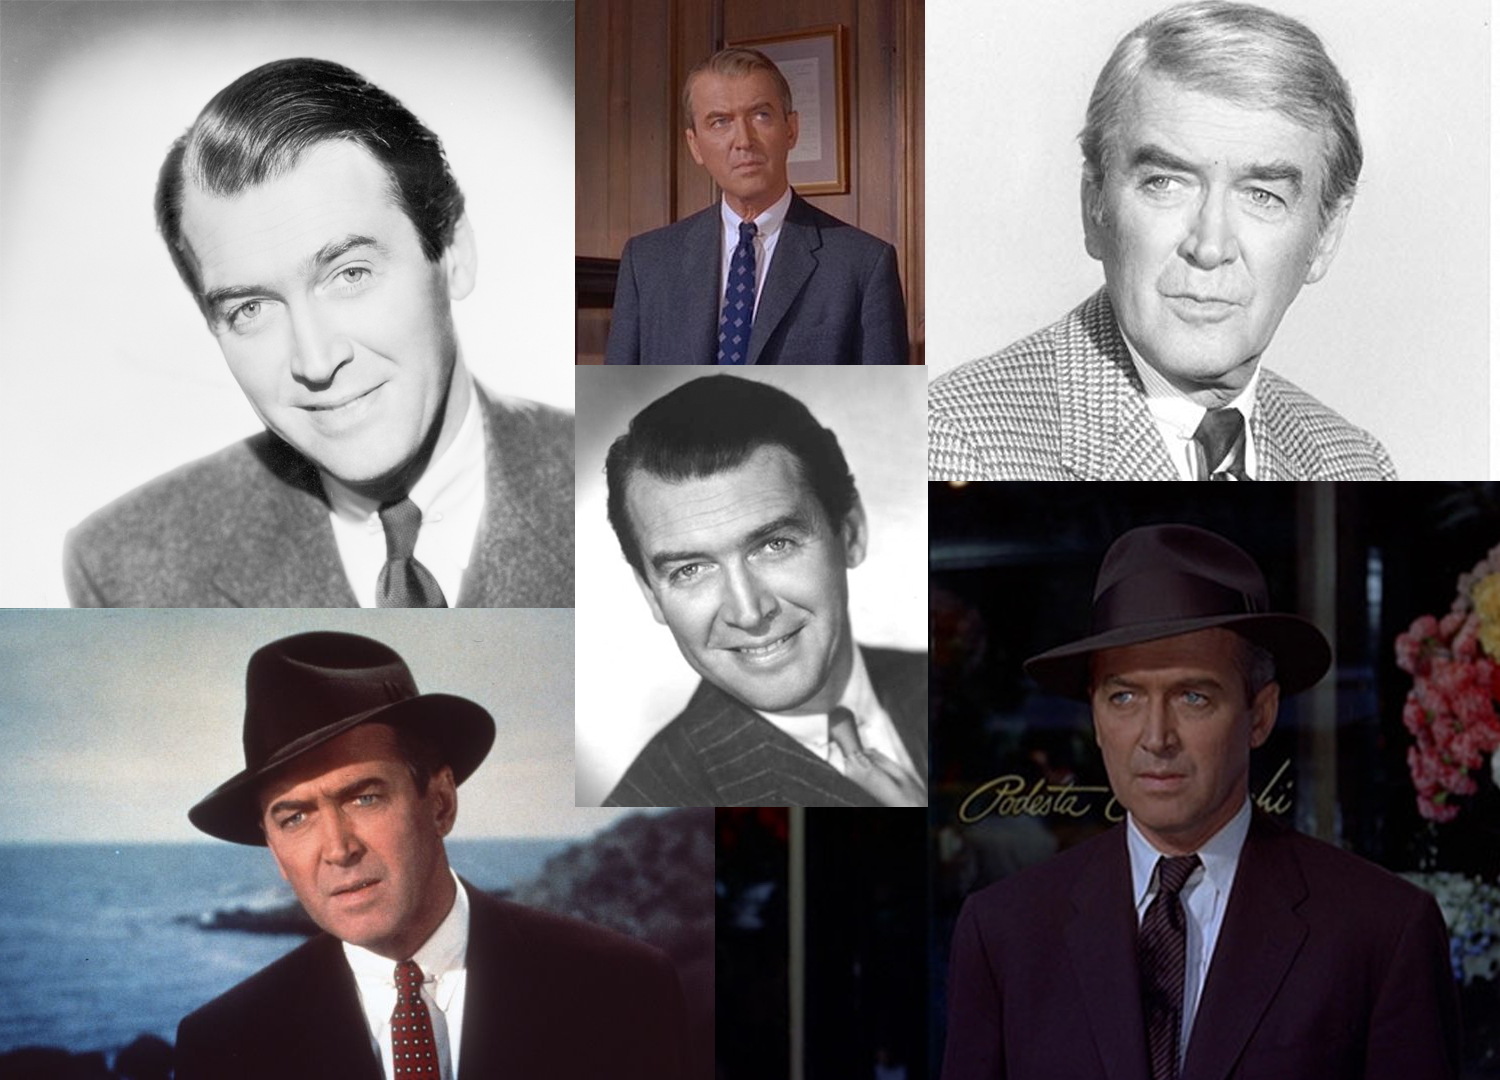
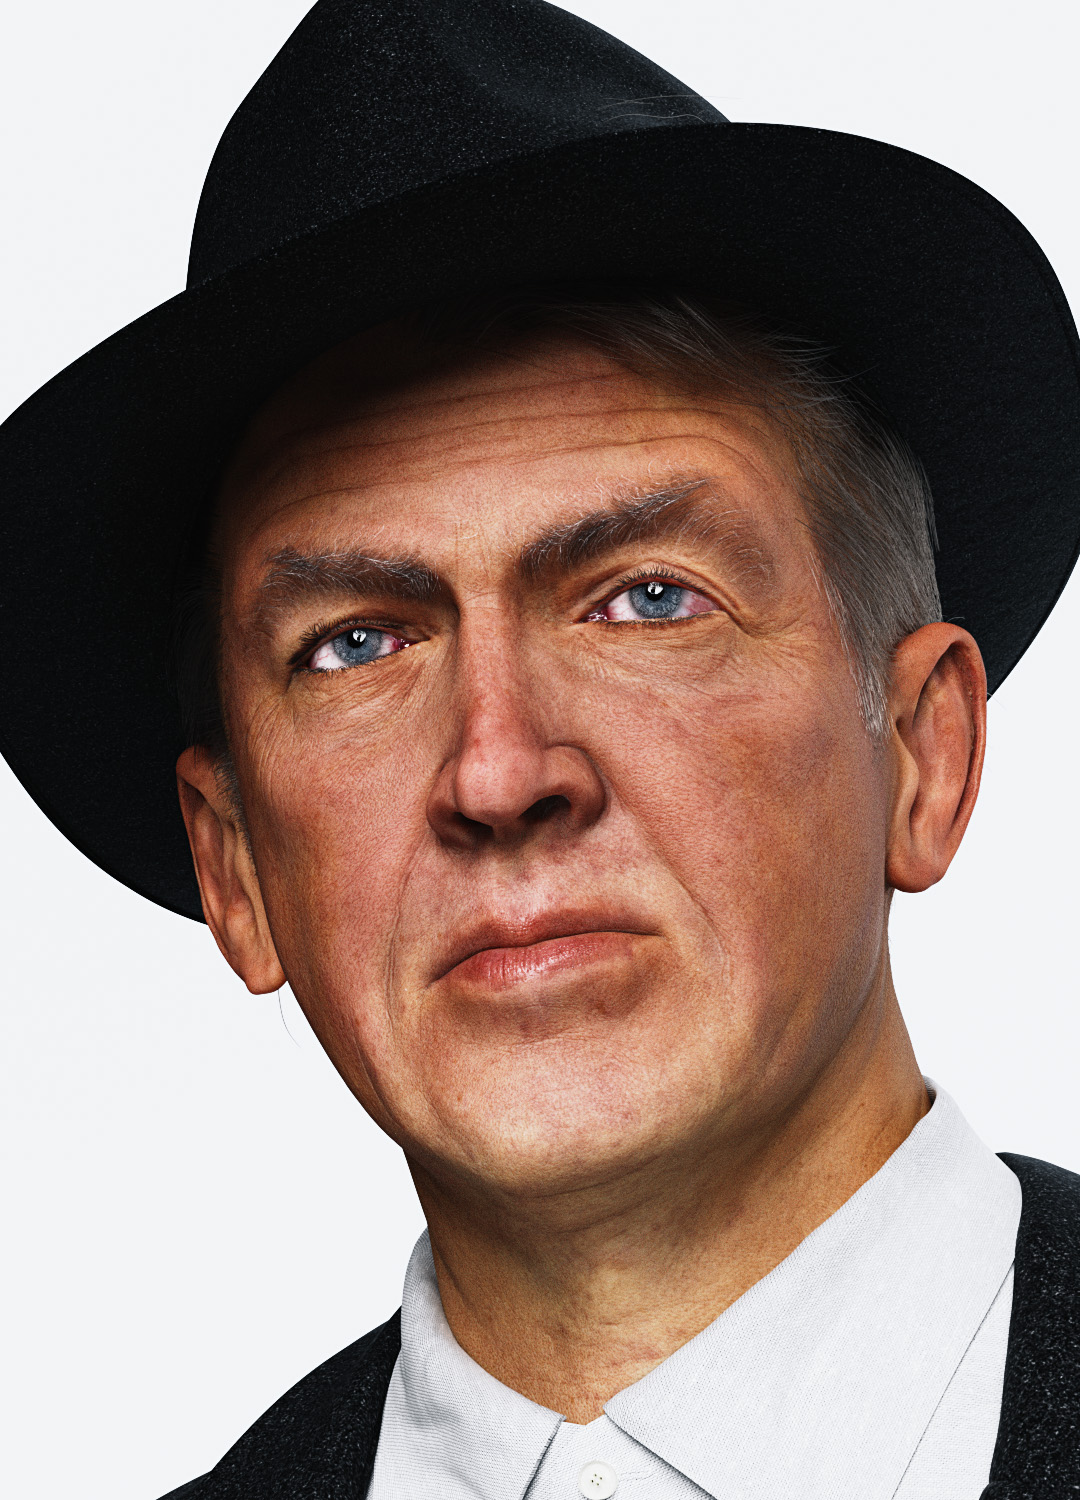
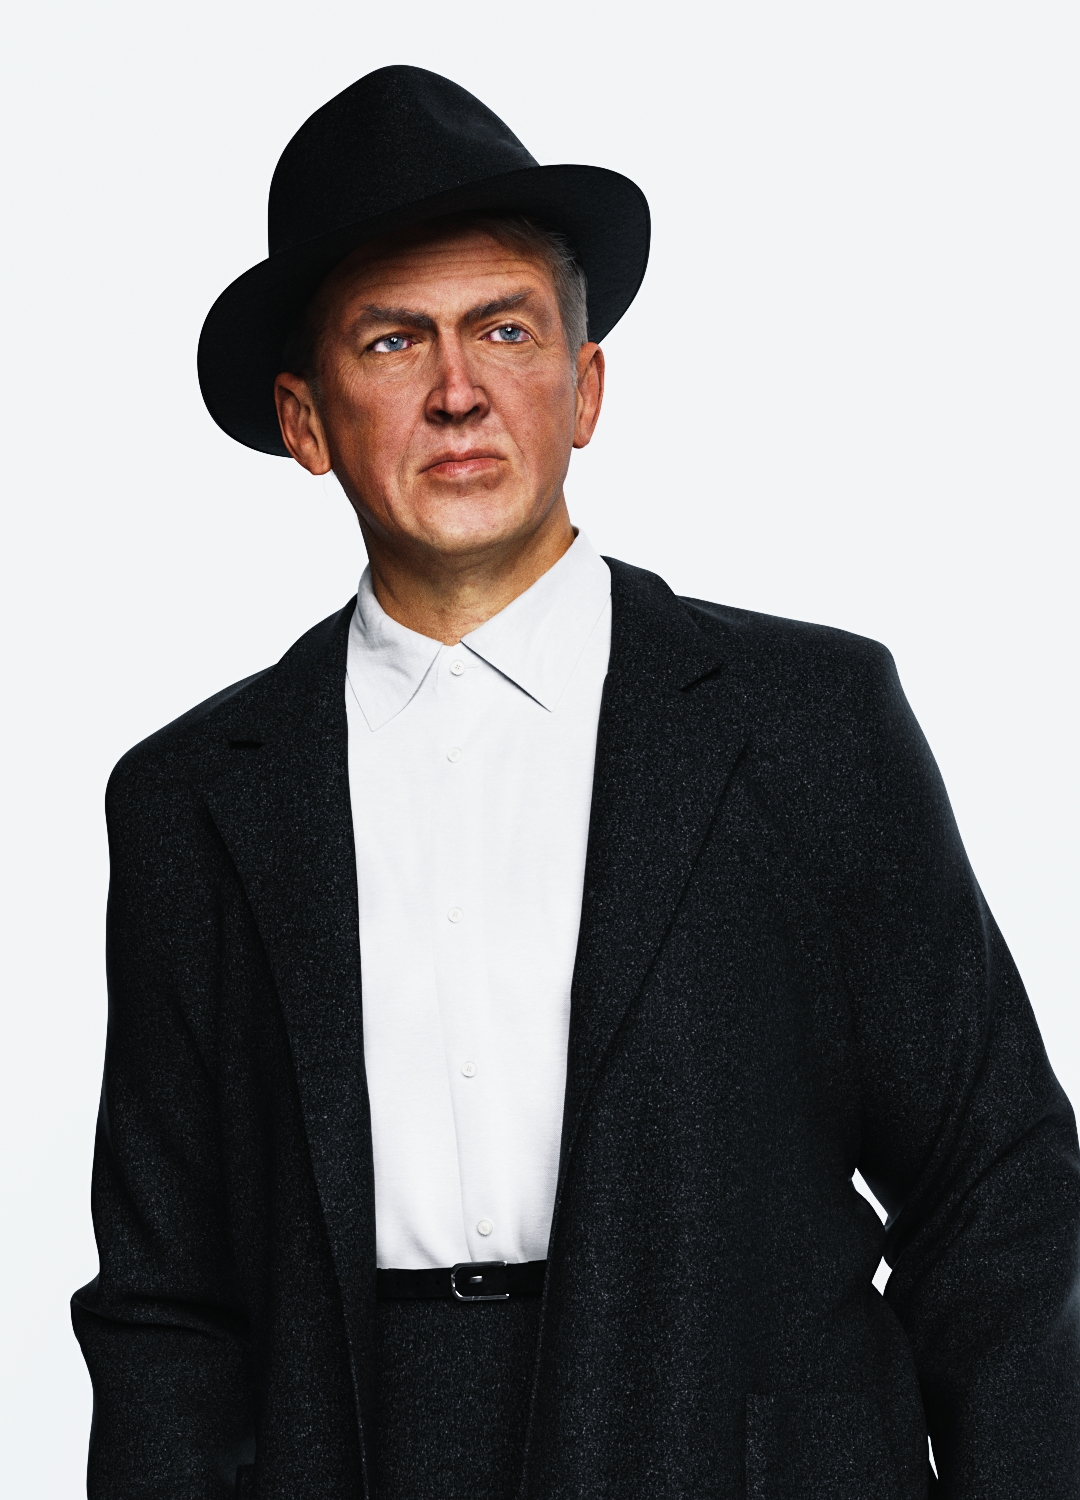
My inspiration was the legendary Jimmy Stewart, one of my favorite actors. So I found some references and simply started sculpting. I use PureRef to keep all my references on hand while sculpting—it’s a great tool with lots of handy features.
Sculpting
I started with an old base mesh I had made a while ago. The somewhat decent topology allowed me to simply push and pull some vertices with some soft falloff to get it to approximate Jimmy’s head shape.

In Mudbox I started fleshing out the primary and secondary shapes, not taking it too far. First, I took it back into Blender to retopologize and to create a UV map.
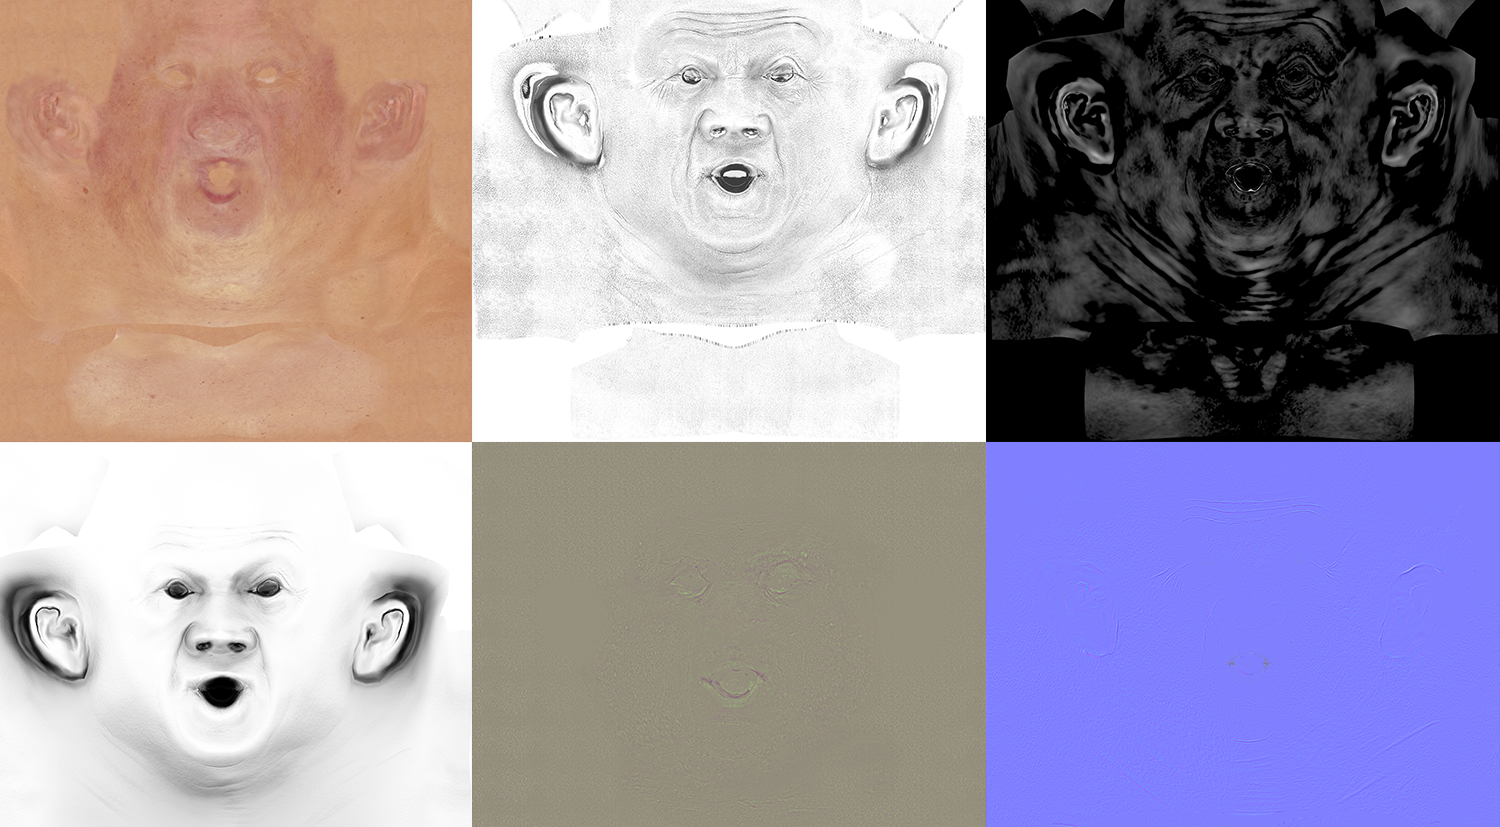
This new model with improved topology is much better to sculpt and projection paint the “Texturing XYZ maps” onto for the high-frequency detail and skin texture.

Mudbox allows you to retarget on newer models, so I think I retopologized a couple of times and retargeted the detail. Really a great feature.
After sculpting all the details, I used the projected fine skin detail displacement map for the high-frequency skin. I love to use the layers to sculpt and project different details so I can dial it in later.

In Mudbox, I bake out all the maps and export the base model with a reasonable amount of polygons. I want to preserve as much detail as possible, but also need to maintain a workable file later in Blender. I export the displacement map that corresponds to the exported level of detail.
I bake quite a few different AO maps, with different settings to get a cavity map and some other versions for texturing.
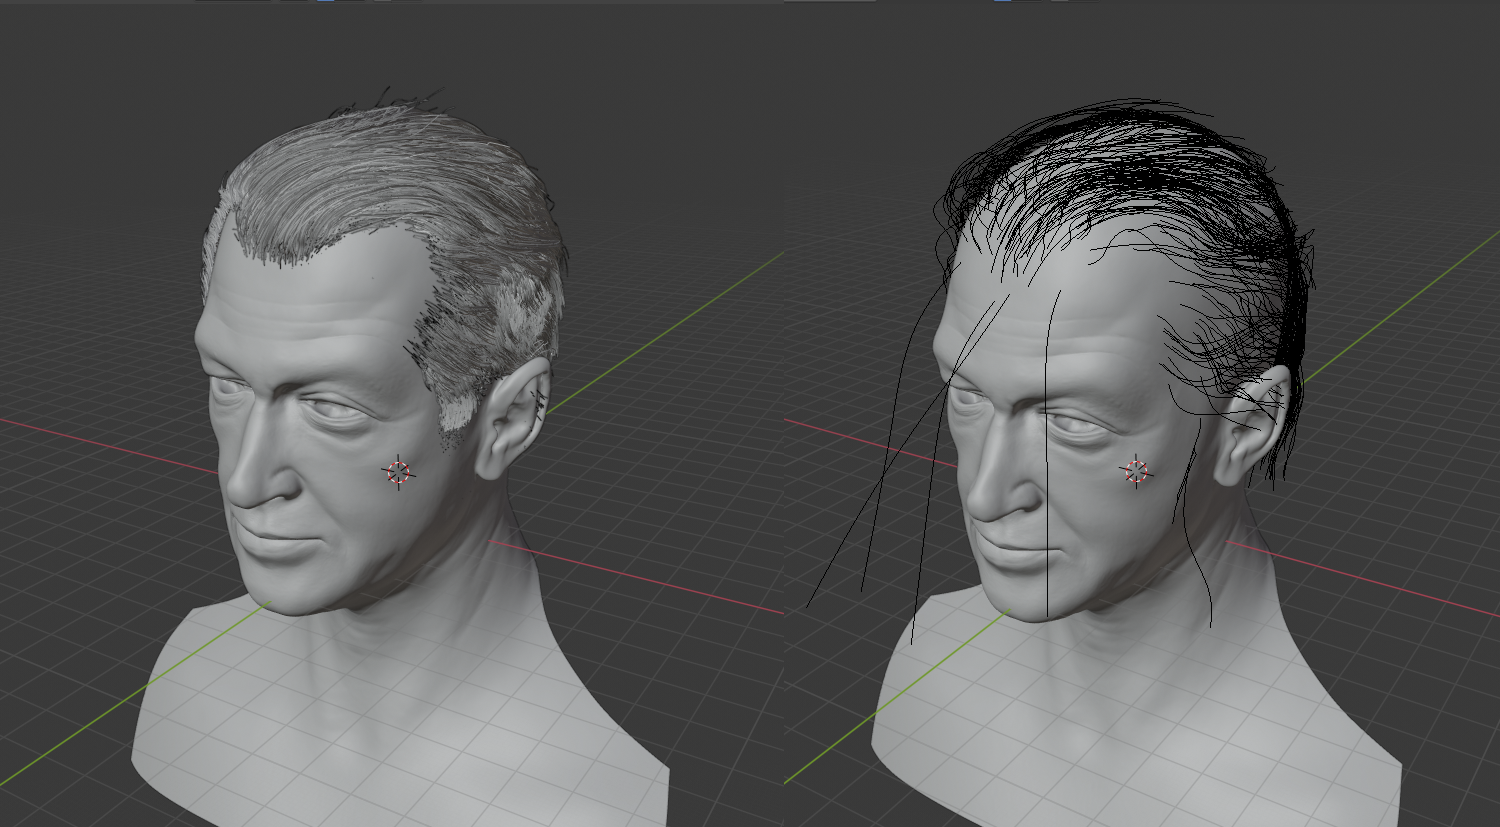
In Blender, I use the sculpt tools to keep reshaping the face. I prefer to have all the detail as a displacement map and a normal map. That way, I can keep shaping the face and see the final result with some base textures and shading immediately when I render. This makes the whole iteration process a lot faster than taking it in and out of Mudbox for small changes. I find likenesses incredibly difficult. The face is always changing depending on light, focal length, angle and with different shading or textures. It may look good head-on, but any other angle looks strange. I create multiple versions to compare differences and try to analyze what it is I like and dislike about each one. I use matcaps a lot—they are a great way to really inspect the model and see the differences in different lighting or with AO or cavity turned on. Unfortunately, I still feel I haven’t really captured the likeness with this model, but that’s why I keep practicing ;)
Hair
I found that most work was in the hair, eyebrows, eyelashes, and eyes. All the little things that make a huge difference. The eyebrows are very specific, so I created them using hair cards. For the groom, I weight painted some maps such as density, length, etc. and, with some guide hairs, used interpolated children.
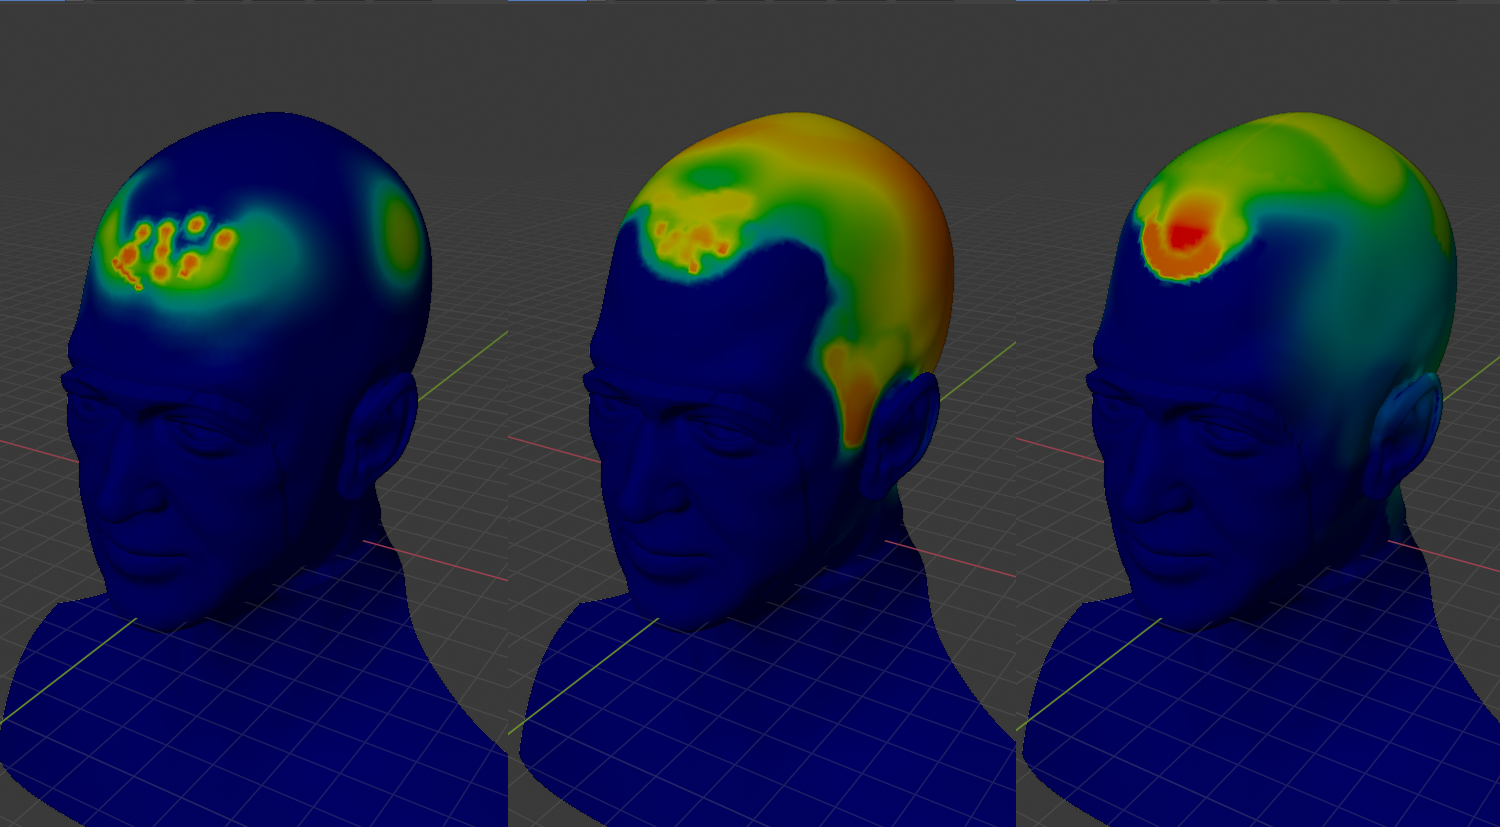
I found a great trick online to use the same hair groom but simply link or copy it over again from a different file, and change the seed and some parameters so you can have more diversity in the hair.
Rendering
Thanks to the new Blender Nvidia RTX support, rendering was incredibly fast and enjoyable, Because I travel a lot, I have to work on a Laptop; with my Razer with an RTX 2080 card I can now do everything with the GPU. Love it! There are some limitations, like memory, but those limitations force me to better organize my file and optimize shaders and models (which I guess is a good thing).

Finally, I did some last color correction in Photoshop, and I guess now it’s finished.
To be honest I finished this piece a few times before and I keep revisiting it to improve on it.
There are still so many things that bother me and need correcting. Maybe someday I’ll work on it some more, but now I’m ready to move on to my next project. ;)
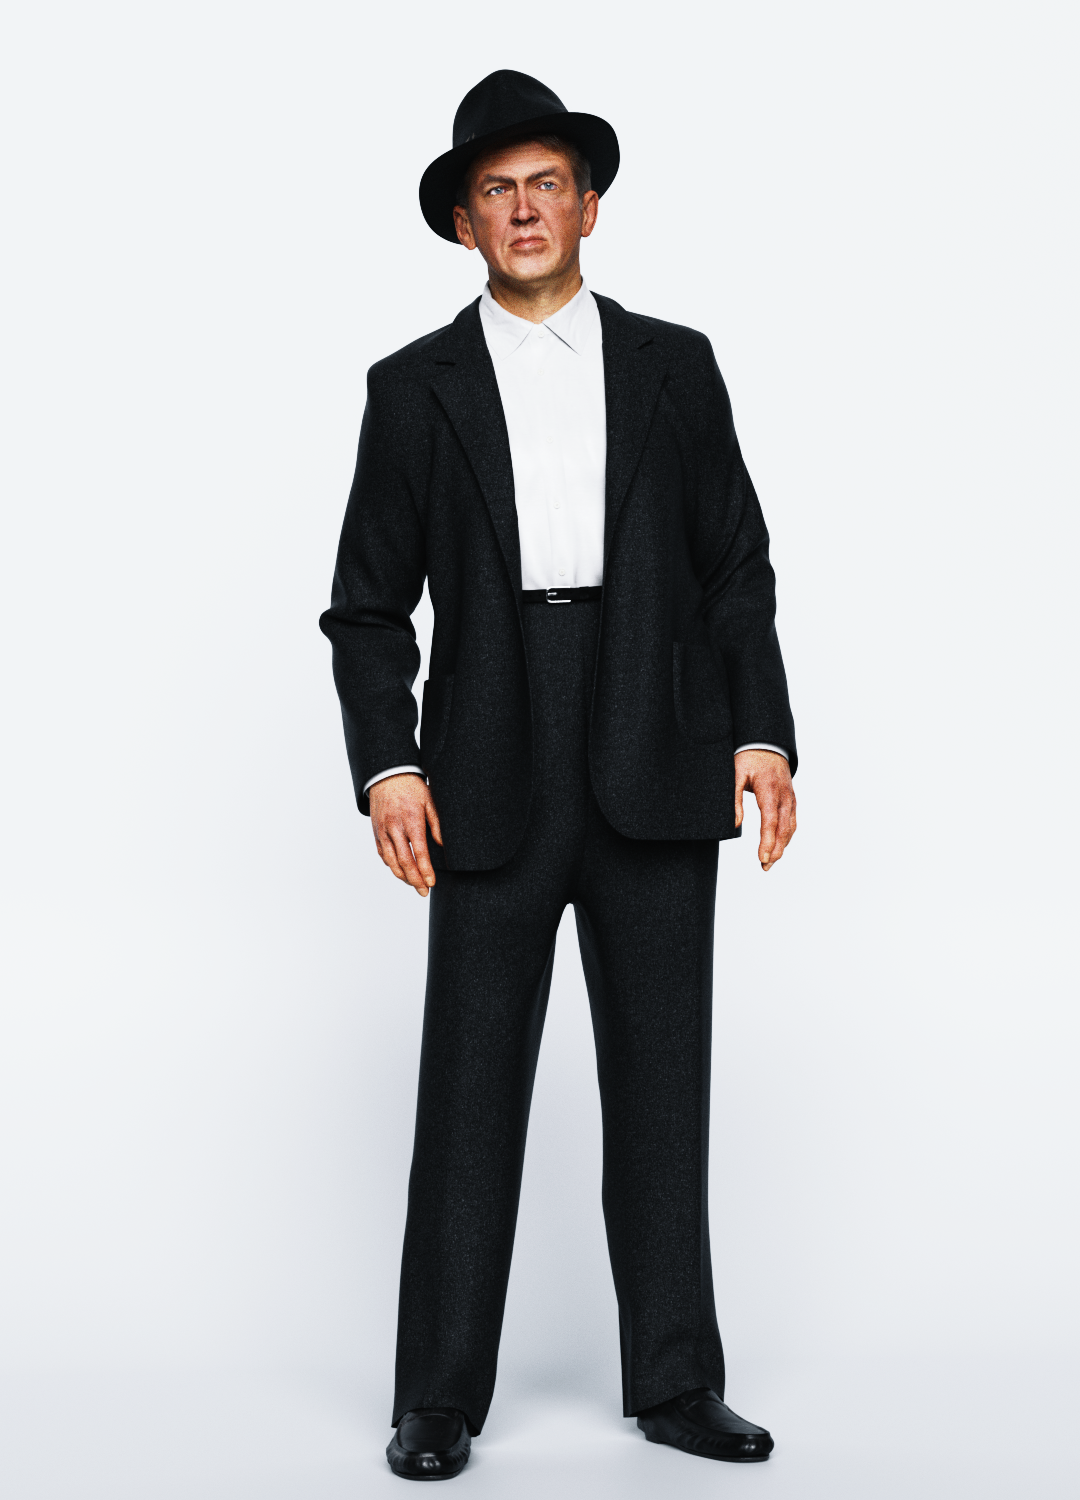
Some more project renders:
About the Author
 Taeke Keuning, Video artist


Nicely done. One of my favorite actors too. Your work is a good motivator for all. Thanks.
Very nice.
Very good job!
I am surprised that a young man of 29 is a fan of an ancient actor like Jimmy Stewart :-)
About the likeness … good result, in my opinion. the likeness is good, surely not bad, I recognized the actor in the header immediately.
I think that I know what the problem is.
I have painted a lot of portraits and caricatures in an earlier life myself. I think that the problem is that your reference photos are from totally different periods.
I had the same problem when I had to make a caricature of Christopher Columbus once – and also with a caricature of Vincent Van Gogh. The reference photos were so different that it caused problems. You have to choose 1 period, 1 age, and lay a series of photos of that period together. Then it will work perfectly.
On one photo he is forty years old, on another he is sixty, or maybe seventy. That difference is much too large. If he looks like one photo, then he looks less like another. The problem is that then you want to display characteristics from all those different periods, but that is not possible, that person may has been never like that, but you have memories of all those different periods, and it is not easy to ignore those particular characteristics from earlier or later periods.
Clint Eastwood now is no longer the young Clint Eastwood of the Italian westerns. Sylvester Stallone is older in every Rocky movie, he is now completely different than in his early years. Harrison Ford is no longer the man of the first Star Wars film, and so on … Robert Redford … Brigitte Bardot … Al Pacino … they have all undergone enormous transformations …
I think that could be your problem in this case.
Don’t shoot me if I am wrong :-)
I agree @MXD. This is actually a really great observation.
And @Taeke Keuning – this project here is very, very good. Not completely spot-on but it’s beyond anything I could do in B3D. And I most certainly love the subject choice. Stewart is a classic. Great actor choice from the artist and great job. Kudos to you for attempting this project! Oh . . . and I also love that fact that you’ve taken the time to show us your processes. I always love reading these. Thank you.
pretty good result, especially like how the eyes comes out – very believable
Good post. Would you stop the “email pop-up” please? I dont use email to browse internet.
I can relate–I pretty much live on Turner Classic Movies. Jimmy’s a gem. Nice work.
Very nice.
I certainly enjoy your work here, it is very very good. You express not only the likeness, but the feelings that not only Jimmy Stewart projected but that all humans have. As for what may be bothering you about this work, which apparently was mostly talent and little or no tracing, it is, I think, his eyes. One seems a tad larger than the other.
I have this problem ALWAYS, as a portrait artist. But I have observed that most people do have very much the same size eyes regardless of one droops or tilts or are squinting. Excellent work, Thanks.