Behind the Scenes: Rapture

Hey, my name is Usamah Gonsalves. I’m 19 and have lived in South-East London my entire life. I go by the handle ‘Lour’ or ‘LourCloud’ on the majority of my social platforms.
How I came to do 3D art pretty much all begins from when I was 11. I started out doing light video editing in the form of this niche subject called AMVs. Anime Music Videos involve editing and placing anime clips within a layered sequence to your chosen song; the best ones are those that use scenes from different anime and create an entirely different story utilising the soundtrack and similar themes across them. The most iconic soundtrack back in the day was almost exclusively rock music, most popularly Linkin Park’s “The End” (RIP Chester). *such good times*
Anyway, from this, I slowly was introduced to better software compared to what I was initially using (Windows Movie Maker lol). I went to Sony Vegas, and now I use Adobe After Effects (AE). I would say I started improving with my compositing skills when I began using AE, and it showed in my AMVs at the time. So now speed up to 3 years ago and I could feel myself hitting my peak in terms of editing anime, but I really enjoy what I do so I decided that I would make my own content and then edit that, adding a whole new layer of complexity to the mix and giving me a challenge that I so much yearned for.
I originally attended a college course for 3D development and art. However, I wasn’t feeling any enjoyment during the course—it was paced very slowly and I found that the knowledge wasn’t sticking, so at the end of that year I dropped out but continued practicing on my days off from my part-time job.
My First Render
This was my first assignment using Blender 2.79 and I remember hating the functionality of the UI as a new user. I’m so thankful to the devs behind Blender for introducing 2.8!
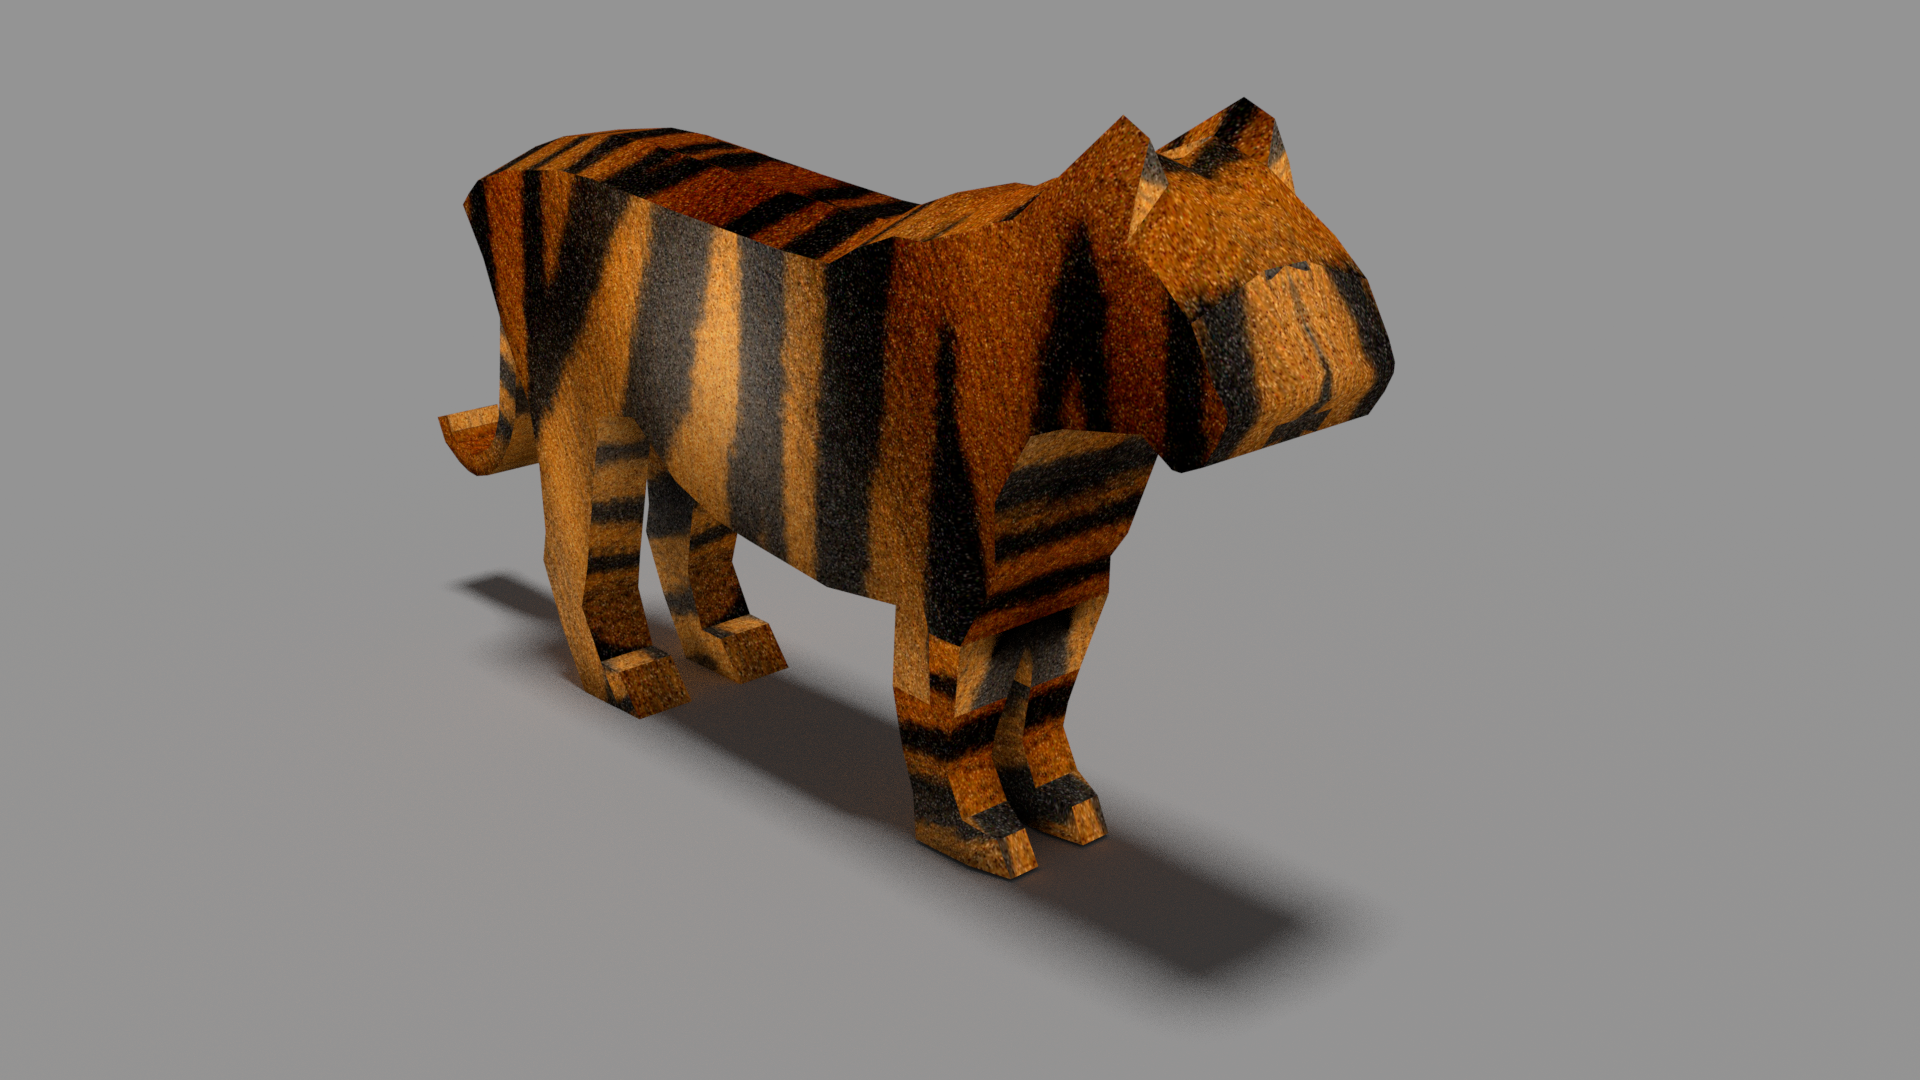
I was tasked with creating an animal, so I went with this awesome tiger.
The reason why I chose to add this is that I remember first starting out being super threatened that I wouldn’t be able to create an awe-inspiring render, let alone animation for years to come, so it’s humbling seeing that progress.
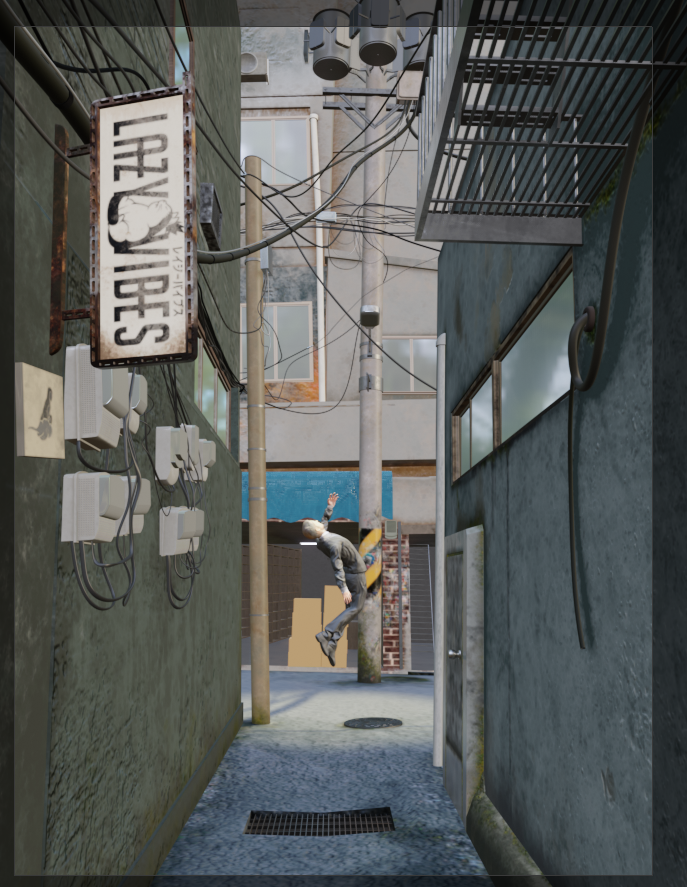
Idea and Creation of Rapture
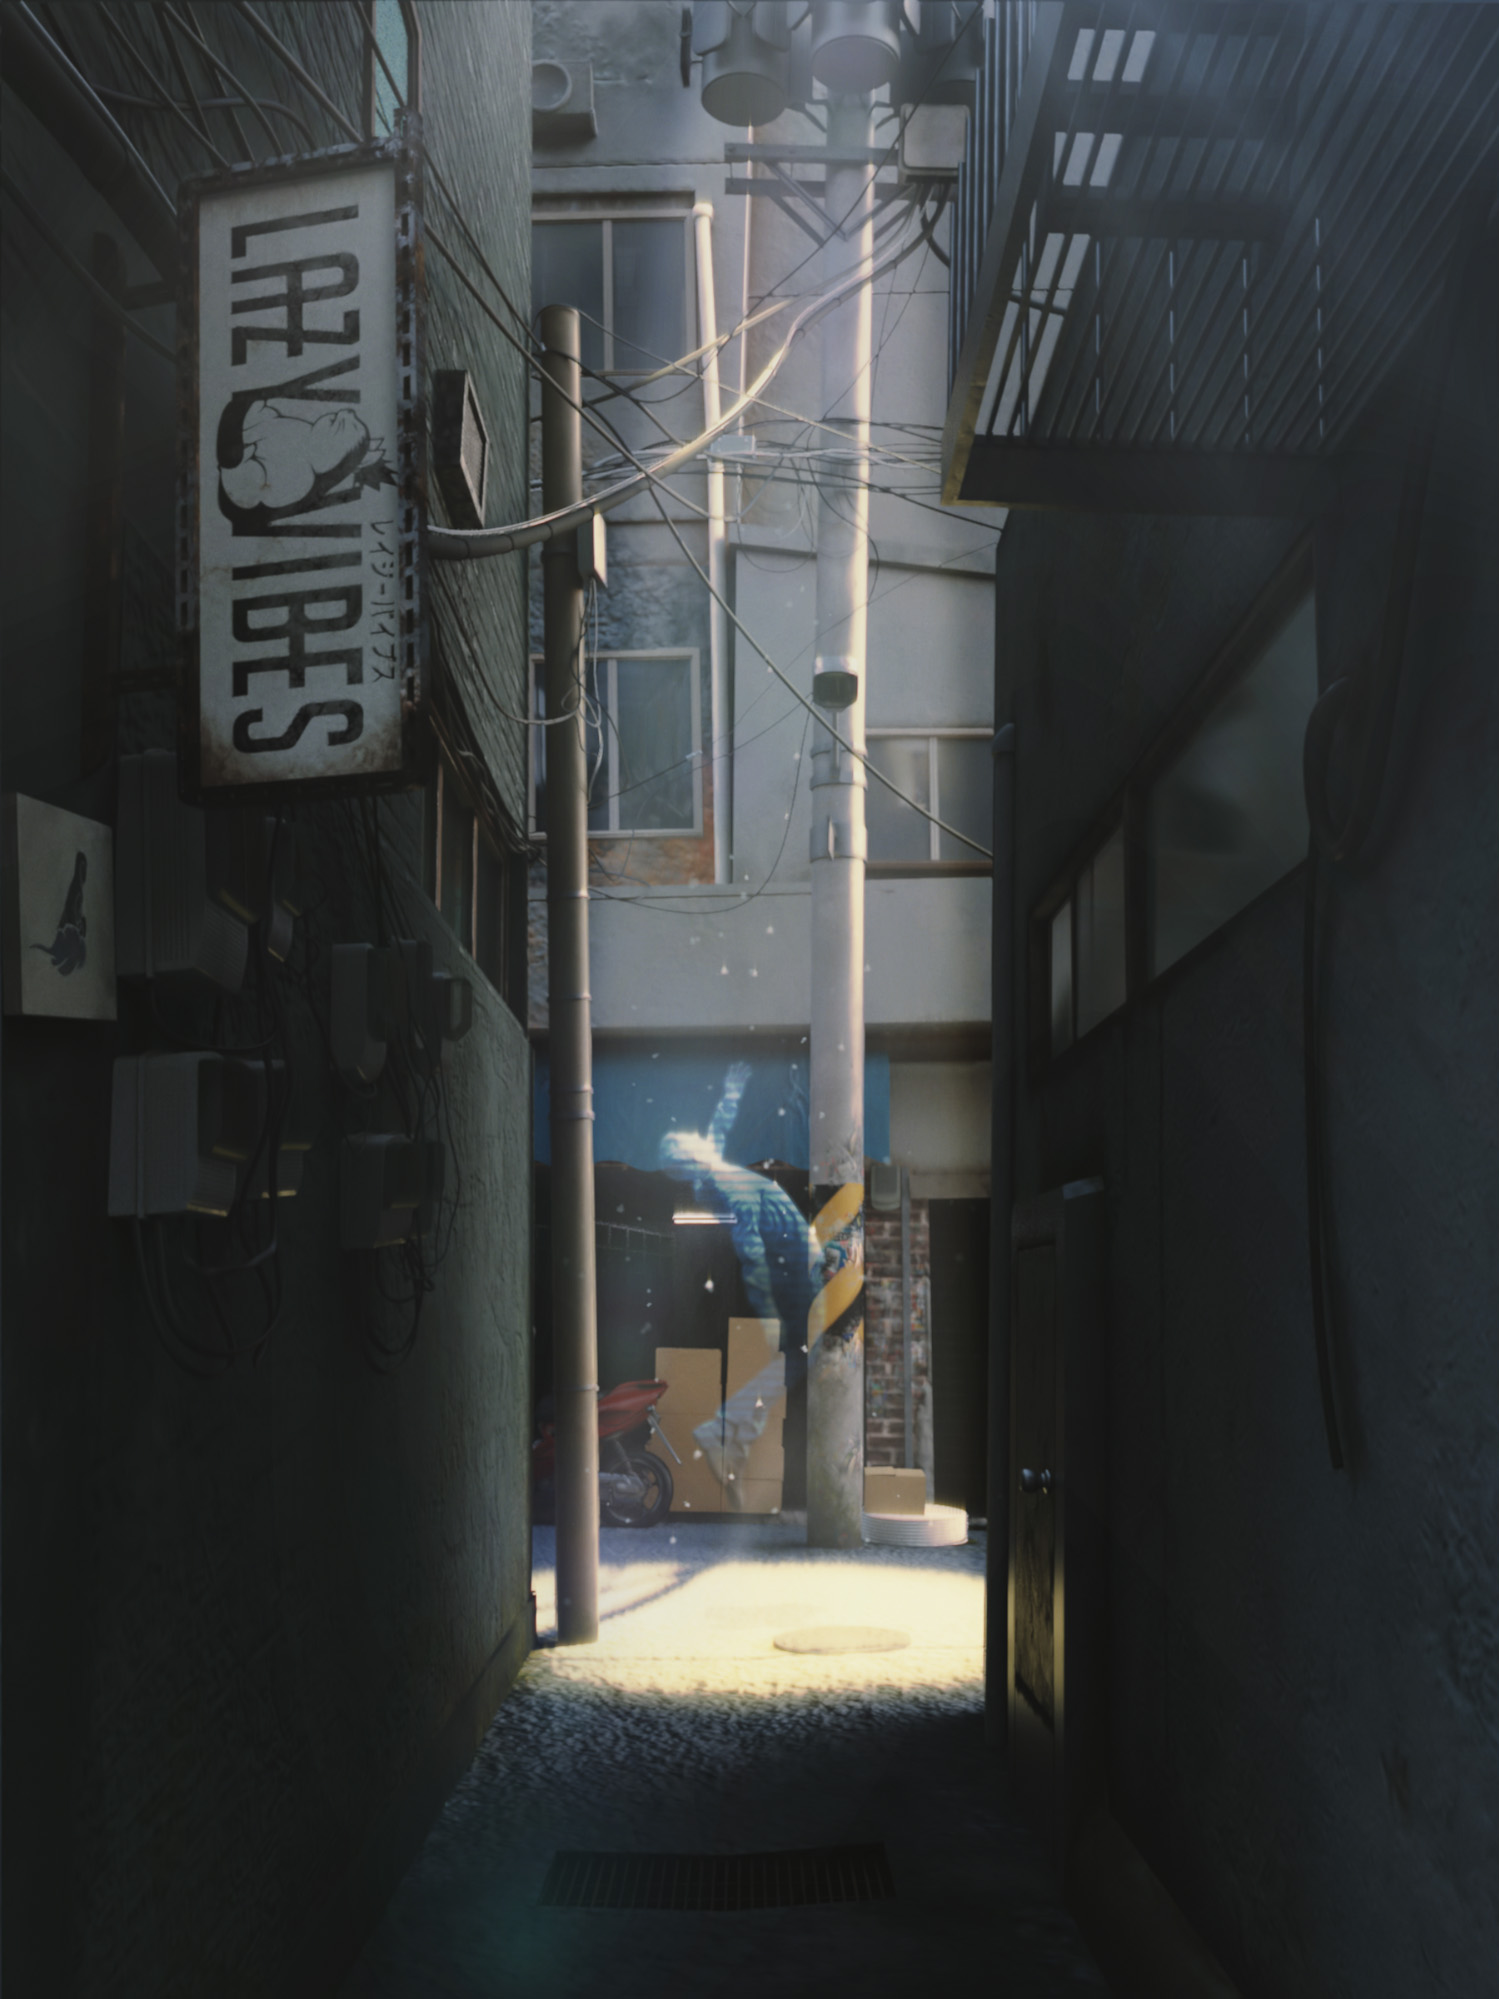
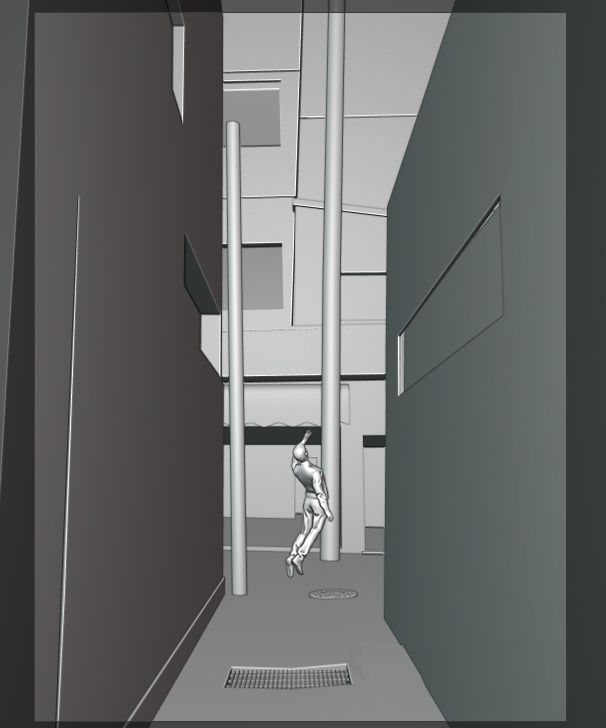
I had initially gotten the idea for Rapture after a very surreal dream. A lot of stuff has been altered due to limitations to my creativity/experience/hardware at the moment.
The dream began in the center of this tight alleyway with a dark black venom-like liquid forming at the end of the path. As I continued walking down that path, the walls started to expand wider and wider, until suddenly a bright god ray beam dispersed all the darkness that had been festering in this town, revealing a suited figure.
This man, new to this reality, began gently getting pulled into the air from which these dark beings looked upon him with disgust, and as he went higher and higher, their rage grew more. The suited man began to glitch from this existence, leaving not a trace. This higher power was furious with what had occurred, so it wiped out this world he had built, in the hope of success. However, this scenario continually loops until the end of time.
Looking for References
I really wanted an Asian aesthetic for this animation, but I’ve never been to Asia, so the second best thing was to go on Pinterest and search for images that I would use.

I use this handy software called PureRef; it makes creating and saving mood boards really fun and easy without having to open Photoshop.
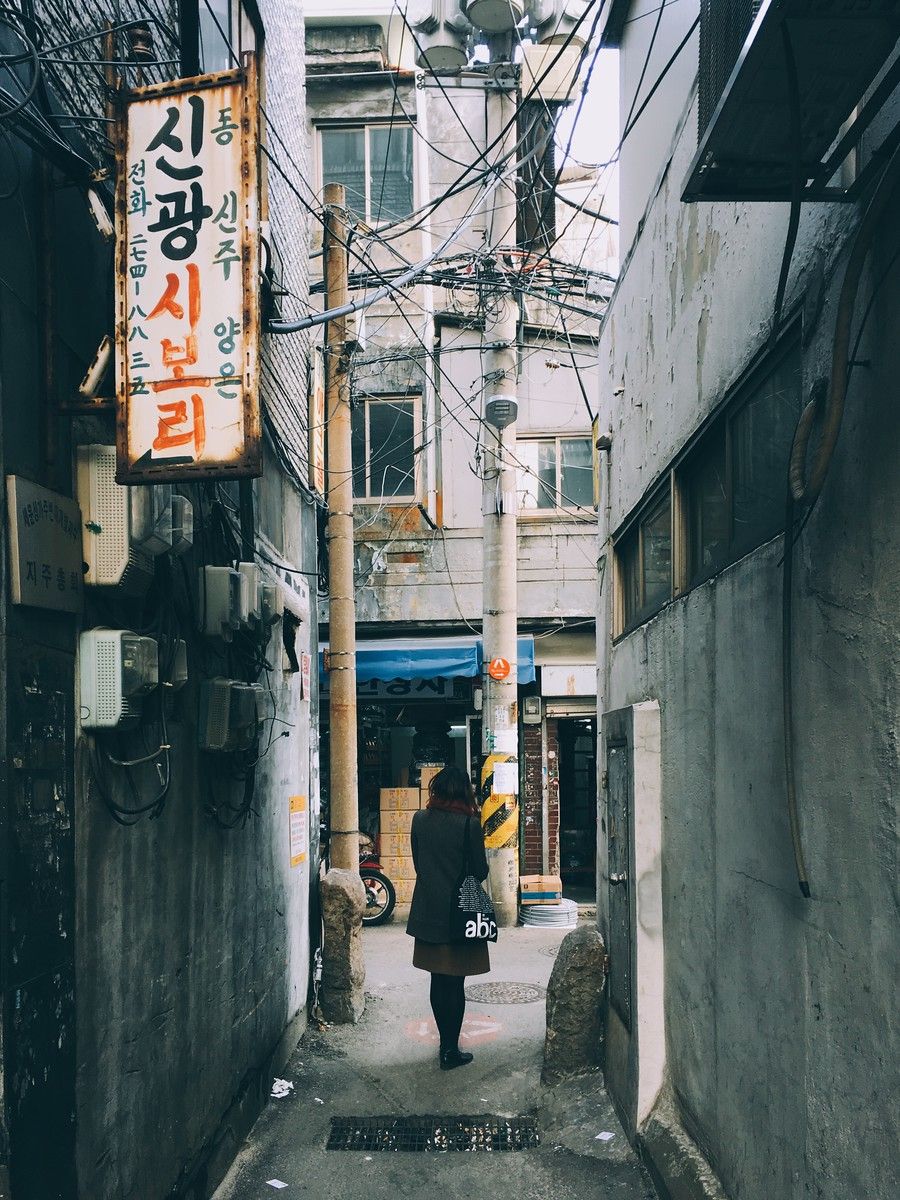
This is the image I stumbled upon, and from that moment, I made it my goal to recreate everything as much as possible in 3D space.
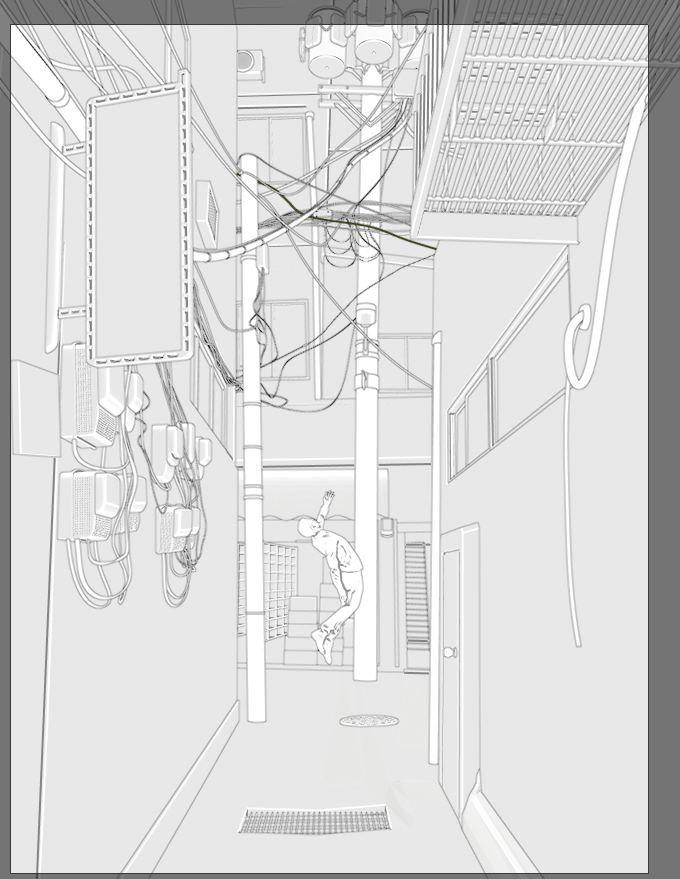
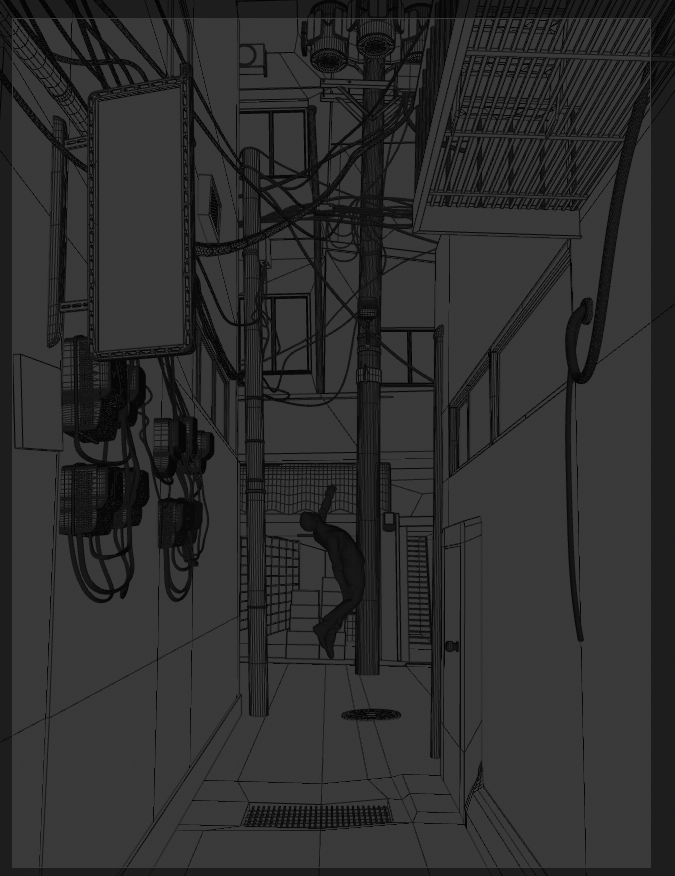
Block Out Stages

I used a program called Fspy to align the camera view with the photo from Pinterest. Basic box modeling techniques to get the buildings how they are, along with handy paid tools (not sponsored) HardOps and Box Cutter, helped me add specific boolean deformations to the buildings, which really sped up my workflow.
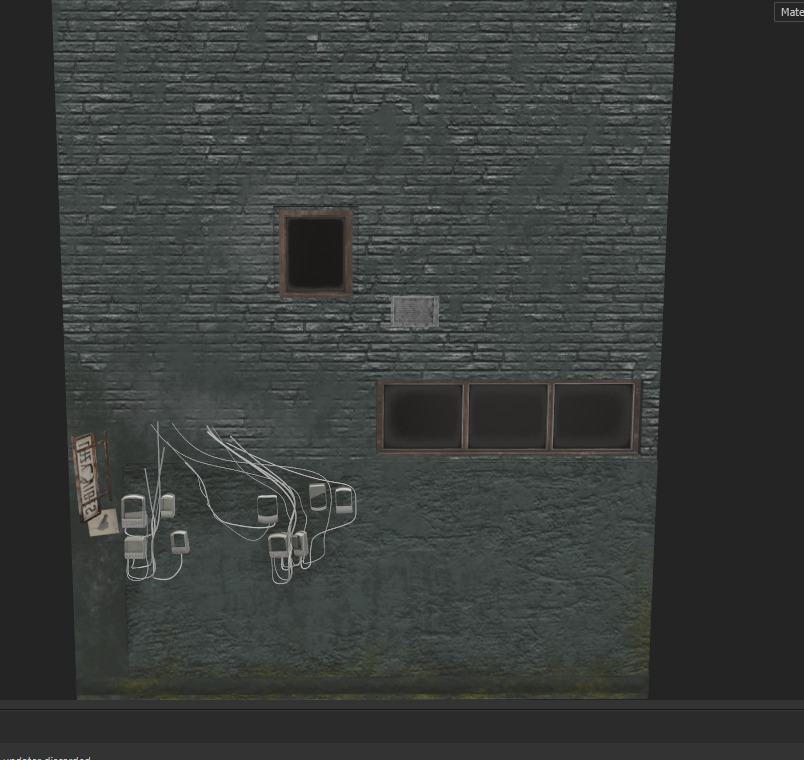
Substance Painter Texturing Workflow for “Main” Assets
This project introduced me to Substance Painter, finally. After some research, I found that it was best to export a .fbx file format between Blender and Substance and it worked out very well for me. I used a lot of beginner techniques for creating my unique textures. If you’re looking to learn the software, definitely go to the Substance YouTube channel for the basics. Essentially, all the textures had some form of dirt mask on them to mix different elements in a procedural way to give a natural and authentic look. For the buildings, a mix of bricks, moss, leaks, scratches, grunge, and fading was used to give a worn run-down look.


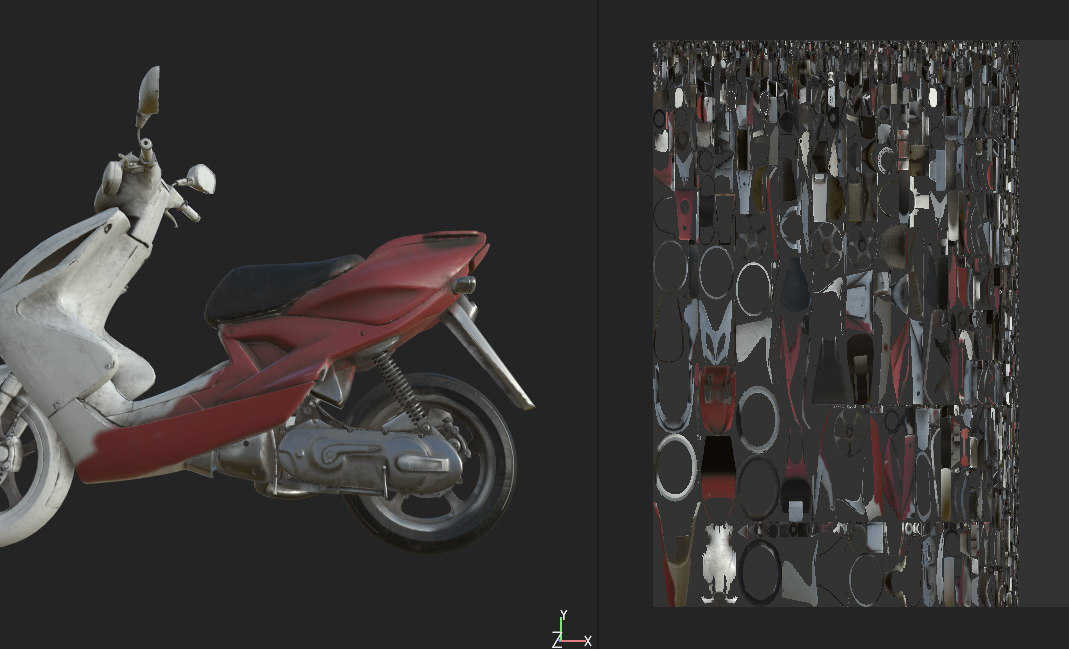
The model for the man was downloaded from Turbosquid.
I only adjusted the rig and altered the textures within Substance Painter to give him a proper suit. I also did the same with the bike model I used. Unfortunately, I can’t find the link for the model, but it was also royalty-free.

I was super lazy at this stage; the scene was almost done and now I was populating it with assets that would make it more interesting. So to ease my suffering, I smart unwrapped the model, imported the model into Substance as a .fbx, and just painted the parts that I knew would be visible in the render.
As long as it looked correct, that was fine by me. Compositing would save me at the end anyway.
Breakdown of Compositing in After Effects (Fun Part!)

For the surreal vibe, I used optical flares and particles to fill up the air above the suited figure. Another “holy” effect that added impact to the scene was faking atmospheric smoke in AE using fractal noise and alpha masks. I don’t currently have access to my project file to show screenshots of how I achieved the distinct look, but this video pretty much explains the process—I just changed the type to spline and altered some of the settings for that energy surge flame look.
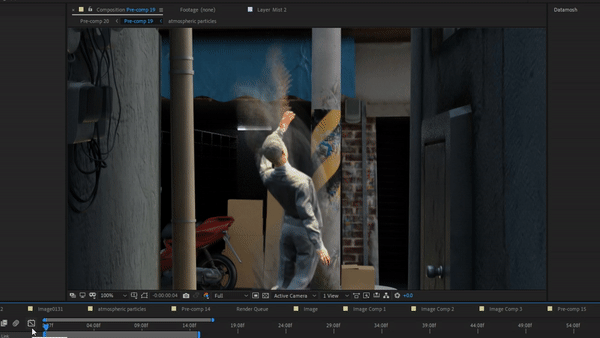
This delayed motion effect is an inbuilt plugin called Echo. It allows you to set the number of frames that the footage will be delayed or in front by and also gives you options on how to composite it, for example, front/back, add, lighten, etc. I thought it looked awesome coupled with that neon holographic glitch, that was a bunch of nested comps with noise, curves, tint, and some alpha glitch displacements.
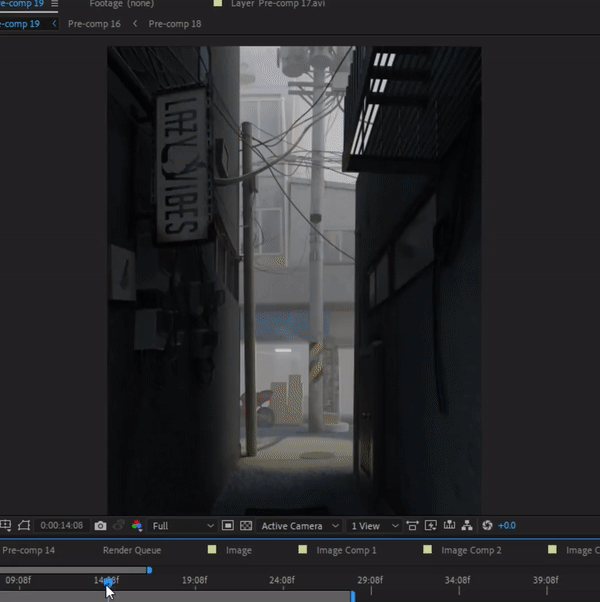
I used the Mist pass from the Blender File output, reduced the whites of the image to just behind the boxes, and layered effects onto that to make this transcendent volumetric rays-type look, for the loop out at the end of the video.


I’m still looking for an opportunity to break into this industry, but I know it’s a journey, so imma just enjoy the path and keep learning all the way. ;)
About the Author
 Lour, Constantly Creating


Brilliant!