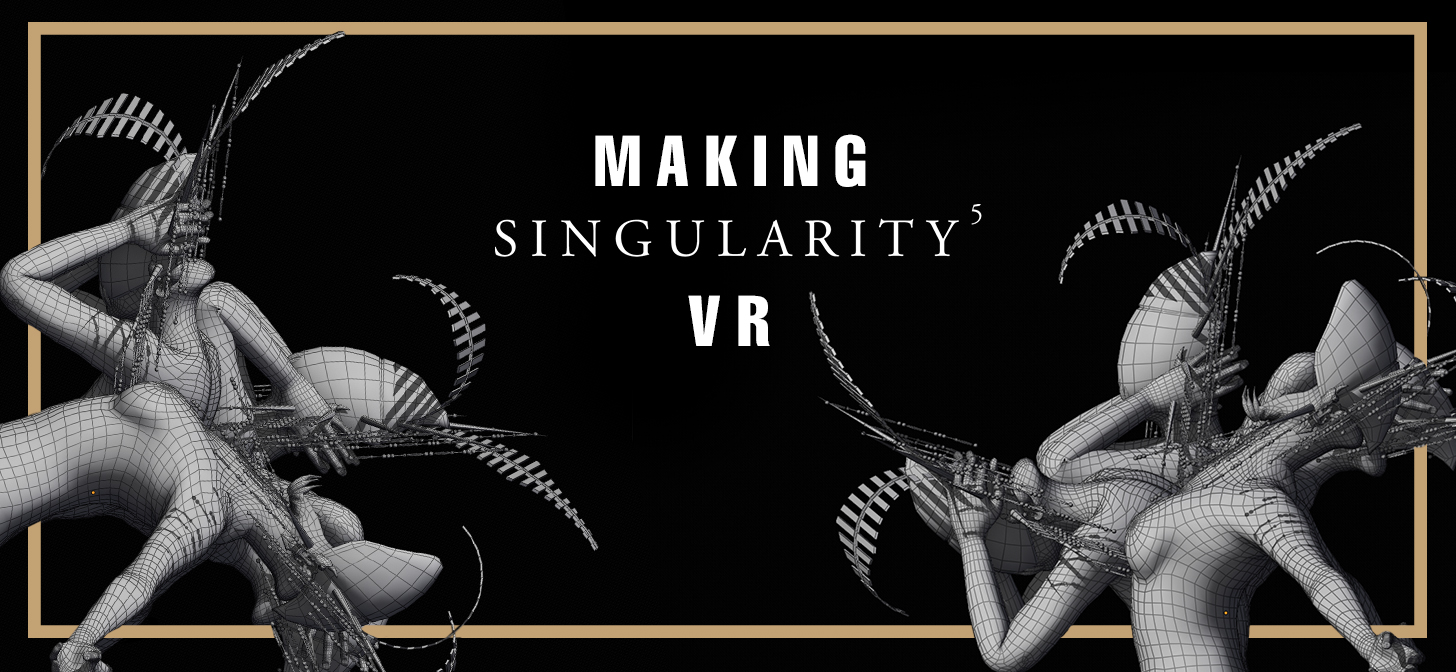
Making Singularity 5 VR
elbriga writes:
Singularity 5 is the first game of VR creation studio Monochrome, which I joined a year ago as a 3D generalist, bringing Blender into the pipeline with me.
We are a small team of 5, with two of us handling the production, so making a full fledged VR shooter was no small task. The game was almost exclusively created in Blender and Unreal engine, although some additional modelling and rendering was made in C4D and octane.
Created in less than a year with an intermittent production schedule as we self-funded and self-published the game, Singularity 5 was an incredible adventure and we learned more than we could imagine. I hope you can enjoy some of the breakdown below!I. Modeling & Unwrapping
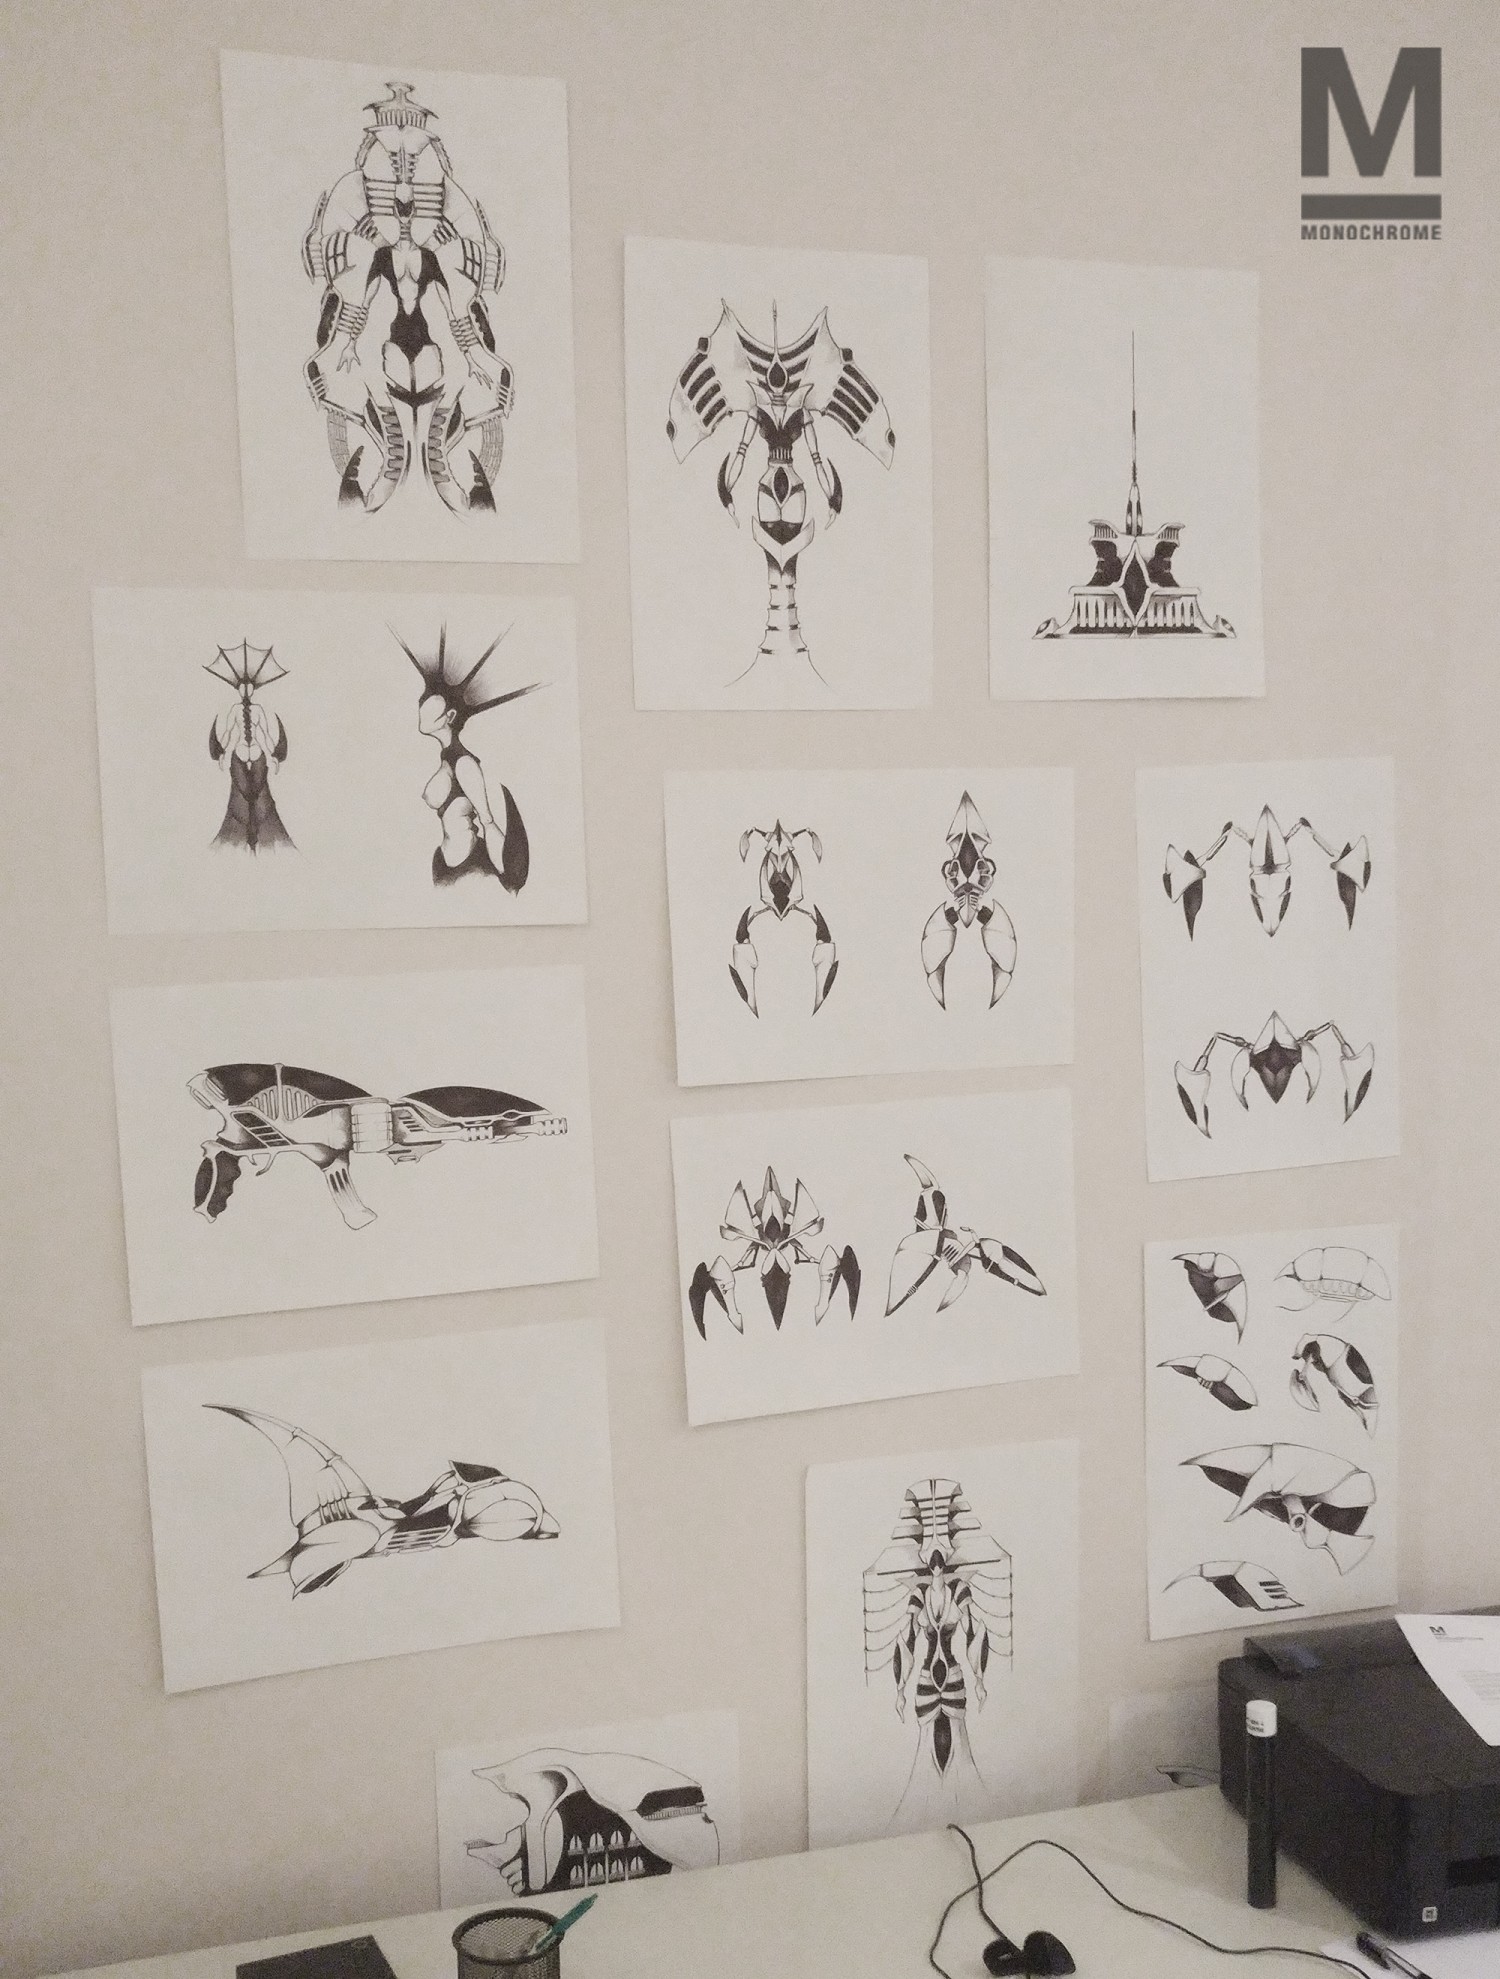
Our Art Director Guillaume Nicollet first designed various preliminary concepts for the characters, some weapons and vehicles on good old paper:
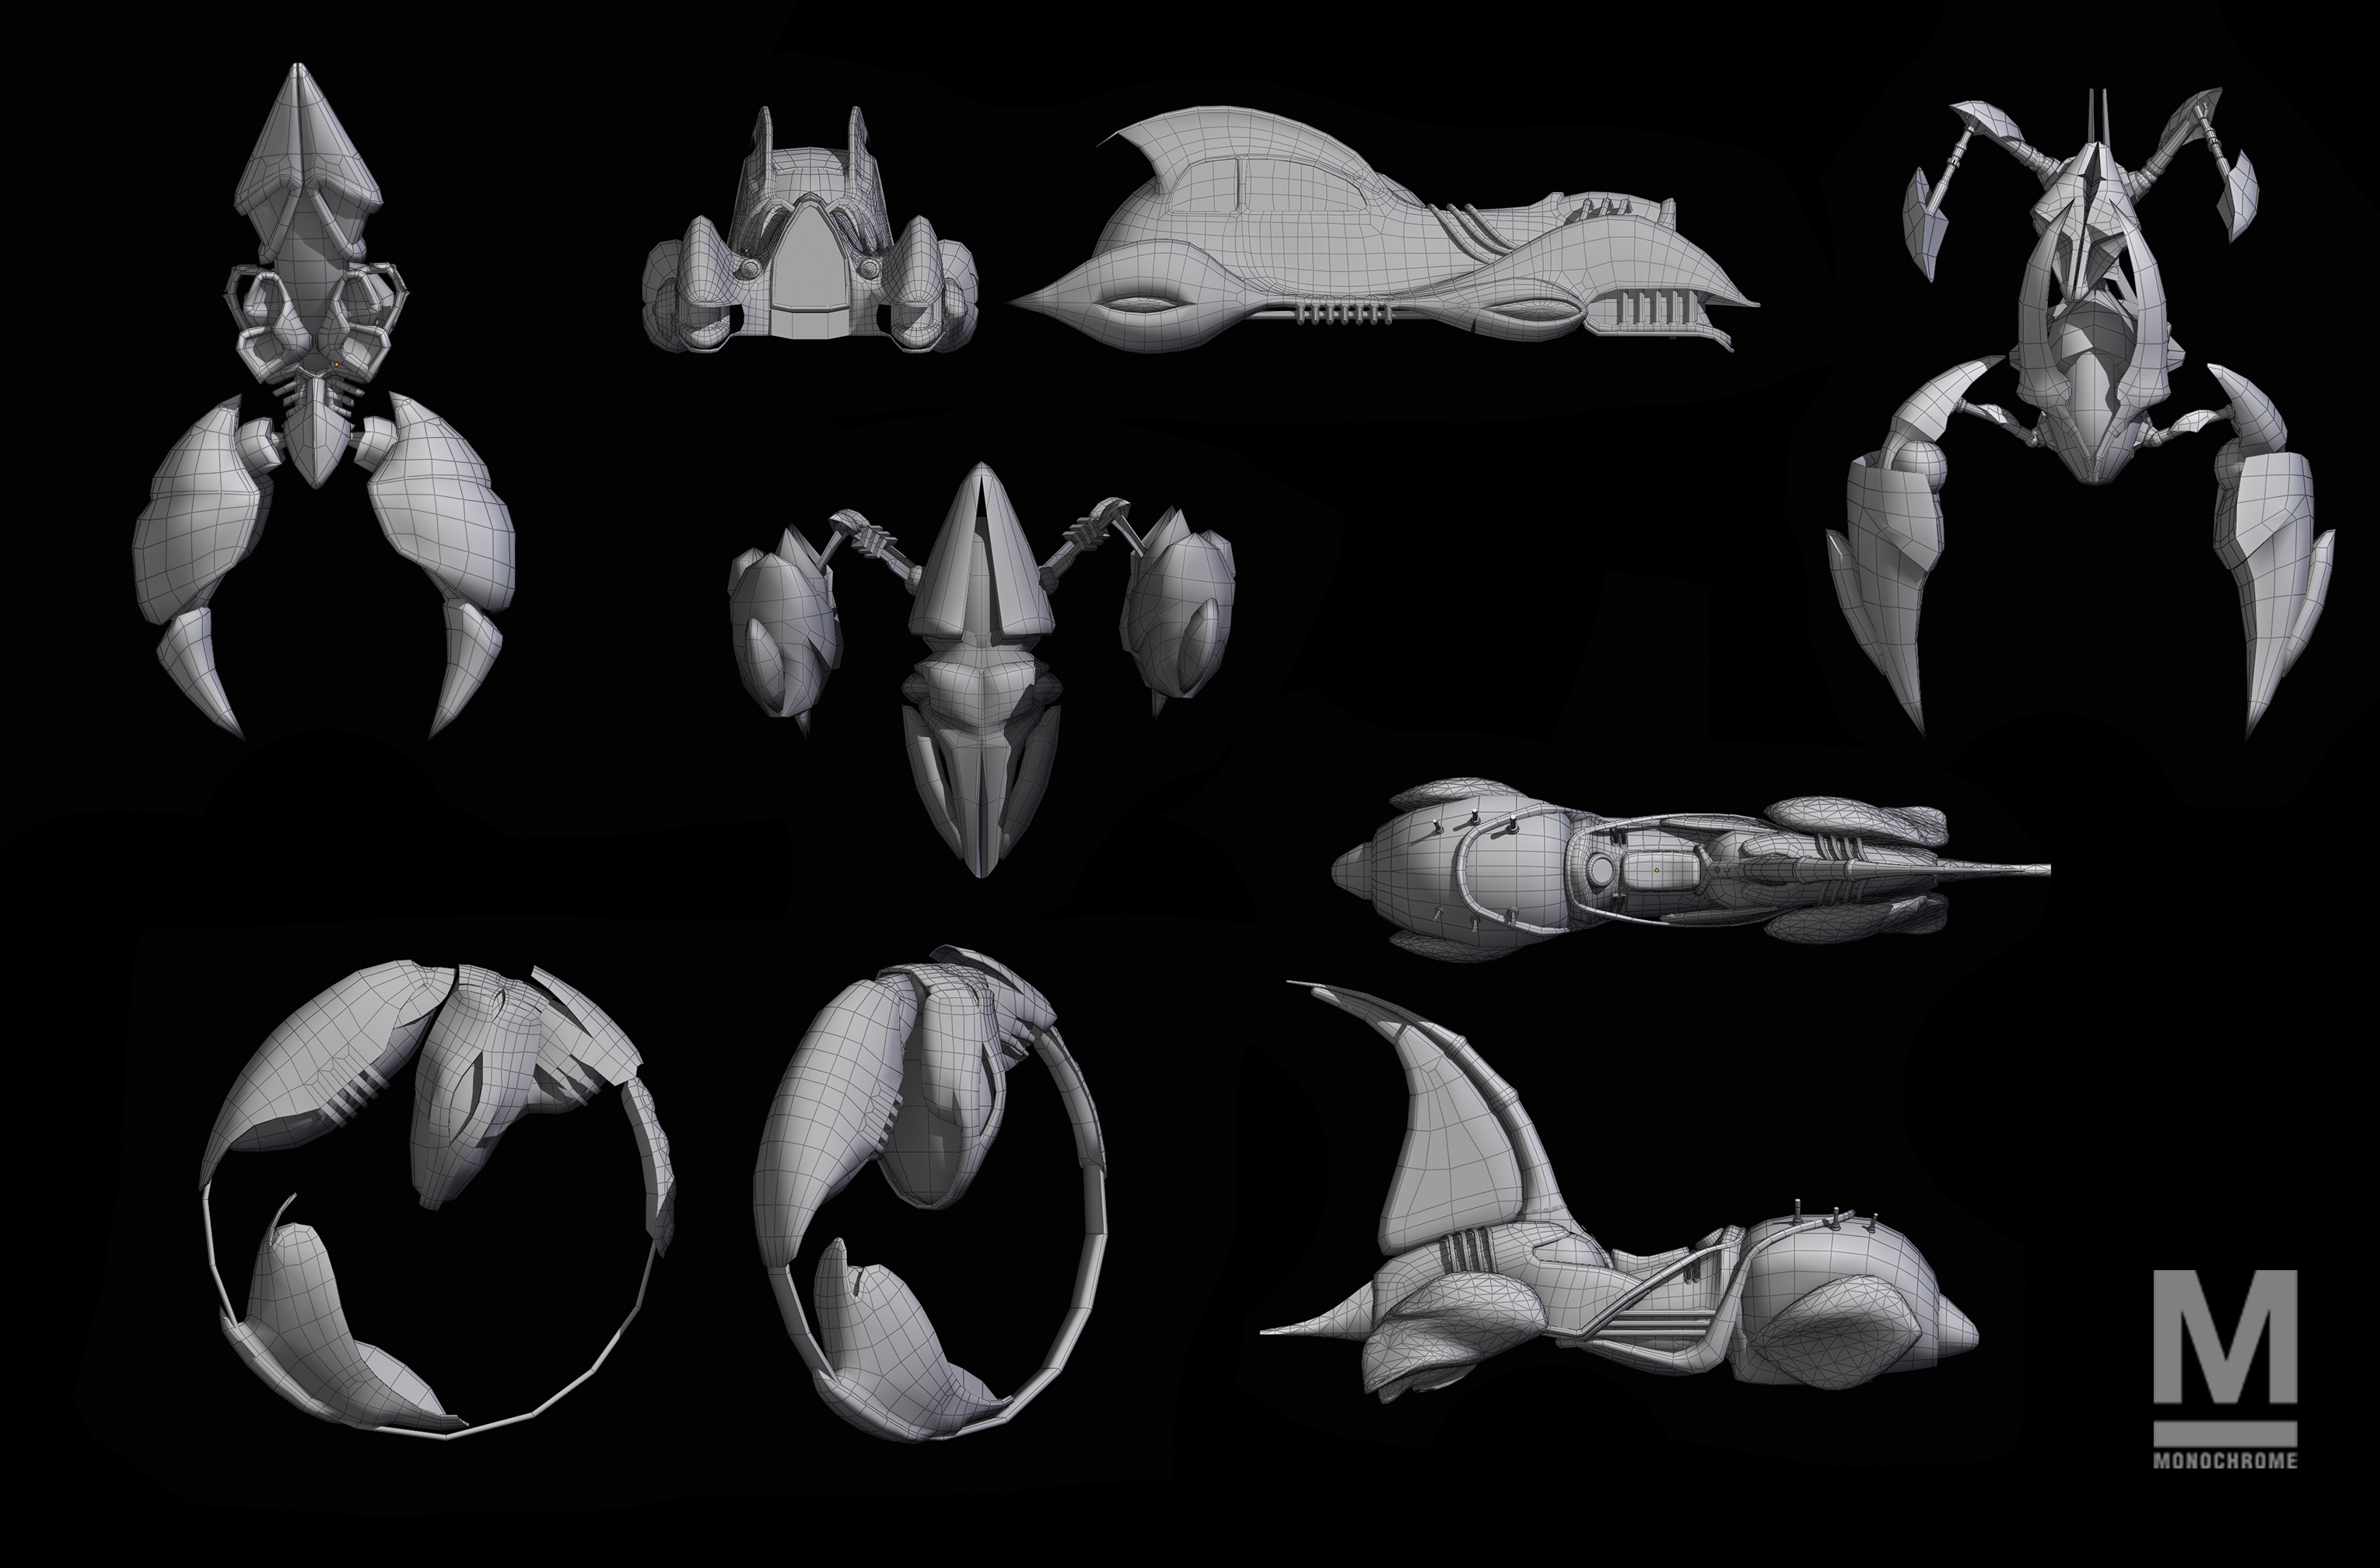
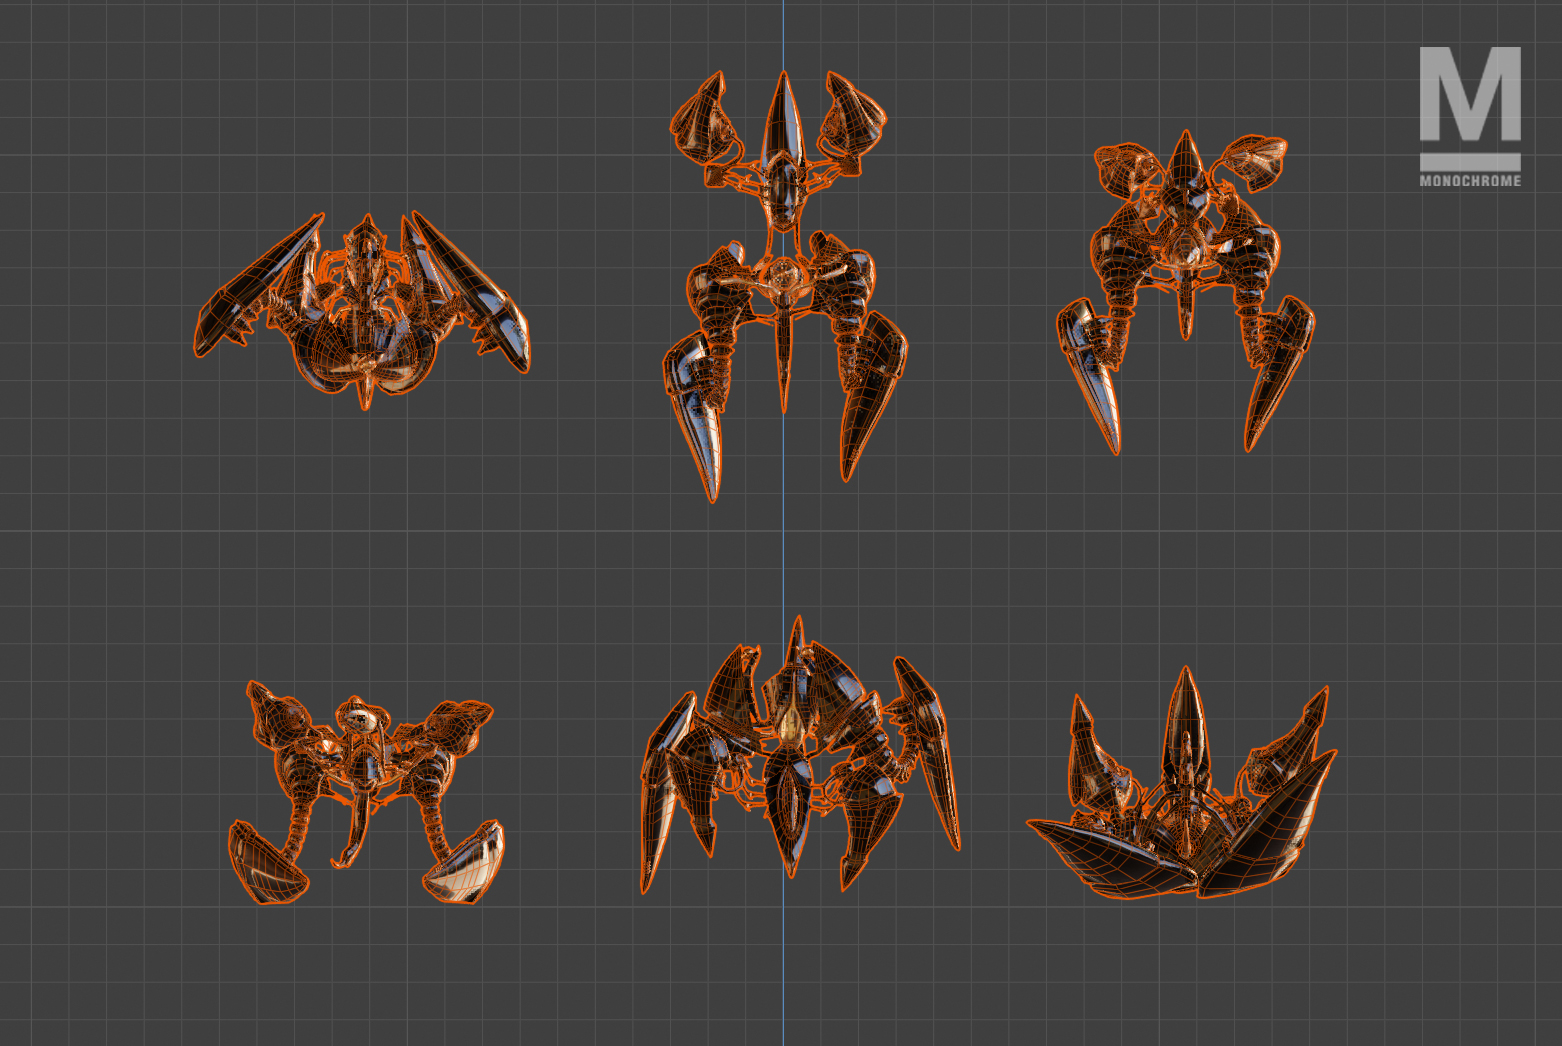
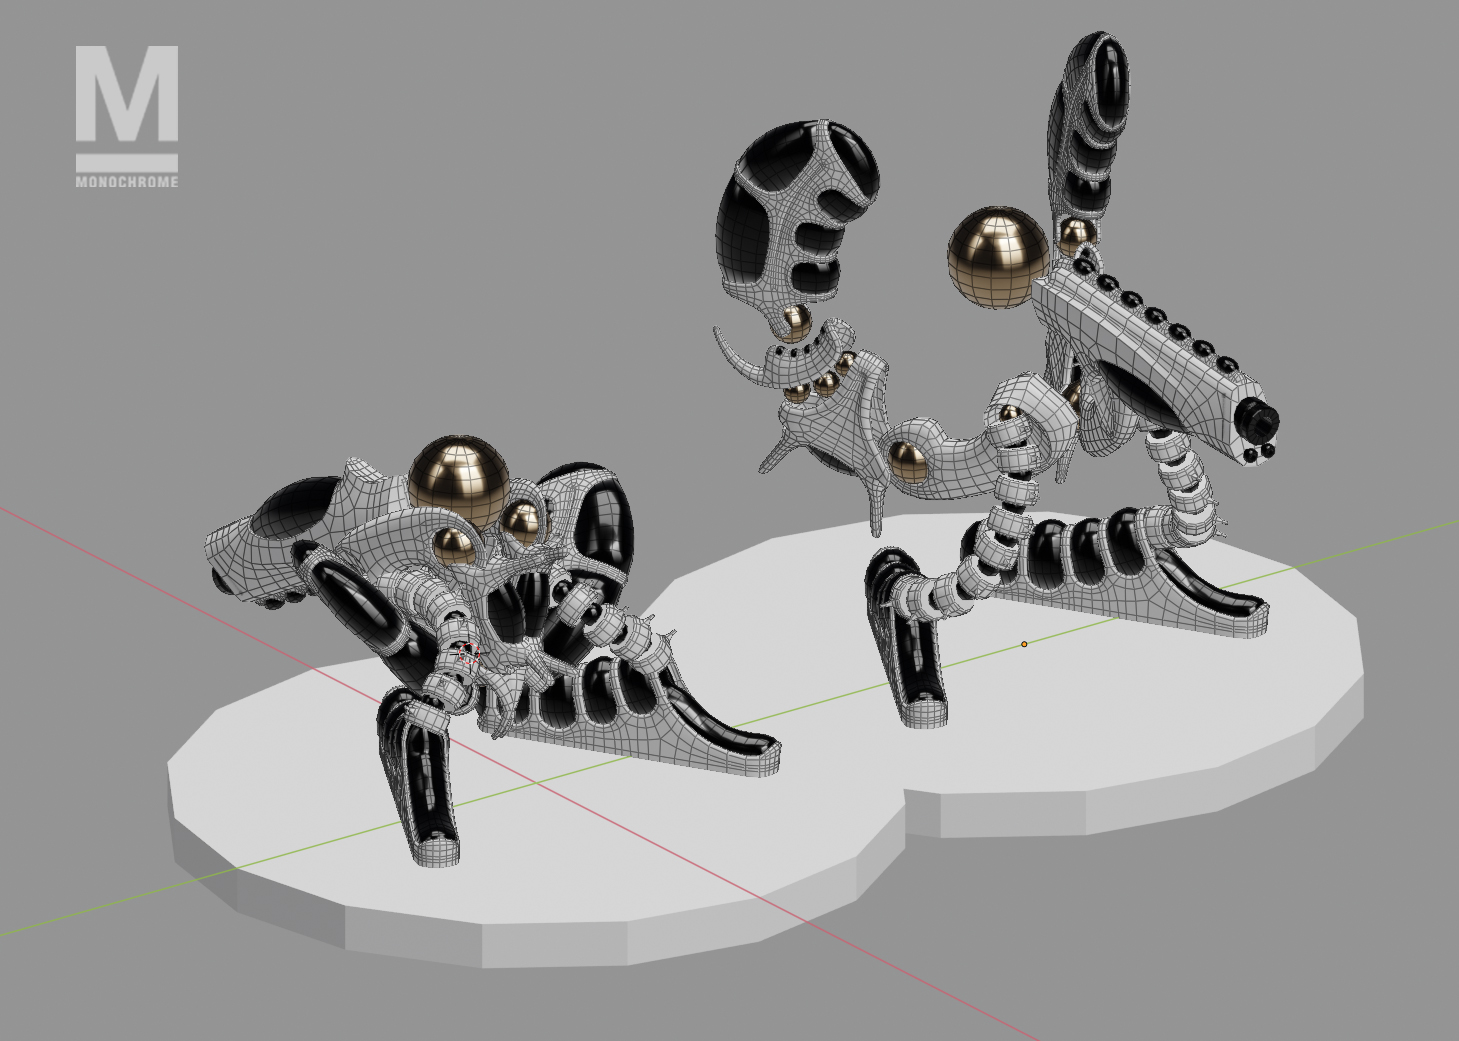
From this, we started fleshing out some 3D assets. Due to the very organic design, topology was often challenging, especially since the polycount had to be as low as possible: VR is very restrictive in terms of optimisation and we wanted the game to run at a stable 90fps on a GTX 1060 or even lower.
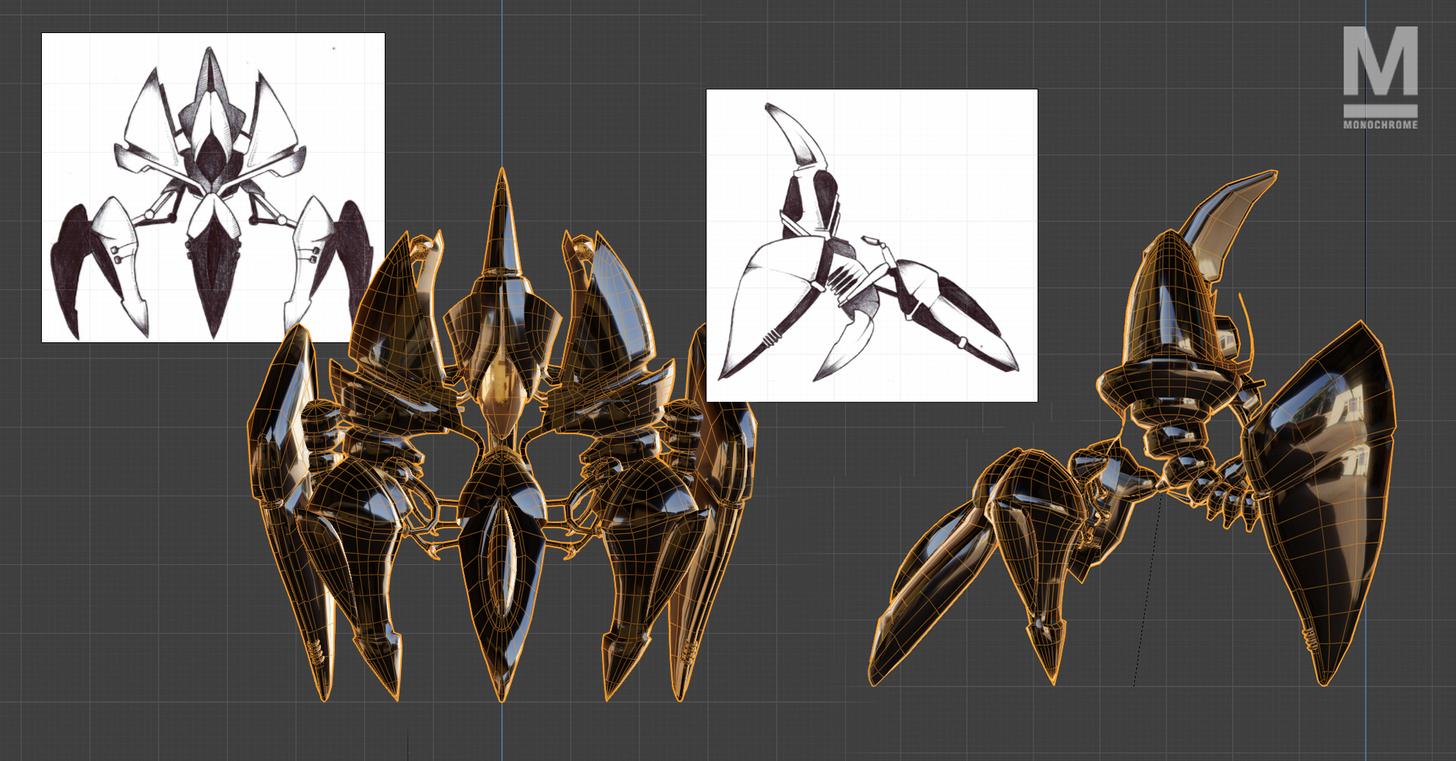
Some of the assets, like the Arachnoid above, were modified during the modelisation process. Others were reproduced almost as they were drawn, like the spaceship below. This was probably the most challenging asset in terms of topology.

UV Packmaster was a useful addon for UV unwrapping, however, we ended up carefully unwrapping most of the UVs by hand to get them as tightly packed as possible. Most of the lightmap UVs were also made by hand for each asset rather than generated in UE4.

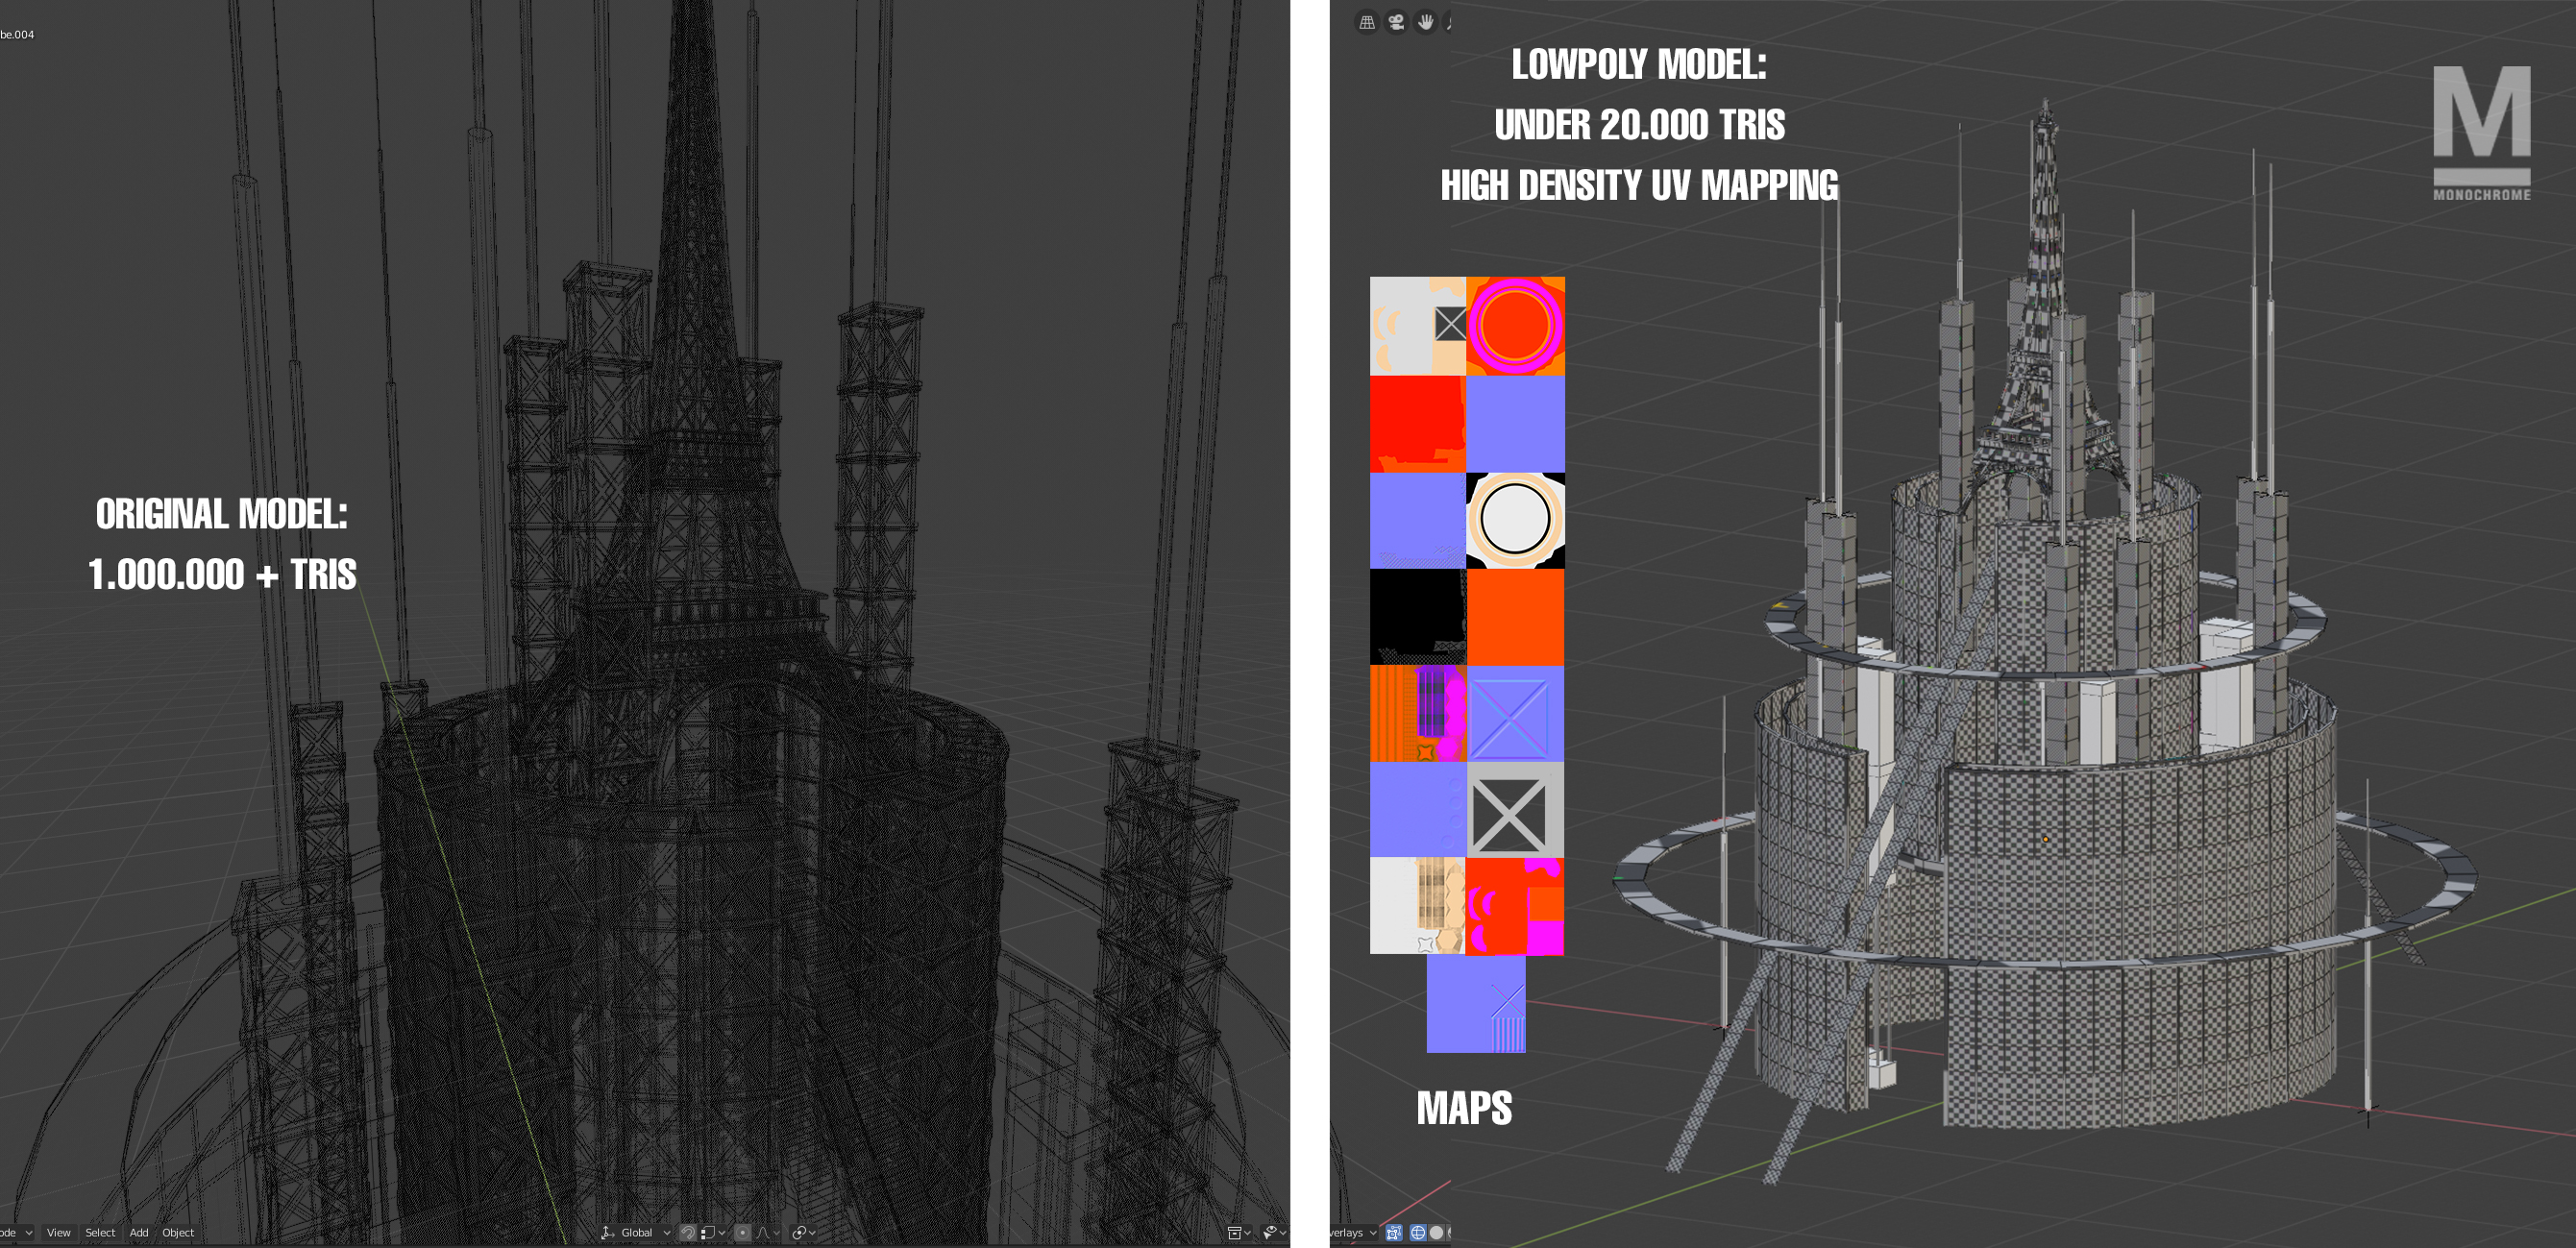
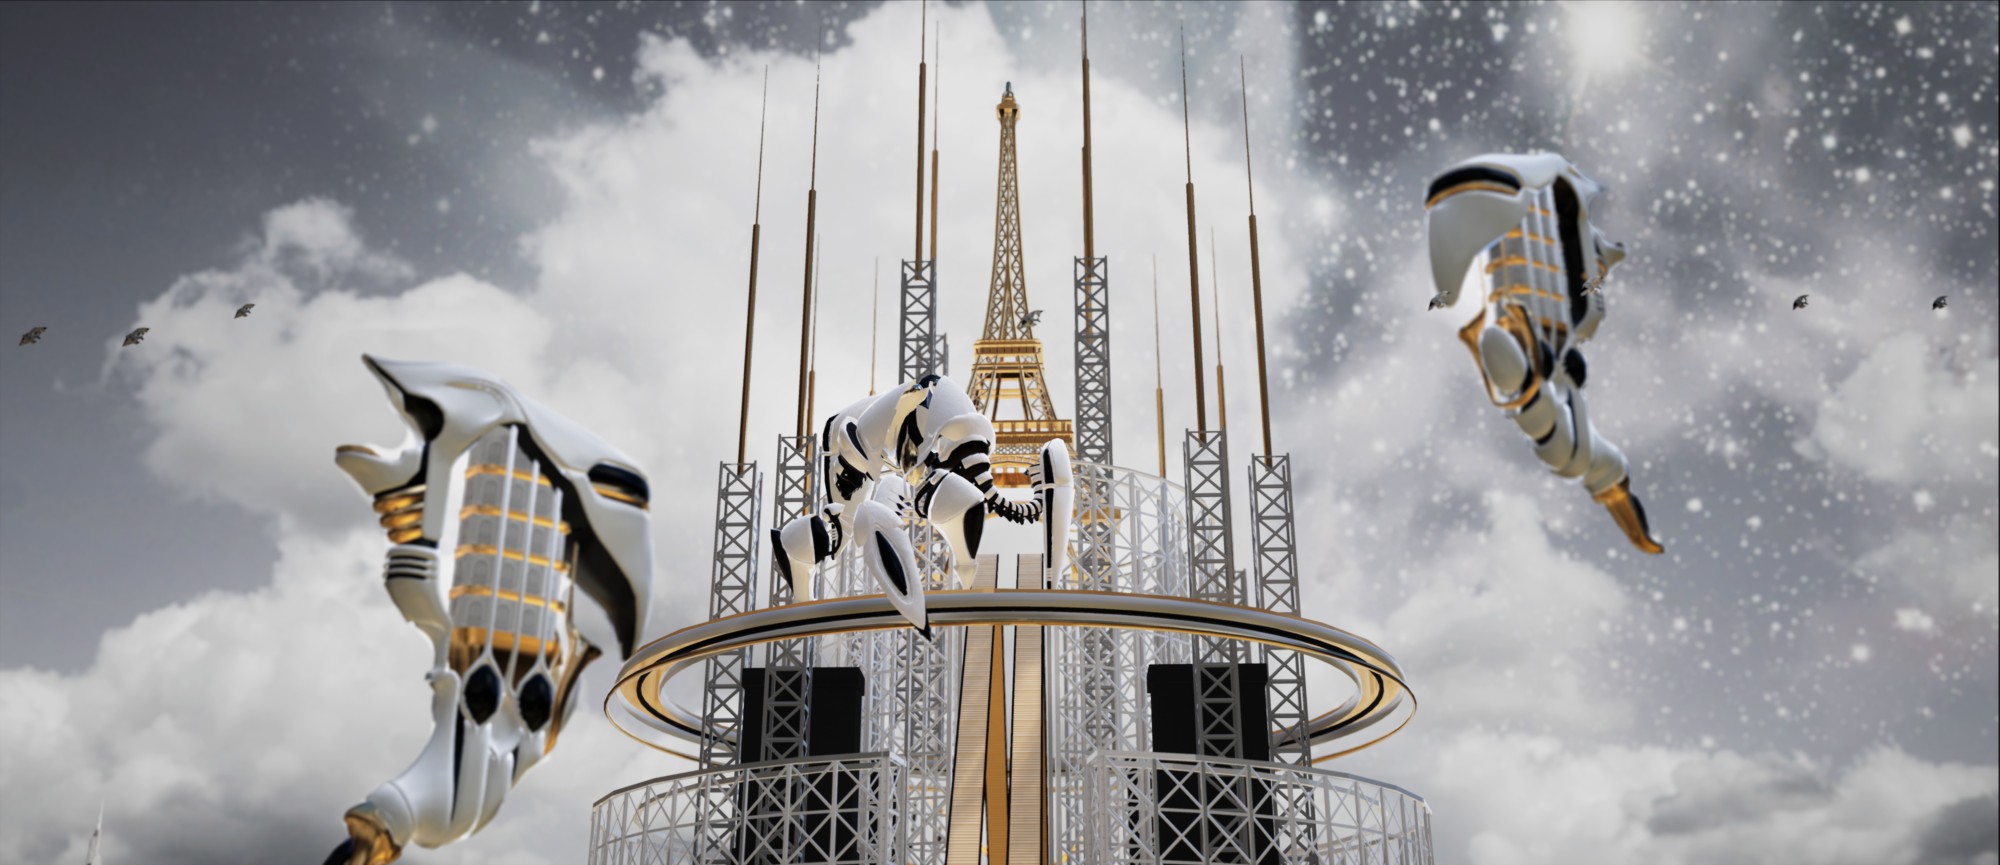
Some assets like the Eiffel tower required some trial and error. We knew that we couldn’t have all the model as real geometry, but alpha masked materials are also expensive. In the end we managed to have a detailed enough model with very little geometry for such a big environnement asset. Most of the faces are unwrapped to the same UV coordinates, so repeating details are only present once in the texture.
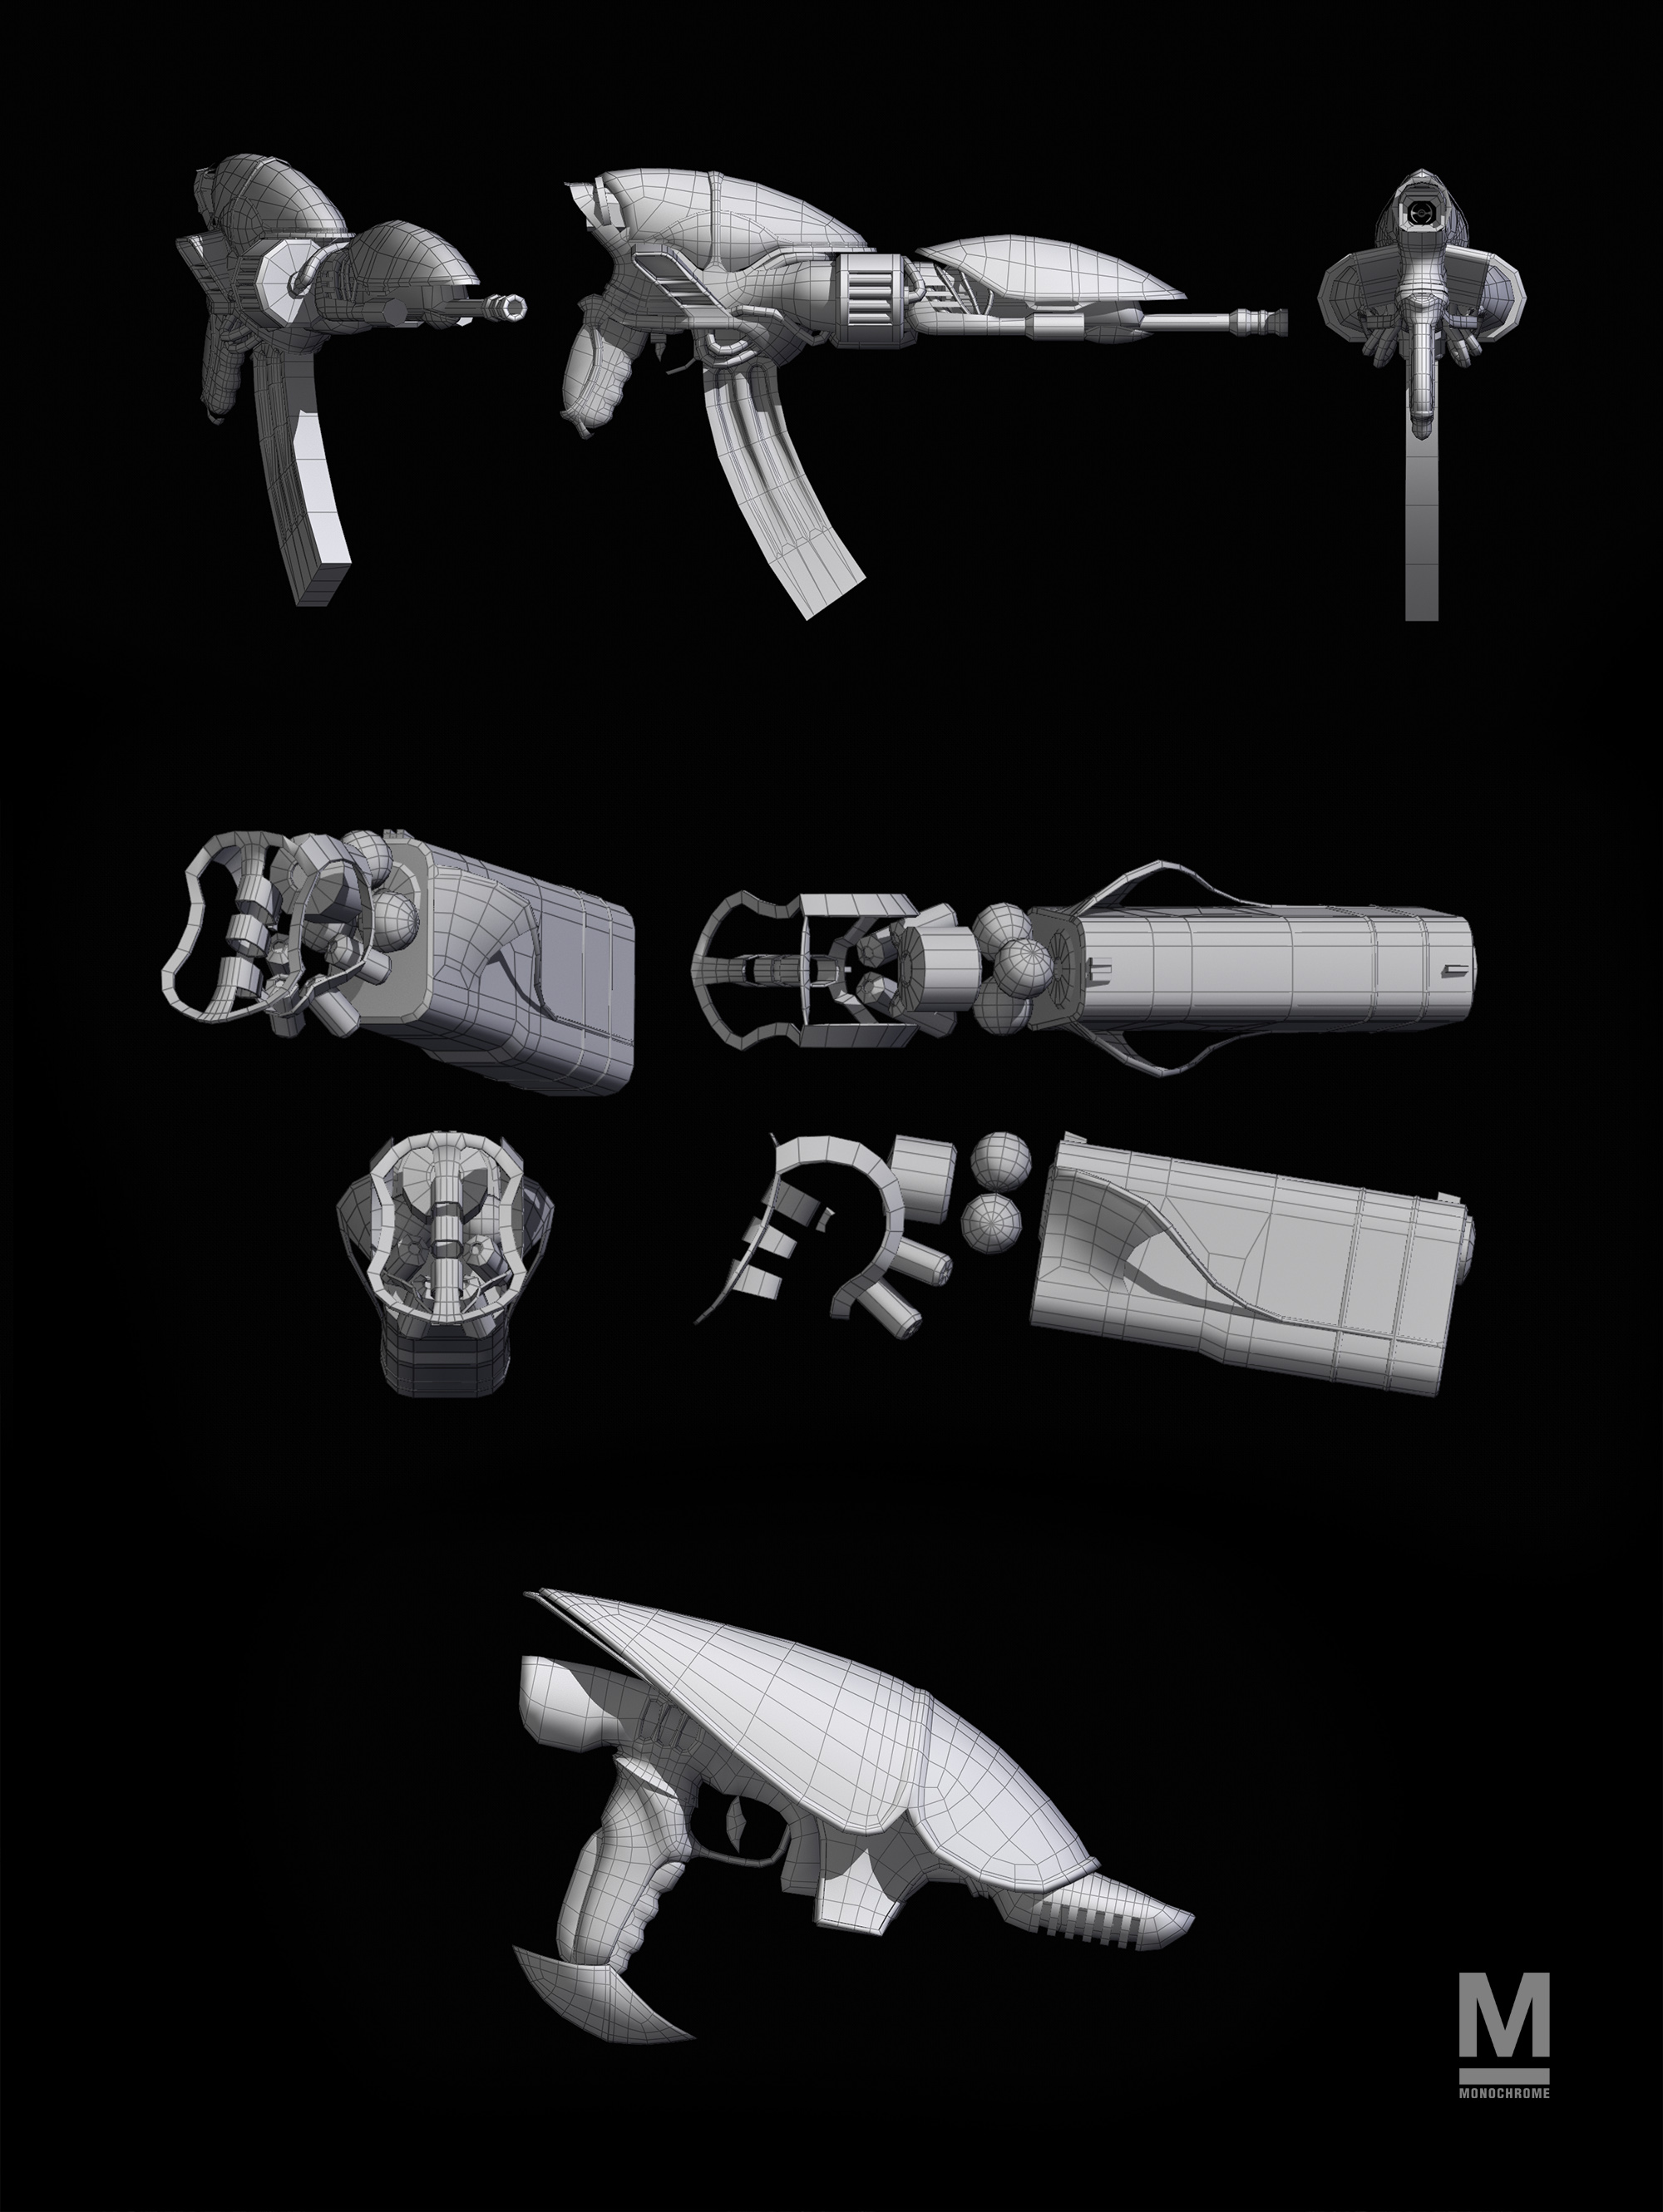
For the sake of efficiency, the game only allows the player to carry up to three weapons: a pistol, a shotgun (changed to a grenade launcher, but still called a shotgun), and a machine gun. These were also carefully modelled and animated to give them as much power and feedback as possible in the hands of the player.
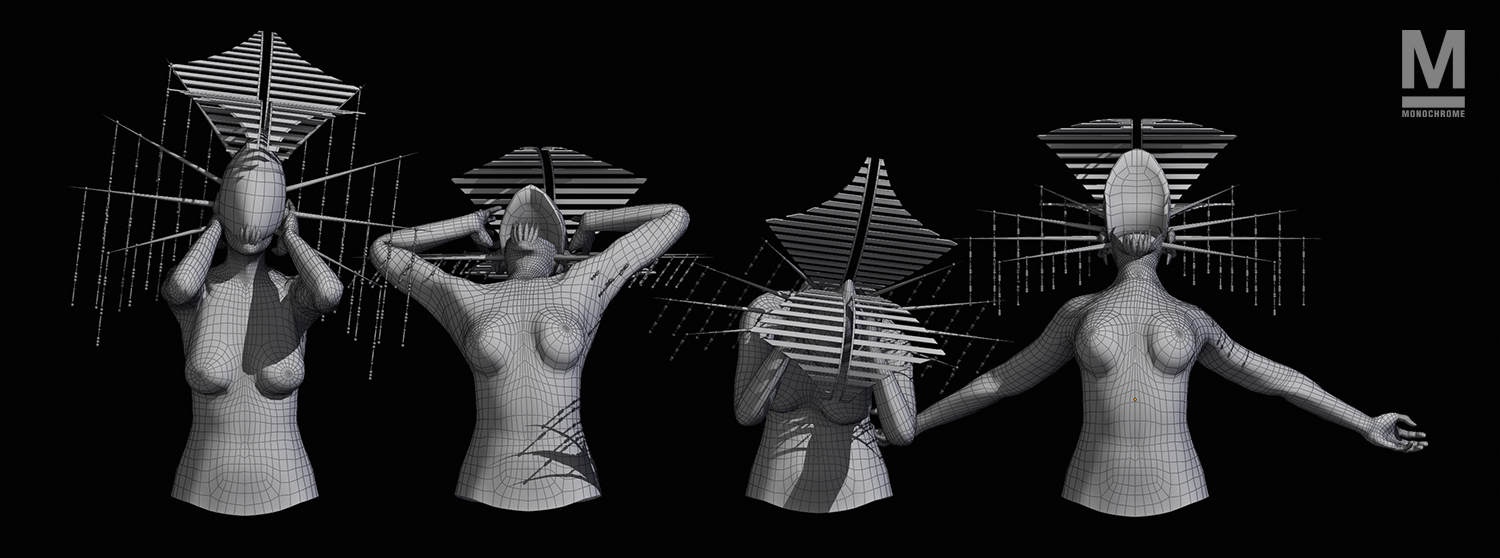
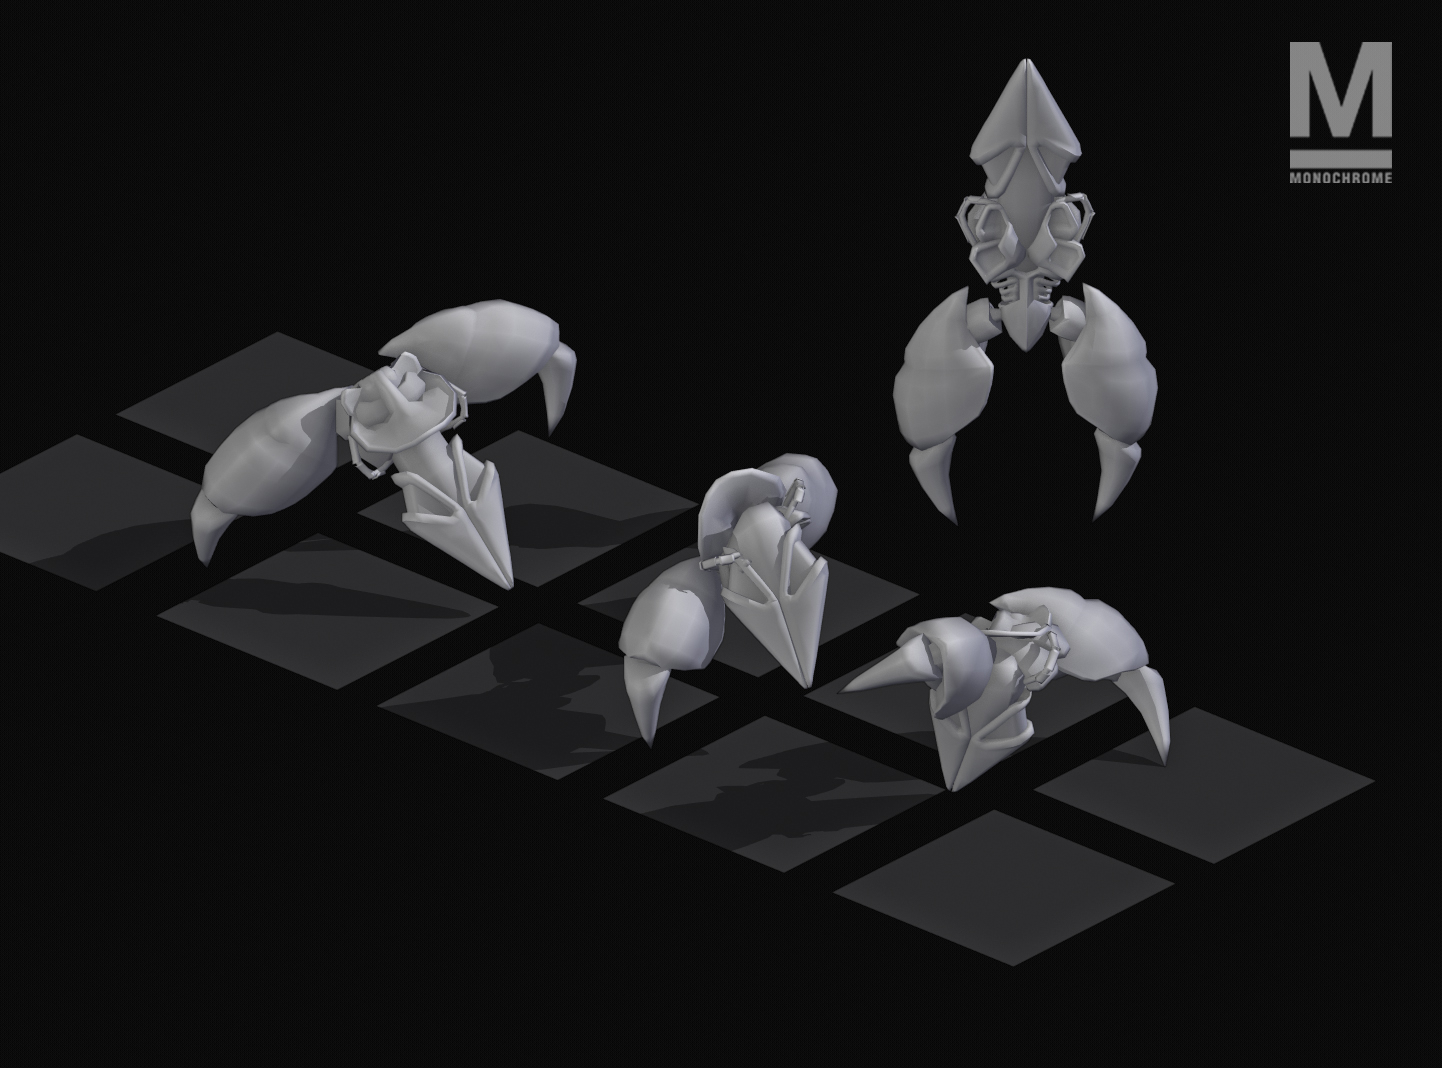
More enemy and vehicle design:
II. Animation
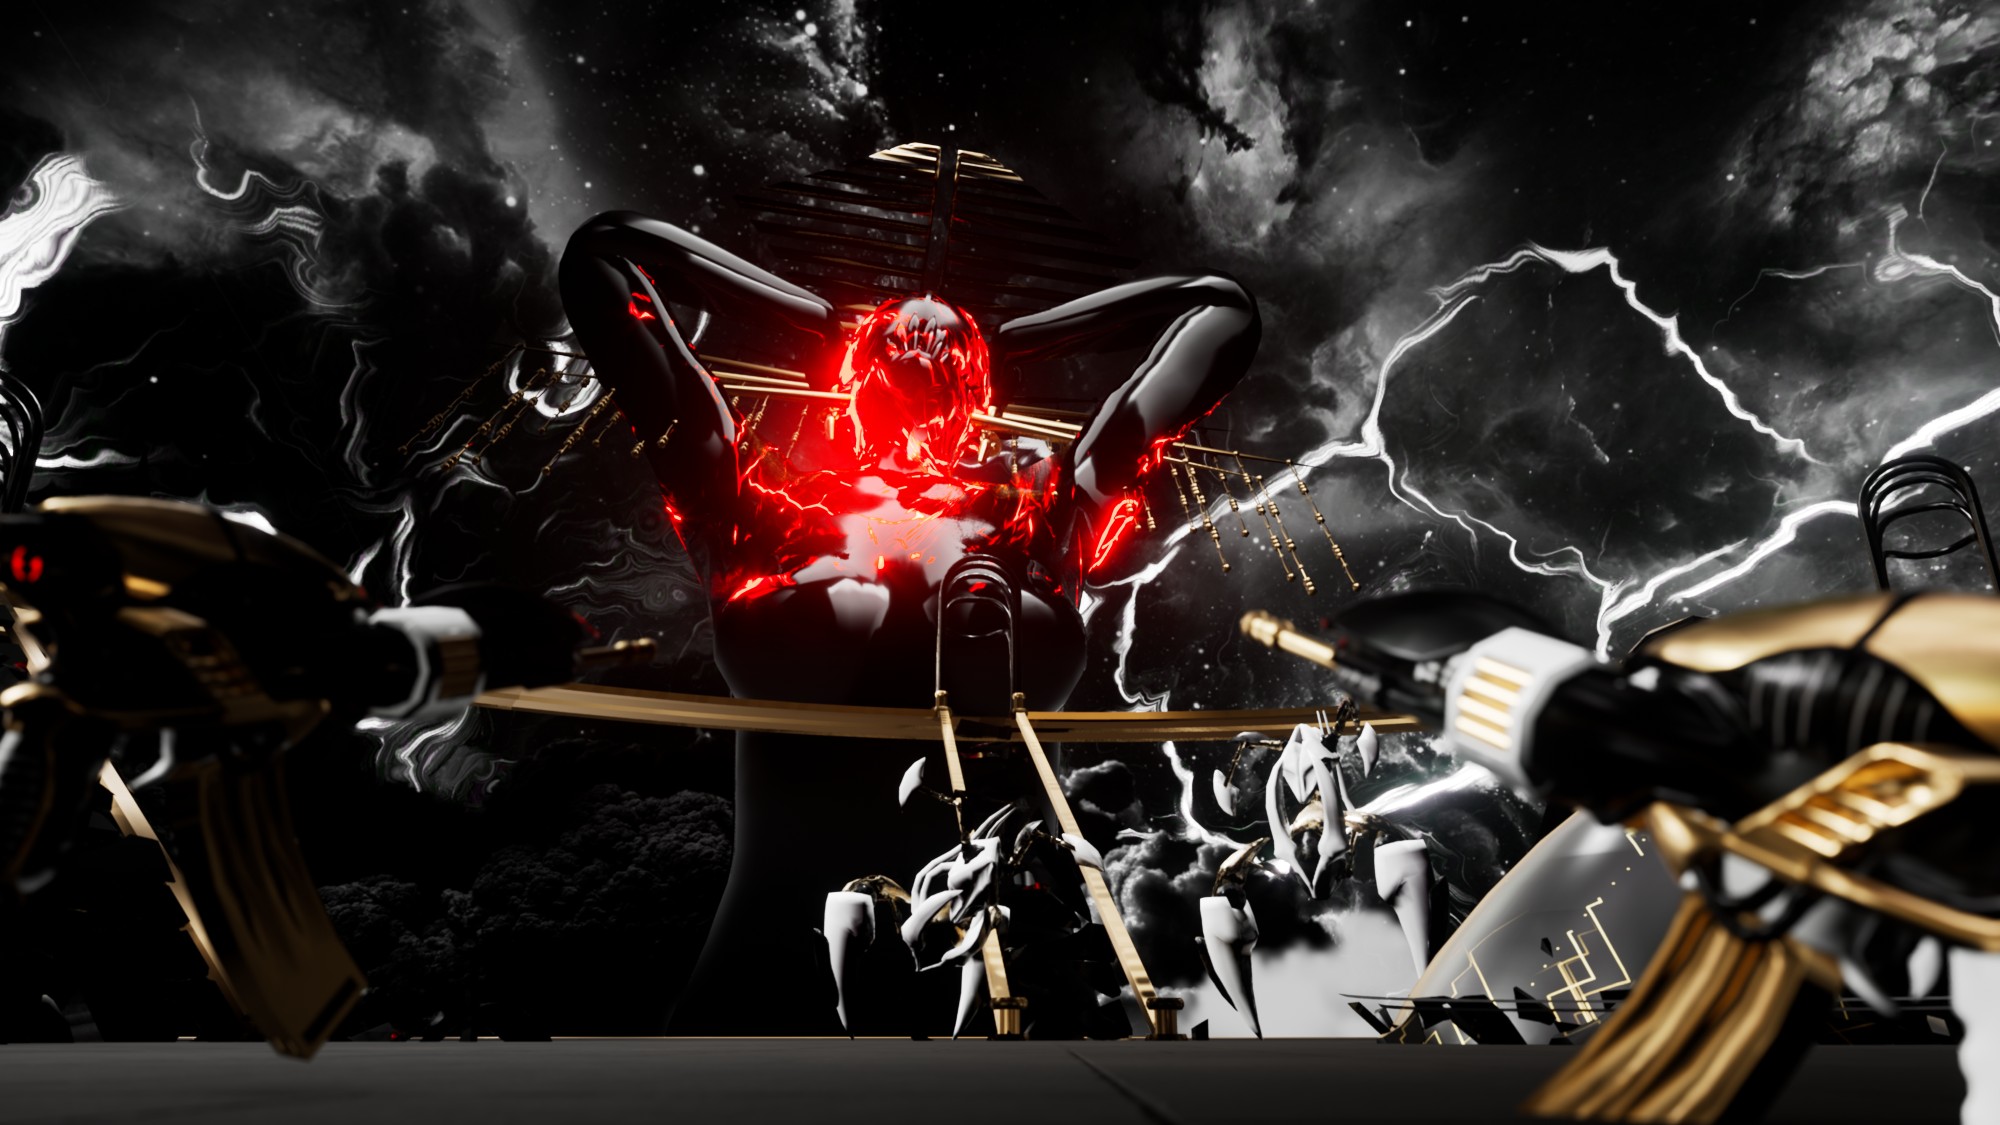
Above, the death of the goddess, the game’s epic finale.
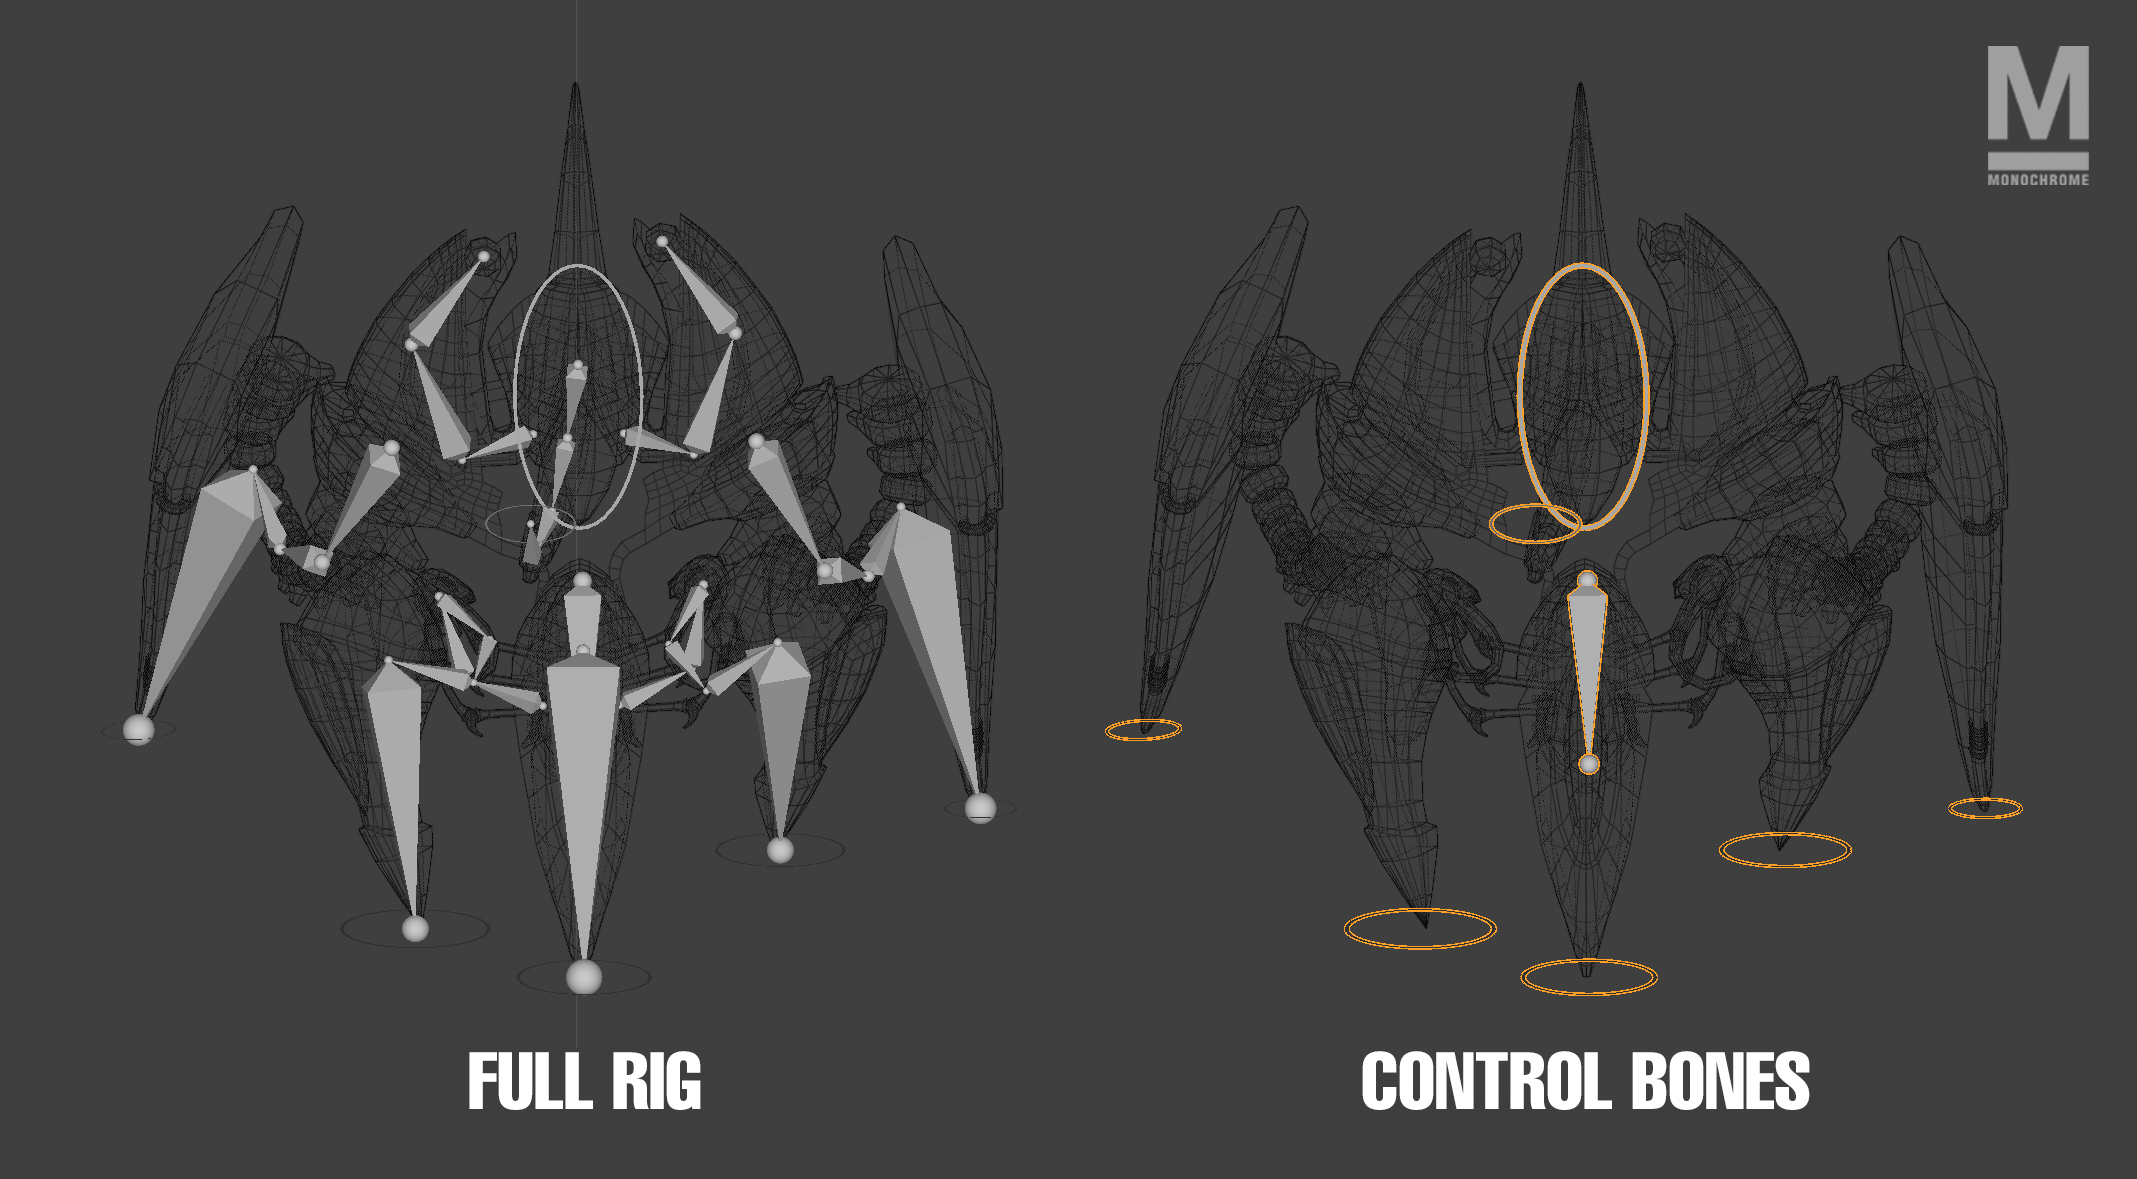
Creating simple custom rigs in blender was so fast, especially with the excellent auto-weight parenting, that rigging was pretty much smooth sailing. You can see below that not many bones are required to drive the animation. With some control bones and basic Inverse Kinematics, the animation process was very efficient and allowed for a lot of experimentation. See the Arachnoid rig below:
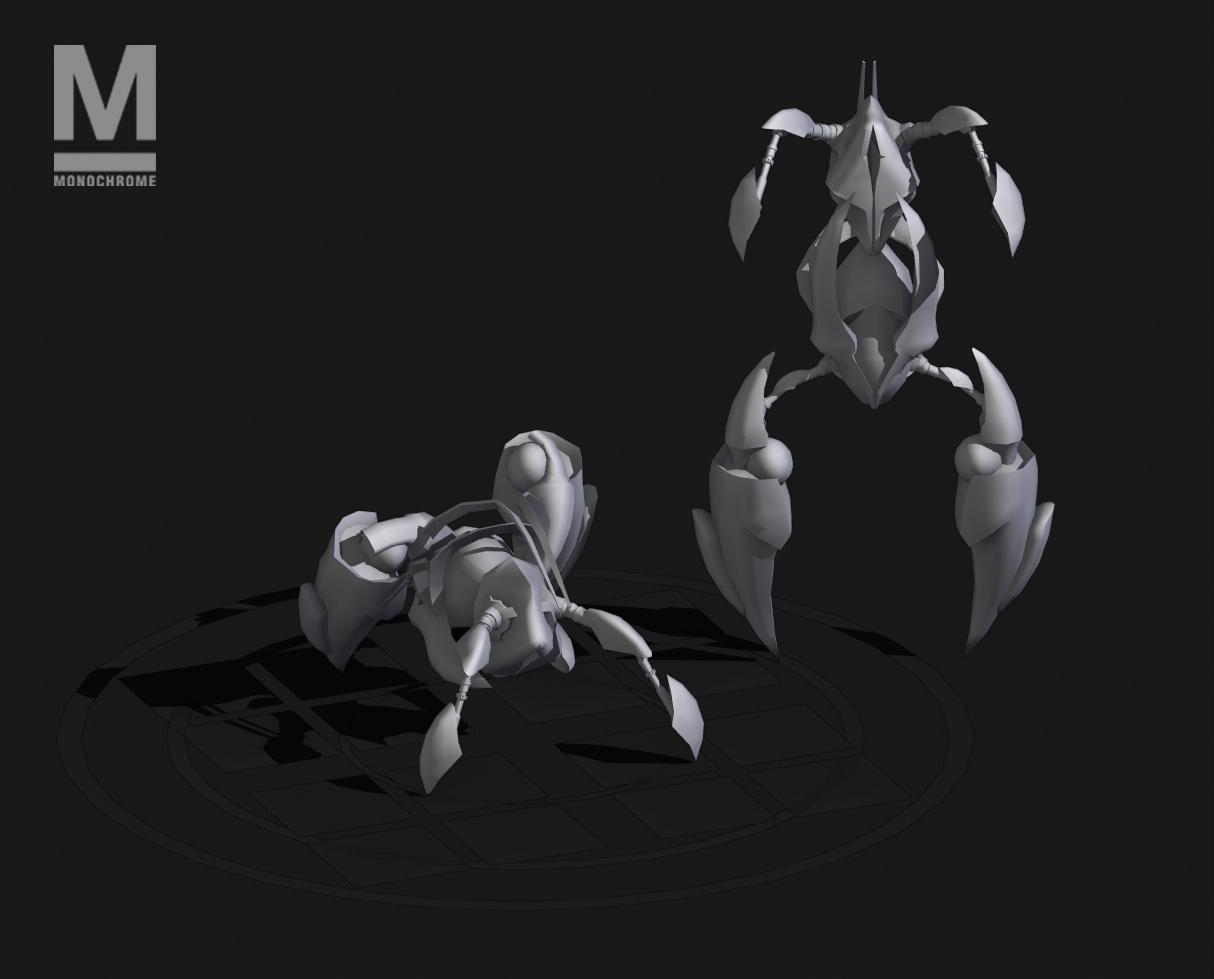
The original concept arts did not include any indications for animation. With a good base geometry and efficient rig, we were able to transform the enemies and make them move in surprising ways, as we tried to always find unexpected ways to animate each move. The giant Arachnoid can jump, roll on its back, taunt, with different silhouettes for each actions, making the boss fight easy to read, even in the heat of the moment.
The dressmaker was never supposed to use its “head” as a third leg, nor the architect to get on all fours to fire a laser beam. But the variation of silhouette gives very good visibility to the enemies actions.
See below the cinematic animation of the Arachnoid for the beginning of level 3:
The final animation as seen in the engine:
Each asset has up to 15 different animations, that have to be blended together in real time and be recognizable at a glance. Below, the turret, a late addition to the game. Notice the contrast between the “idle” and “attacking” poses (Rendered in Eevee).
III. About the game
Of course, modelling the assets was only the first part of the process. You can see below some of the logic required to run Singularity 5 (all of the game was made using UE4’s visual scripting system).
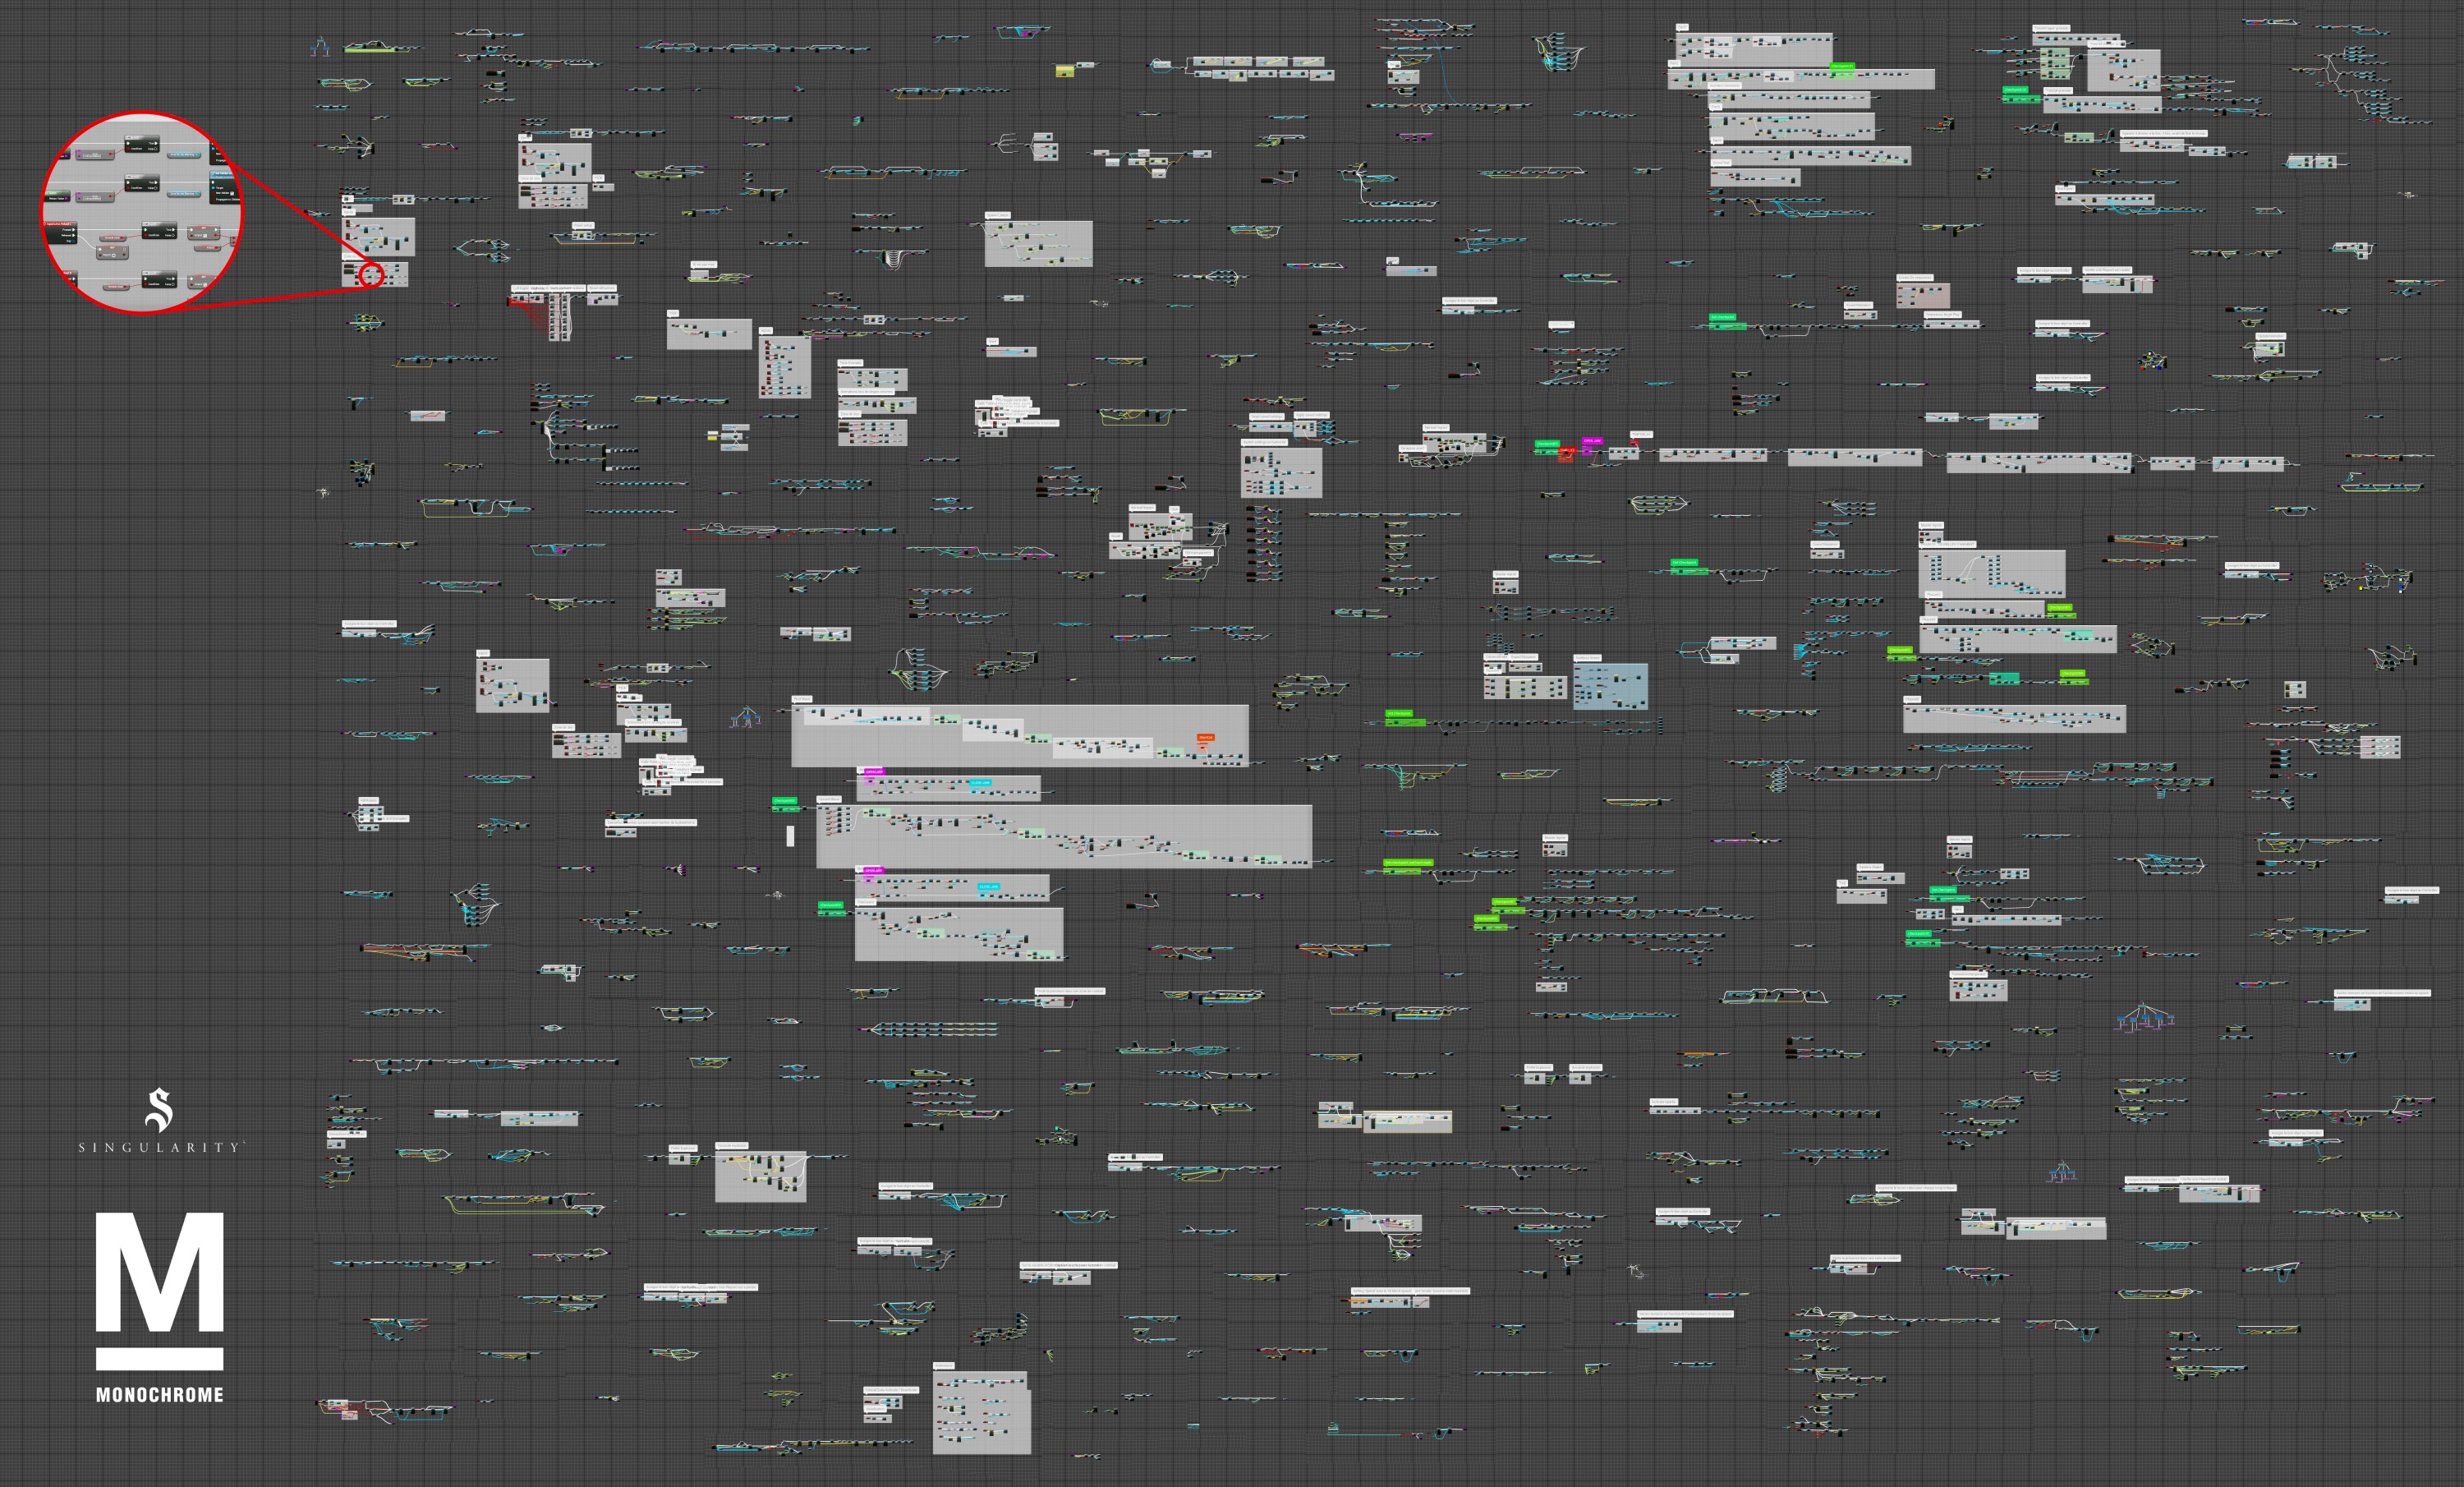
It was our first game and we had to face a mountain of unexpected problems. From a gameplay perspective, it was very difficult to make some of the mechanics intuitive. Each game mechanic was probably restarted from scratch at least a few times, until everyone could play and enjoy the game, from 7 to 77 years old. Optimization was the biggest concern from a technical point a view, as each shader and each polygon counts, and we had very few ways to cheat with textures due to the clean, smooth surfaces art direction.
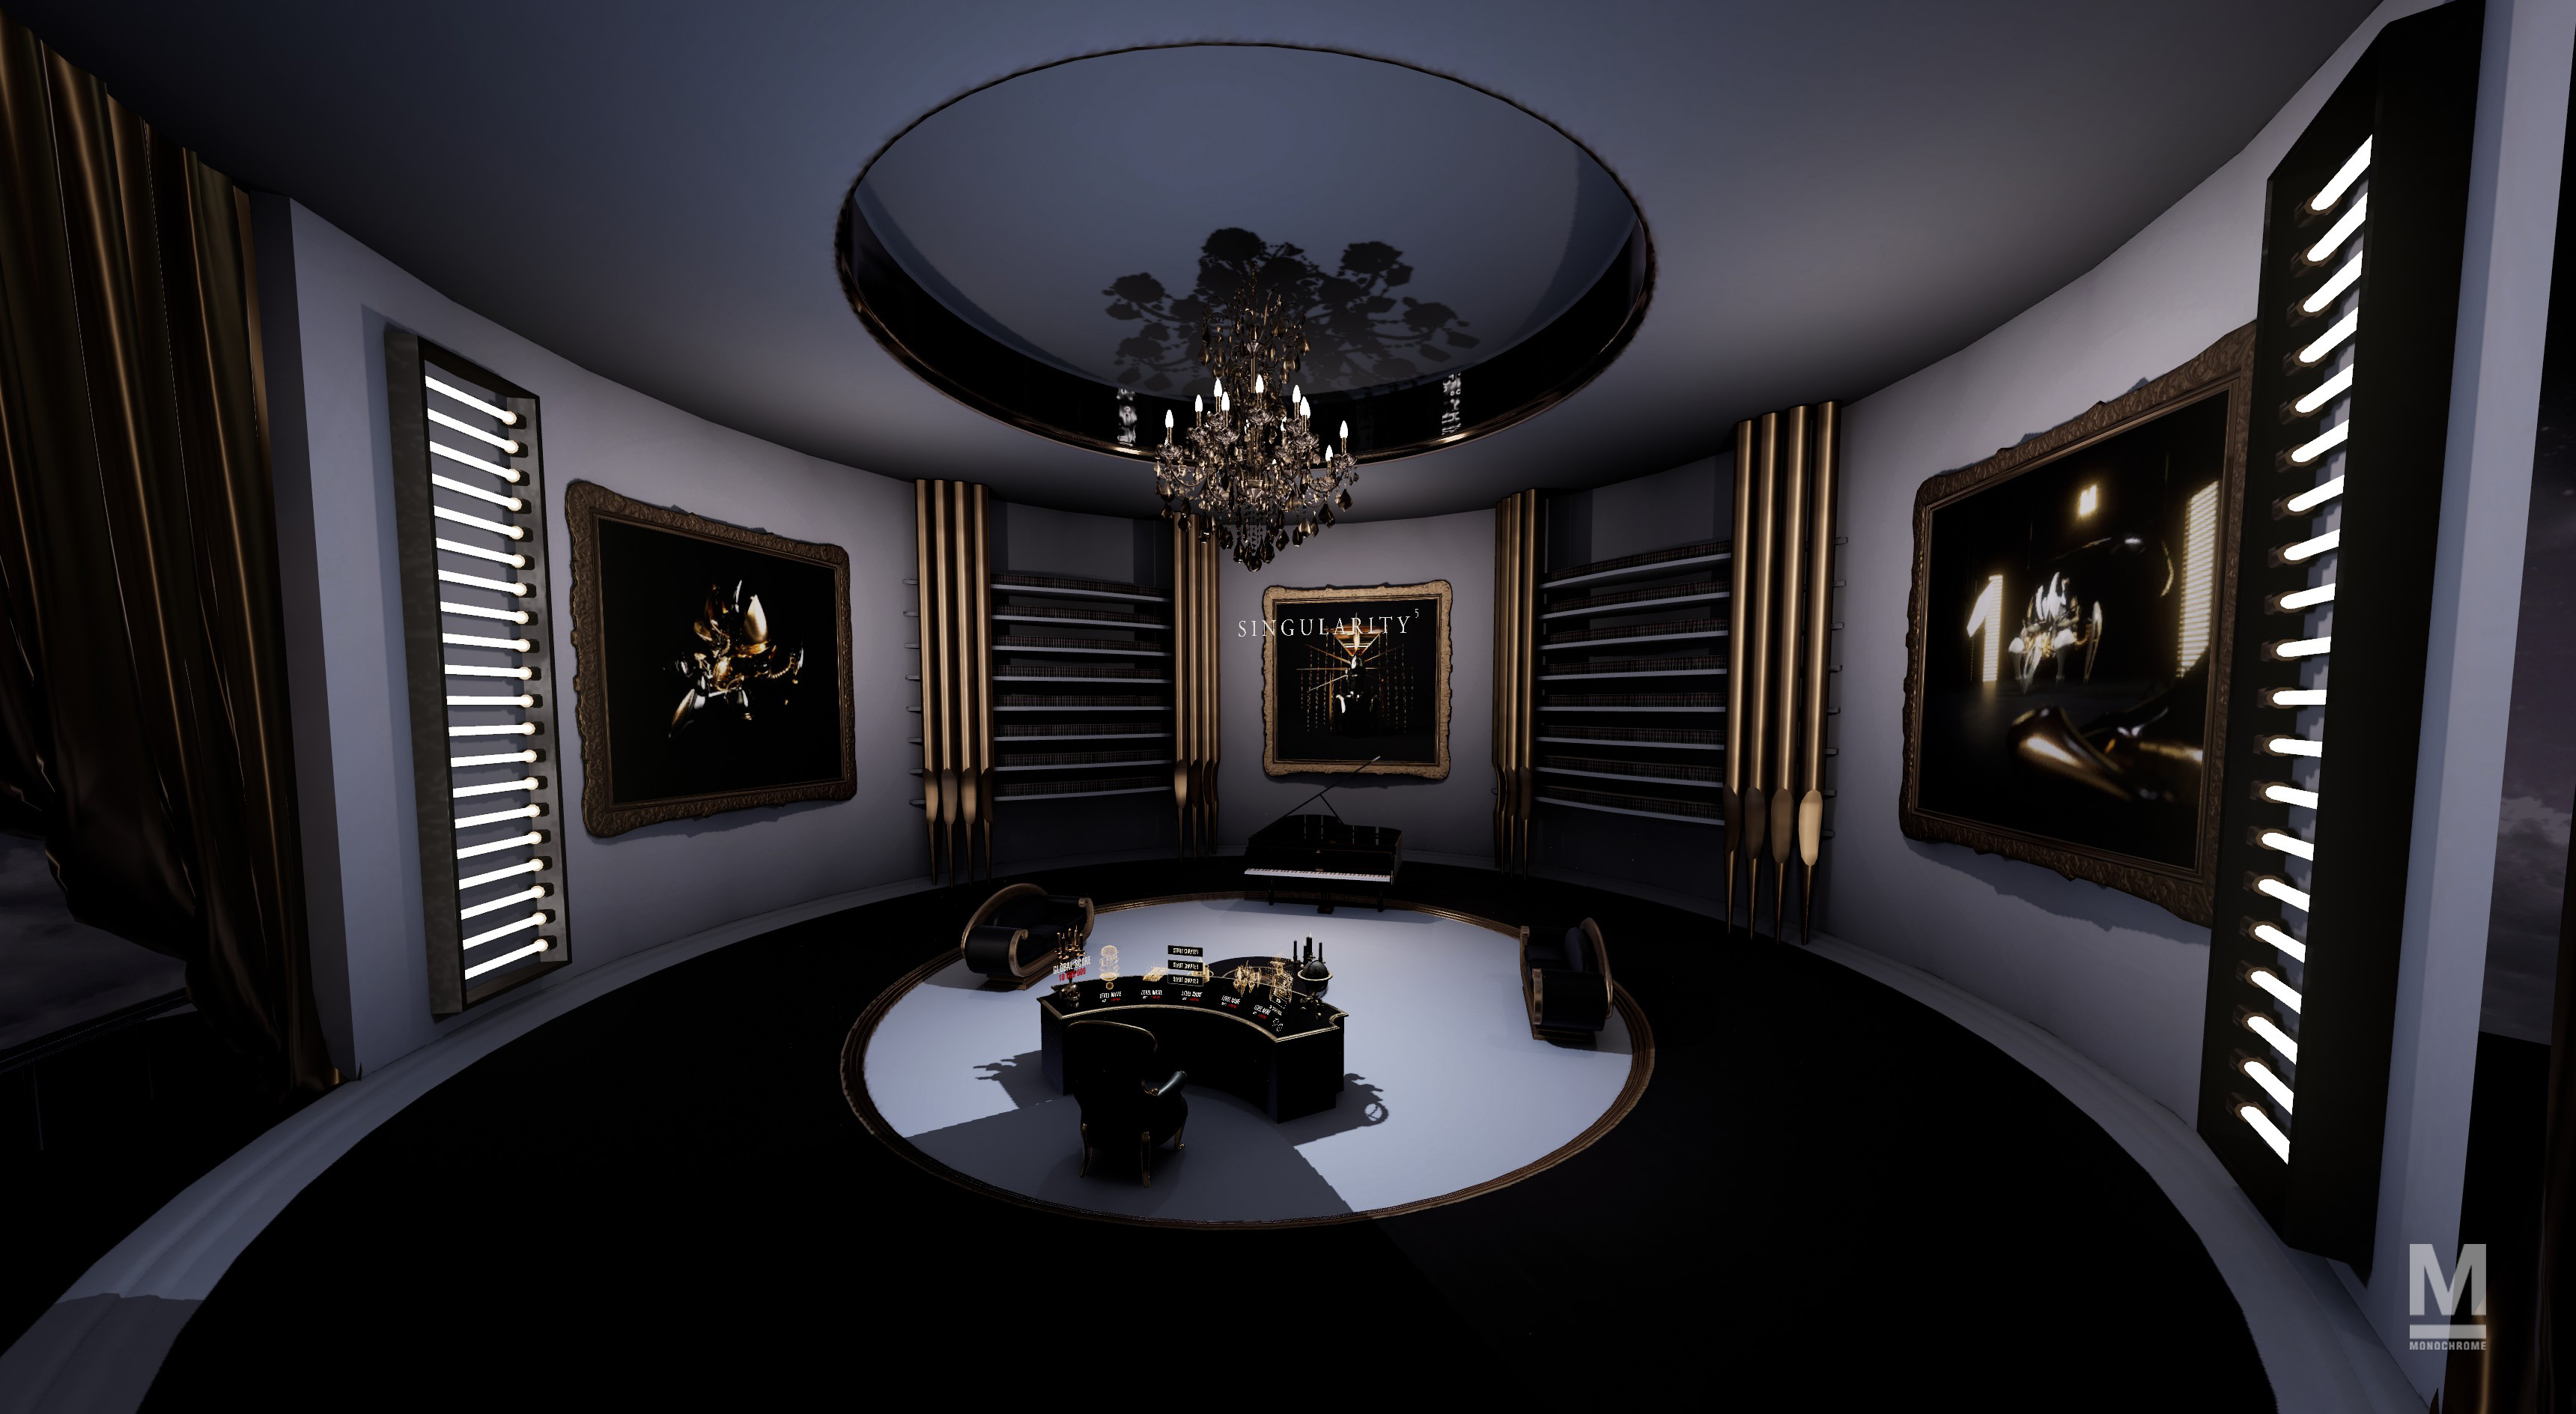
The game menu, modelled in Blender and rendered in Unreal Engine:
The Eiffel tower map in Unreal Engine:

Level 4 in the engine:

Some enhanced screenshots of the game, rendered in the engine:

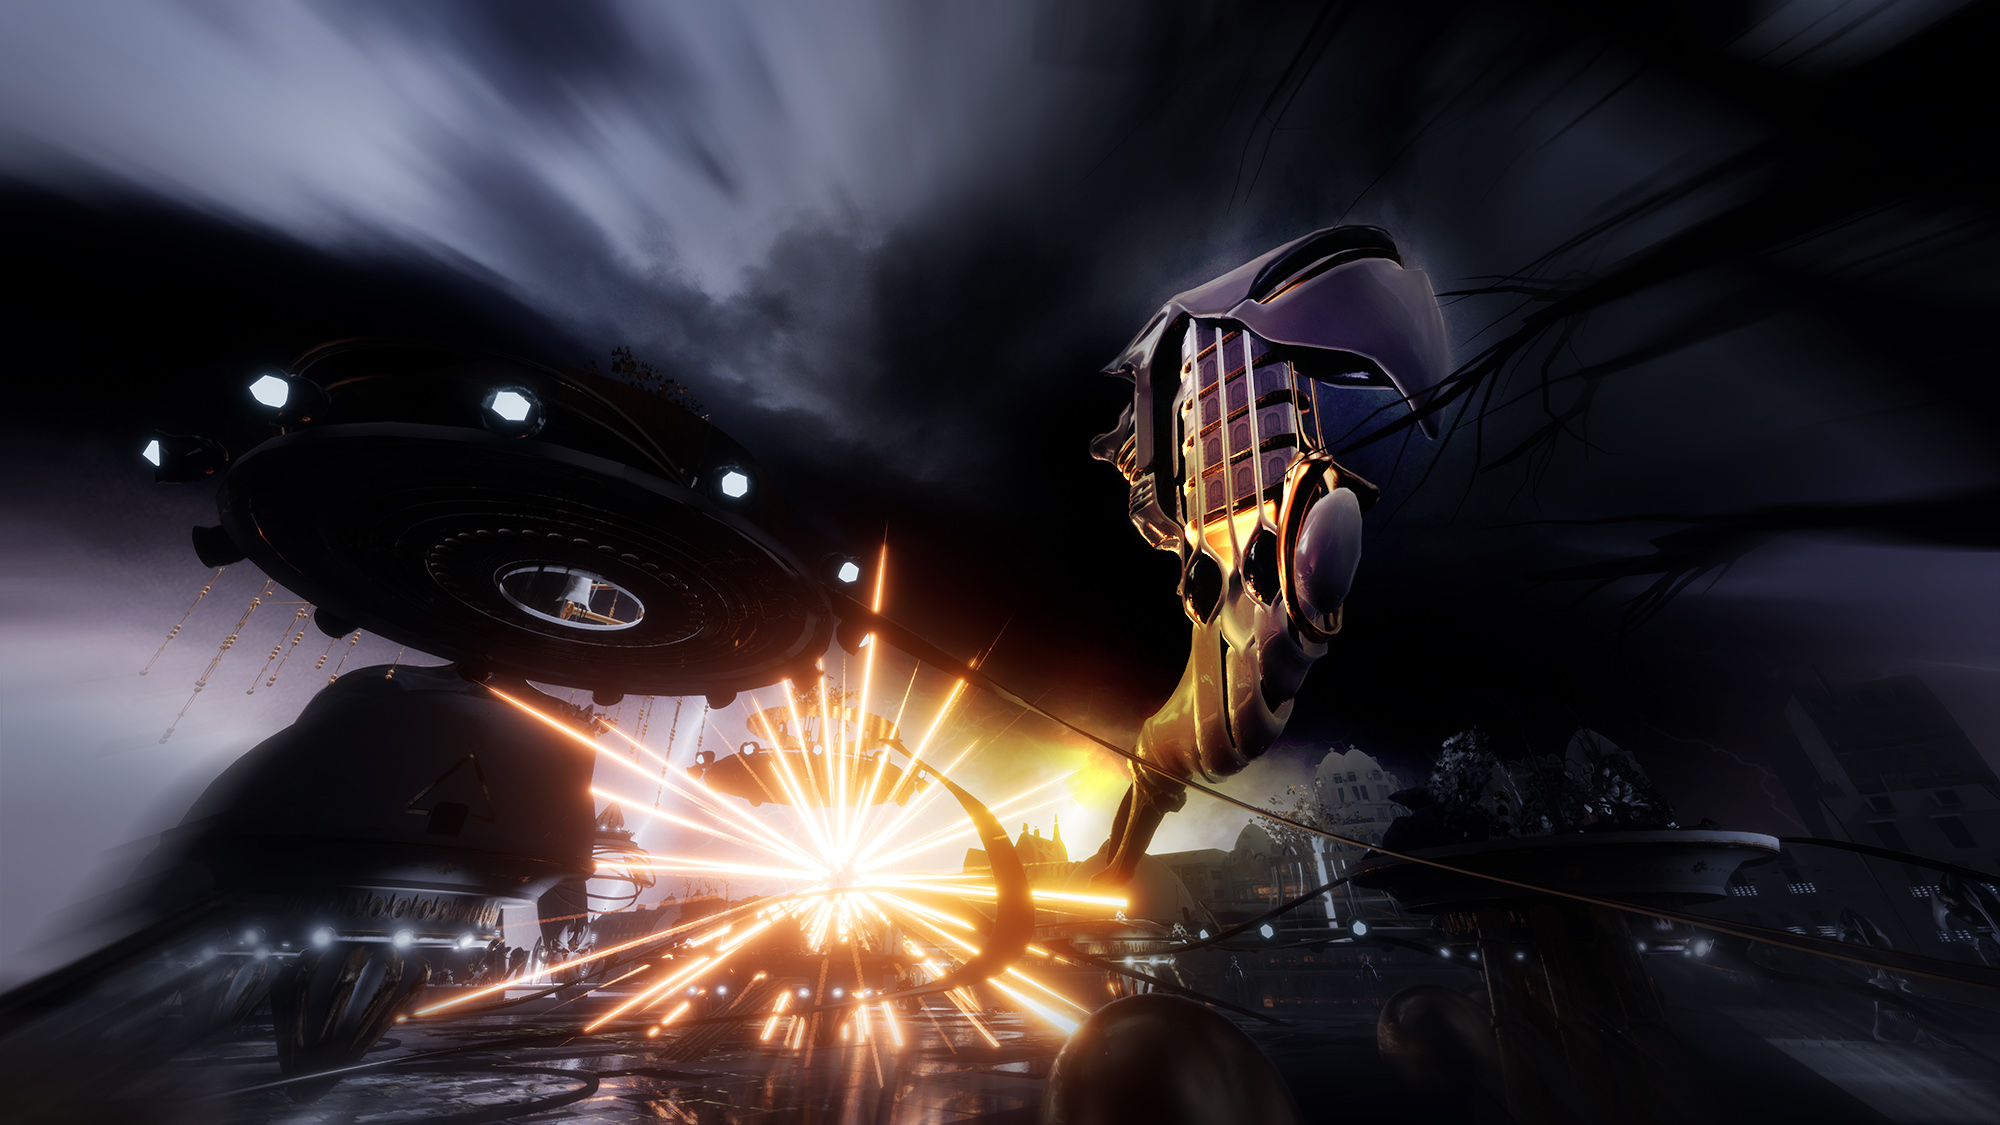


Singularity 5 is now out on the Oculus store, Viveport, and Steam.
I hope you found some of this interesting! Using blender made this project a true joy to work on, especially with the new 2.8 features. Most of the renders in this article were made in the workbench engine, which is one of my favorite 2.8 additions.
Thank you for reading and happy blending!


