
Behind the Scenes: Strawberry
Kamil Adamski shares the ‘making of’ of this gorgeous strawberry model.
Hi,
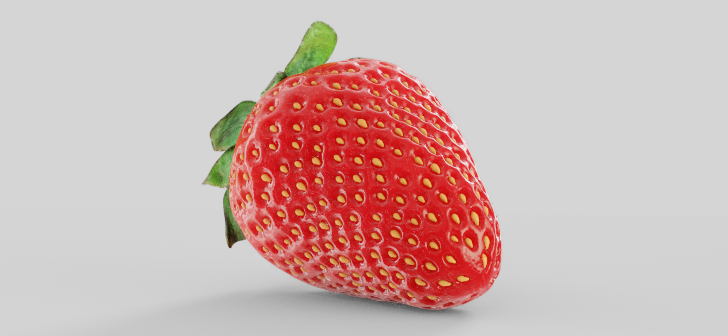
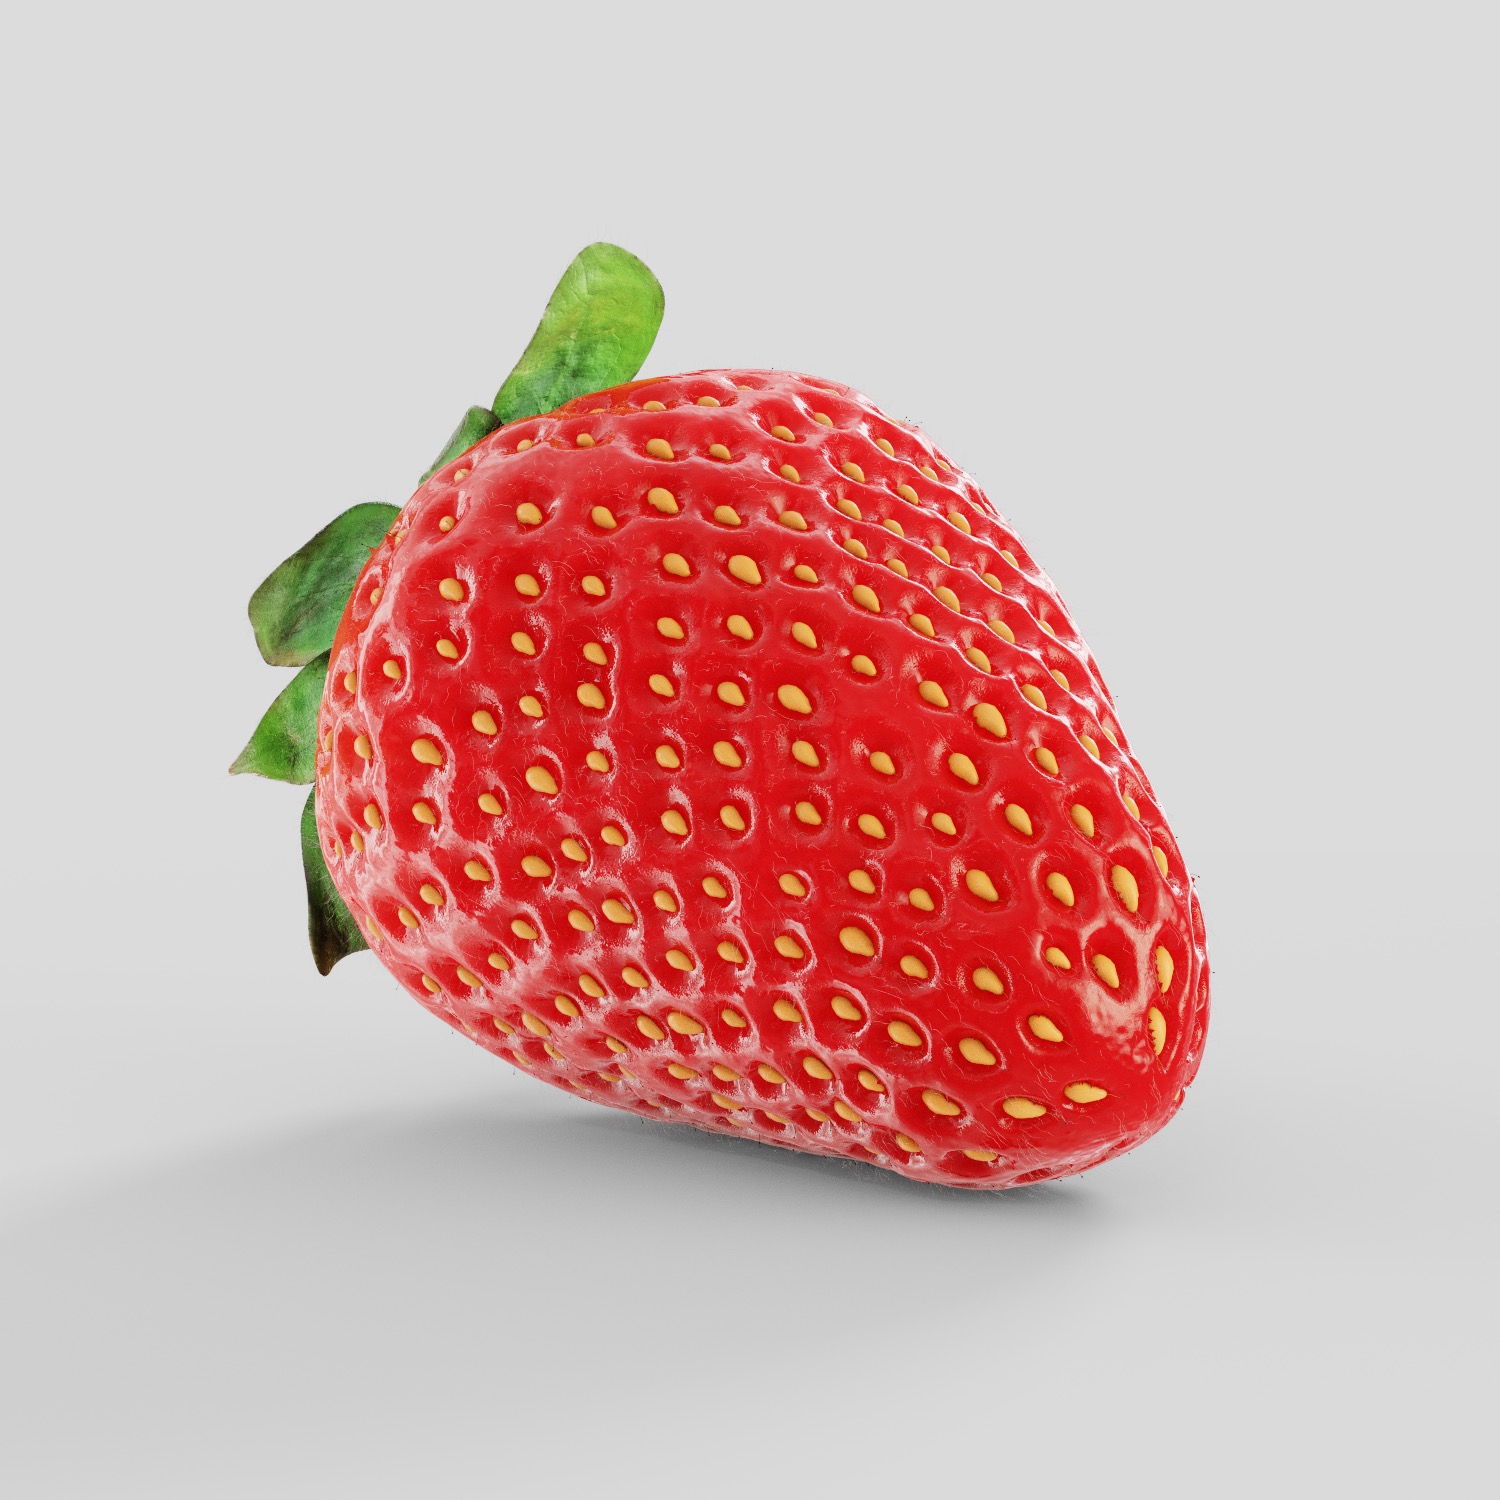
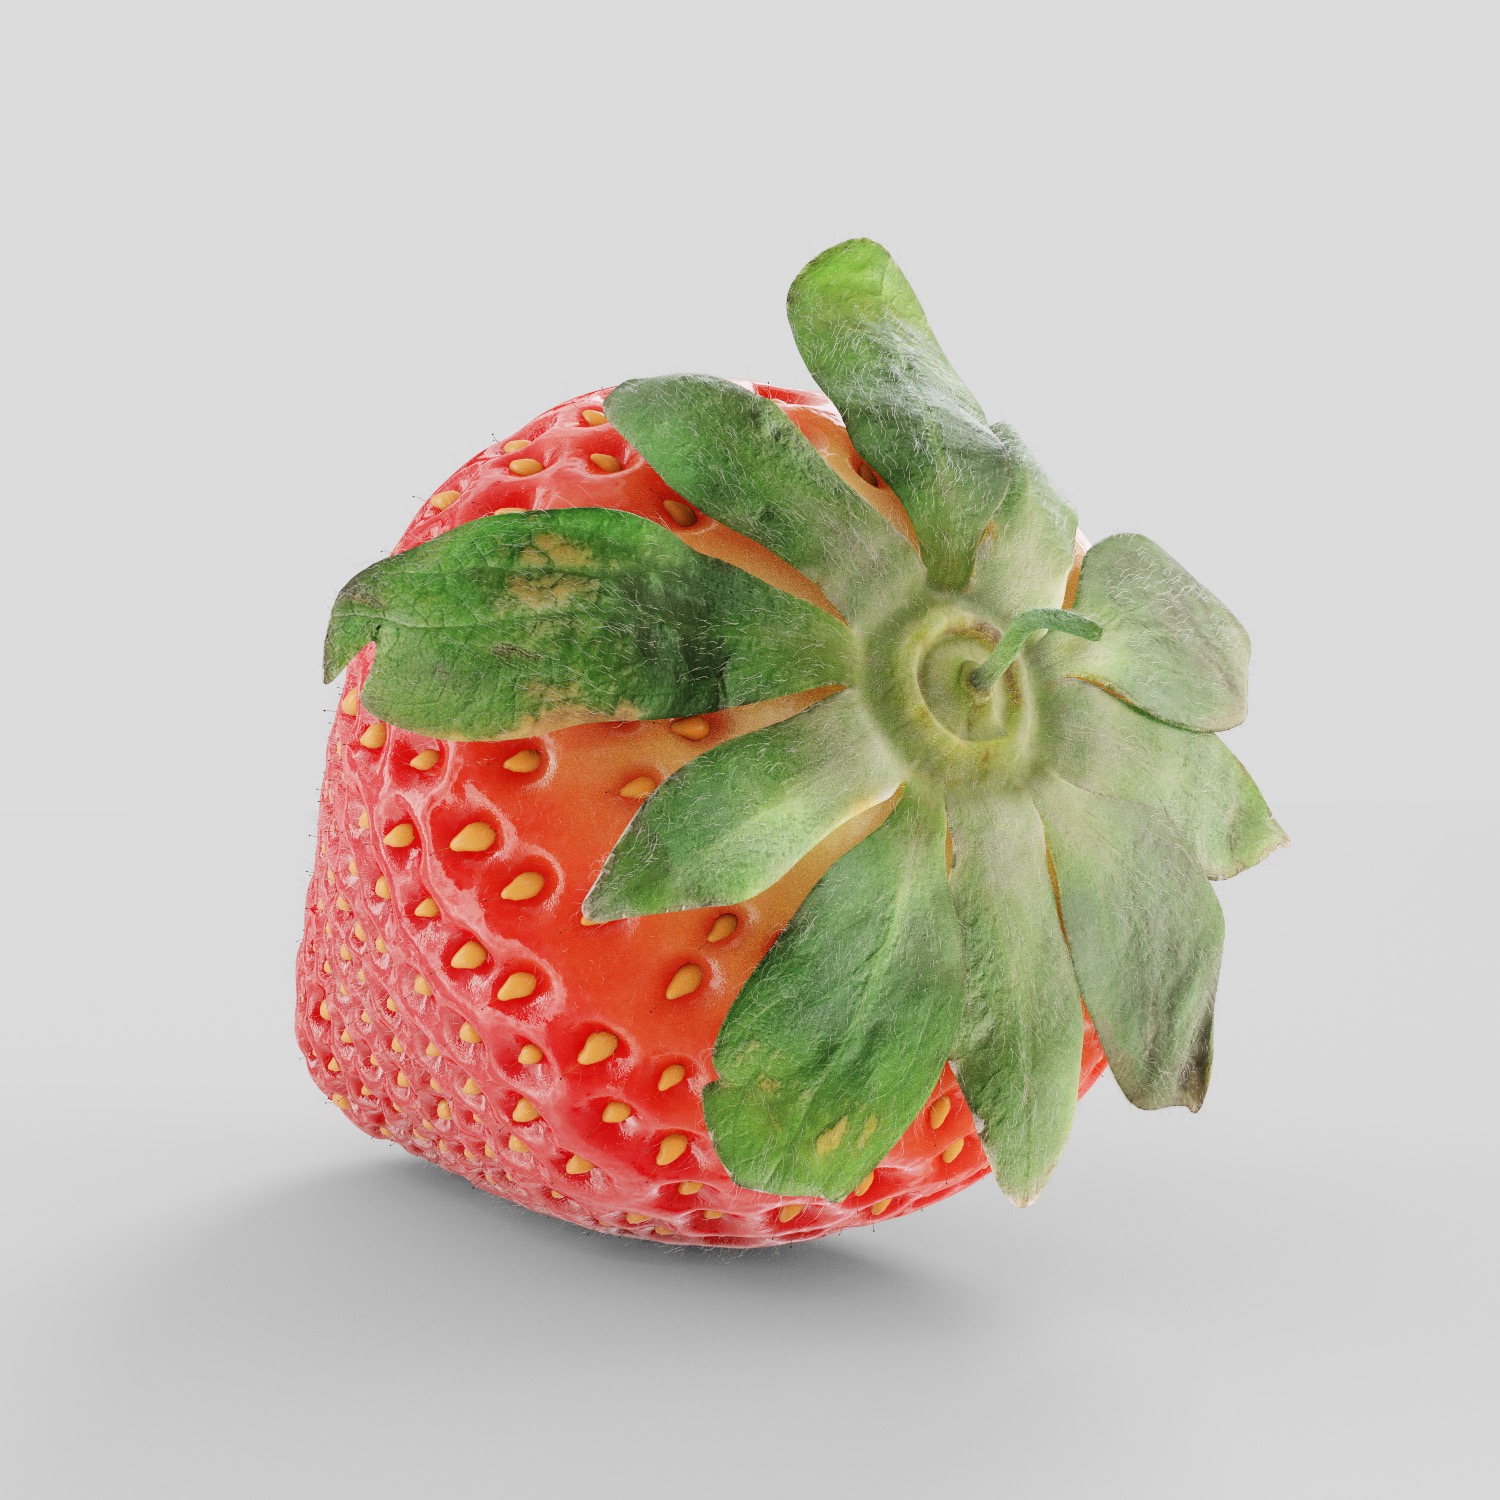
I made a Strawberry in Blender, which I like to share with You. A little explanation with nodes, and textures:
Explanation of the process
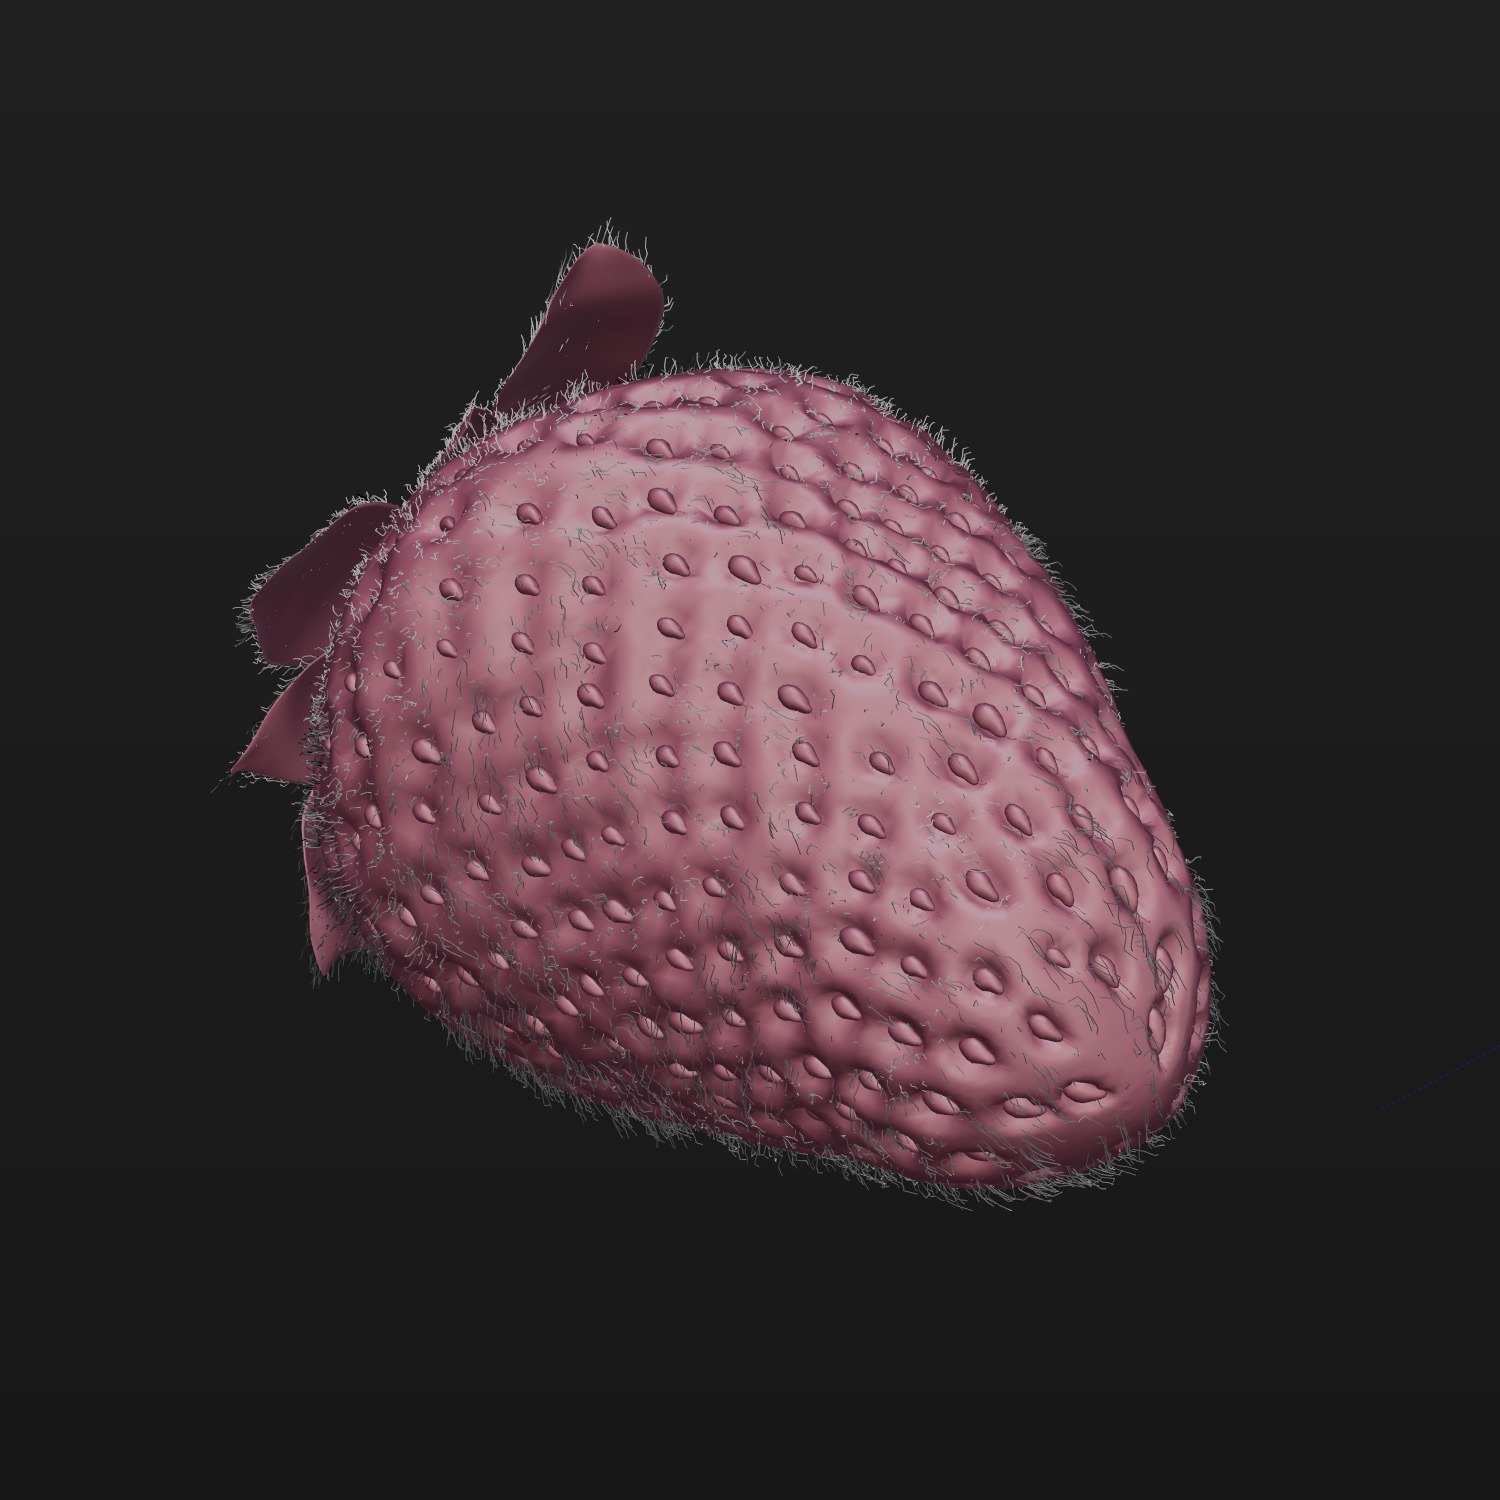
The whole thing is to get good seeds placement, their size and depth. So as the old saying: Model need to be good, to get realistic results. Else nothing will help.
I used an image from web, just to get placement of the seeds. I used projection painting to have a reference of them on the model itself (it doesn’t matter if You stretch the image to Your base).
Then I just place vertices (with snapping to face) on the model in places where on the reference seeds was.Then I model seeds, and place them on the model with particle system assigned to those vertices.
Next step was to bake AO on the model to get map for displacement. I mix 2 or 3 different maps. I also add 4 displacement maps, with a procedural one to do a little more overall variation.Last I must fix the seeds placement by hand.
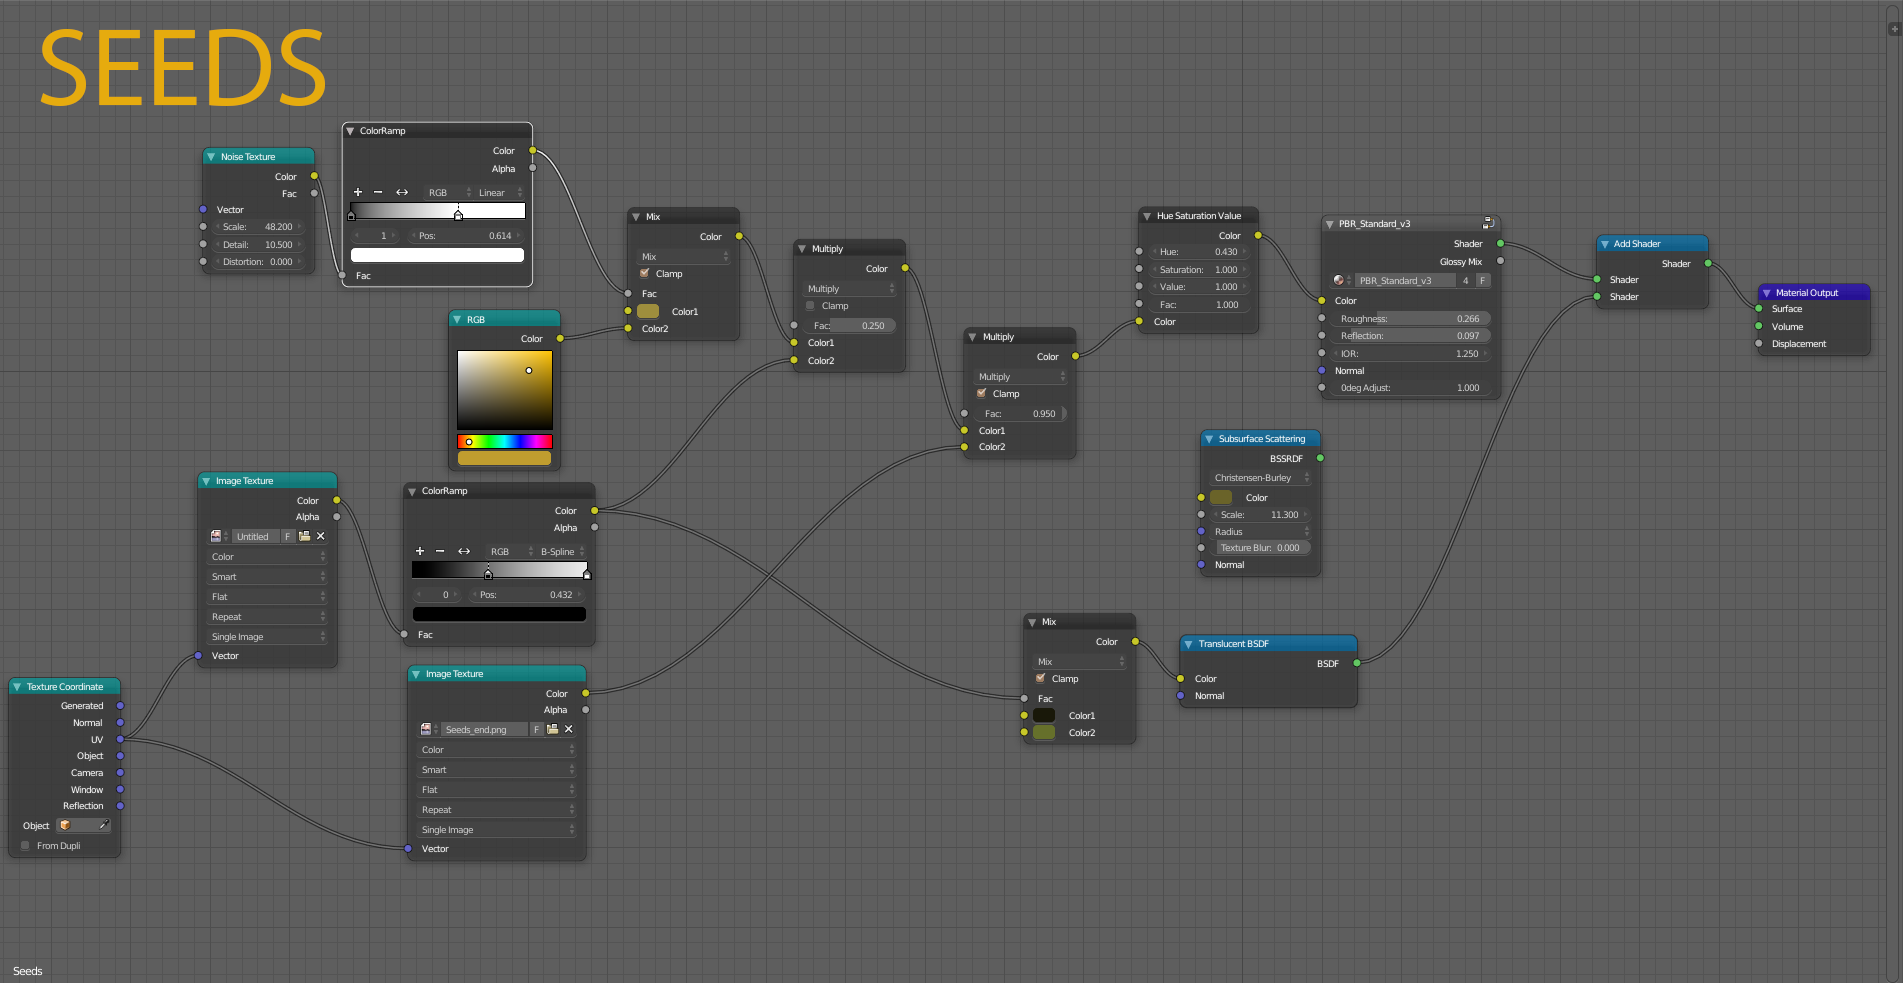
I also bake AO for them, just to get little more color variation.
Strawberry texture is from a processed photo I take. For that type of model You don’t need nothing fancy. To be honest the quality wasn’t good in the term of image quality itself. But it was very good as SSS texture.
So I make a base color map in Photoshop, then take that map into Mari and paint on the model. Fix there, and there and finished.
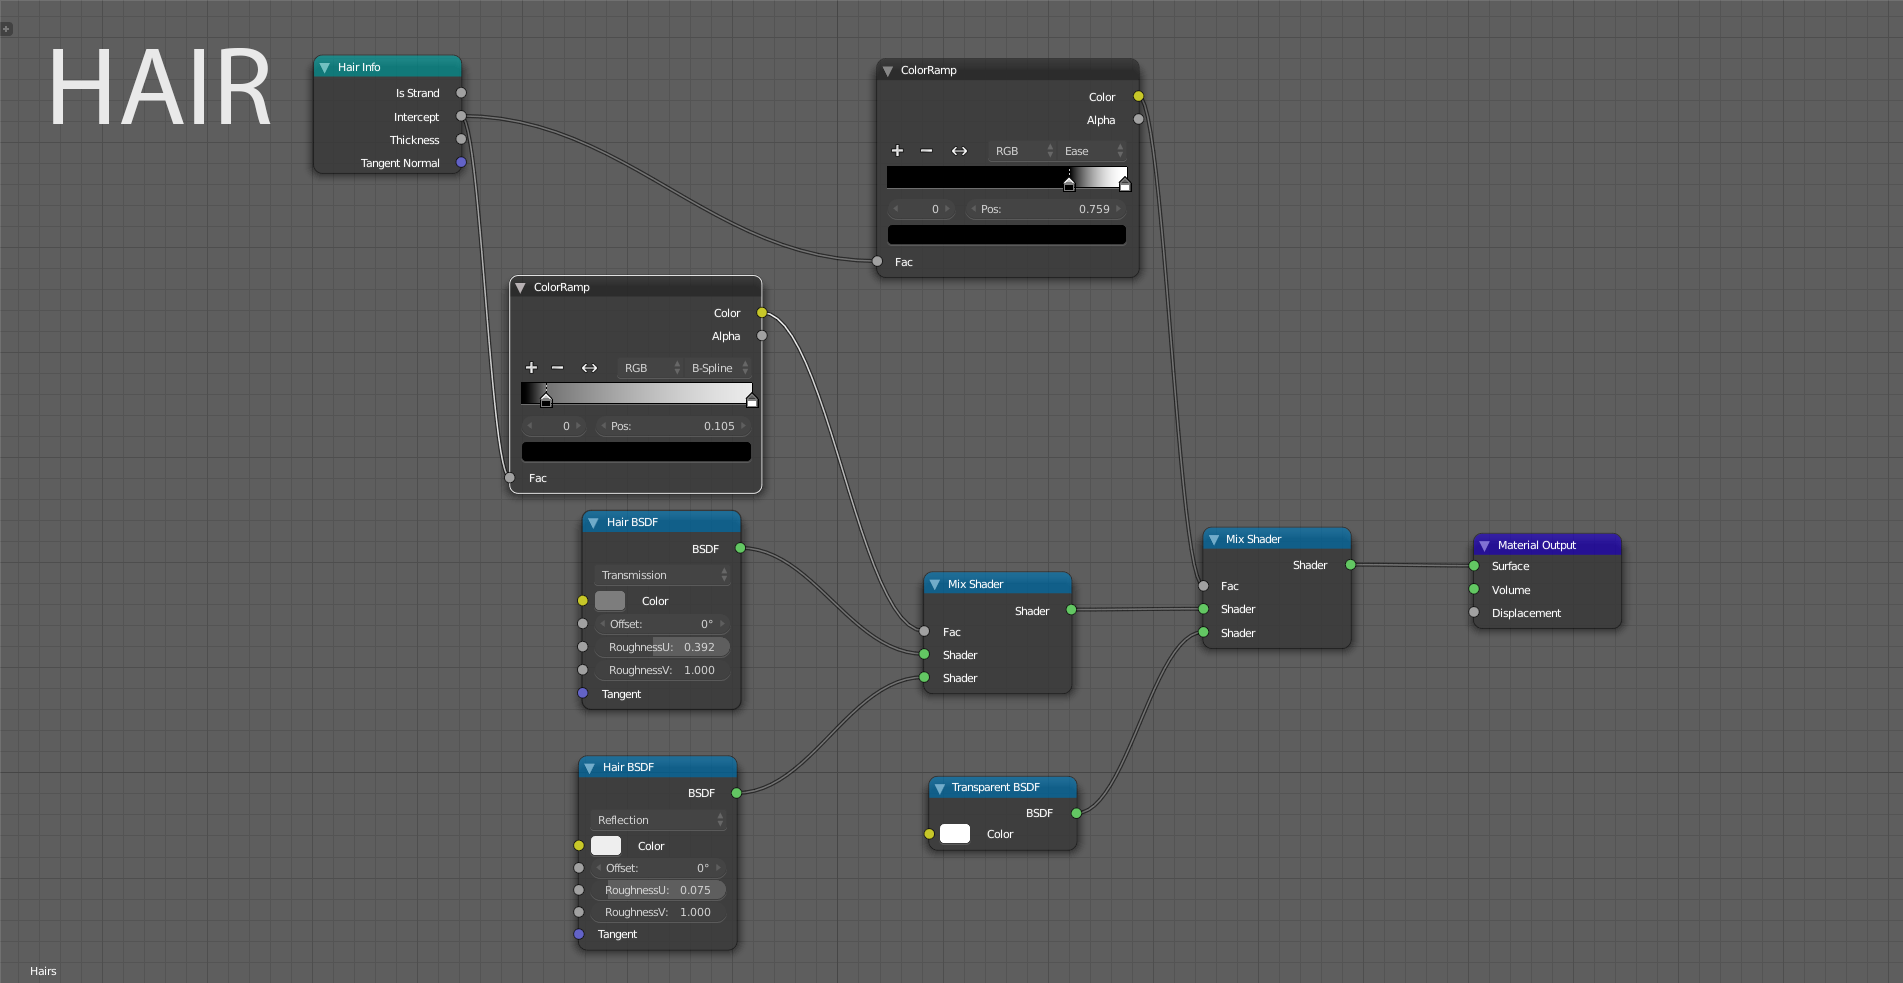
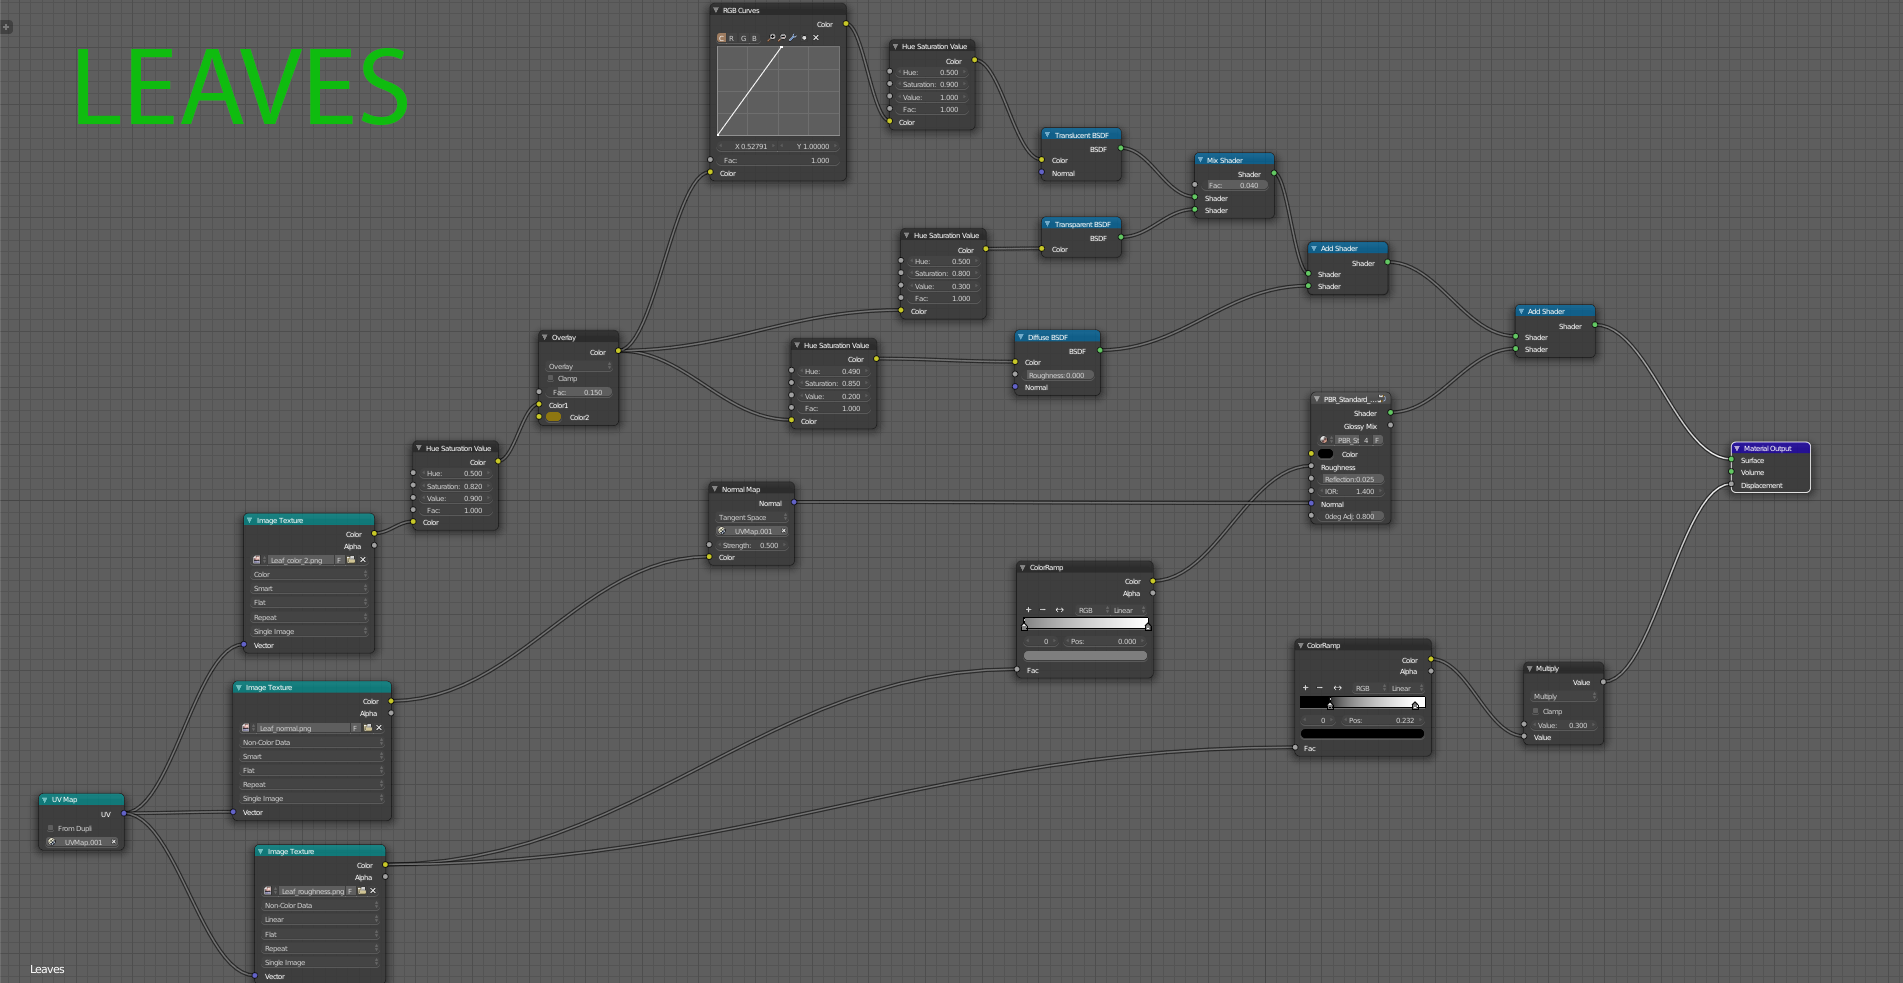
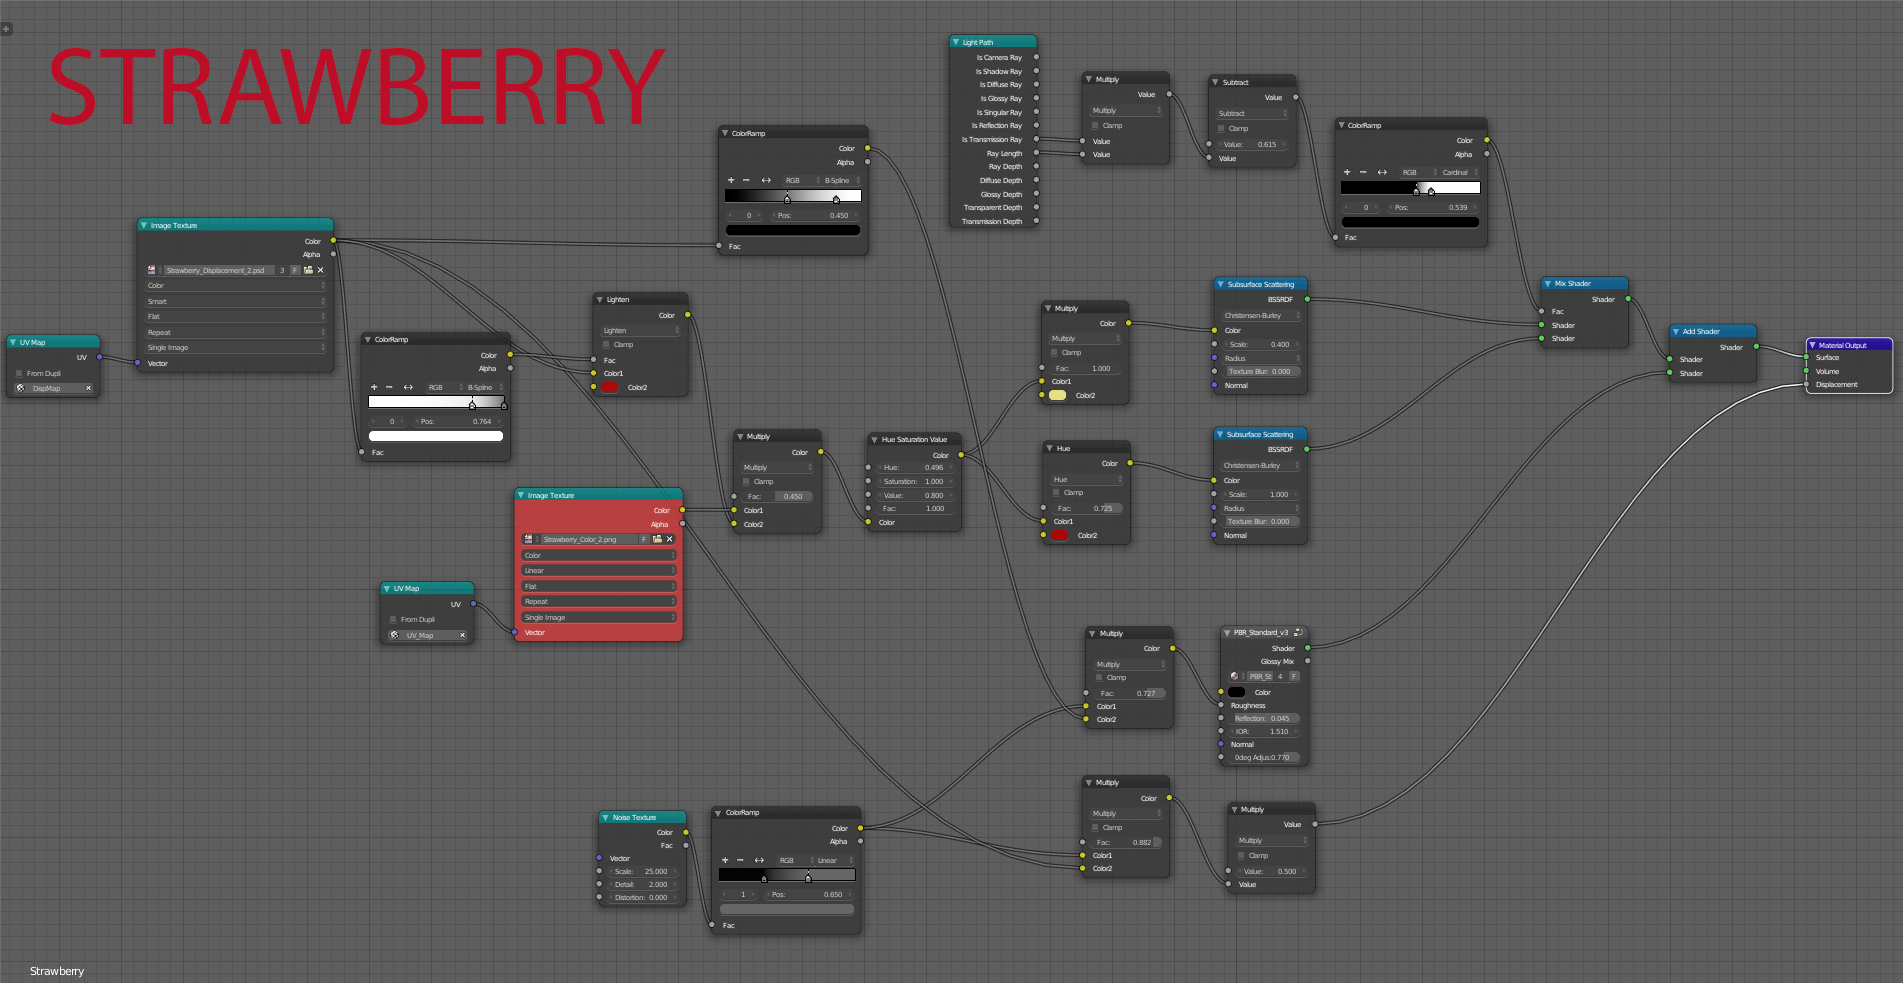
Shader is a mix of SSS, some mix nodes to get better color, and PBR Standard to get reflection. Leaves have translucency, also PBR for reflection and displacement.
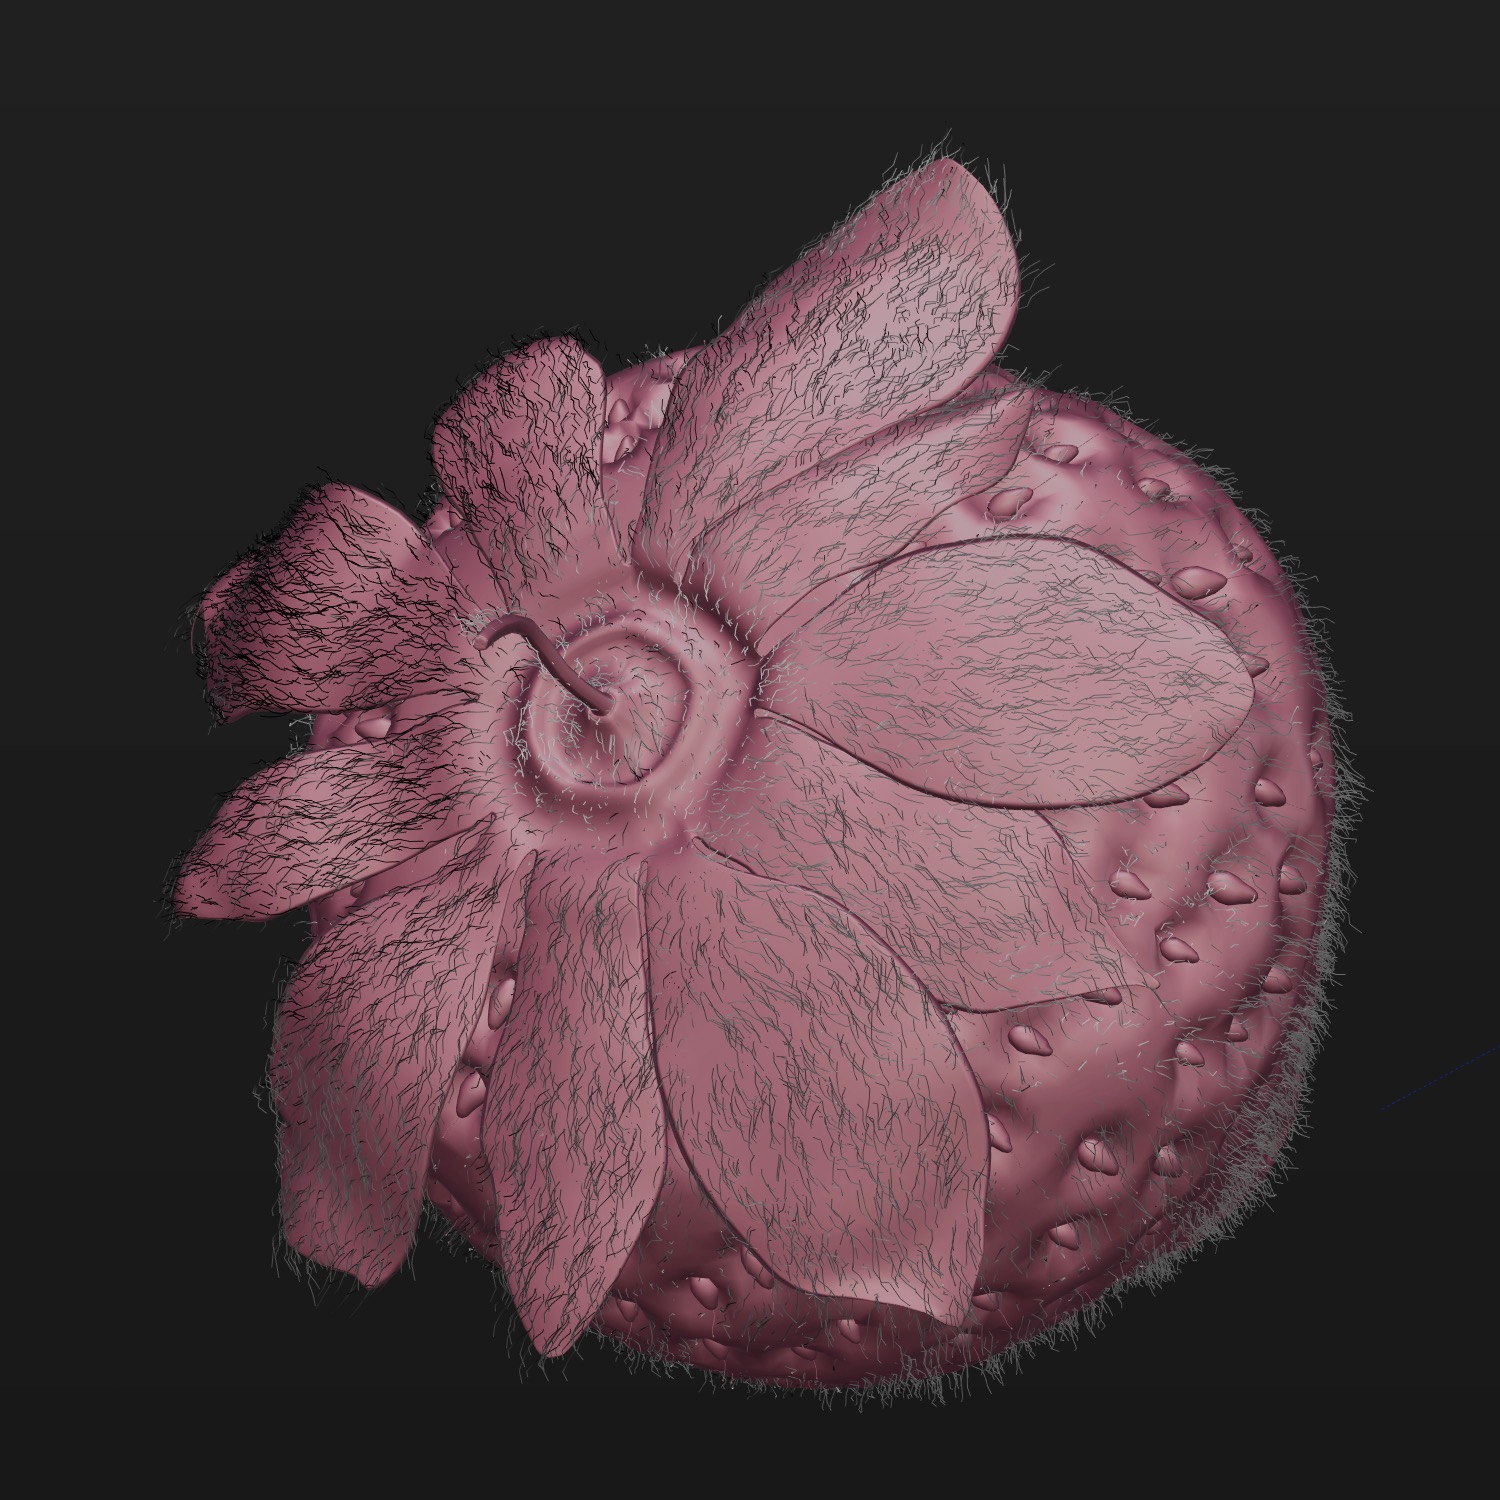
Strawberry high resolution rendering:
Nodes:
Hope You like it!
Regards,
Kamil.


