Behind the Scenes: A Long Way to Go
In the Behind the Scenes series, I’m inviting artists to talk about the creation of one of their works. Today, Reynante M. Martinez takes us through the inspiration and technical details of his work ‘A Long Way to Go‘.
I’m Reynante Martinez, a freelance 3D artist from the Philippines.
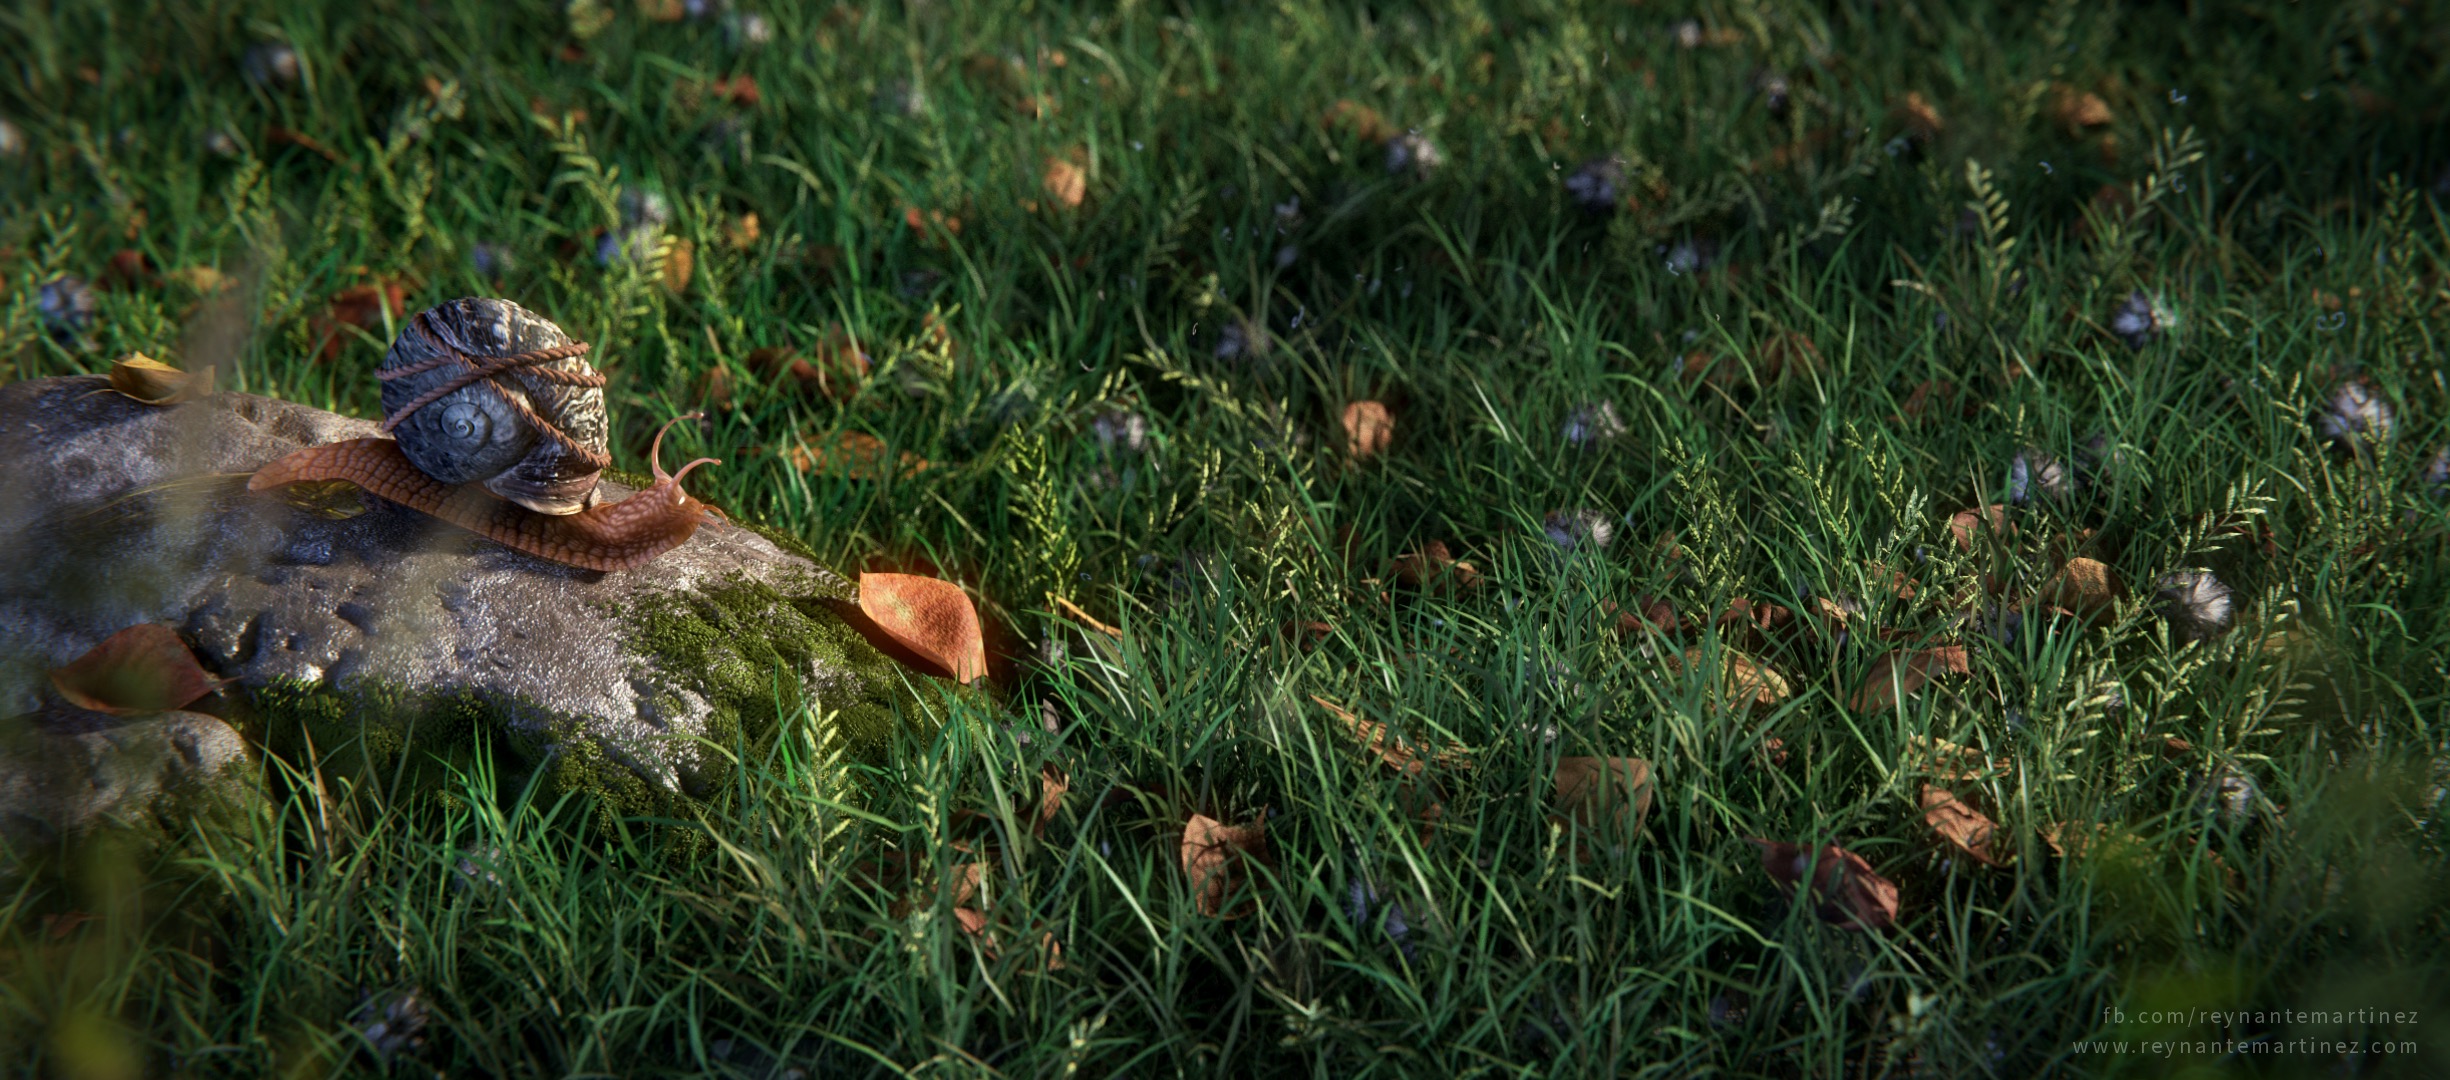
Let me take you to a brief walkthrough on how I created one of my recent artworks titled “A Long Way to Go.”
BACKGROUND AND PLOT
As with most of my pieces, the story is the inertia that pushes them forth. The story here is a realization of how minute we are with reference to the totality of the world, let alone the Universe.
SCENE BLOCKING
I usually start with sketches before diving in to Blender, but this is one of those circumstances that I just had to go straight with the tool since I already have the solid concept in my head.
By this time, I would already have figured out how the composition would look, or close to the final. It’s all a matter of placing the rough models in their place.

THE SUBJECT
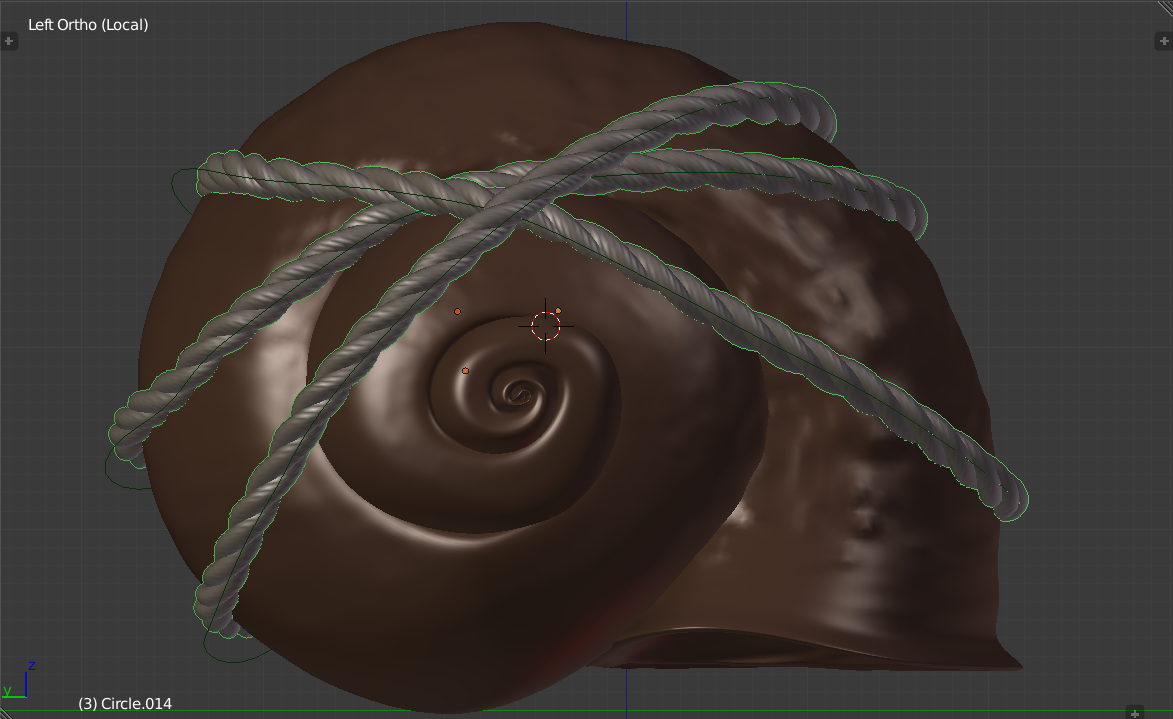
The focal point and character of this piece is the snail, which is an import from several projects that I did before.
The shell is basically a low poly circle that has been extruded and rotated several times.
The textures applied to the shell and body are image textures whereby a Project from View method was used, with a little bit of tweaking to hide the seams. I have also used the same image texture as input for the Displacement Modifier.
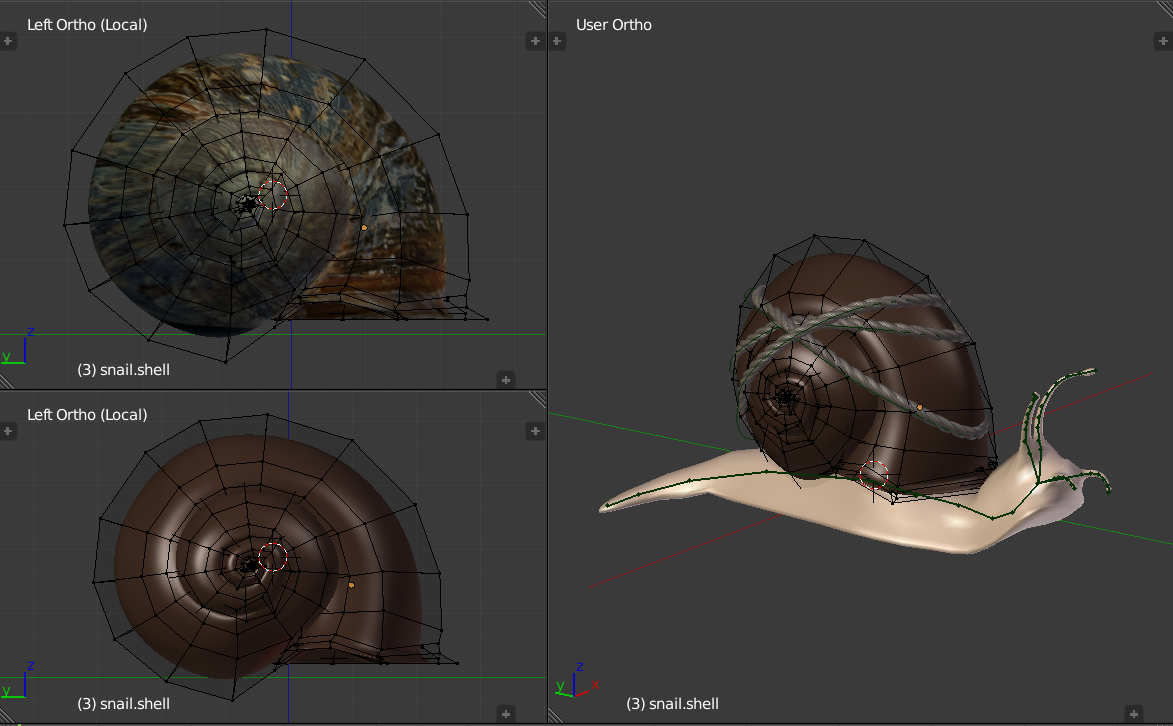
The rope wrapped around the shell which signifies security and experiences was created by incorporating the methods that I described in this tutorial.
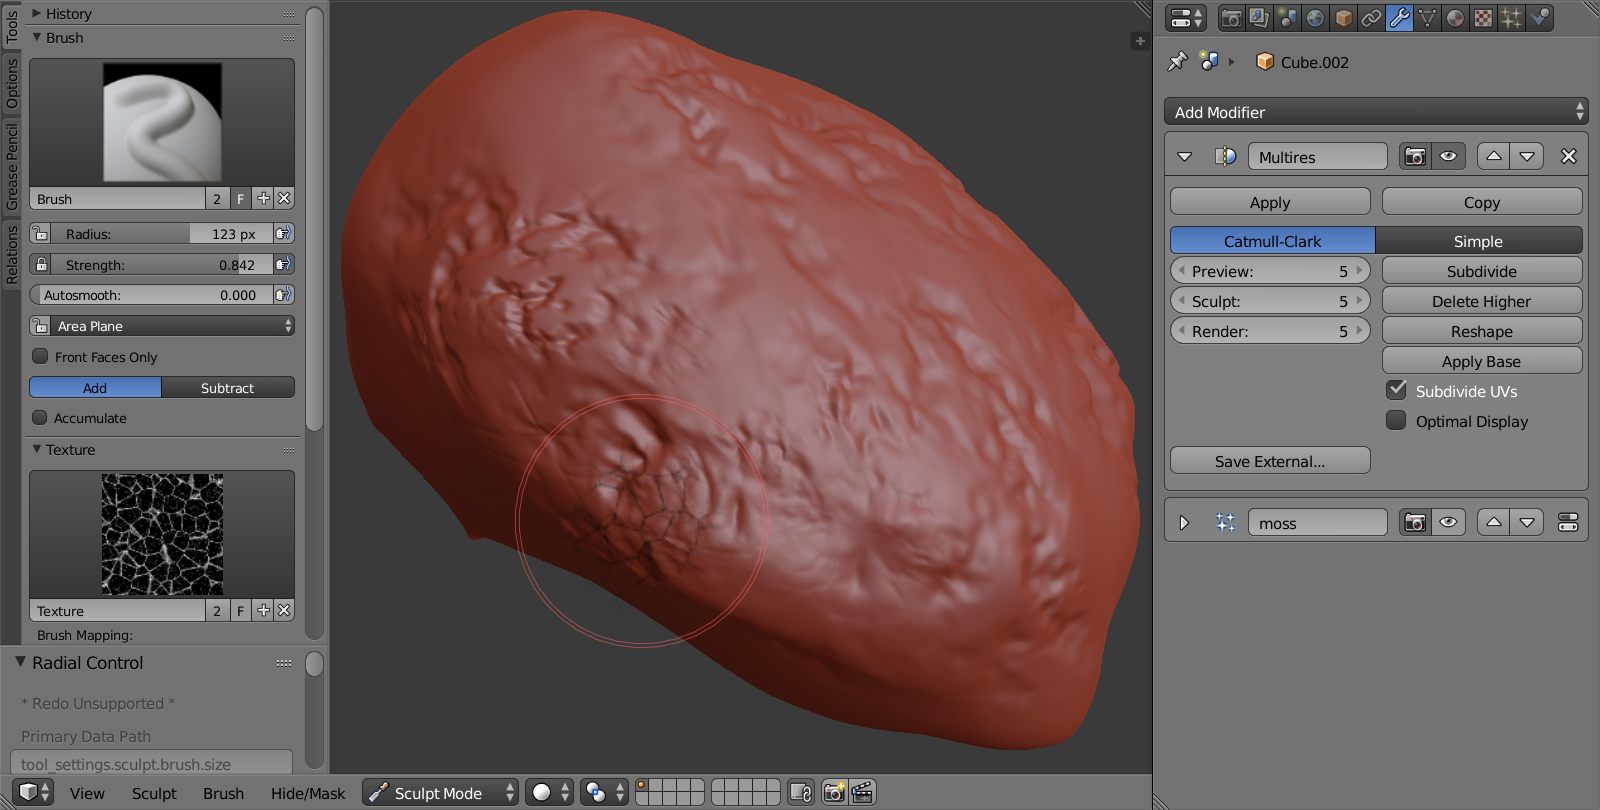
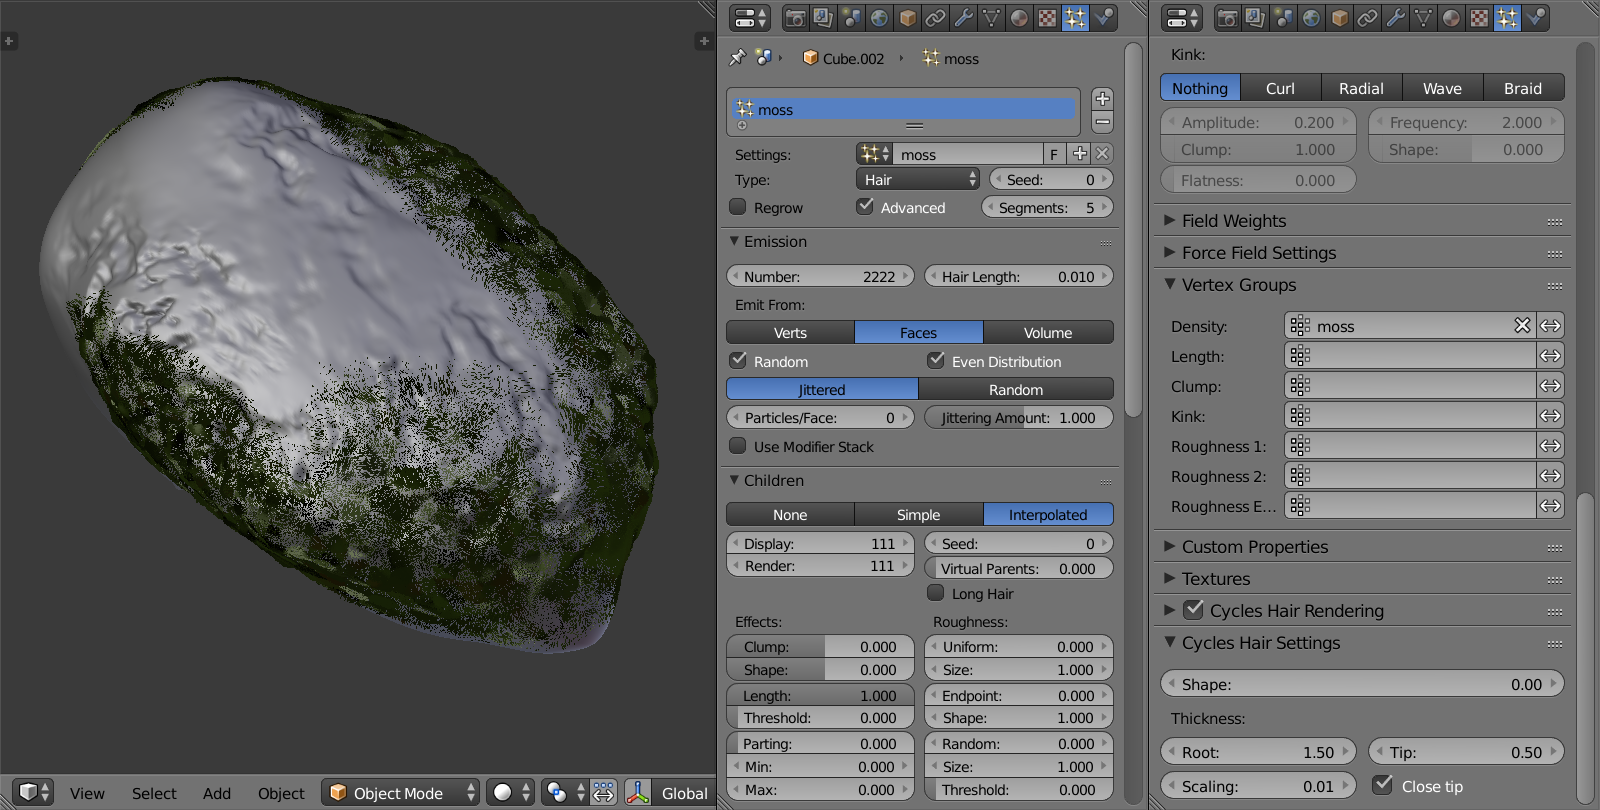
THE ROCK
The final look of the rock was achieved by sculpting in random details and adding a touch of moss.
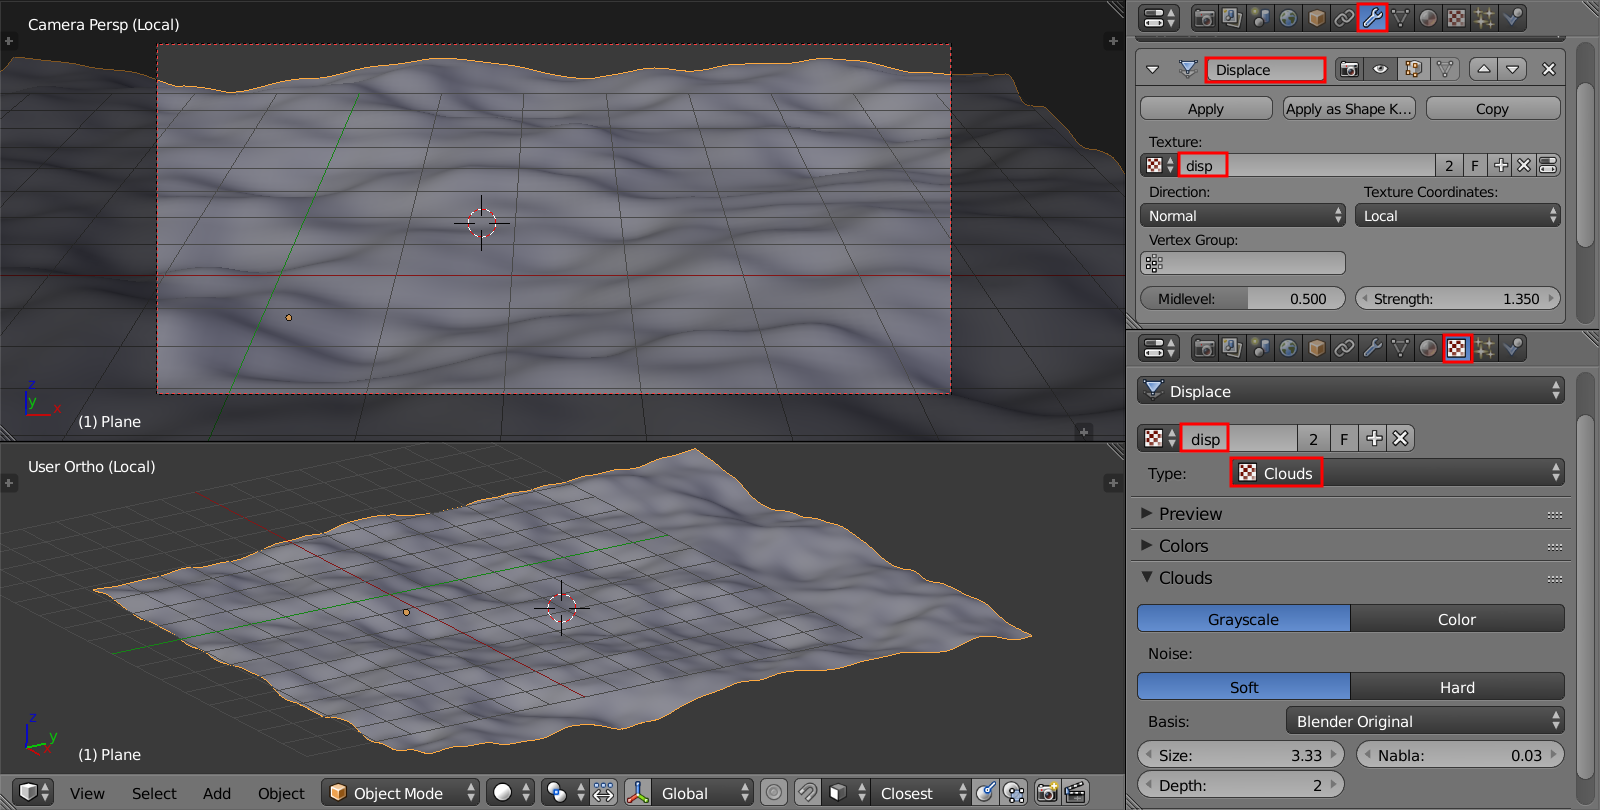
THE GROUND
Majority of the negative space is covered by the ground, so I had to make sure it had elements that are as convincing as the subject. To do this, I had to apply variations on the ground level as well as adding vegetation, which was achieved by incorporating Blender Guru’s Grass Essentials.
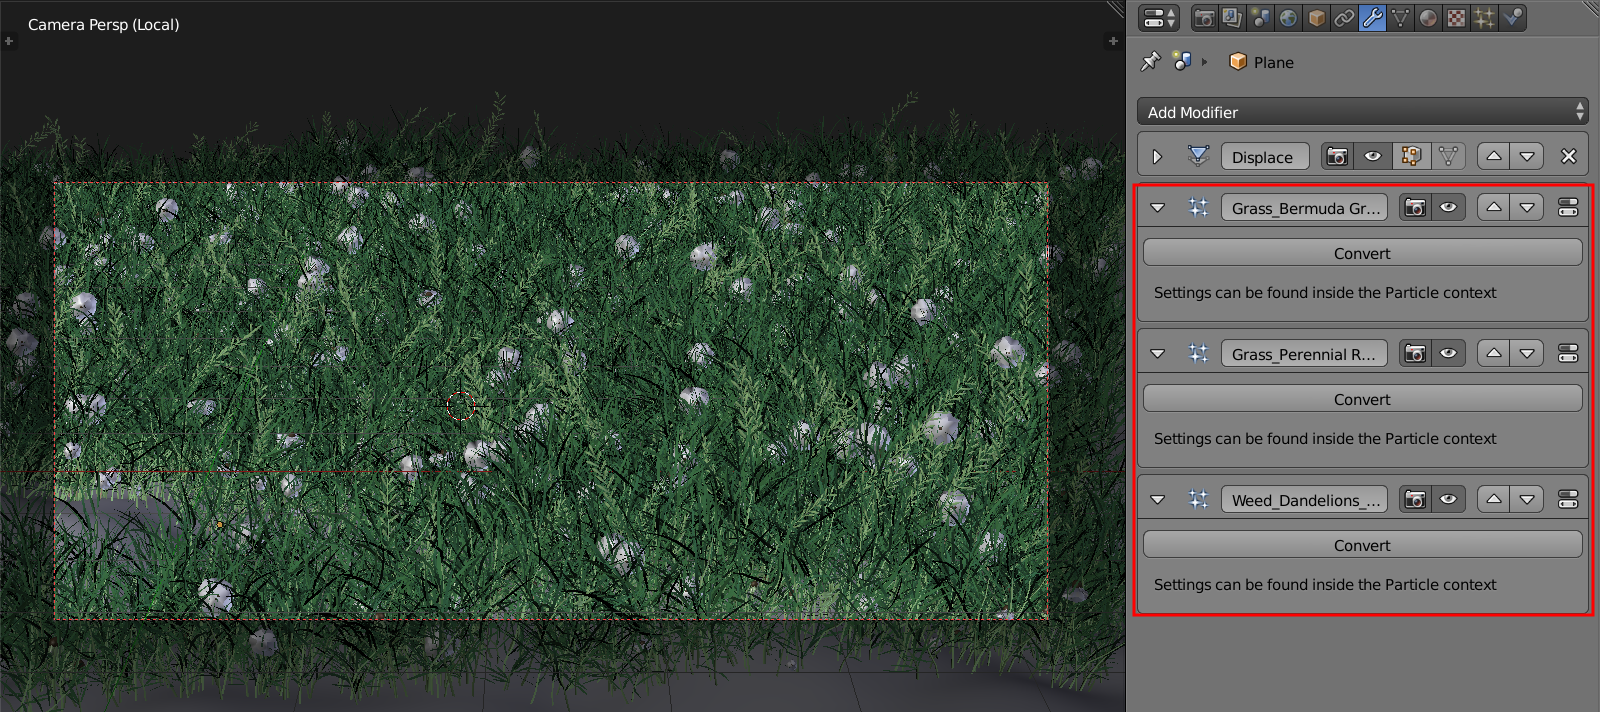
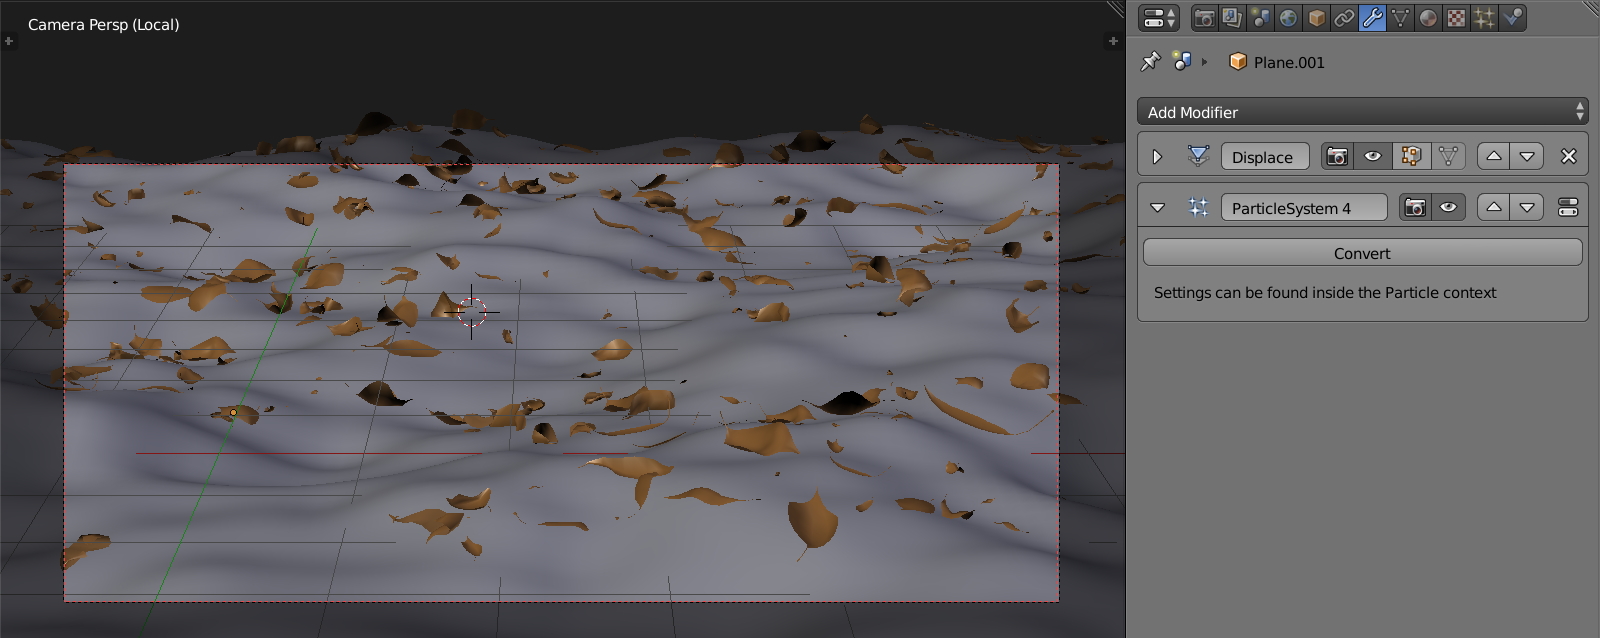
The dead leaves were emitted from a separate ground plane, above the grass, to simulate the effect of collision.
THE SLIME TRAIL
To further emphasize motion, I added a Plane and modified it to create the slimy path that the snail left.

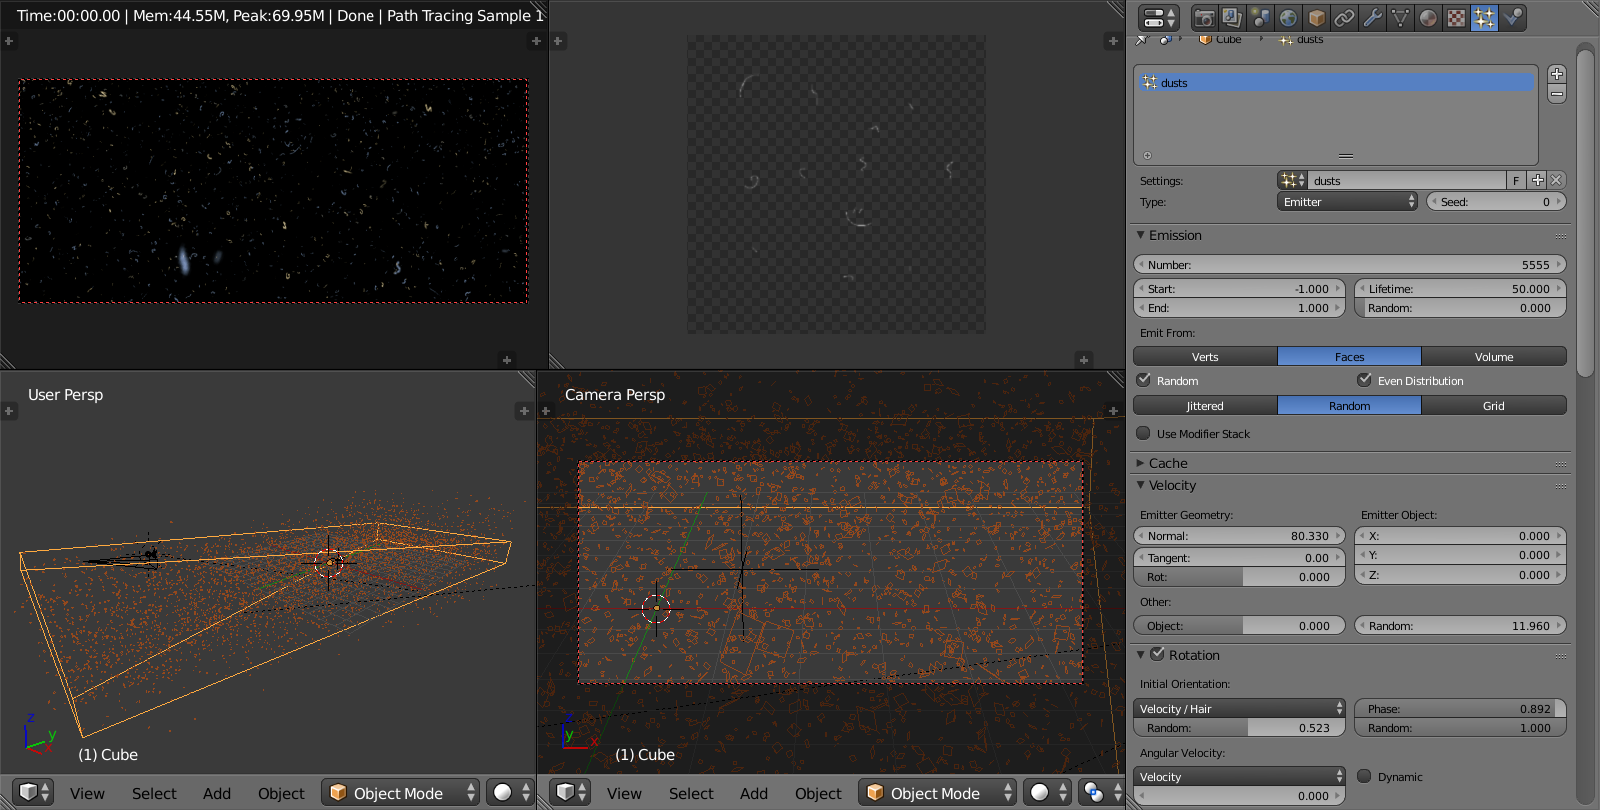
THE DUSTS
The dust effect is basically a bunch of planes with hand-drawn alpha-masked textures, distributed through a Particle System.
PUTTING IT ALL TOGETHER
Now is the part where I combine everything into one cohesive scene, using Blender’s Library Linking (CTRL-ALT-O) feature. This ensures that I have a non-destructive workflow as well as preserving memory and what have you. But this is a case to case basis, you can have yours in one scene as you see fit. :)
At this stage, you can pretty much say it’s playtime! Have fun tweaking, adding, and relocating stuff to best deliver your story and visual impact.

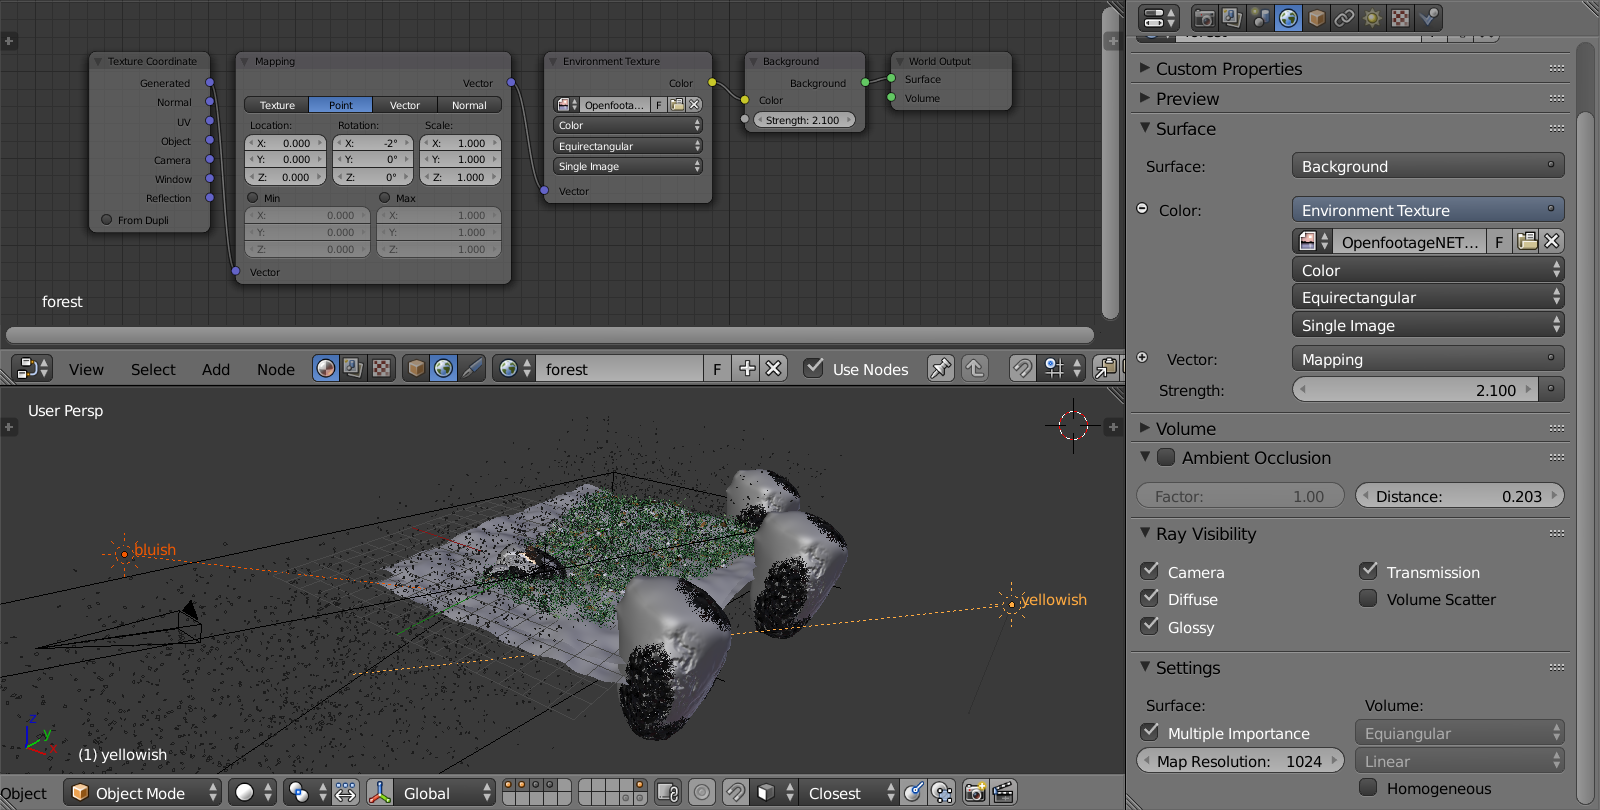
LIGHTING
This is the part that I’m most excited about and most terrified with, that it can make or break the whole project that I’ve been working on. Luckily, for this project, I went for a simpler approach (as I usually do) – an HDRI Environment and some Sun Lamps.
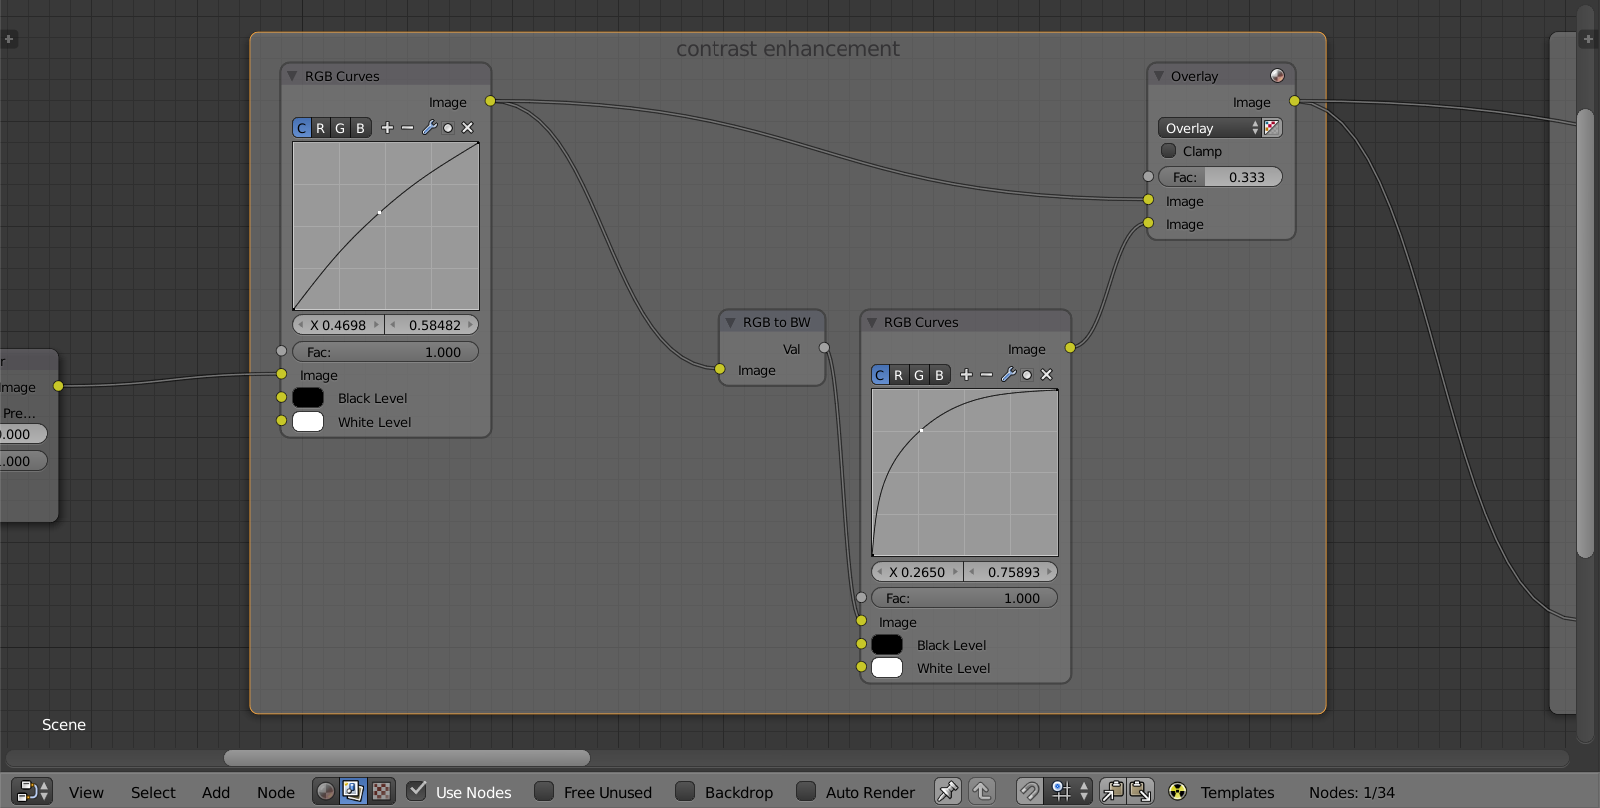
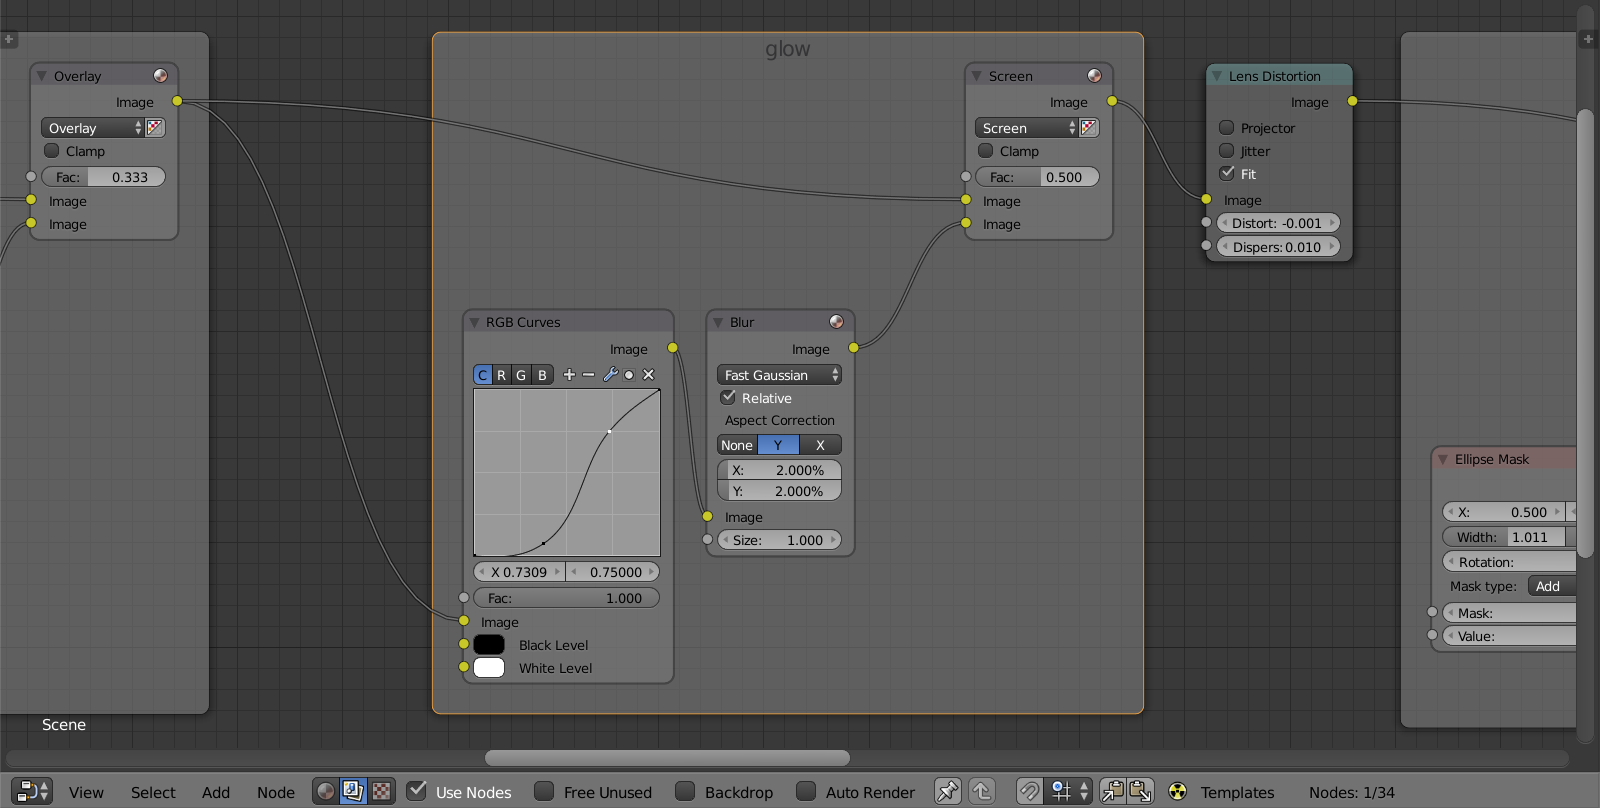
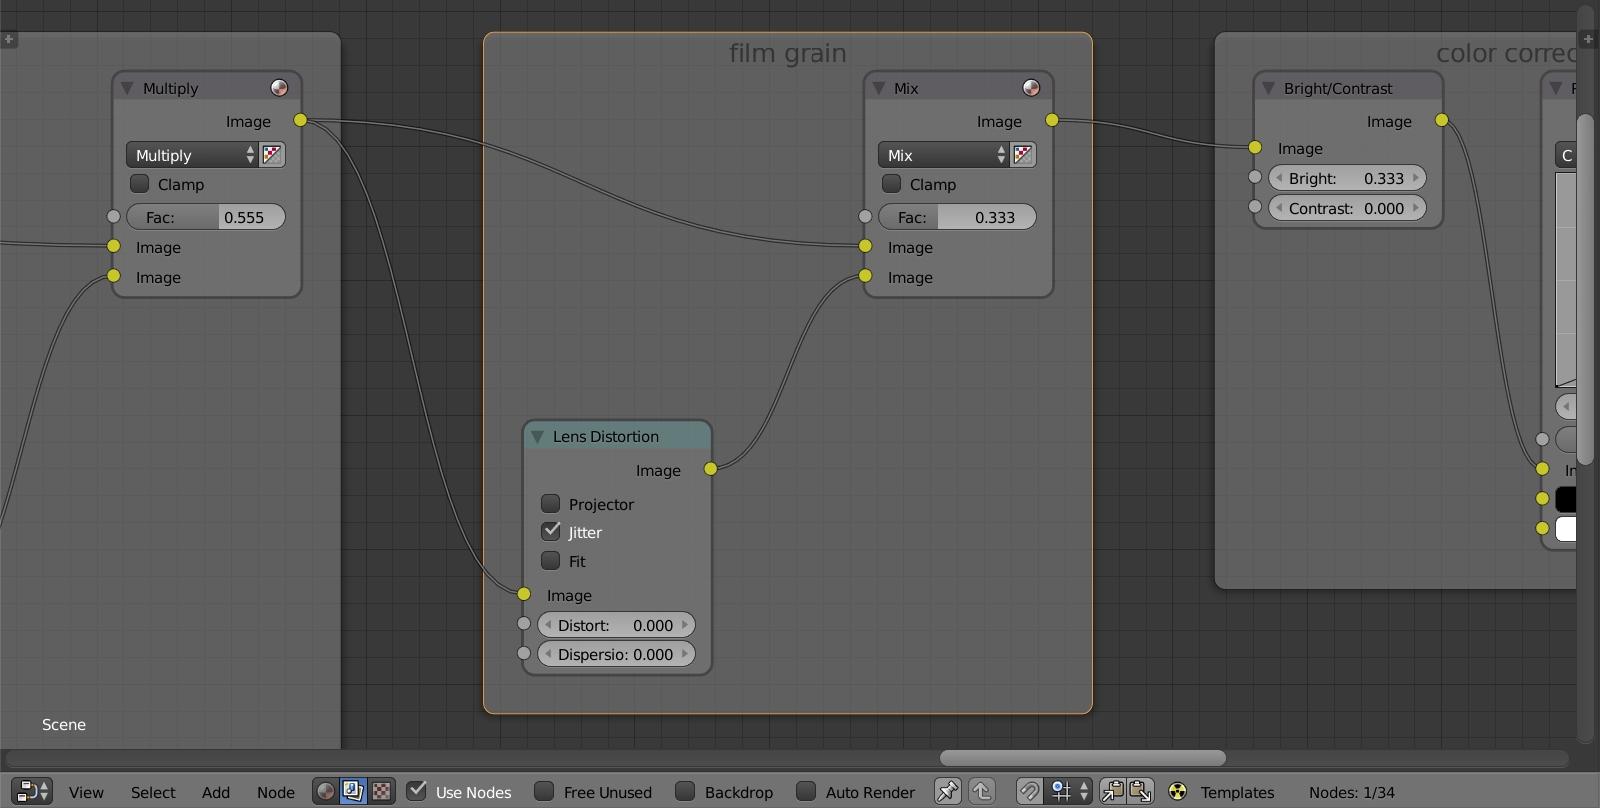
POST-PROCESSING
As equally as important as my lighting workflow, I make sure not to skip this part or even to a half ass job on it. The steps that I do in most of my works are pretty much the same: color-grading, color enhancement, lens effects, and the like.
While some of you prefer to do the compositing in the same scene file that it’s rendered from, I do it on another file, outputting my raw render as an OpenEXR image and feeding that into the Compositing Nodes of my new noder file, as I call it.


And to finally conclude this project, here’s a breakdown video of “A Long Way to Go:”
If you like this, share it around or you can drop by the following links and say hello:
- Facebook Page: www.facebook.com/artofreynantemartinez
- Website: www.reynantemartinez.com
- Twitter: @reynantem
And if you want to work with me and/or hire me, send me message – I’m available to freelance. :)
Thank you so much for the time, have fun, and happy Blending!
- Reyn