Procedural Pipes Done Properly Geometry Nodes and UV Unwrapping

In this video, Michael Bridges dives into the world of geometry nodes and UV mapping. He’s creating a pipe generator that correctly applies UV maps, and there’s even a bit of math involved.
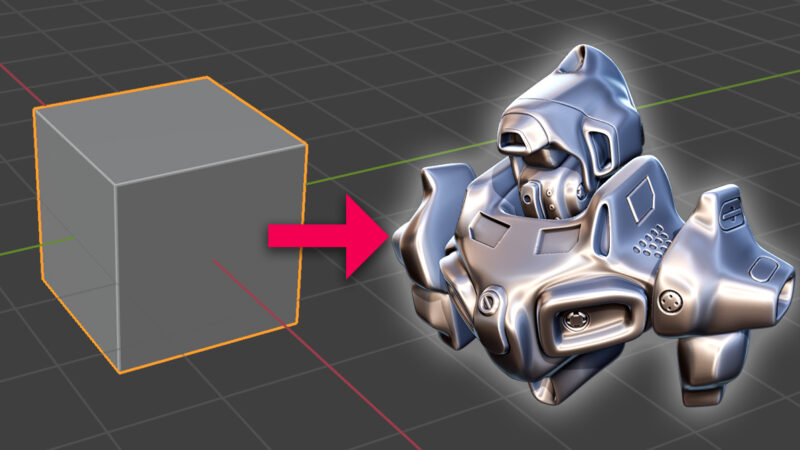
We start by getting rid of the default cube and adding a curve, transforming it into a pipe using geometry nodes. I guide you through rearranging the workspace, setting up geometry nodes, and generating the mesh.
Next, we move on to texturing, where I explain how to generate UV coordinates by capturing the length and factor across the spline. Using attributes and the shader editor, we ensure that the UV maps are applied correctly. I demonstrate how to name attributes accurately to avoid errors and show you how to fix uneven textures.
We also tackle the problem of overlapping geometry by merging it using the “merge by distance” node. To maintain the integrity of our UV maps, we store attributes differently, ensuring a seamless texture application. I guide you through creating a custom node for calculating the perimeter of a polygon, using trigonometry and geometry nodes to achieve accurate results.
Towards the end, we test our model with a real texture to identify and correct any remaining issues.
Let’s hop on over, into Blender!