
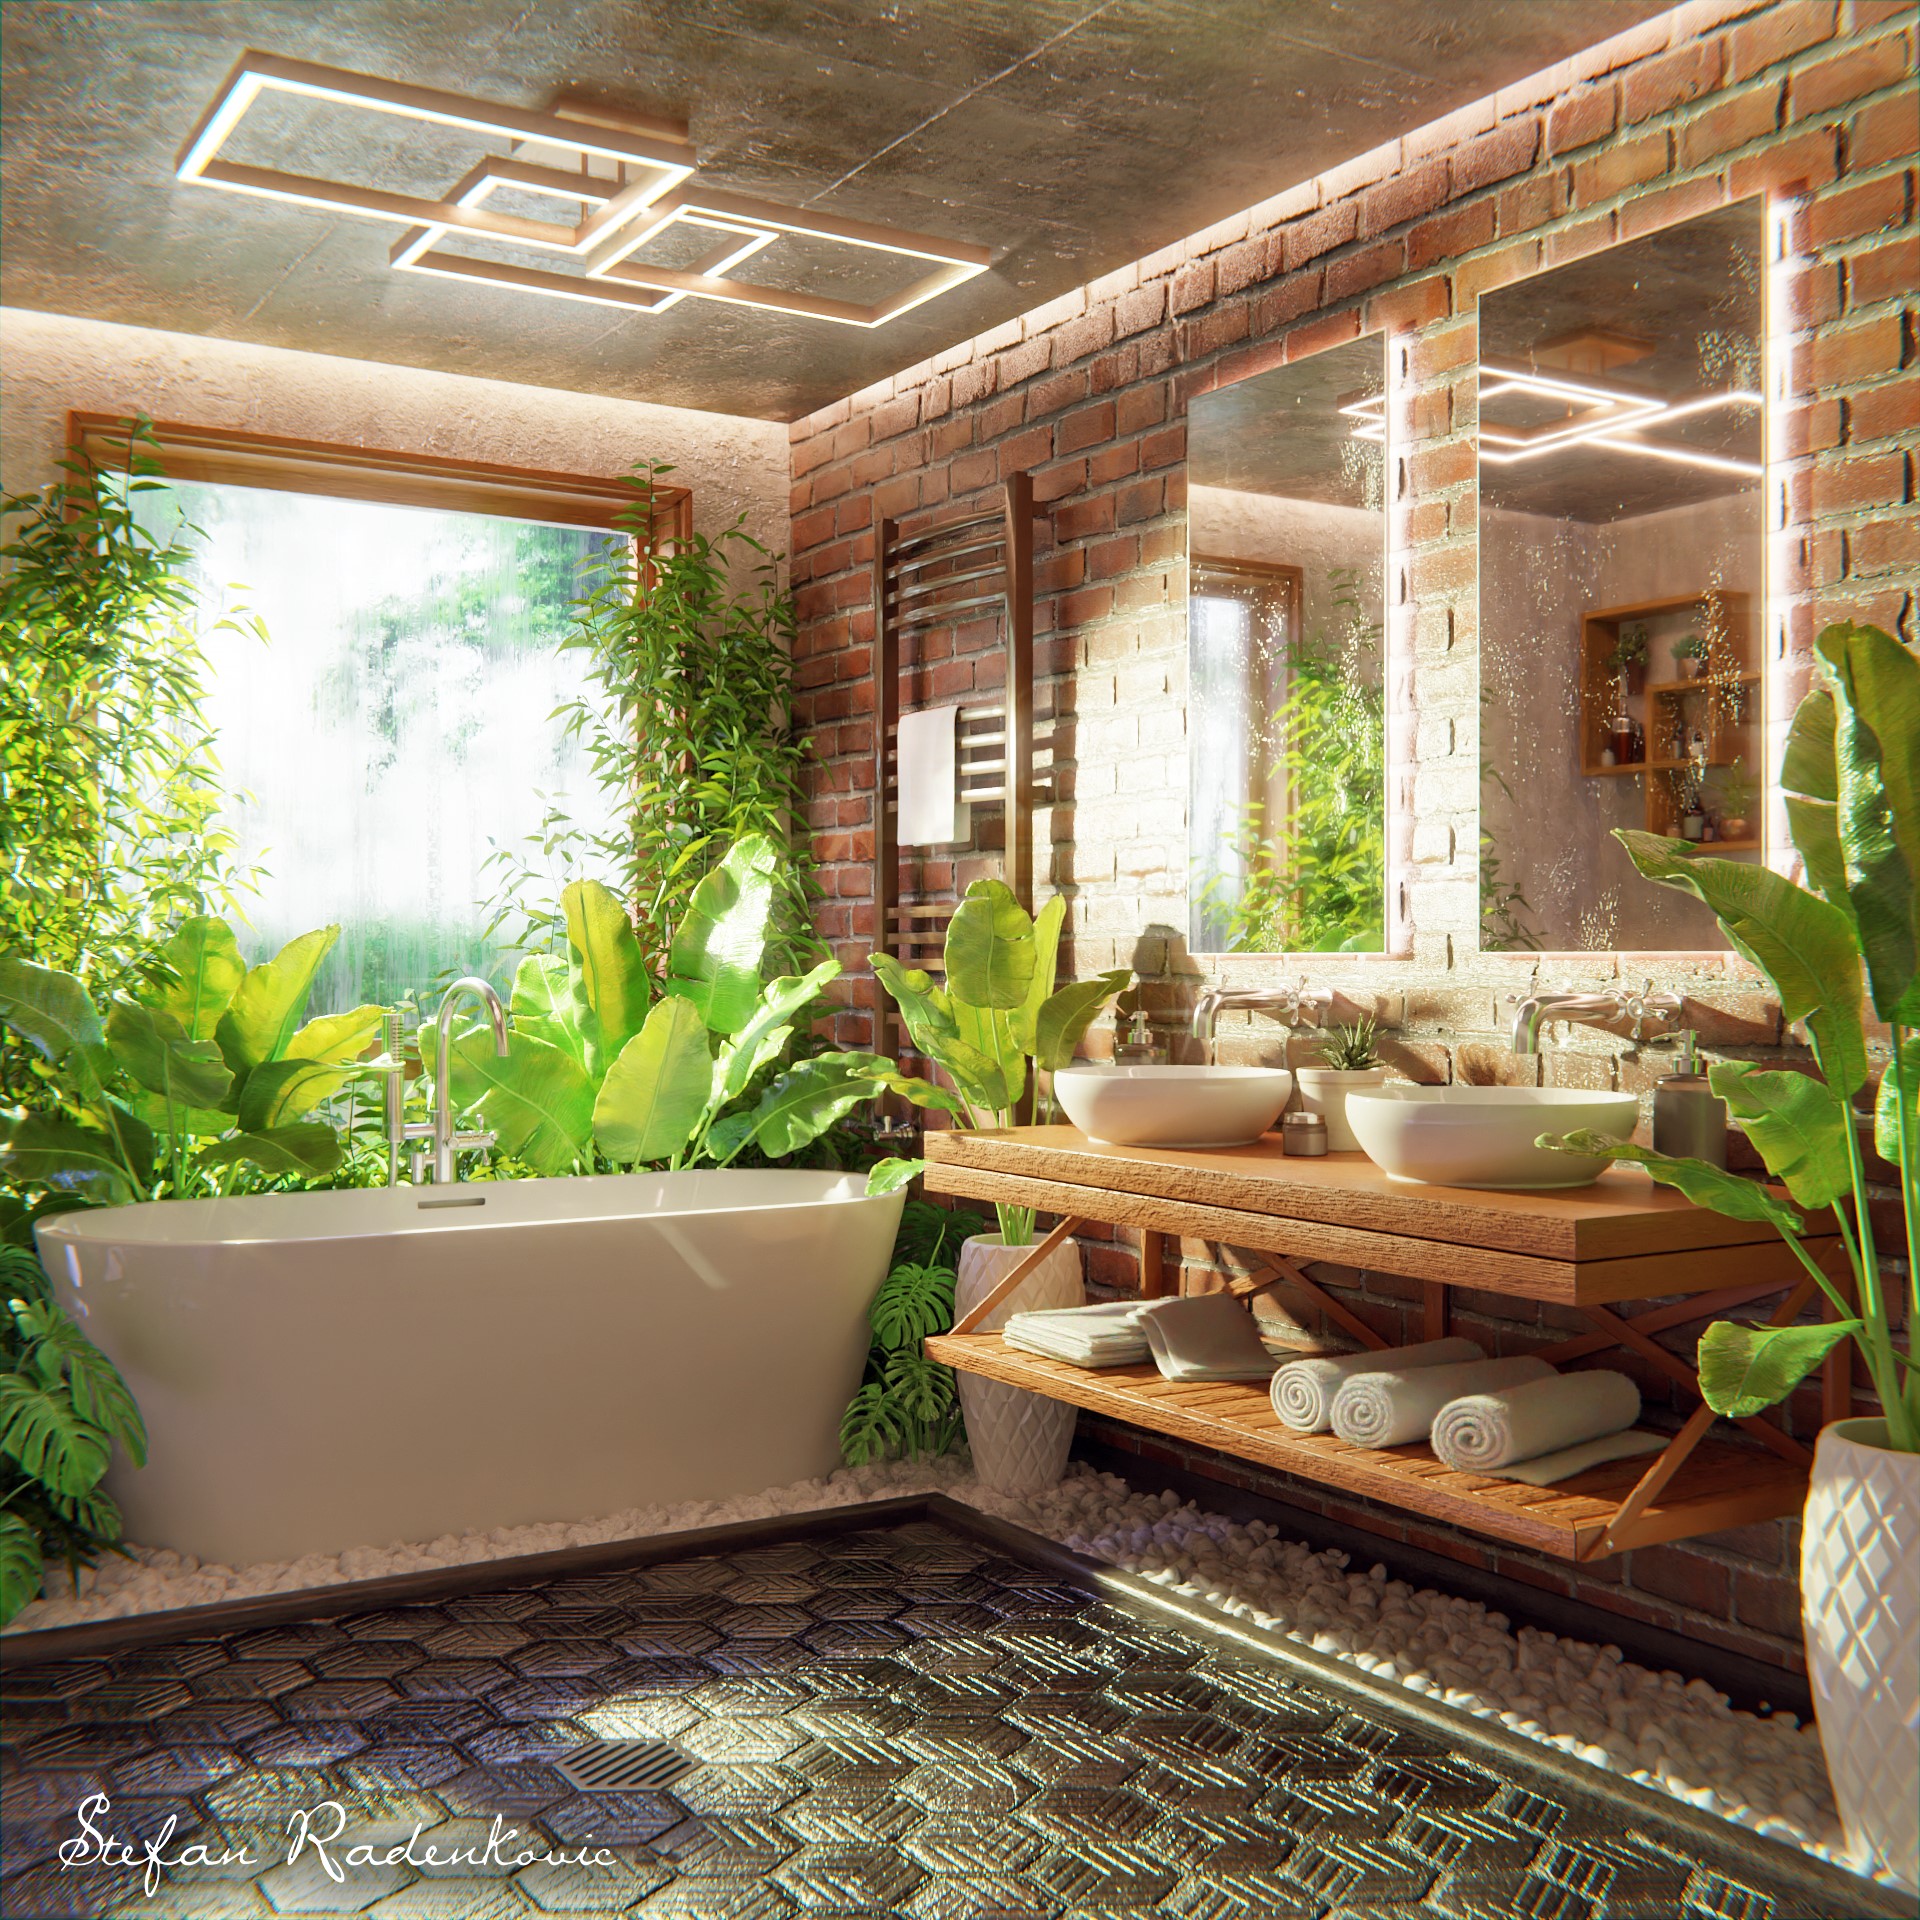
Behind the Scenes: Industrial Bathroom

INTRODUCTION
Hey there, I’m Stefan, a self-taught digital artist from Belgrade, Serbia.
My journey into 3D modeling began over a decade ago, fueled by a desire to support my family’s architectural aspirations with visualization services. I vividly remember my first Blender project—a simple coffee cup—which I eagerly shared with my sister via email. That proud moment marked the beginning of a pursuit I’ve cherished ever since!
As an artist, I find exhilaration in the boundless world of 3D art and the ability it grants me to transform the intangible into the tangible, give form to imagination, and breathe life into dreams!
Excited to share one of my many adventures with you in this article!
INSPIRATION
After delving deep into the needs of the Blender community, it became evident that a significant gap existed in the availability of meticulously crafted bathroom assets specifically tailored for architectural visualization. This realization struck a chord with my personal ambition to expand my portfolio with a rich array of captivating bathroom scenes.
Teaming up with Marco Pavanello as part of Wolf Studio, we united in a shared mission to address this void head-on. Our goal was clear: to meticulously craft a comprehensive asset pack that would not only fill this gap but also elevate the standards of quality within the Blender ecosystem.
To accomplish this, we each undertook the creation of four distinct scenes, channeling our individual expertise, creativity, and attention to detail into every project. Every model produced within these scenes was meticulously refined to ensure seamless integration and maximum utility within Blender projects.
Thus, through collaborative effort and unwavering dedication, the foundation of the Bathrooms asset pack was laid, promising Blender users a diverse and beautiful collection of assets to enhance their architectural visualizations.
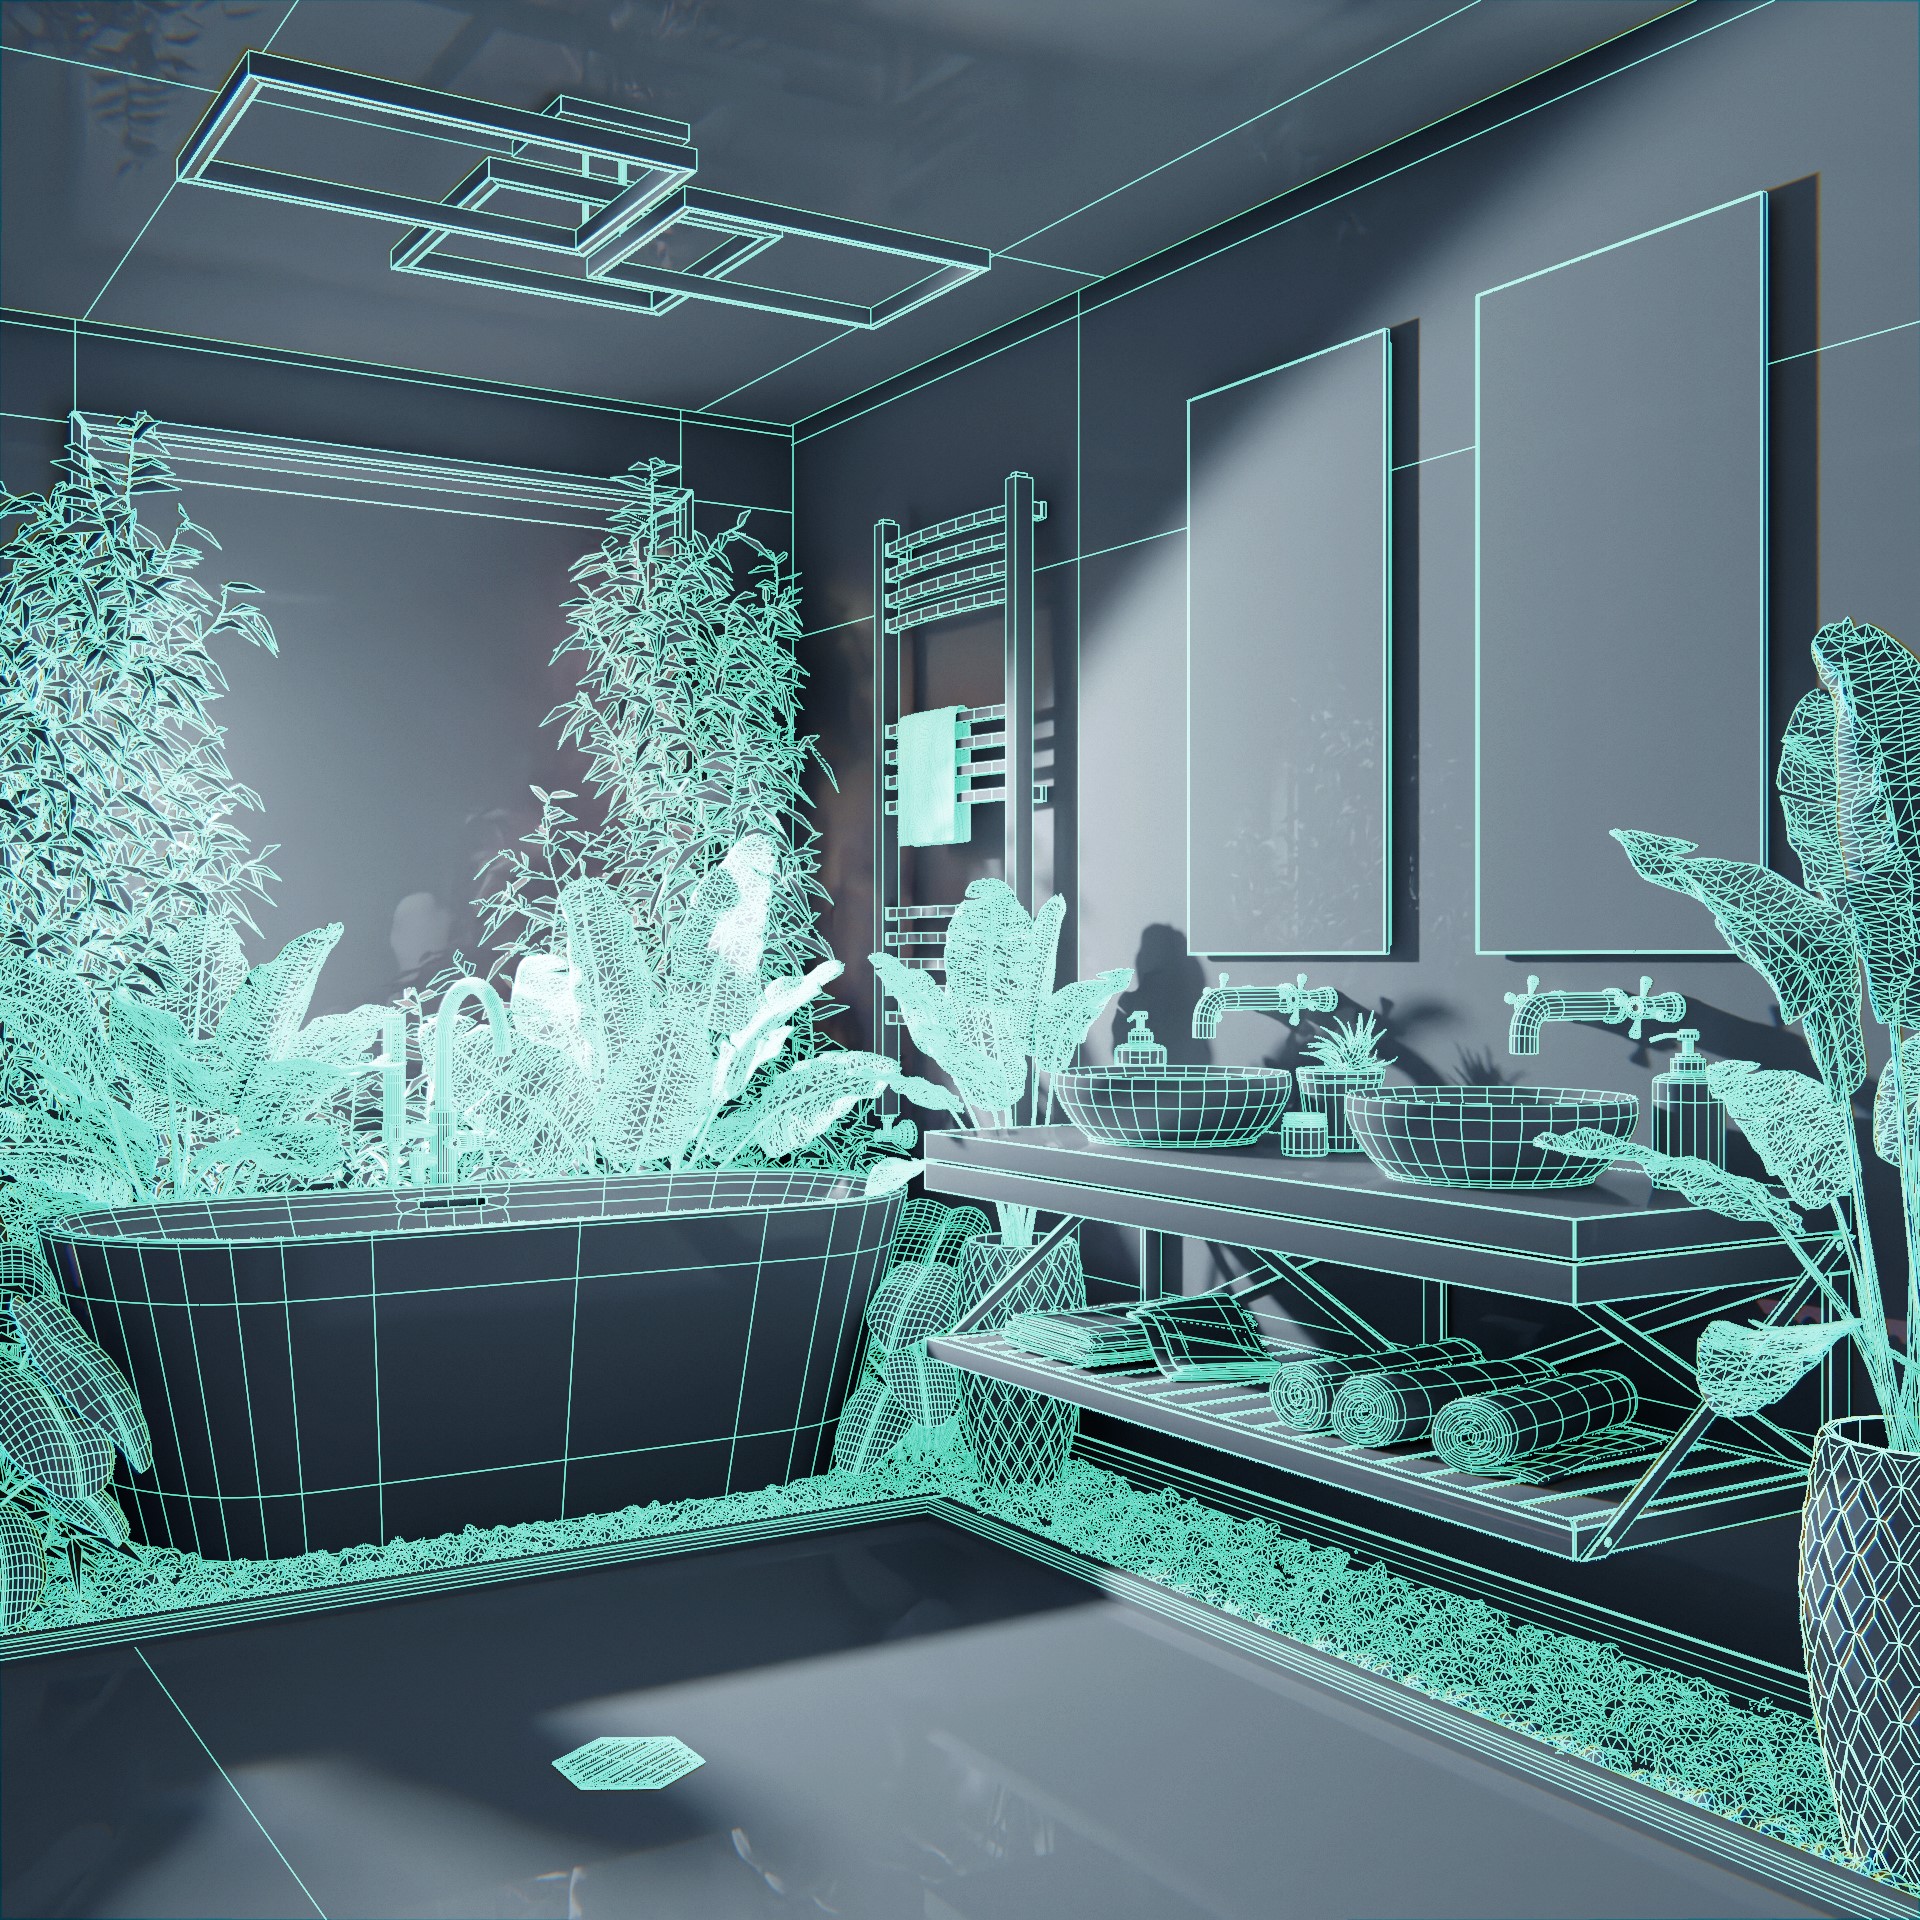
With a deep appreciation for industrial interior design, it was only fitting to incorporate in a scene that pays homage to its raw and captivating allure.
PROCESS
Hardware information
- CPU: AMD Ryzen 9 5900HX 3.30GHz
- GPU: NVIDIA GeForce RTX 3070
- RAM: 32GB
Software information
- 3D Software: Blender
- Post production: Adobe Photoshop
- Other: PureRef, fSpy
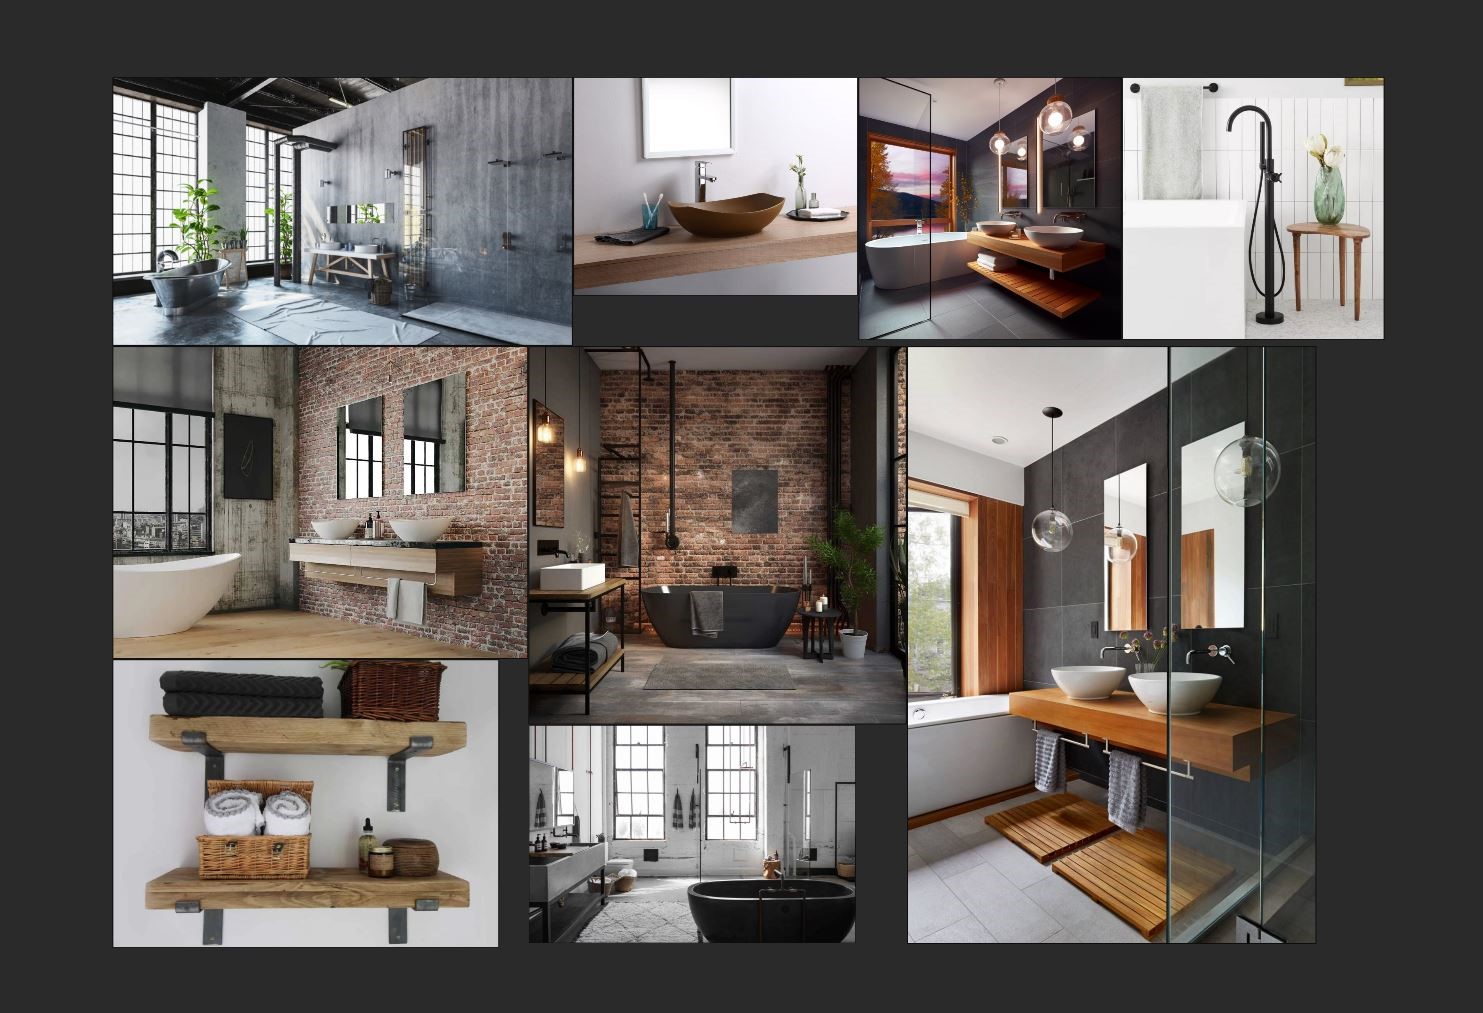
Research and reference gathering
Every project begins with a thorough exploration of captivating ideas and inspiring designs. Thanks to the vast resources available on the internet, I delve into platforms like Instagram, Pinterest, and ArtStation, which serve as invaluable sources of inspiration. From these platforms, I compile a collection of standout images, assembling them into a comprehensive reference board.
While I may not have a rigid checklist of specific design elements, color schemes, or moods I’m searching for initially, I do look for images that evoke a certain feeling or atmosphere that aligns with the vision I have for the project. This process involves meticulous analysis, where I seek to understand why certain designs are effective, explore opportunities for improvement, and contemplate how different elements could be synergized to create something even more remarkable. Once I’ve gained insights and answers from this analysis, I’m fully prepared to advance to the next stage of the project.
Scene setup
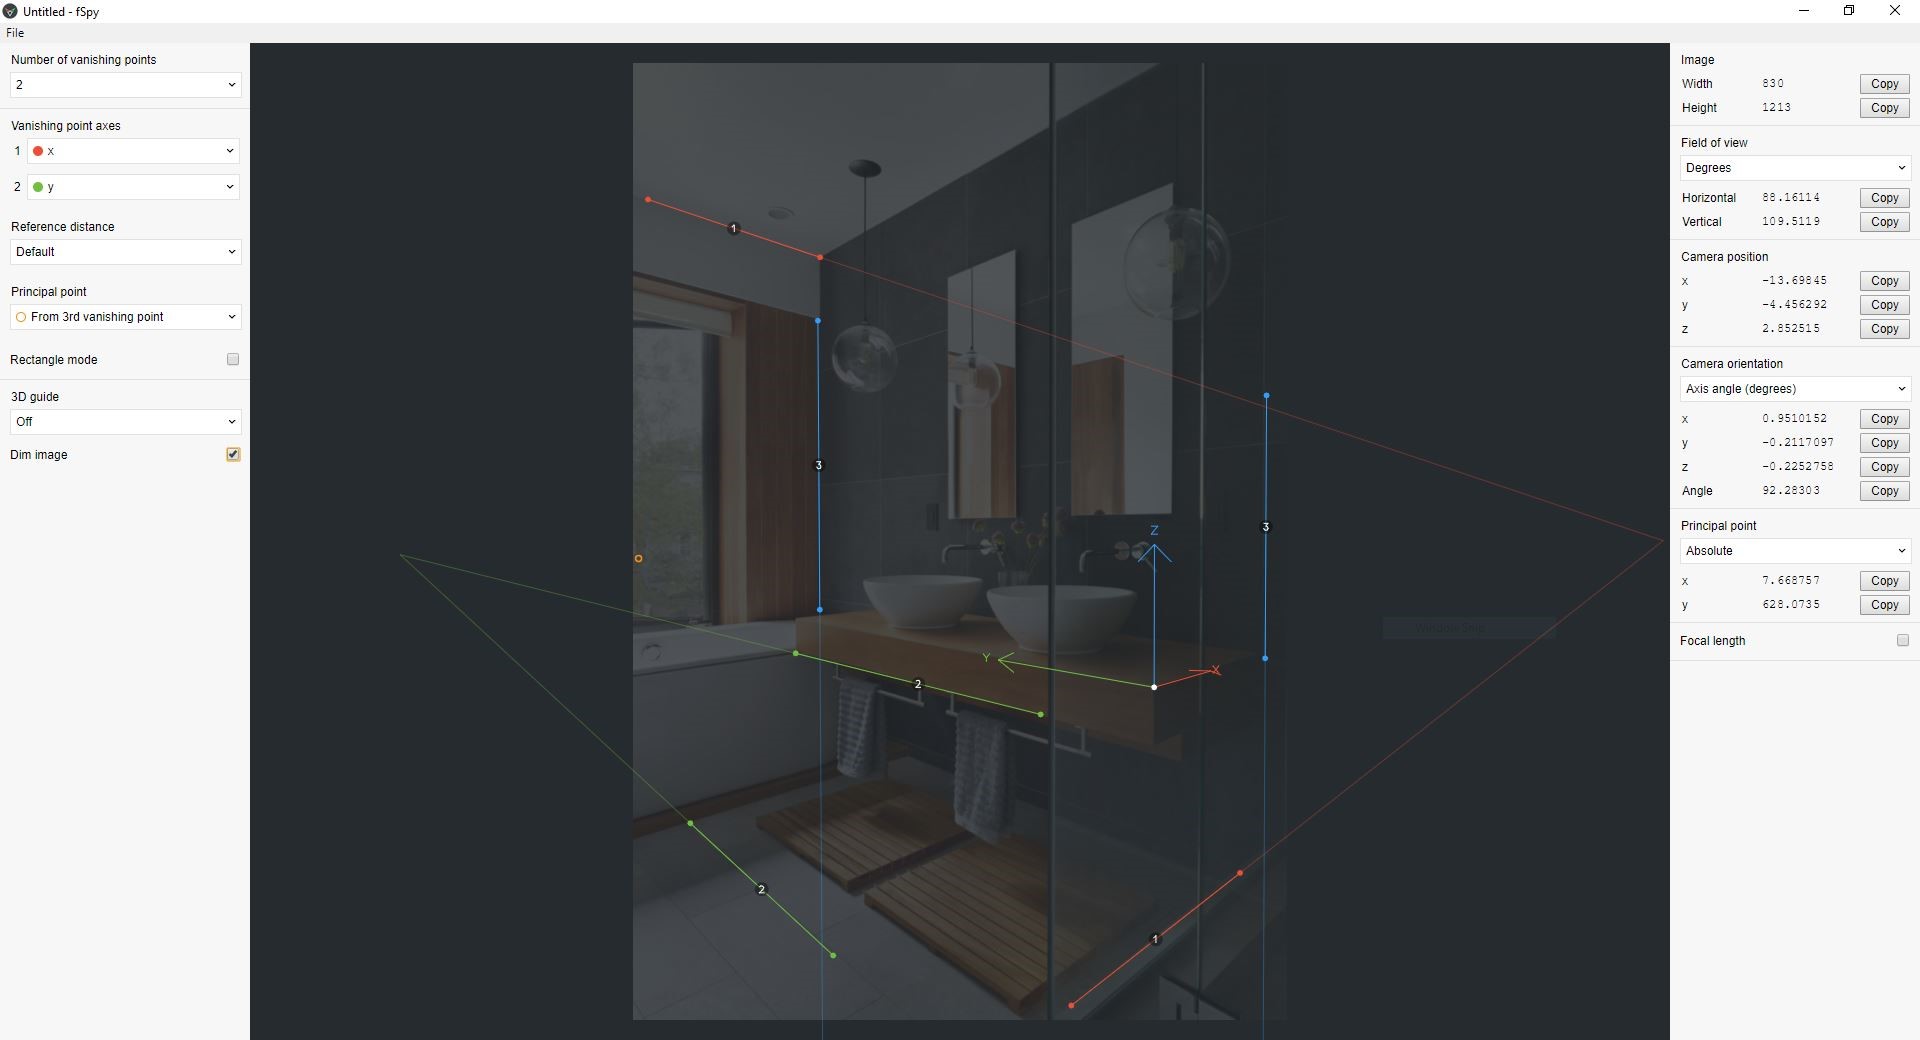
Upon finalizing the overarching concept and composition, I initiate the scene setup process by blocking out crucial elements. This early approach allows for a swift grasp of the scene’s overall ambiance and facilitates strategic placement of various elements. When replicating a composition from my references, the utilization of fSpy proves invaluable in capturing the perspective accurately.
Modeling
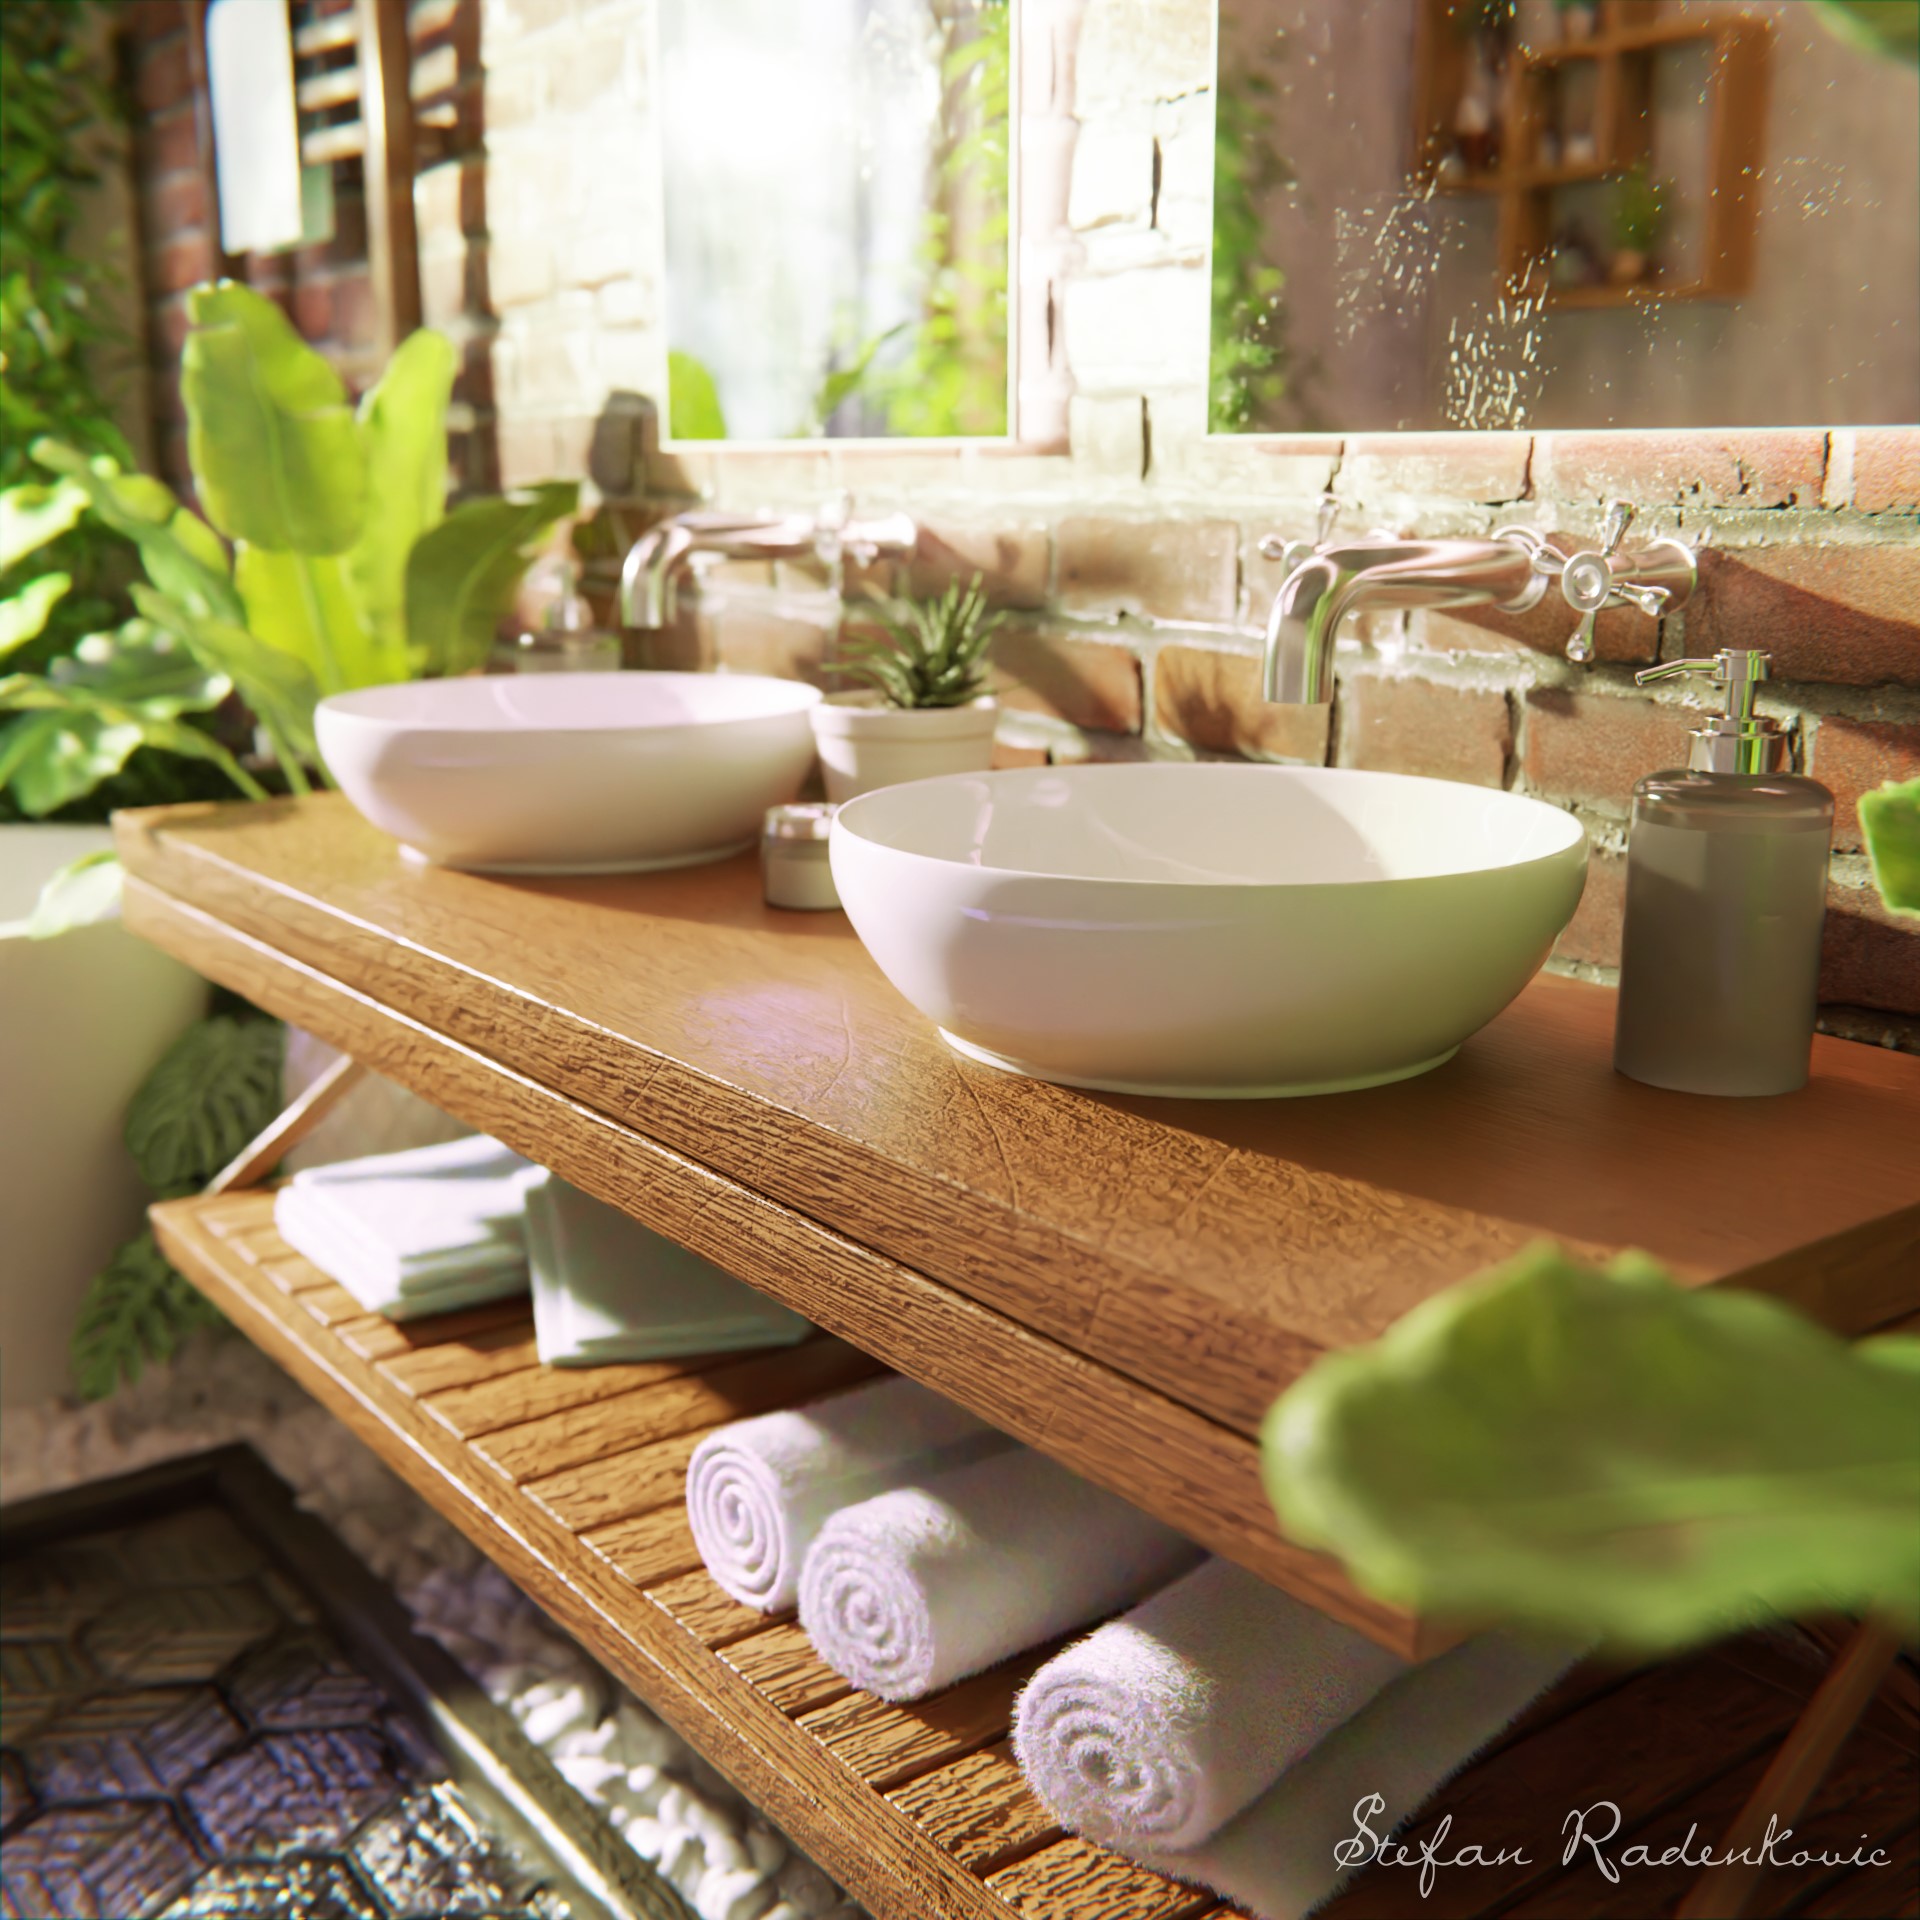
After completing the block out stage, I progress to the modeling phase, refining basic shapes into intricate models. I prioritize crucial scene elements like the bathtub and sink area to gain an early sense of the final scene and make preliminary adjustments to the general lighting. Finally, I address objects like plants and other minor decorative elements, ensuring they complement the scene effectively.
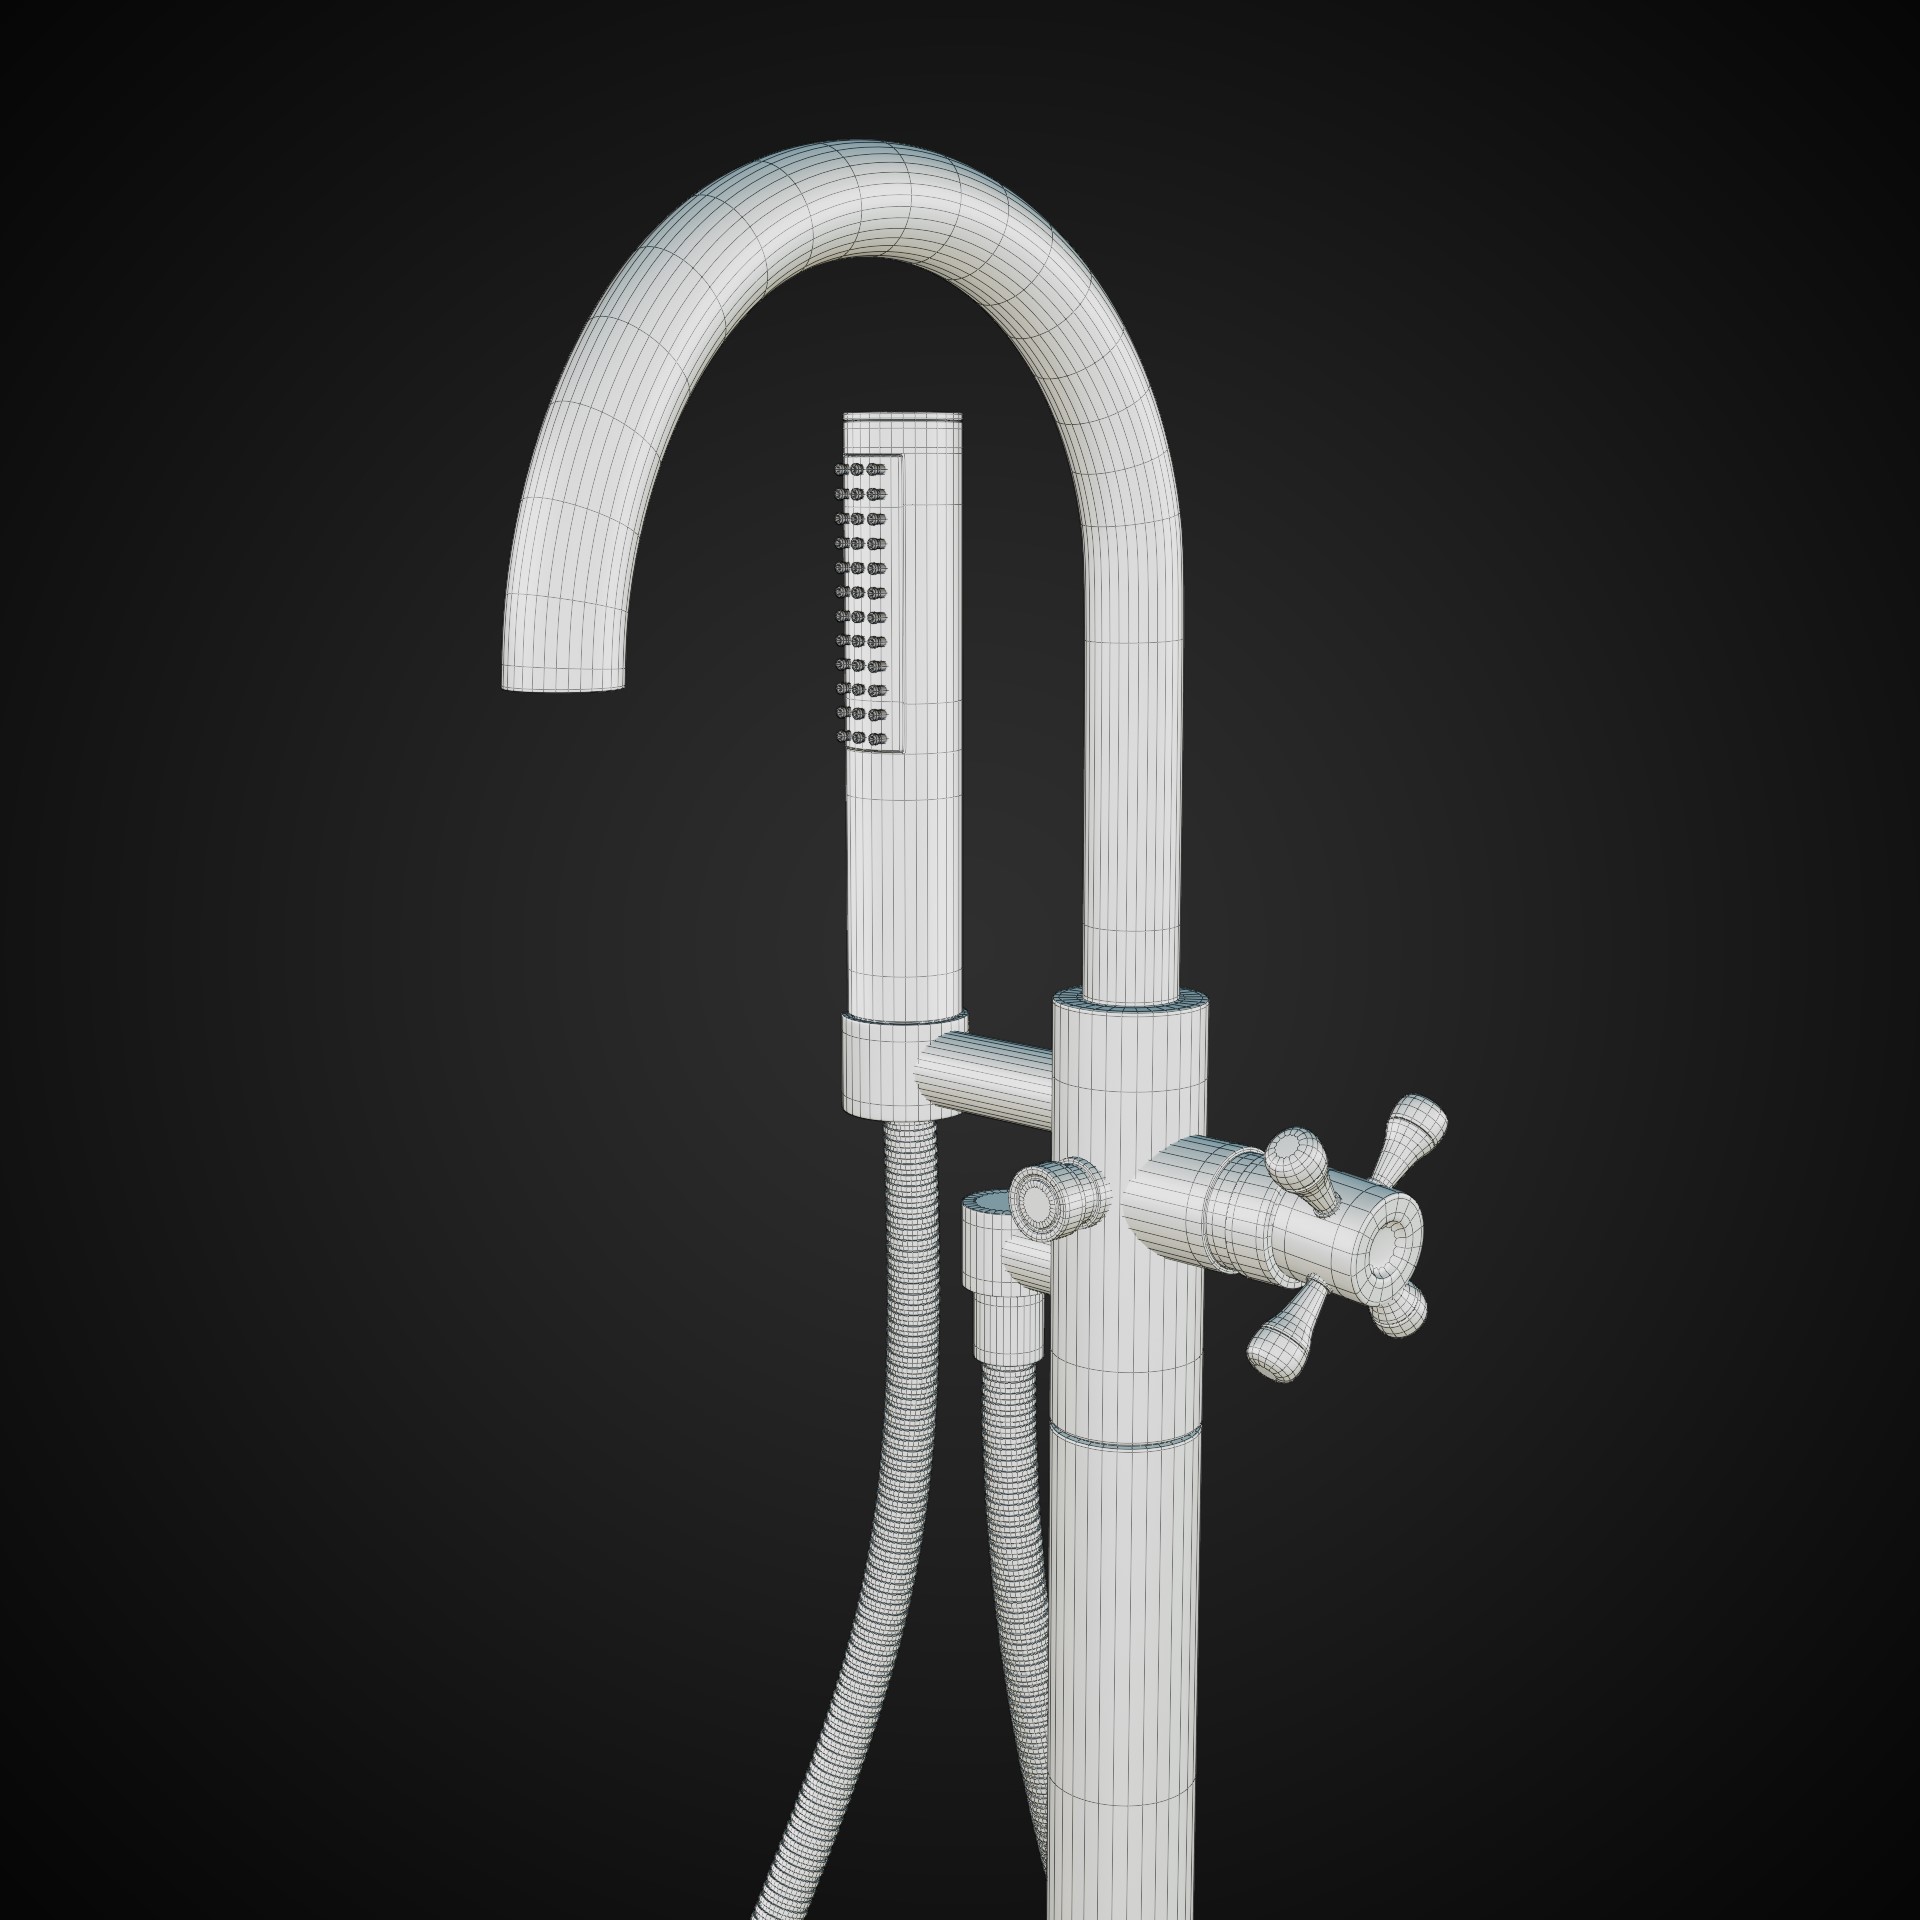
The main modeling technique utilized is subdivision surface, sometimes combined with NURBS modeling, as in the case of the shower head hose.
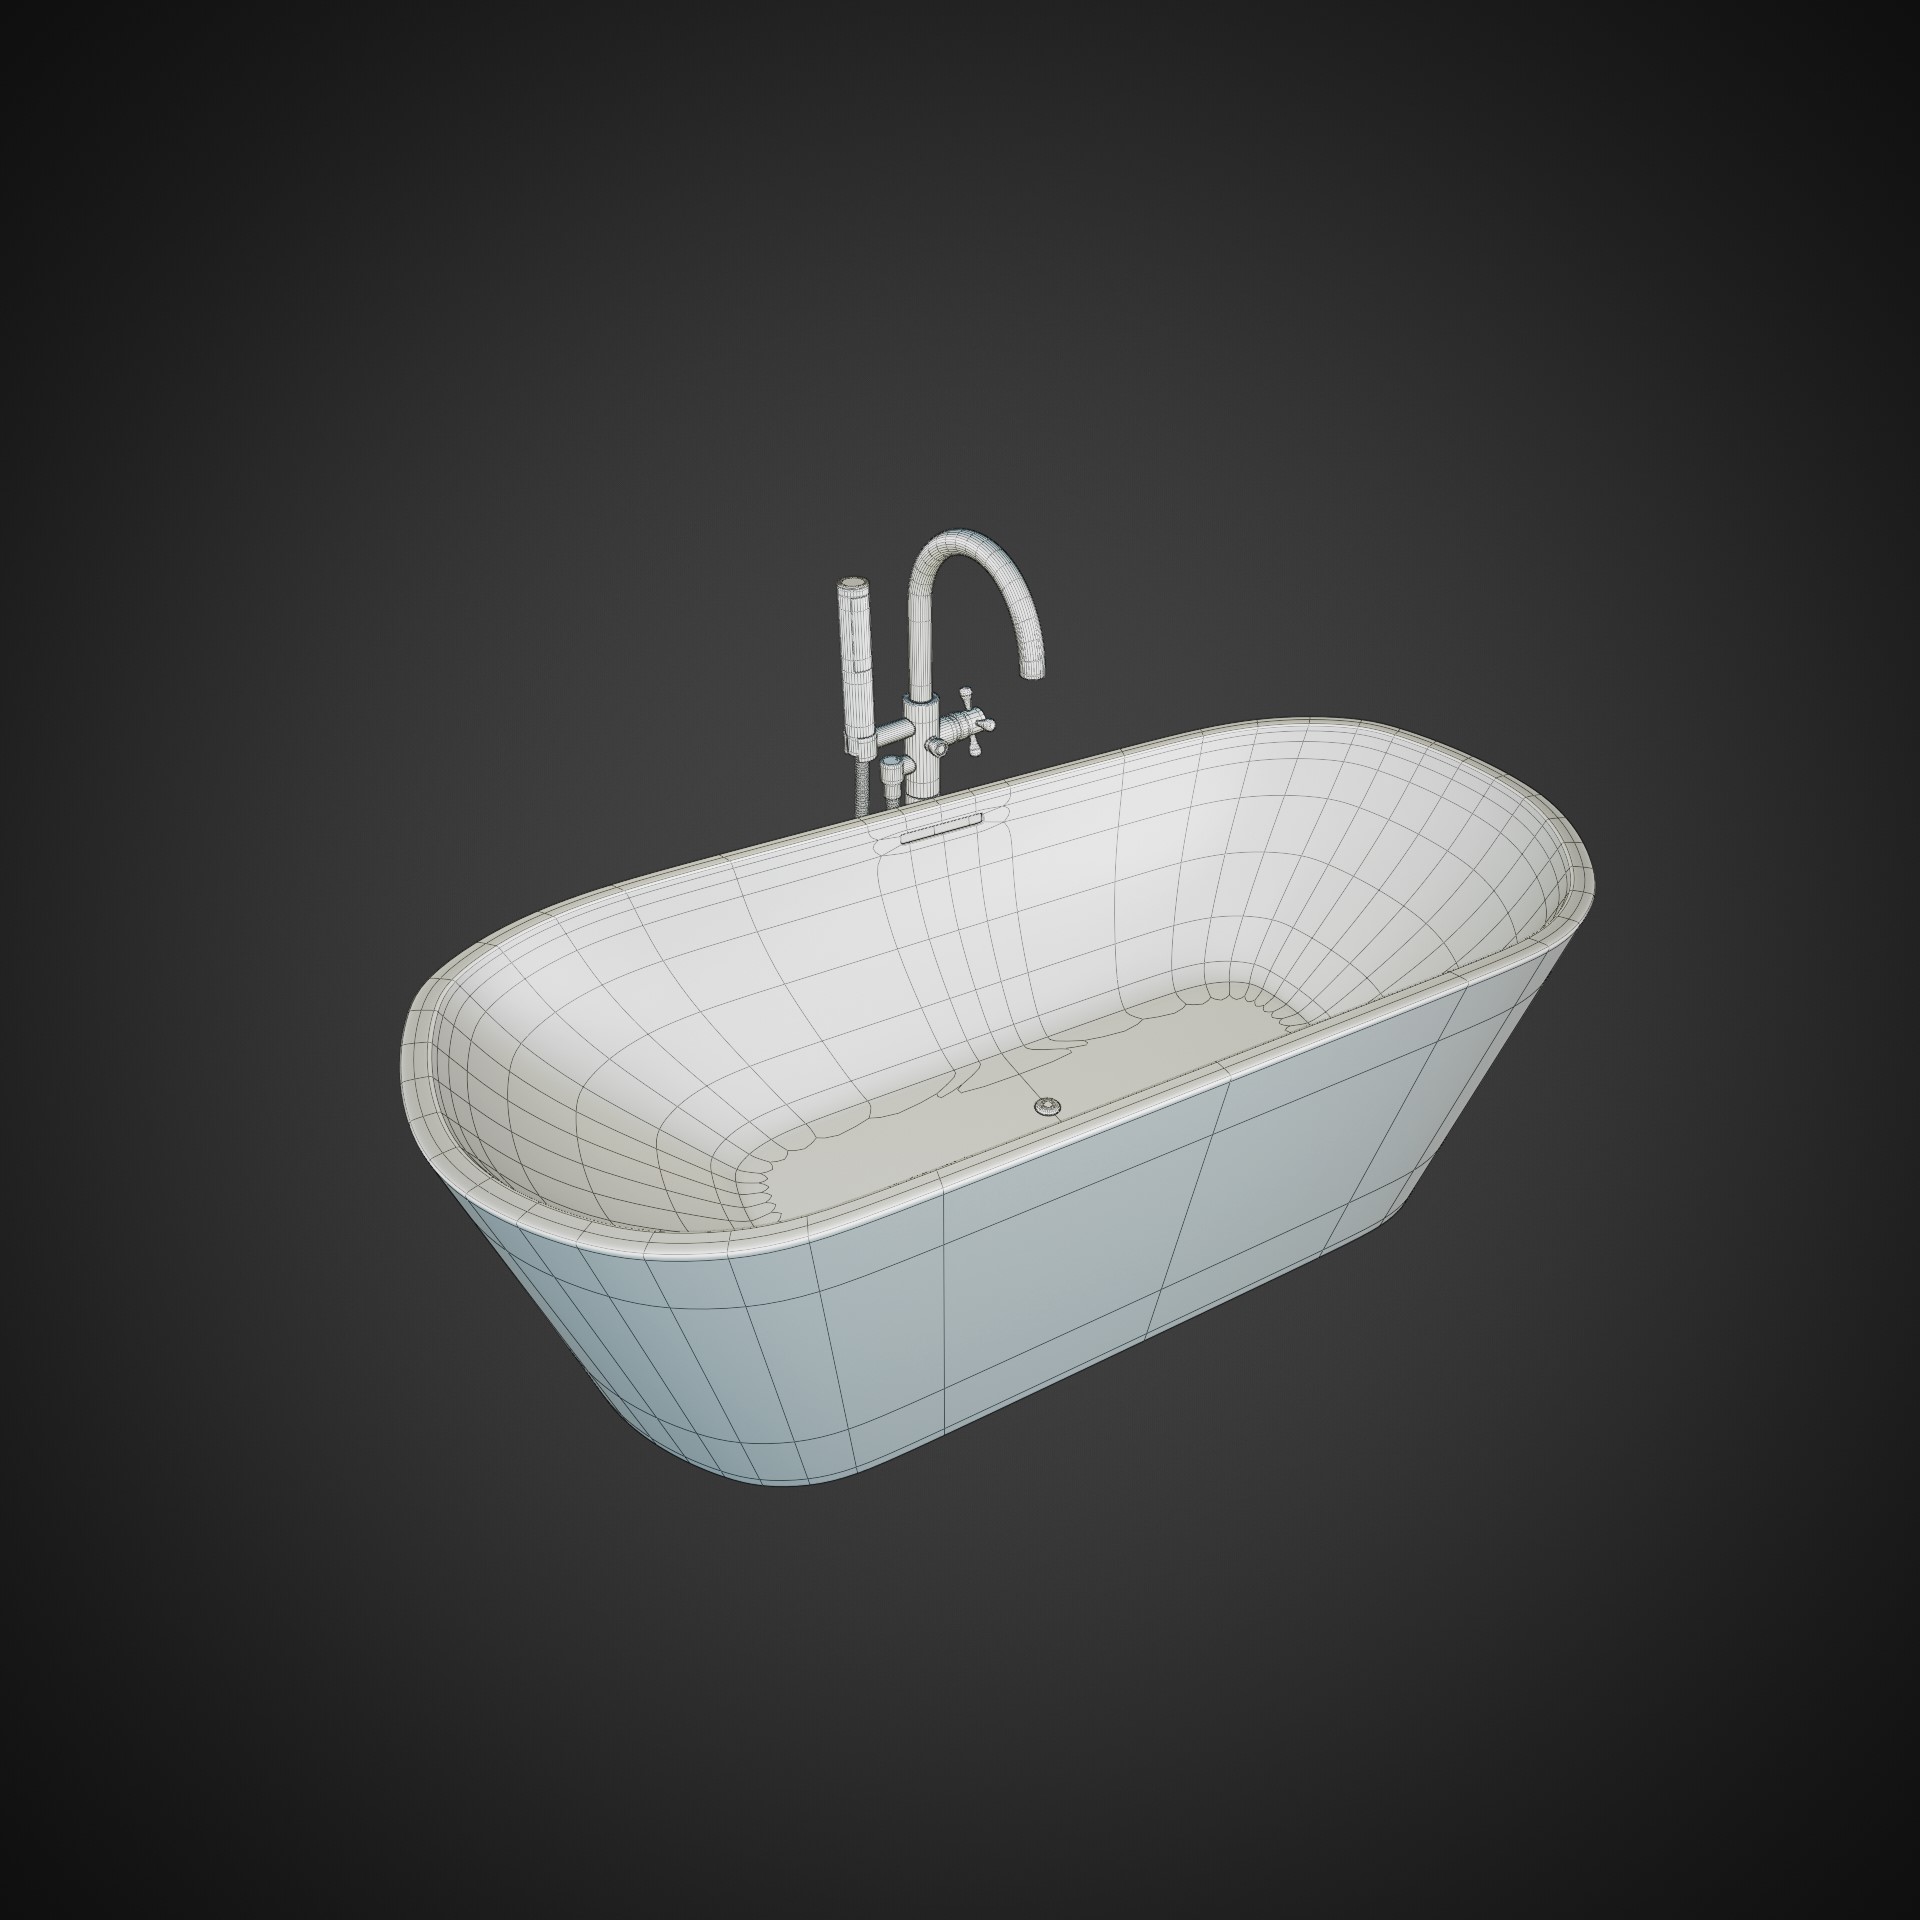
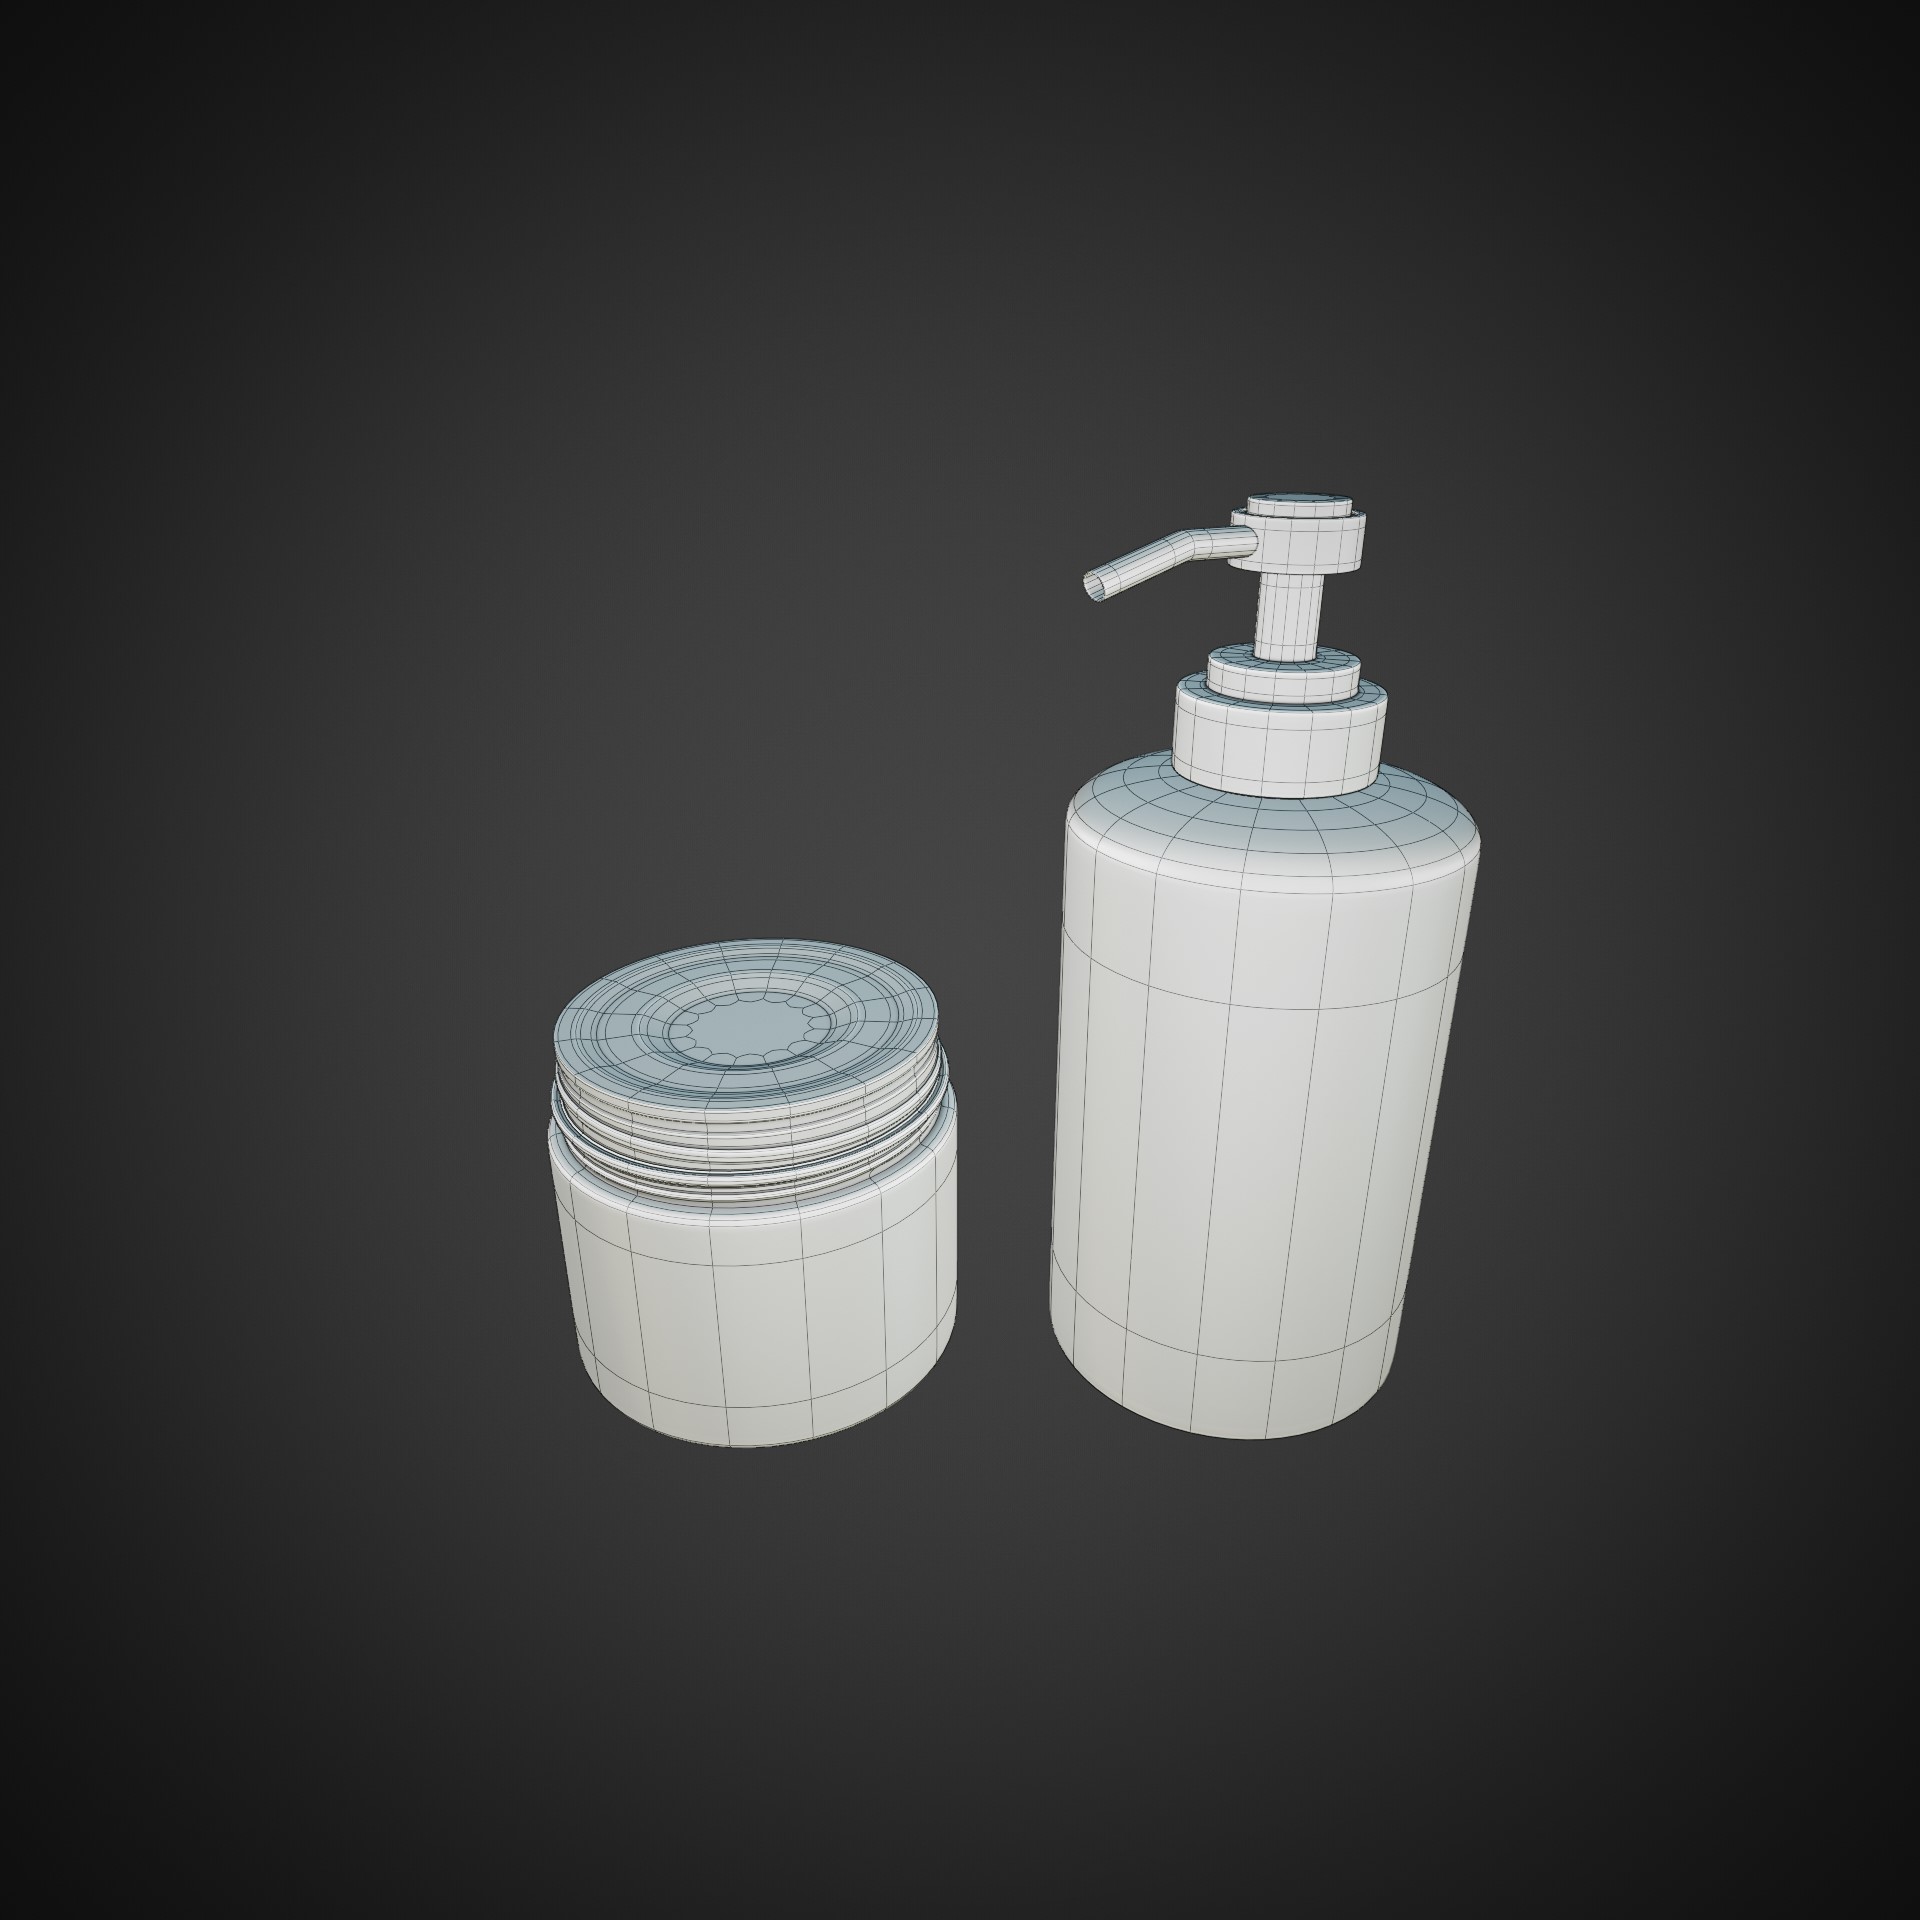
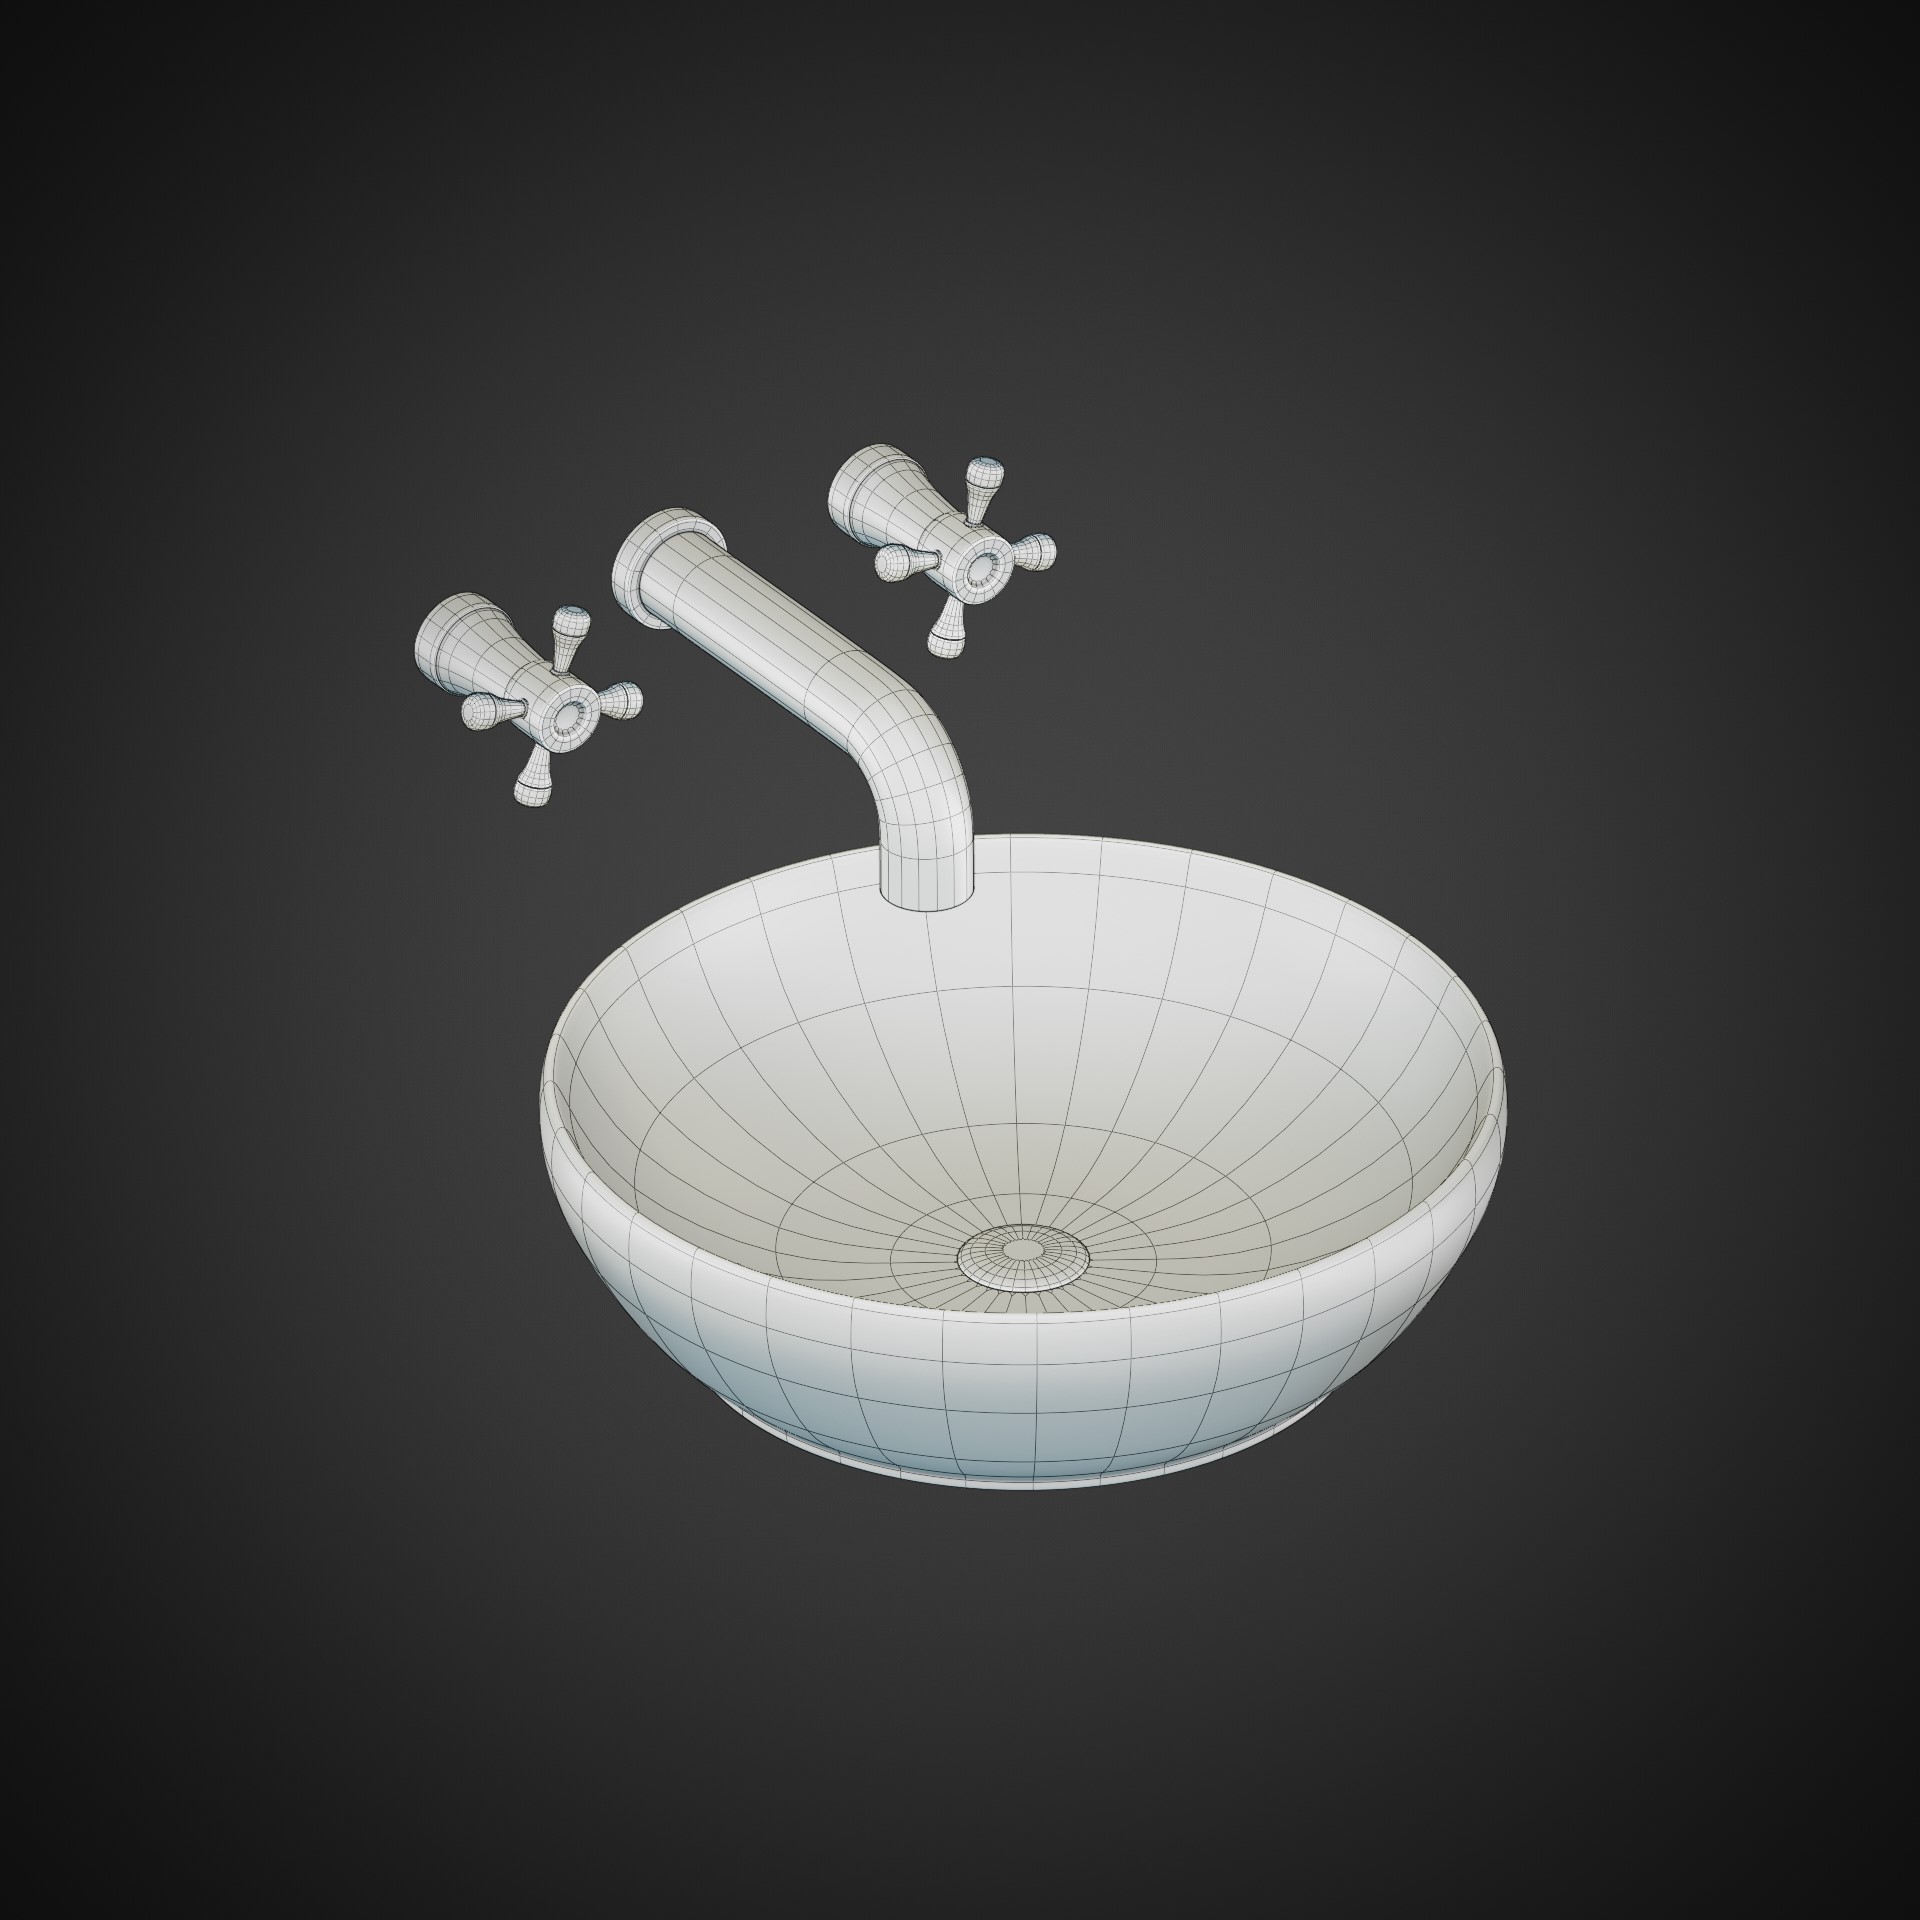
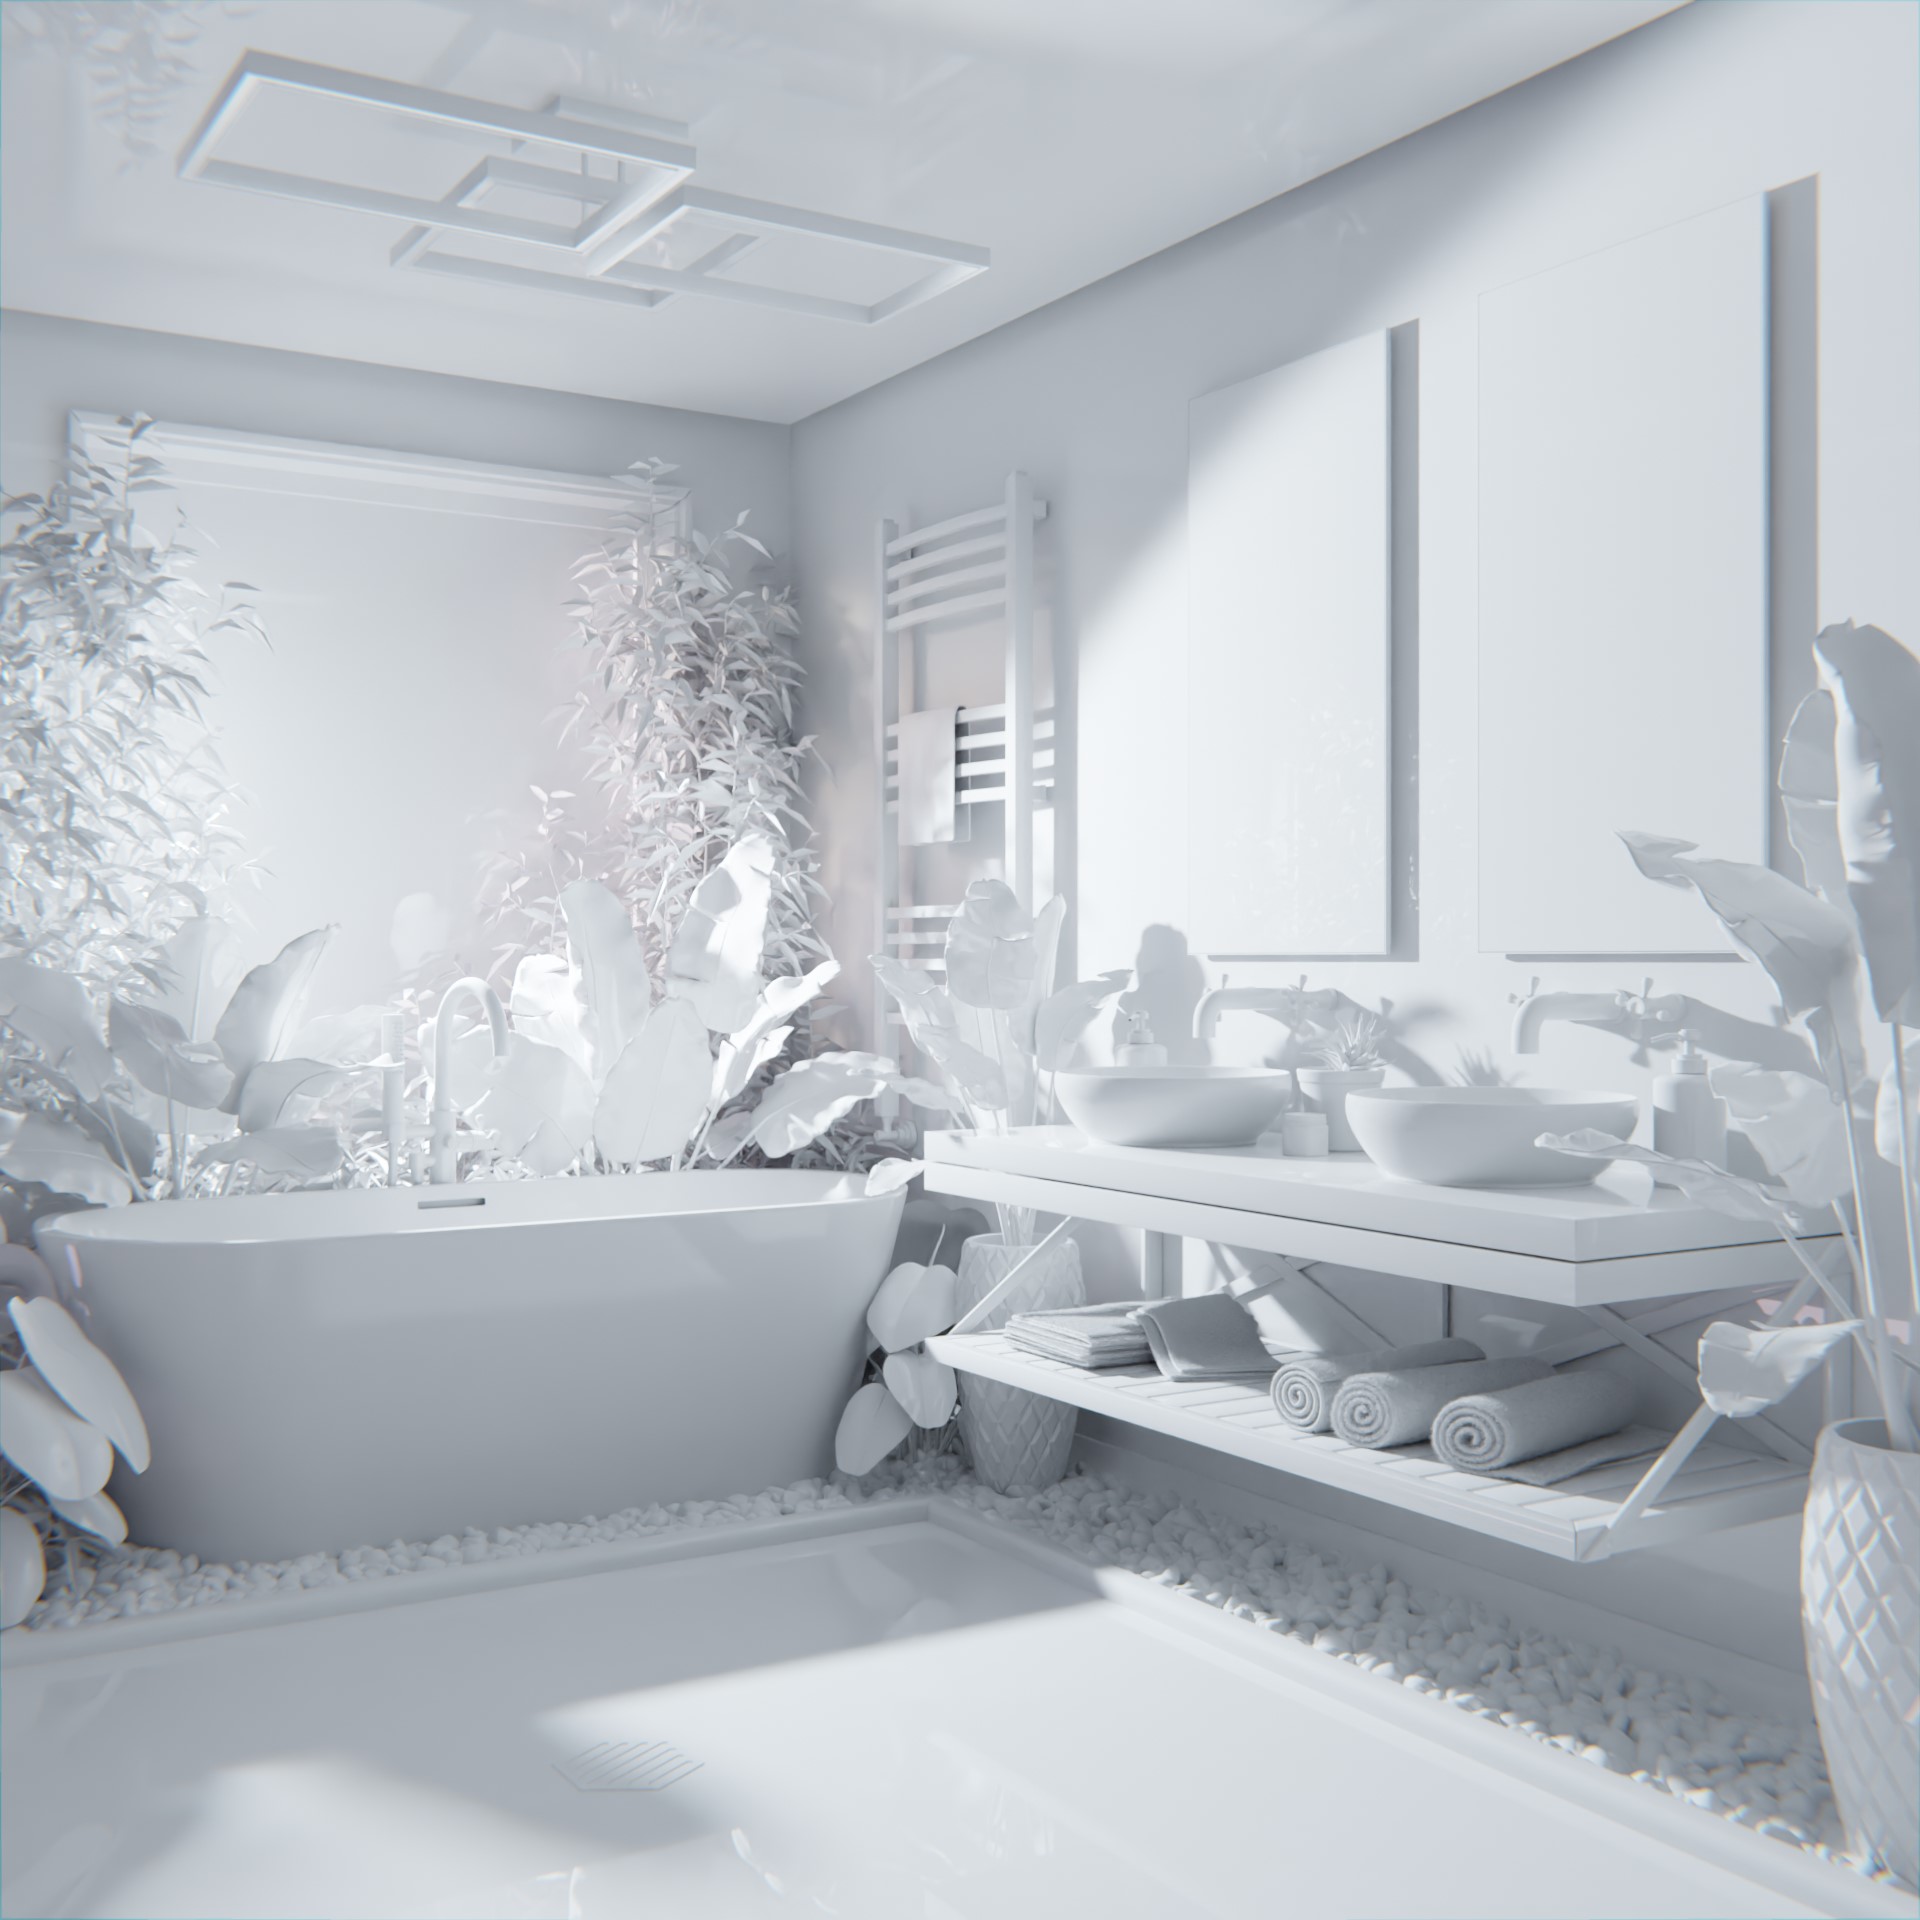
Wireframe close-ups of several models
Materials
A wide range of techniques were employed to develop materials which bring the scene to life. While simpler materials sufficed for smaller or distant objects, achieving photorealistic quality required extra care for certain elements.
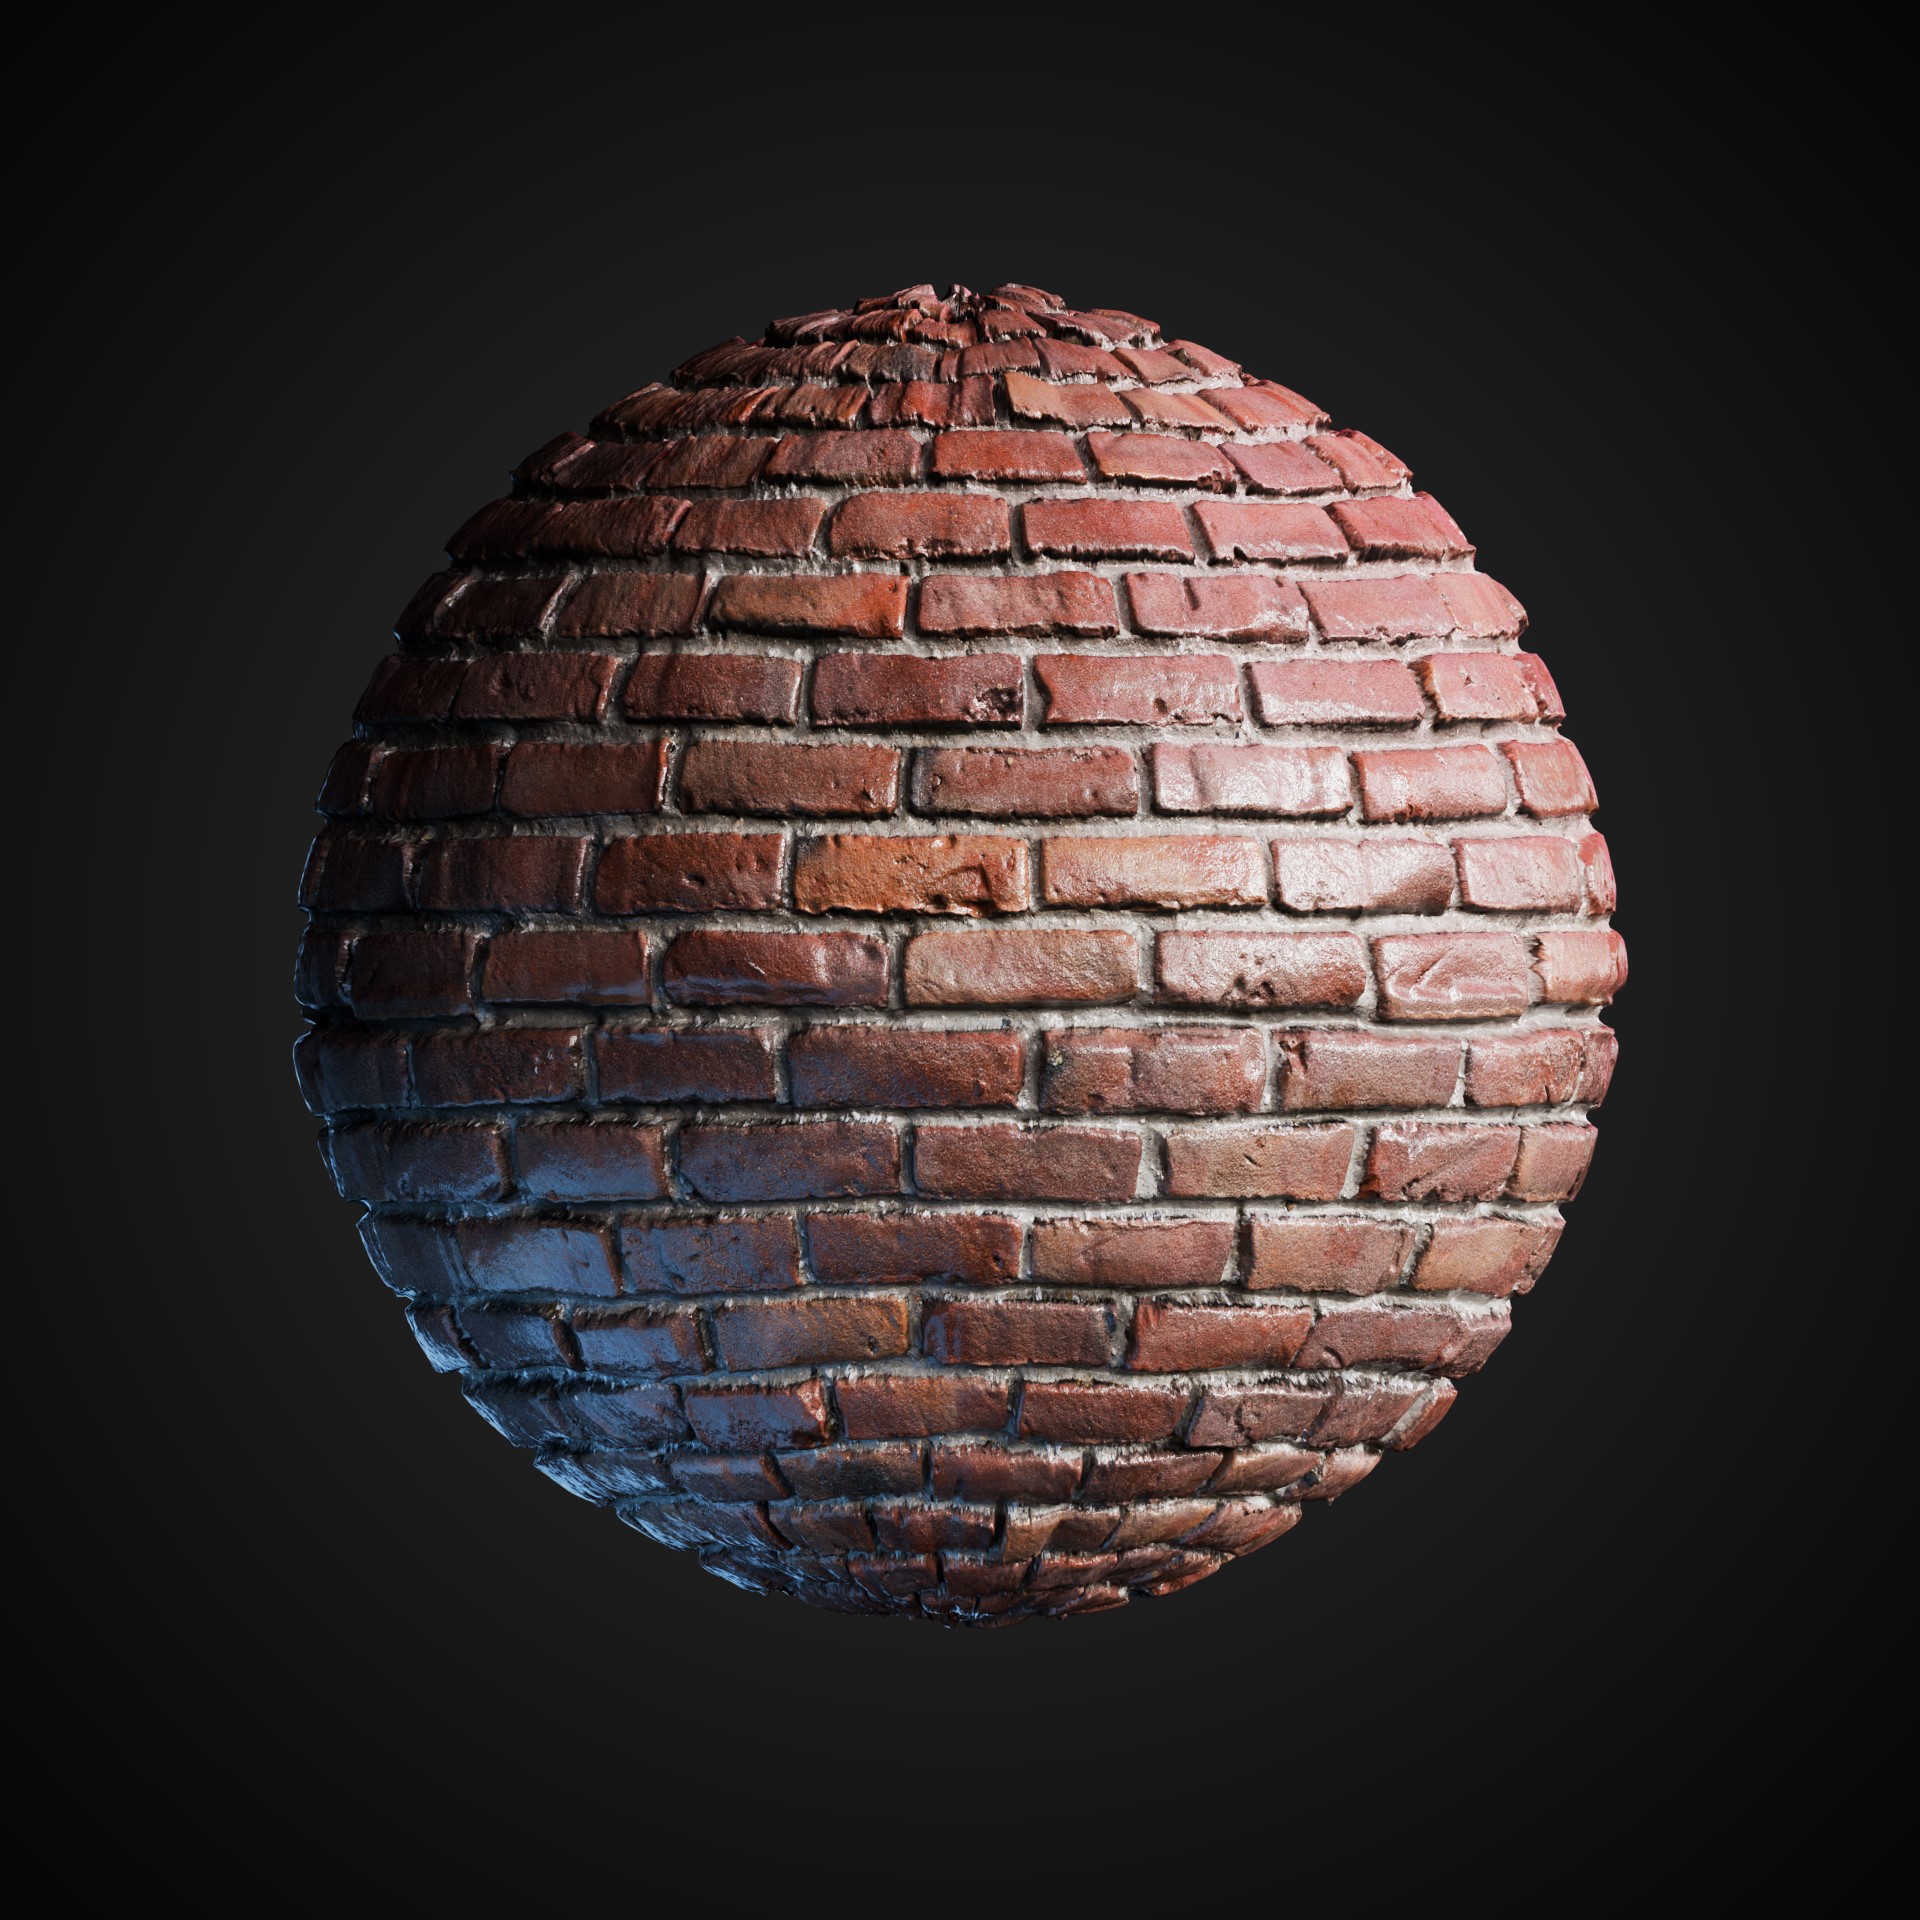
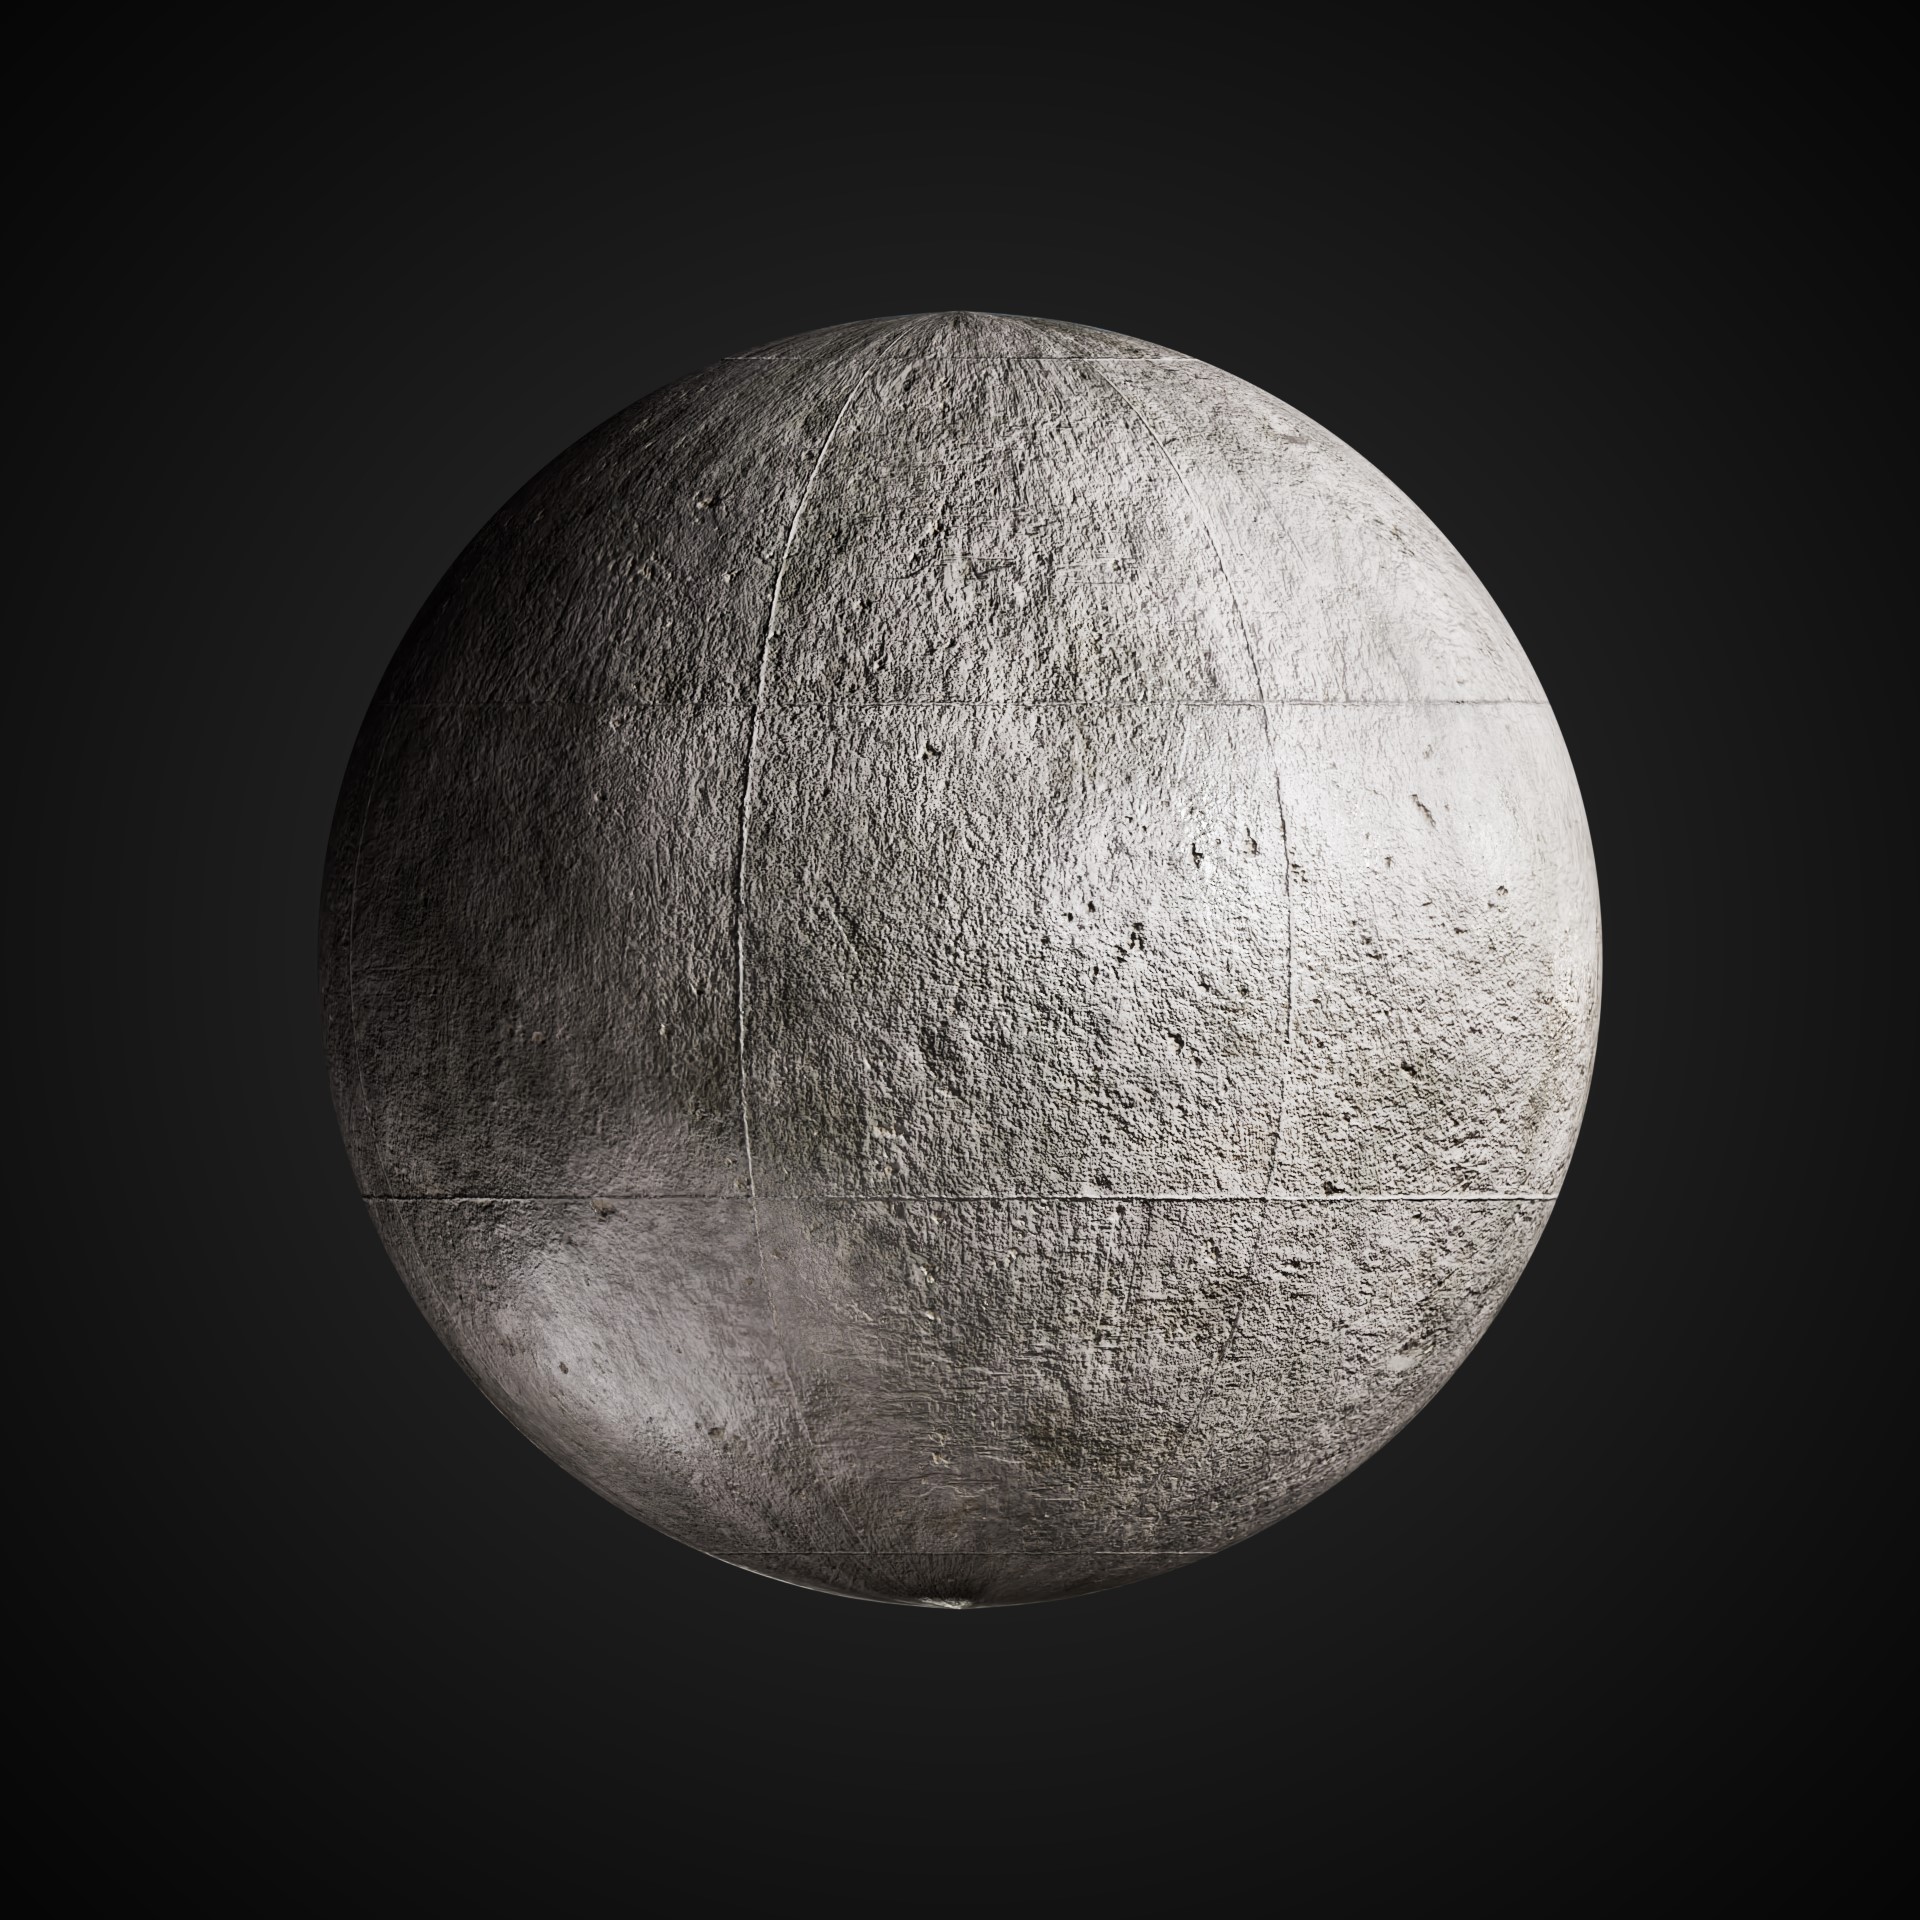
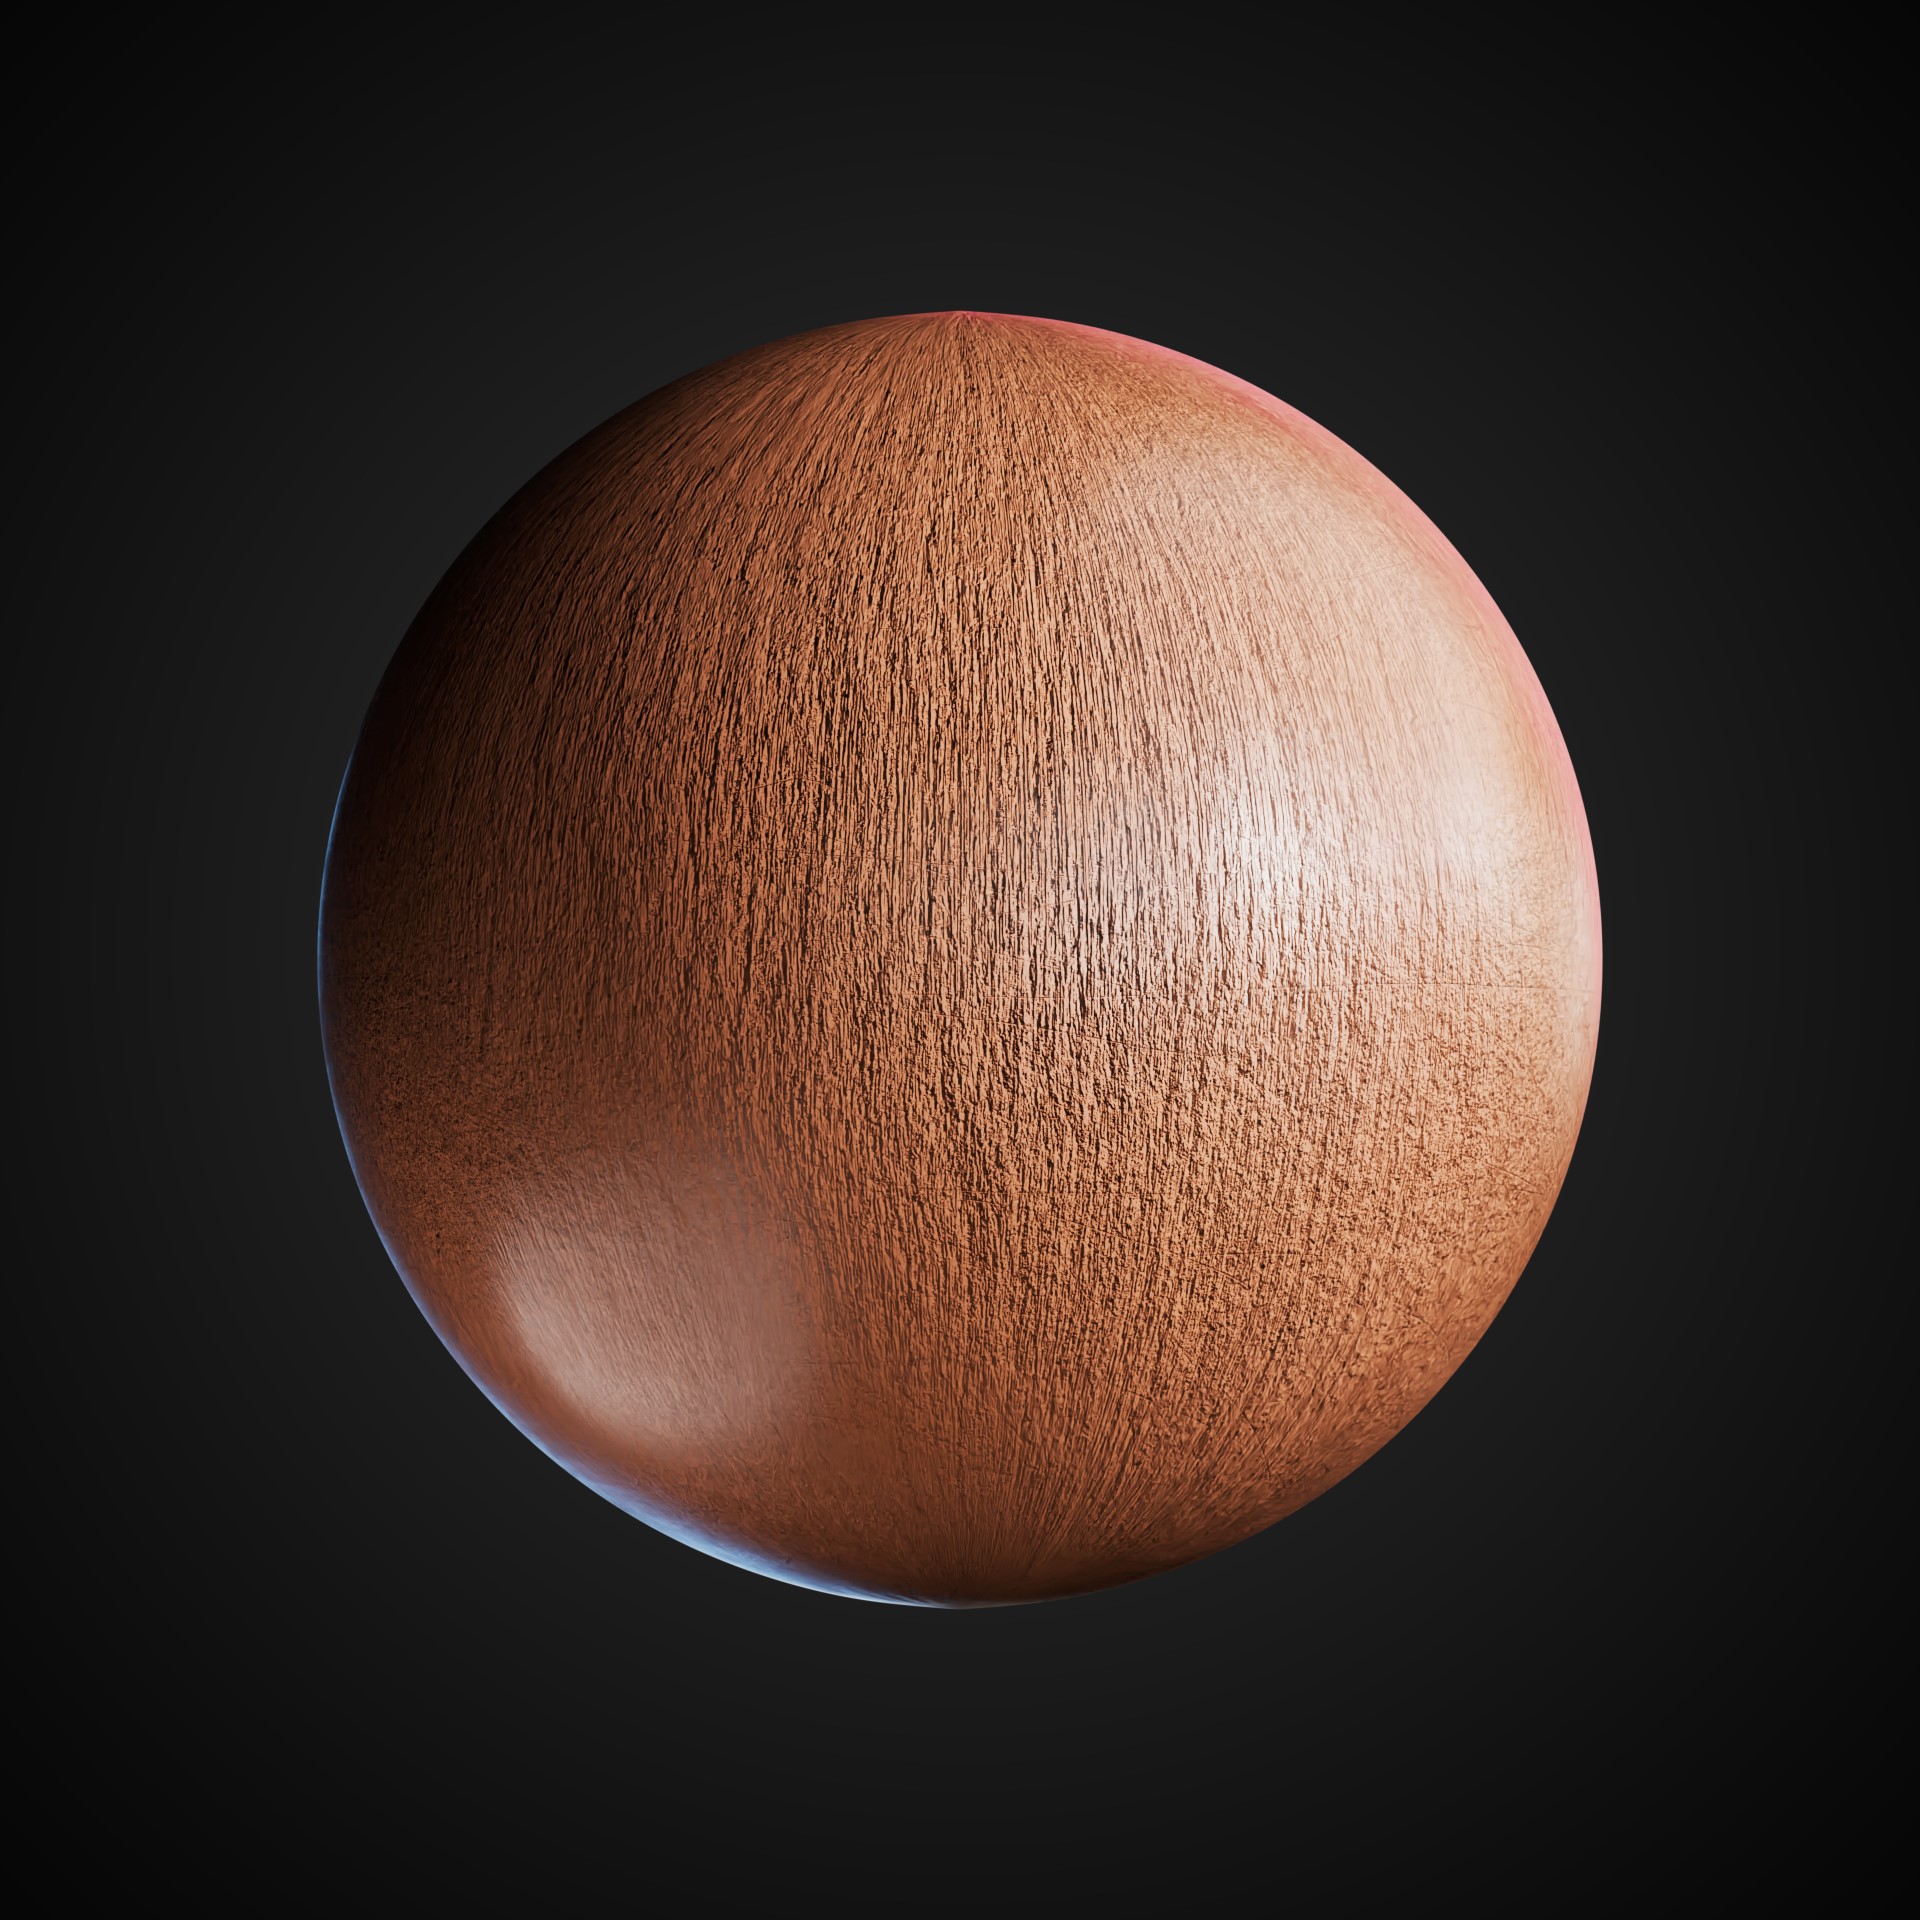
Central to the industrial interior design aesthetic were materials like wood, concrete, and exposed brick, ensuring these materials looked authentic was paramount. Despite their surfaces being primarily flat planes, through utilization of techniques such as displacement maps and modifiers like adaptive subdivision, we can ensure the presence of essential detail and strong visual fidelity.
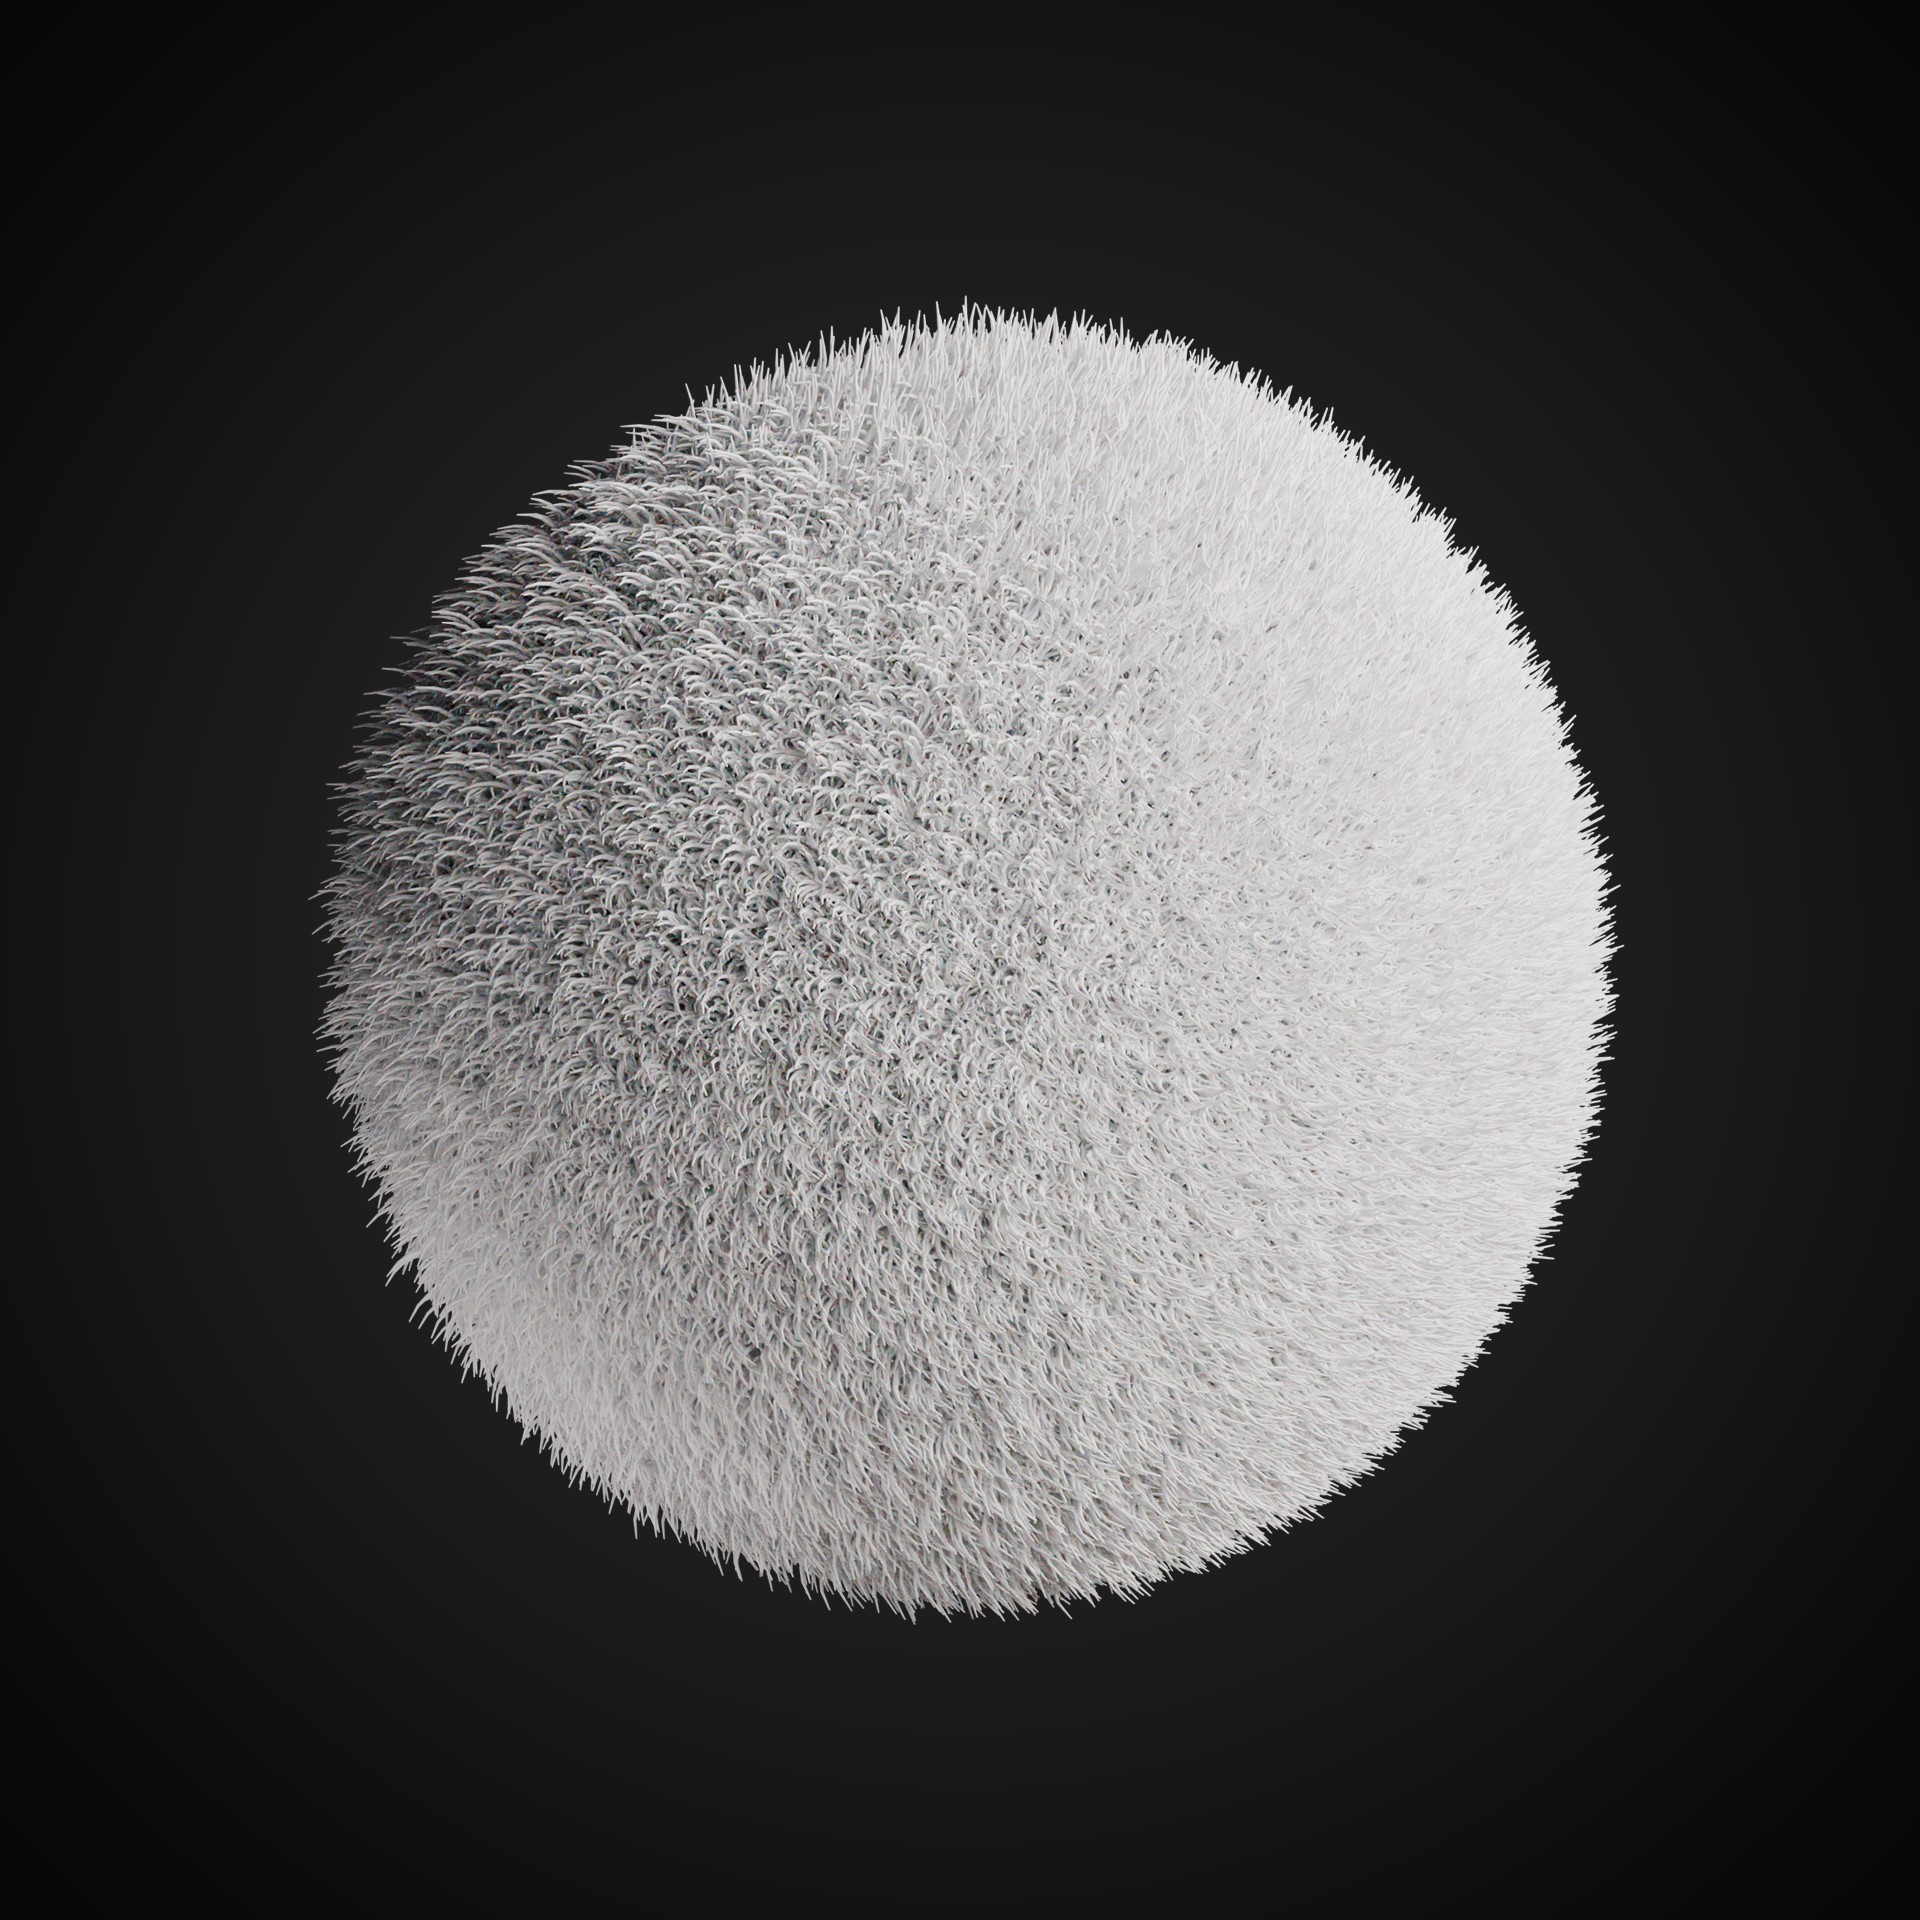
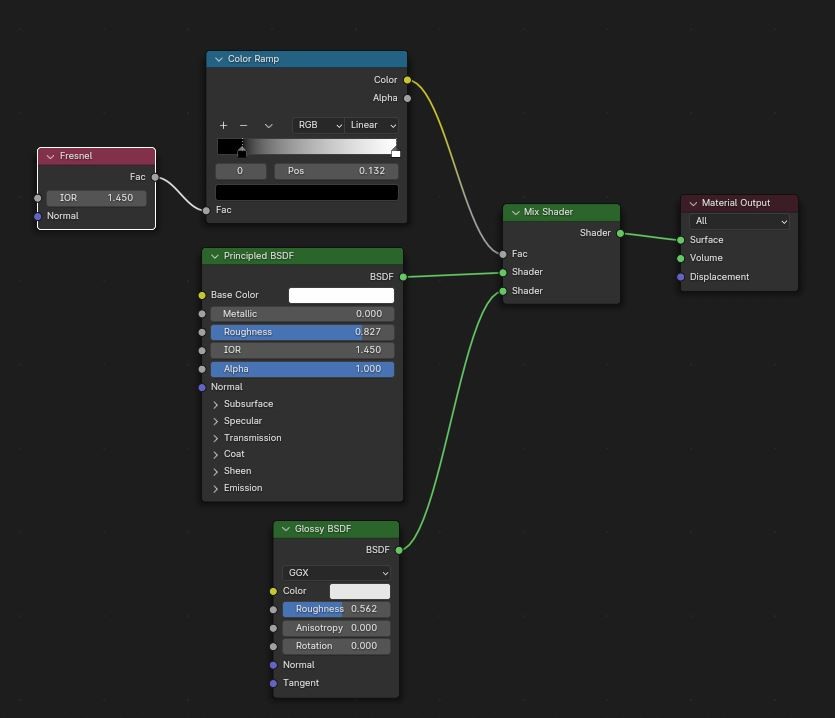
Then take, for instance, the towel material. We combined Principled and Glossy shaders, incorporating a Fresnel node as a mix factor. To enhance realism, we utilized geometry nodes to distribute strands of fibers throughout the towel object.
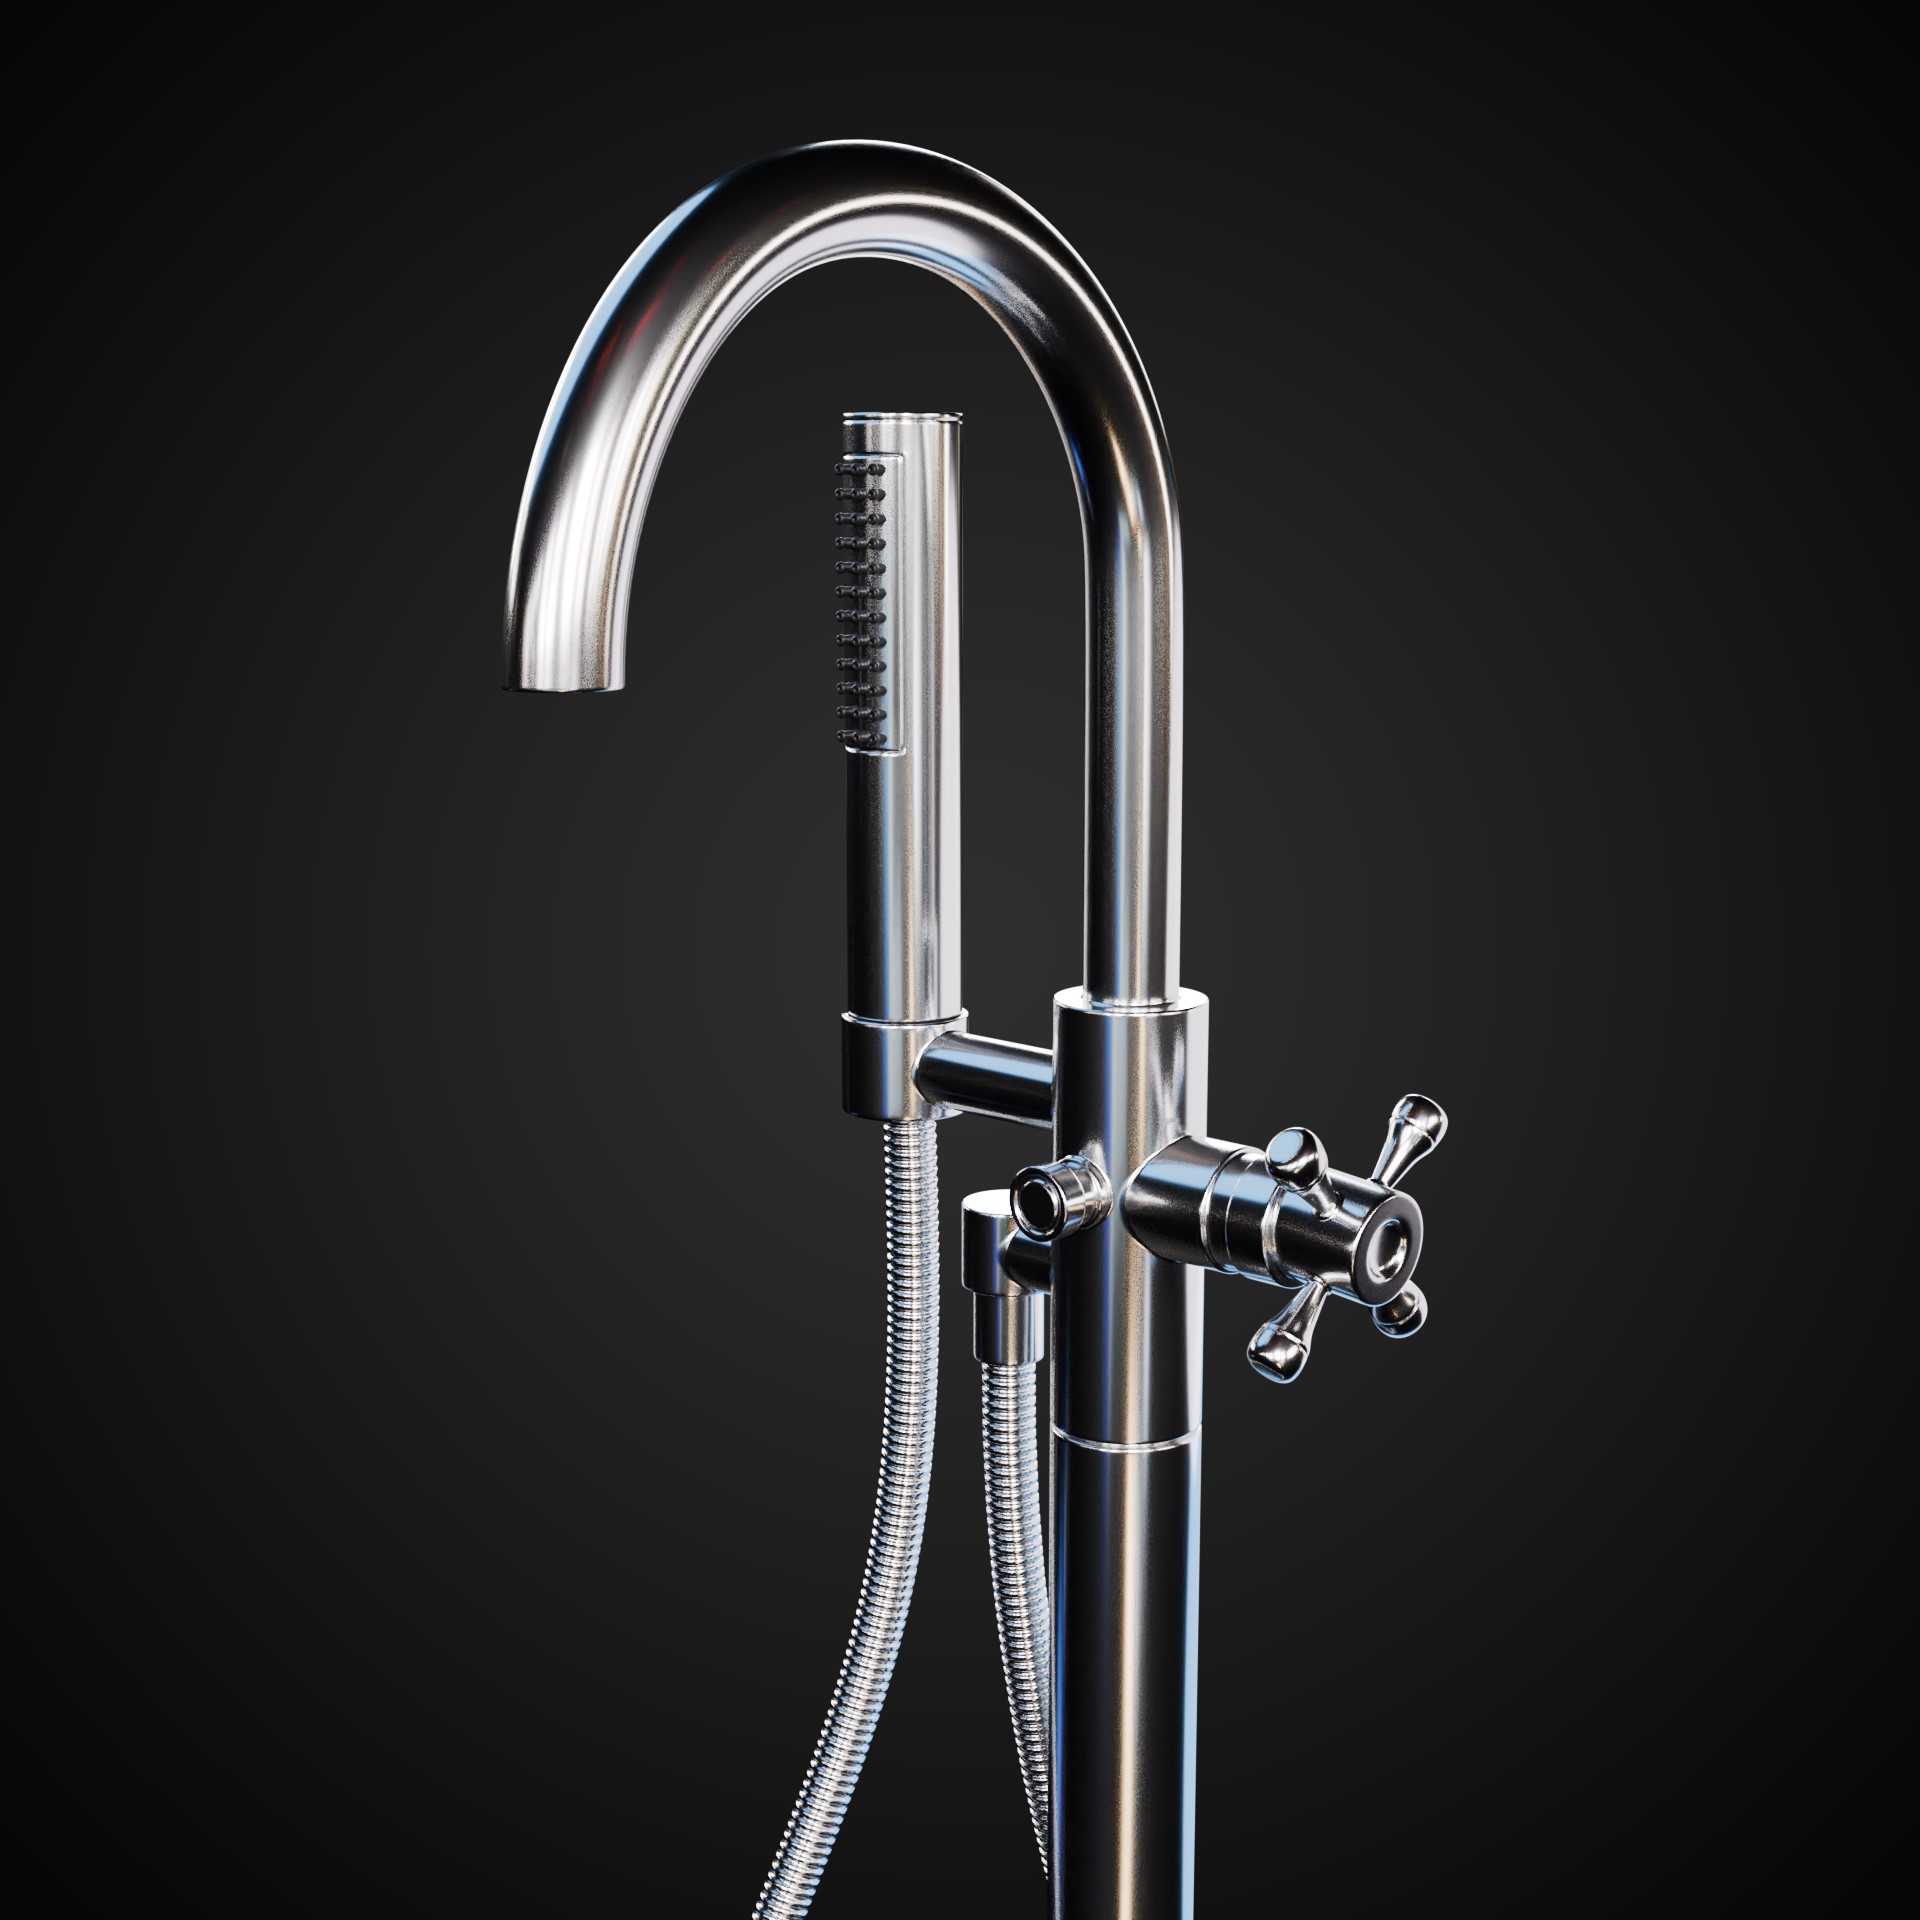
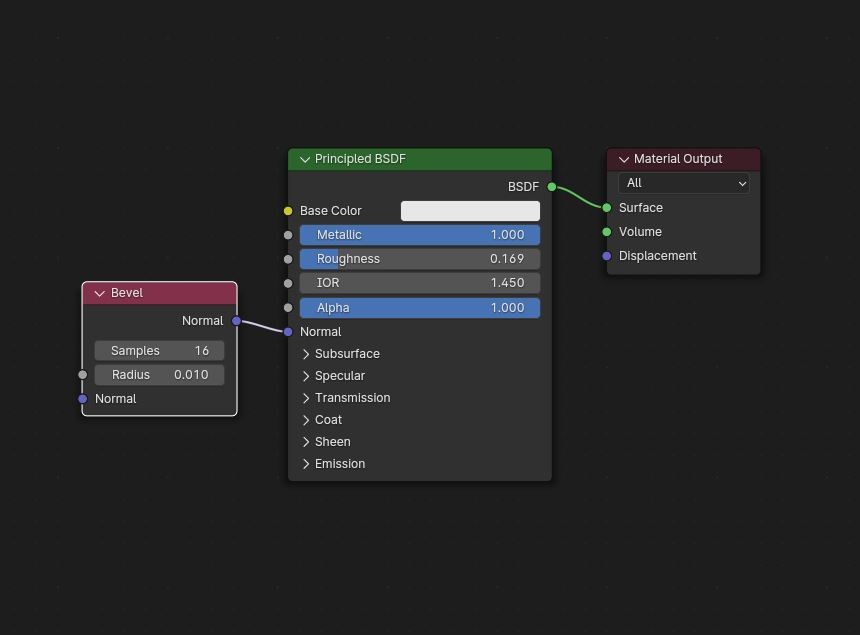
For metallic objects like faucets, a straightforward Principled node served as the foundation, augmented by a clever technique. By cleverly using a Bevel node as the normal input value, we can create the illusion of multiple separate meshes appearing as a single, seamlessly fused object. This approach not only simplified the modeling process for complex objects but also expedited it, ensuring efficiency without compromising quality.
Finally, the mirrors and windows utilized surface imperfection textures as blending factors within node configurations, incorporating varied roughness values to authentically emulate dirt and rainfall effects.
Lighting
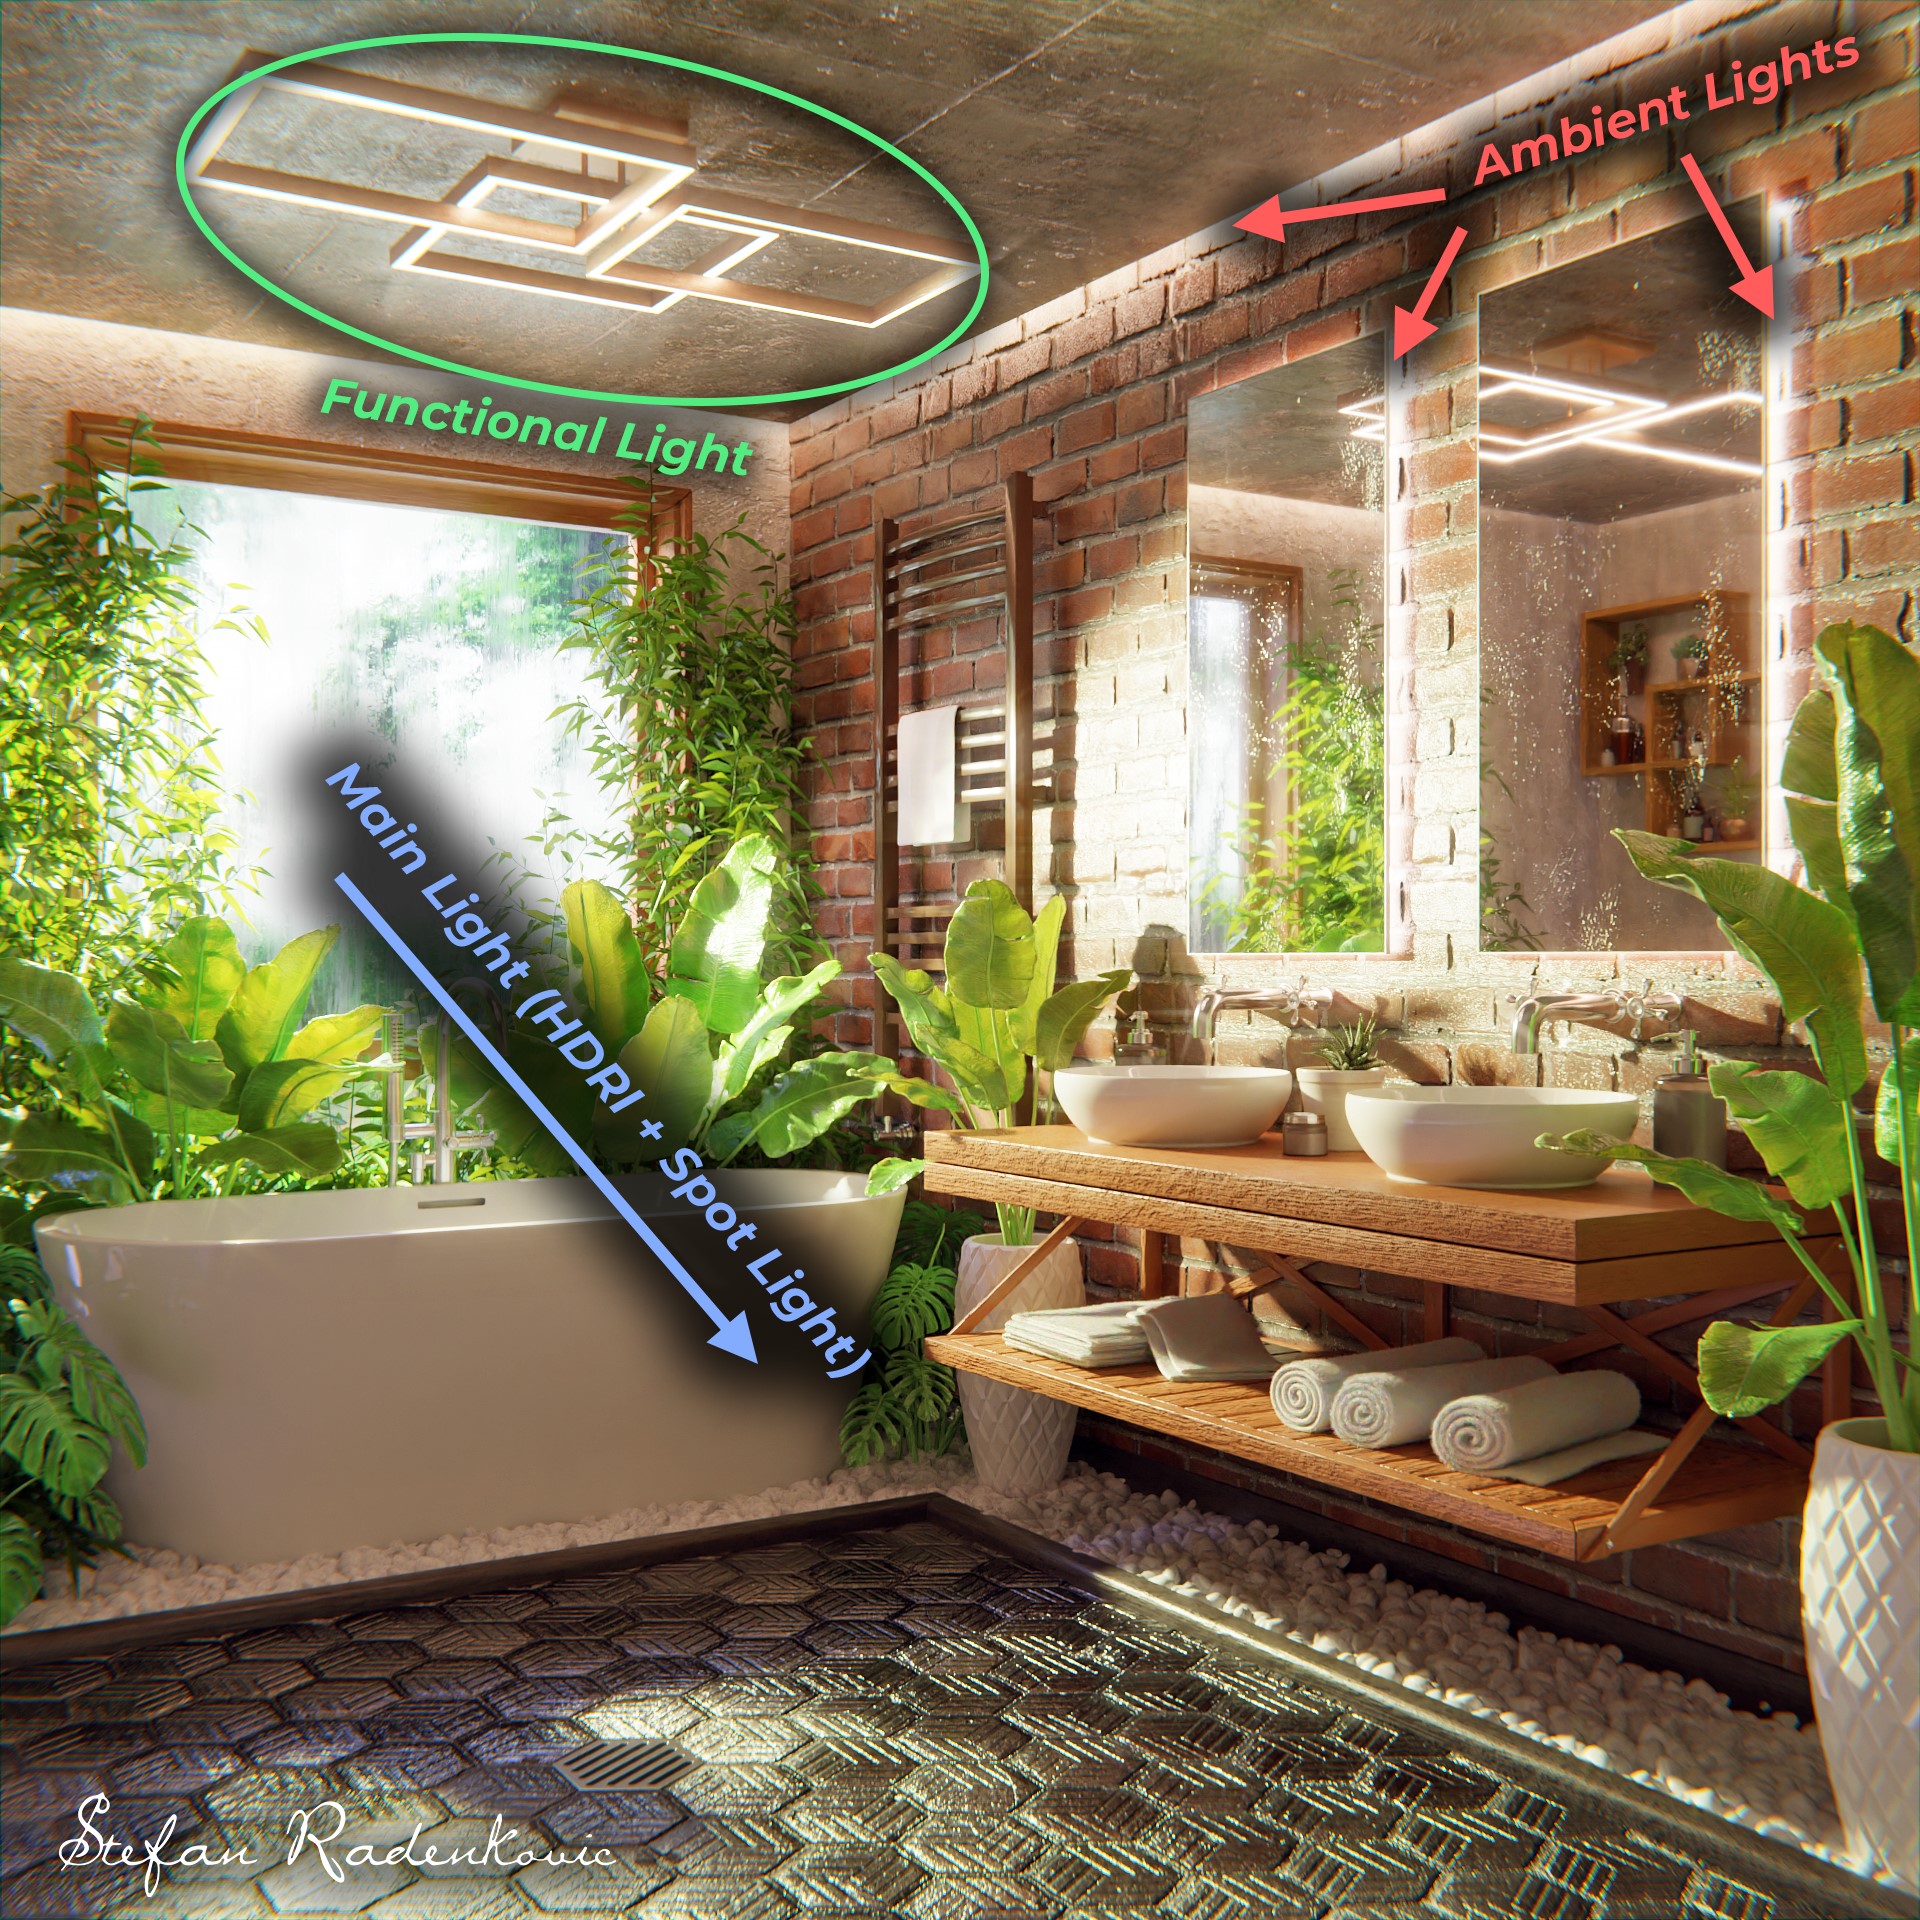
To illuminate the scene, a variety of lighting techniques were employed. The primary source of illumination stems from the combination of scene lighting through HDRI, coupled with a strategically positioned wide spotlight at the window to enhance the vibrant morning sunlight effect. Additionally, functional lighting is provided by a charming chandelier, while ambient lighting, aimed at accentuating shapes and enhancing visual appeal, is achieved through the use of emissive materials on the backside of mirrors and ceiling edges.
Final render settings
Utilizing the Cycles rendering engine, the final scene renders were produced in the resolution of 1920px by 1920px, with a noise threshold of 0.1, and perfected with OptiX denoising.
In addition to the primary render, two supplementary ones were created to zoom in on specific areas and emphasize intricate details.
The camera was set to the focal length of 40mm across all renders.
Post-processing
In this phase, I utilized Blender’s compositor to enhance colors using the Color Balance node, introducing more blue tones. Additionally, I applied a lens distortion node to introduce subtle imperfections, aiming for heightened realism while ensuring not to overdo it.
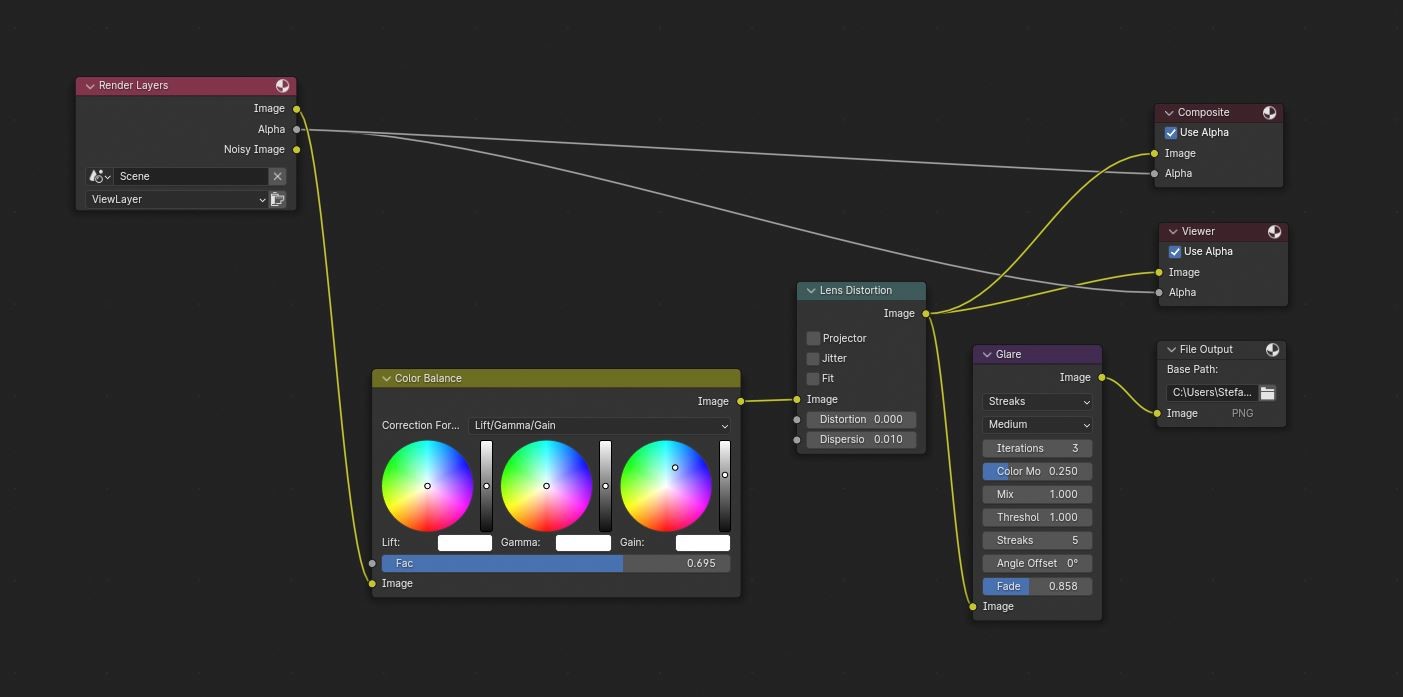
While attempting to incorporate a glare effect, I encountered challenges with inconsistent application across the image. Consequently, I exported the glare effect as a separate image and manually adjusted it in Photoshop.
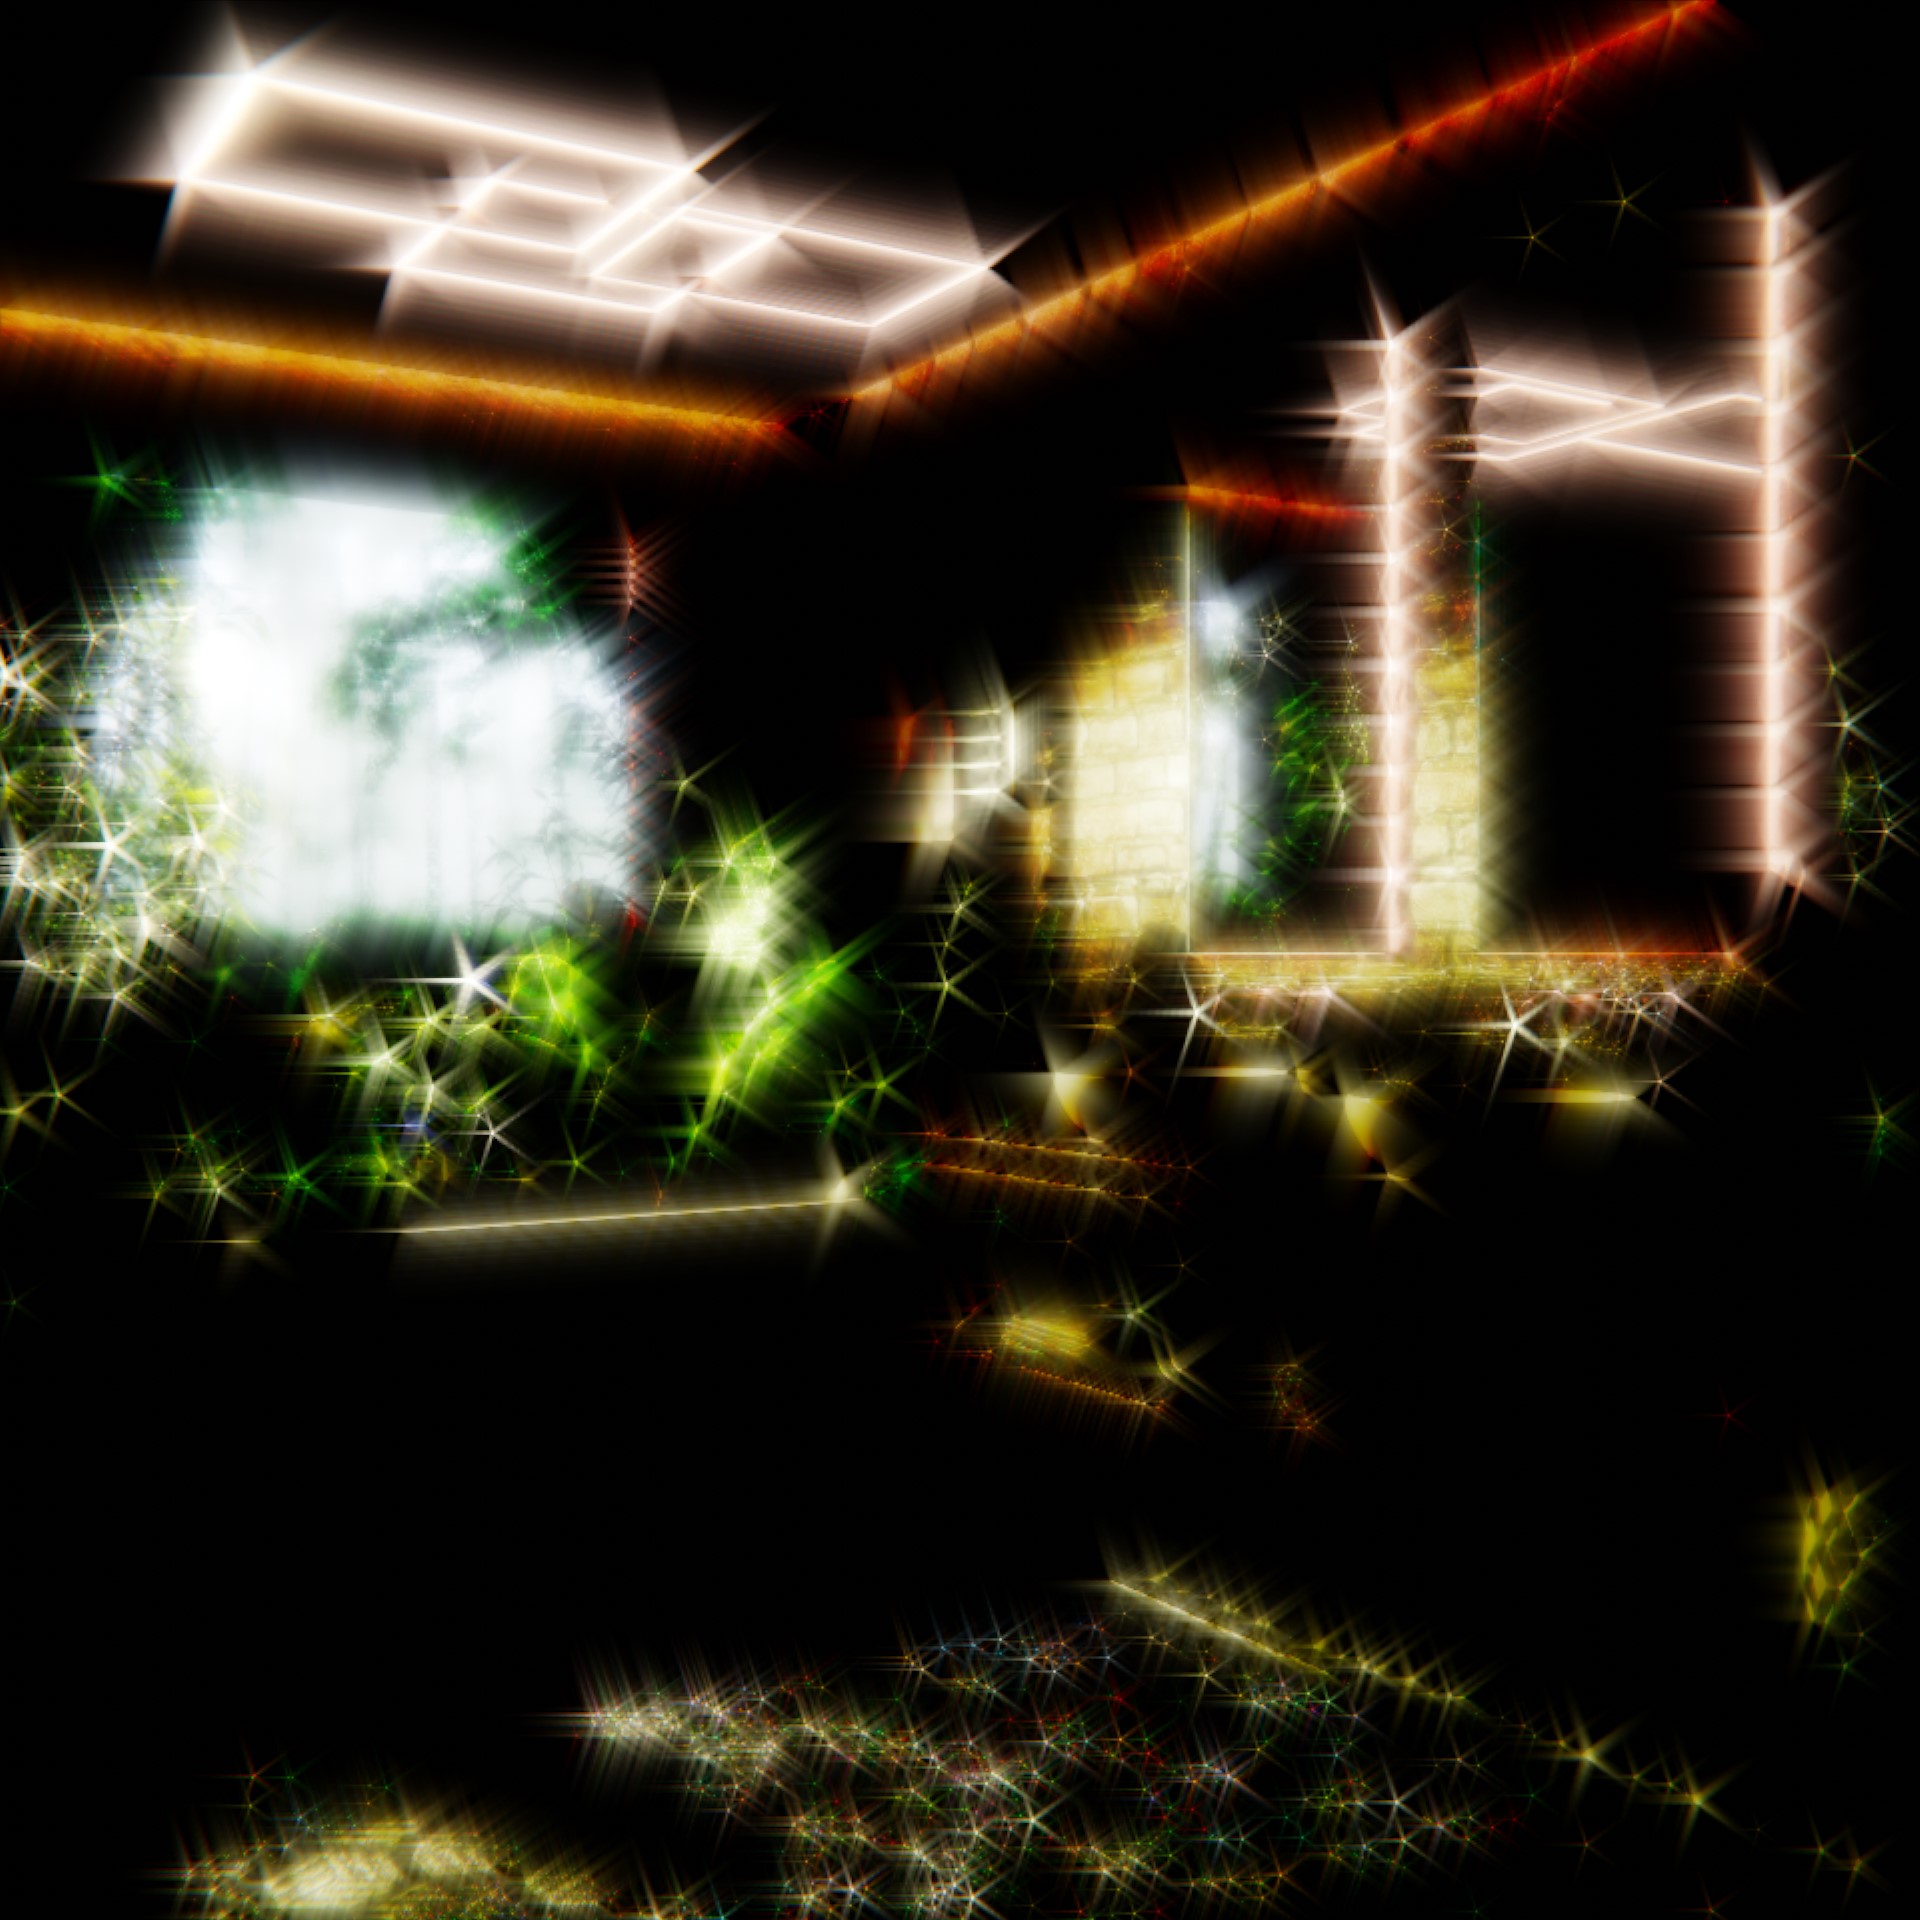
This allowed greater control over blending, opacity adjustments, and precise removal of glare from undesired areas using the eraser tool. In Photoshop, I fine-tuned overall brightness, contrast, and vibrance. Recognizing that the foliage lacked a fresh-green appearance, I utilized the ‘selective color’ tool to target green hues and introduce more cyan.
And with that, dear friends, we’ve arrived at the culmination of our adventure through the making of this scene! Now, kick back, take a moment to savor the fruits of our labor, and indulge in a delightful glimpse of the final renders awaiting you below. Enjoy the view!
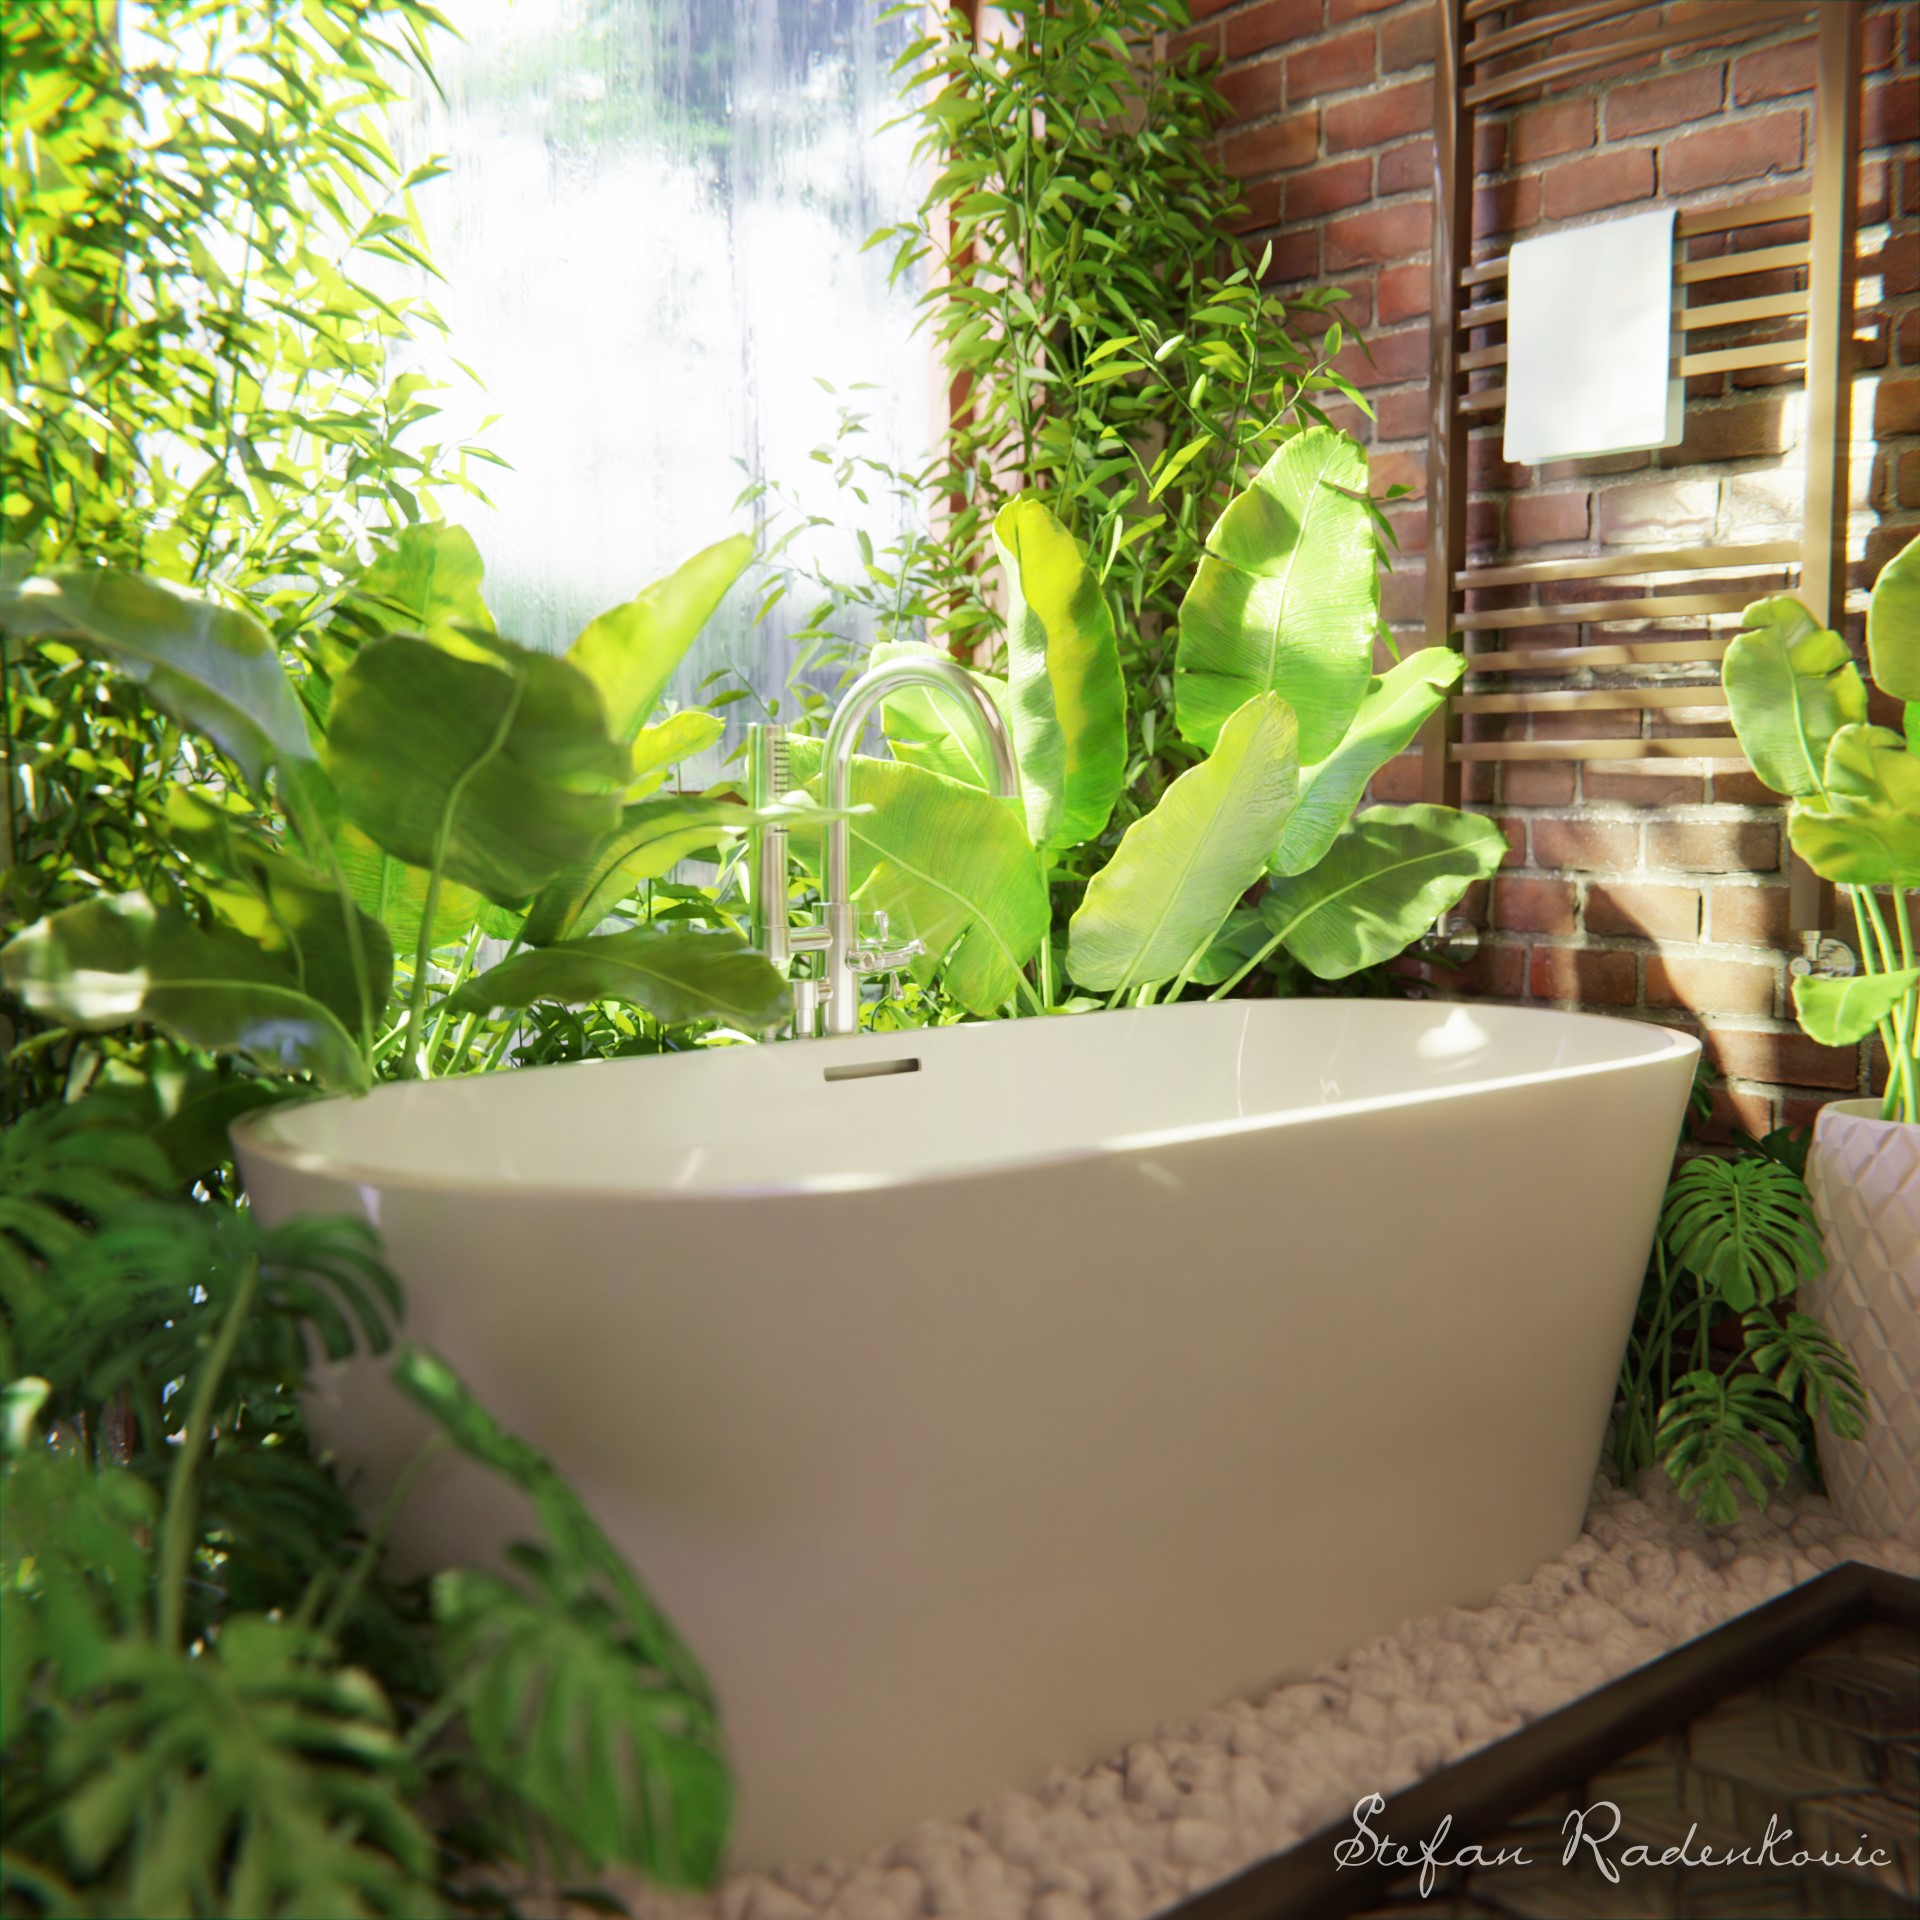
RENDER: Industrial Bathroom
Thank you for taking the time to read! I hope you found it both engaging and informative. If you have any questions or thoughts, don’t hesitate to connect with me through any of my social media channels. Wishing you a fantastic day ahead!
About the Artist
Stefan Radenković, a Serbian digital artist, excels in 3D modeling, graphic design, UI/UX design, and software engineering. His passion for science, art, and technology drives his skill development.


