
Behind the Scenes: Unleash Your Inner Dragon – XP-Pen
INTRODUCTION
Hi everyone, I’m Leonardo, a 3D character artist from Italy, currently working as a freelancer. There’s not much to say about my background; it was quirky, bumpy and full of mistakes but the moment my path crossed the 3D world almost 8 years ago, I finally realized what I was looking for in my art journey. So, I started learning and diving into any branch of 3D till I found my niche in character art.
INSPIRATION
Talking about niches and inspirations, I started this artwork when a challenge popped on my Instagram feed and I thought it was the perfect opportunity to show both my passion for dragons and my love for Blender. The challenge rules were simple: create a dragon using mainly Blender, render it in Eevee or Cycles, and show proof of the process.
I decided to join in, not just for the challenge but to prove a point: it’s never about the tools you use but rather all about the skills you have and the way you want to use it.
Also, a very important point that is always overlooked, and I really mean incredibly overlooked, is to have fun with your art. If I have to take a single life lesson from this whole experience is this one: have fun, do stuff that is funny and engaging for you, do not get yourself stuck in boring pieces that won’t bring joy and determination to your art career. If you don’t believe it, take this exact piece as example: I’ve been stuck for years in doing professional boring 3D characters and assets that no one will ever truly appreciate and now, thanks to this piece made just for fun, I’m here, happily writing the article you’re reading right now.
So, yes, always have fun with your art. Now that I’ve bothered you enough with this inspirational paragraph, let’s talk about the process which, believe it or not, is amazingly simple.
PROCESS
So, here we are at the juicy part, where everything is usually planned and executed in loops and iterations along the production pipeline. Except this is not that case, since the whole workflow can be summarized with the words: straightforward freeflow. Sculpt, unwrap, texture, pose, light—have fun, explore till you’re happy, and then go straight to the next stage. You won’t regret it.
All the stages were done in this order without jumping back and forth. When the main concept is to have fun and you stop overthinking and overplanning your next move, everything just flows naturally. In any case, even if it looks like there’s nothing more to say, there are some cool tips and tricks that I found along the way, so let’s dissect the process a bit more and see what pops out.
Concept
Starting from the concept, it was an old drawing I made for a Dnd character that I never played, so I was super happy to finally bring him to life. I’m not a 2D artist now and I wasn’t any better years ago when I drew the concept, but the overall feeling of the character was there and it was enough for me to start.
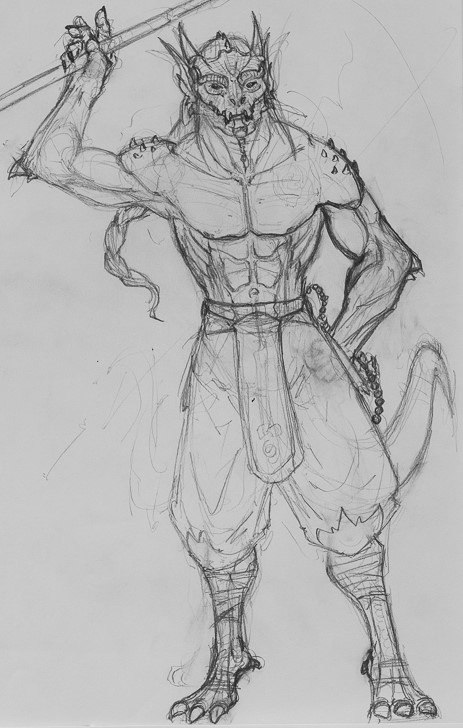
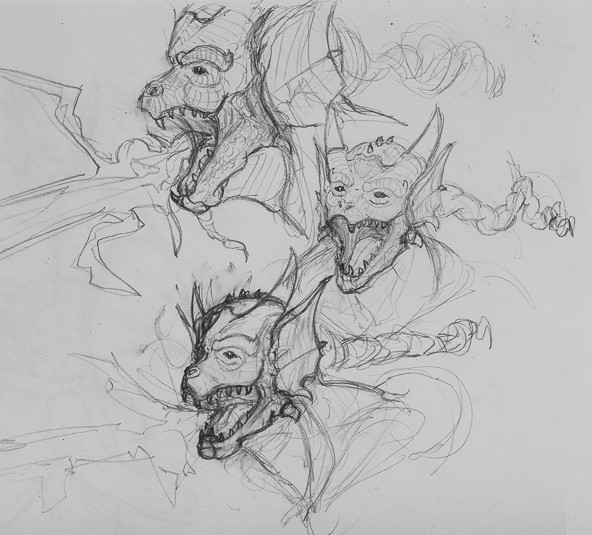
Figure 1-2: Old concept drawn on paper.
Blockout
When I opened Blender, I didn’t delete the default cube (very important) but instead subdivided it, remeshed it, and started sculpting the face.
After a couple of hours, I realized I actually never sculpted an entire character in Blender and the results were disappointing but I always trust the process and at the end, I had a remeshed blockout sculpt of the bust.
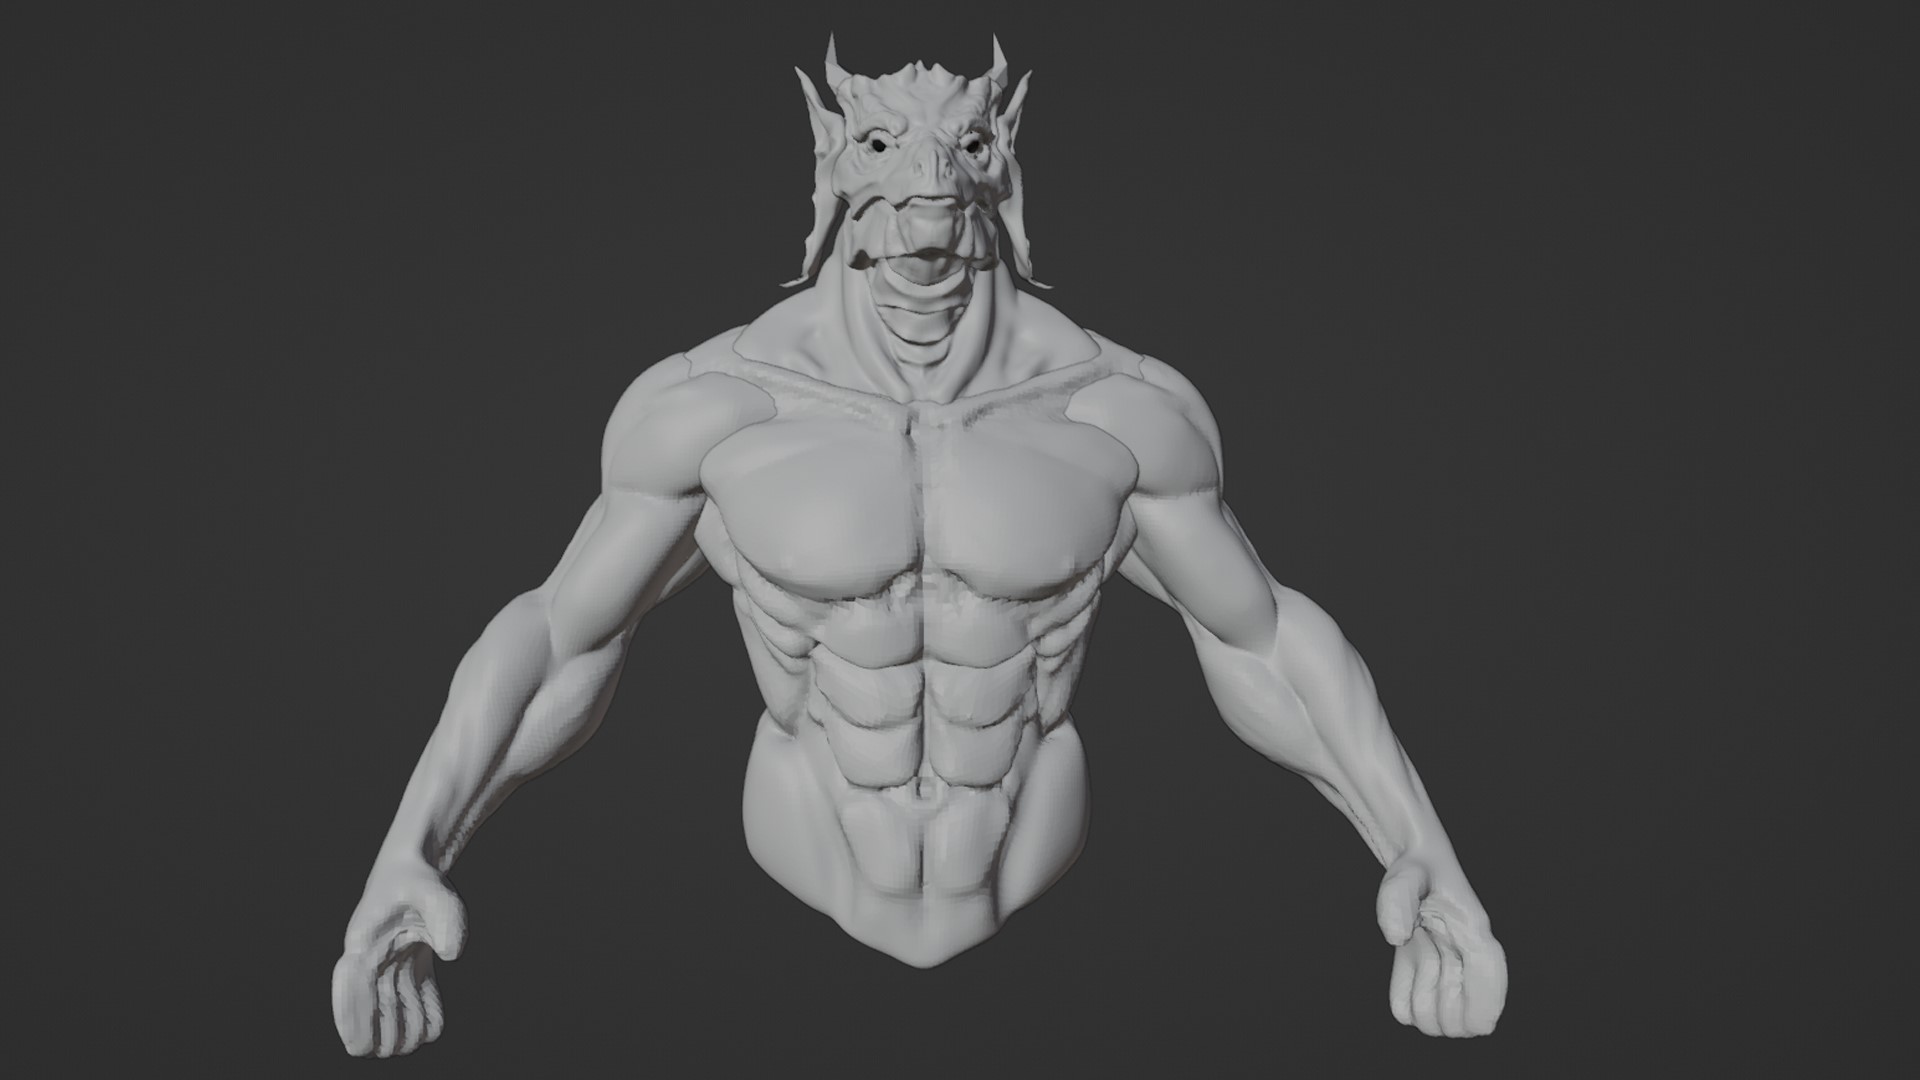
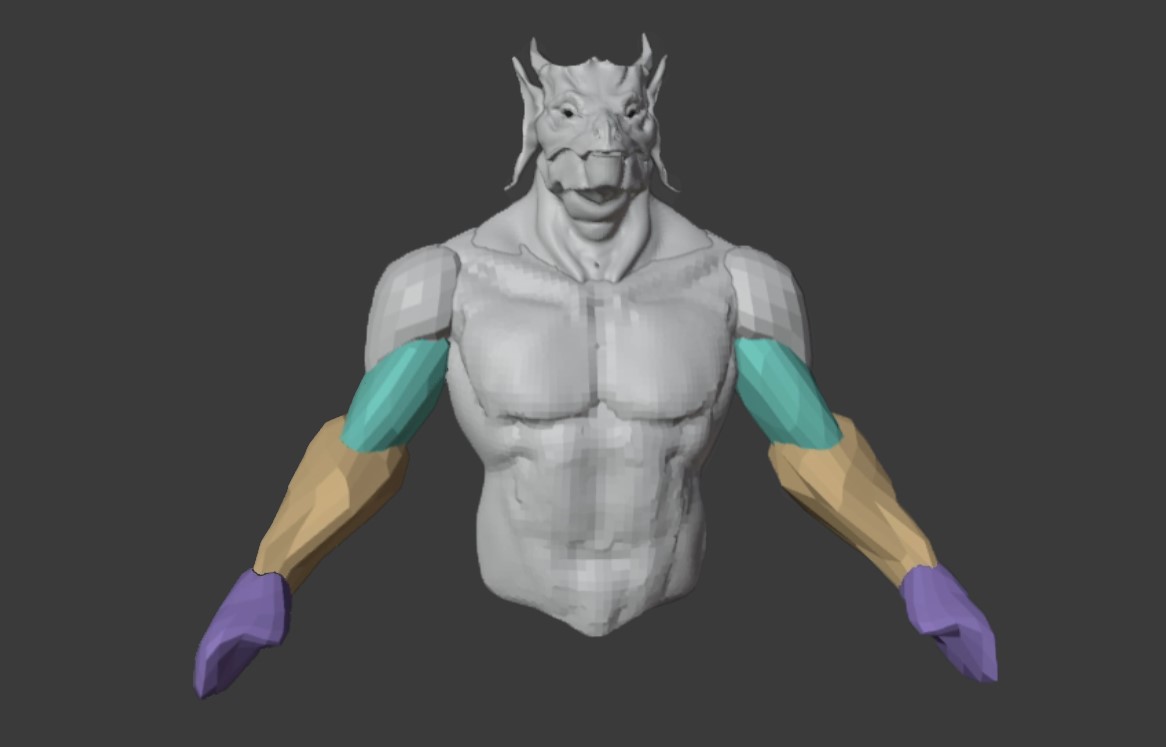
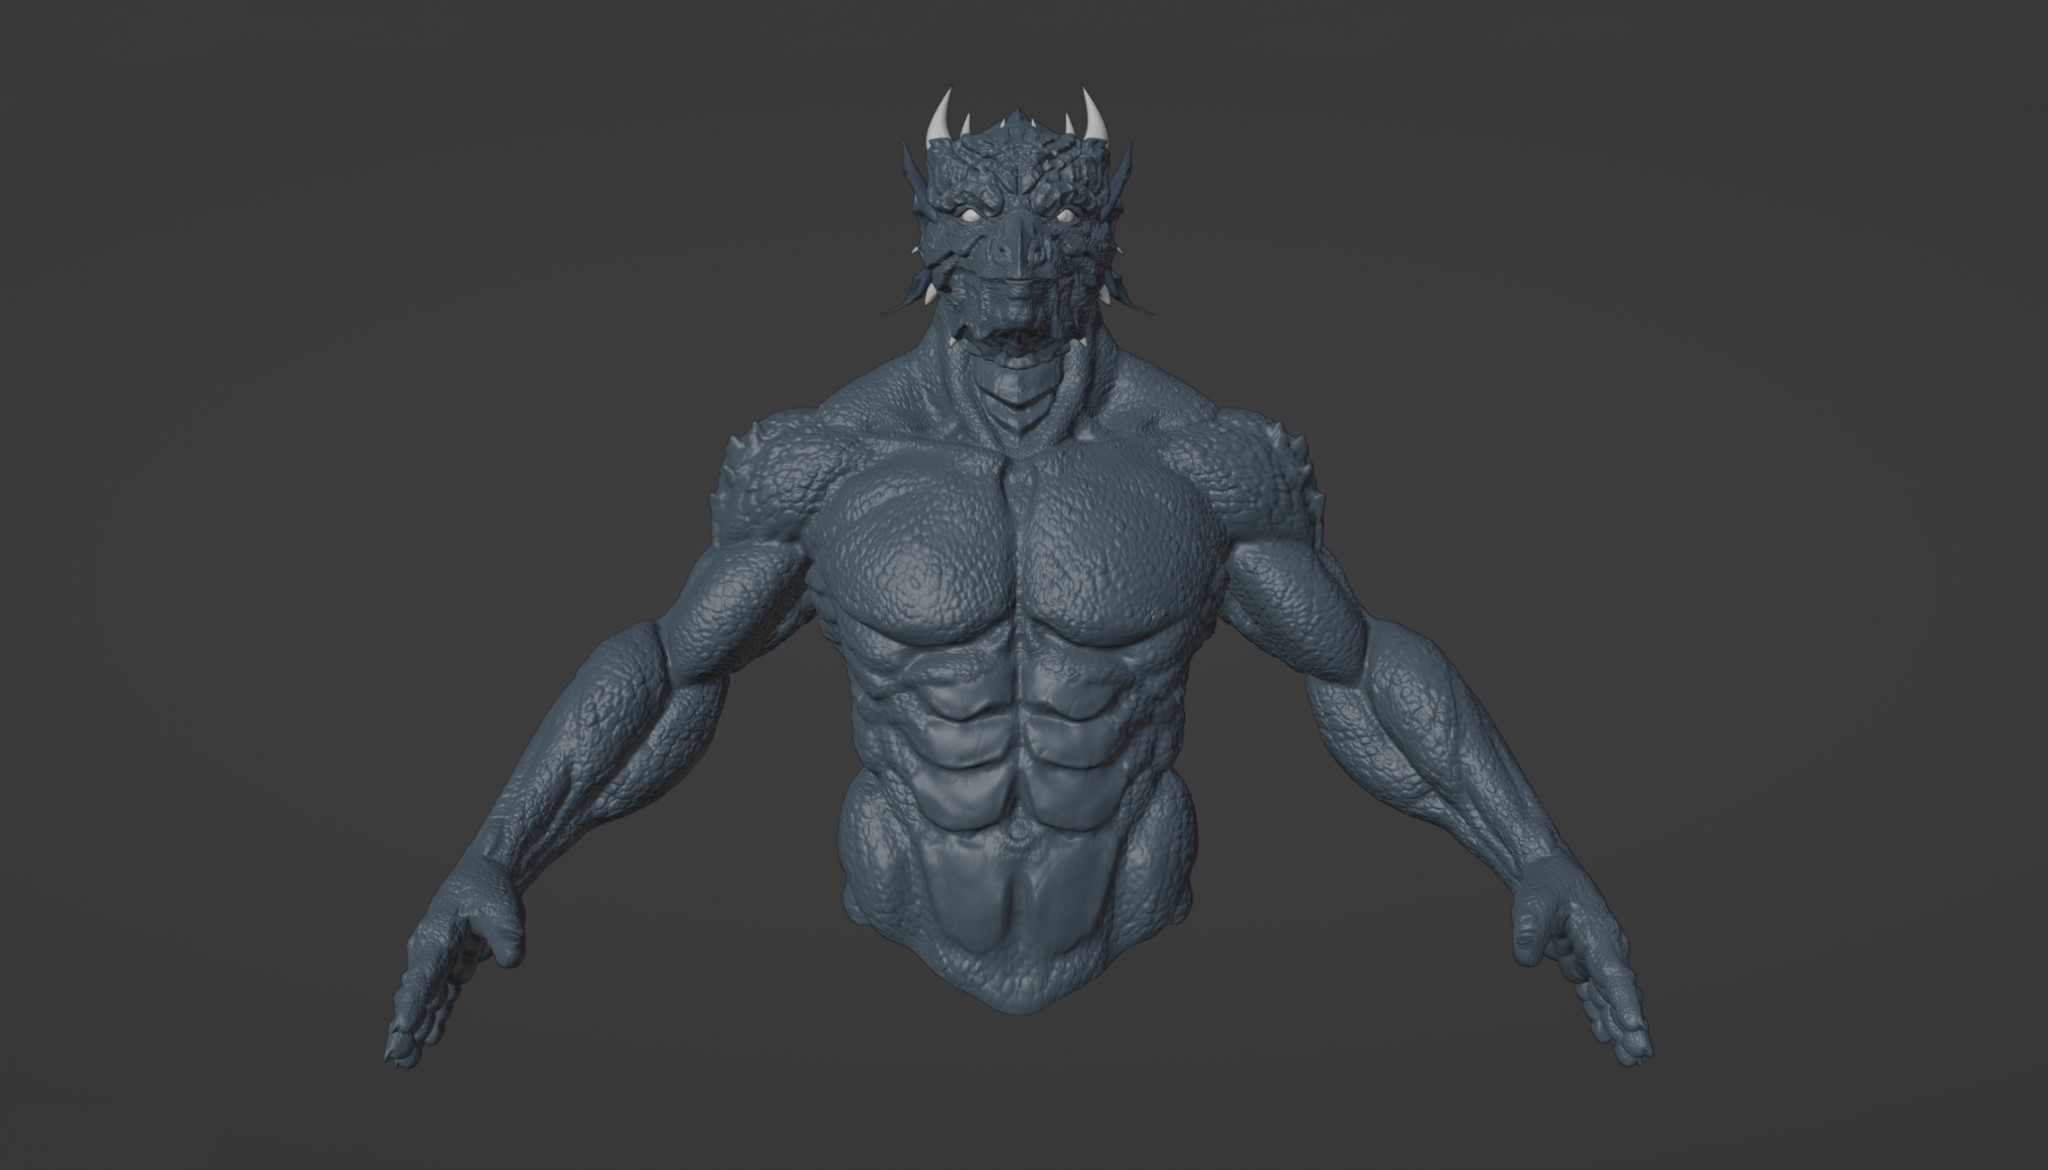
Sculpting Details
With the overall proportions and volumes in place, I knew for a fact two things: I didn’t want to sculpt any detail on a non-retopologized mesh and I absolutely didn’t want to retopo hands and fingers. So, with this in mind, I imported my personal base mesh and started a “speed retopo” method: using a combination of shrinkwrap, move in both the edit and sculpt mode and the decimate modifier on areas too different from the base mesh (such as the draconic membrane-like ears).
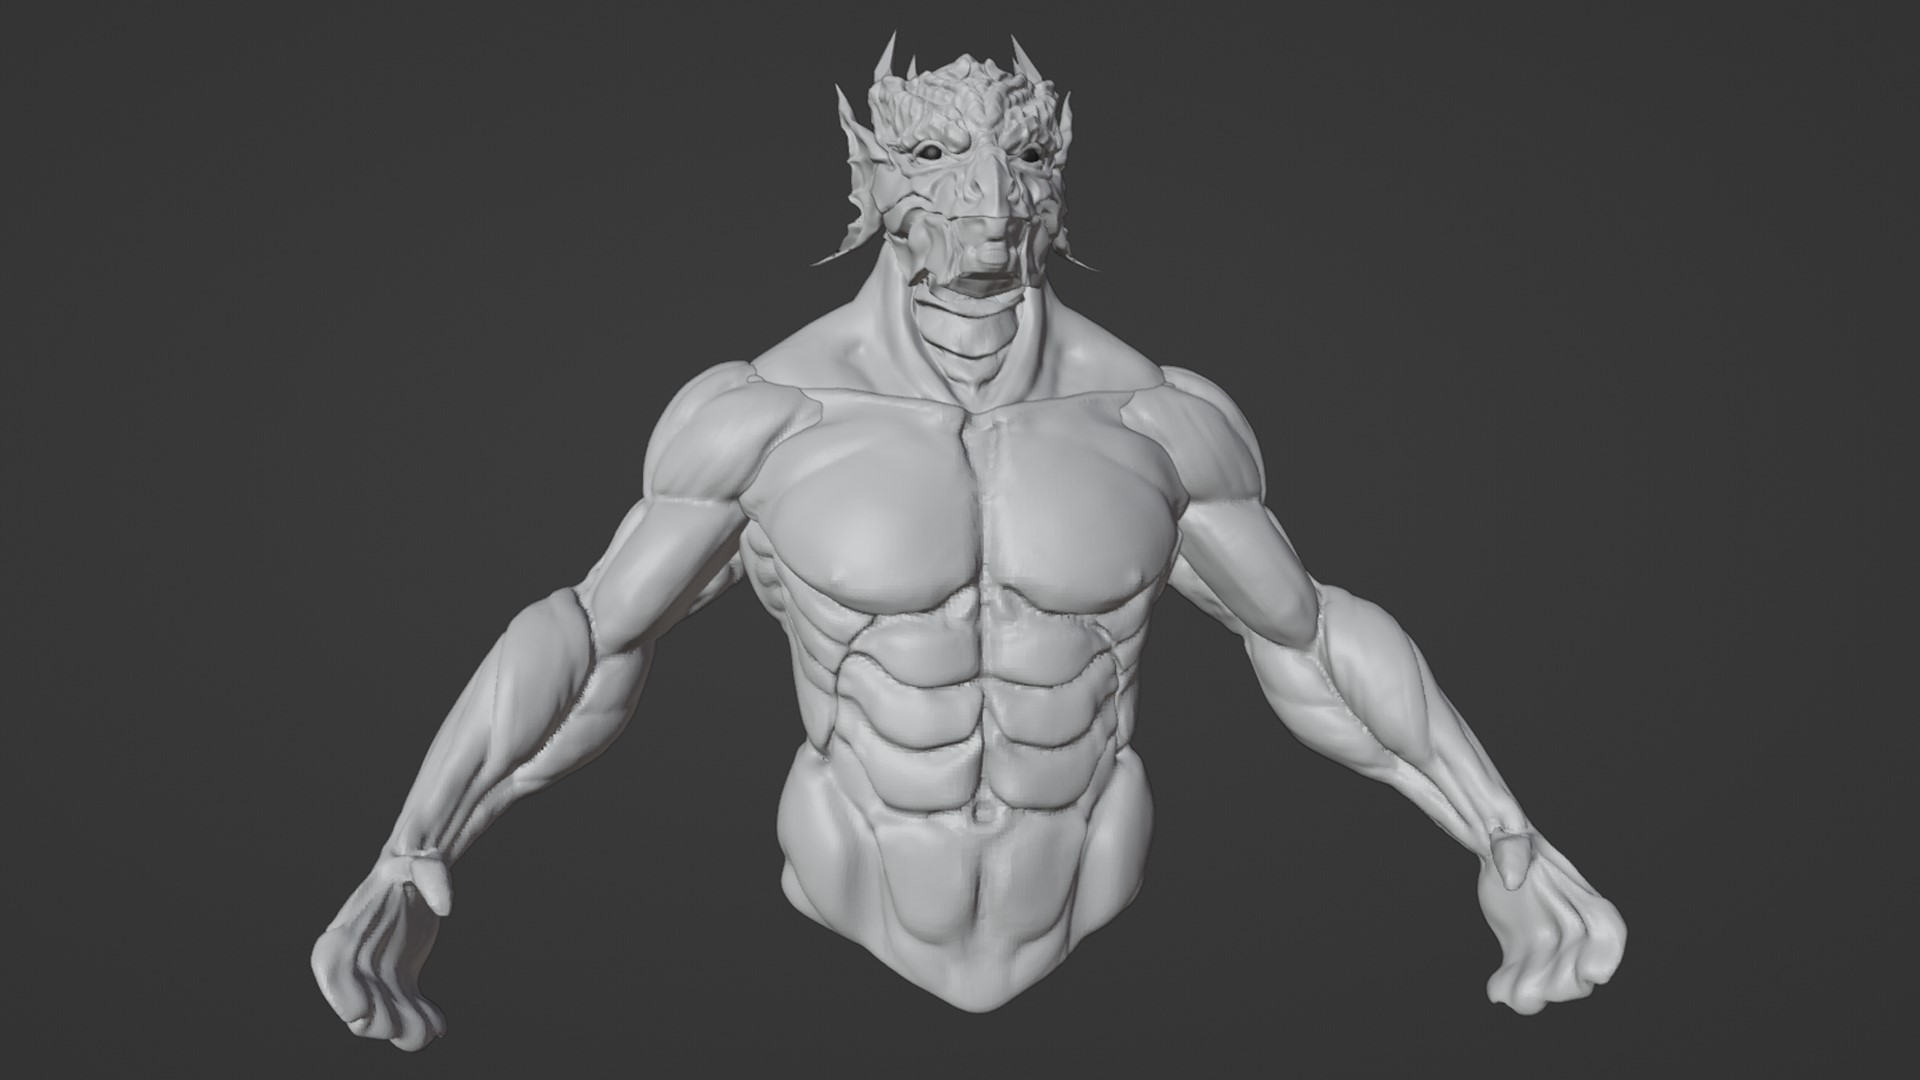
Then, it’s possible to conform almost any topology to another mesh, like using a 3D wrapping software (like 3DSWrap). This method, in conjunction with the already topologized hands from the base mesh, got me a clean base where I could finally play around with all the secondary forms, tertiary details, and so on.
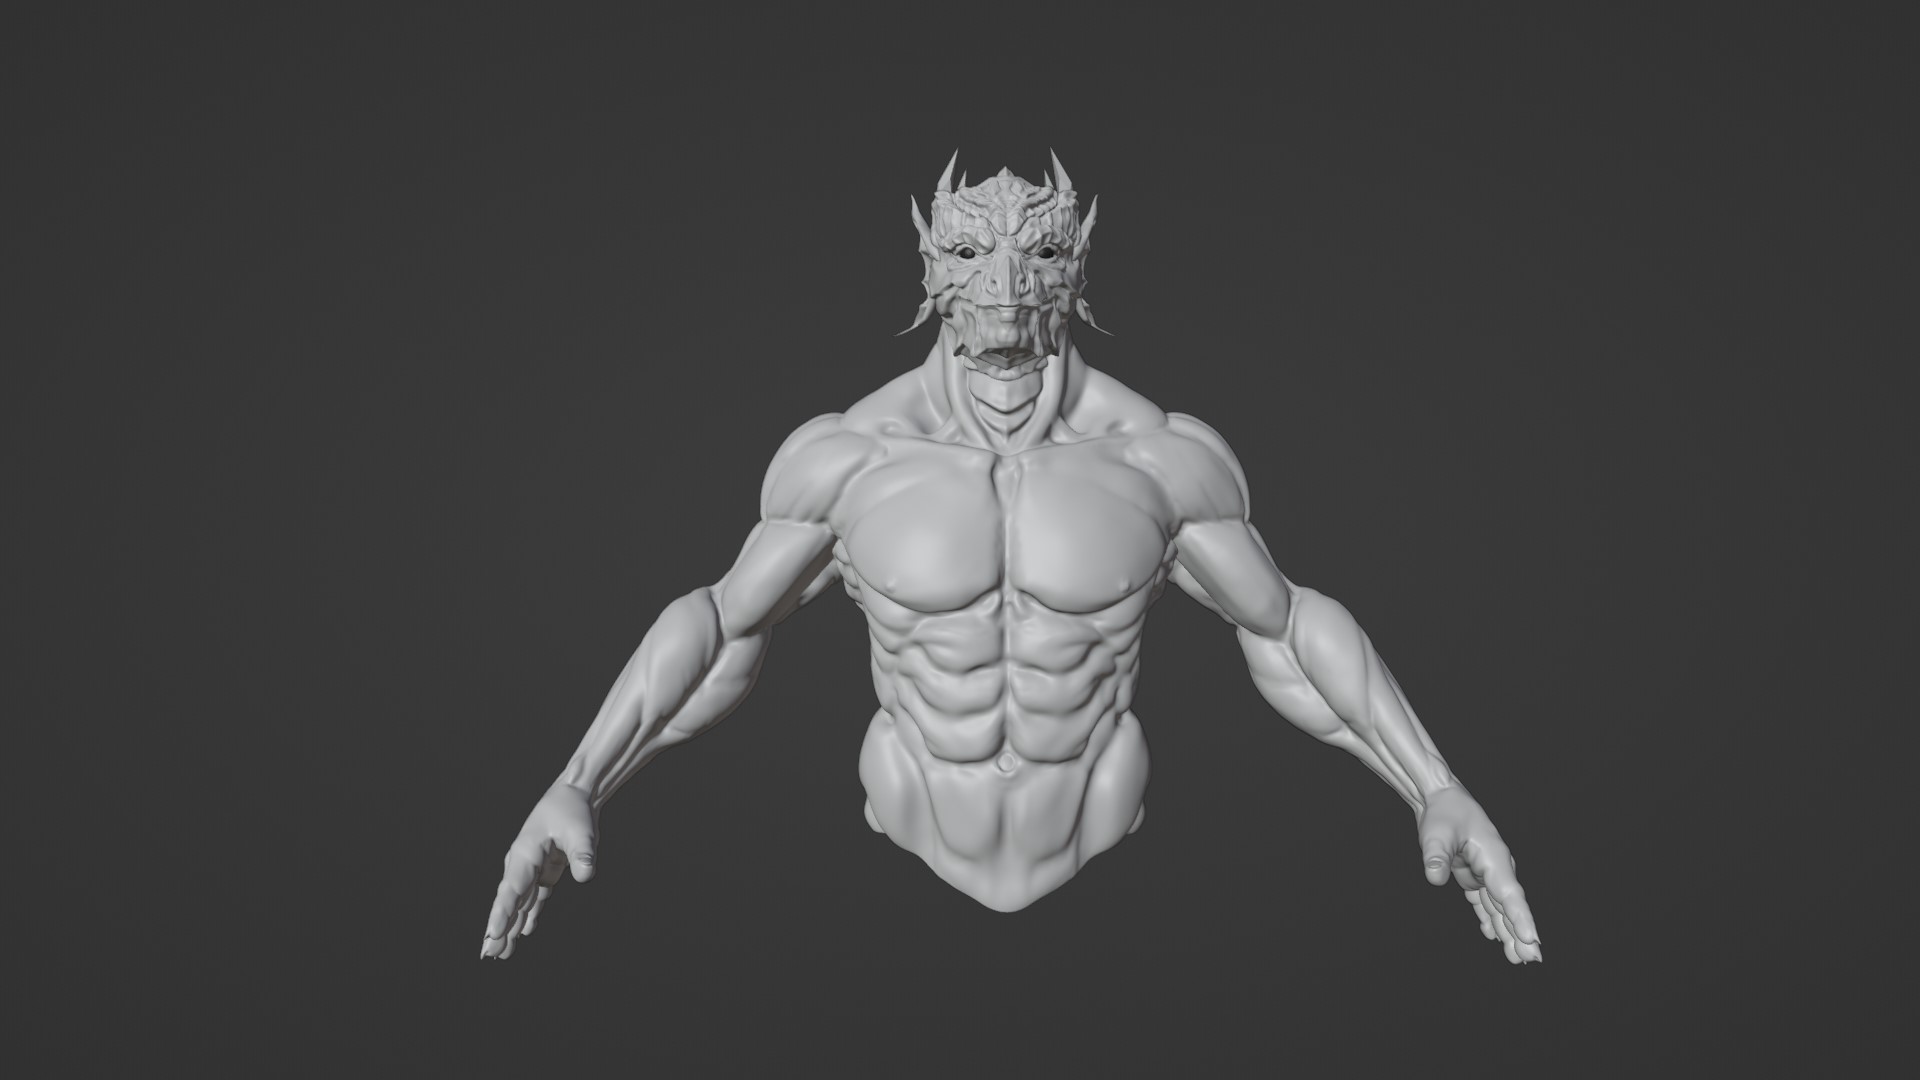
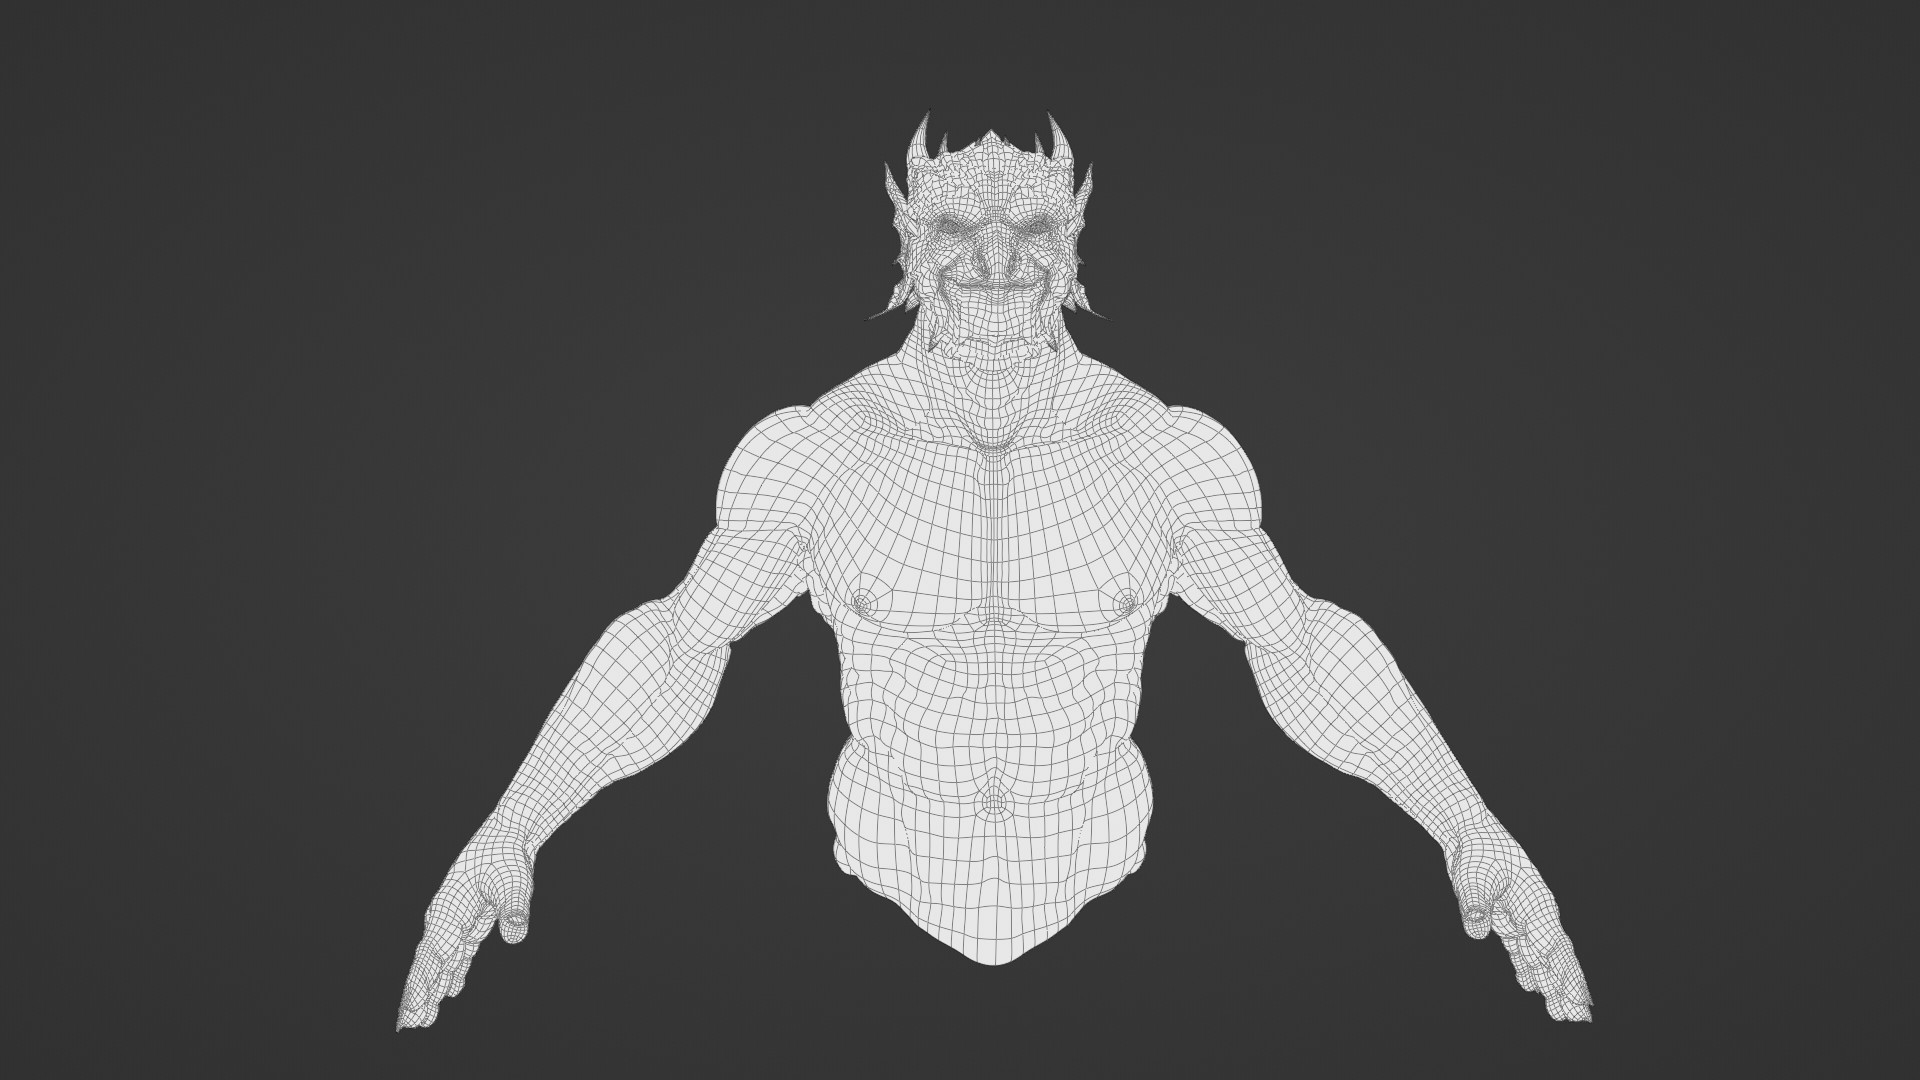
Figure 6-7: Retopologized mesh of the bust (shrinkwrap + decimate modifiers).
Then I just activated a multires modifier and subdivided the mesh to around 2 million polygons, which was enough to create all the details while still having a smooth sculpting experience. The whole detailing phase was done in about an hour and half, proving that creating lots and lots of details is not the real core of the sculpting process and with just three simple scale/skin alphas, you can do all the required surfacing.
Texturing
Since the topology was nice and clean and all the details were sitting in the multires modifier, I just unwrapped everything and exported a normal map from the multires (which was blazing fast to bake compared to any other software out there). I tried to vertex paint the model but even 400k polygons were too much for Blender in this case, so I exported the model to texture it in Substance Painter.
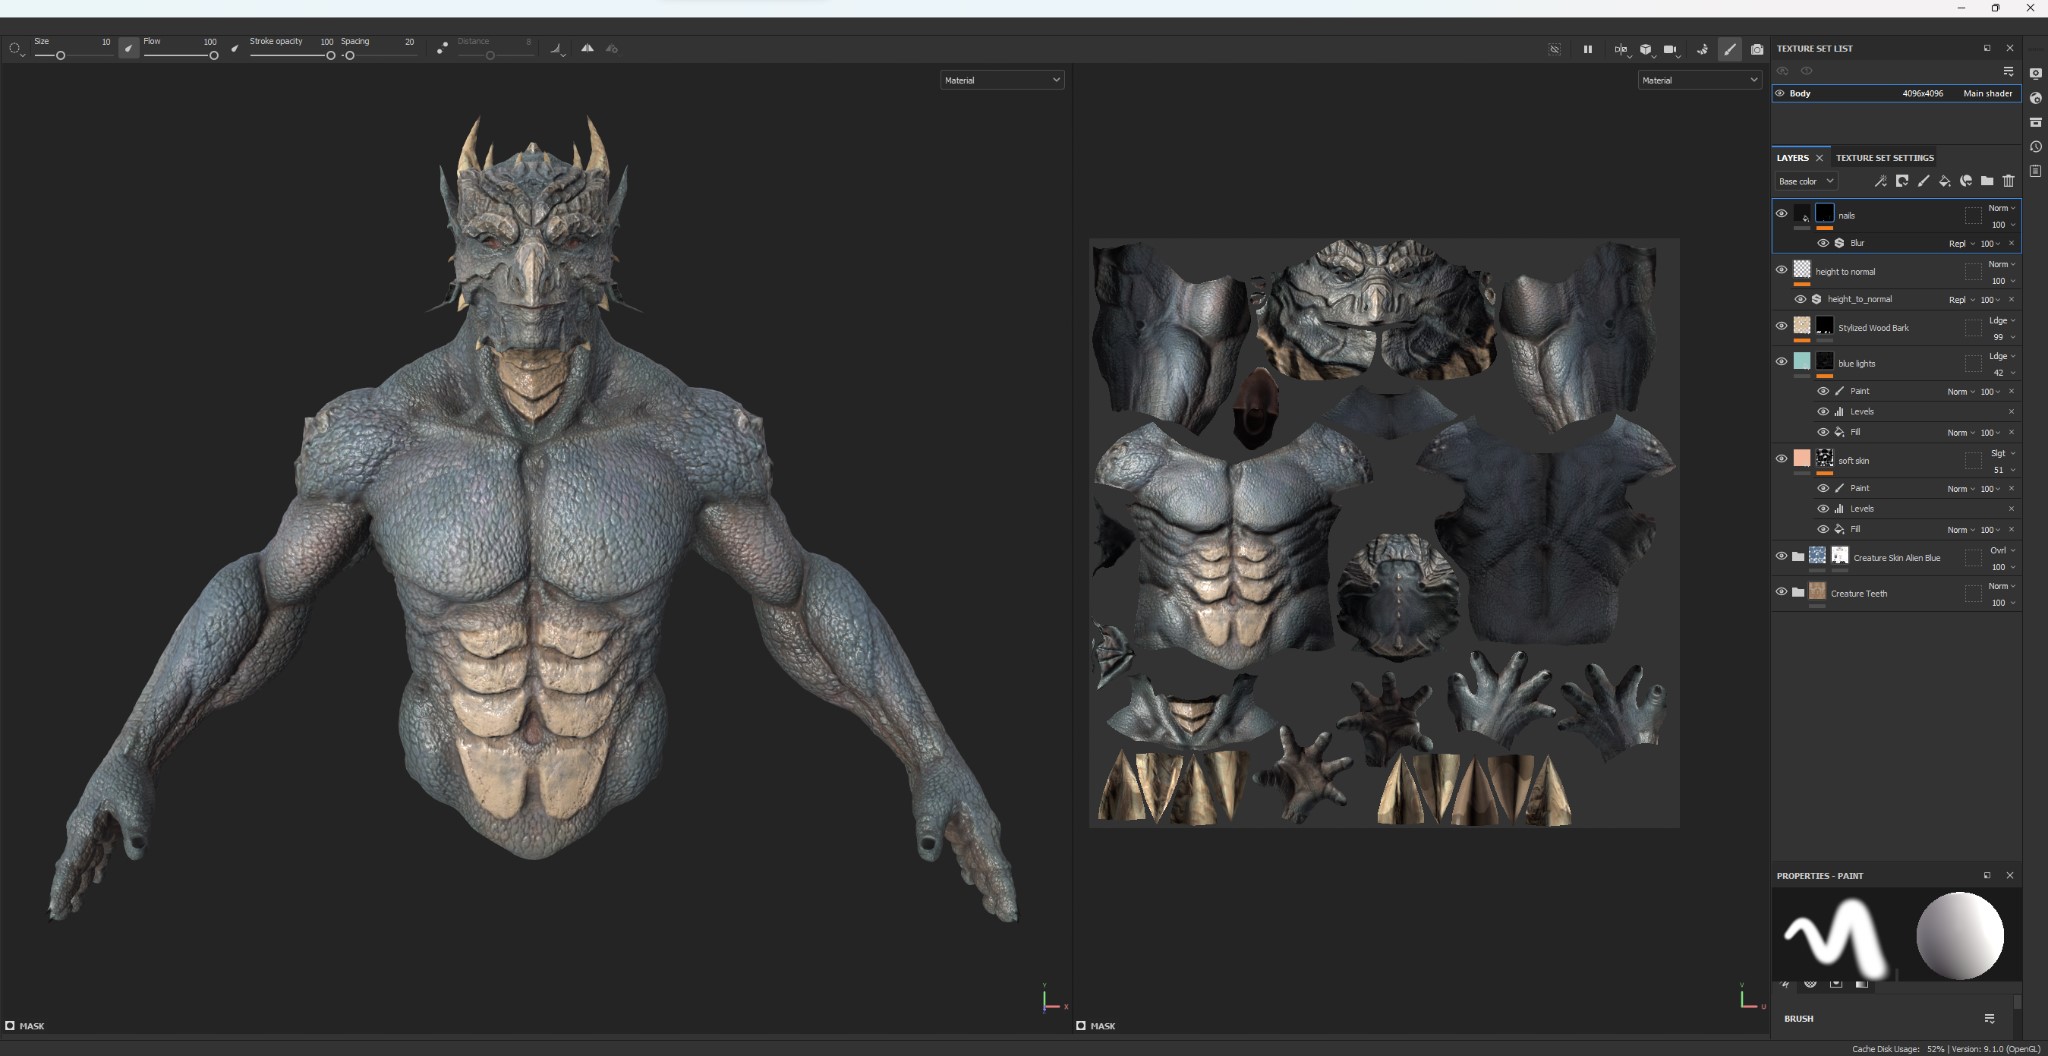
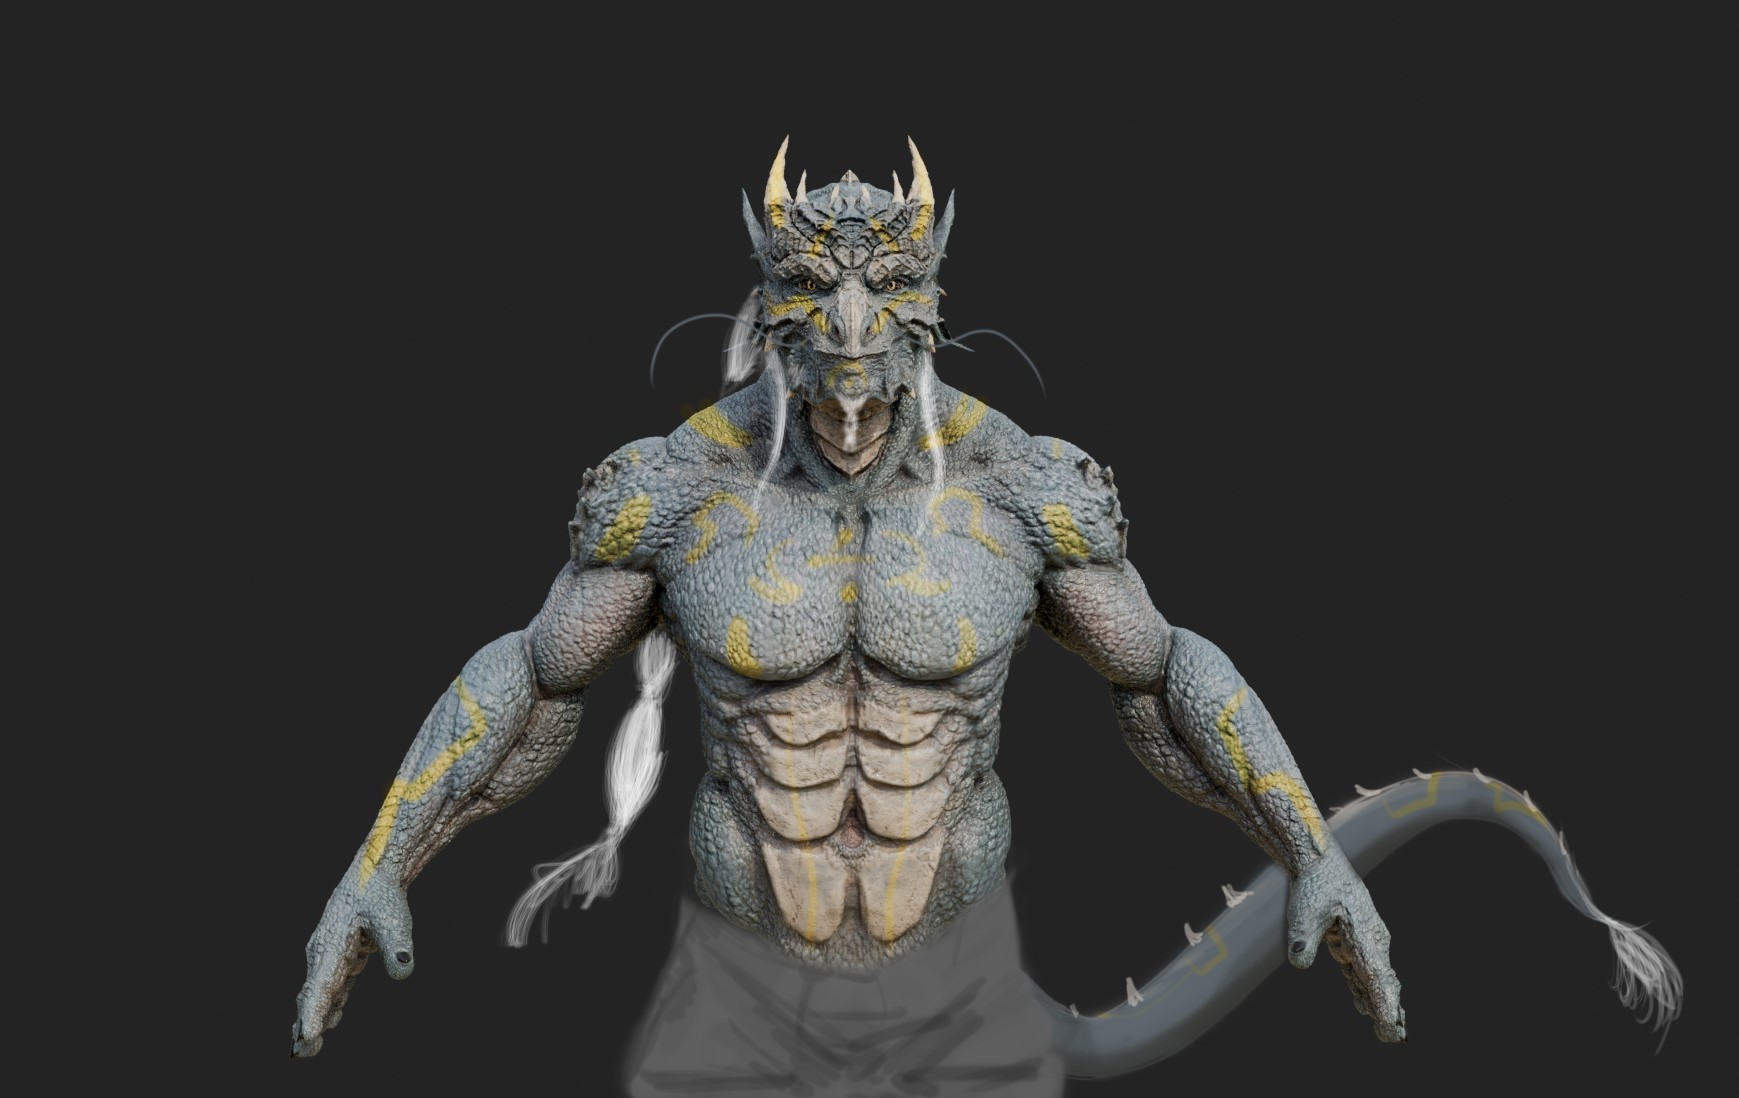
The materials and layers stack in painter was extremely simple, divided in skin and horns/scales, and even in this stage, I tried to keep it as fun and flowy as possible, mixing the material masks by hand almost like doing color washes on a miniature in order to get a more artistic and organic feel.

Now, back in Blender, I did a test render for tuning the shader, followed by a quick paint-over to better define the missing elements and the details.
Details and Props
At this stage, I decided the actual final look of the piece. Till this point, I only focused on the character side but I still had a lot of time for the challenge, and wanted to do something more than just a posed character bust. So, I embraced the idea of “the character that brings the tools to life and not the opposite” and modeled the main props, the tablet and pen, with a quick texturing through the good old dirty photo-projection (Ian Hubert style).
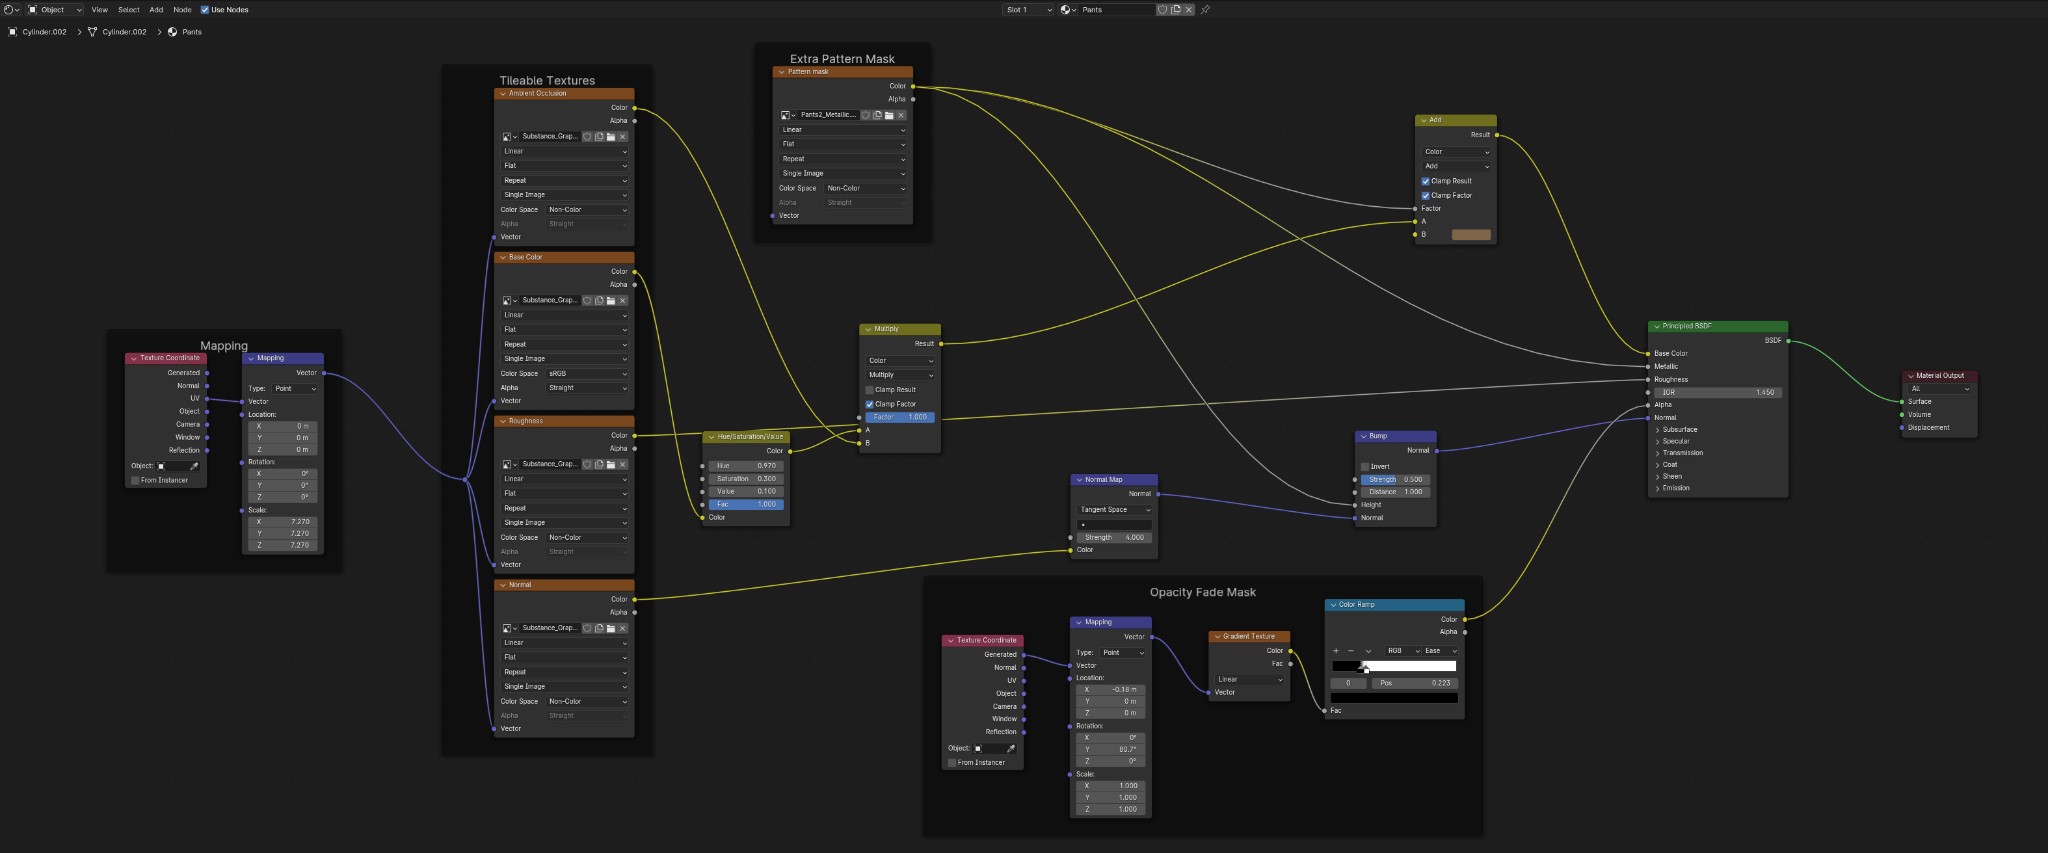
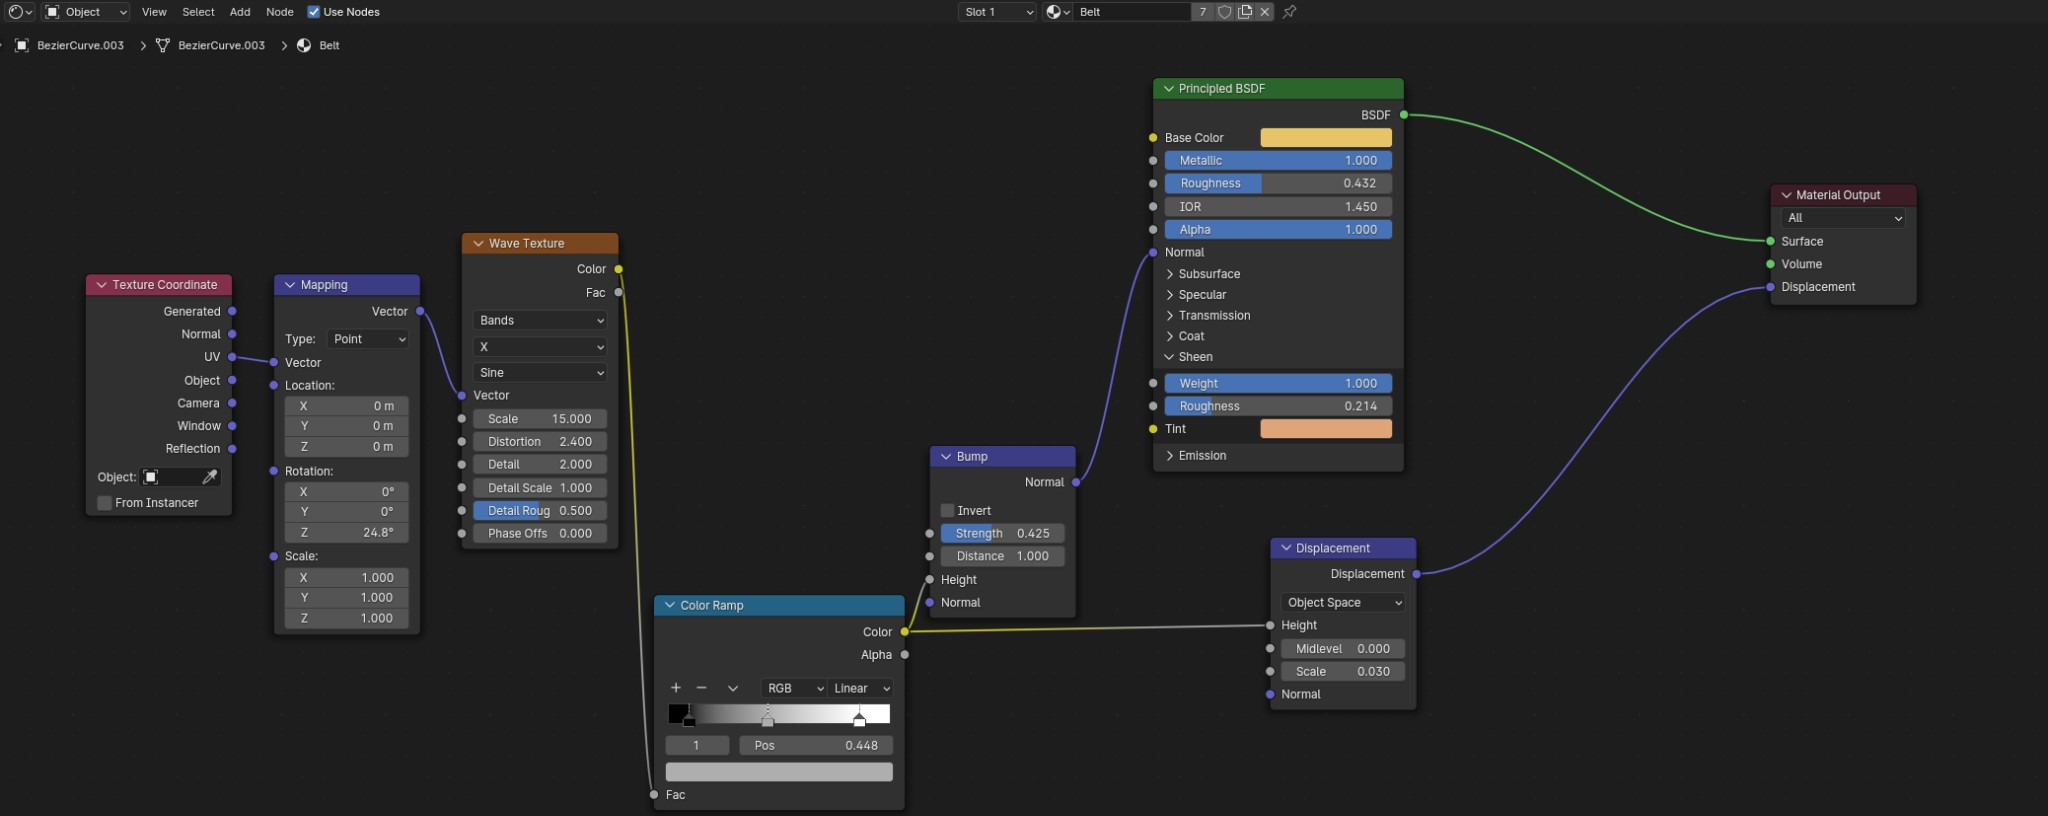
The key aspect of this stage was the golden rule of the 3D world “fake it till it works.” In fact, since the main focus of the piece was done and working, the whole composition was already holding up on its own, it just needed those extra bells and whistles. And even if the pants look like a very intricate piece of clothing, they are just a sculpted cylinder with a very stretchy topology and some tileable textures on top, with a huge double ribbon to cover all the intersections (that’s also just a curve with procedural textures and some sheen in the shader) and an opacity gradient mask to blend it with the tablet.
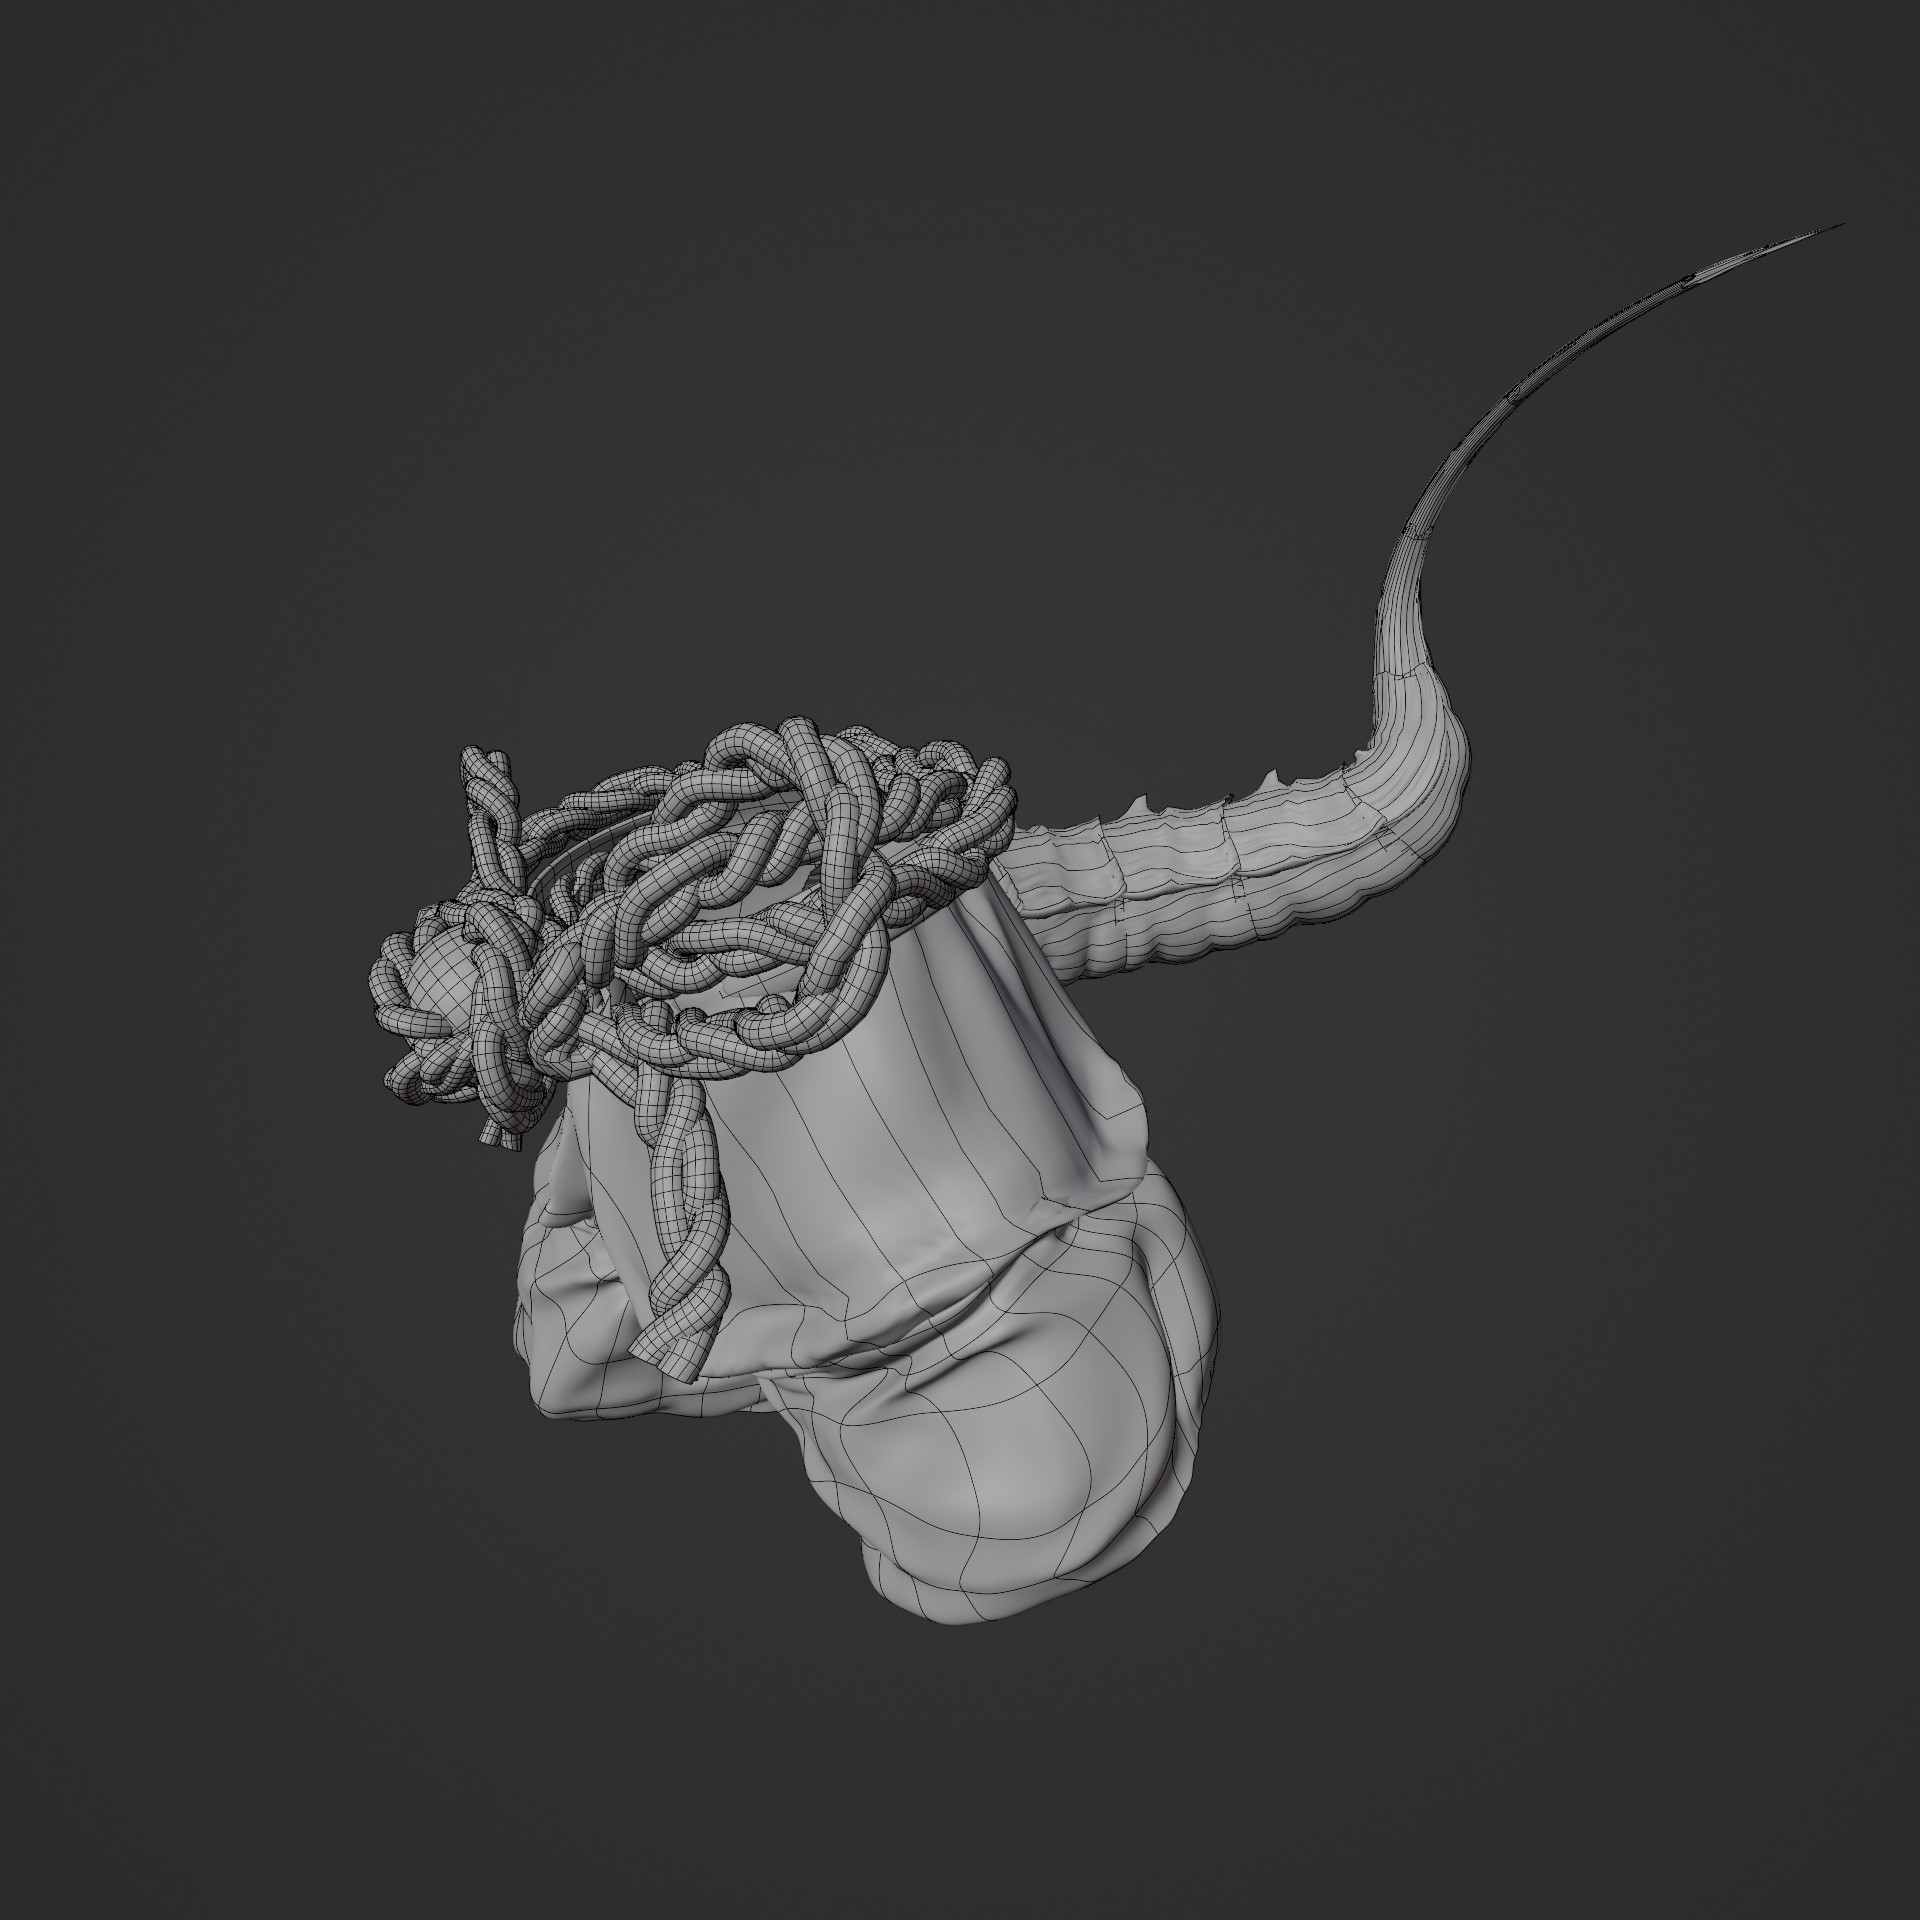
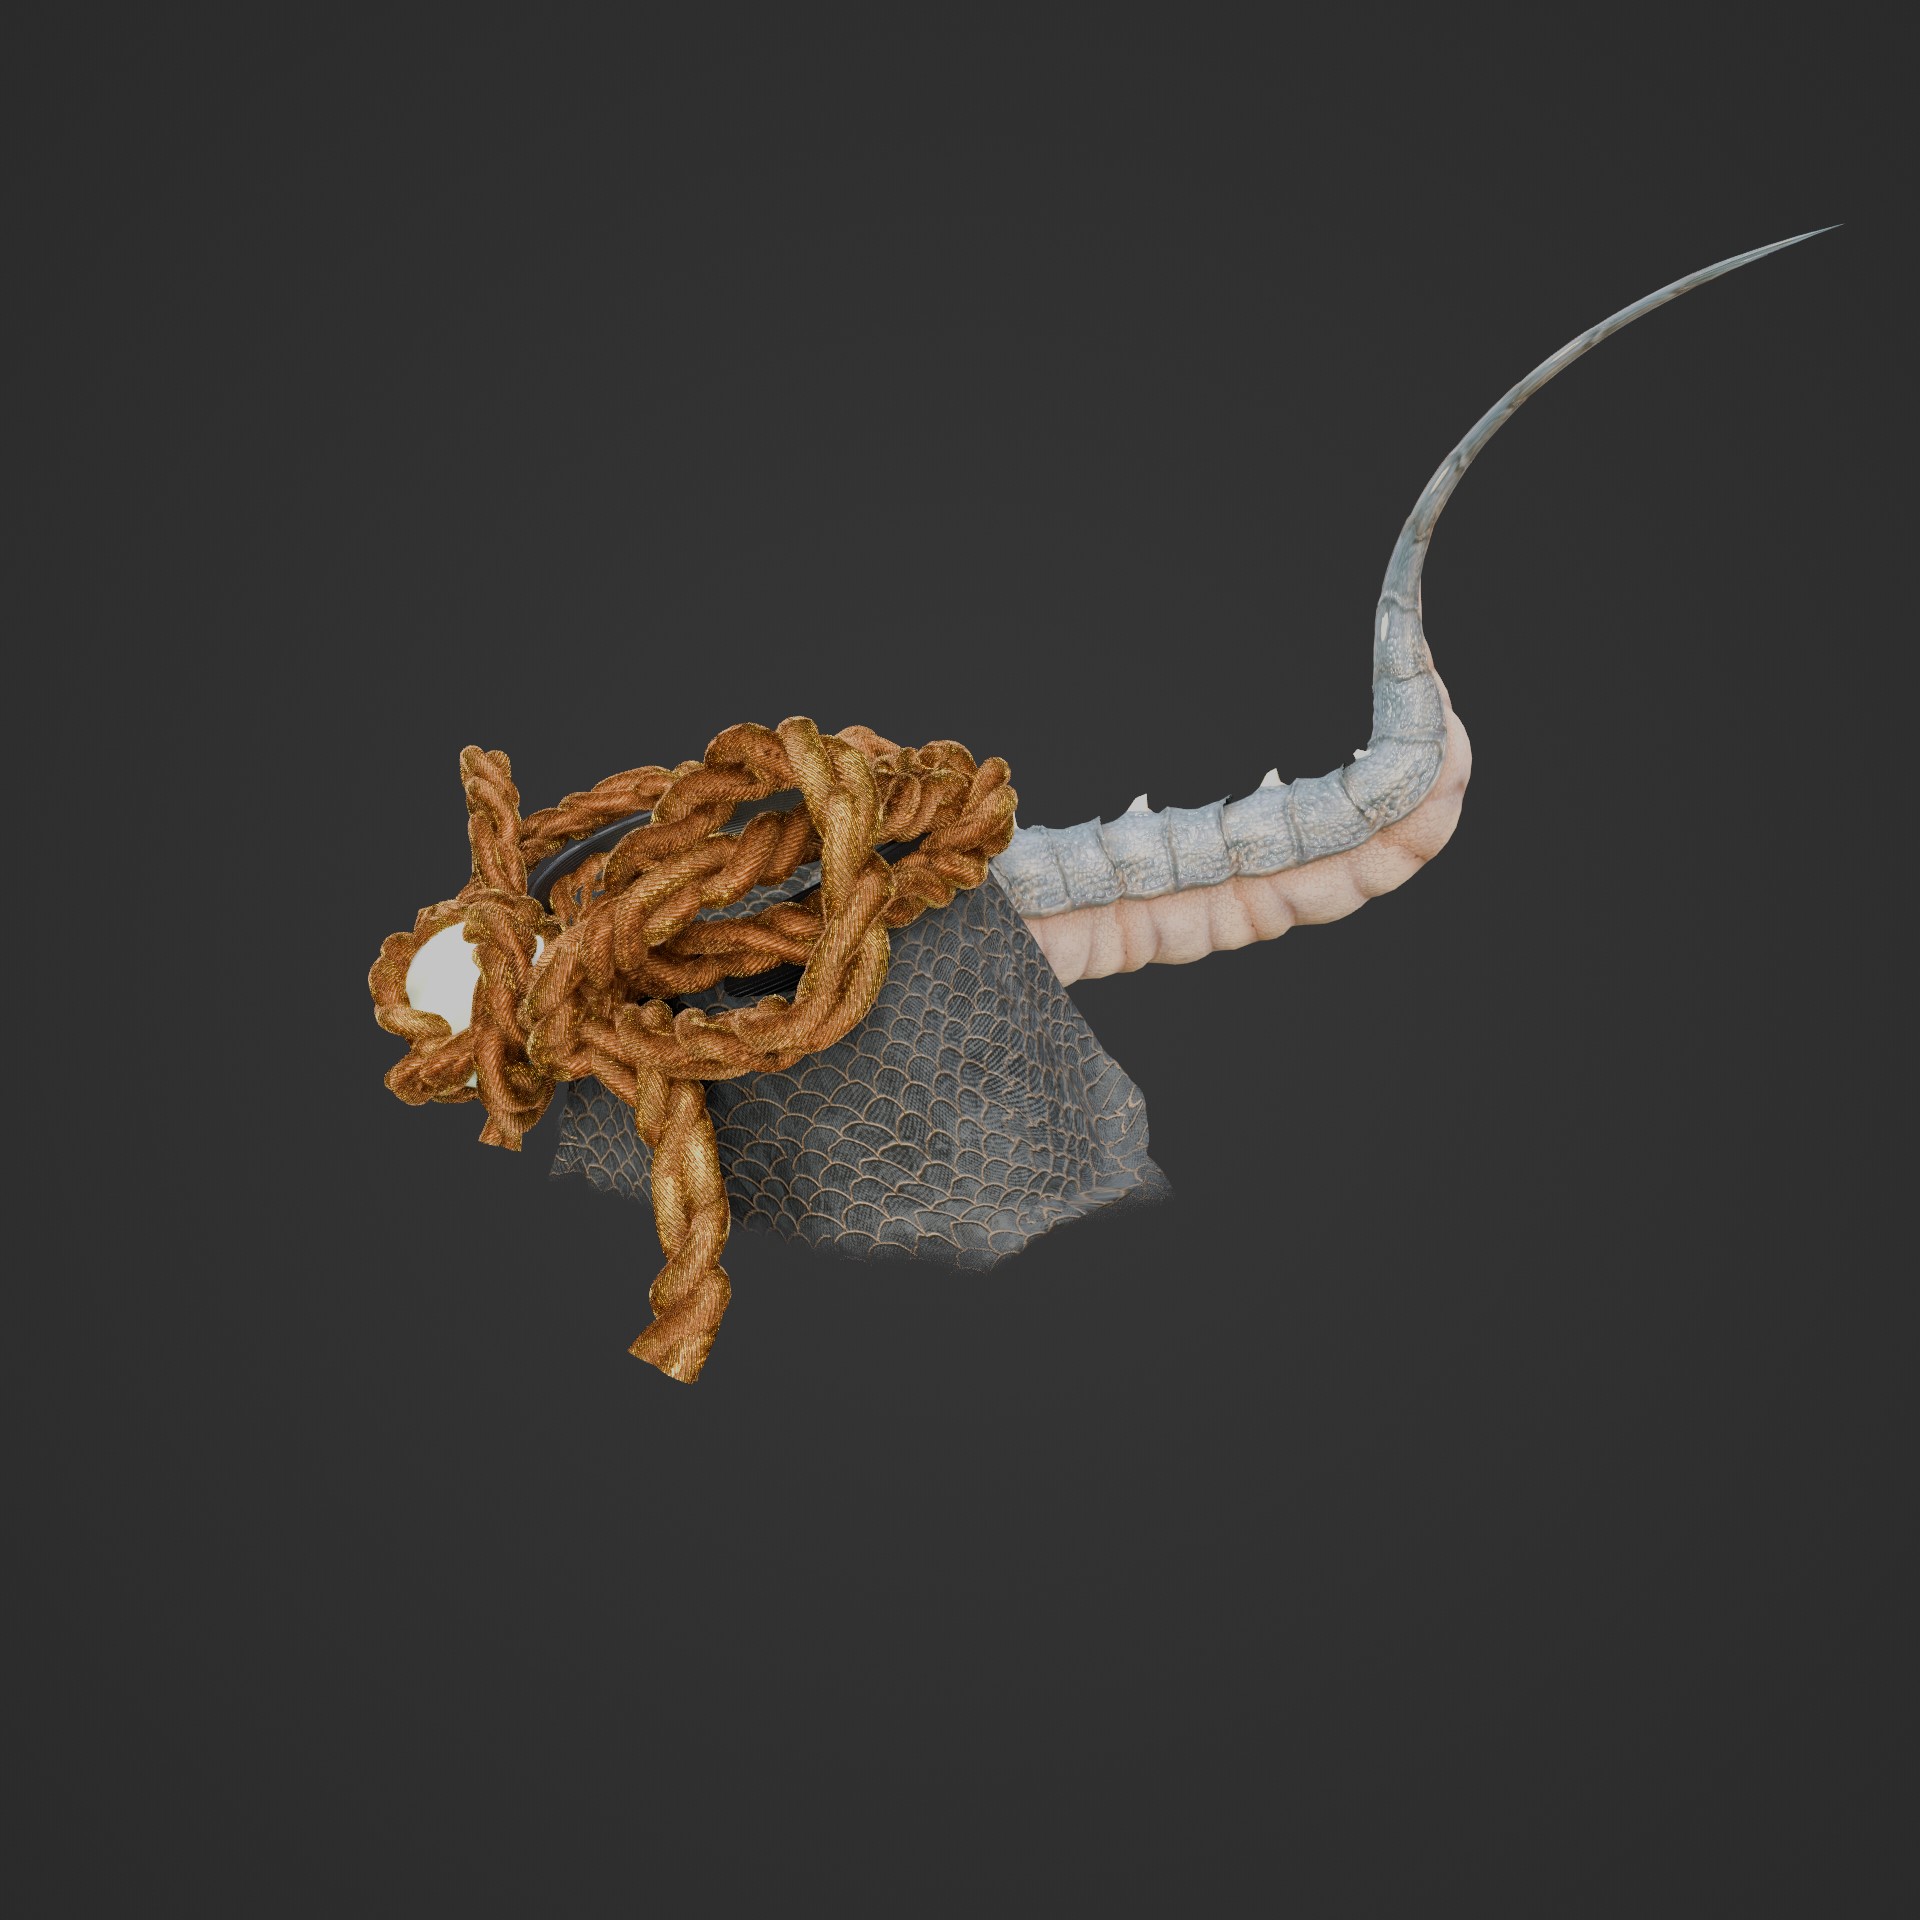
Figure 12-13: Pants and bottom part of the model, wireframe and Eevee viewport.
The hairs are both particle systems and converted hair curves in order to fake depth and consistency on such a big chunk of braid, helping also to optimize render time.
The tail was one of the coolest parts to do with a very fun trick: I started from a single cylindrical section and sculpted right away with the multires modifier, then with a combination of array and curve modifiers (and the smart material from painter), and here’s an infinitely scalable, modular, fully rigged, procedural tail.

Posing and Lighting
Since the base mesh was rigged, the model retained most of the needed weight paint to be posed with no issue, and this was one of the best Blender satisfaction moments I ever had—the incredible possibility to pose a 2 million polys’ fully sculpted character without having to transfer the details into maps, just because the armature modifier works seamlessly with the multires, all in real-time. Peak of non-destructive workflow! But I ended up applying everything anyway, since the piece was complete and I just needed to refine the small fits and intersections with all the props.

The lighting was straightforward—just one of the default Blender’s HDRI for a general ambient light and some small rim lights to support the props, and the final look of the piece was done.

Compositing
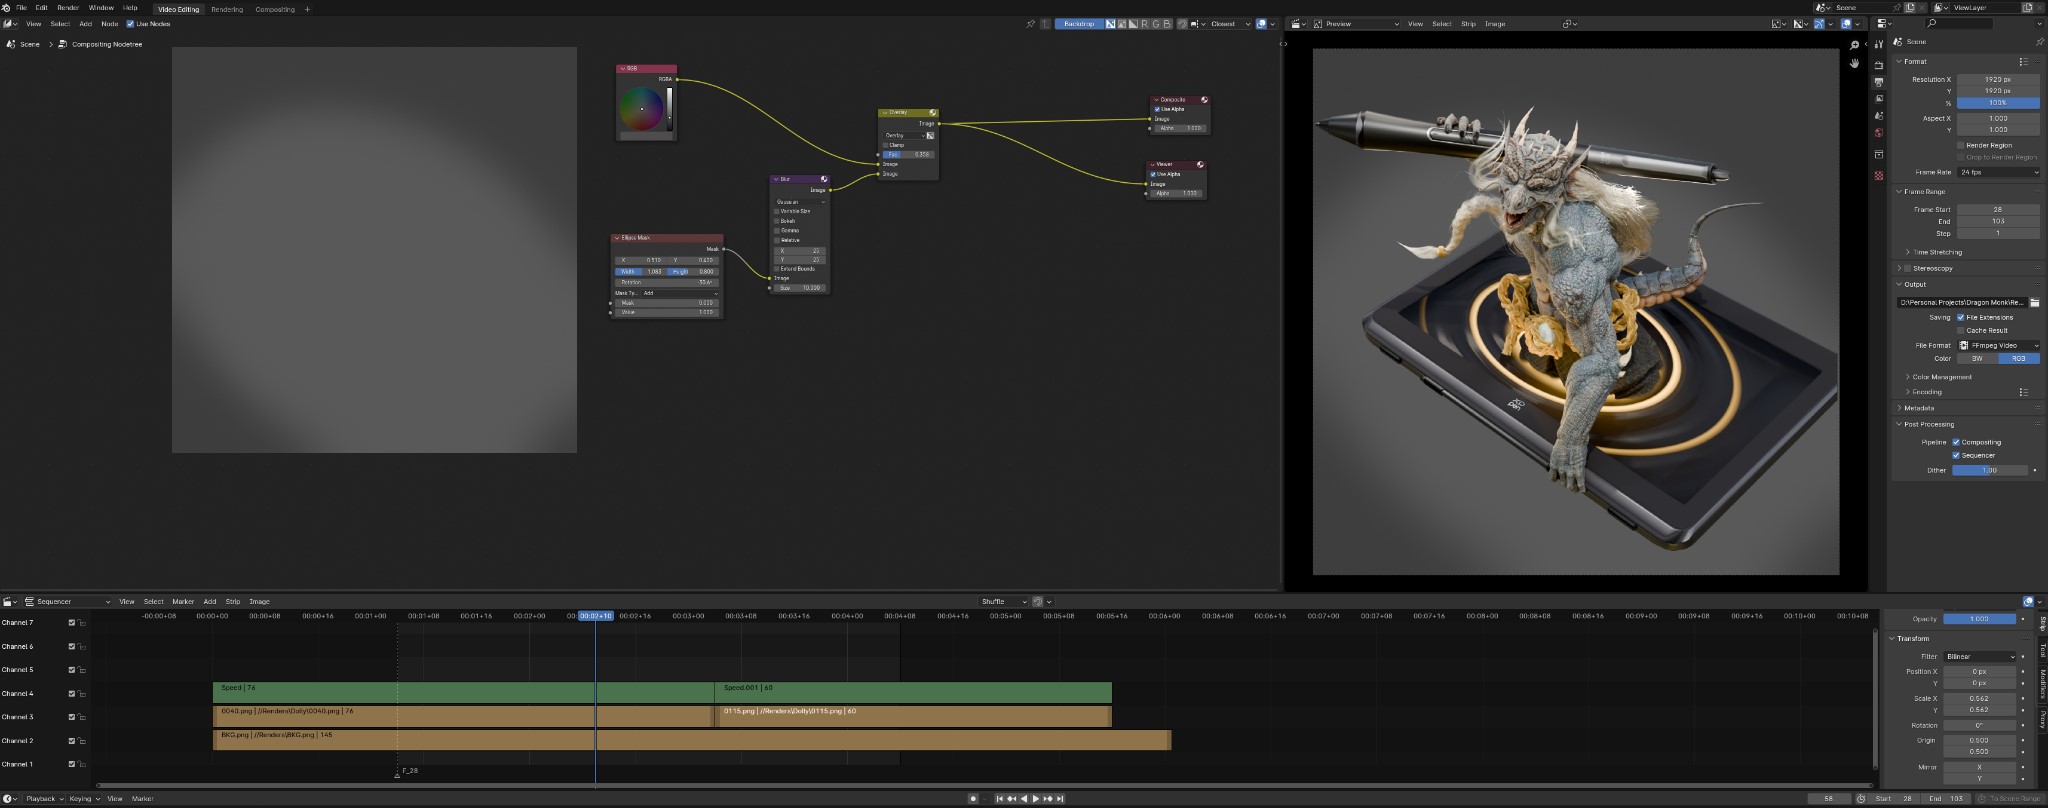
One of the things I love the most about Blender is how easy turnarounds and, in general, small videos can be rendered, composited, and exported compared to almost any other program. I’ve never been a video editing guy and I really hate spending my time jumping from editing to compositing to the render queue in at least four different software, especially for a 5 seconds turnaround, so Blender is my best friend when it comes to this kind of task.
I exported the turnaround in a png sequence, imported in the timeline, sped-it up, created a simple gray background with a blurred ellipse mask for vignetting, and re-comped everything on top, all in Blender, in about ten minutes.
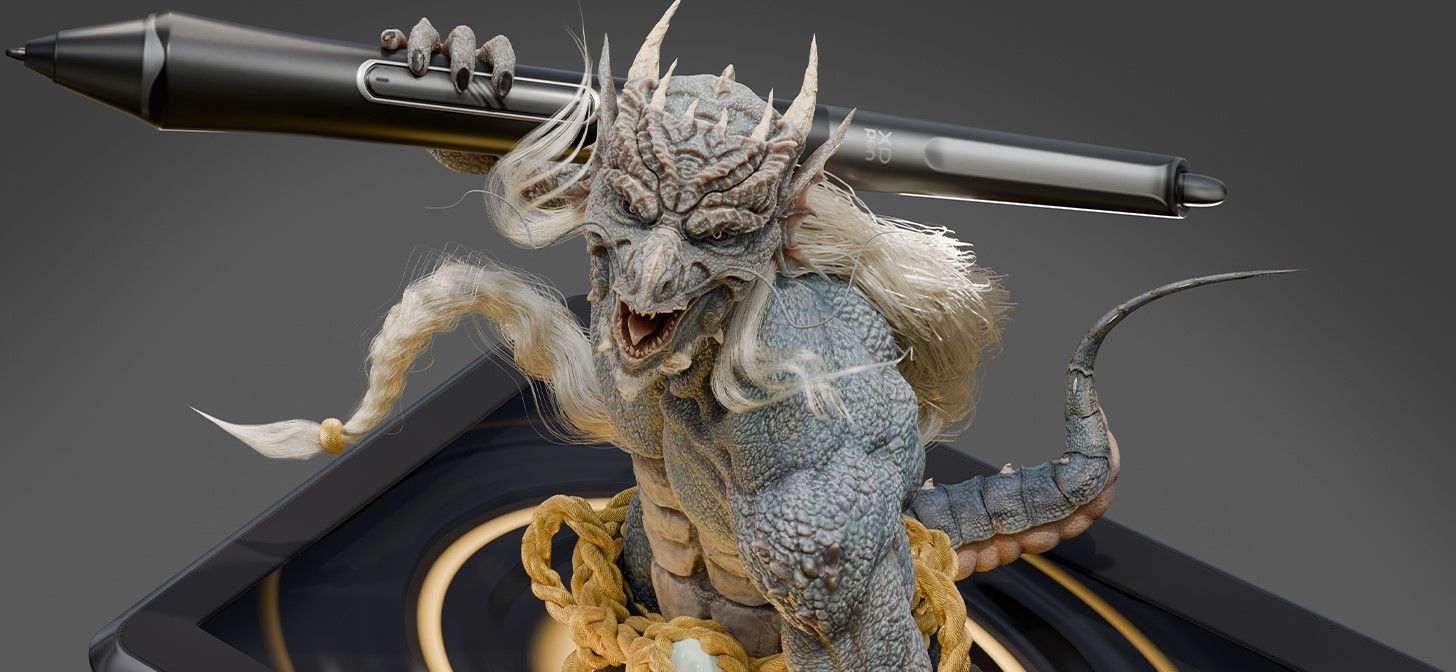
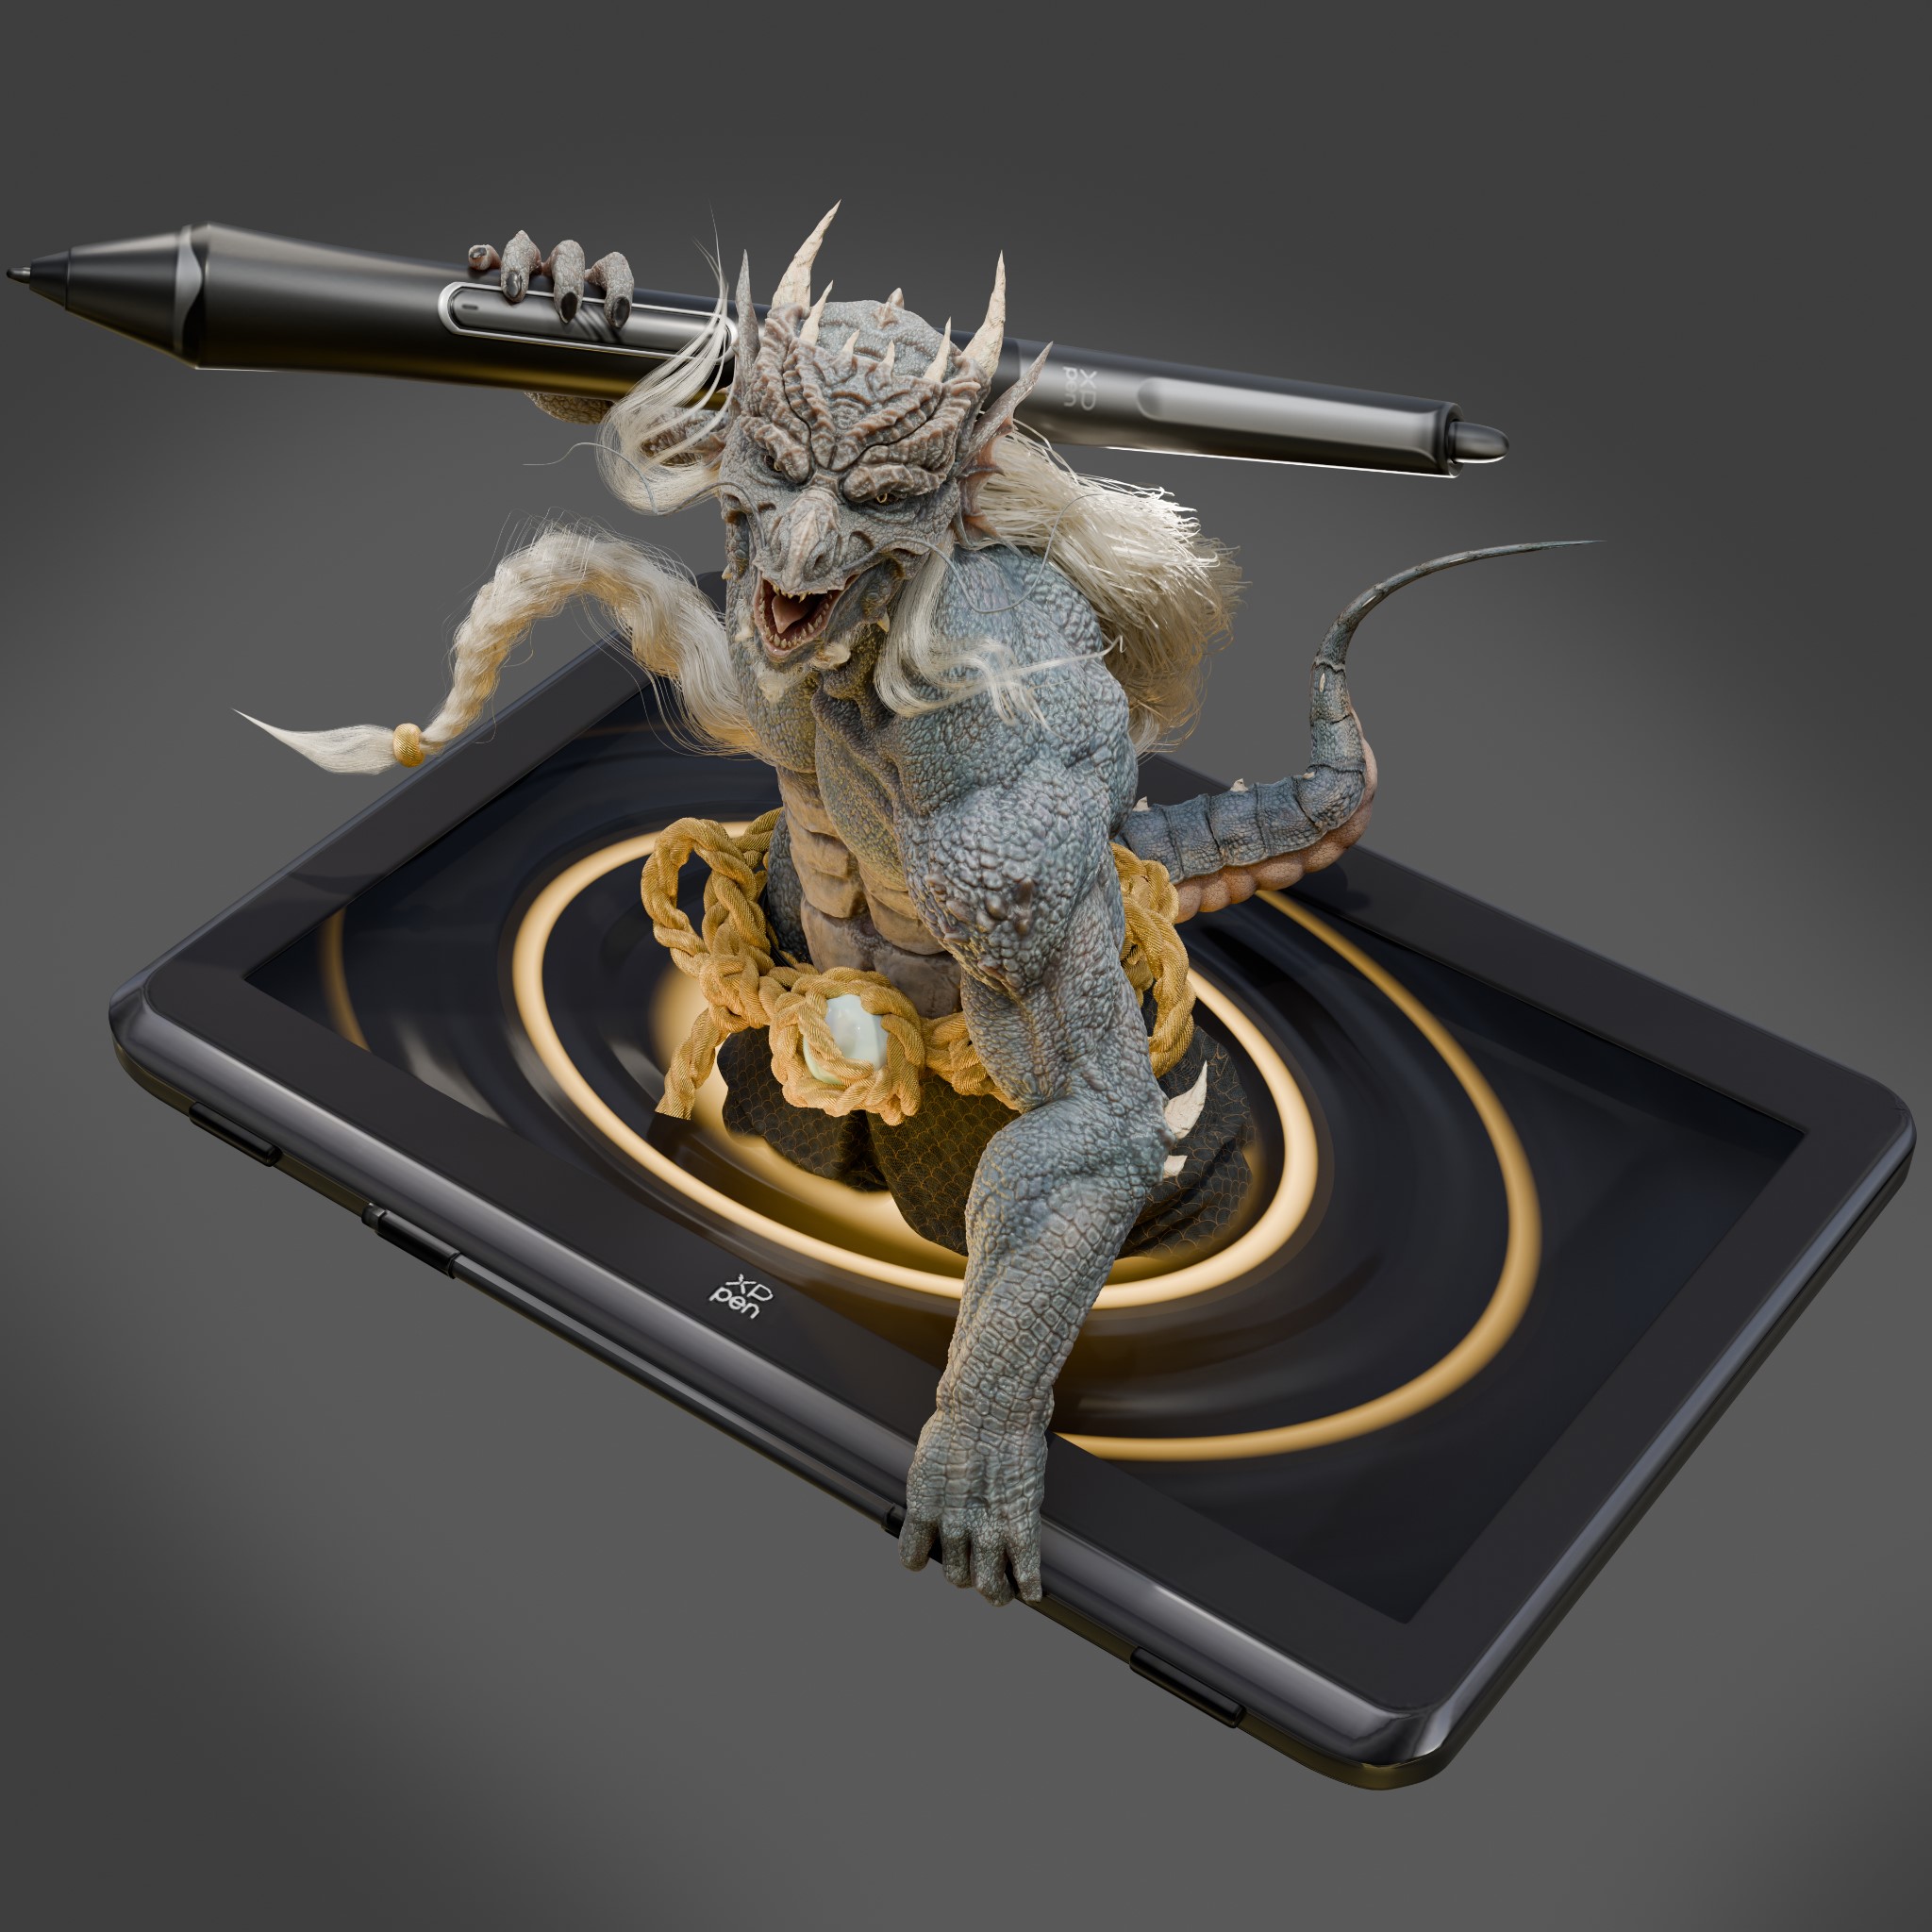
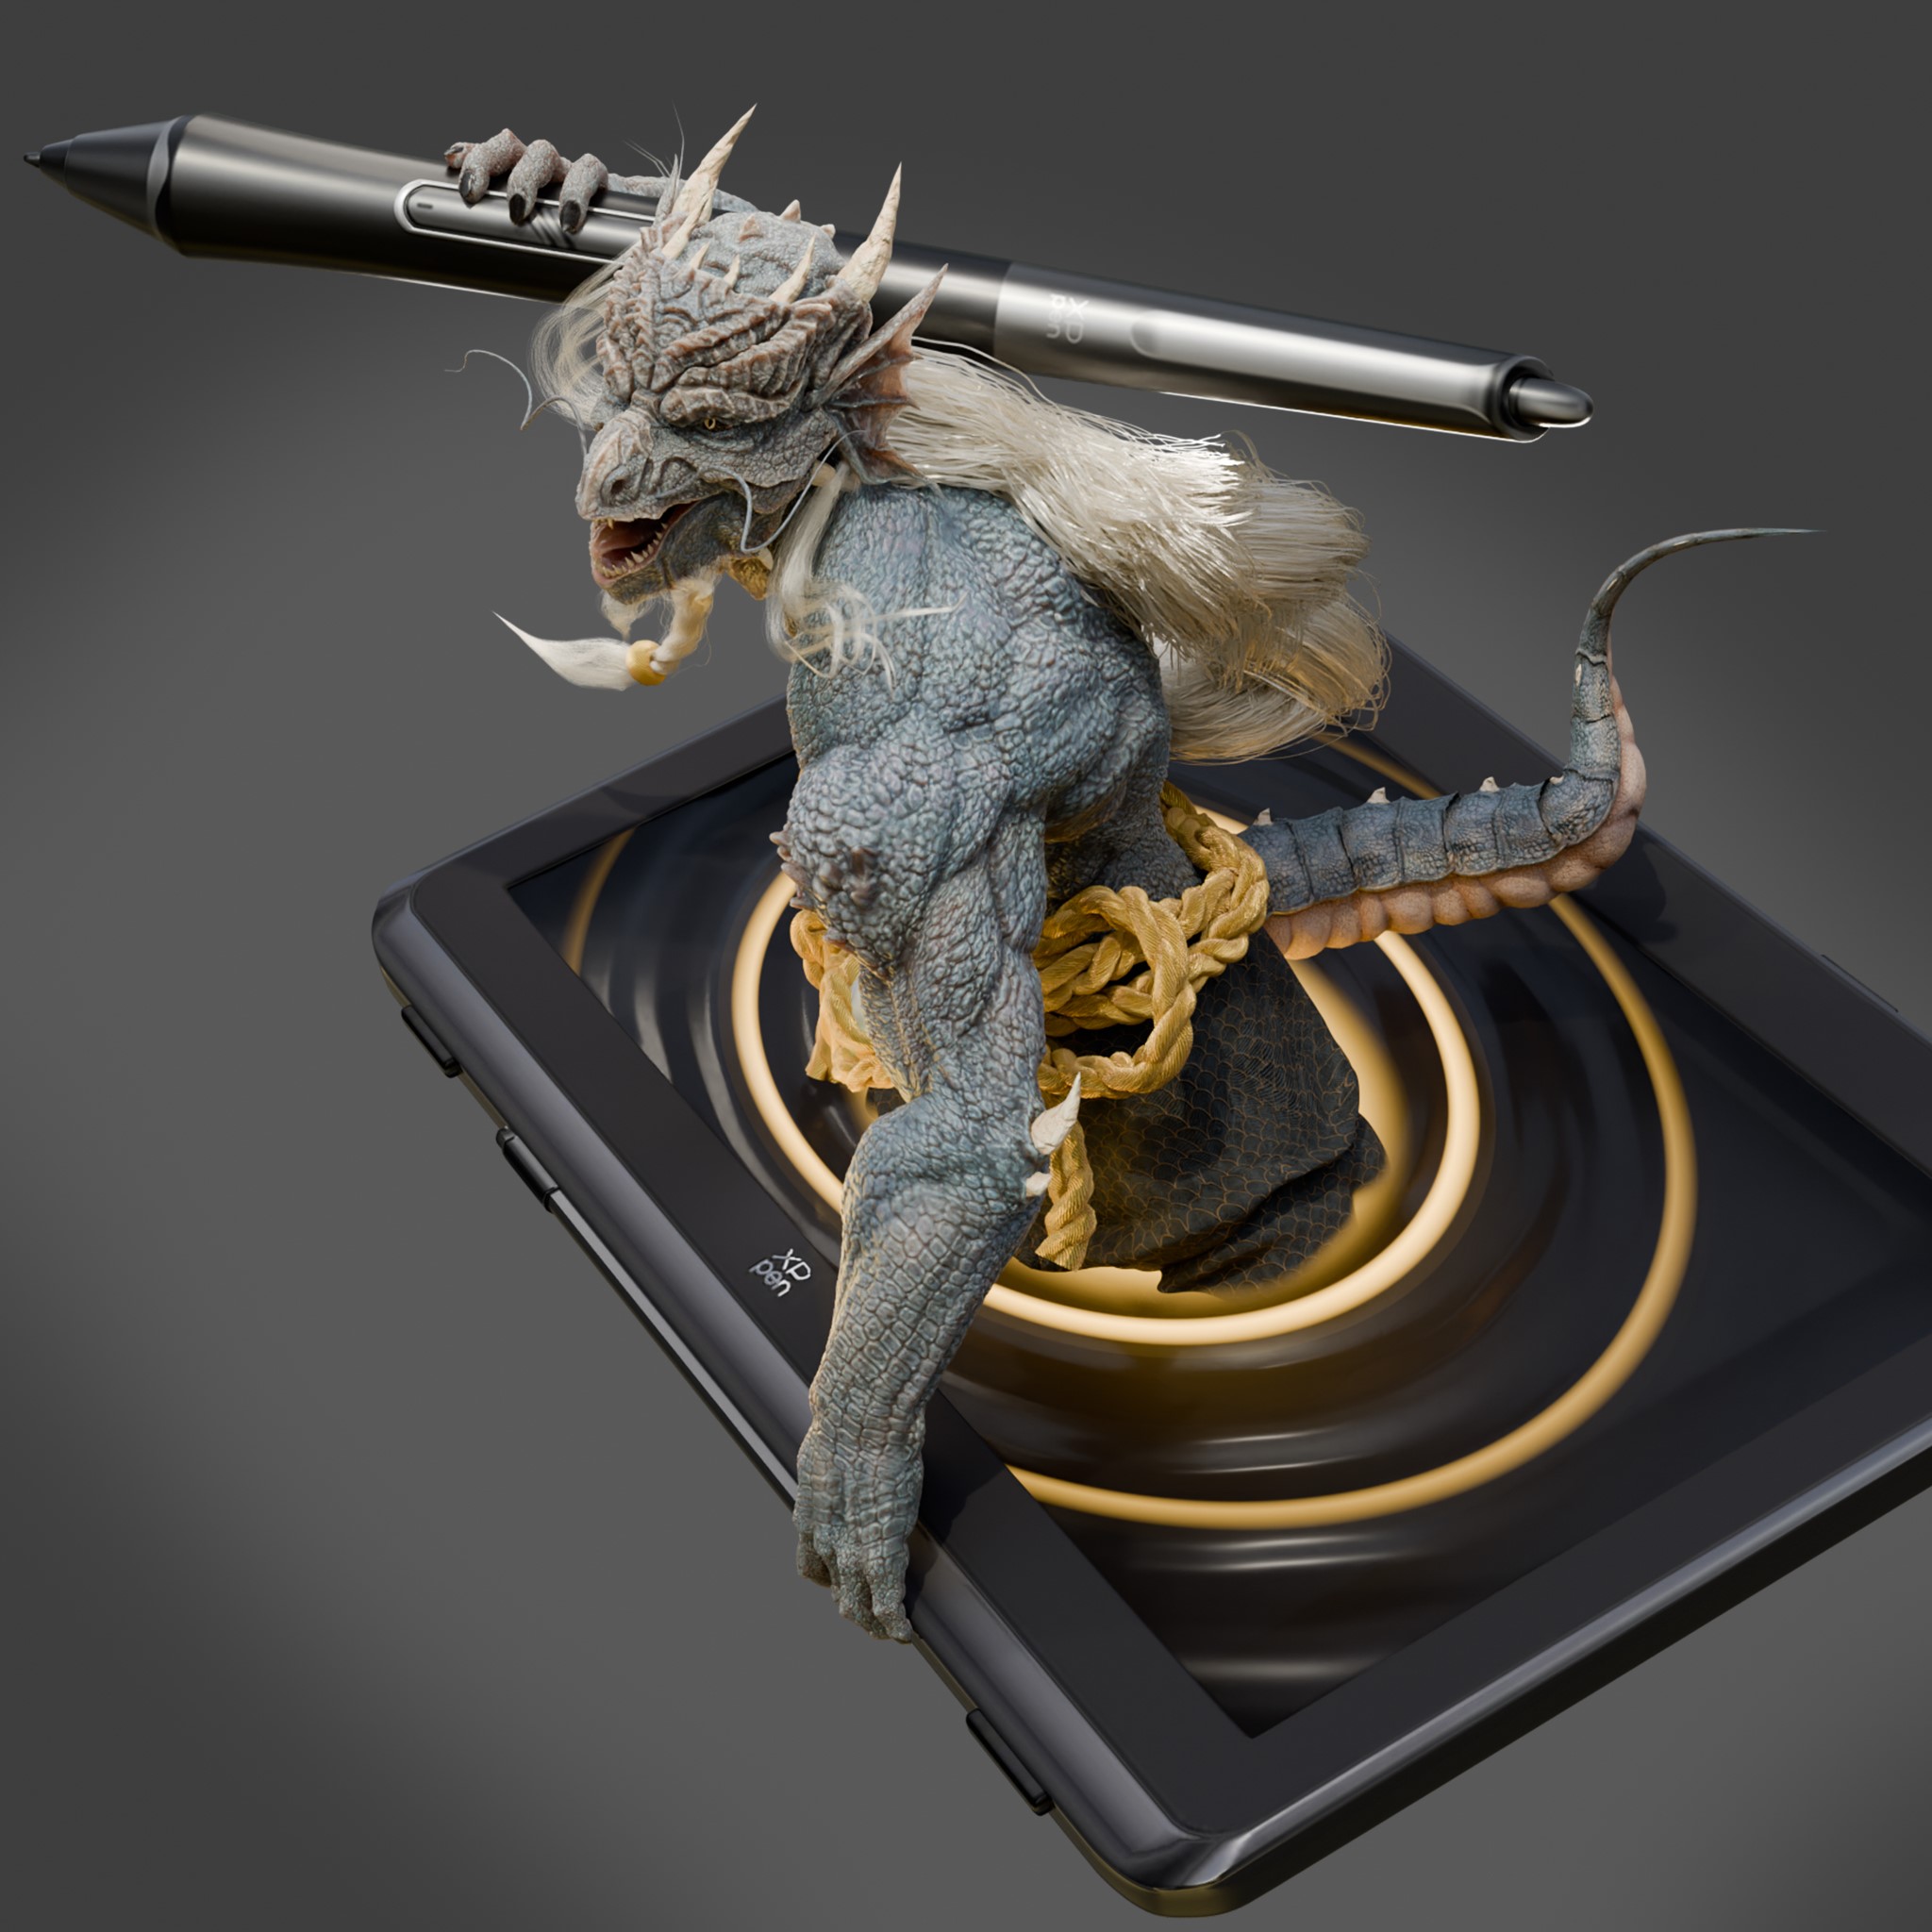
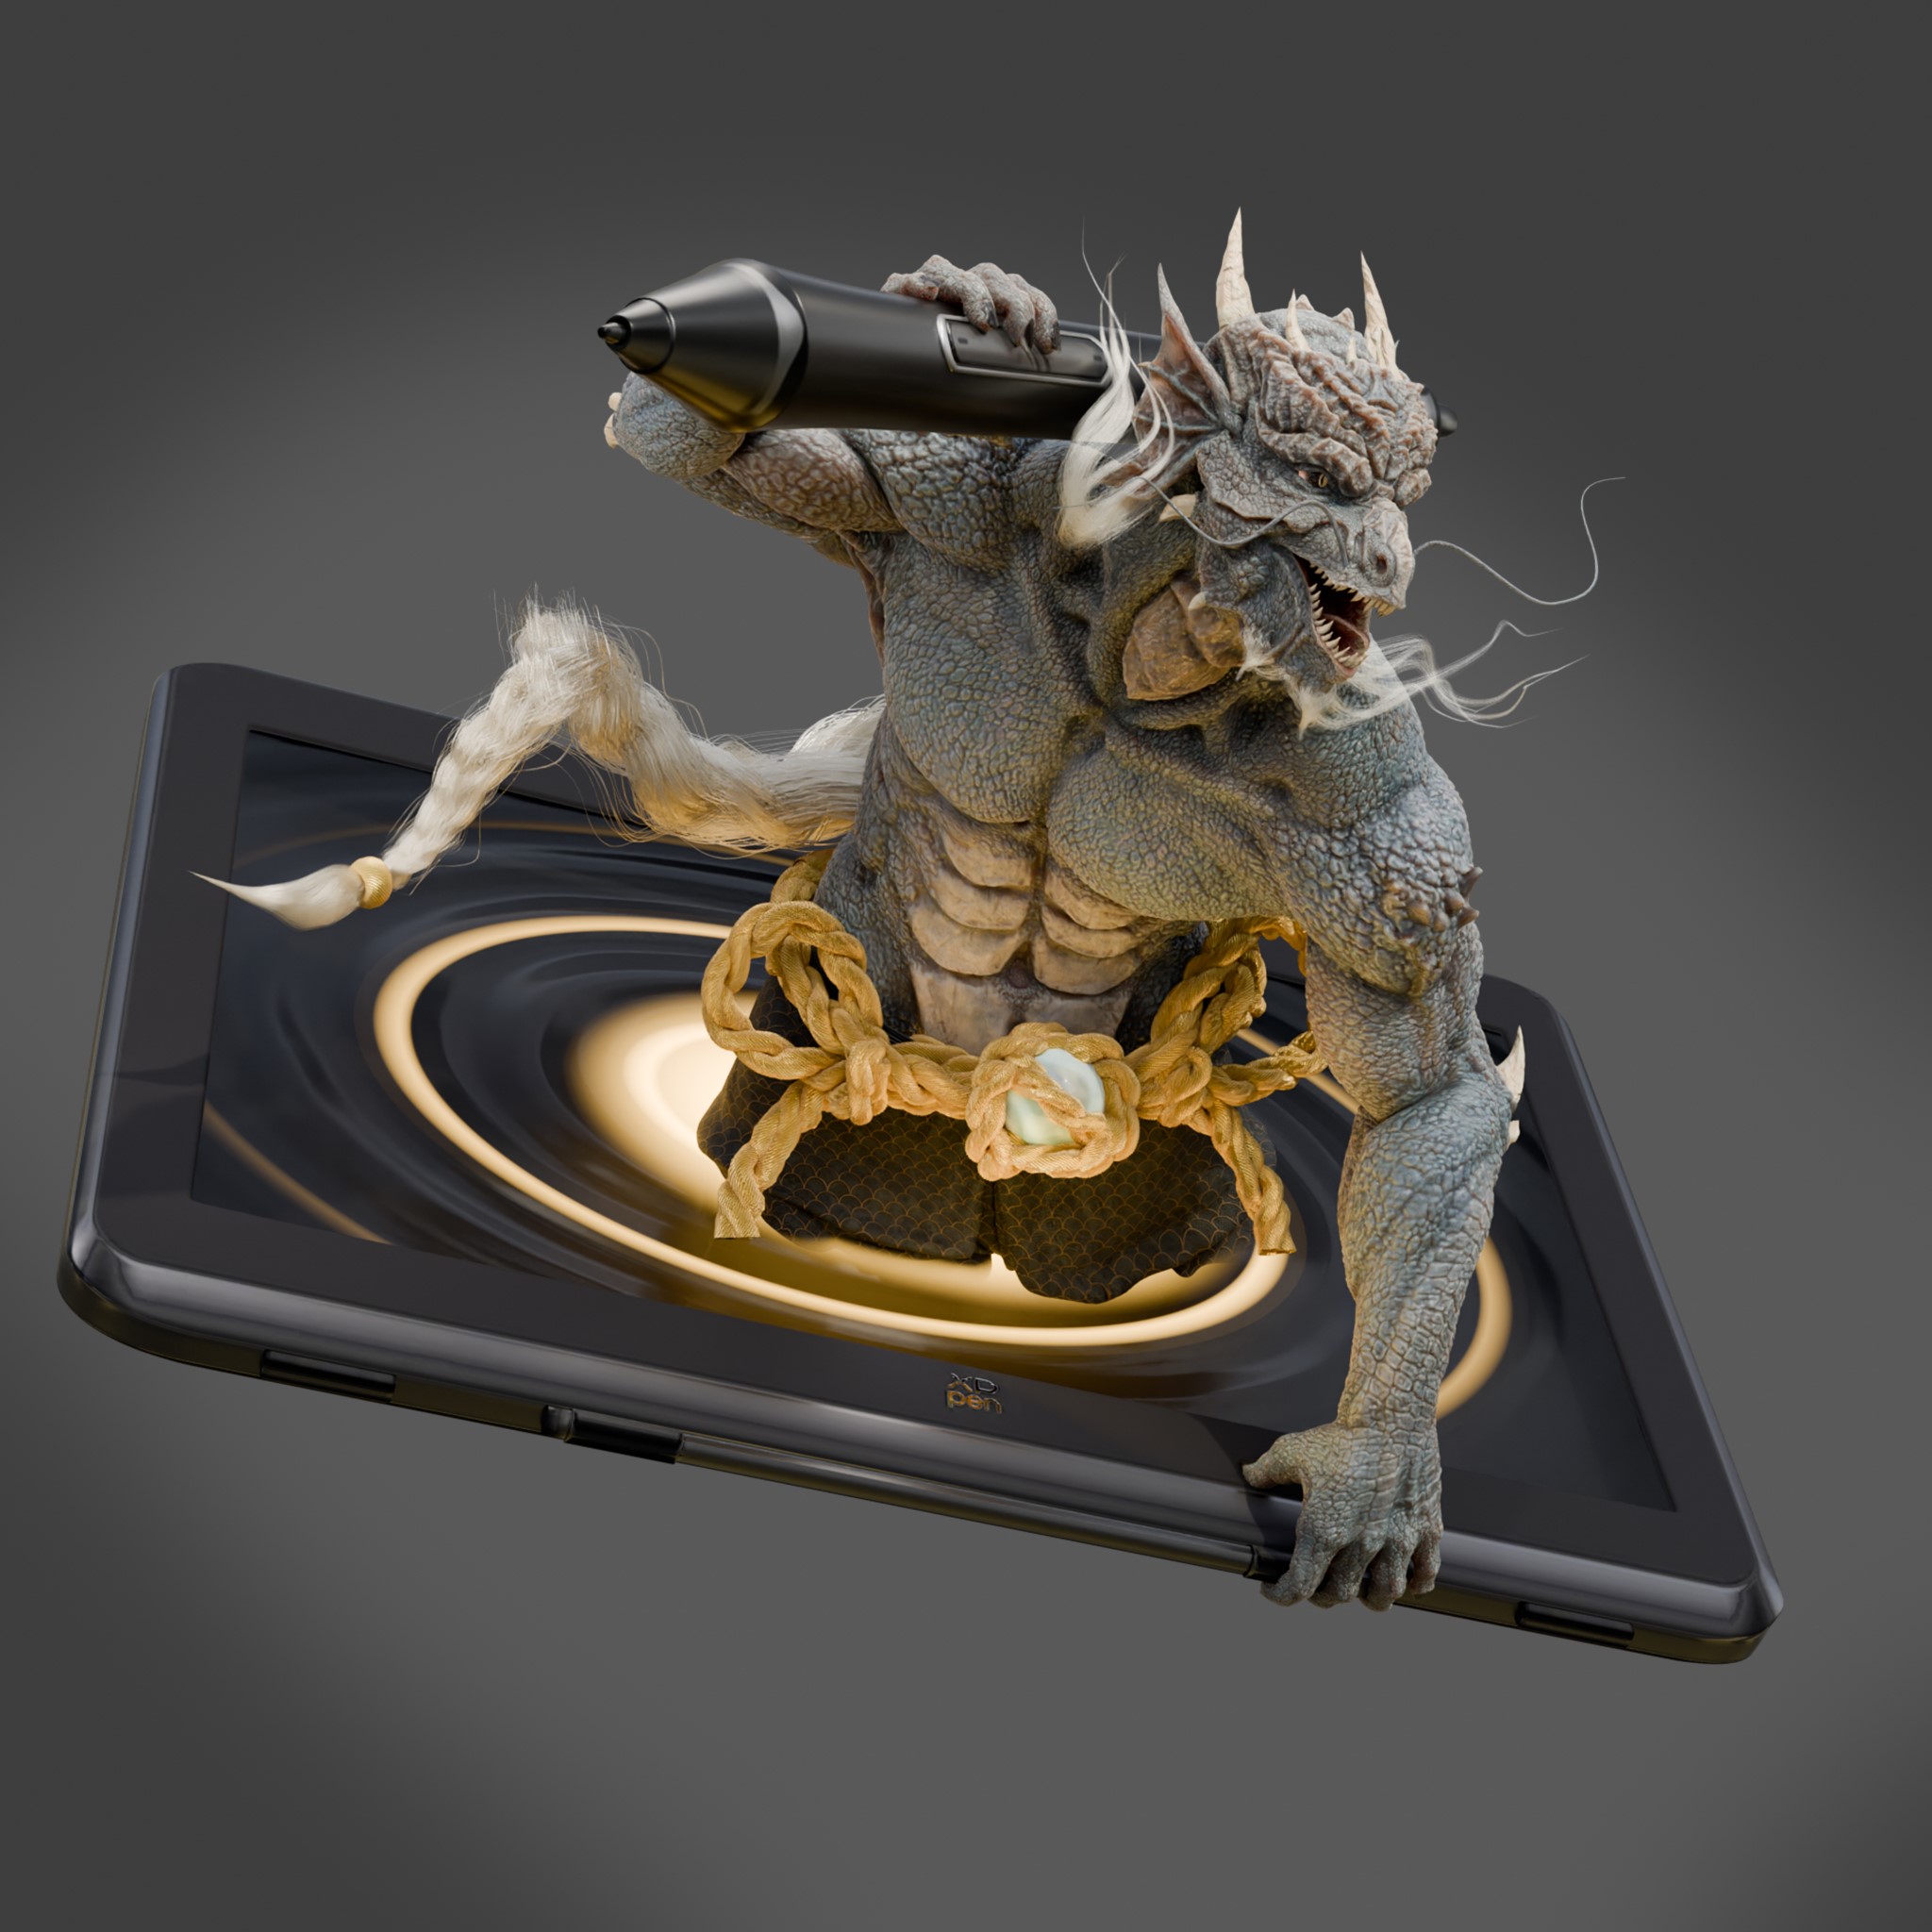
Here are the final renders! I hope you enjoyed the article as much as I enjoyed doing this piece!
RENDER: Unleash Your Inner Dragon – XP-Pen

Thank you for taking the time to read my article! I hope you found it enjoyable. If you have any questions, feel free to reach out to me on social media. Have a wonderful day!
About the Artist
Leonardo Spanò is an Italian 3D Character Artist freelancing for video games while balancing his professional role and artistic passion, anticipating the next big leap in his career.


A very interesting and well-researched article!
That’s a really nice artwork, plus lots of people *think* they can draw muscles, but this guy really can. Well done.