Rapid concept art design with Character Creator and Blender

Concept artist harnesses synergistic workflow in the creation of his “Battlefield” concept series.
Artist introduction- Jakub Kaźmierczak
Hello, I’m Jakub Kaźmierczak, a concept artist specializing in environments and keyframes. Today, I’m excited to share my workflow that enables you to swiftly create high-quality characters for your concepts. With the combination of Character Creator and KeenTools for Blender, crafting realistic characters has never been easier. This streamlined process not only ensures realism but also simplifies character posing.
Prior to concept design: gathering ideas & references
In selecting the theme, I opted for a warzone scene, drawn to its potential for dynamic and action-packed compositions, which I thoroughly enjoy crafting. My process invariably begins with gathering references.
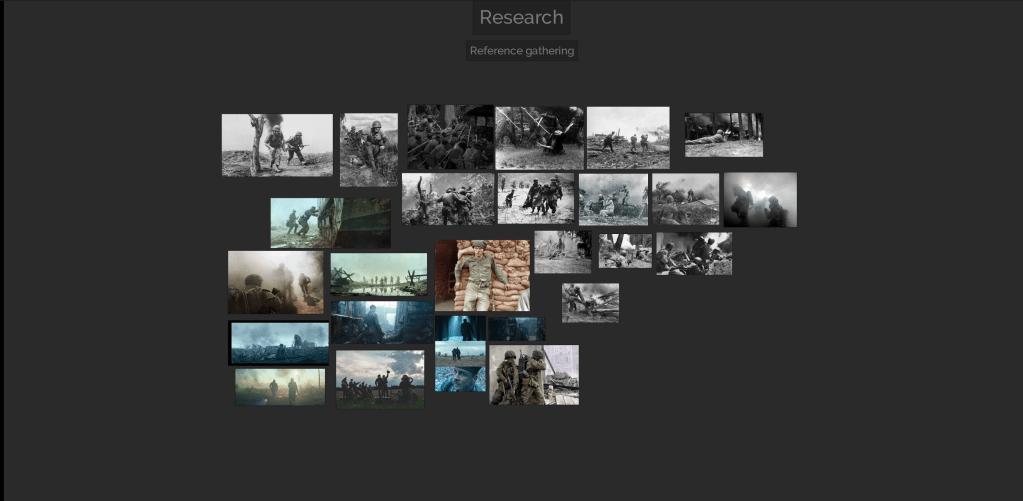
For this project, I scoured archival photos for pose inspiration and film stills for insights into color palettes and mood. I typically utilize search engines like Bing and platforms like ShotDeck to curate a diverse array of images. These references serve as invaluable resources, providing answers to questions regarding materials, lighting, and design that may arise during the creative process.
Crafting a character for your concept art using KeenTools Face Builder
I will now demonstrate my process for creating a character from scratch.
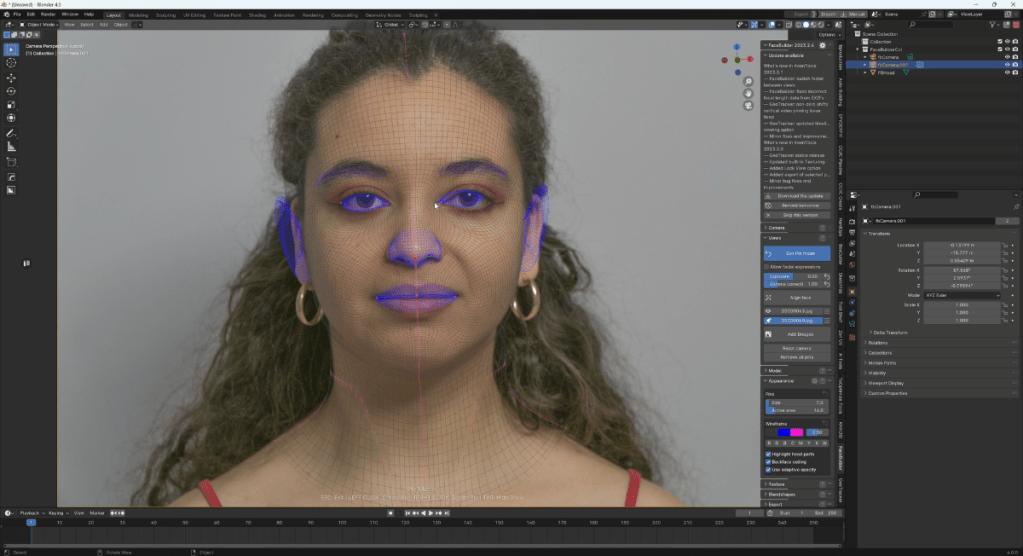
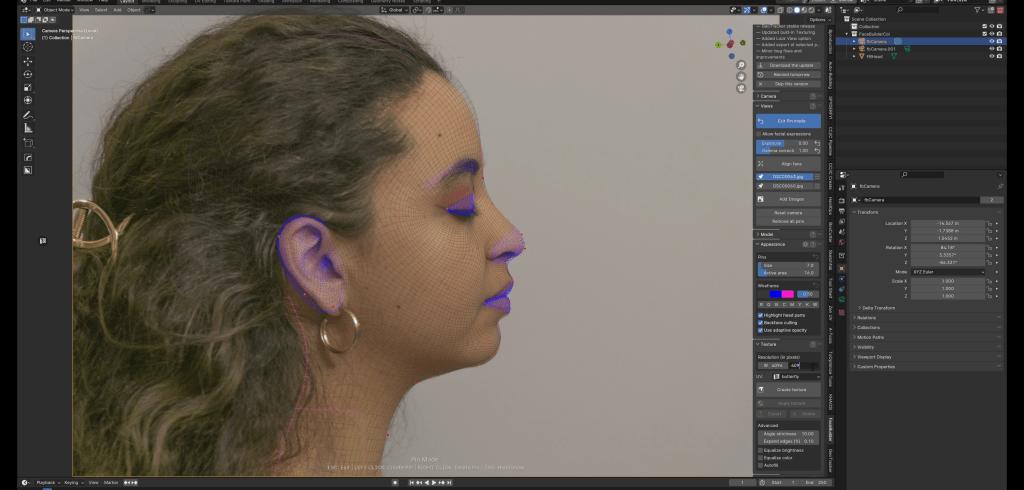
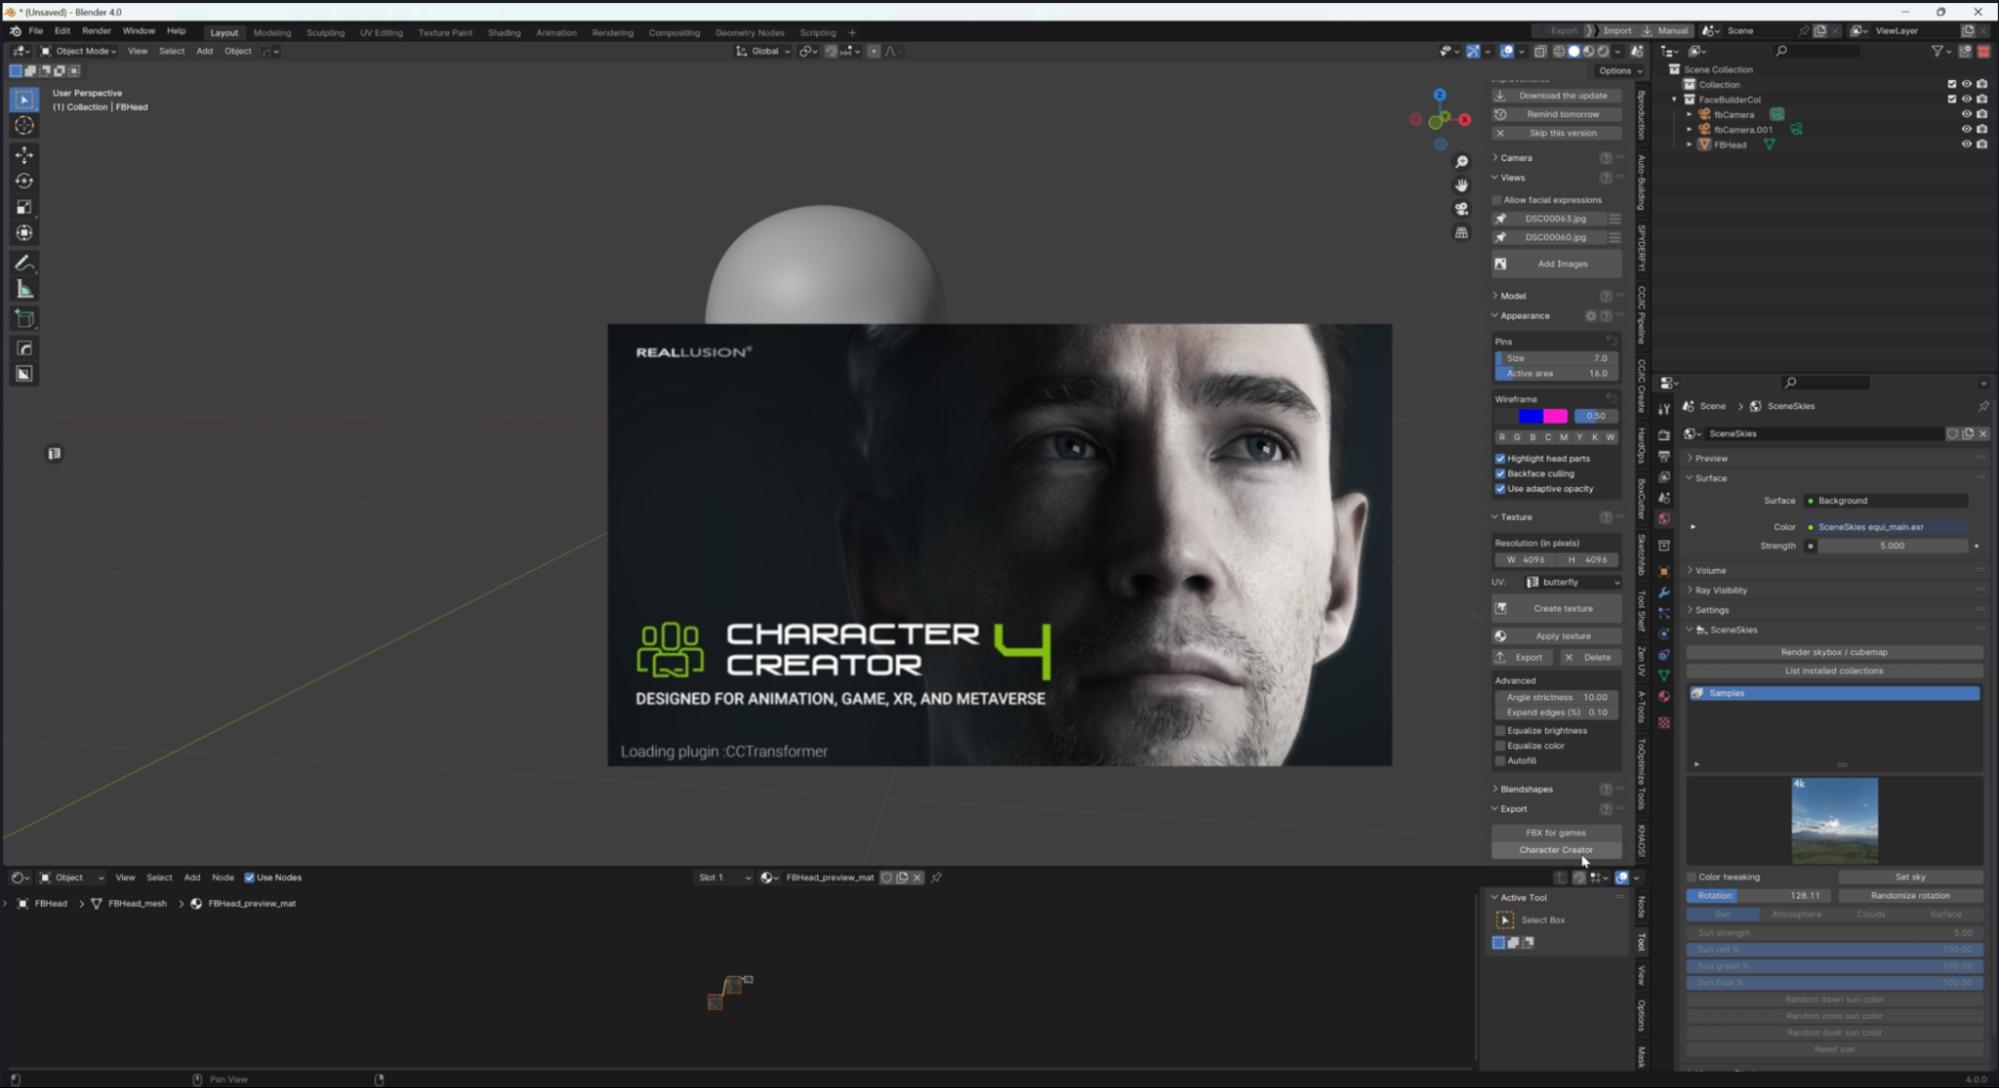
We’ll begin in Blender, where I’ll demonstrate how to utilize KeenTools to align the mesh with reference photos and sculpt a face for our character. This intuitive process involves seamlessly integrating parts of the mesh with the reference images, ensuring accuracy and detail.
 Once the sculpting is complete, we’ll generate the texture and export it to Character Creator to finalize our character.
 When we have it all done, we can create the texture. I just have to set the desired resolution and pick how many photos we want to use in the process.
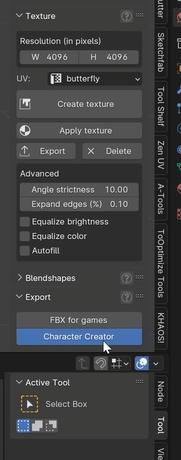 KeenTools offers a dedicated option to seamlessly transfer your head model directly into Character Creator, which is really convenient.
Note: You can download Character Creator for a 30-Day free trial
 Exporting to Character Creator for model creation
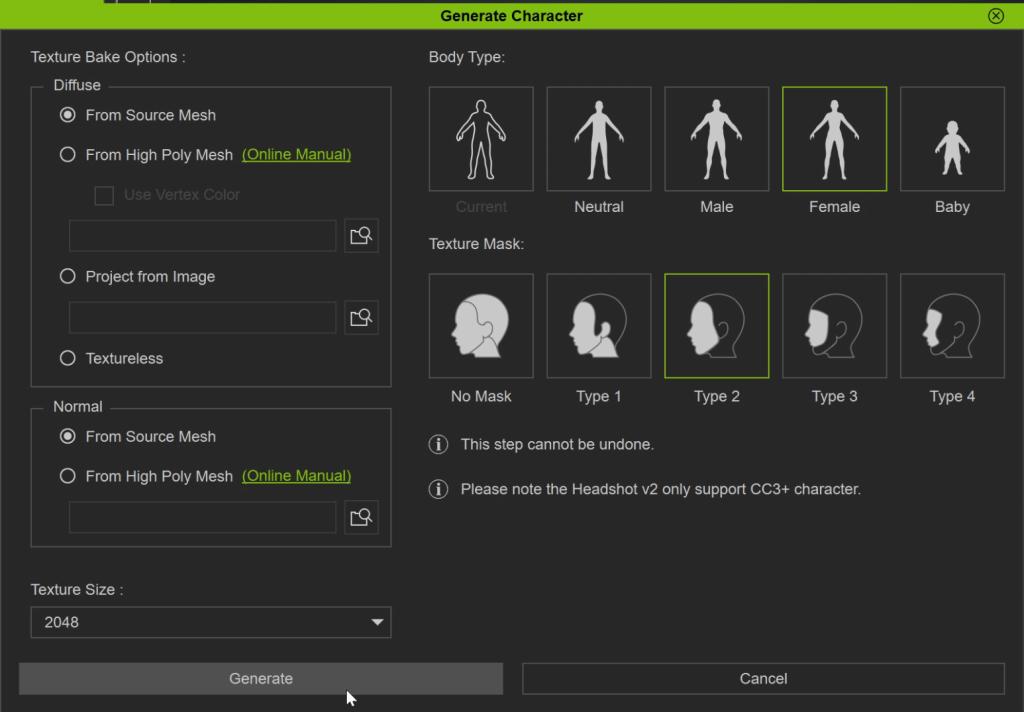
After a quick import to Character Creator, I clean the mesh if some things are still not aligned and attach the head to the body. In my case, I use the “Female” Body Type and “Type 2” Texture Mask.

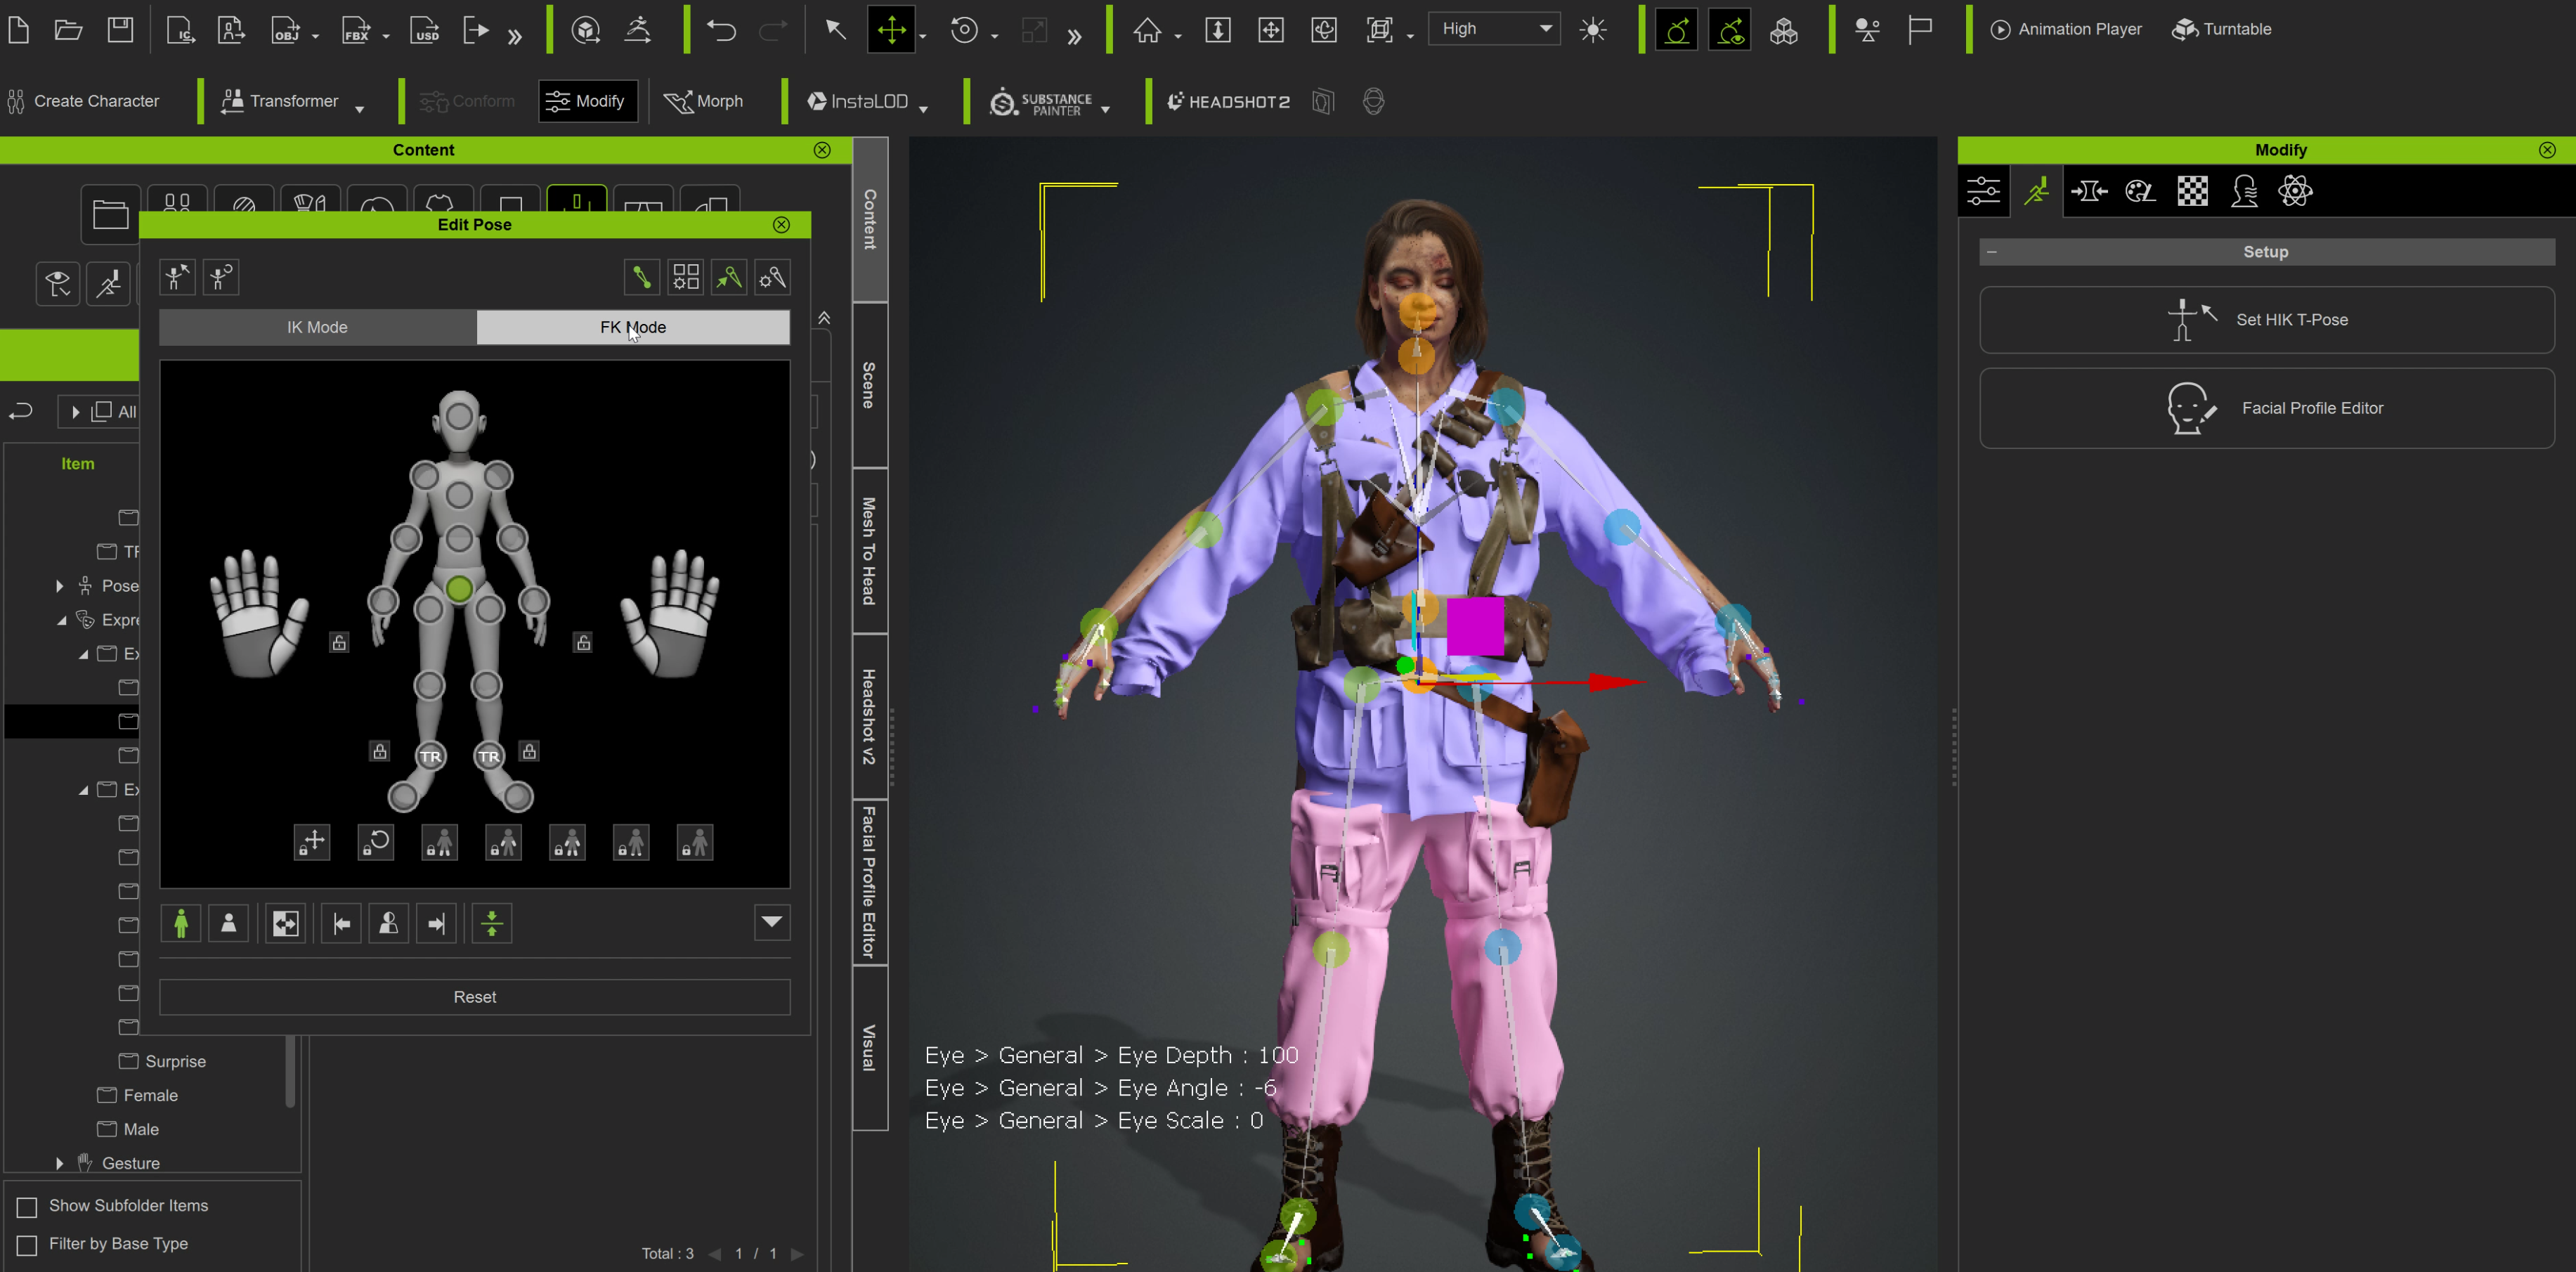
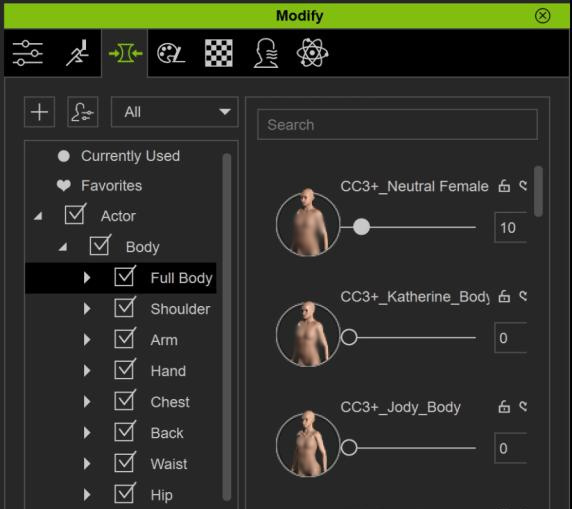 To further refine the character’s appearance, I employ the morph function to fine-tune each facial feature and add additional details to the head.
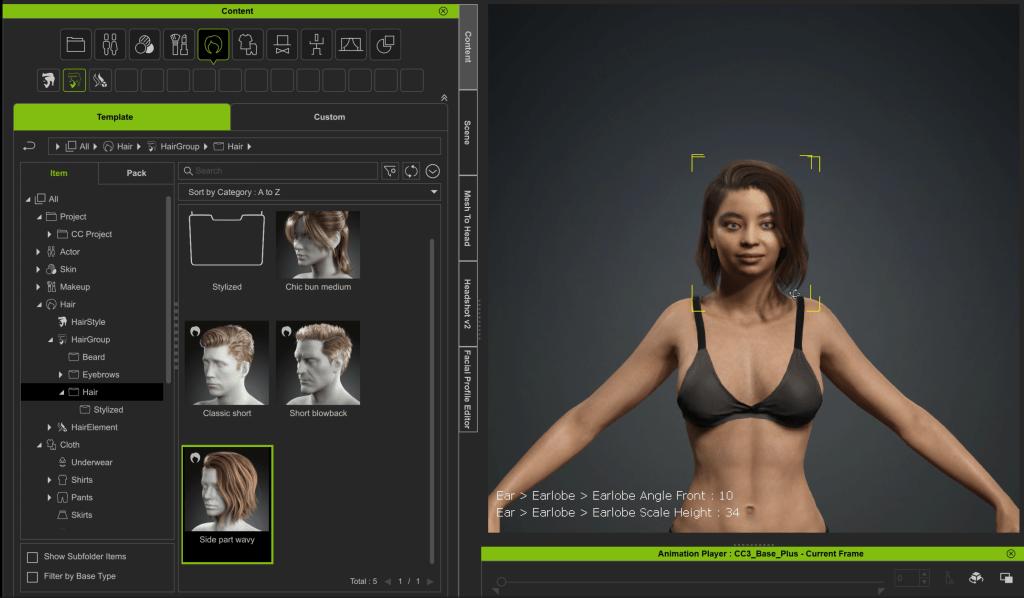
Thankfully, Character Creator offers a wide range of elements such as hair, eyebrows, wrinkles, and normal maps to enhance facial detailing. This is where I experiment with various options to achieve the desired look.
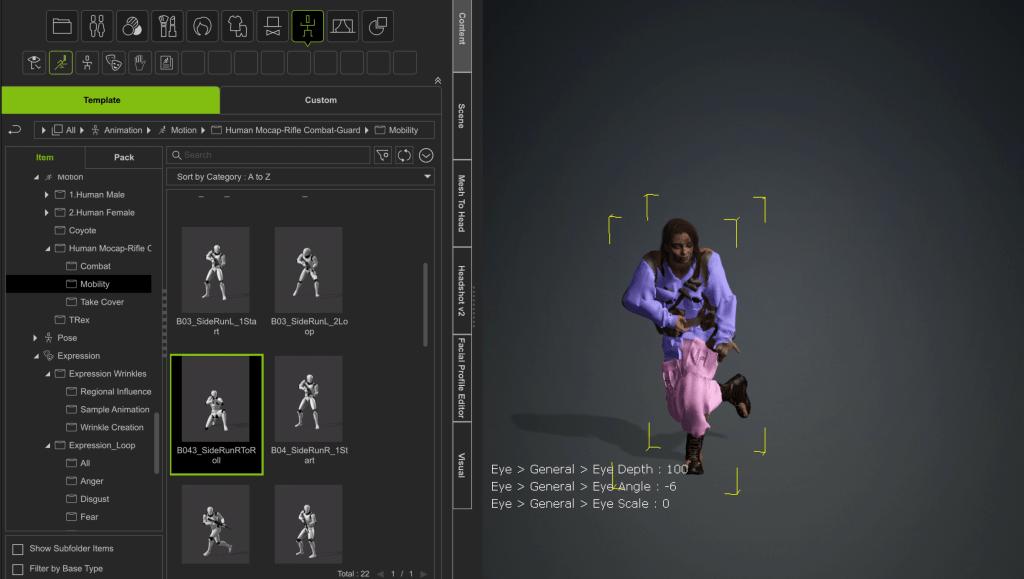
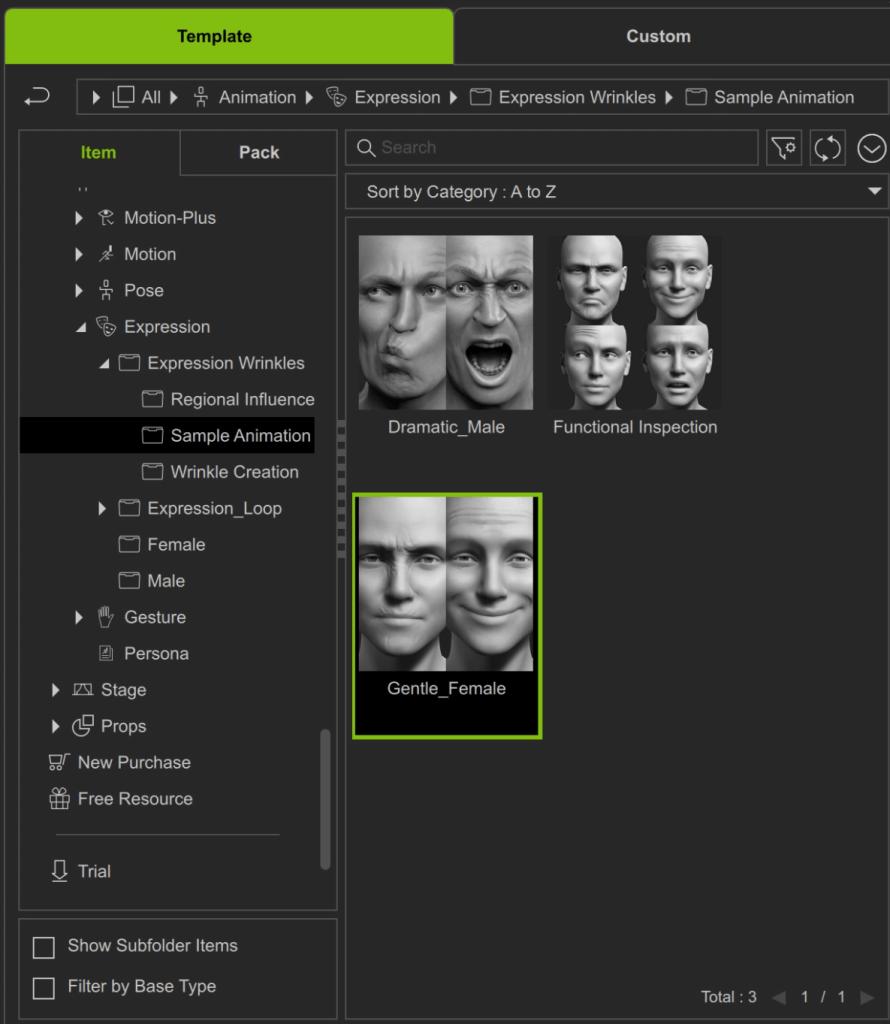 Furthermore, I take advantage of the expression wrinkles feature of the latest release, which proves invaluable in conveying emotions and laying the groundwork for photobashing if needed.
Once satisfied with the model, I export it back to Blender via the menu command: File > Export > FBX > Cloth Character.
Reallusion Addon: Blender Auto Setup
 For seamless character transfer, an official auto-setup add-on is provided for Blender, accessible via the Reallusion forums.
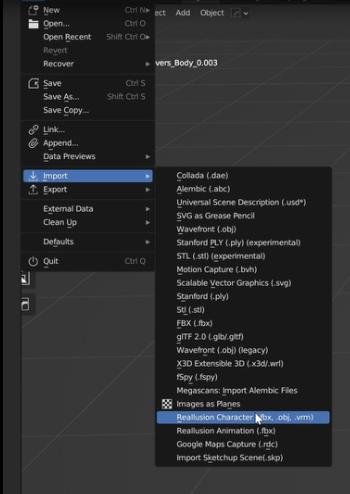
Within Blender, we simply navigate to the Import menu and select Reallusion Character. Once imported, we have the flexibility to fine-tune various parameters directly from the addon tab. This includes adjustments for roughness, subsurface scattering, color, and an array of other options to achieve the desired appearance.
Creating Clothing in Blender
With the character now in Blender, it’s time to give her an outfit. Previously, I relied on exporting outfits from Marvelous Designer. However, for efficiency’s sake, I’ve transitioned to dressing the character directly in Blender. It’s akin to dressing up an action figure. Whether modeling custom outfits in Marvelous Designer, sourcing models from online platforms, or even utilizing 3D-scanned clothing items, the objective remains the same: achieving the desired effect promptly.
With this approach, I dress the character, ensuring proper fit with adjustments when needed. When I’m done, I export the entire ensemble as an FBX file.
Importing Clothes into Character Creator
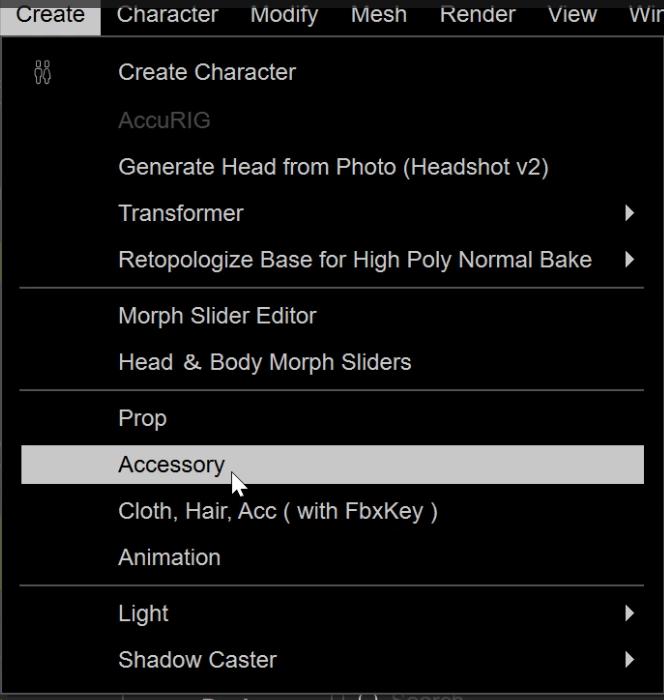 Once that’s completed, I return to Character Creator. To import clothes and attach them to our character, I navigate to Create > Accessory > FBX.
After a quick adjustment to ensure the outfit fits the character properly, we proceed to make the clothes adhere to the character.
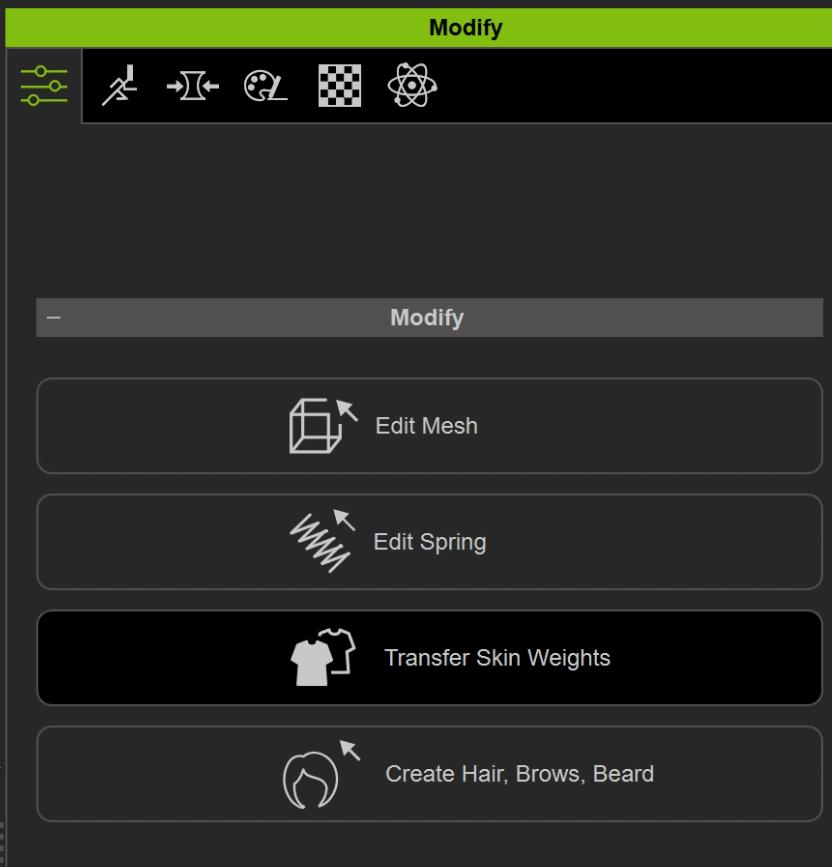
To achieve this, we select the clothing element, such as shoes, navigate to the Modify tab, and transfer skin weights. We repeat this process for each piece of clothing.
For those seeking a comprehensive guide, Michael Pavlovich has an excellent tutorial detailing the entire process in depth.
Bringing ActorCore Motion & Poses into Blender
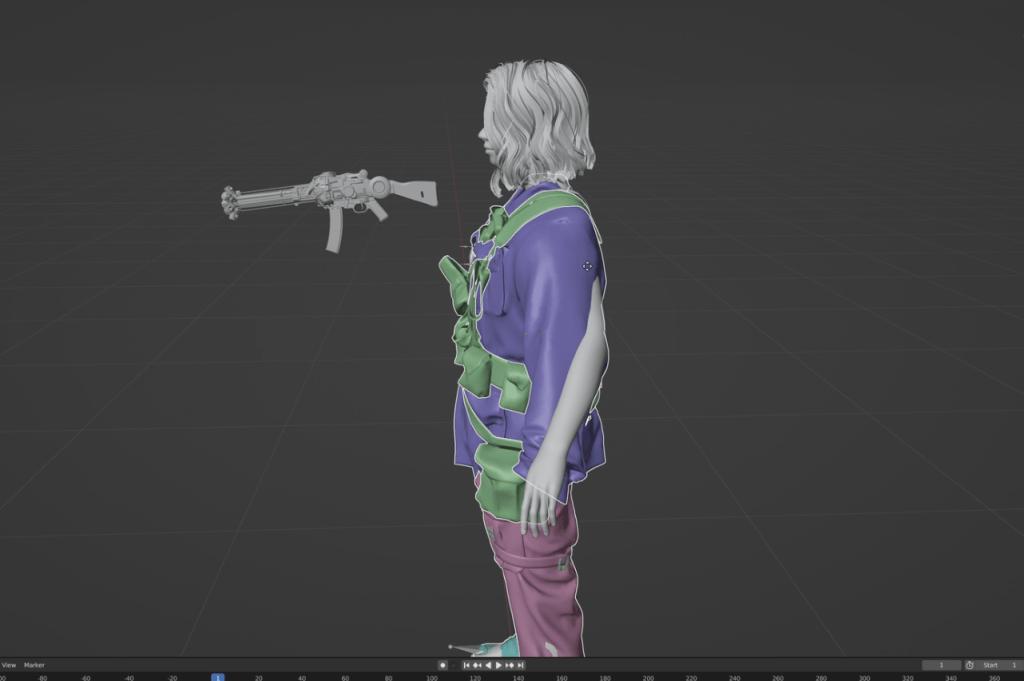
Now, it’s time to reintroduce the fully clothed character back into Blender. If you wish to attach additional elements, such as a backpack or gun, simply navigate to edit mode on the skeleton. Duplicate the bone you wish to use, select the desired element, and with Ctrl+P, set the parent to the bone. To ensure the clothes adhere properly to the mesh, I utilize the sculpt tool in Blender.
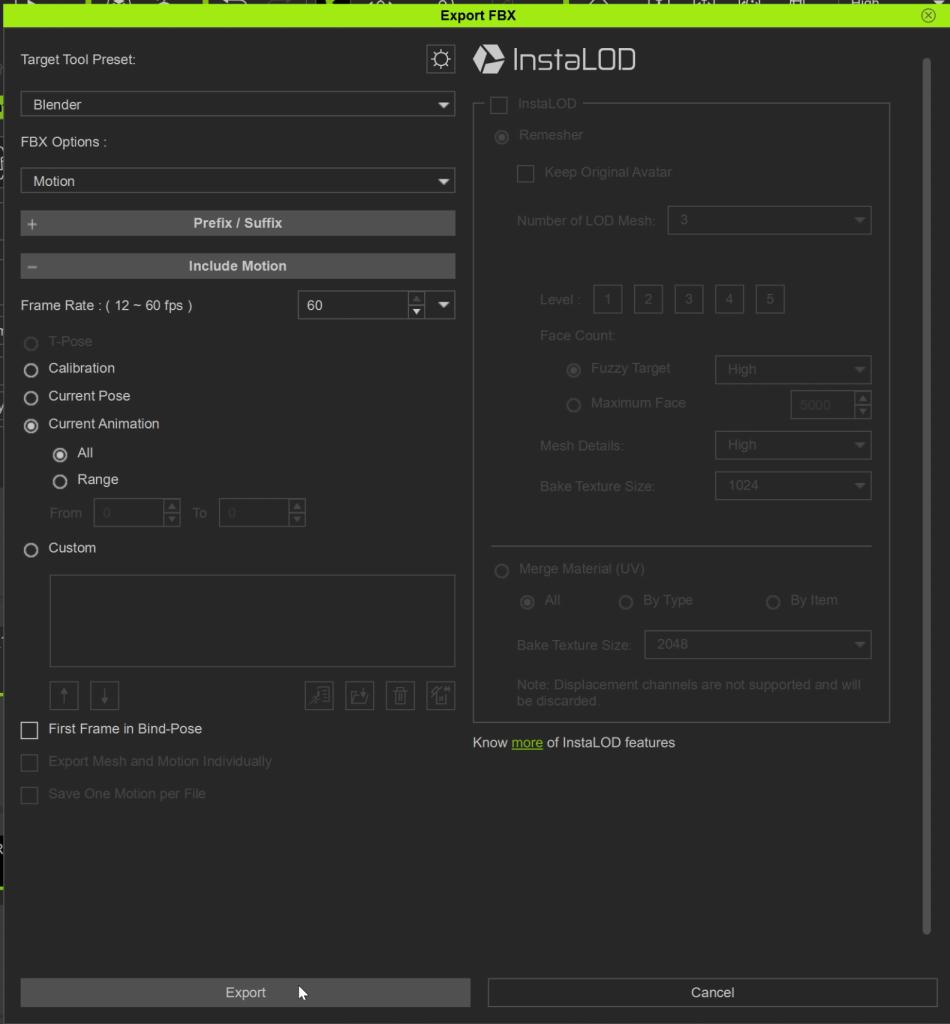
 Importing animations into Blender is straightforward. In Character Creator, within the Motion tab, select the desired animation. Then, navigate to export and choose Motion and Current Animation.
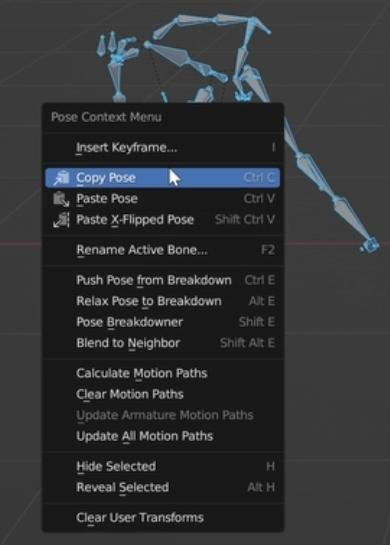
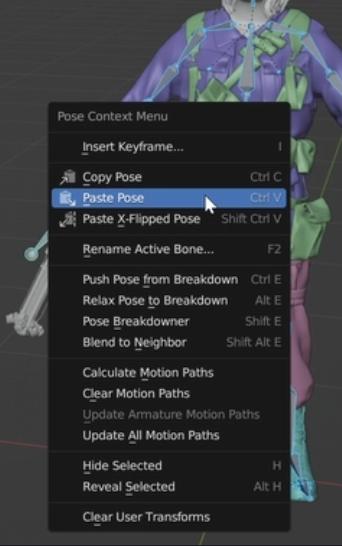
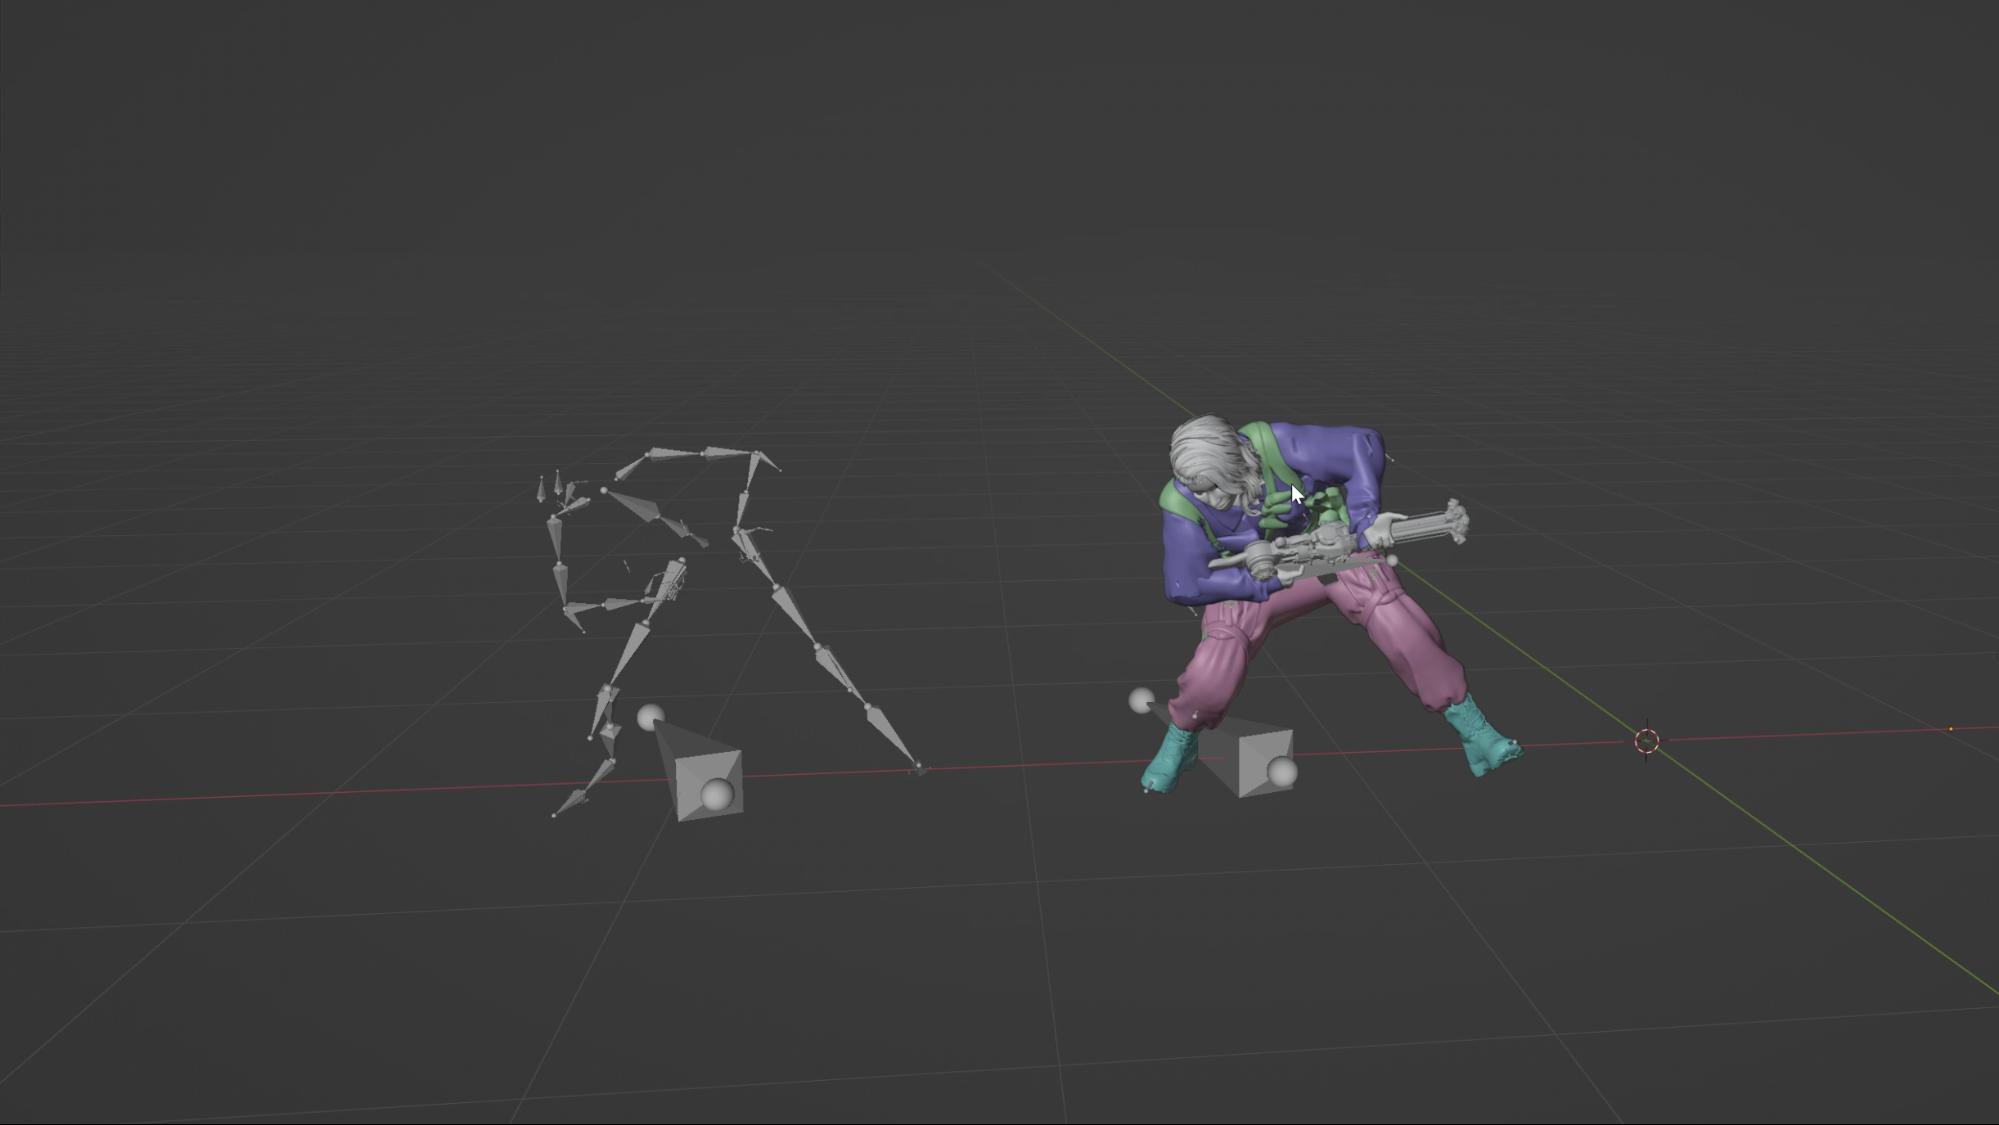
 In Blender, choose Import Animation. To transfer the desired pose, select the skeleton with animation, move the cursor over the timeline, and press G. This allows you to play the animation by moving the mouse. Once you’ve found the pose you like, switch to pose mode and copy the pose. Next, enter pose mode on our character, right-click, and paste the pose.
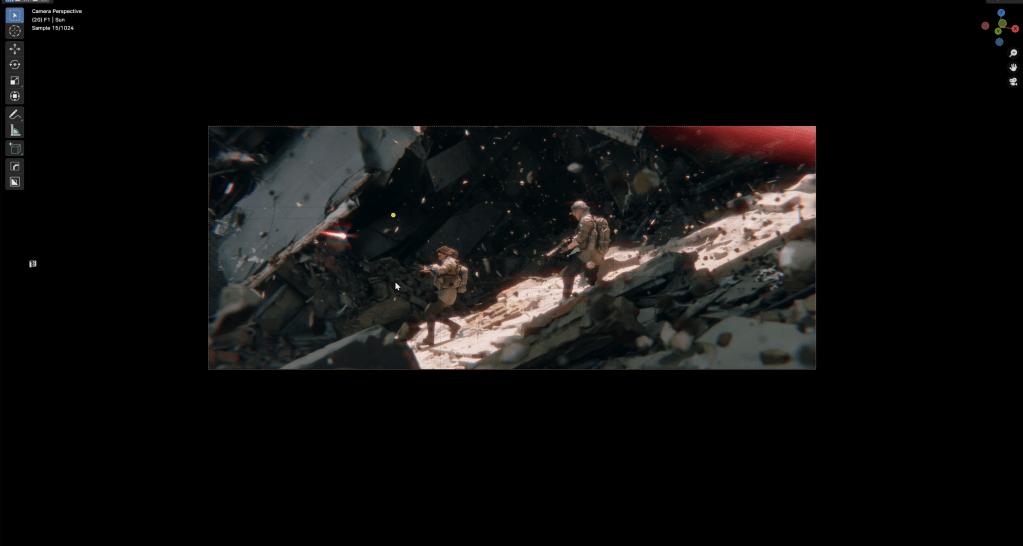
Blockout Phase
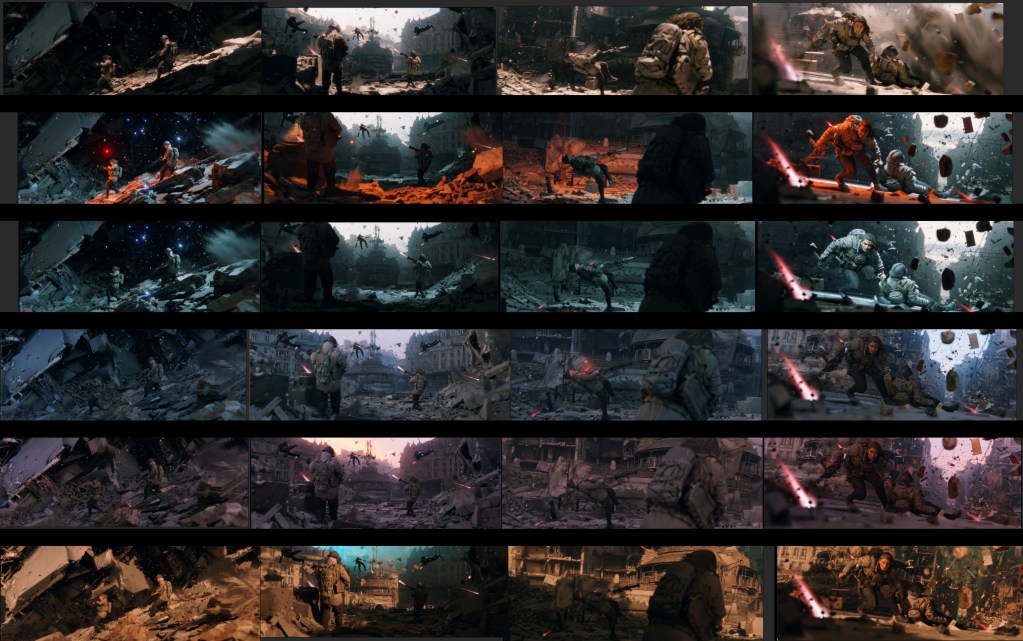
Upon reviewing the references, I commence with a rough blockout of my scene. My aim is to establish the composition and initial lighting. During this stage, I alternate between Blender and Photoshop to overlay and quickly iterate on the initial concept.
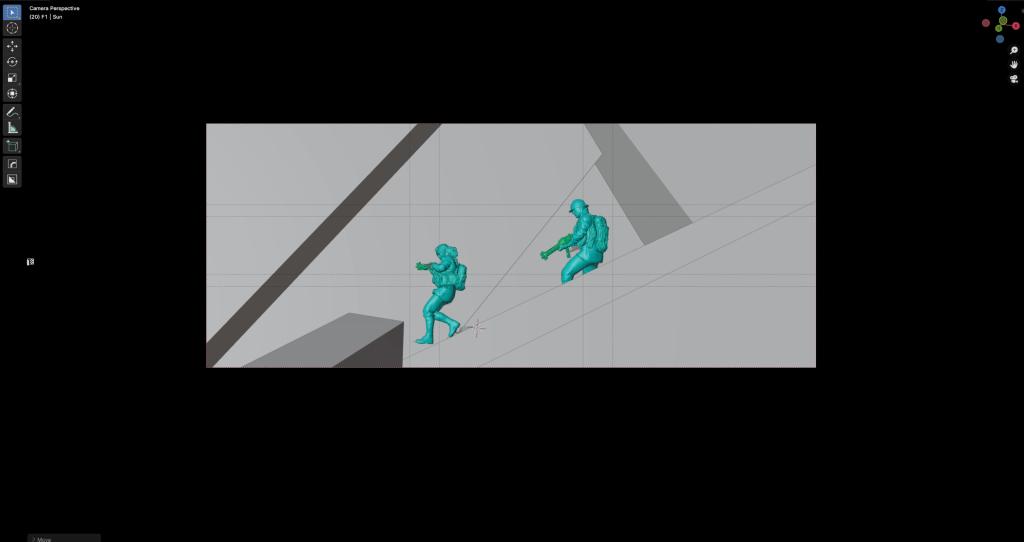

Once I’ve completed the blockouts for all the shots I intend to create, I populate the scene with assets and incorporate particles and atmospheric elements.
 After finalizing the scene, I transitioned to Photoshop for the final photobashing and color grading process.
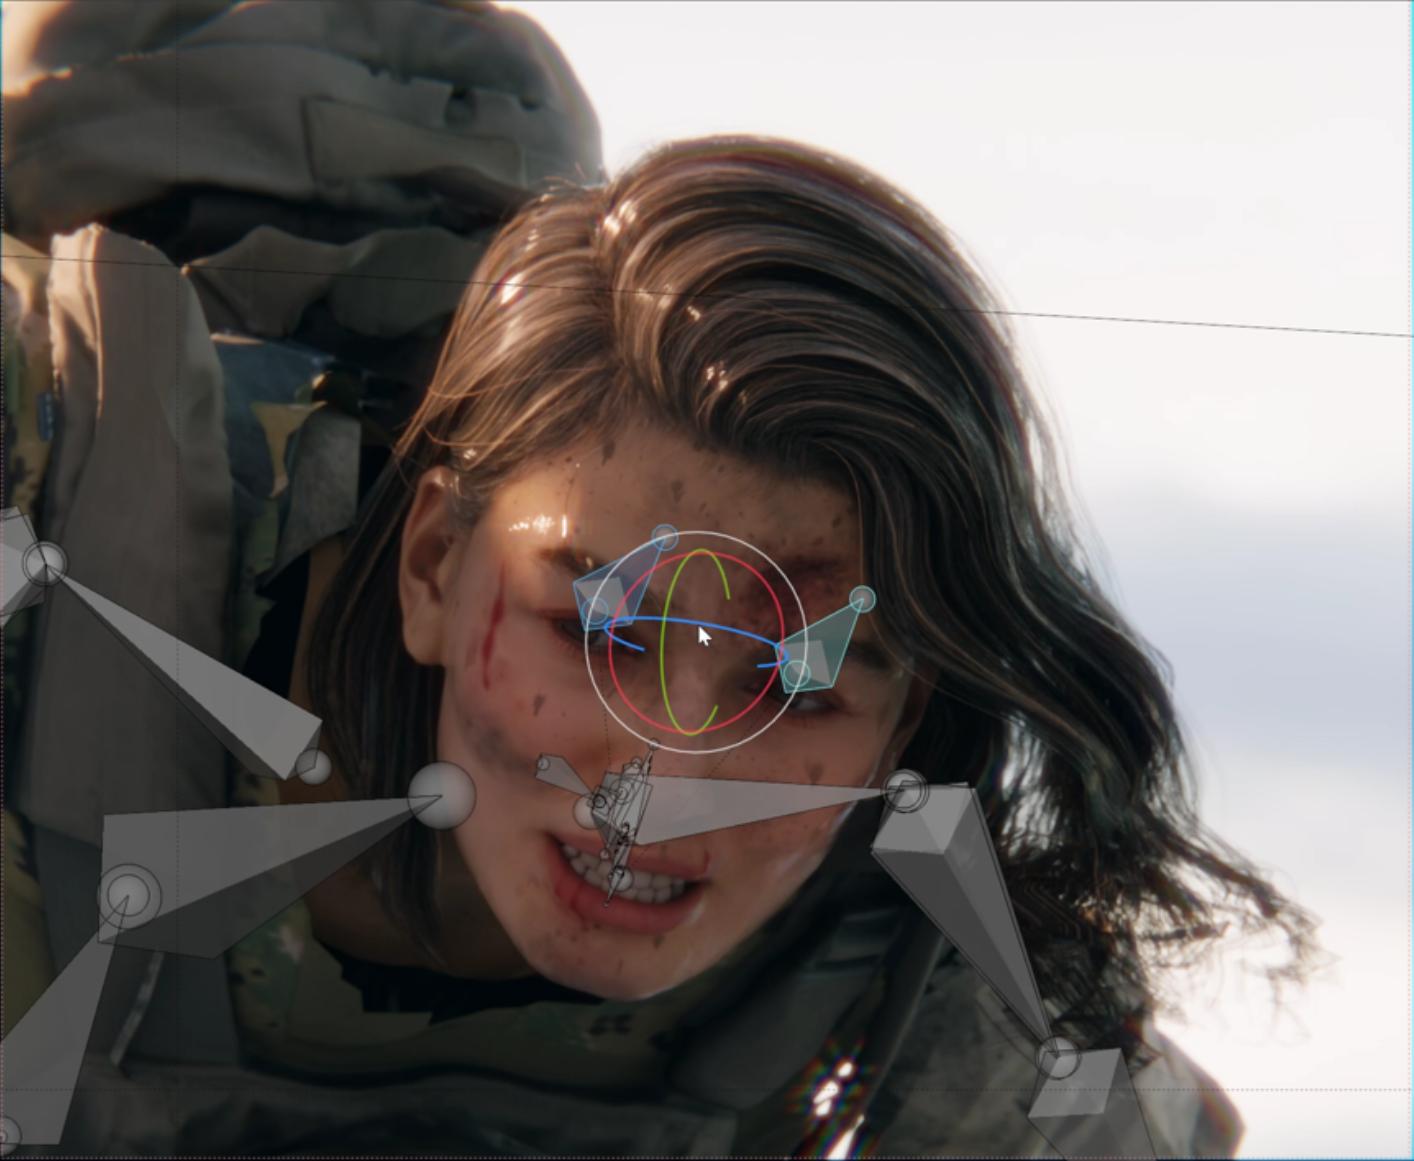
 Expression
One of the most useful features for me are expression wrinkles that I exported from Character Creator.
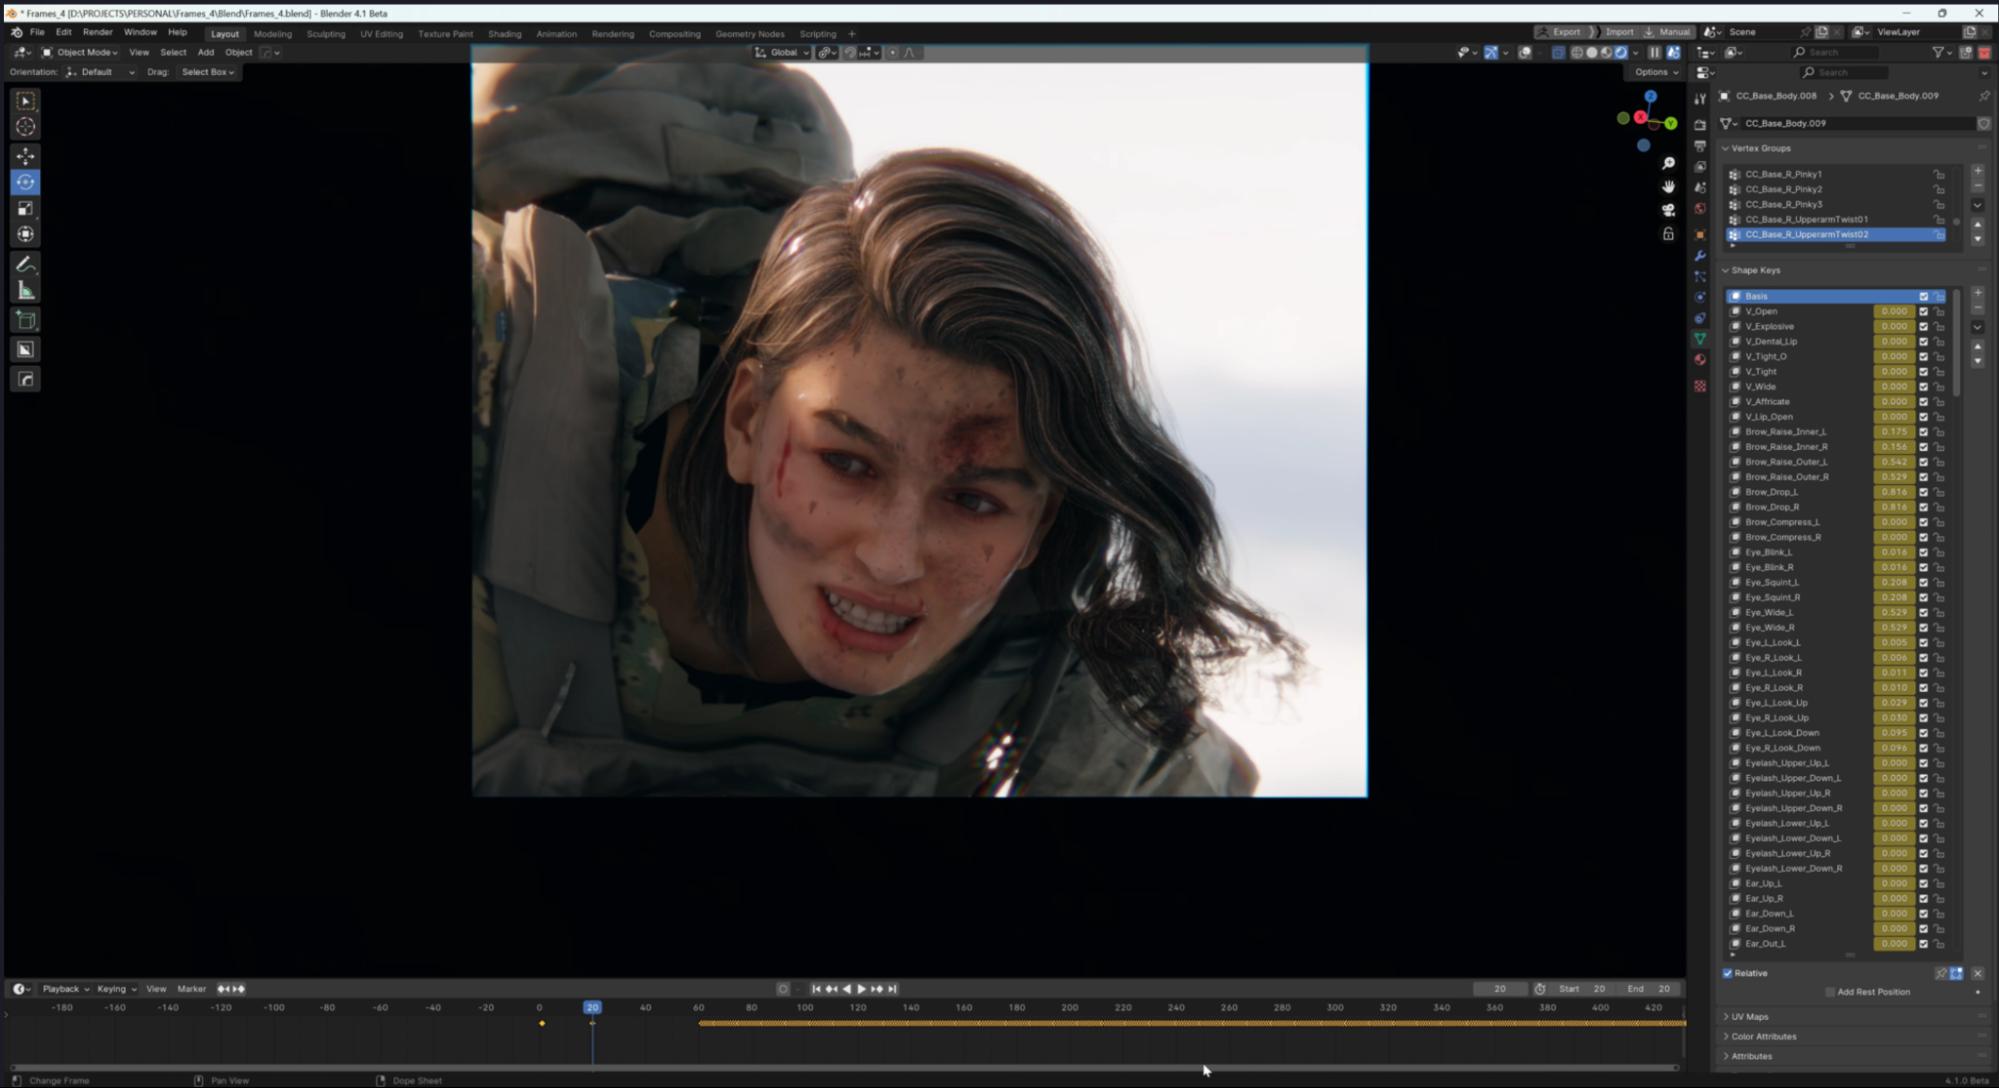
In Blender, I can choose from the expression that is the closest to the one i want by moving my cursor over the timeline and planting animation. When I find something that I like I use shape keys to get precisely what I want.
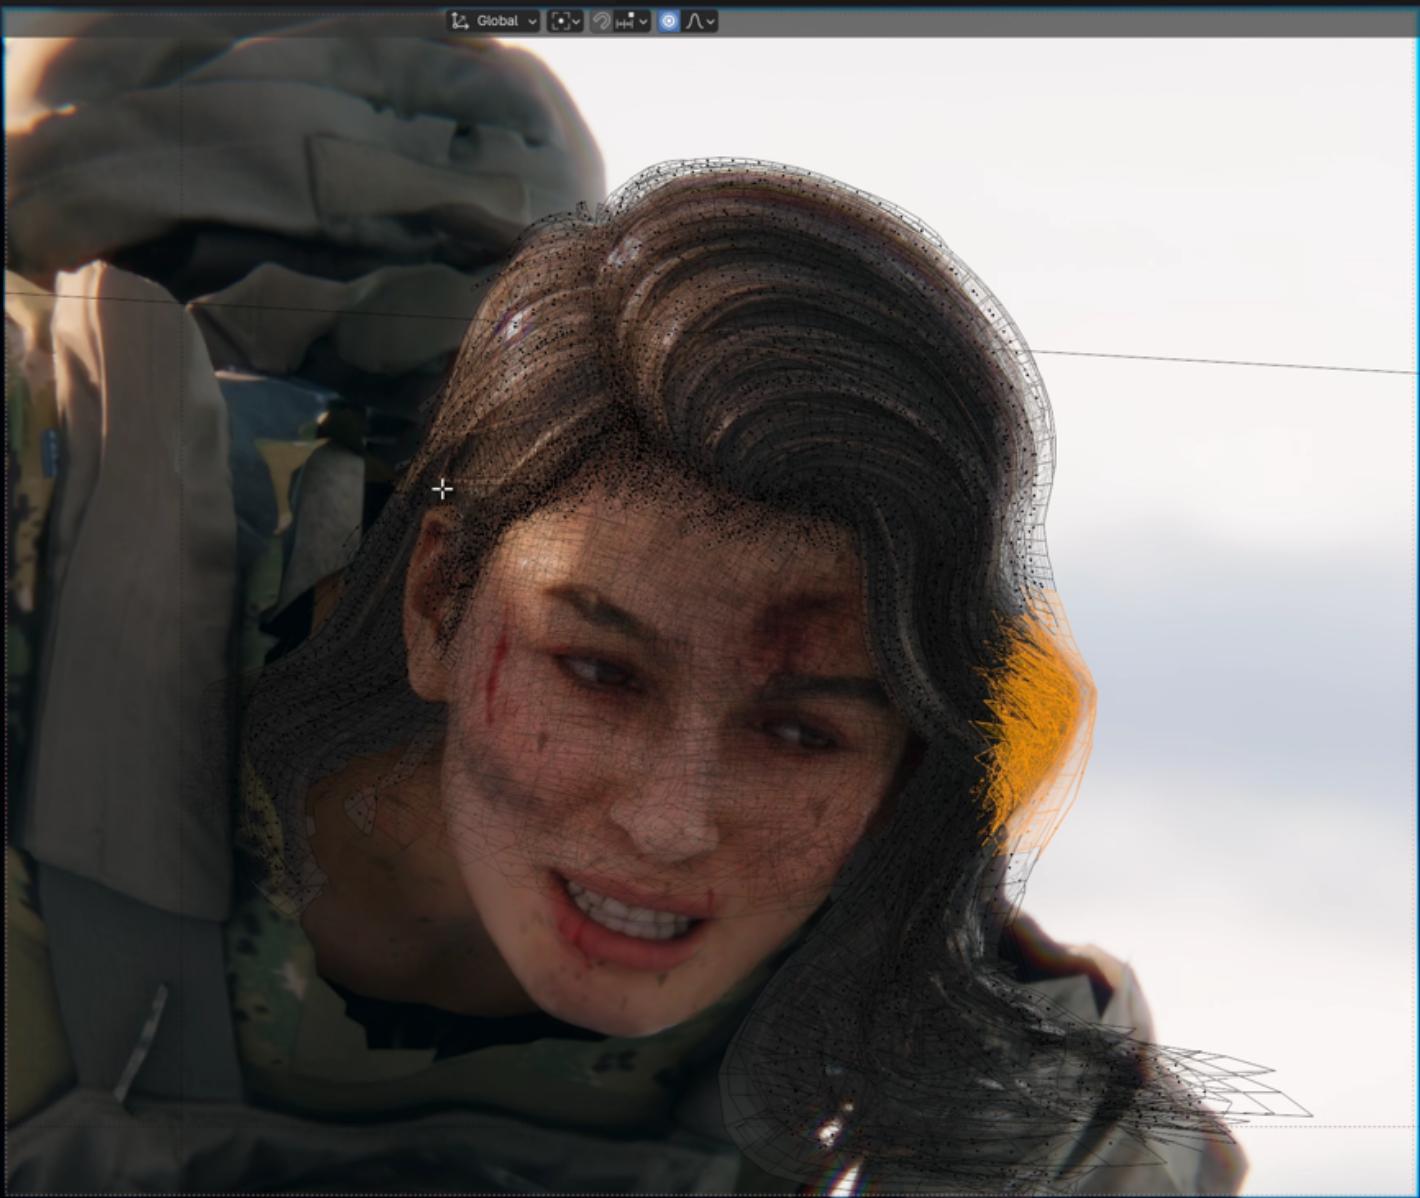
As for hair, I just simply modify them in Edit mode.
In Conclusion
The workflow outlined here provides a comprehensive and efficient approach to crafting high-quality characters for conceptual artwork. Through the utilization of tools such as Character Creator and KeenTools for Blender, the process is significantly streamlined, enabling rapid and realistic character creation with effortless posing.
Throughout the process, a delicate balance between speed and quality should be upheld, with continuous iterations and refinements to attain the desired outcomes. This workflow seamlessly integrates 3D modeling, texturing, and posing, delivering both flexibility and efficiency in character creation for concept design.