INTRODUCTION
Hello, my name is Enrico Pratenta Bangun and I’m a self-taught 3D artist from Indonesia. I have always loved everything about visual design which is why I’m very interested in 3D designing. Right now, I work as a freelance 3D artist with 3 years of experience and I’m still learning.
With this opportunity, I would like to share the process of how I made my artwork.
INSPIRATION
My inspiration for this artwork came from James Traile’s artwork. I have been following his Instagram for so long and also watched his tutorials on YouTube. His work is always about nature but what makes it interesting is how wild the ideas we can imagine about nature are. For example, like simply putting grass, flowers, and other plants inside of a room or placing a house on a beach that’s surrounded by rock structure and some plants, which is the main idea of my artwork.
PROCESS
Hardware
- Laptop Lenovo Legion Y540
- Intel i5-9300H
- Nvidia GTX 1650
Tools
- Blender
- Quixel Bridge
- Adobe Photoshop
Addons
Reference
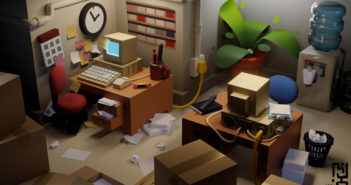
In this specific artwork, I used an AI image generator to create the basic look of my rough idea. Here are the results that attracted my attention:
Block out
The first thing that I do when I'm working on any project is to block out my scene. This will help me to find the basic structure and to visualize the overall look. At this stage, I didn’t need a really detailed model, so I just created some basic shapes like blocks and triangles. After placing them, I added a camera into the scene, and started tweaking the position and the camera settings until I got what I liked.
Modeling
After the block out stage, I can continue to the modeling stage in which I will turn the basic shapes into a detailed model. I started from the basic structure first and then worked all the way up to some details in the scene. Objects like plants are the last thing that I add in a scene.
I created the sand with some displacement texture to have some bumps on the sand.
For the rock structures, I imported some of the 3D models from Quixel Bridge and then started placing it in the scene.
After placing the sand and the rocks, I continue to make the water. It's just a simple cube with a displacement texture and a water shader.
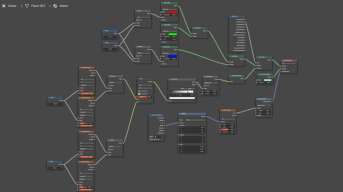
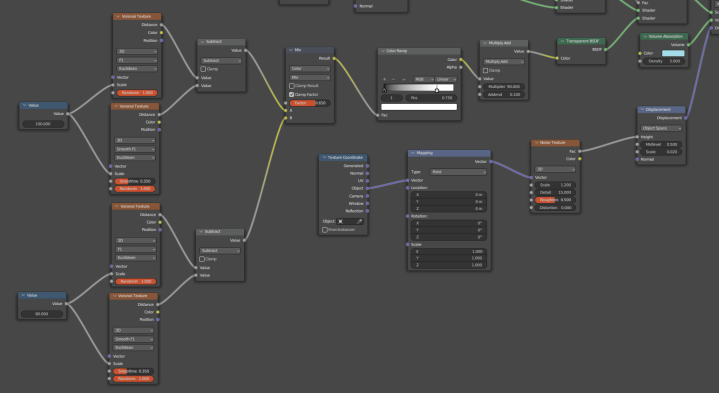
It's not just a basic water shader as I added caustics to it. I experimented a lot with this shader and it turned out really well.
Once the sand, rocks, and water were in place, I then added a house in the middle.
The house model is from a SketchFab made by massive-graphisme.
I used the Tree Vegetation and Botaniq addons to add some of the plants in the scene. There are tropical trees, ferns, and bushes.
Lastly, here’s my overall modeling process from start to finish.
Lighting
For the lighting, I only used a sun-light to light the entire scene and for the background, I used a stock photo from Unsplash.
Post-Processing
In this stage, I edited the raw render image from Blender to Adobe Photoshop. First, I added a camera raw filter to the image and then tweaked the brightness, contrast, and white balance a little bit. I also added a vignette to the image and then some glow to make the final image look rich.
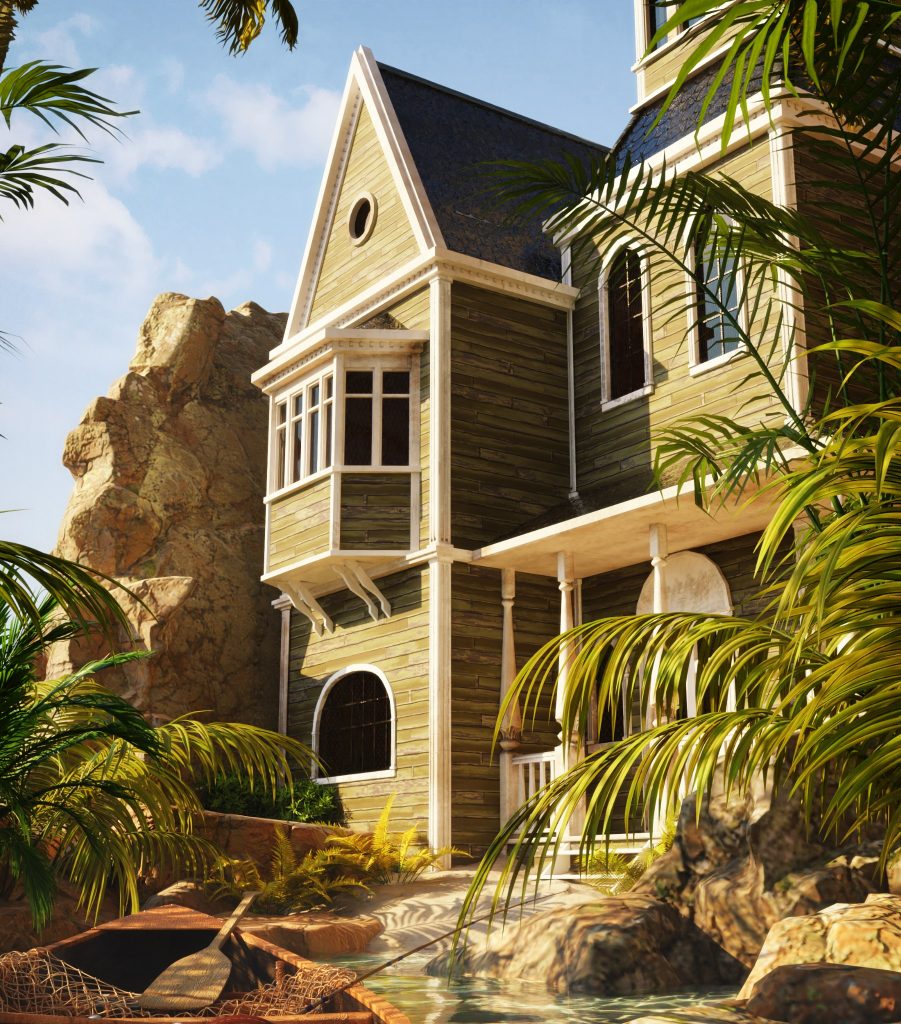
RENDER: Summer Dream
That’s all about my process! I hope you got something useful out of this article. Thank you!
About the Artist
Enrico Pratenta Bangun is a 3D artist from Indonesia, specialized in environment design and currently working as a freelance 3D artist.


