Behind the Scenes: Angry Viking
INTRODUCTION
Hello, my name is Agustín Luis Páez, and I am a graphic designer and 3D artist from Argentina. Since I was very young, when I started playing PlayStation (one) video games, I have been fascinated by the 3D world. I was amazed to see the character models and environments, especially when I could see objects rotating in 360 degrees in games like Tomb Raider. Every time I obtained a new object, key, or weapon, I would enter the menu to see them rotate. Maybe it sounds silly but at that time, this was amazing for me. Years later, I discovered that with programs like 3Ds Max, I could create my own characters and objects, so I started experimenting and learning on my own.
Currently, I work at Buda.tv, an animation studio in Buenos Aires, Argentina. I joined at the end of 2020, and since then, I have had the opportunity to collaborate on great projects and learn a lot thanks to the entire team.
INSPIRATION
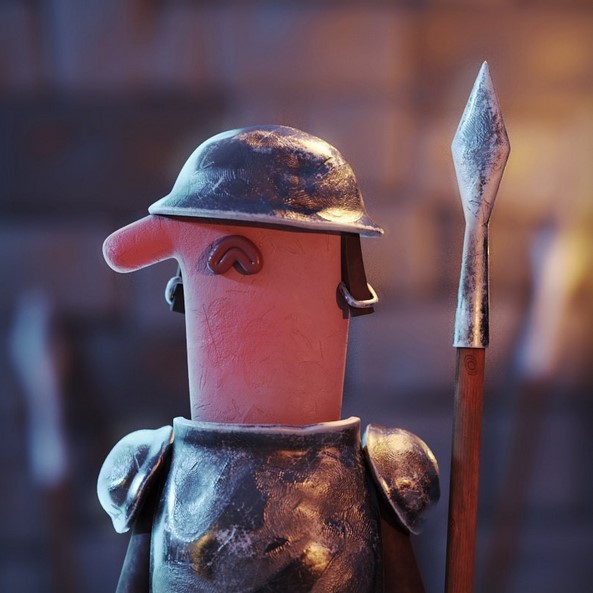
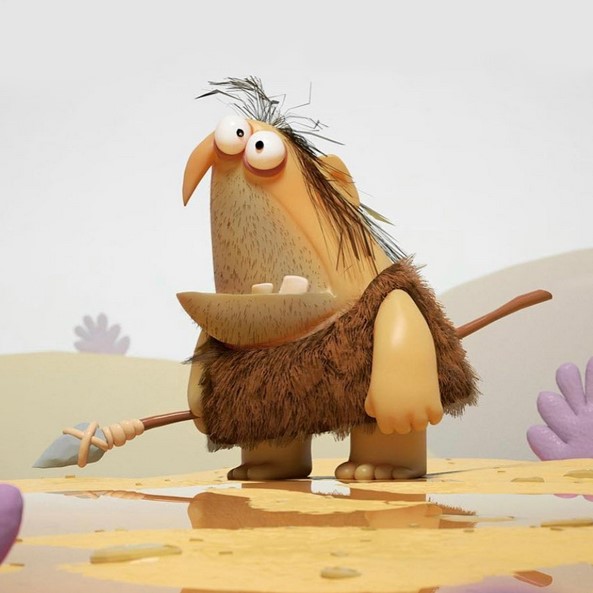
For this project, I wanted to create a character that formally worked better when seen only from the front, with eyes, nose, and limbs facing the camera, just like the following projects that fascinate me. Additionally, it’s my first character in which I simulated such a large amount of hair, created the entire scene, and rendered it in Blender, so it was a long learning process. The artists that inspired me were Bram Varo, Léo Brunel and Magnus Moller.
PROCESS
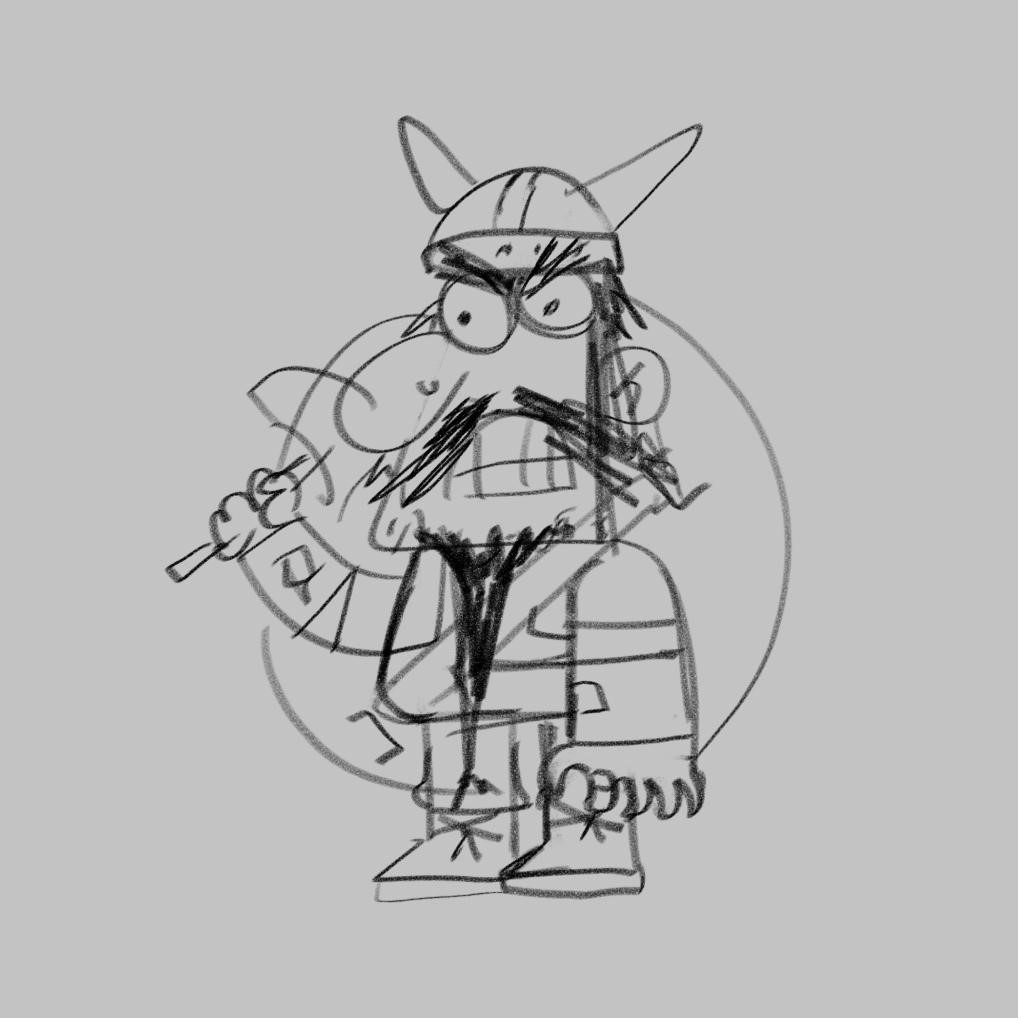
Concept
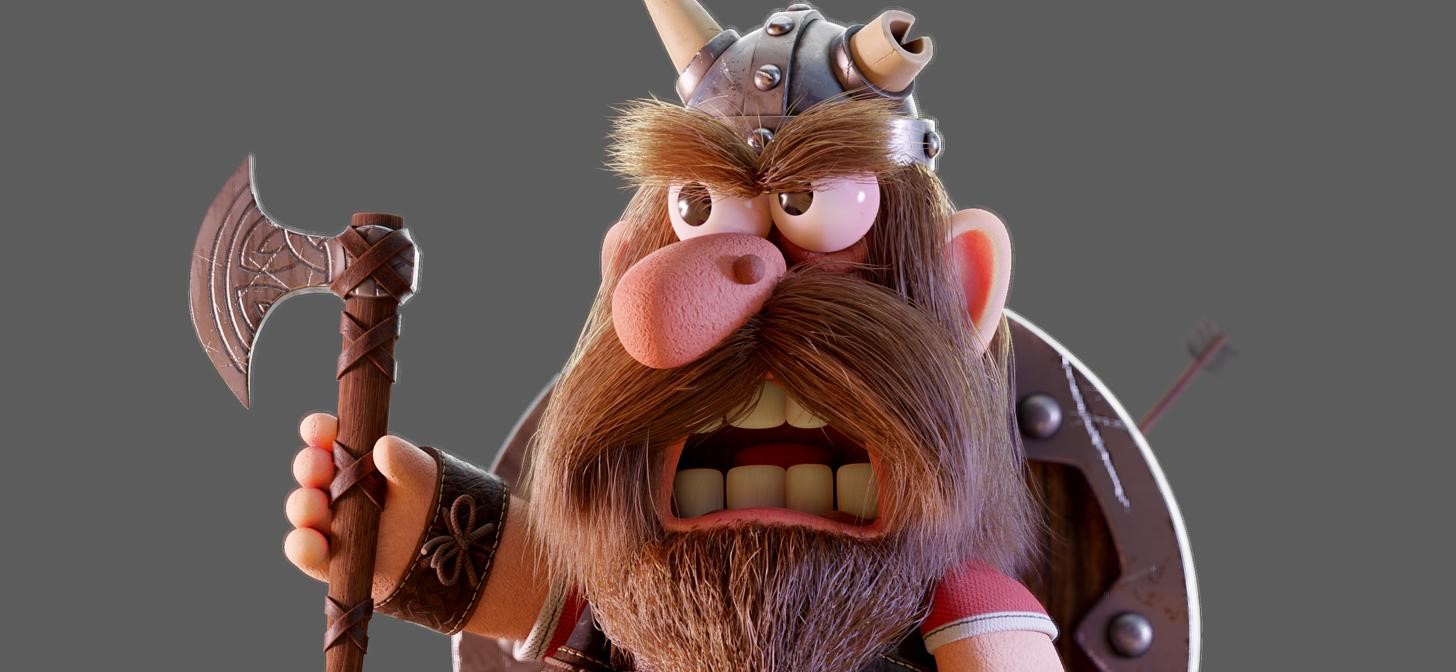
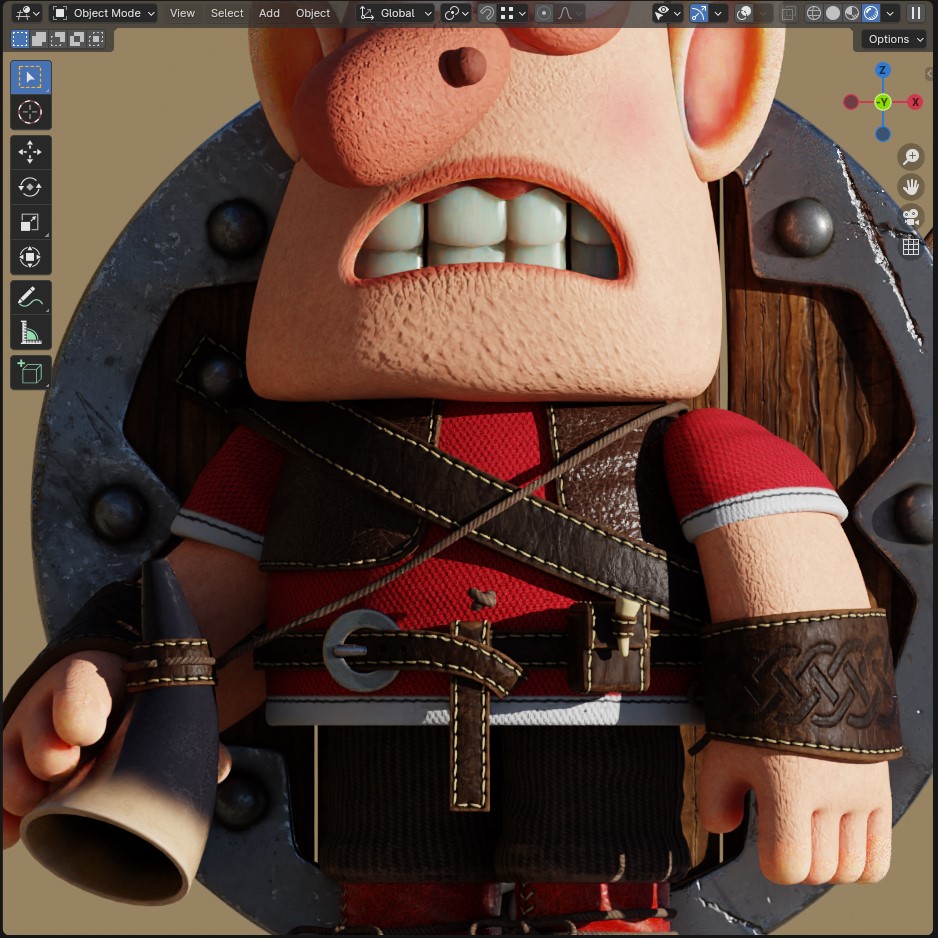
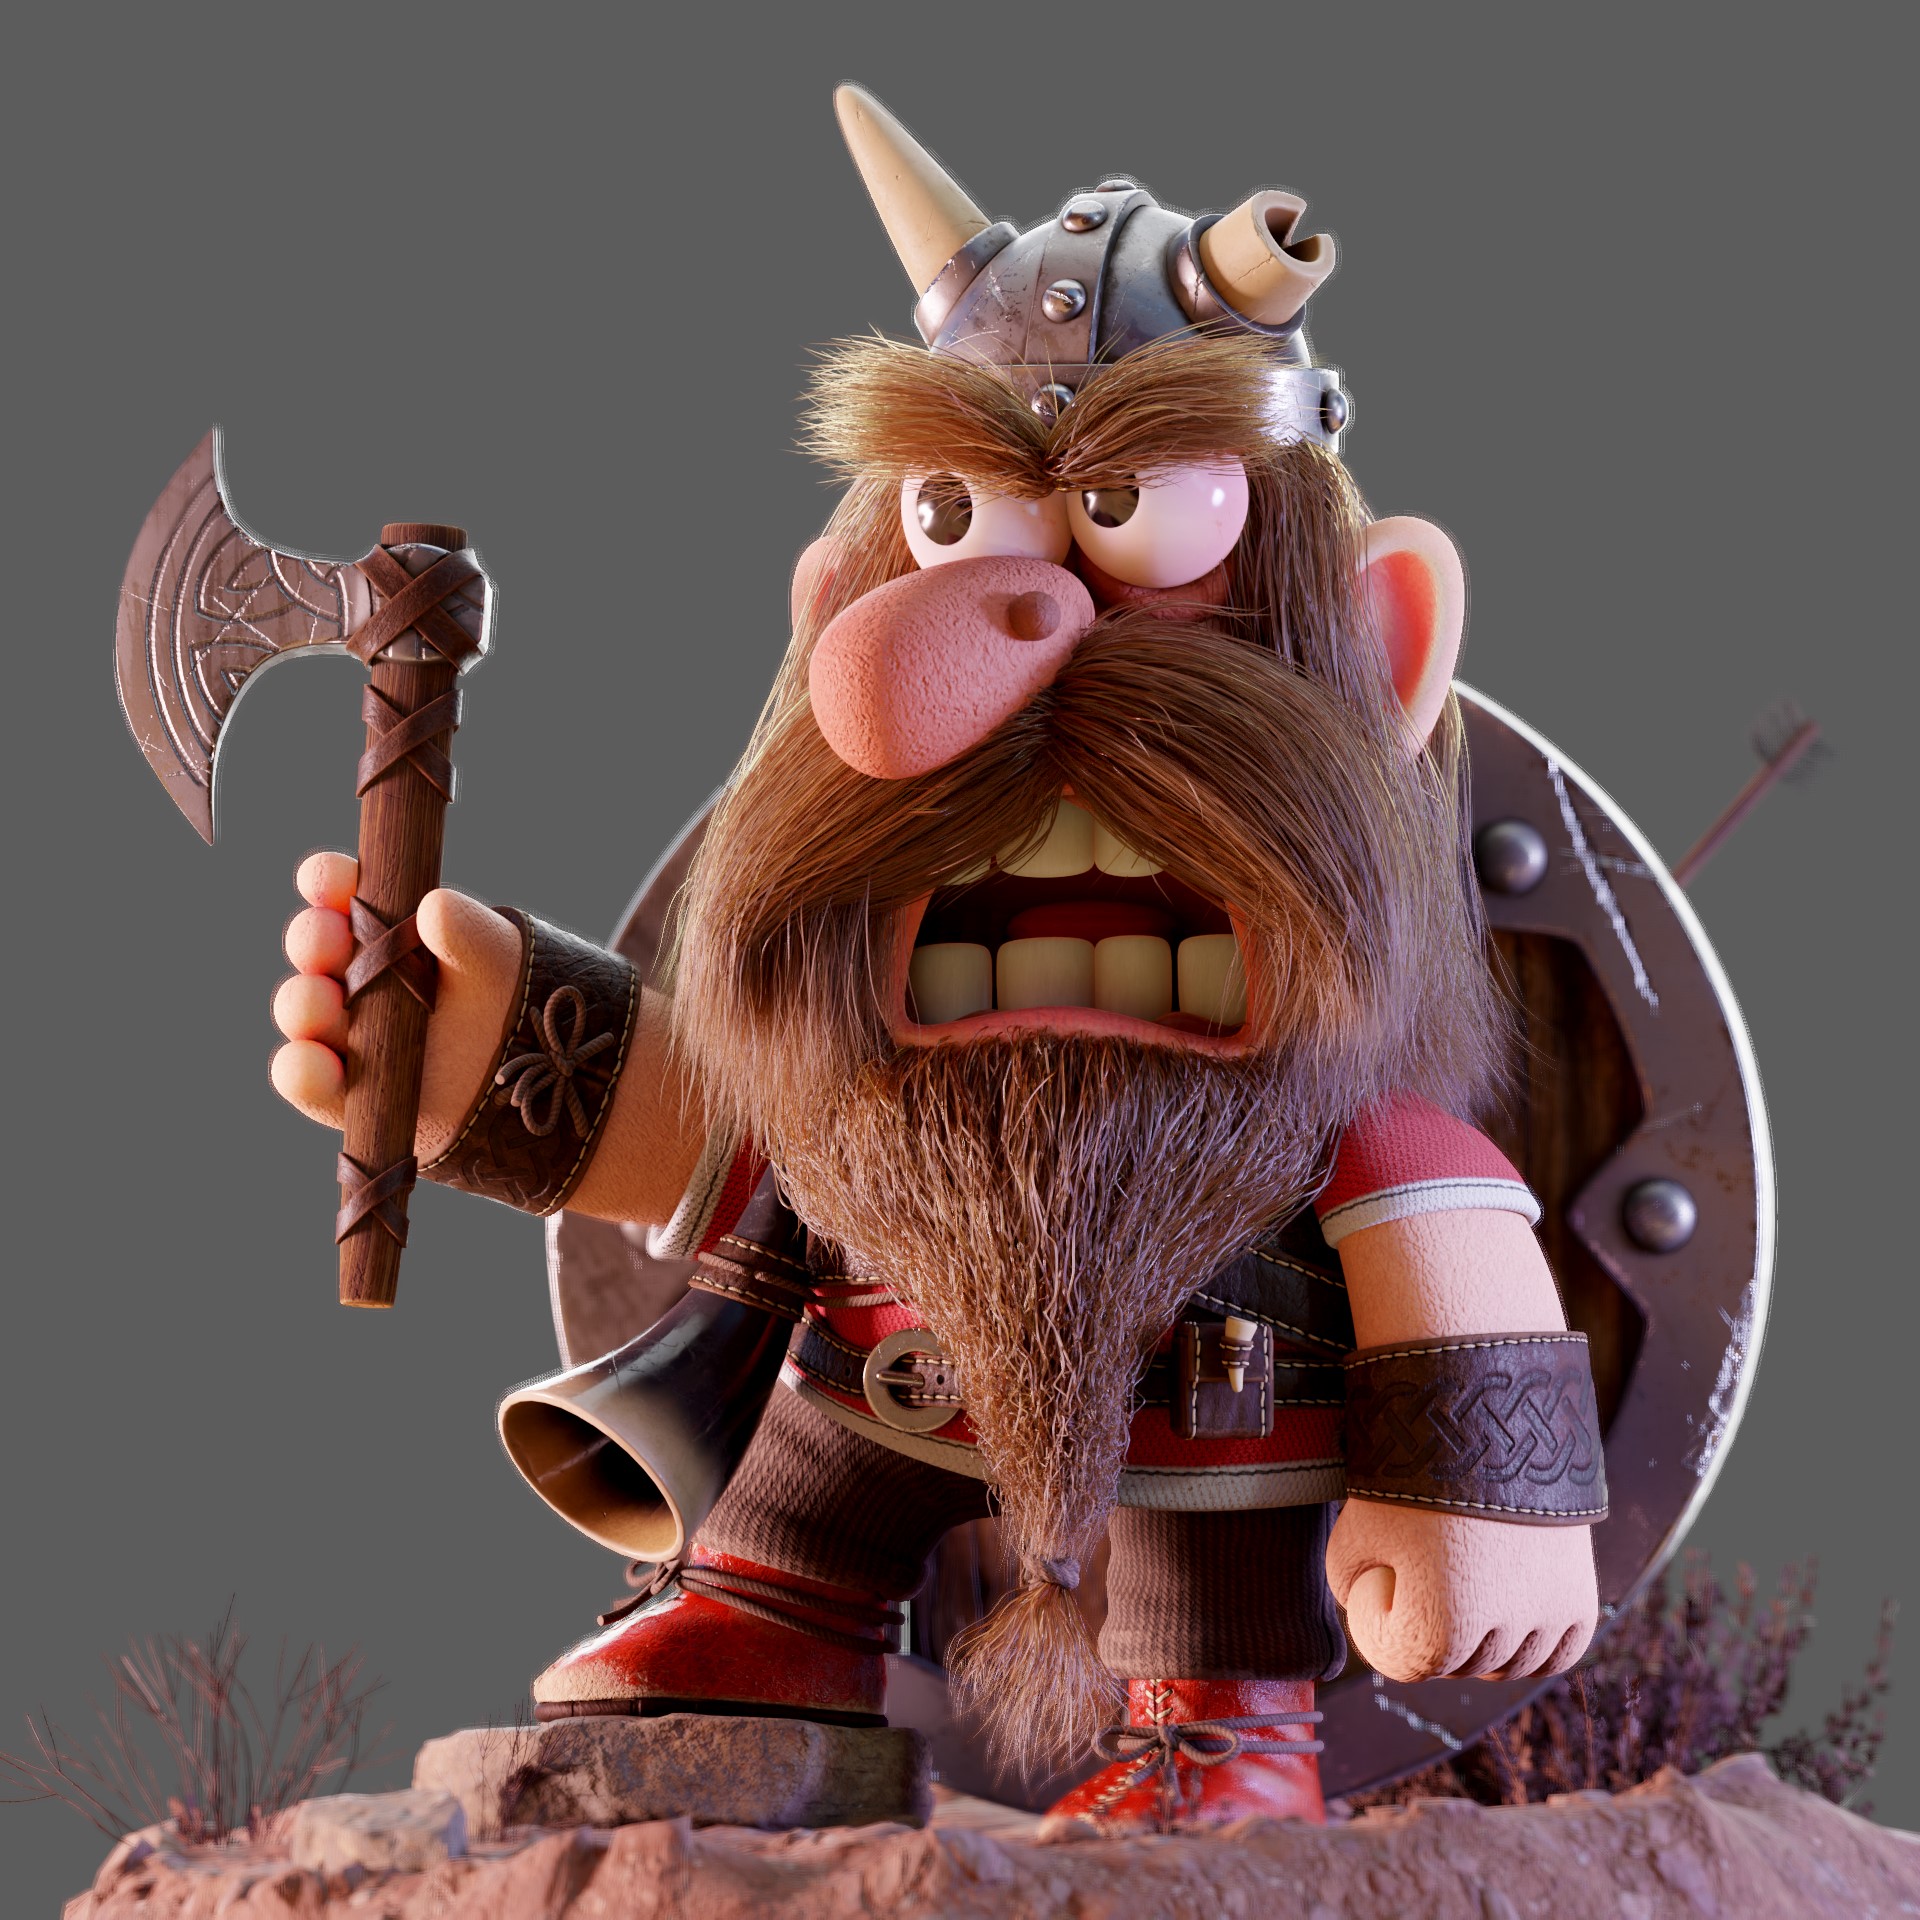
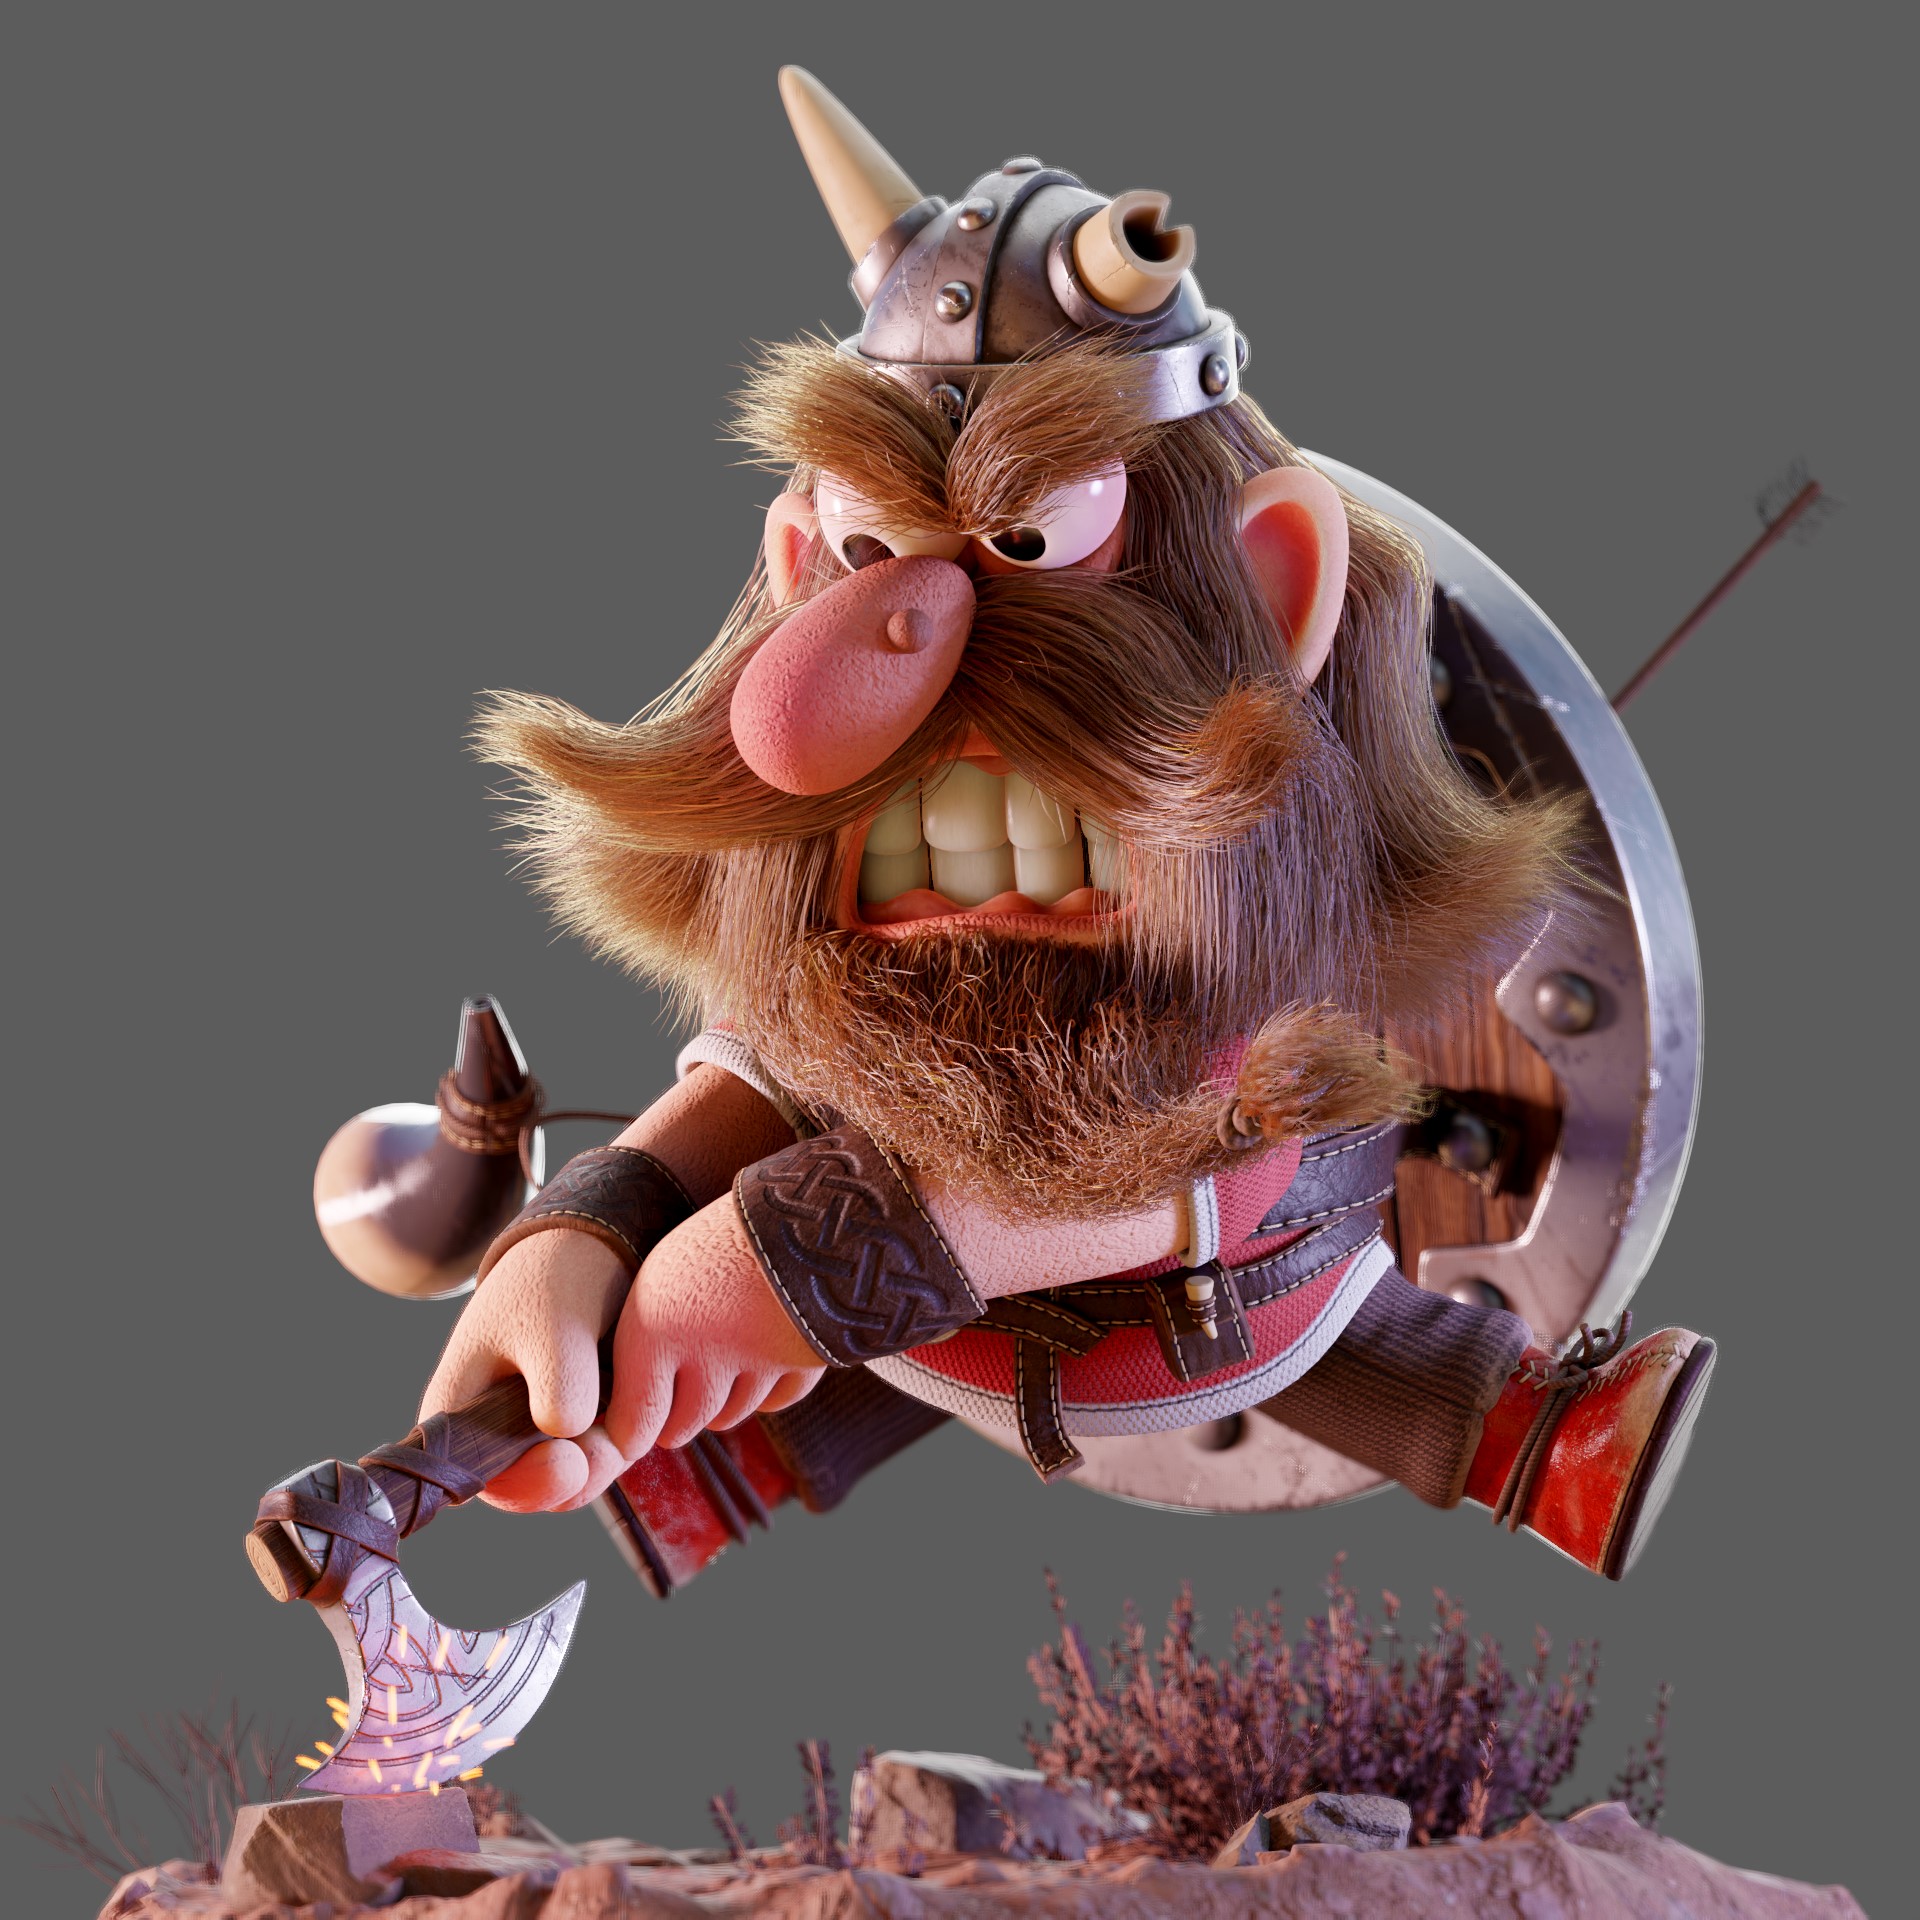
I started with a quick sketch of simple and geometric shapes. I was interested in highlighting an aggressive expression of the character contrasted with a humorous morphology, accompanied by a beard, mustache, and a shield of ridiculous sizes. I swear I can actually draw better.
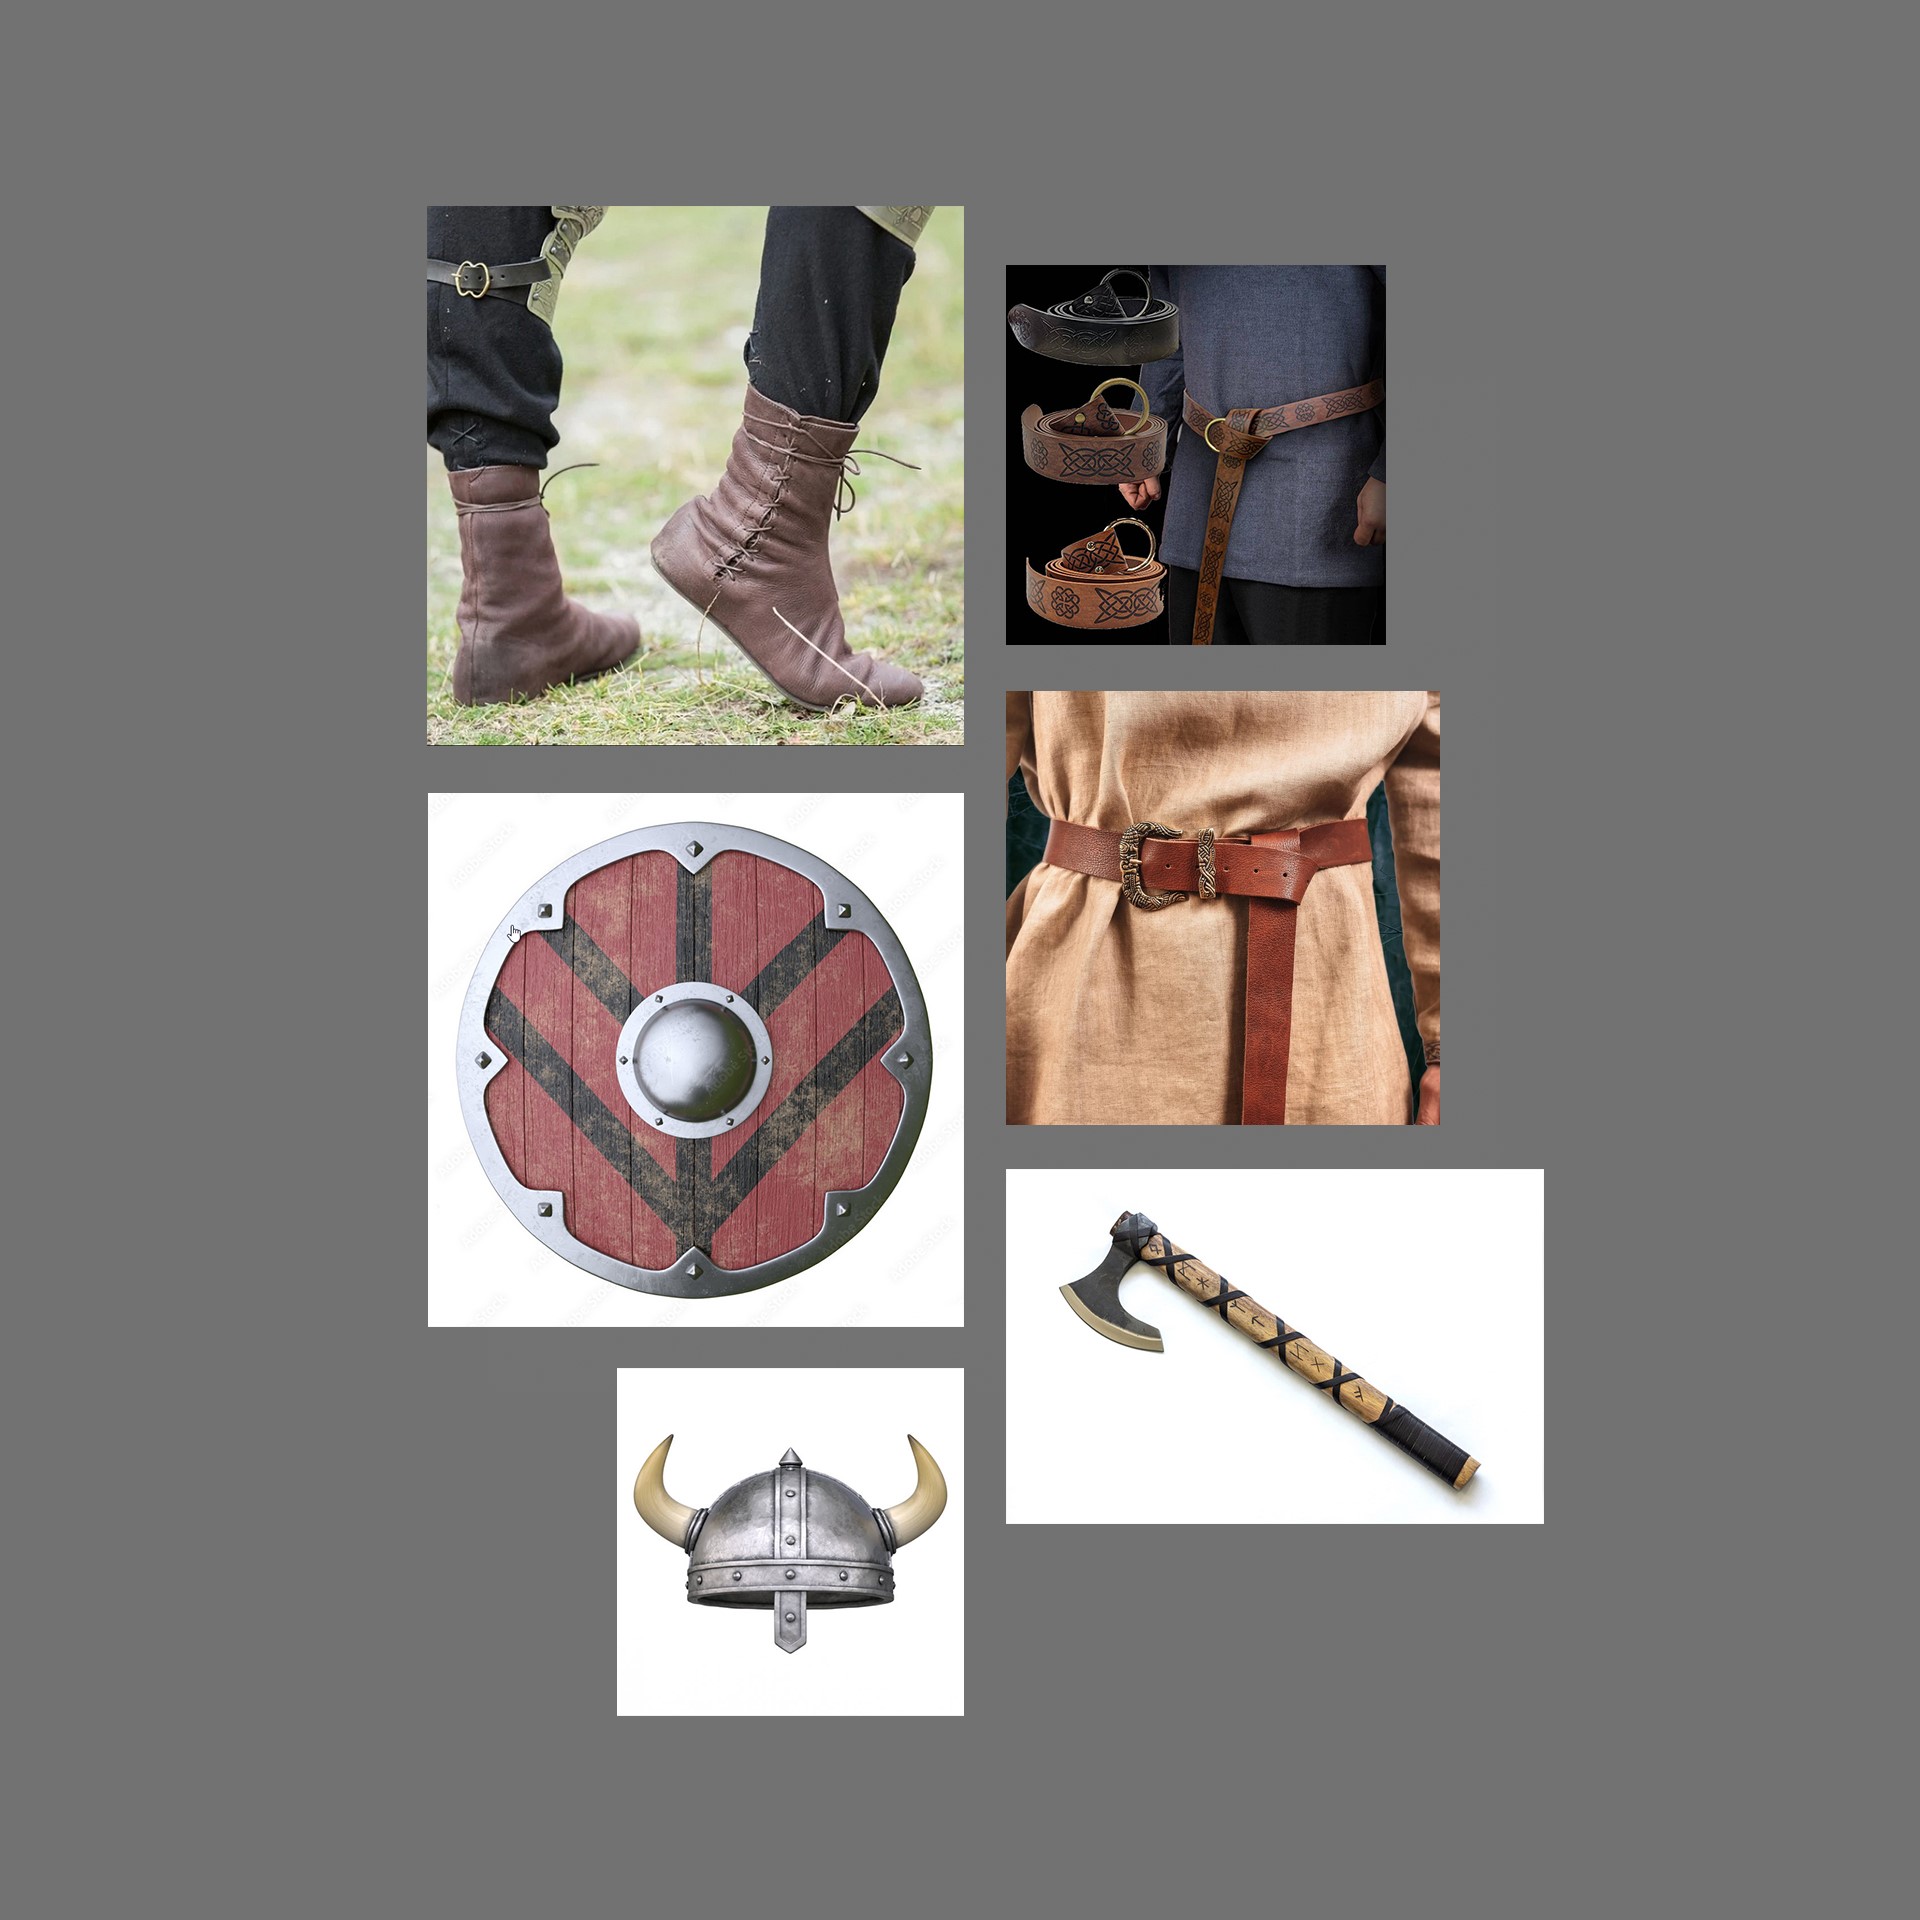
Shapes and materials references
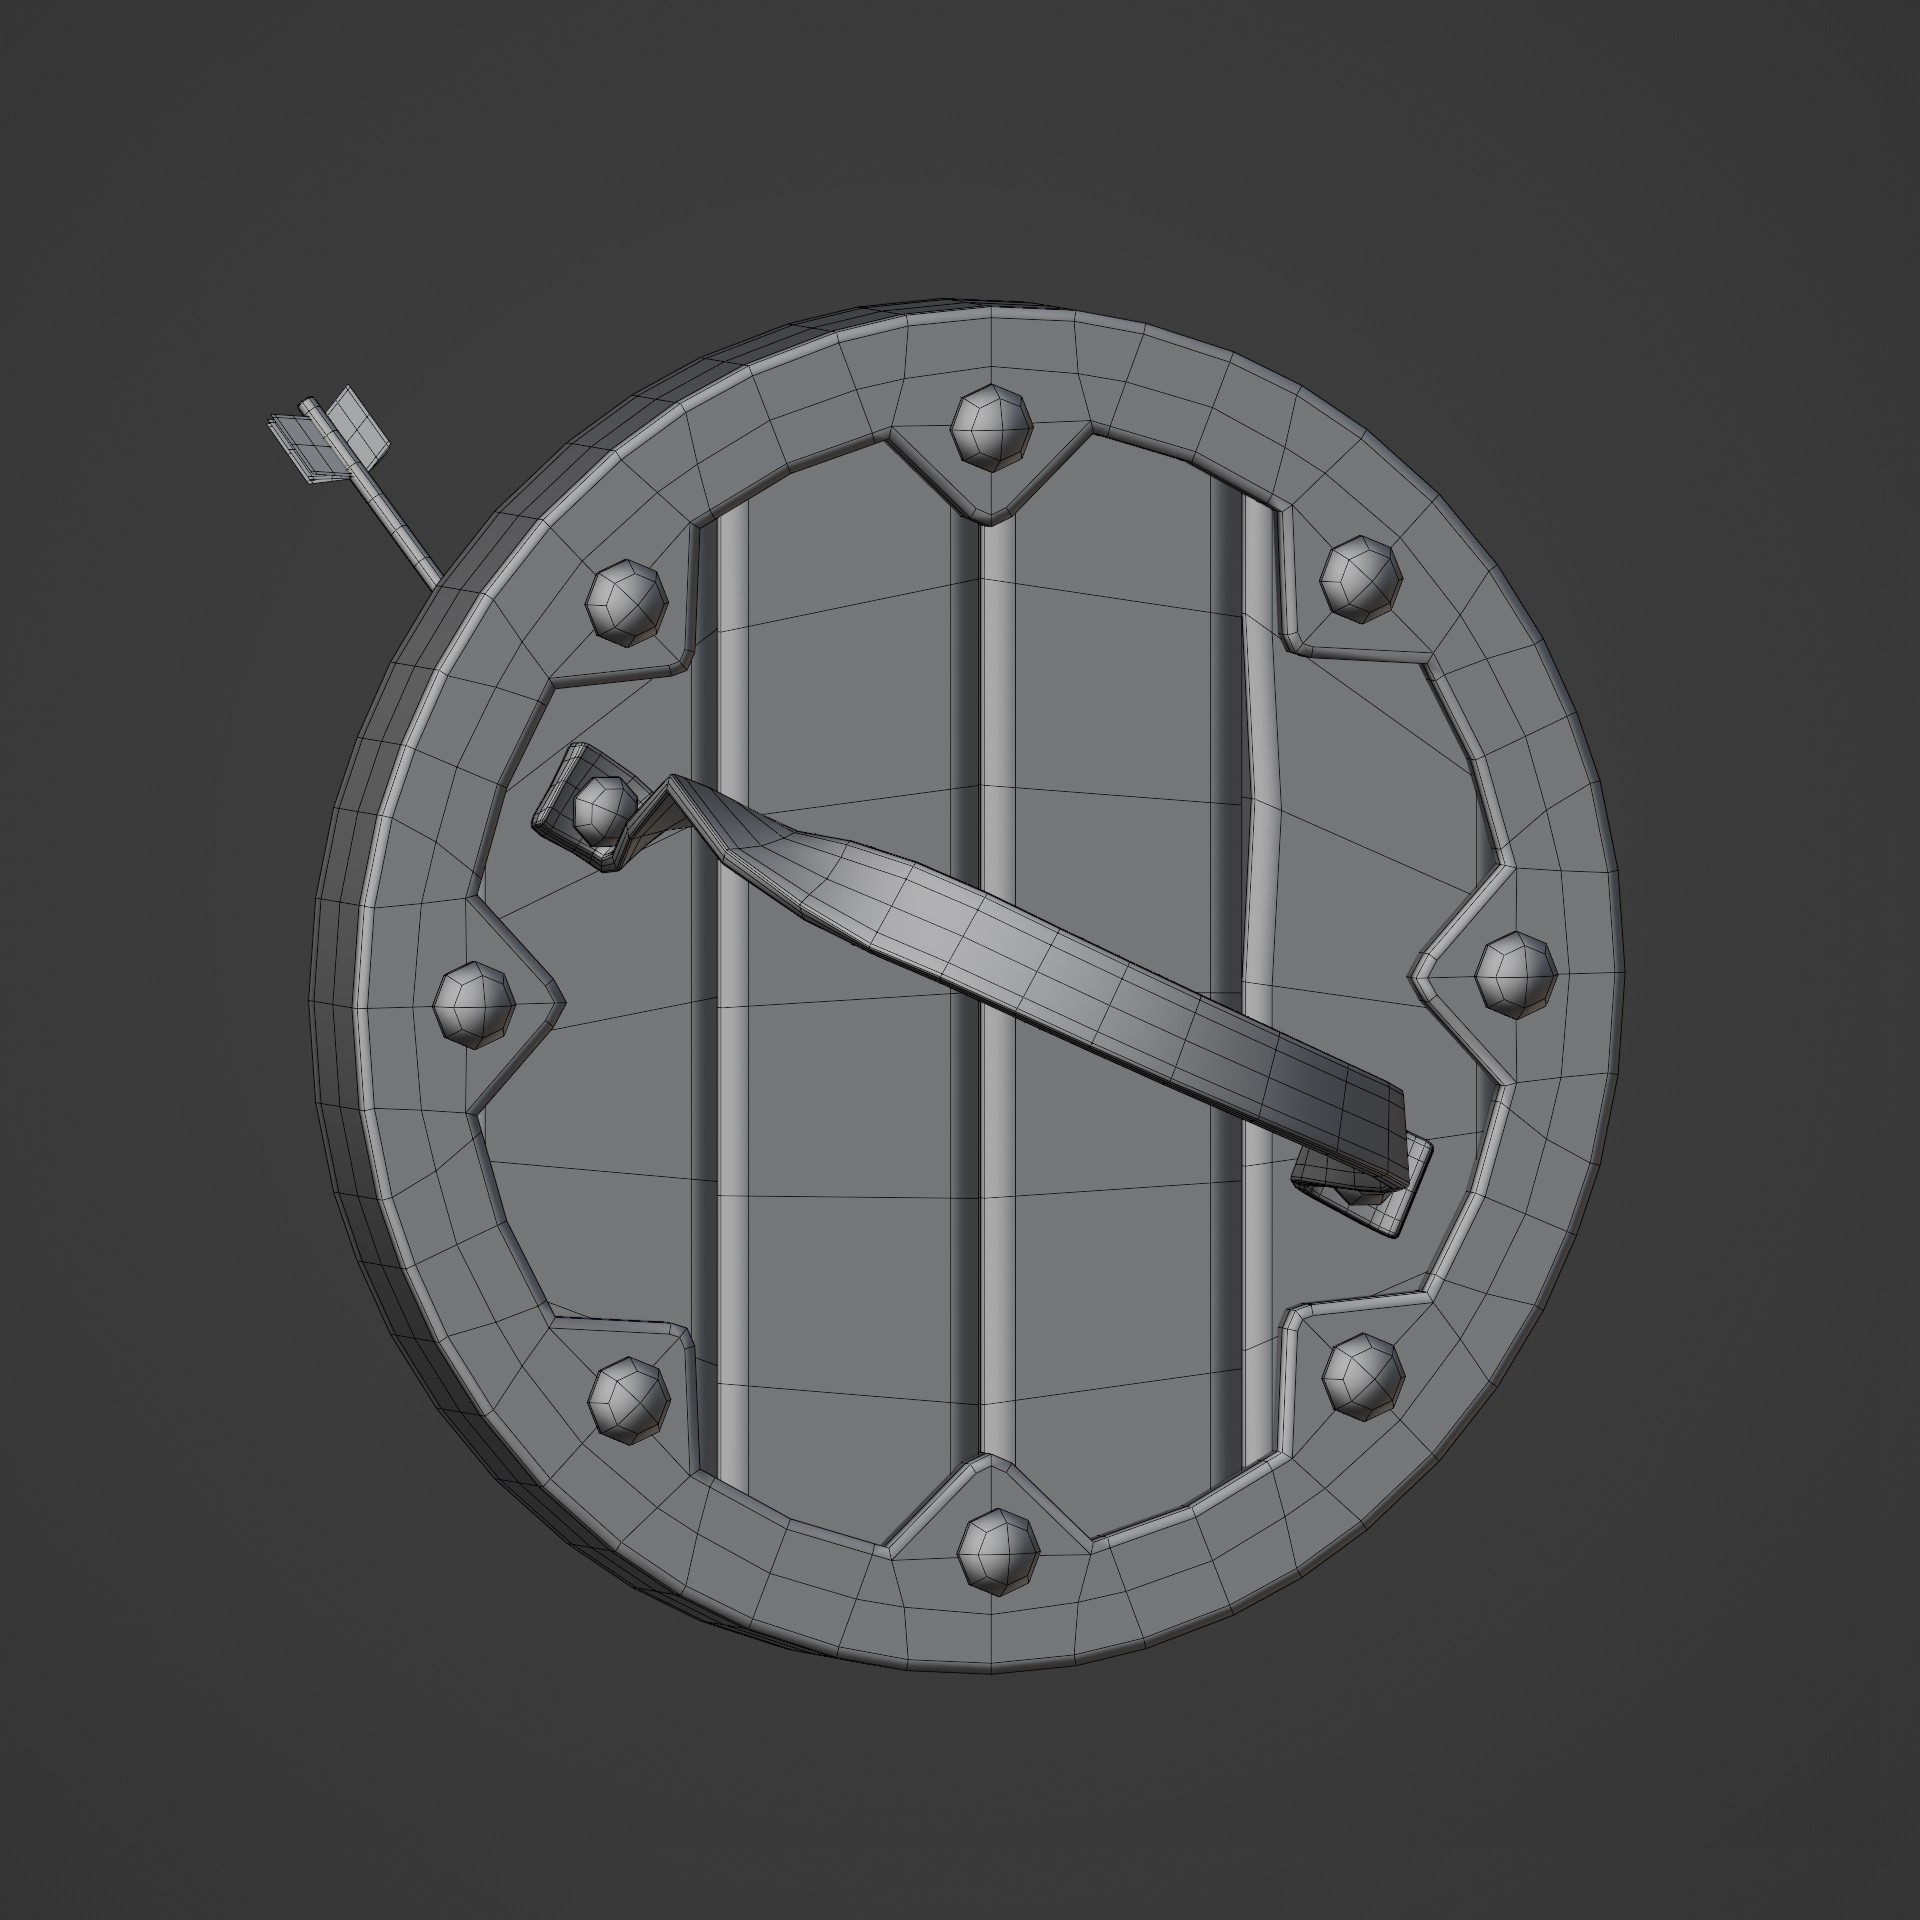
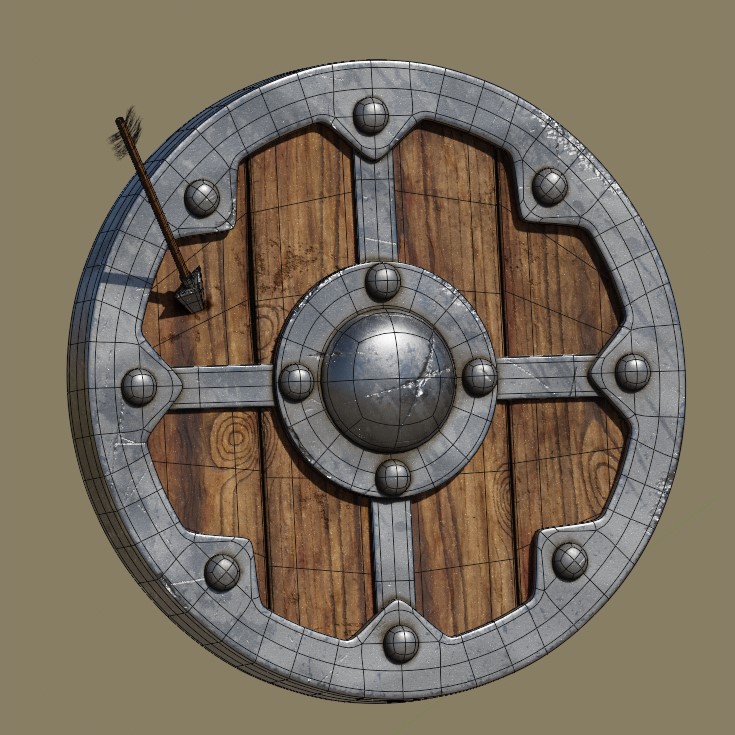
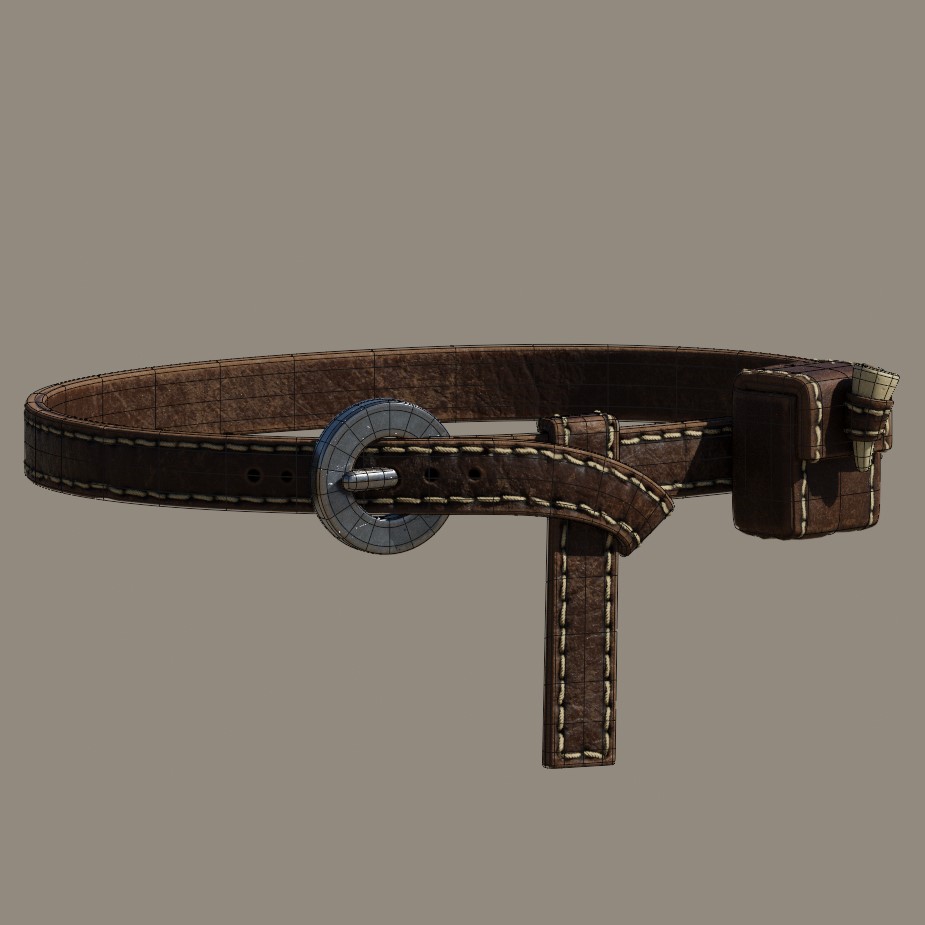
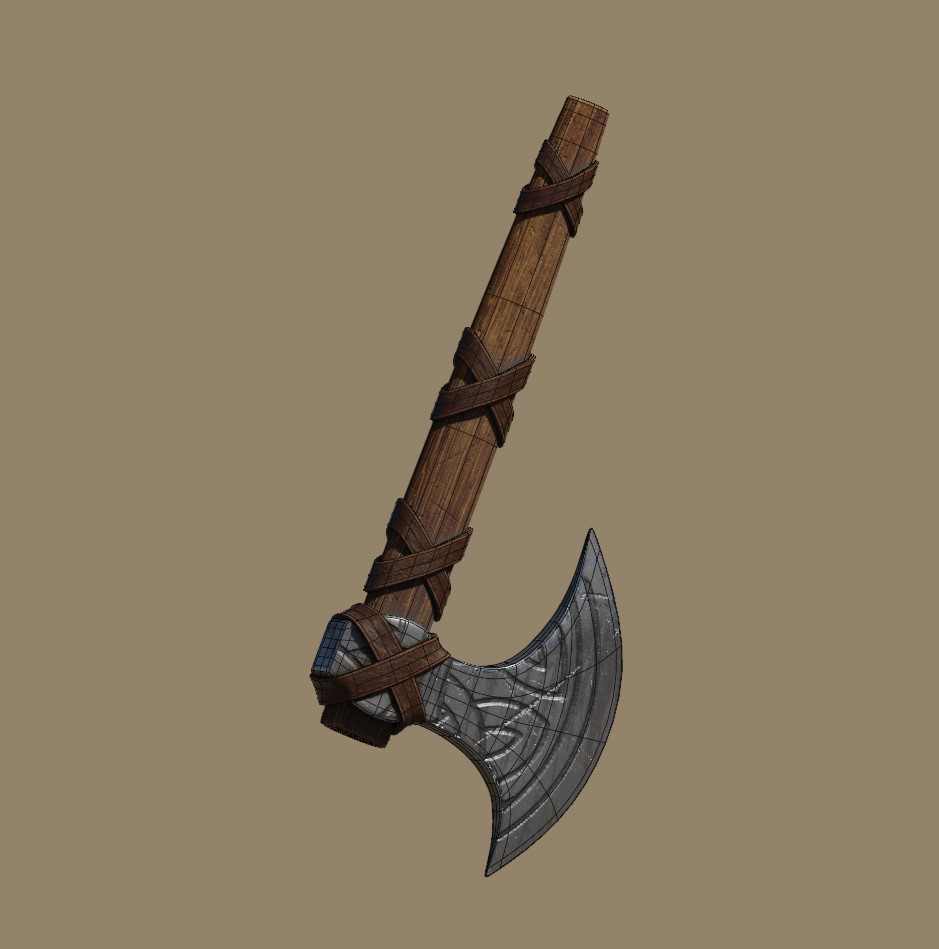
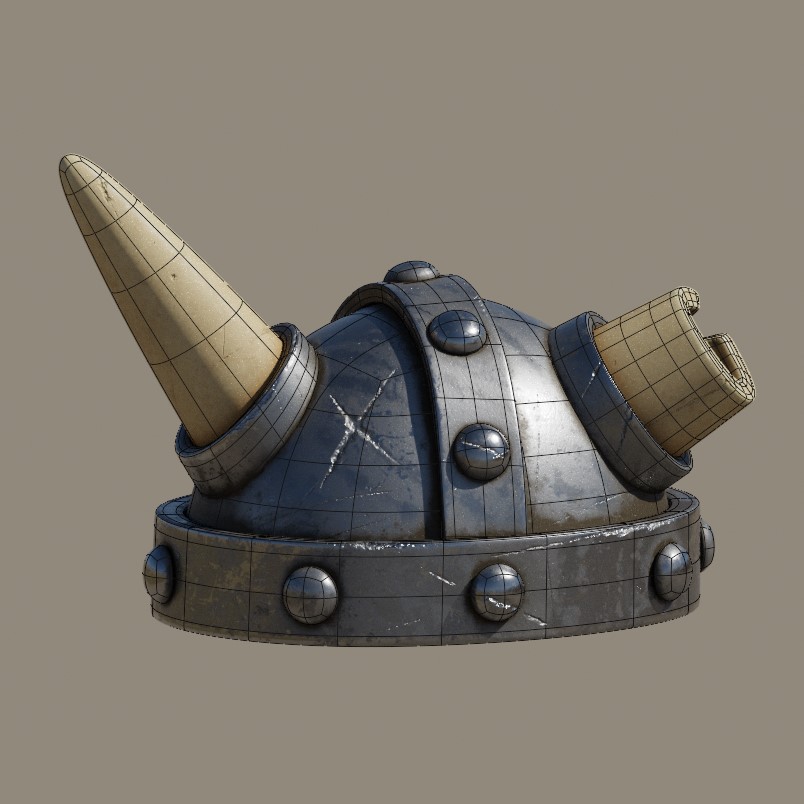
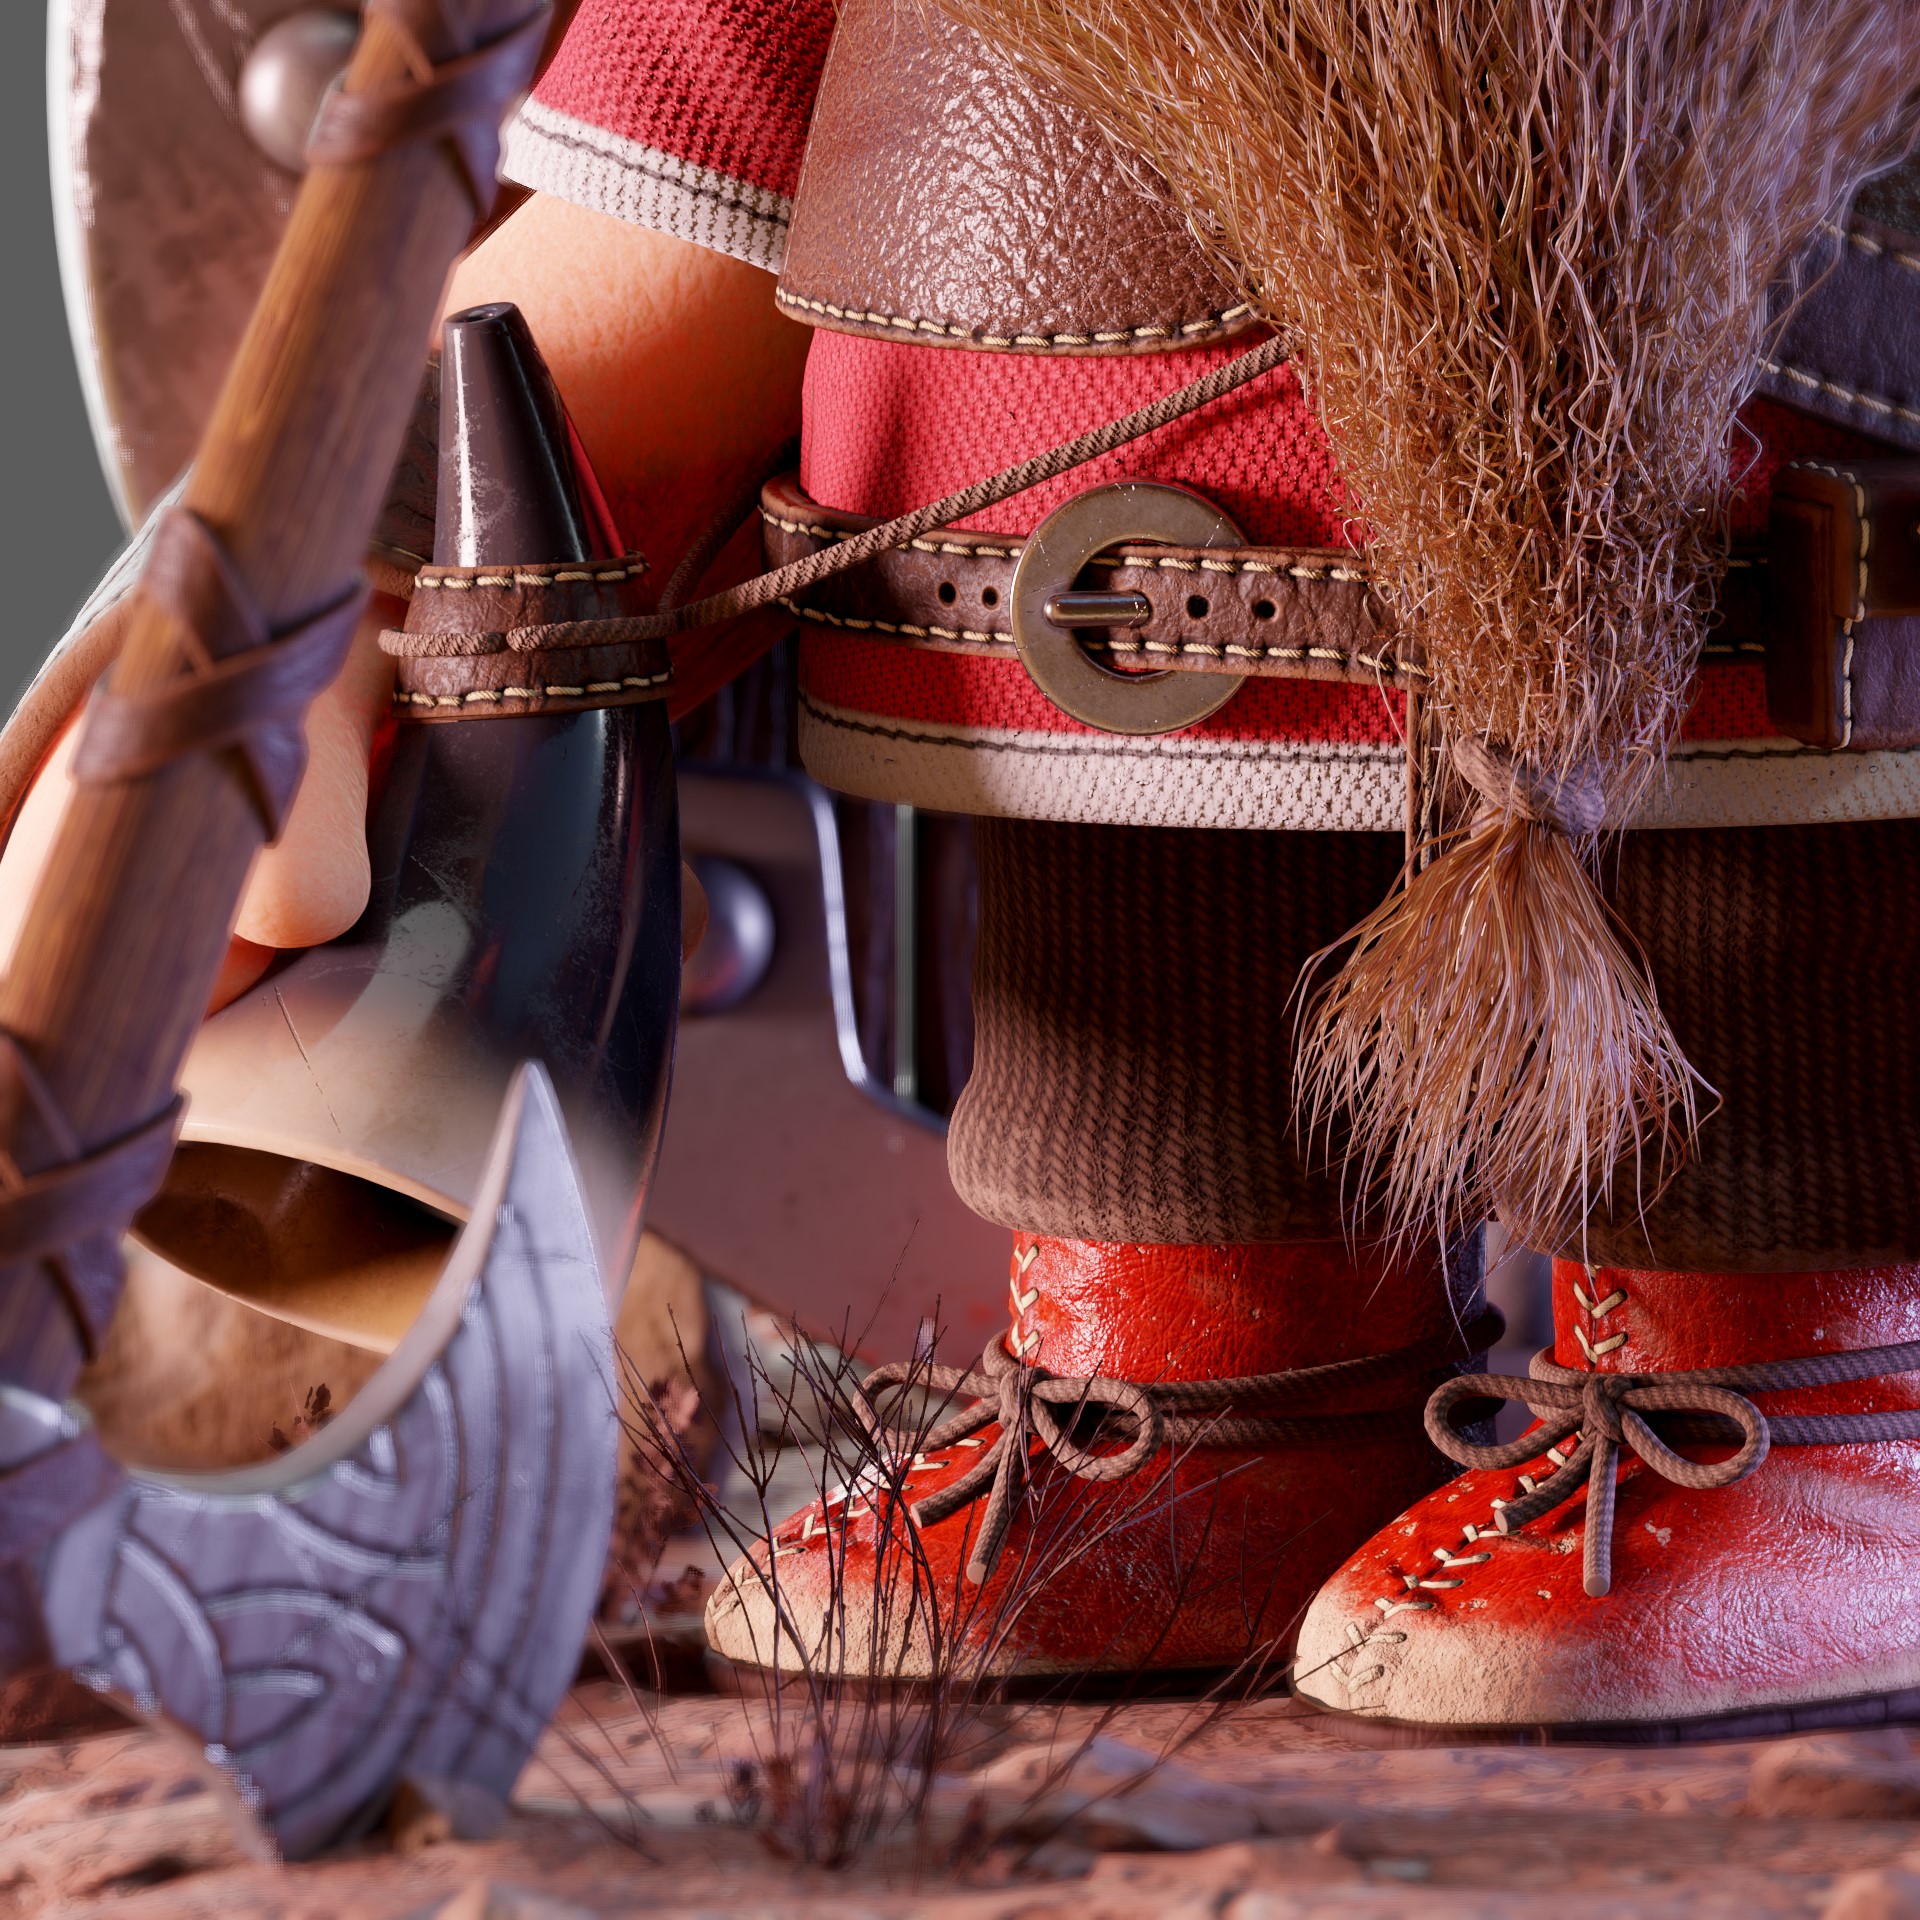
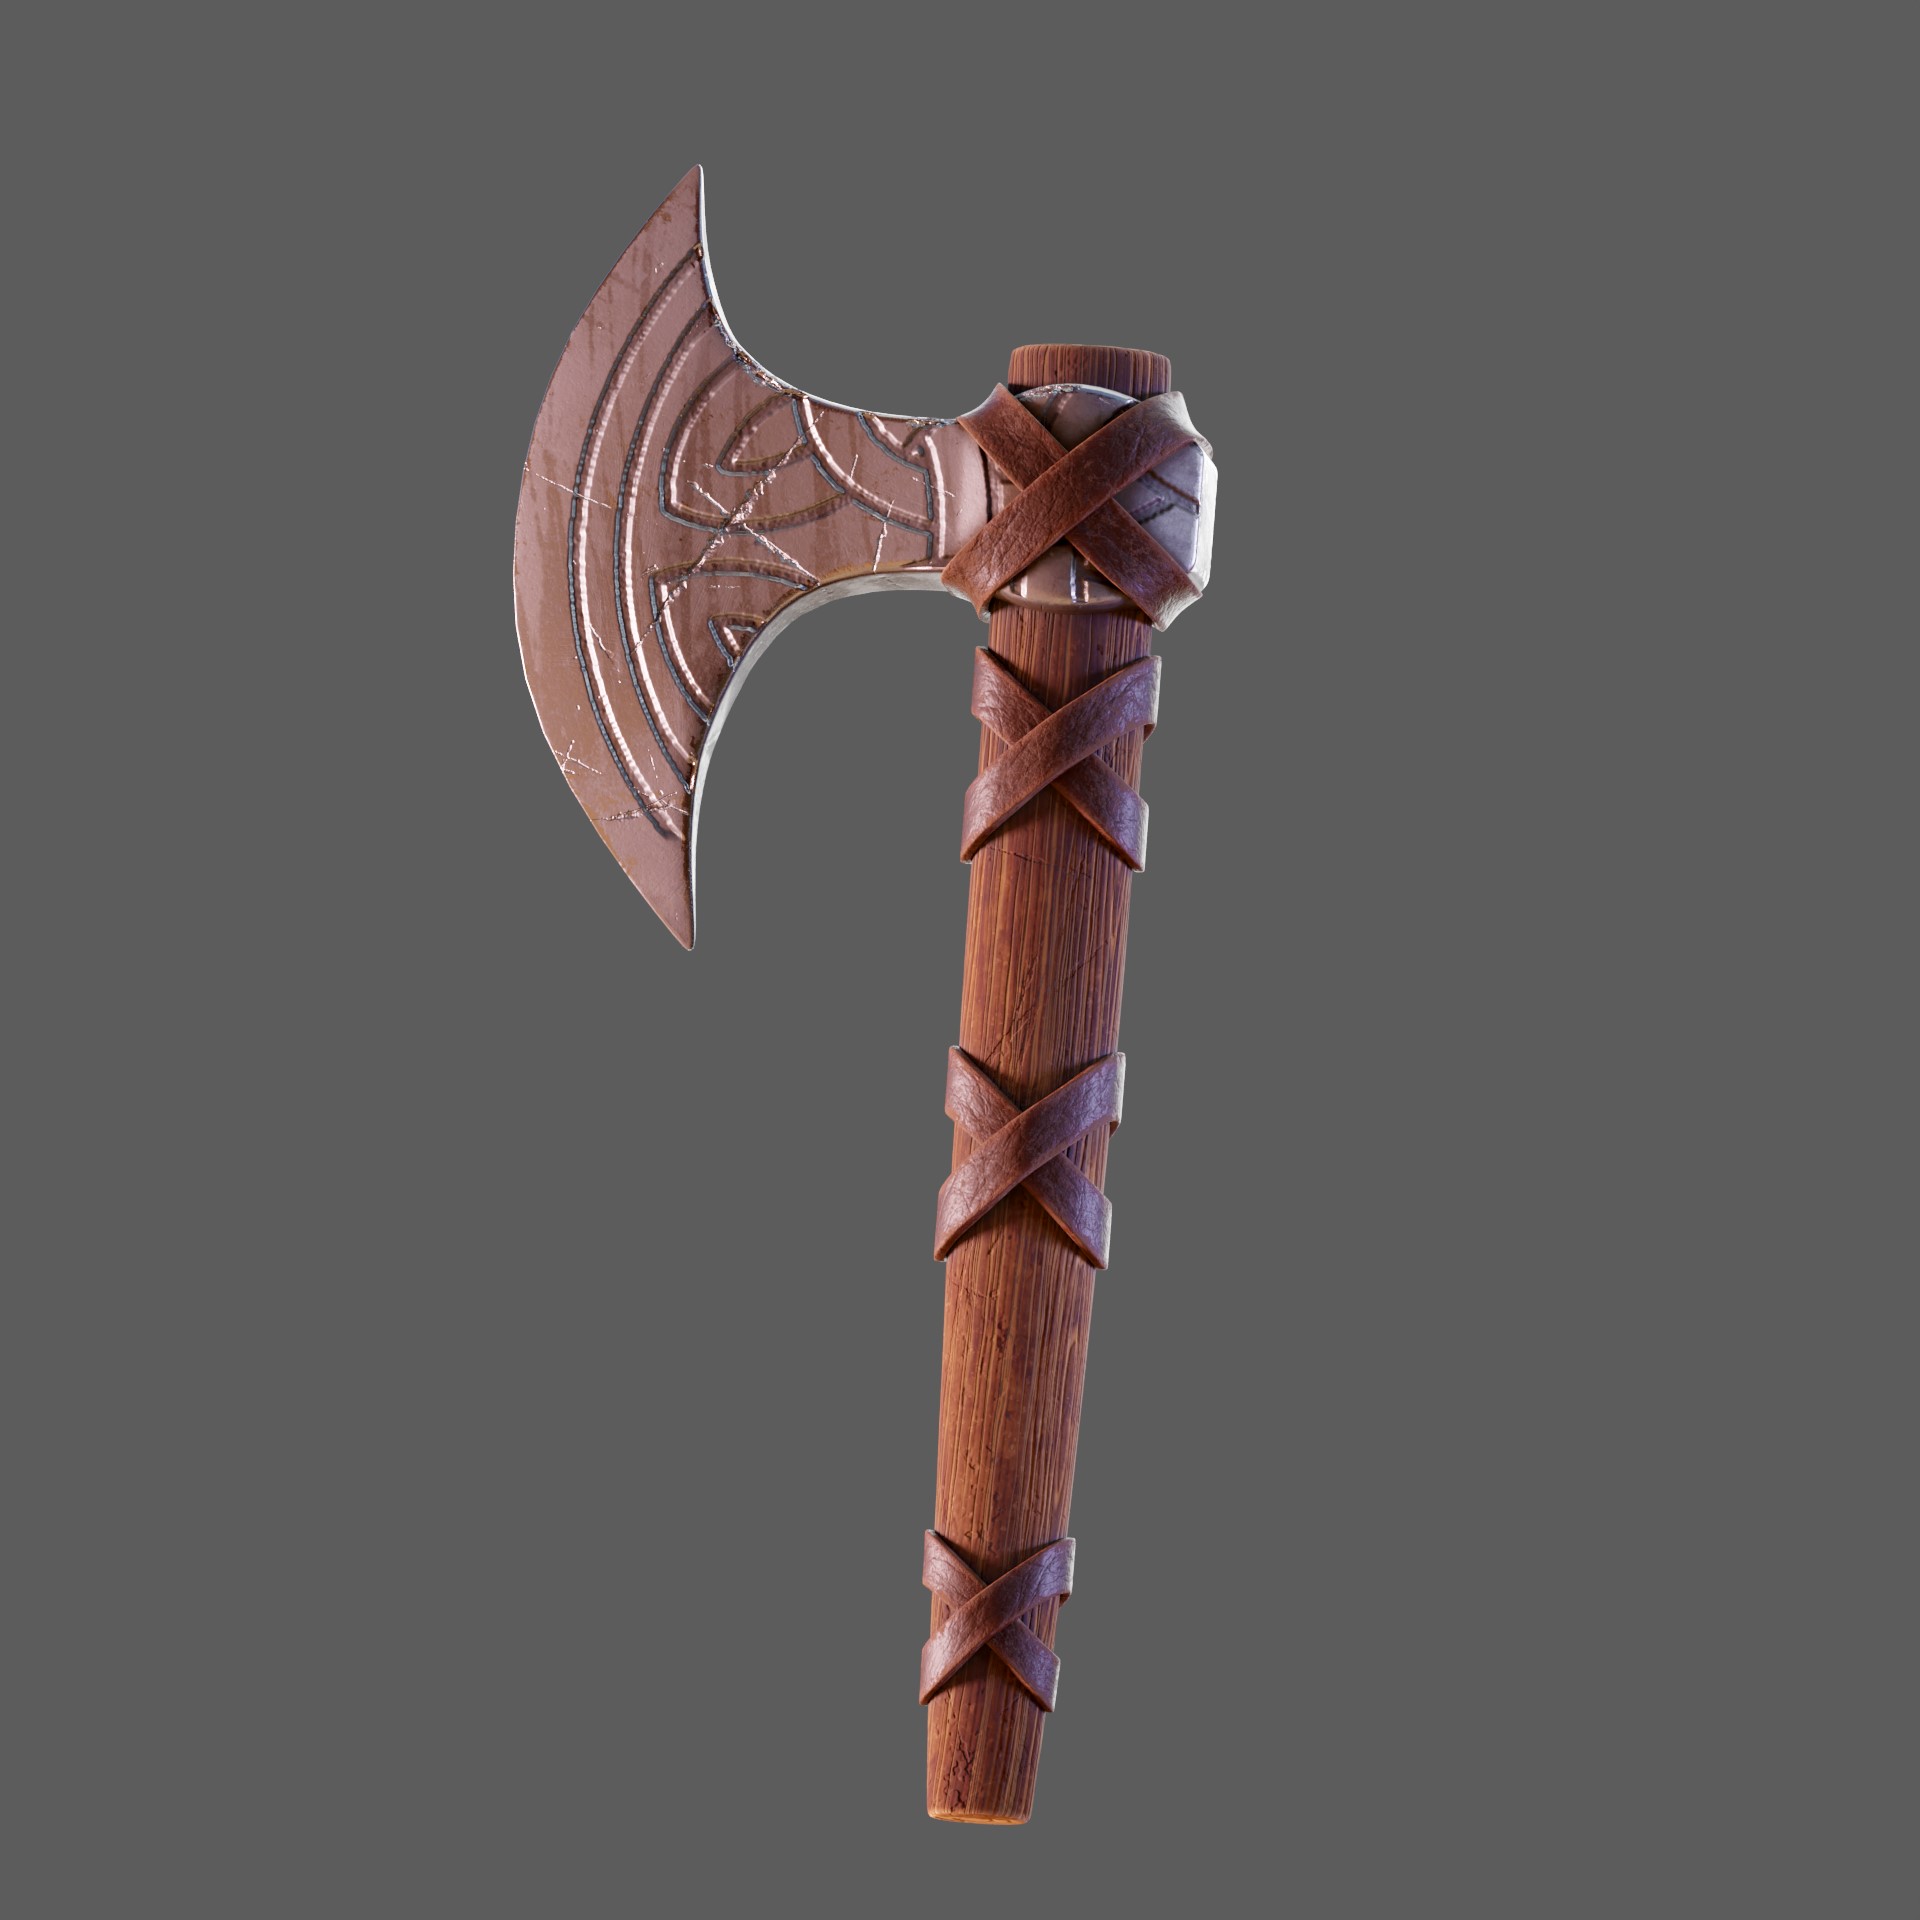
As for shapes and textures, I took some references from Viking clothing and ornaments. I’m not sure how faithful to reality they are since some seem like costumes, but I liked being able to include many different materials, such as metals, leather, fabrics, and wood.
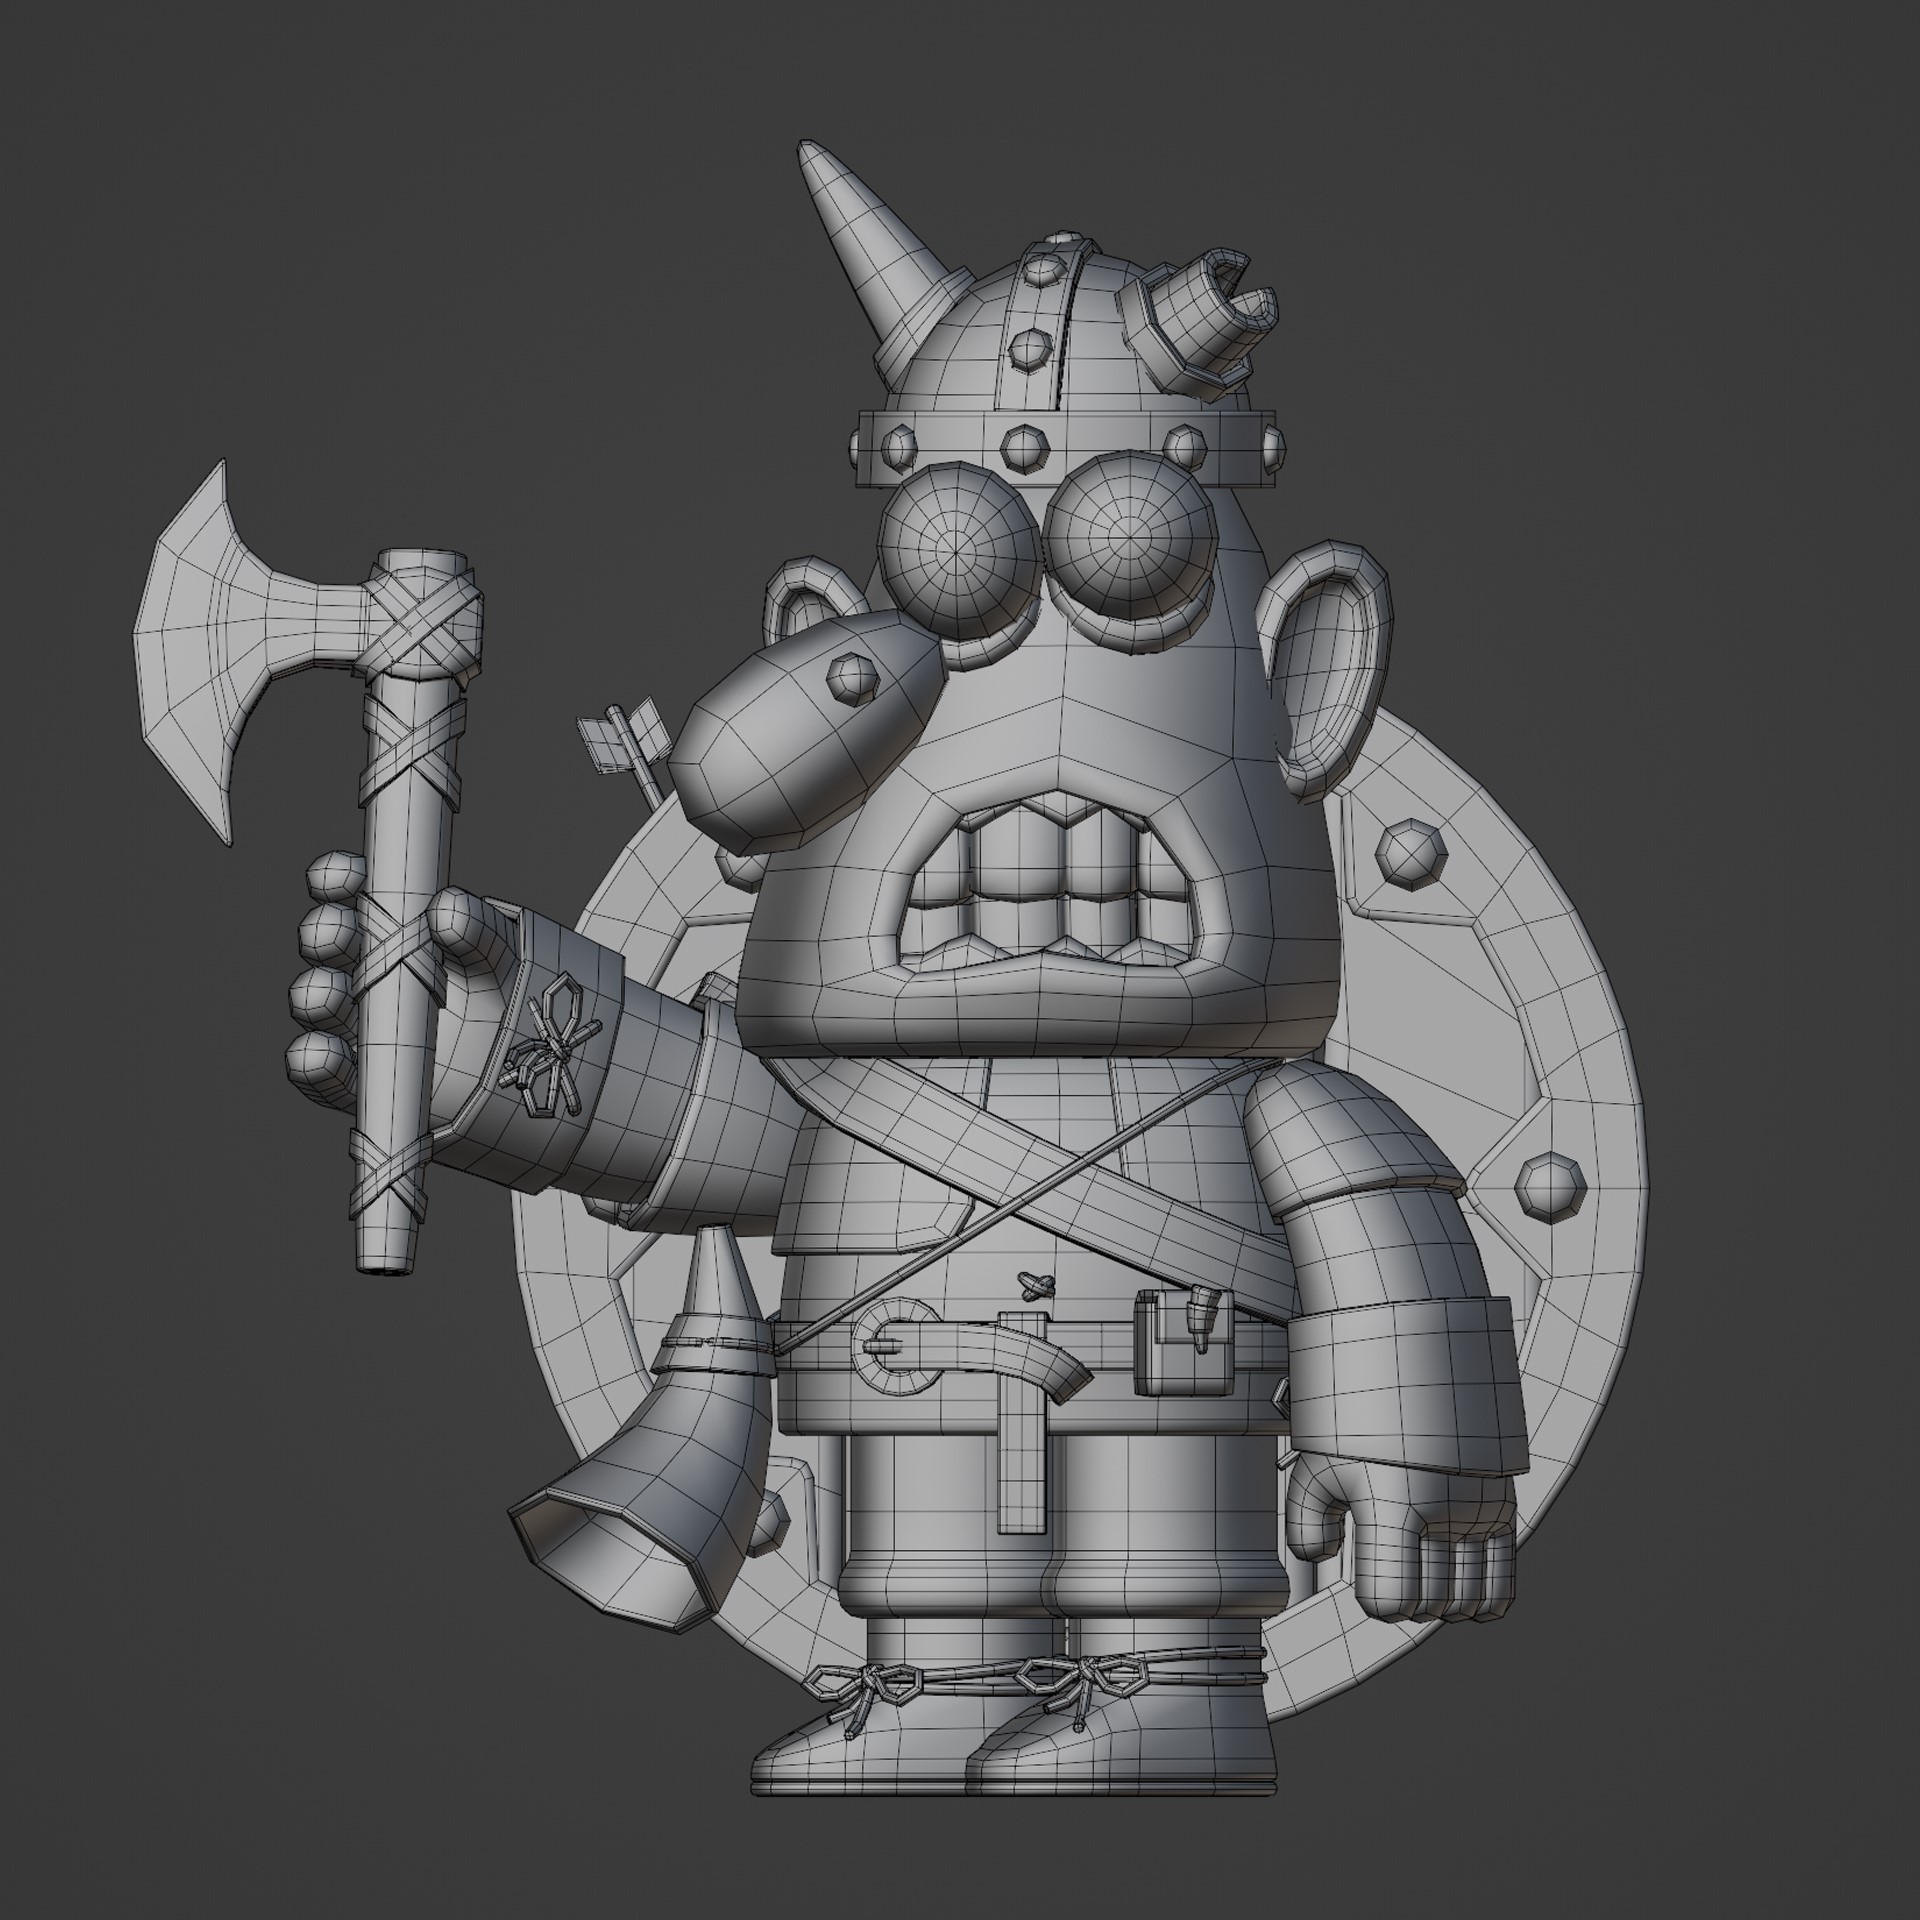
Modeling
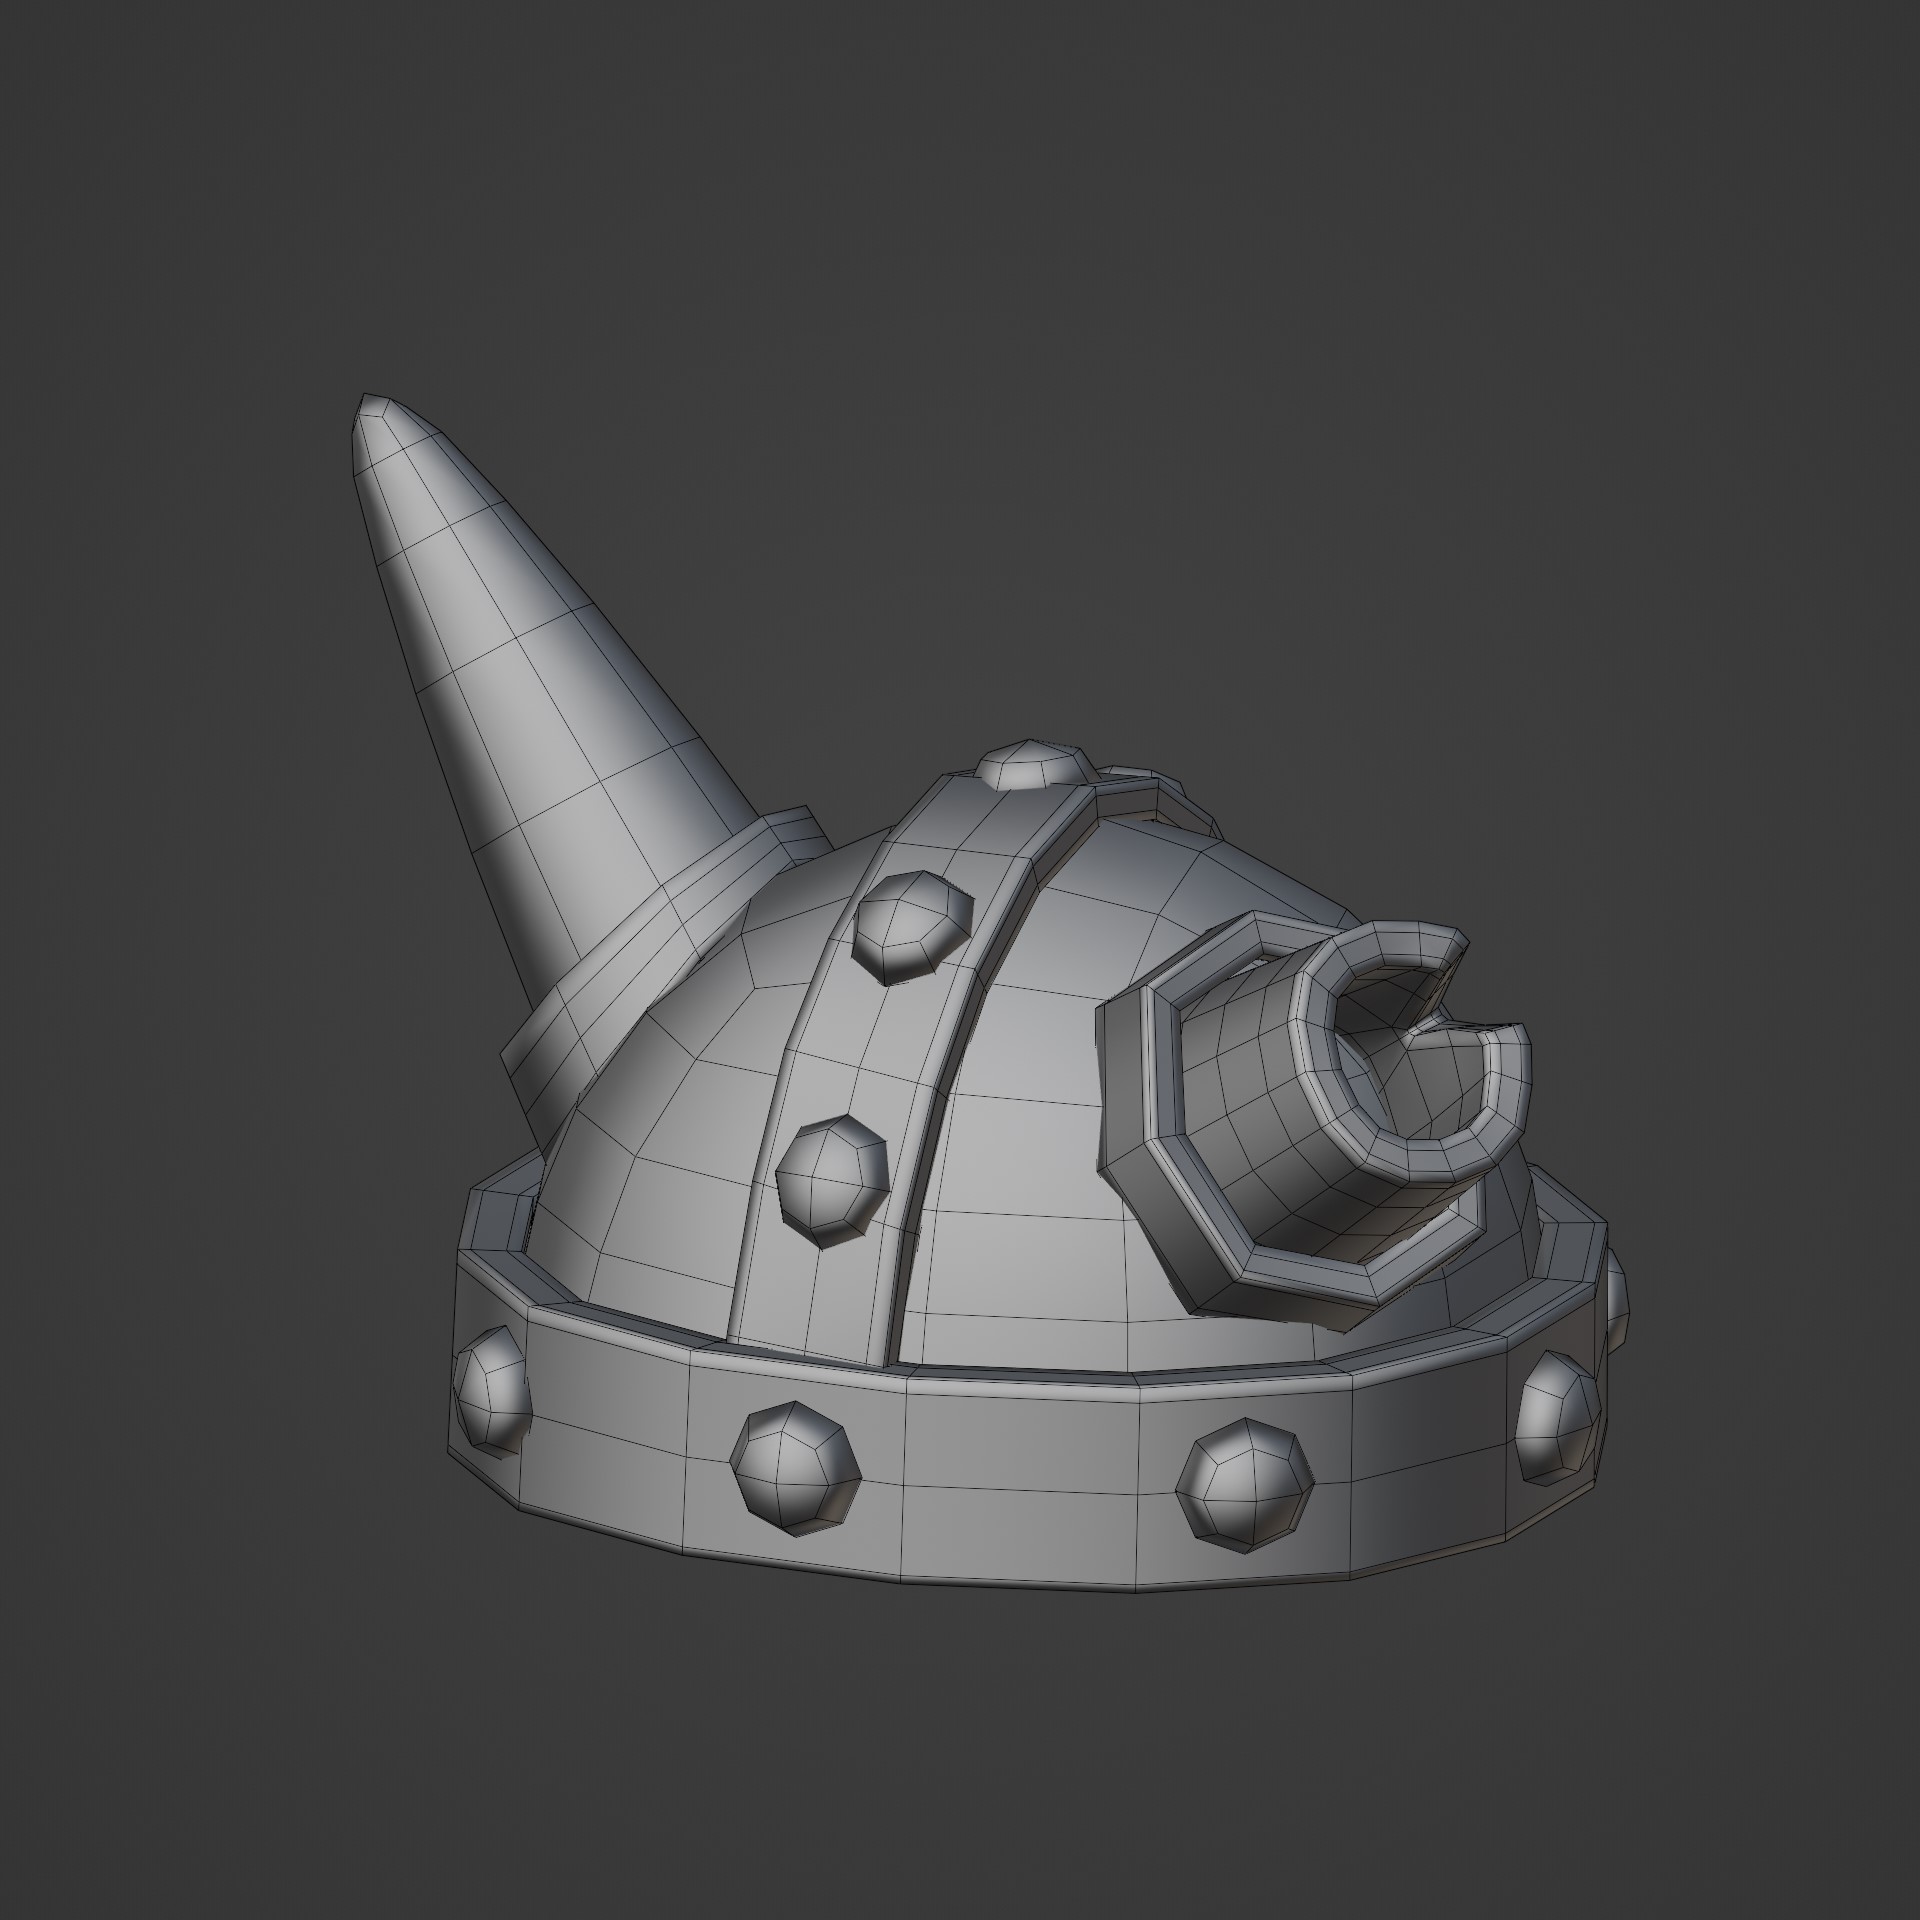
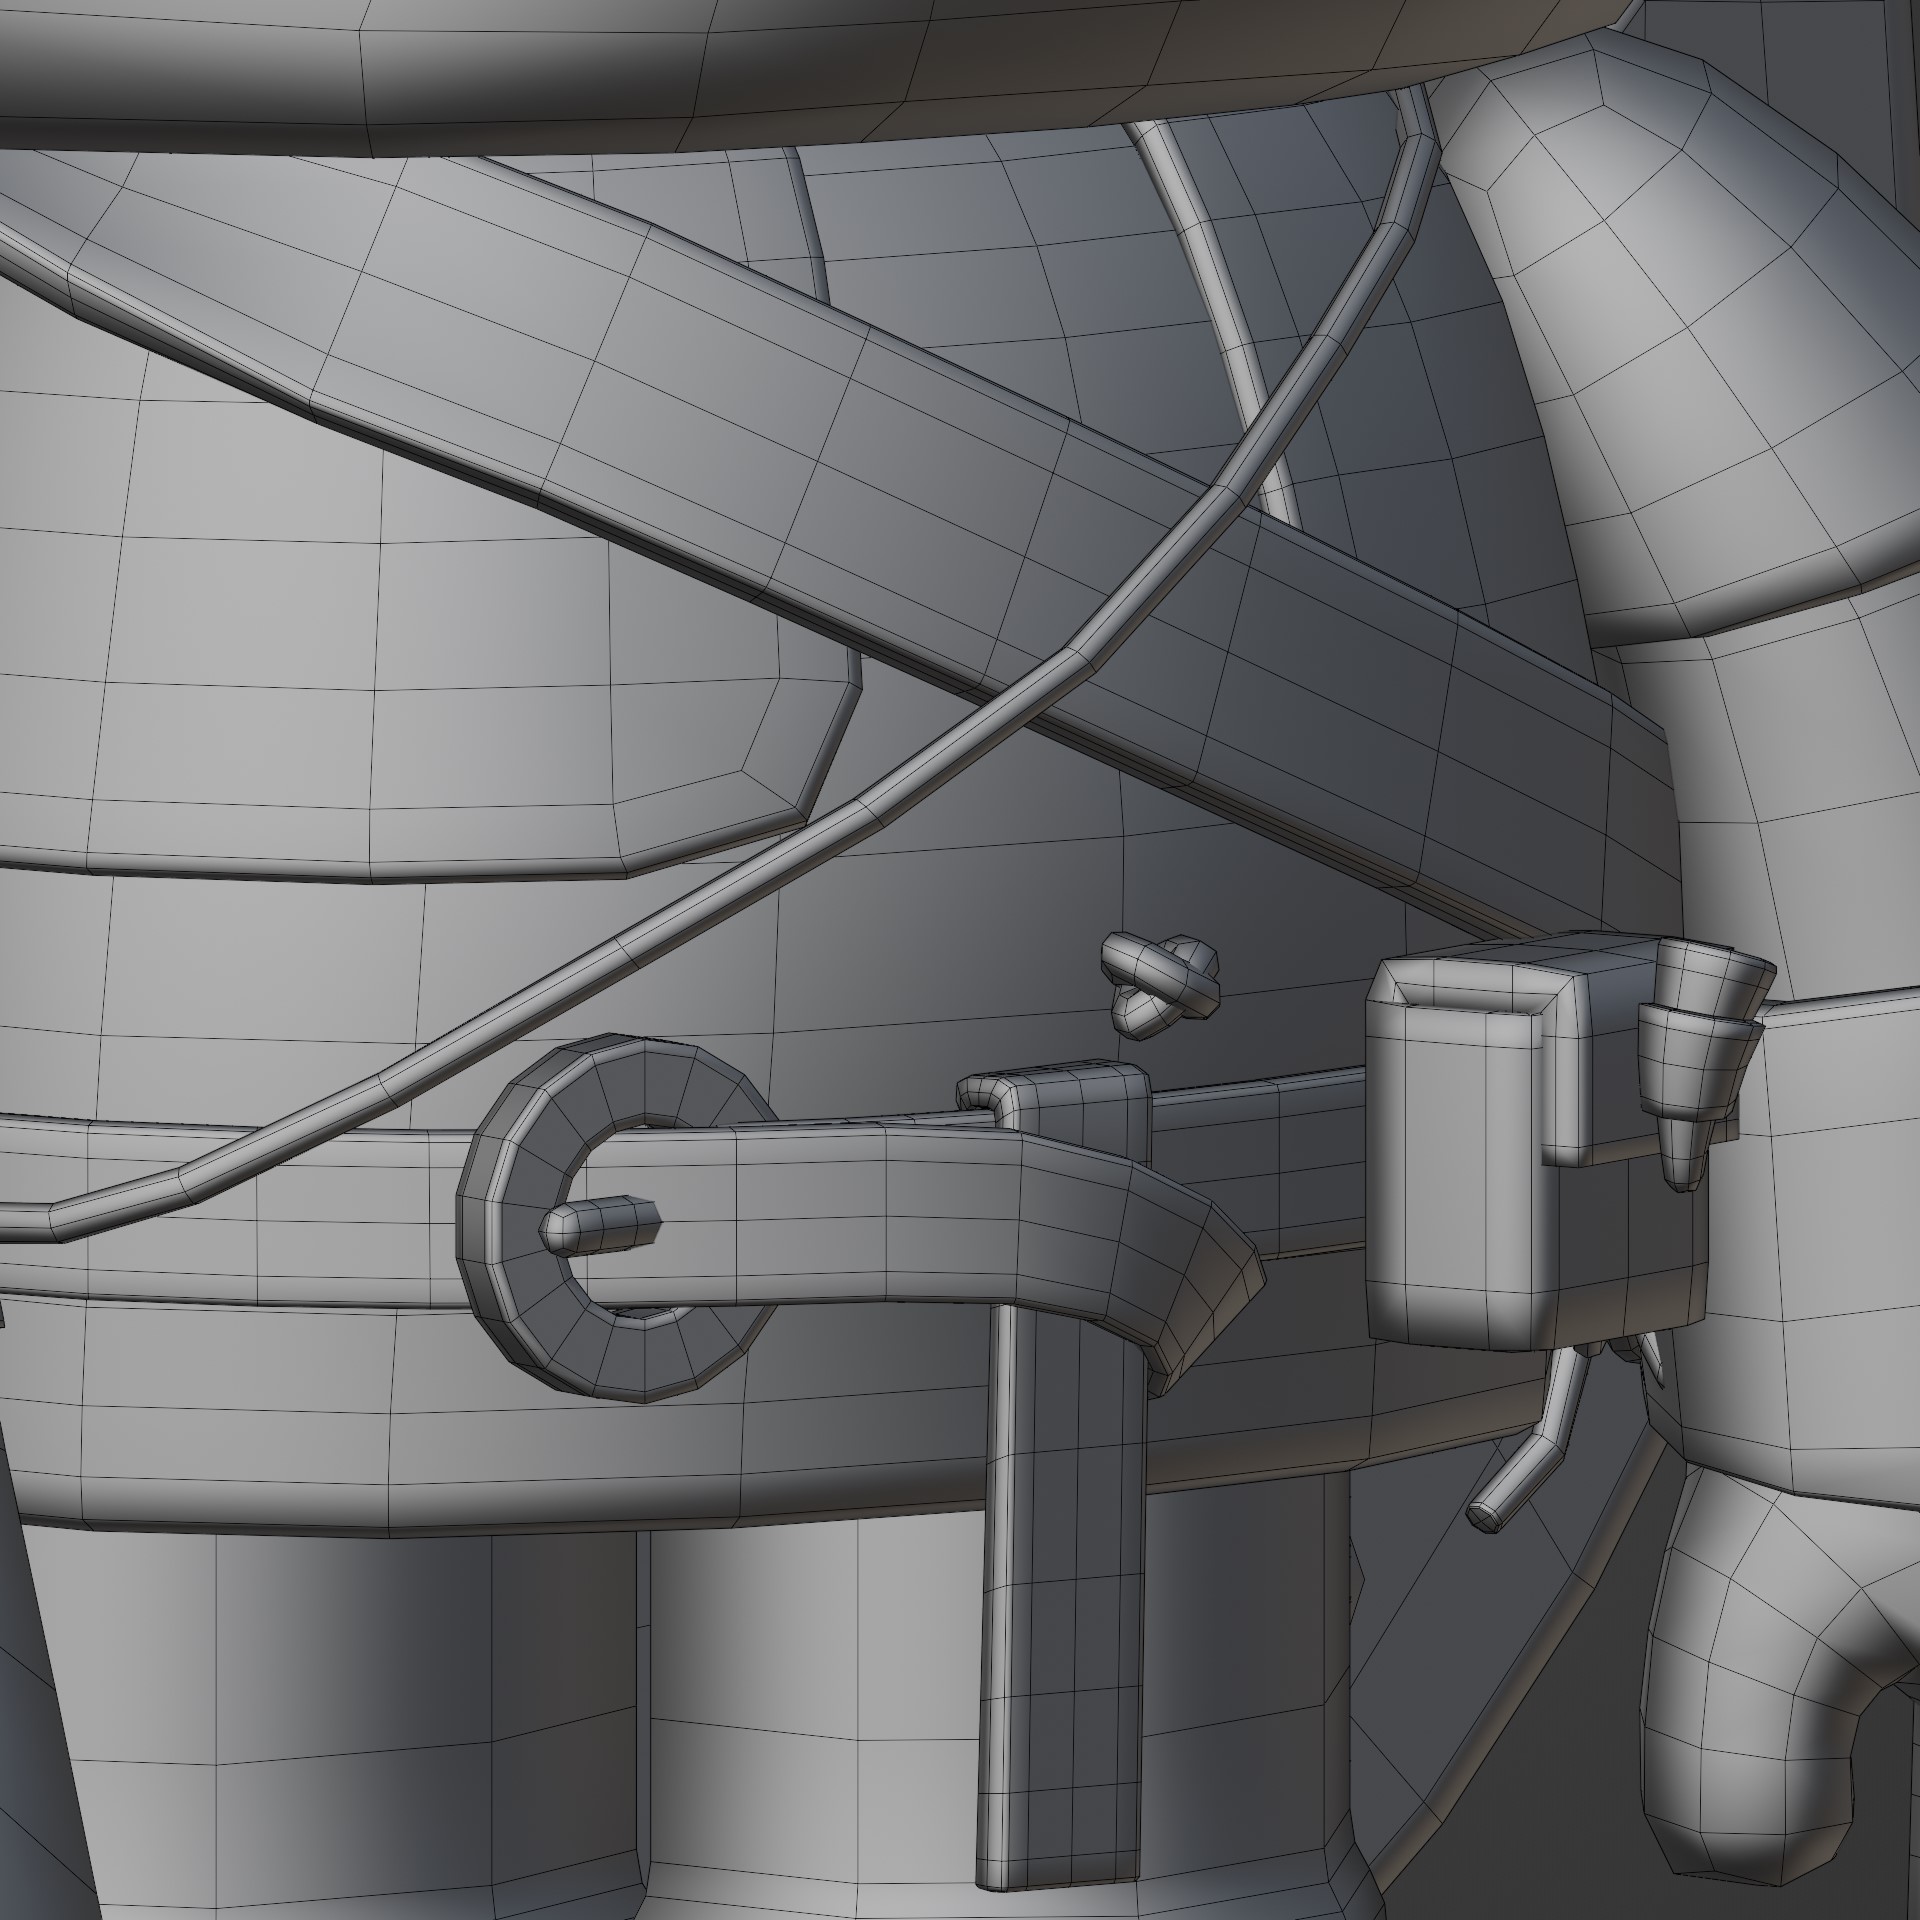
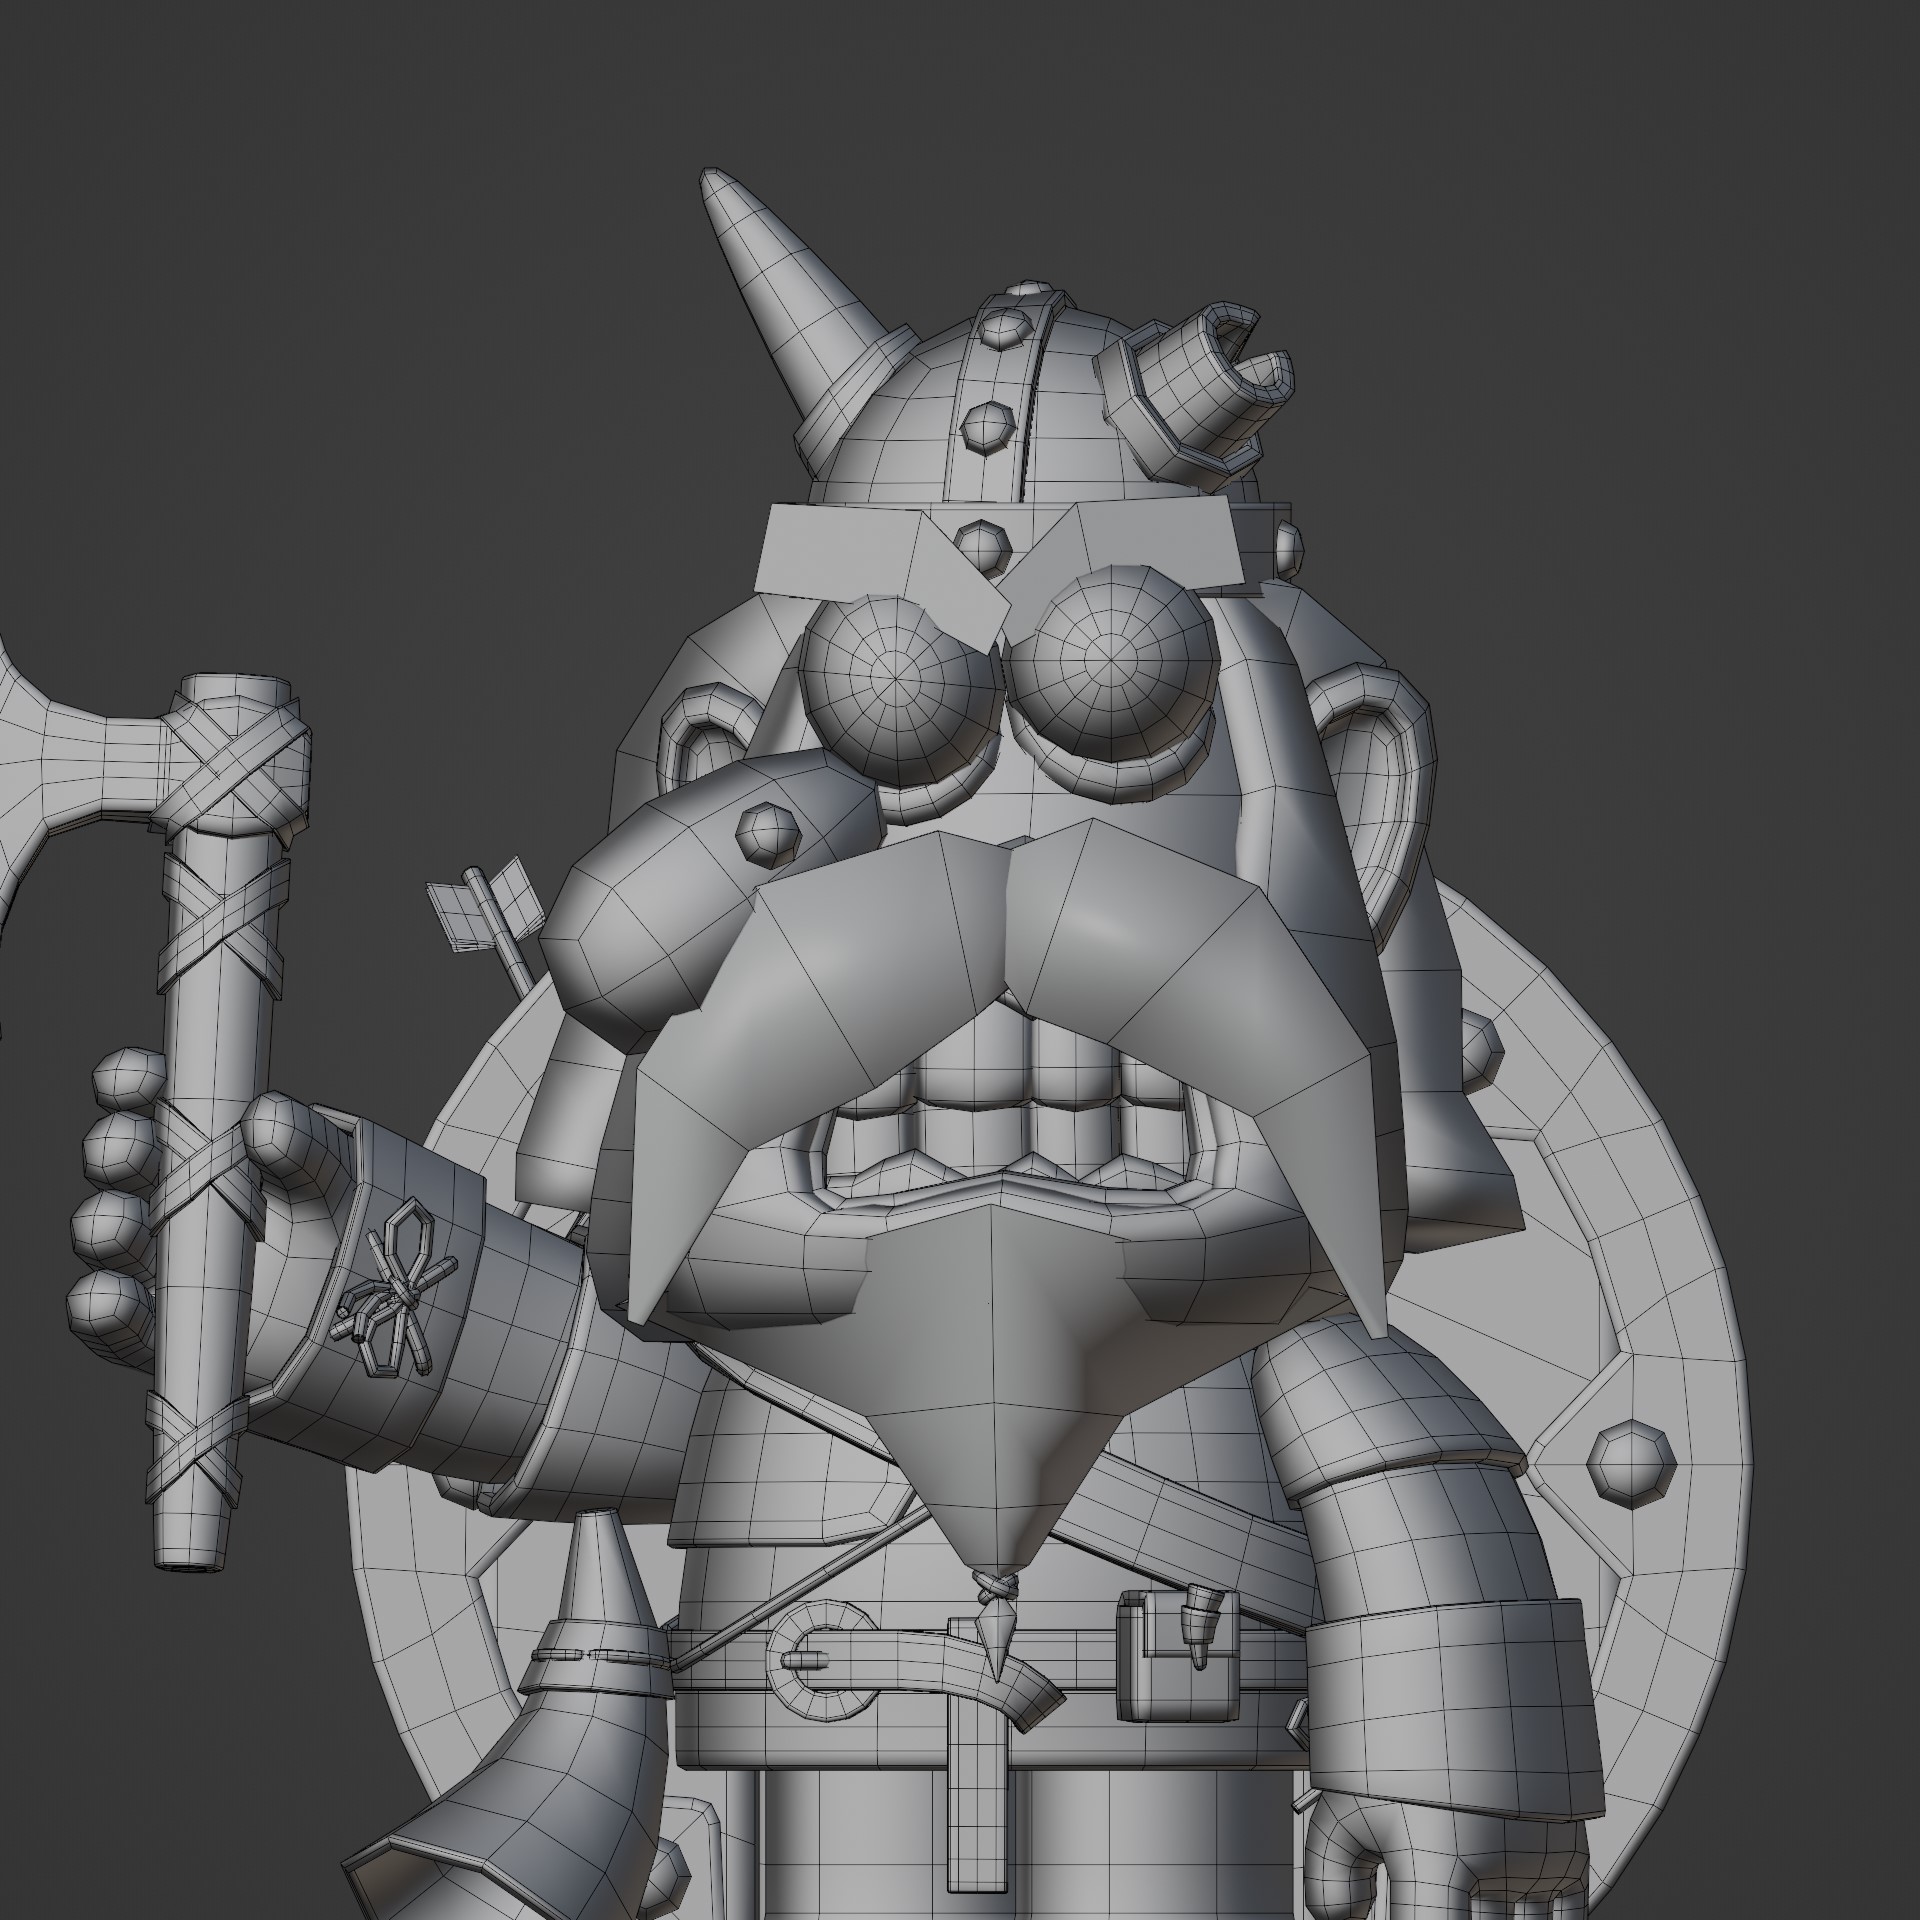
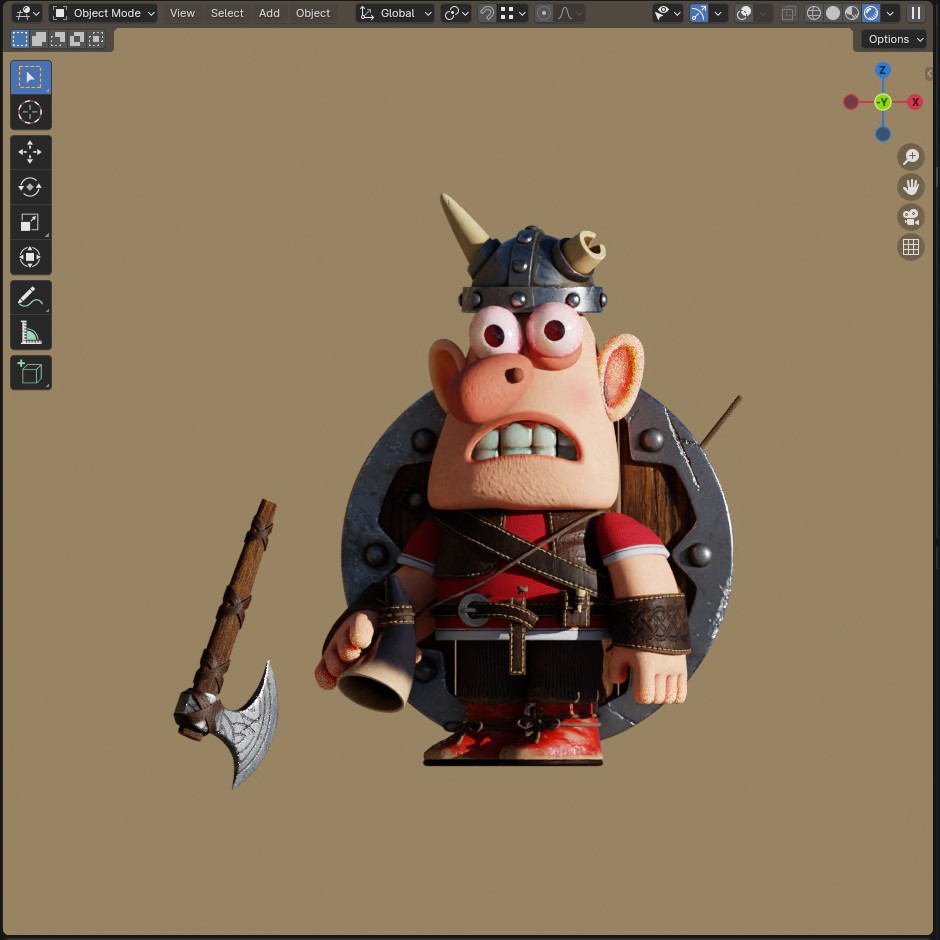
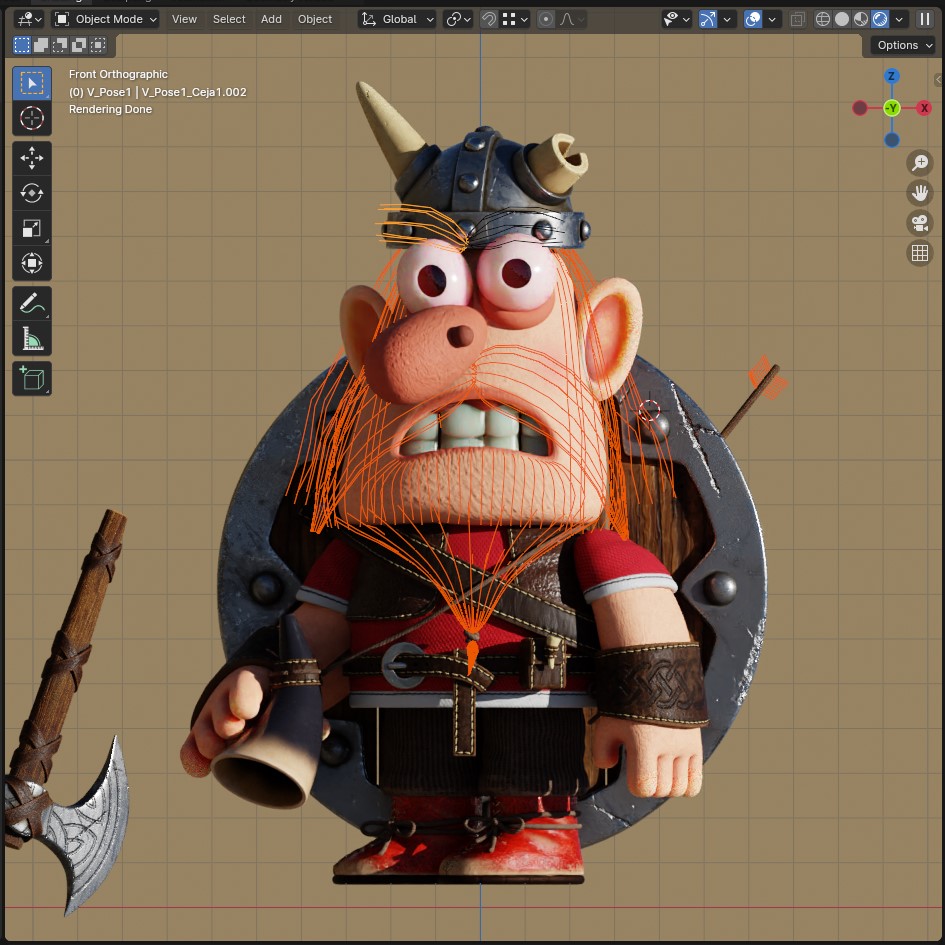
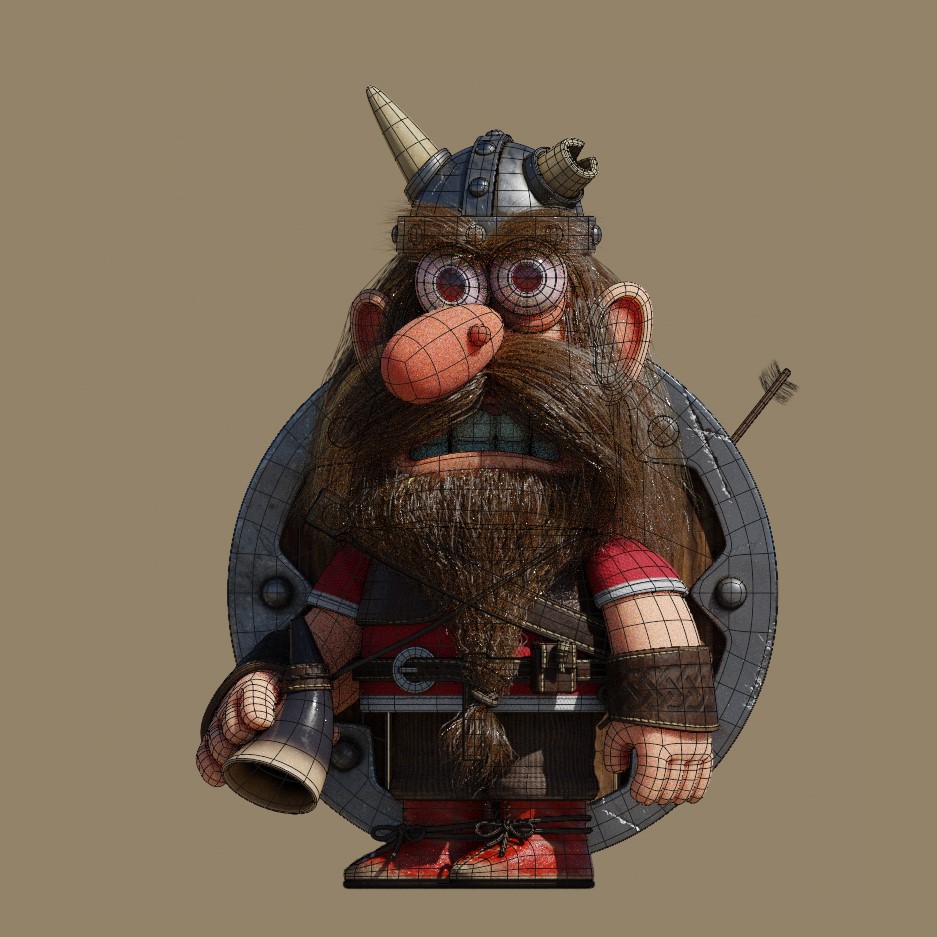
The modeling is super simple. All meshes were made from simple geometric shapes with no major details. In image 2, you can see the model in ¾ profile, and it’s evident that it’s not meant to be seen beyond a frontal view; the nose and legs are positioned strangely.
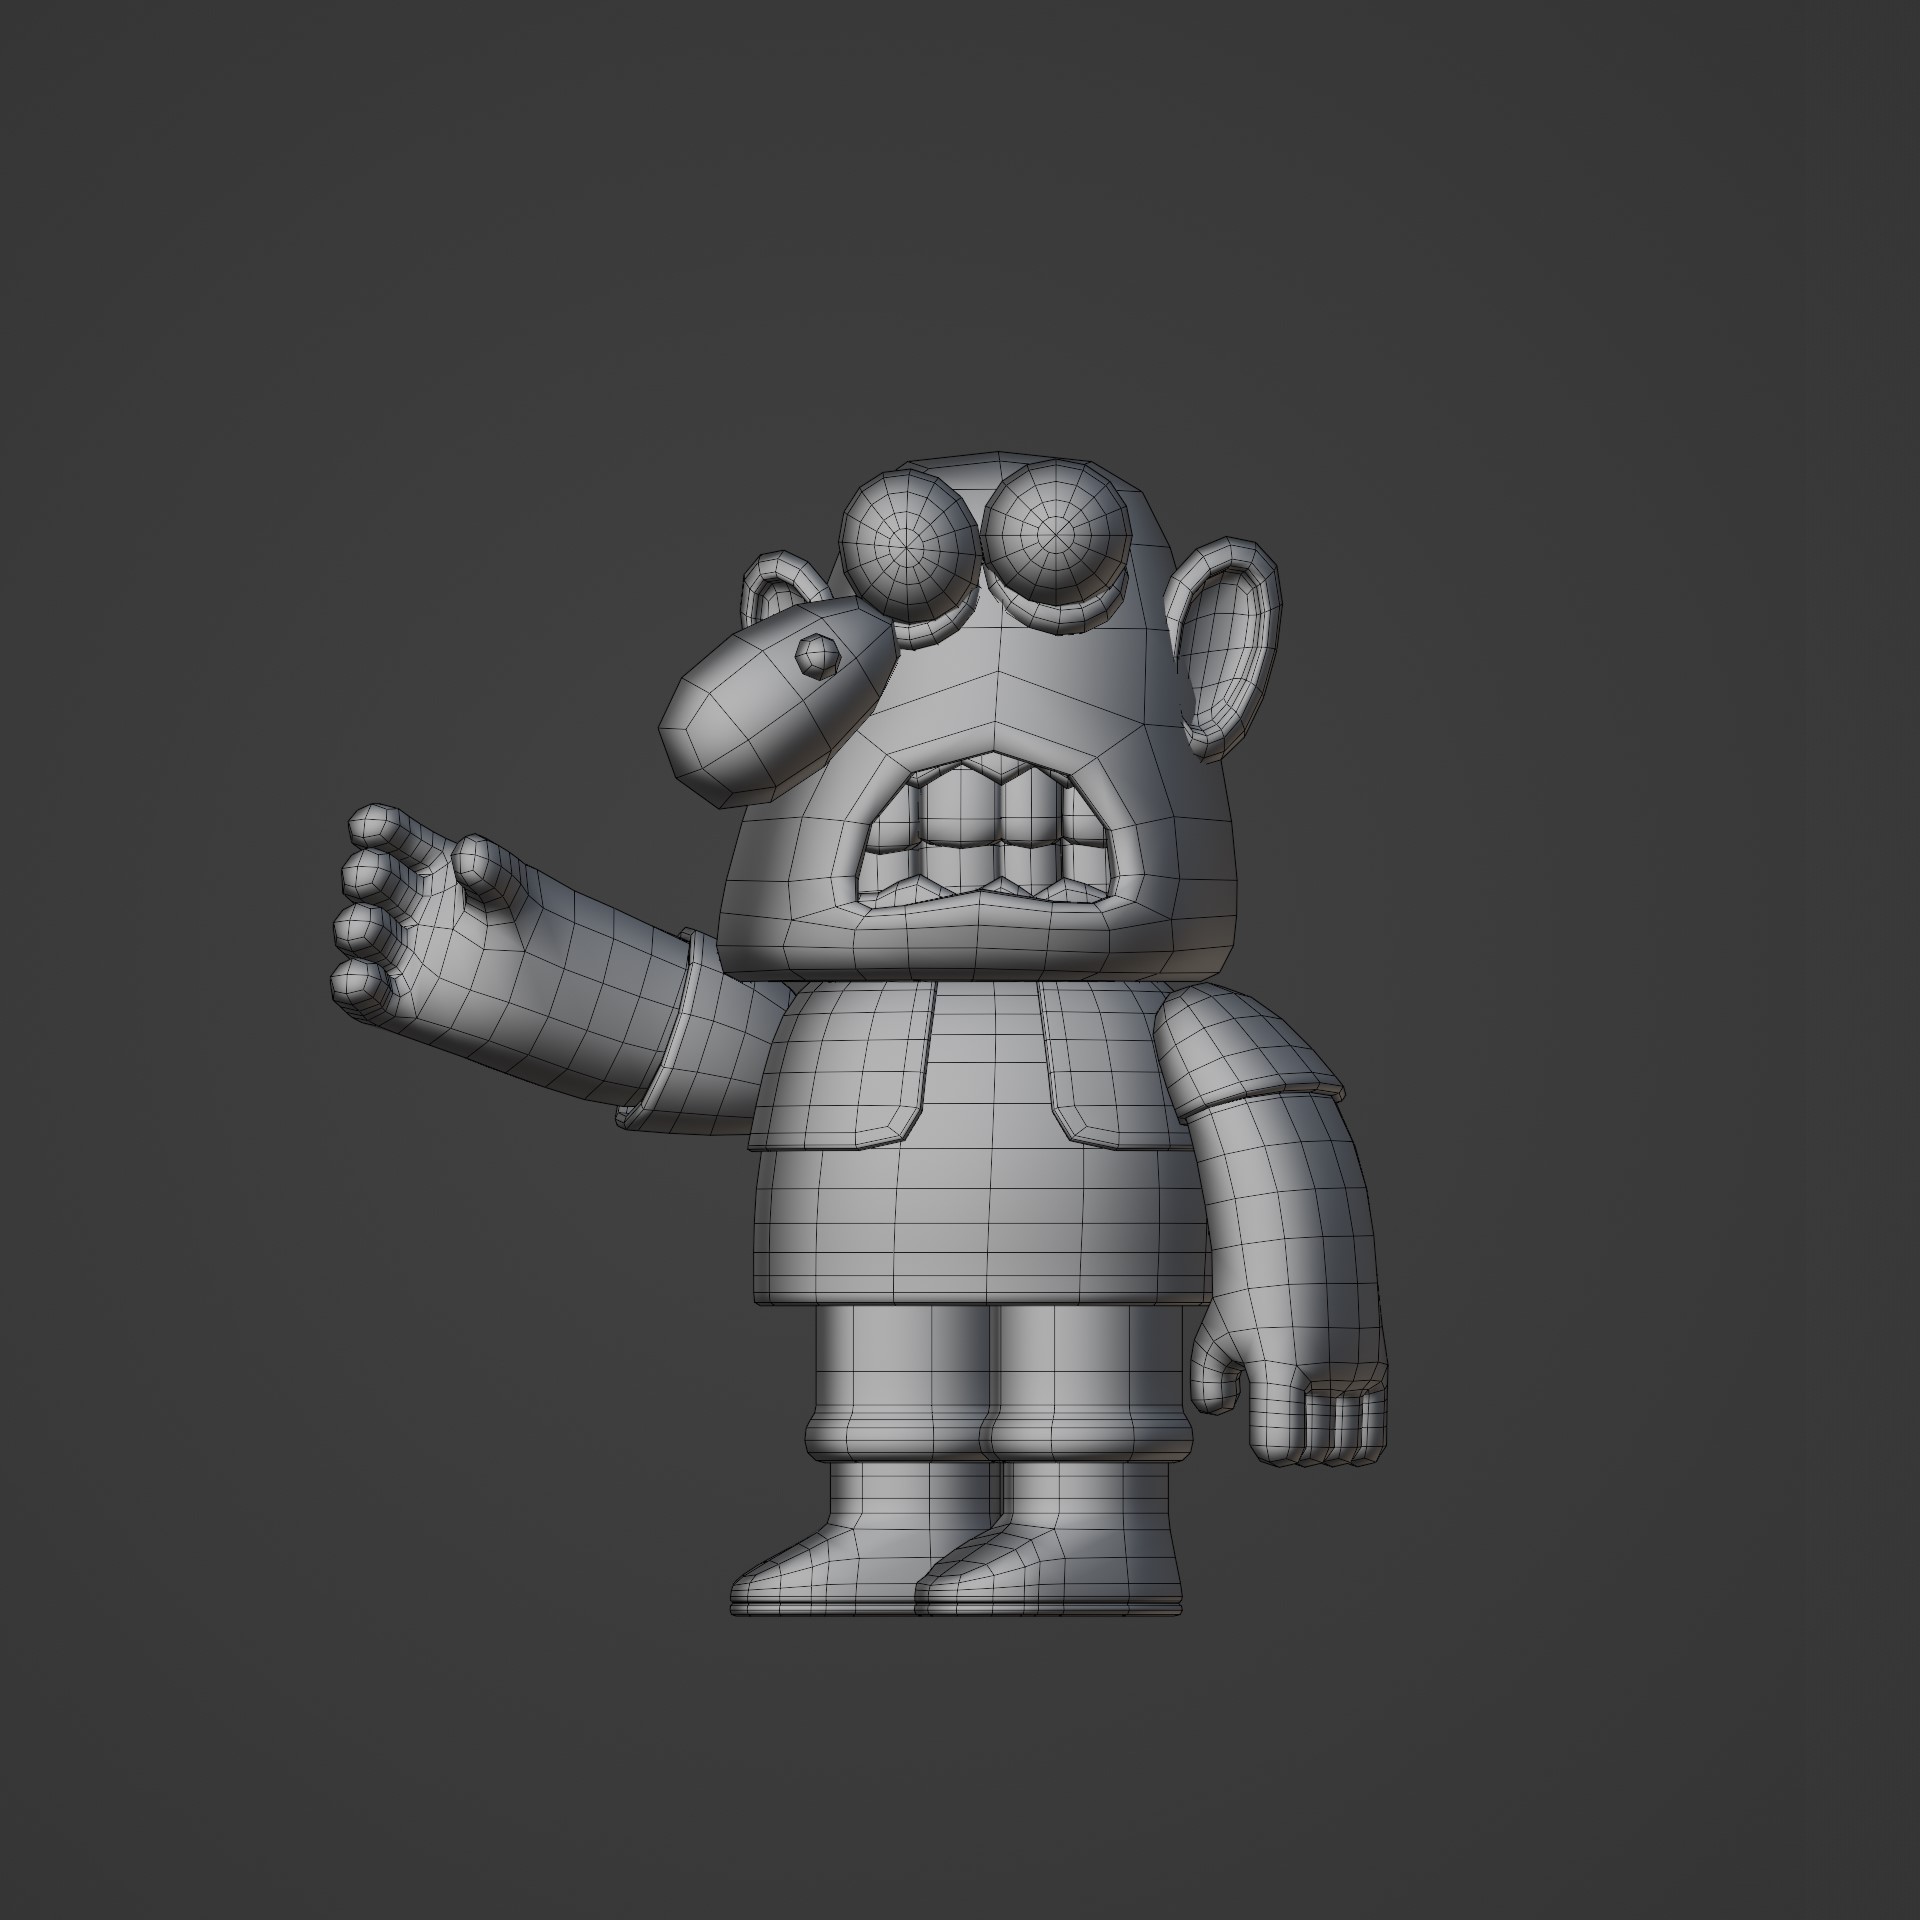


For all the hair, at this stage, I modeled a simple base and then extracted splines from which to simulate the hair.
UVs
There’s not much to say about this stage. It’s a very simple process, although sometimes tedious. But, since the character is very simple in this case, it was a very quick process. I really like the automatic UV unwrapping in Blender, very similar to what RizomUV offers, a program I sometimes use.
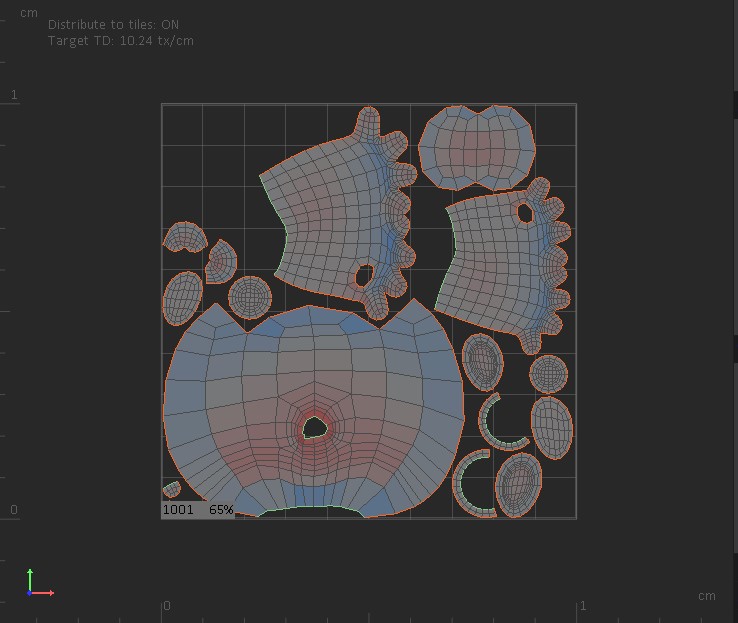
Texture
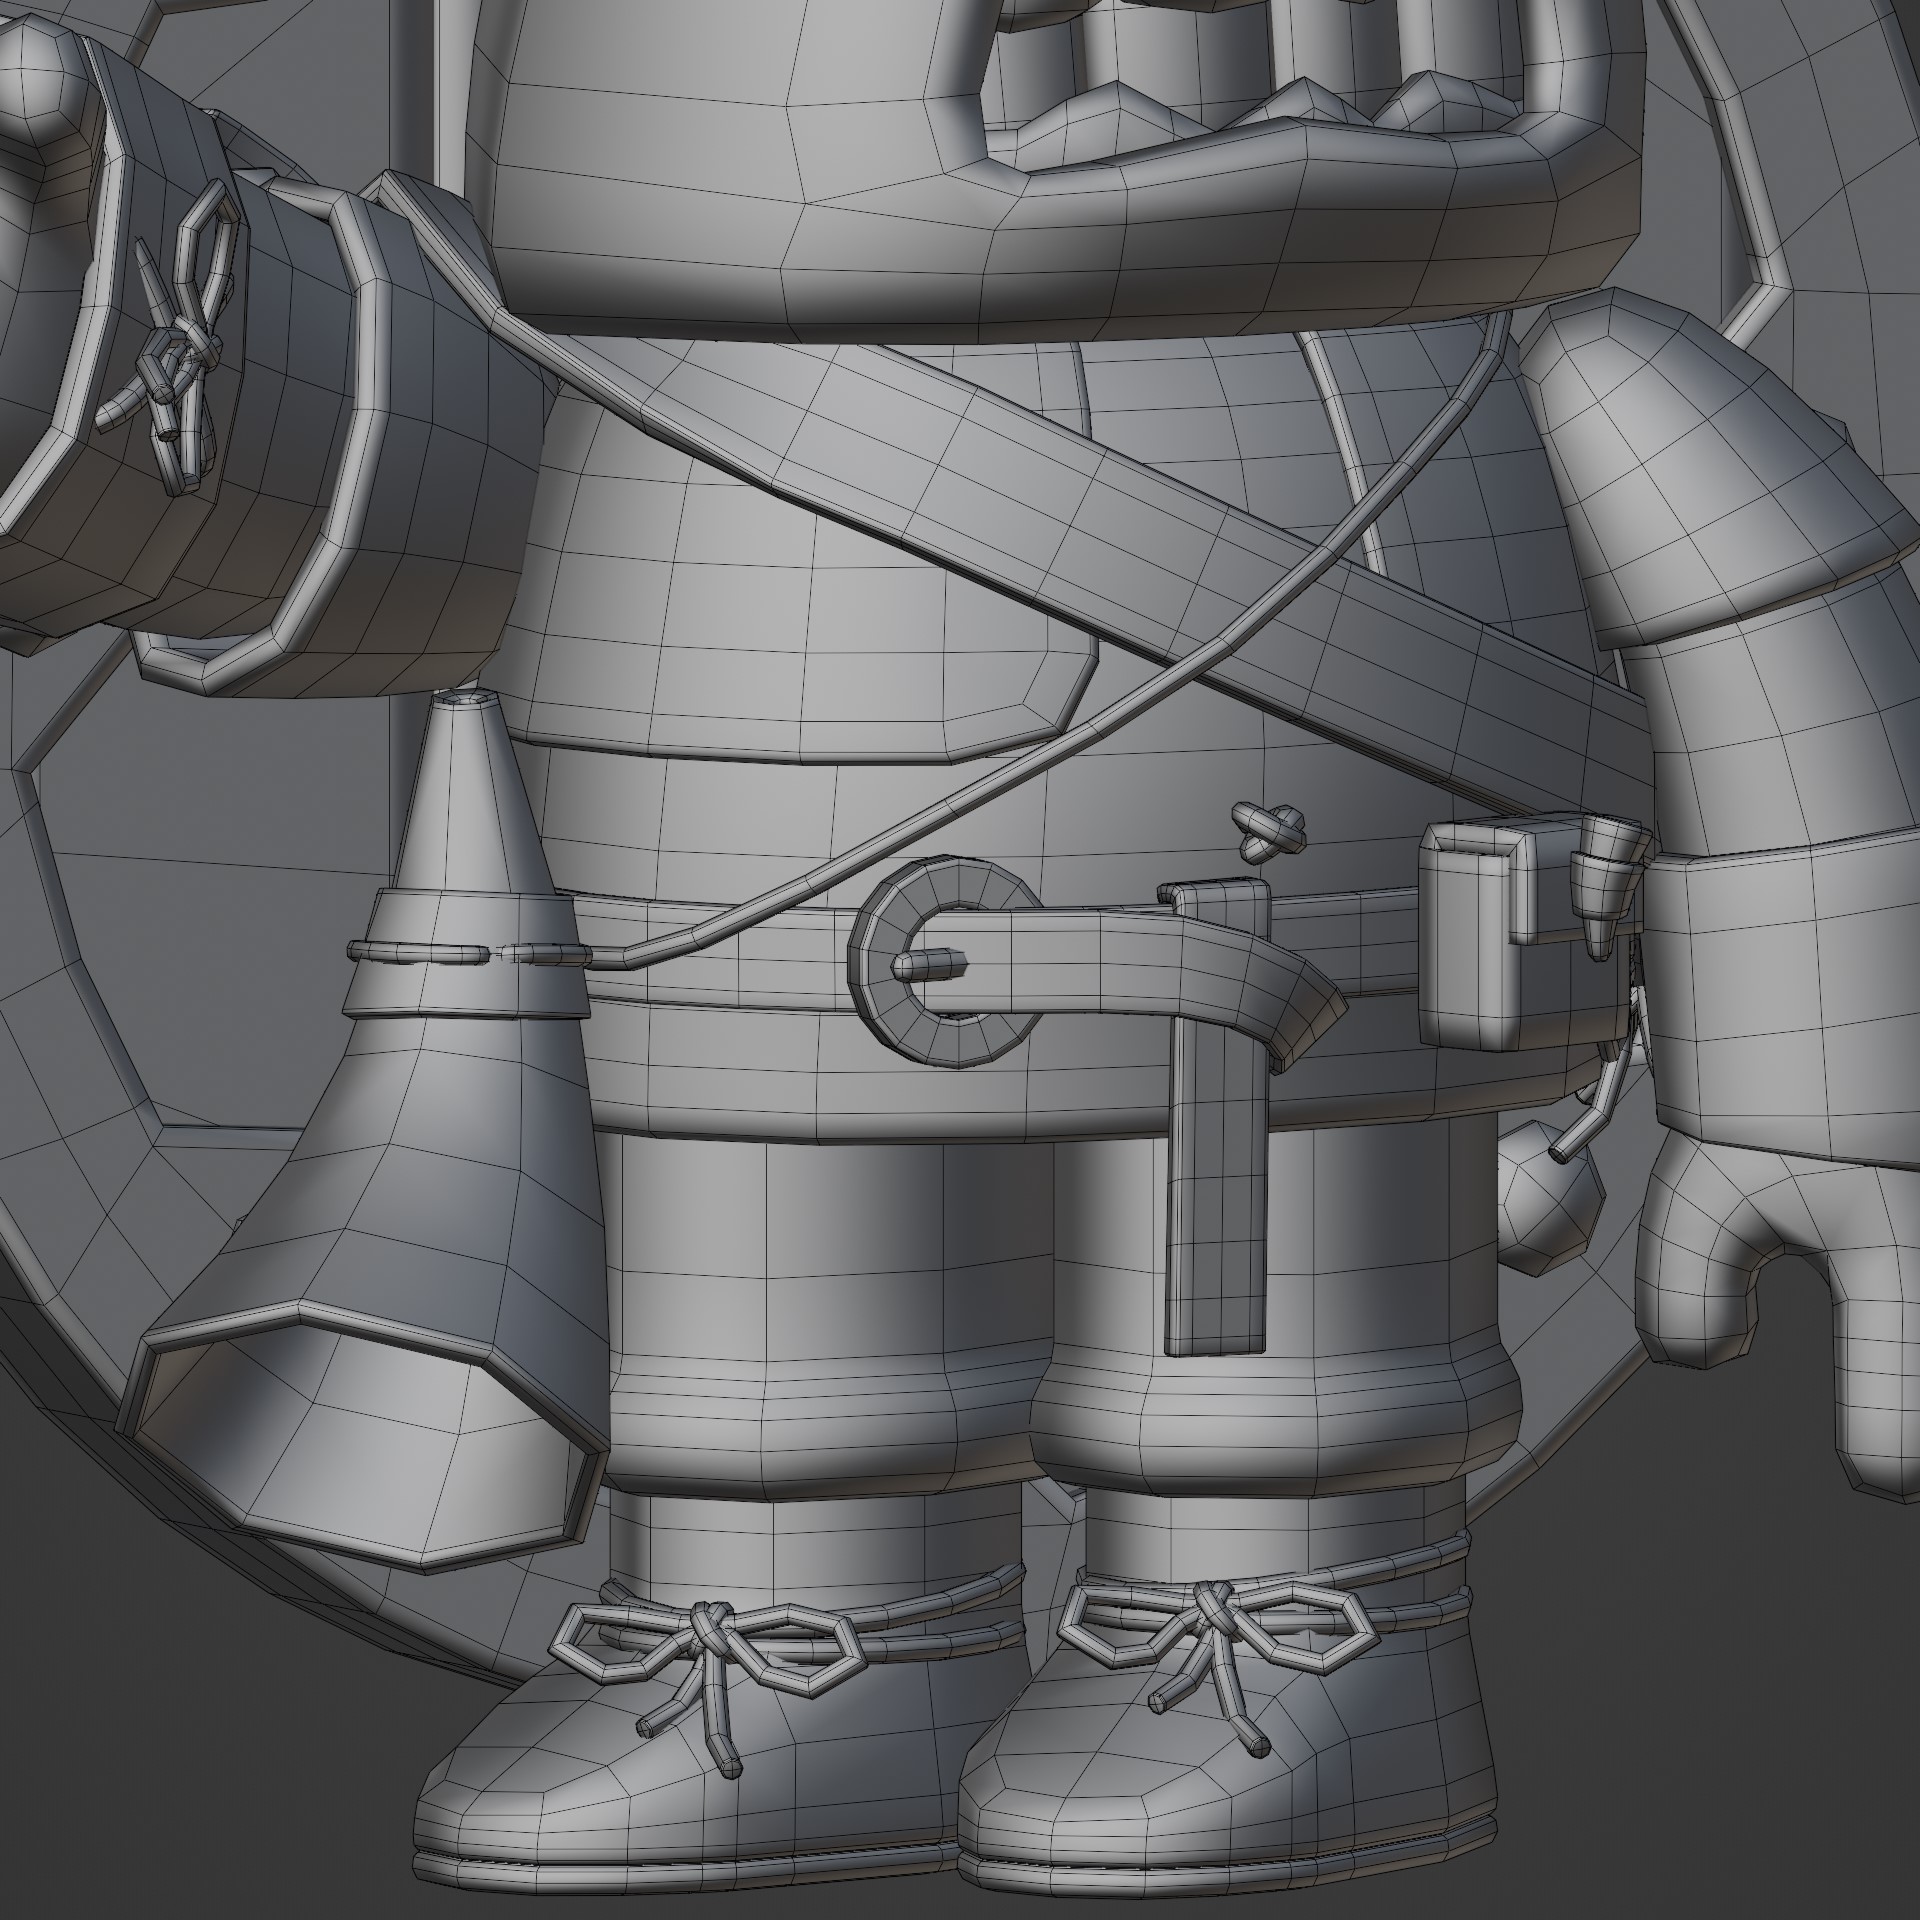
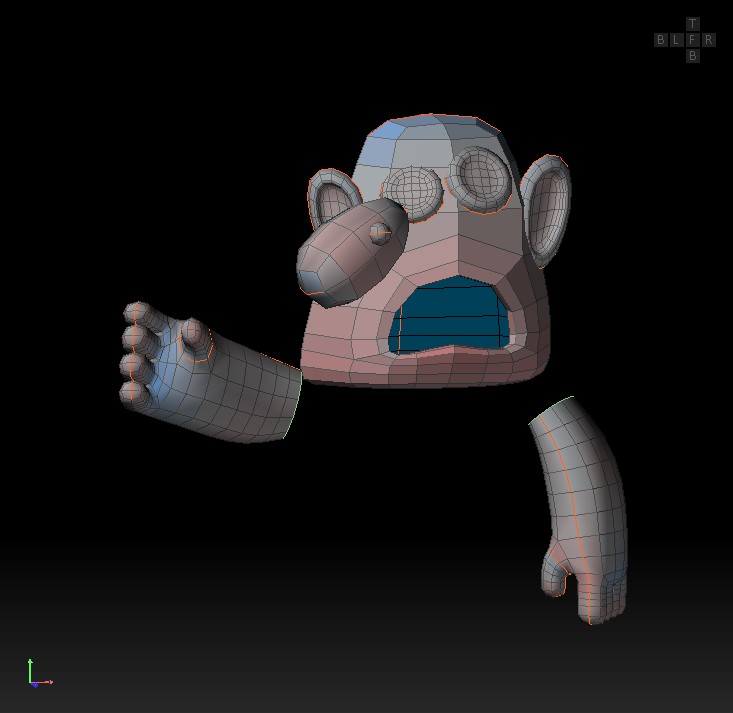
I did the entire texture process in Substance Painter. As seen in the image, before exporting the mesh, I separate objects that belong to the same group to avoid strange shadows during baking. For example, between the nose and the face or the ears. Then the process is simple; I define base materials and add layers of details, such as fabric folds, seams, worn material, wrinkles, and raised drawings on the axe and bracelets.
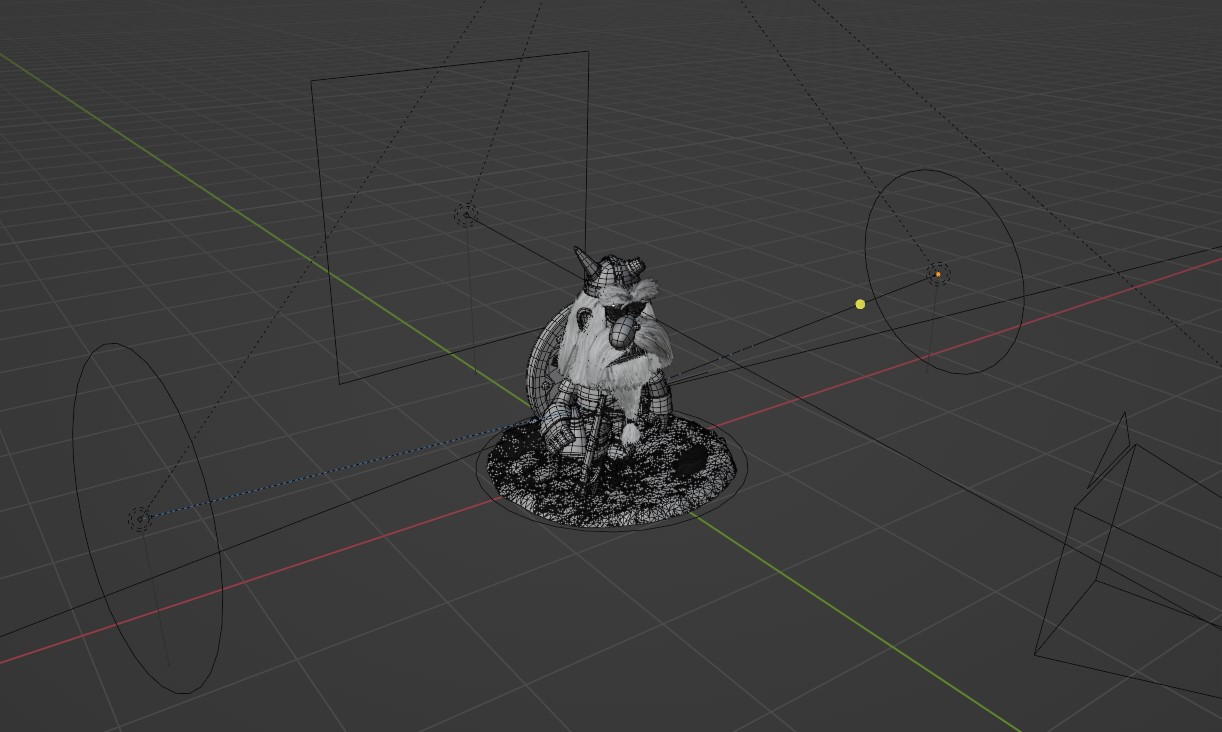
Scene
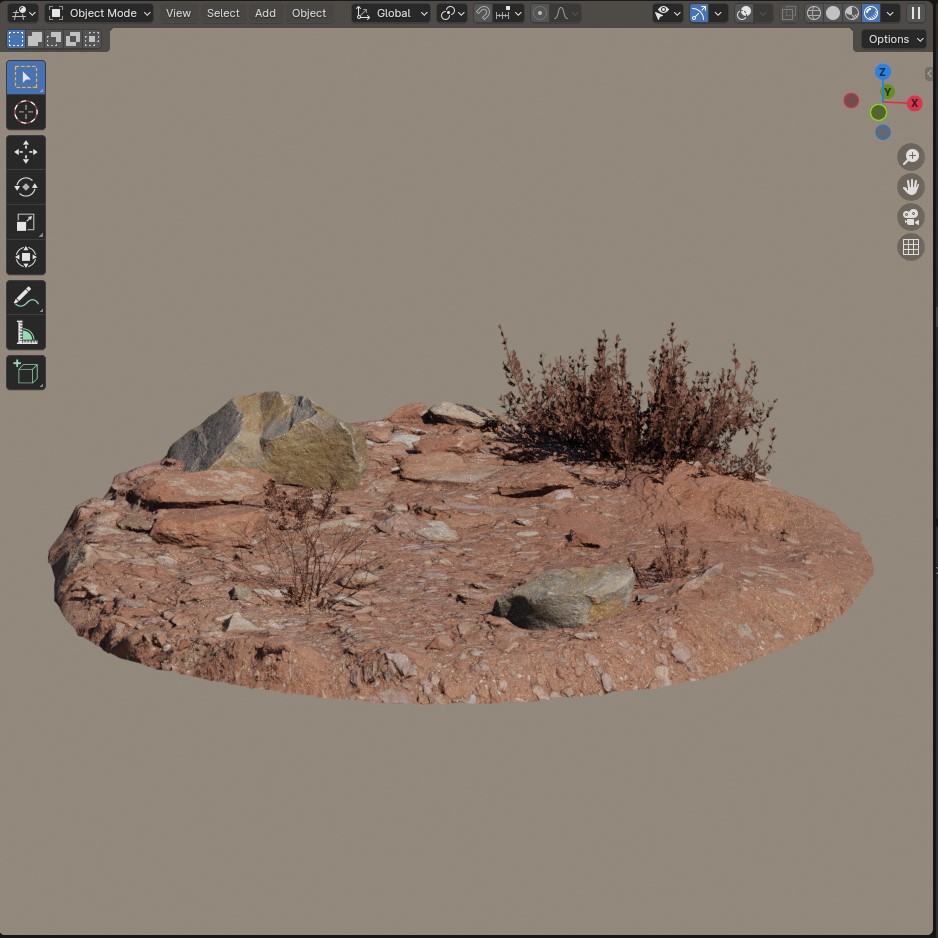
For the platform on which the character will stand, I simply used Quixel models. I wasn’t interested in spending too much time on this stage since the platform was just an asset to present the character model. So, I downloaded a floor, some plants, and rocks, and arranged them in the scene.

Shading
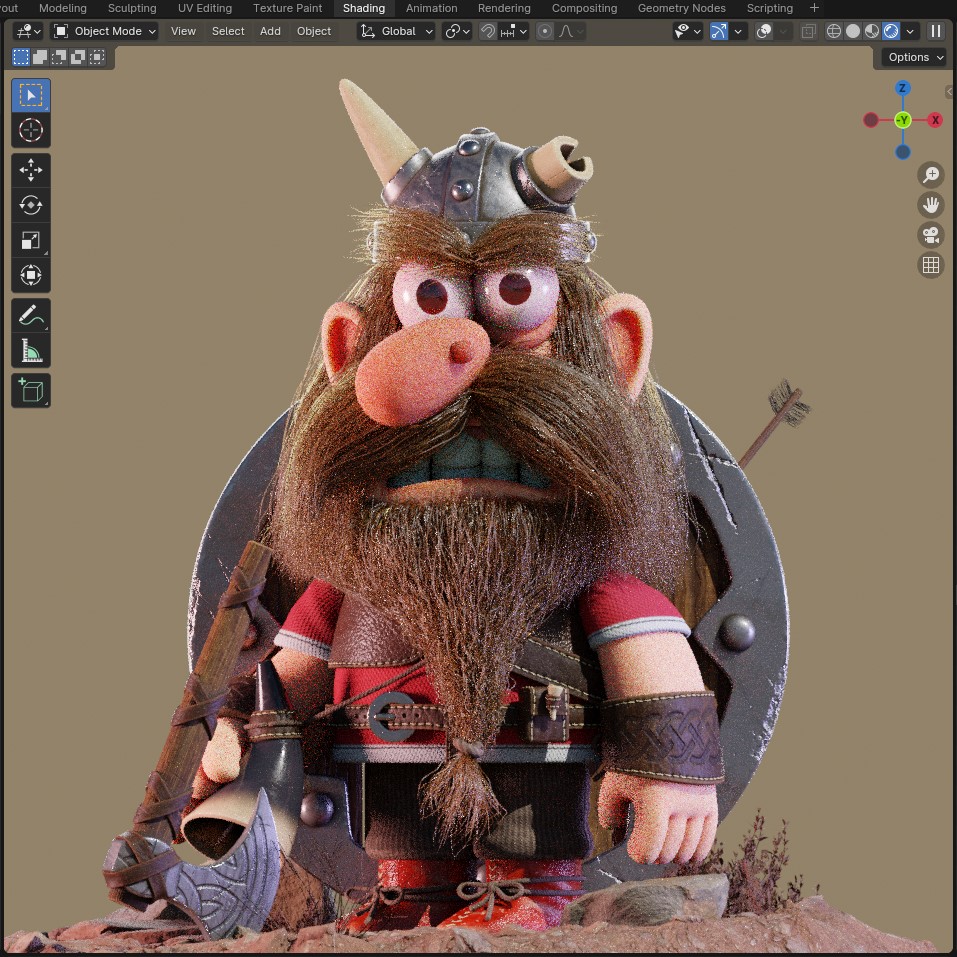
The next step is to create the different materials corresponding to each part of the character. The first step is to activate the Node Wrangler in the Addons panel. Then, selecting each part of the character and pressing Control+Shift+T on the Principled BSDF material, I loaded all the textures exported from Substance Painter. I adjusted some color, normal, and displacement parameters, and that’s it.
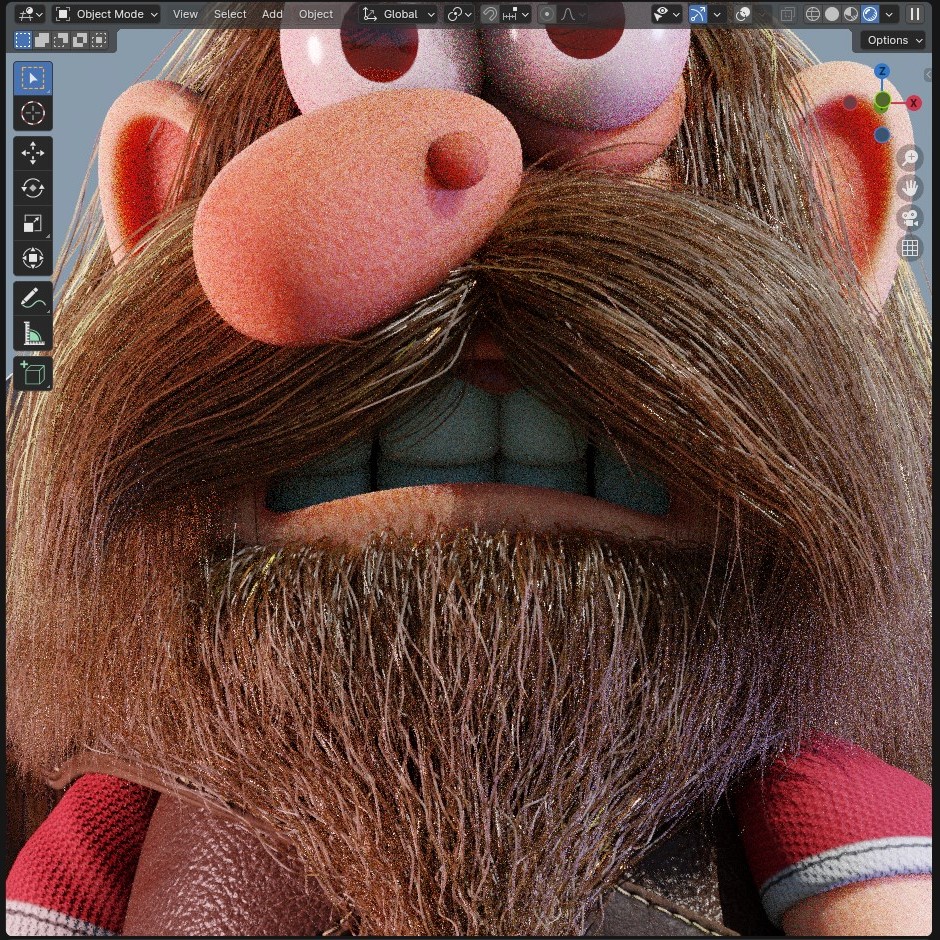
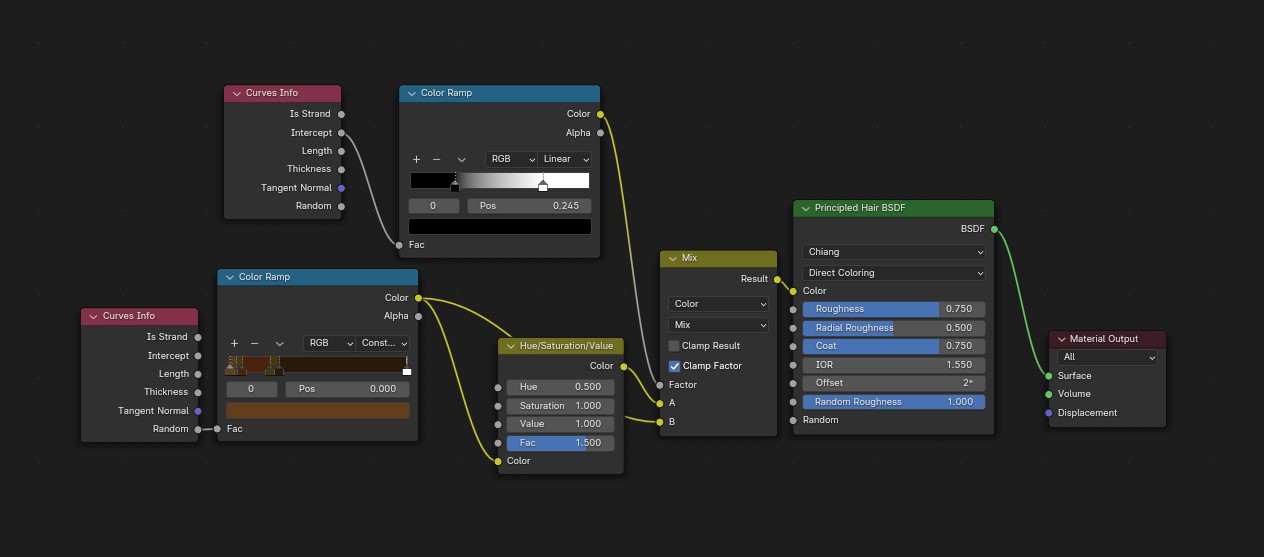
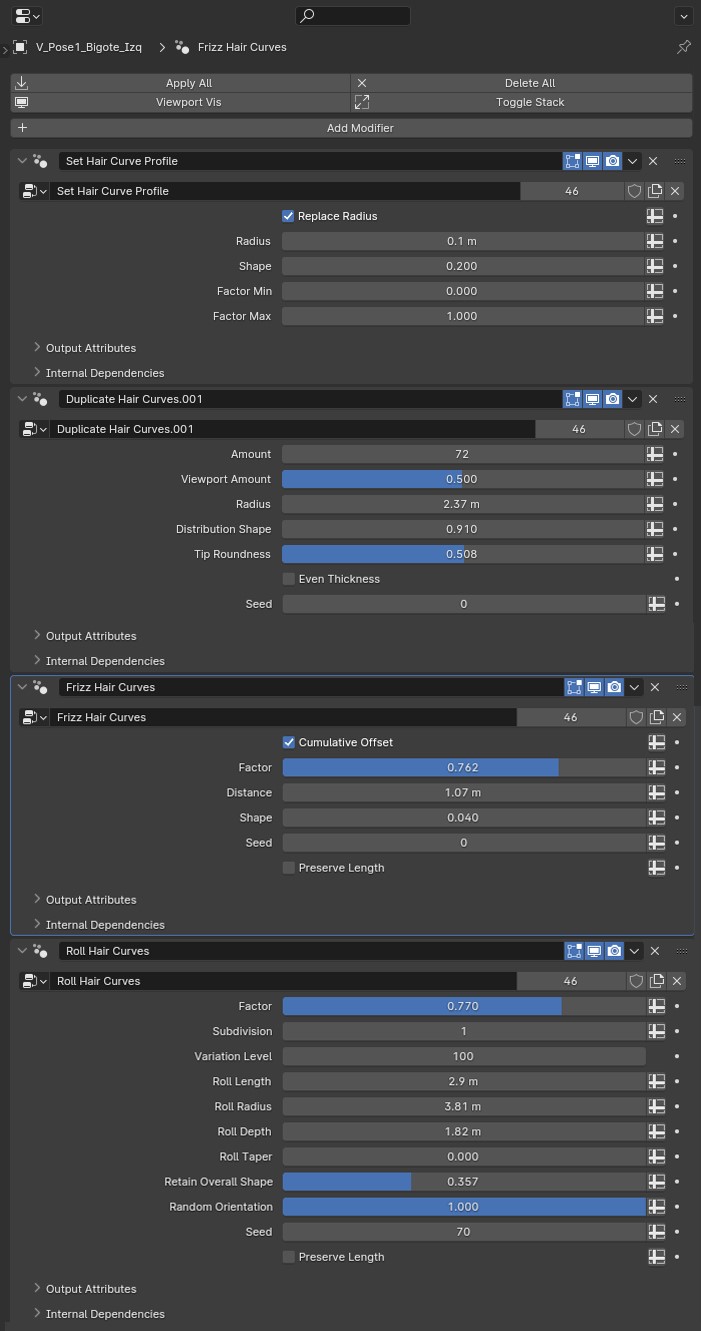
Hair
To create the hair, I started from the base meshes I had previously modeled, extracted splines from them, converted them into hair, and then applied different modifiers to achieve the shapes I was looking for.
In the screenshots, you can see the modifiers I used and how the material is set.
Lighting
Finally, it’s time to light the scene. In this case, I opted for a very traditional setup. Warm light on the left, cold light on the right, and a backlight to highlight the silhouette.
Rendering
For the render, I used Cycles and then imported the different passes back into Blender to compose and export the final renders.
Thank you very much for taking the time to read the article. Although, I believe, it’s a fairly simple process, I hope you enjoyed it and found it helpful.
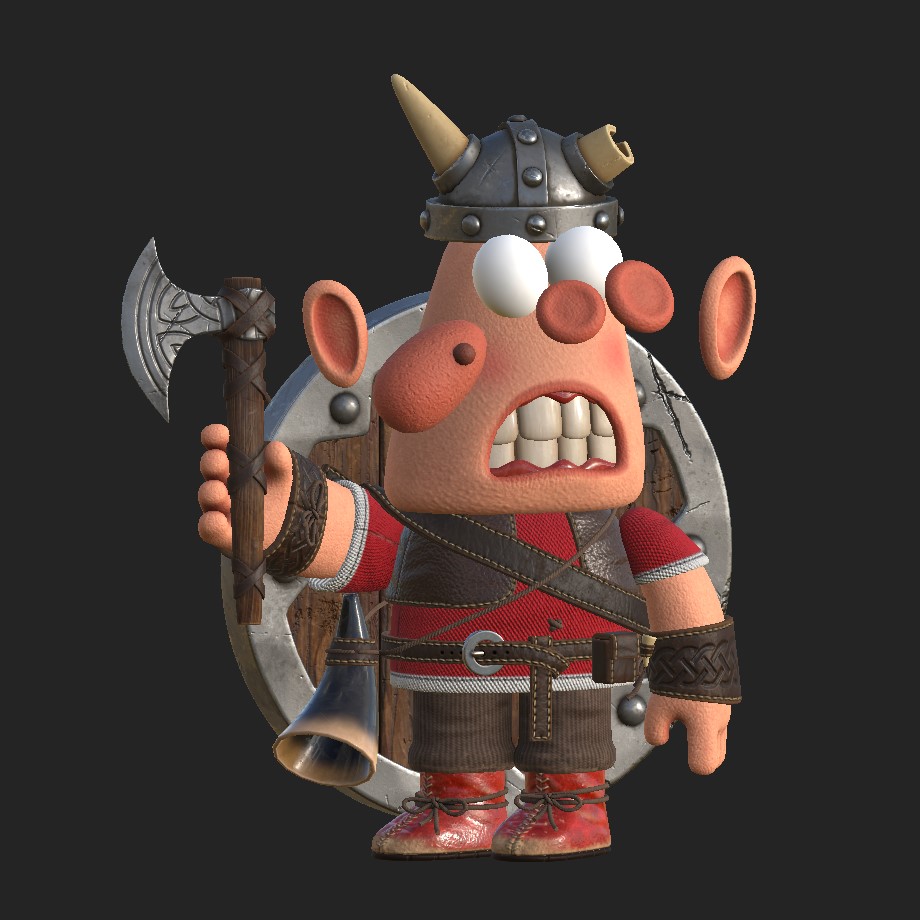
RENDER: Angry Viking

Lowpoly and wireframe:
I invite you to join my social networks and if you have any questions, I will try to answer them gladly. Regards!
About the Artist
Agustín Páez is a 3D artist based in Argentina, specializing in character, object, and environment modeling and texturing. He currently works at Buda.tv, an animation studio from Buenos Aires.