

INTRODUCTION
Hello, dear people!
My name is Sebastian, and I live and work as a motion designer in the creative city of Berlin in Germany, and I am very happy to be able to share my work with you.
I came into contact with Blender 3D during my training as a media designer many, many years ago and it has always accompanied me during my freelance time and my communication design studies until now. I am a big fan of this software and the idea behind it.
INSPIRATION
John Doe is one character in a larger ongoing series of character designs that I create alongside my work as a creative outlet. I always find it exciting to come up with characters that tell a story at first glance and where a story immediately comes to mind. How does the character live? What has just happened to him? How does he feel? What circumstances does he live in?
I try to make the expressions on the faces as exciting and “abnormal” as possible, but using stereotypical features, of course. I usually have an original idea in mind and when I create it, I add elements and change the idea.
I'm usually inspired by everyday life, when I walk through the streets of Berlin and observe people. And yes: there are a lot of strange characters walking around in Berlin. =)
PROCESS
Computer Specs:
- Processor: AMD Ryzen 7, 1700X Eight-Core Processor, 3.40 GHz
- RAM: 64GB
- Graphics: Nvidia GeForce GTX 1080 Ti
Idea:
With John Doe, I wanted to create a character who is a bit desperate. I went straight into the process without any further detailed ideas.
Modeling:
I started directly in Blender and modeled the head without any sketches (only in my mind). The starting point is usually a sphere or a box. The shape of the head is very important for the appearance of the figure. With John Doe, I tried to create a very long head shape with a very deep-set mouth.
The nose was a simple box, which I then deformed. This gave the character a boxer expression. Generally speaking, most of the elements are always created from simple figures such as boxes or spheres. Eyes, iris, eyelids, glasses... All these elements are formed from spheres. I added a turtleneck sweater so that his clothing contrasts with the rest of his appearance. I associate this type of clothing with philosophers rather than criminal villains like John. Finally, earrings made from a torus, teeth made from boxes, and of course, glasses made from narrowly scaled spheres. Most of my characters have glasses… maybe because they have to share their fate with me.

Particles:
To give the character a rather unkempt touch, I added a 3-day beard and tousled, thinning hair. These are two different particle systems.

If you are still missing some particle properties that are not in the picture and you would like to know, don't hesitate to contact me.

Textures and Material:
I use different textures and bump nodes to achieve the most exciting skin structure possible. I often experiment and see what happens when I use different textures. It is not important to be as realistic as possible, but to give the skin a nice structure.

In this case, I used a material from the wonderful Nathan Duck (Ducky 3D) as a base, modified and colored it, especially the blue eye.

For the hair, I used a simple Color Ramp to create gray strands.

The glasses are made from a simple glass shader.

To put John in a police scenario, I created a photo background wall in Photoshop, like you see in movies when a crook has been caught and is being documented for the first time for a police file.
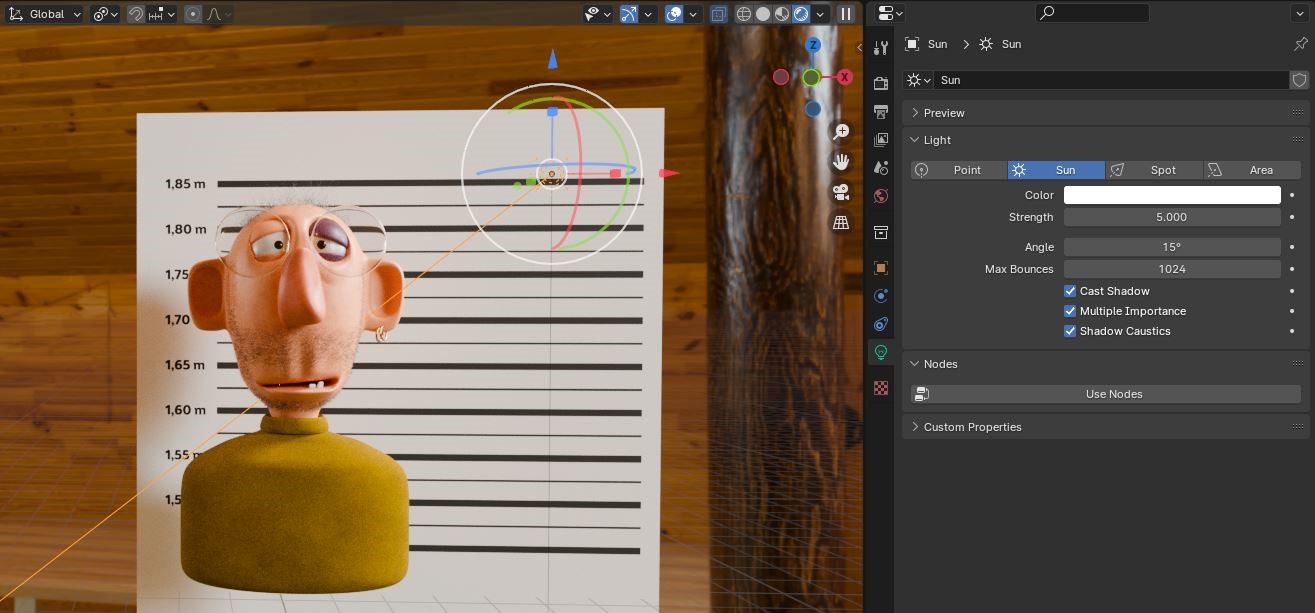
Lighting:
One of the most important factors in a picture for me is the light. In this case, I used an HDRI ambient light and a simple sunlight. I usually add an Area light. In this case, however, it should be a bit “darker” to support the criminal background.
I recommend the HDRI images from Polyhaven. There, you can find the right ambient light for every lighting situation.
Rendering:
The last step is rendering. Here, I usually try to find a compromise between rendering time and quality.
I used about 400 samples with a resolution of 1920×1920 pixels. The format is the same for all my characters to ensure consistency.

Recently, I've been using the render farm from, Sheepit Render Farm. Here, you pay for your own renderings with your own computing power. It's definitely worth a try and for me, it works quite well so far. It’s worth considering especially for animations.
RENDER : John Doe


That was it! If you have any more questions, feel free to contact me on one of my channels!
About the Artist
Sebastian Murrer is a motion designer and 3D artist from Berlin, Germany. He is currently working as a senior motion designer in an advertising agency.
