Behind the Scenes: Back to December

INTRODUCTION
Hello everyone, I’m Maba from Italy.
My journey in the art world started when I was very young. I was only a baby when one of my aunts told my mother that I would become an artist, while looking at me holding a pencil as I sat in my highchair.
The passion for everything that was art grew deeper as time passed and this eventually led me to enroll in my hometown High School of Visual Arts, where I learned the basics for the classical disciplines such as drawing, painting, sculpting, and technical drawing. After my diploma, I also got a graphic design certification. As for 3D modeling, I approached it in 2021 as a self-taught artist.
In 2020, after many years of the so-called “artist’s block,” I was enticed to open an Instagram account to share my art; the inspiration was given to me by the most important person in my life, who helped me believe in what I loved. I have never stopped since.
I’m now working as a graphic and web designer for an international general contractor company based in Italy, and every now and then, I’m also a 3D modeler taking care of the architectural visualizations of their projects. Furthermore, in my free time, I like to post timelapse videos and tutorials on my YouTube channel.
In the meantime, my love for art didn’t abandon me, as I’m currently working towards my Bachelor of Arts degree.
INSPIRATION
I have always loved how Pixar worked with lighting. They always managed to create the right balance between shadows and lights, giving their works that unique style which everybody loves.
I made this work for Advent Drawing, a Christmas challenge on Instagram that I created with the important person who pushed me to continue with my art.
I wanted to create something that would pop up. As a Disney Pixar fan, I already had in mind the look I wanted to achieve, but I needed the right information on how to get the right result. To be able to do that, I just looked at the plethora of references we can find everywhere, whether they are pictures or movies.
PROCESS
This project was completely made in Blender and rendered in Cycles.
My notebook specs:
- 12th Gen Intel Core i7-12650H
- RAM: 16gb
- GPU: Nvidia RTX 4060 for laptops
Overall Composition and Materials
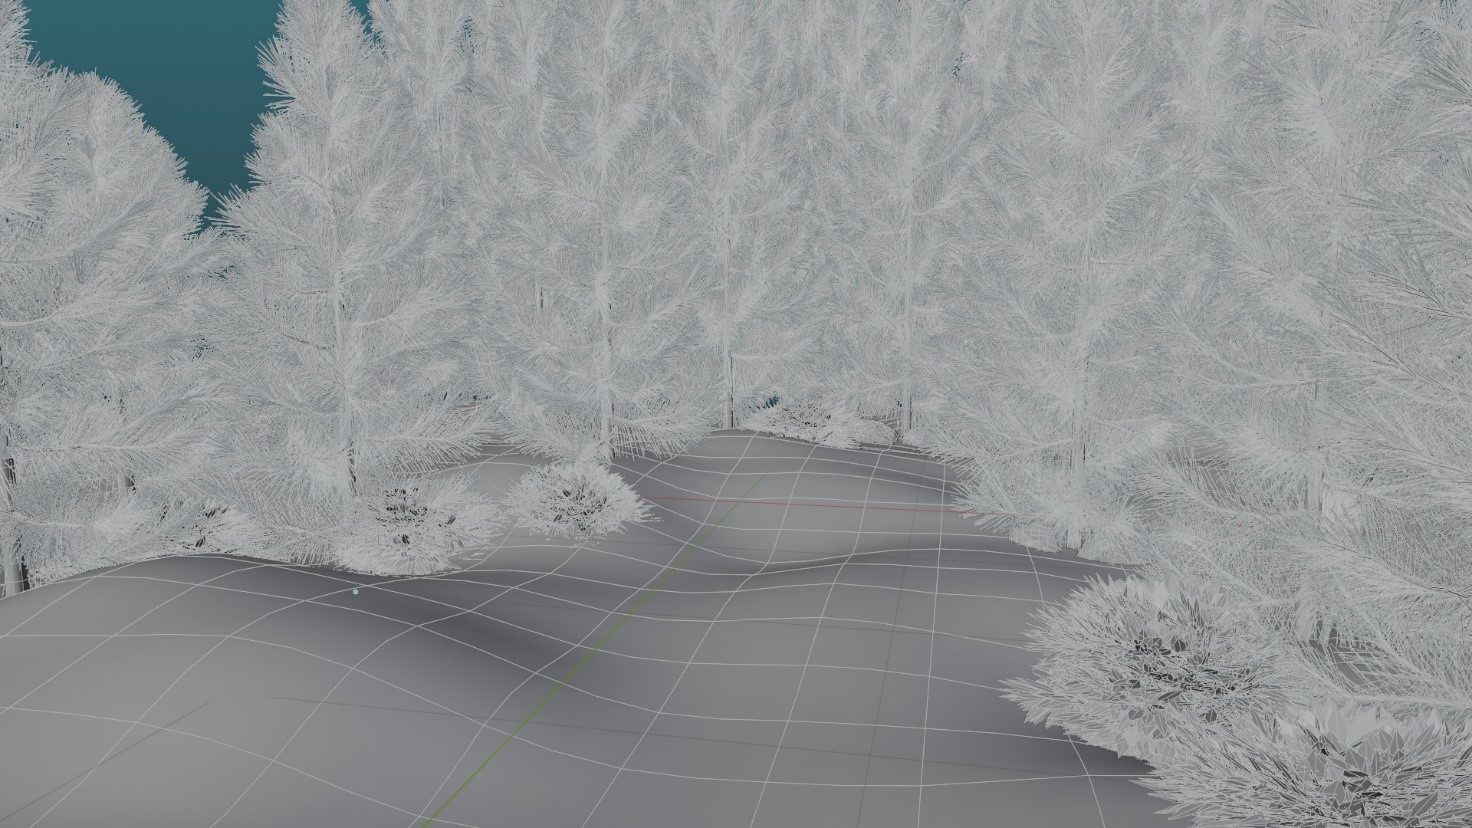
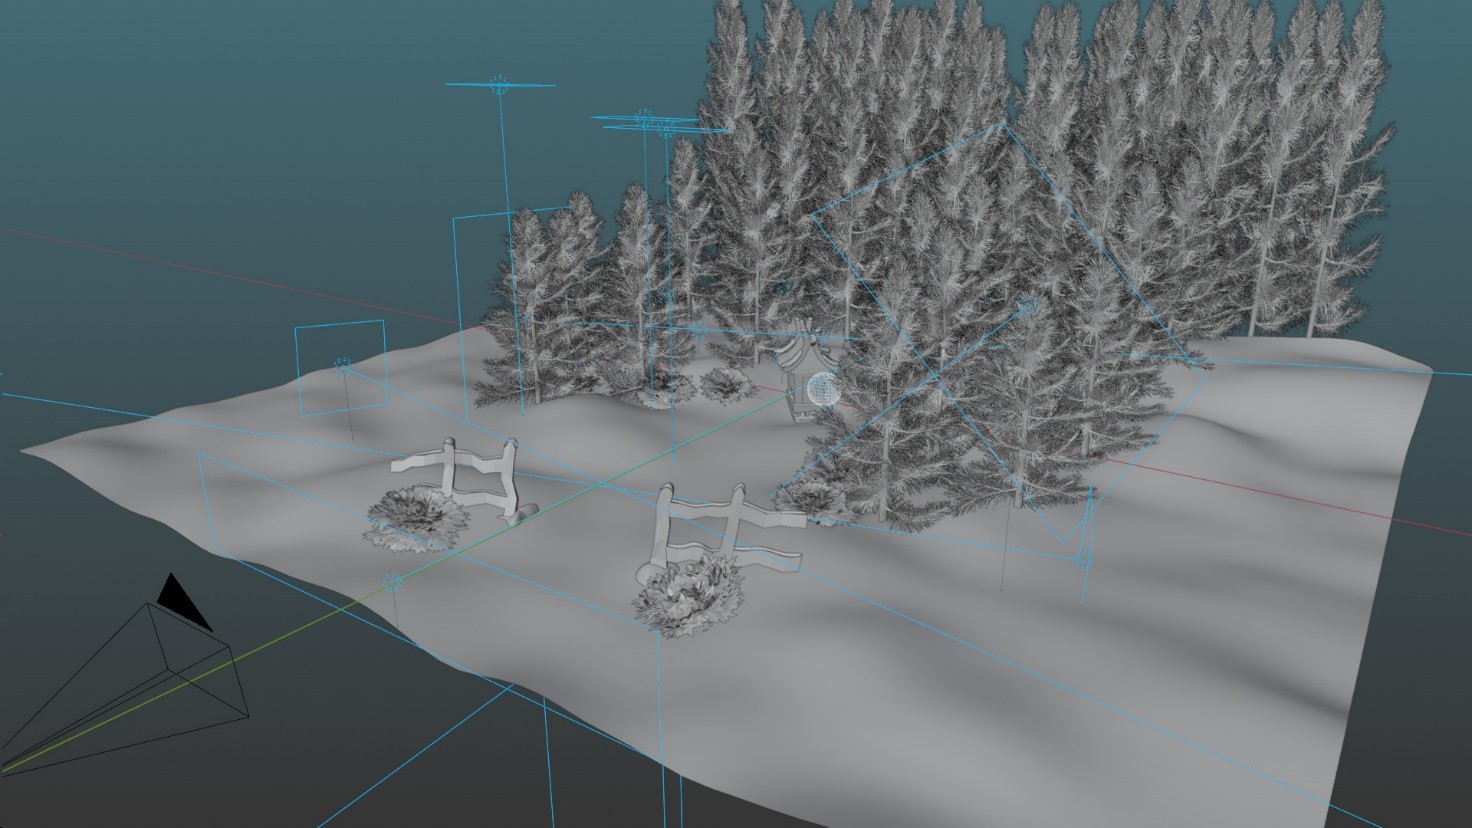
I started by creating a simple plane, subdivided it, and used a displacement modifier with a noise texture to give it the look of a ground covered in snow. Then I scattered some pine trees and bushes around using the built-in Sapling Tree Gen Add-on. I also added some rocks around using the Rock Generator.
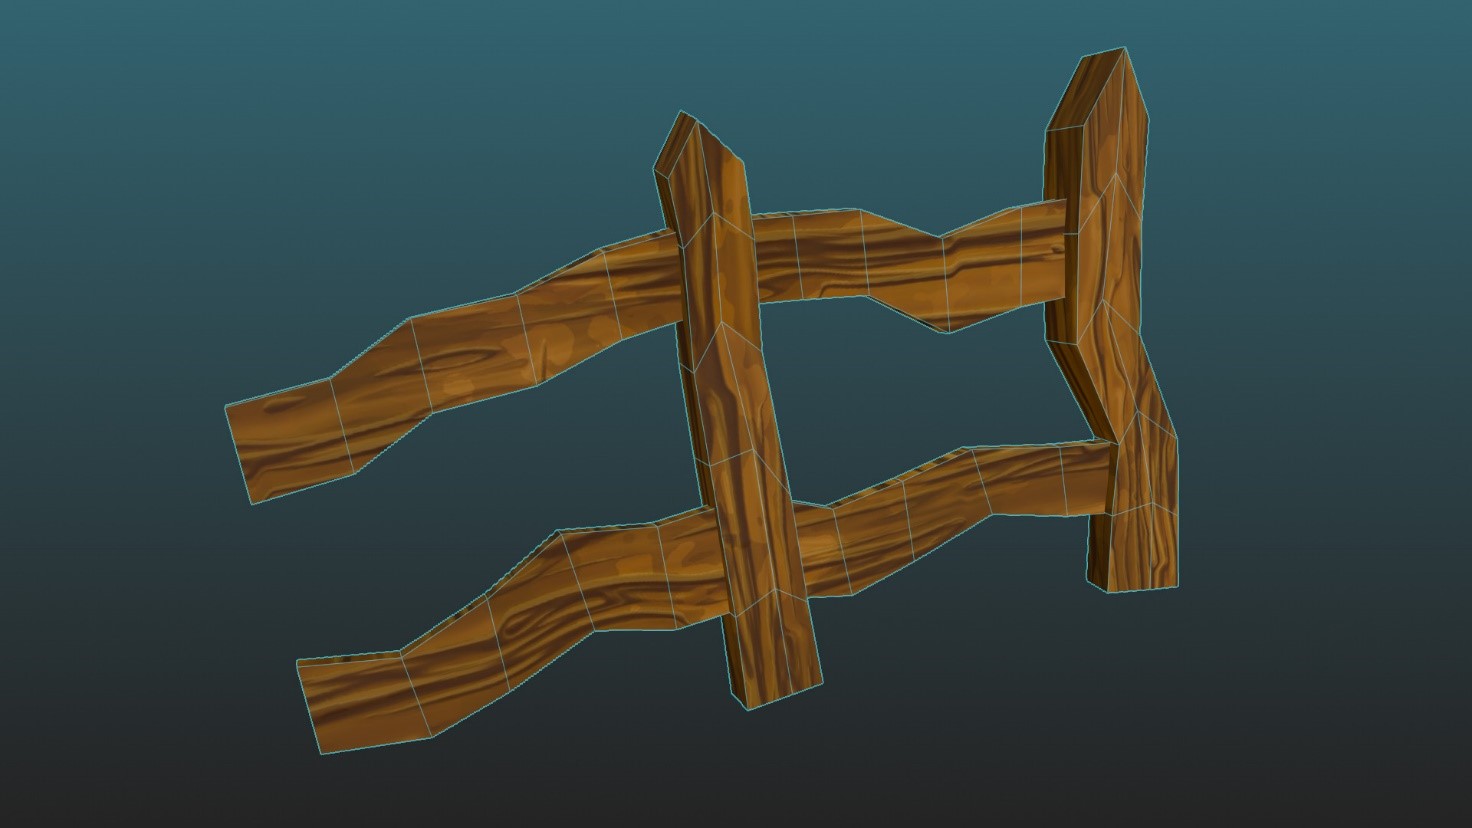
The fence was modeled from scratch. I used a stylized wood texture that’s available for free through the Blender Kit add-on.
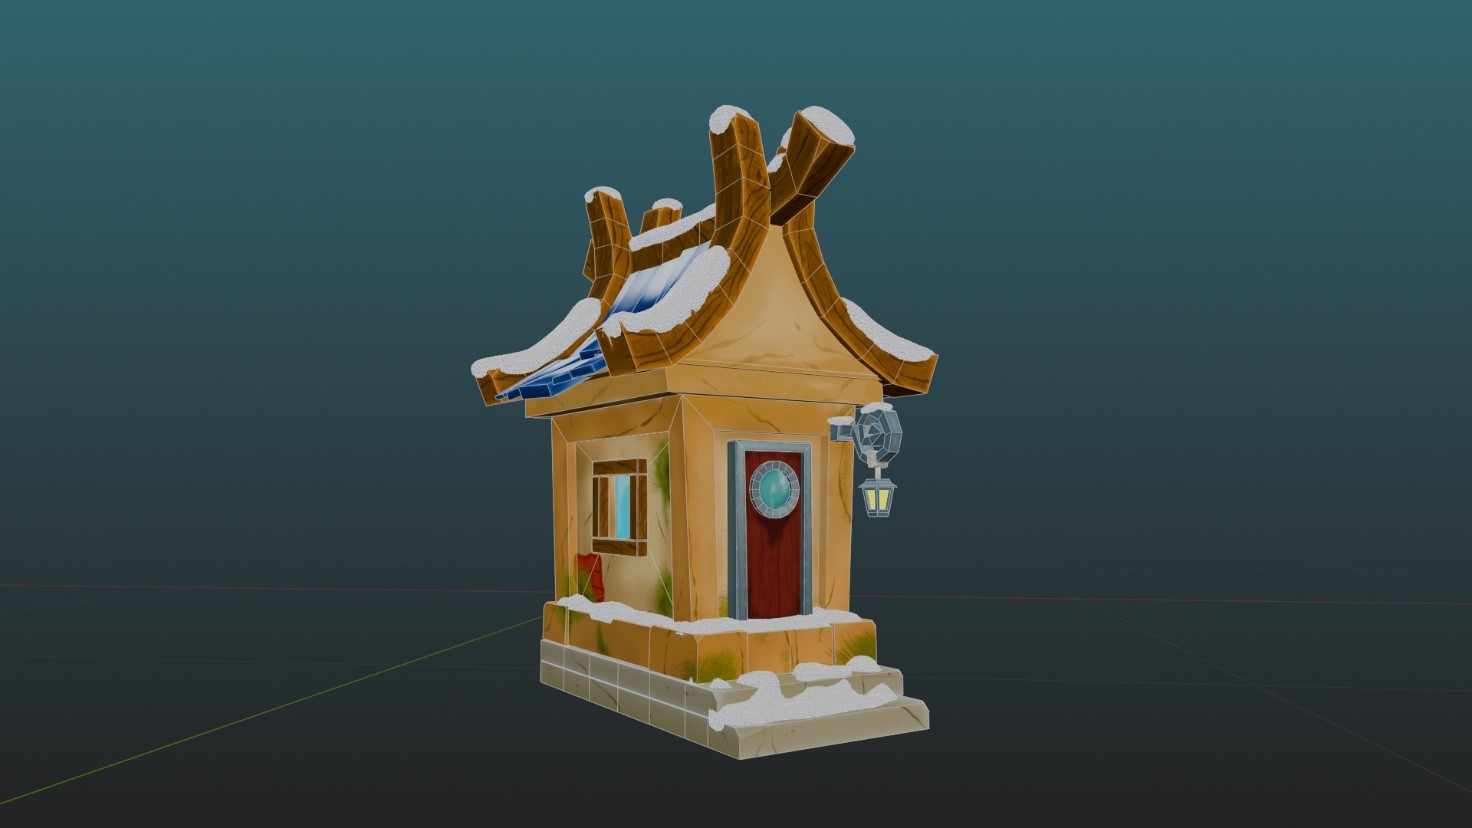
As for the little hut, this also was created from scratch some time ago and I thought it would fit in the composition. The texture was completely hand-painted using both Blender’s Texture Paint feature and Photoshop. The snow on the top was added using the Real Snow built-in add-on.
I gave a frosty look to my trees using a gradient texture and used a mix node to be able to increase and decrease the strength of the easing between the white and green.
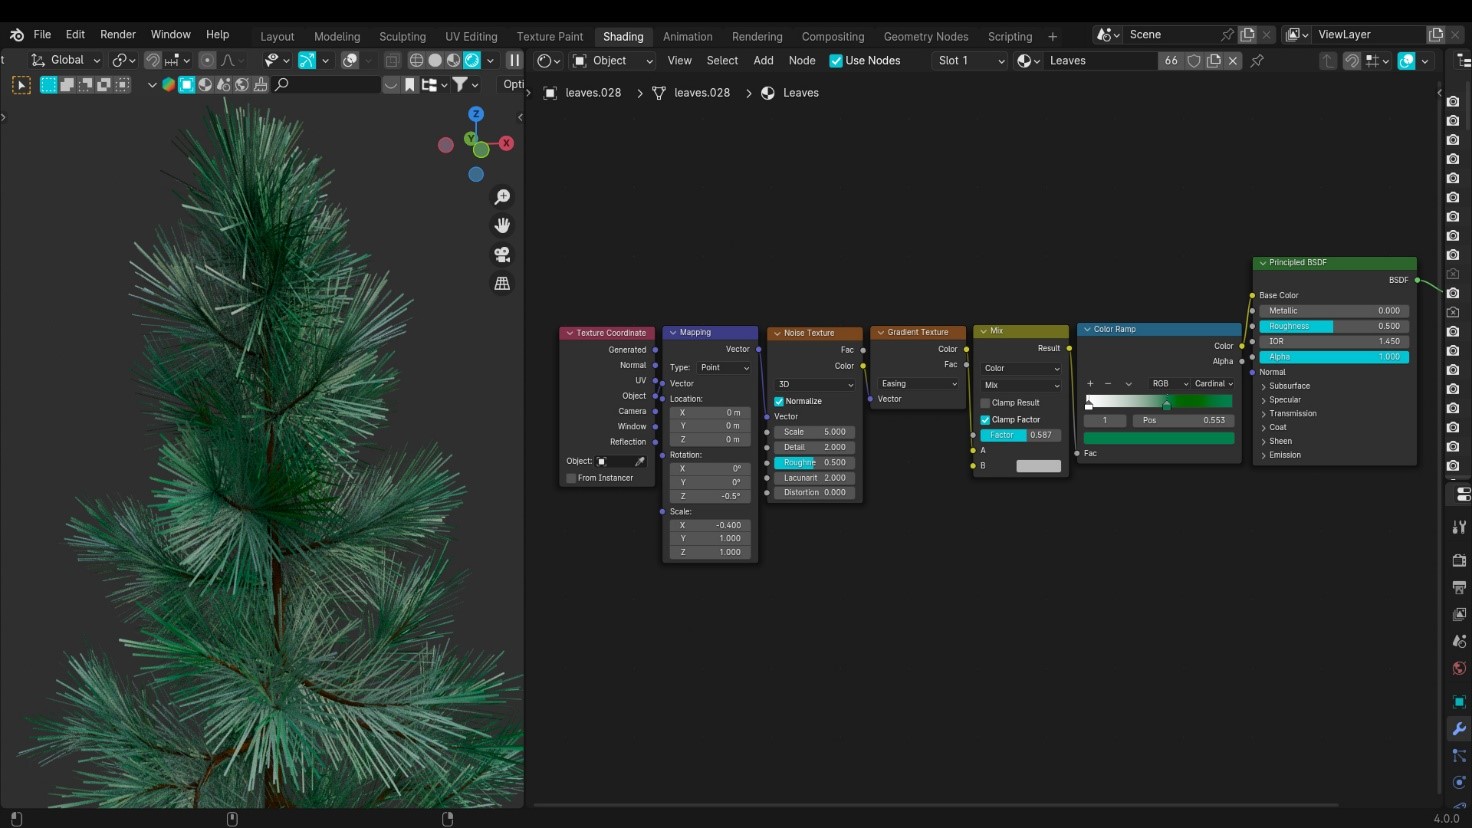
For the snow covering the ground, and the various objects covered in snow, I simply used a noise texture and plugged it in the roughness socket to give it a random shiny look. I also added a bump so the light would create a more realistic look once it hit the material.

Lighting
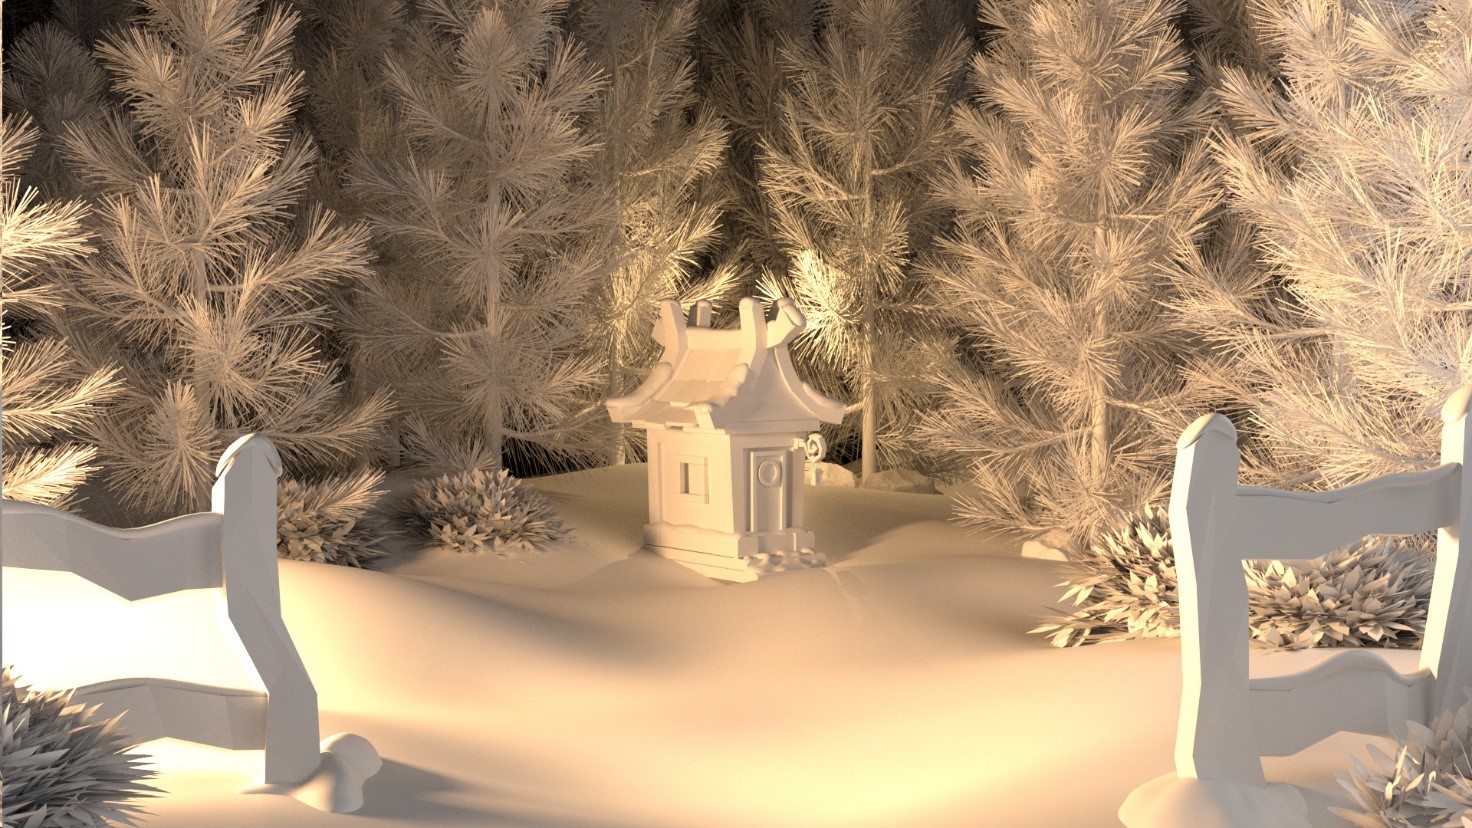
The ideal thing to do for lighting is to mix warm and cold tones. I started with the famous three-point light method just to figure out the overall look I wanted to give in the result.
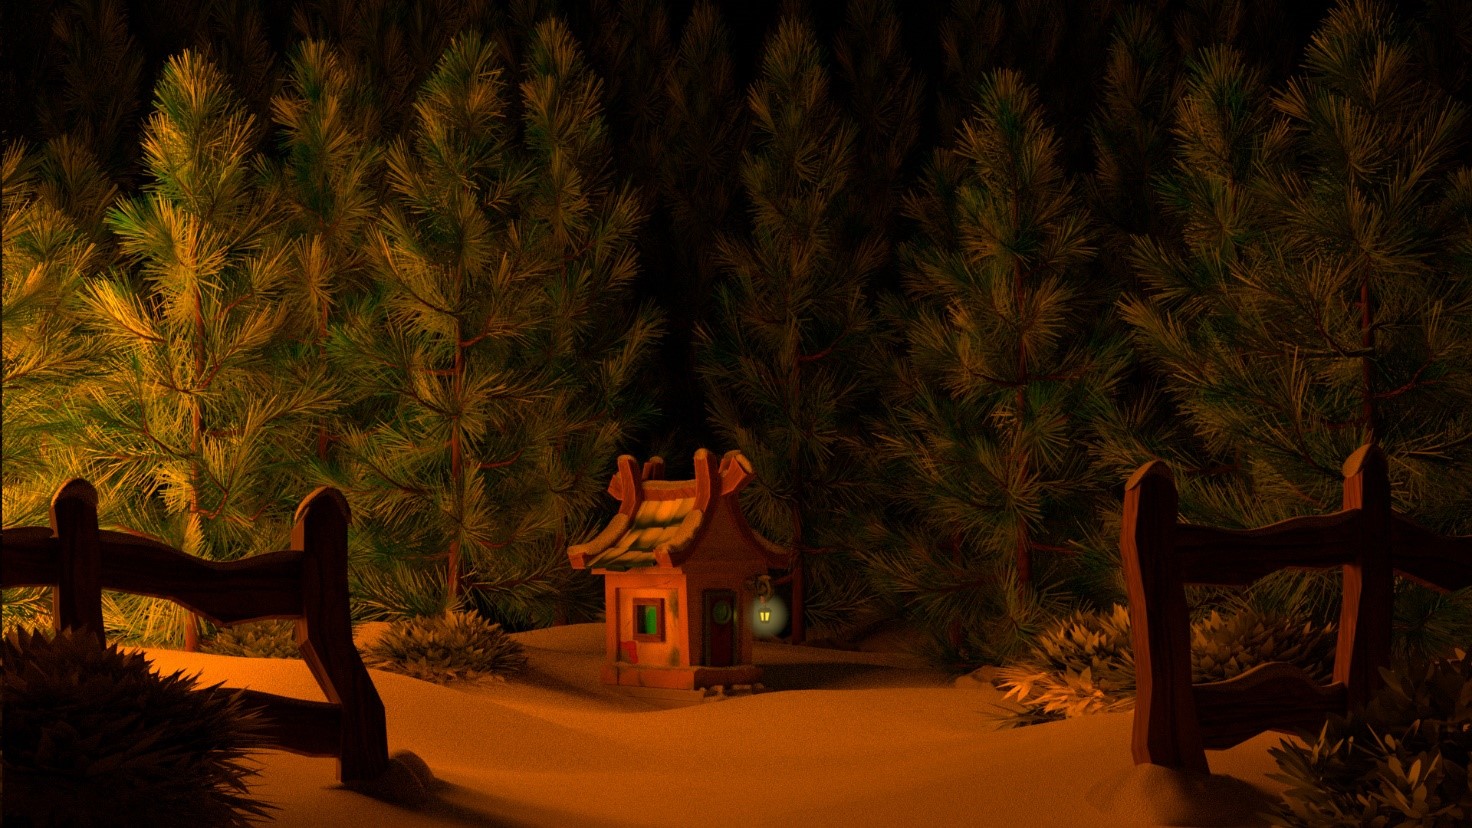
I started by adding my first light source, something warm and coming from the left. This is what’s usually called a key light.
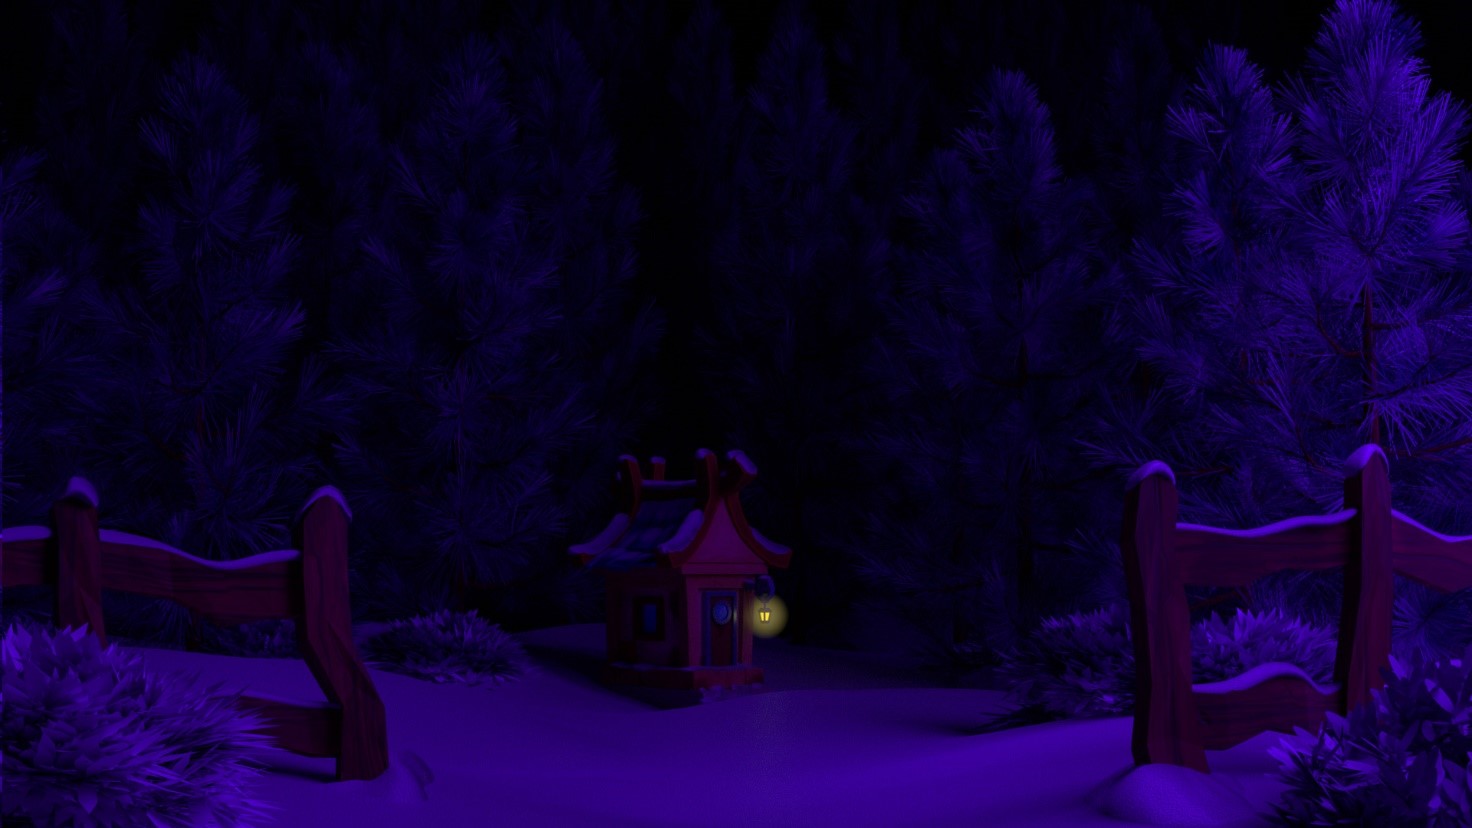
I then added a second light source coming from the right. This time, it was a cold tone, which would be our fill light because it fills the sides that aren’t directly hit by our key light. This way, we won’t have fully black shadows.
I then added some light sources coming from behind. This would be our backlight which will make the main object of our composition pop. I gave these a reddish color to make it look as if the light coming from the hut was lighting the trees around.
You can see the three light sources together in the picture below.
Some More Lights
Since the lighting still looked a bit unbalanced, I also added some more light sources on top, mostly cold tones to fill in the shadows, making them less sharp, and to outline the trees around the house.
Finally, I added a light source in front of the camera to make the fences stand out a bit more.
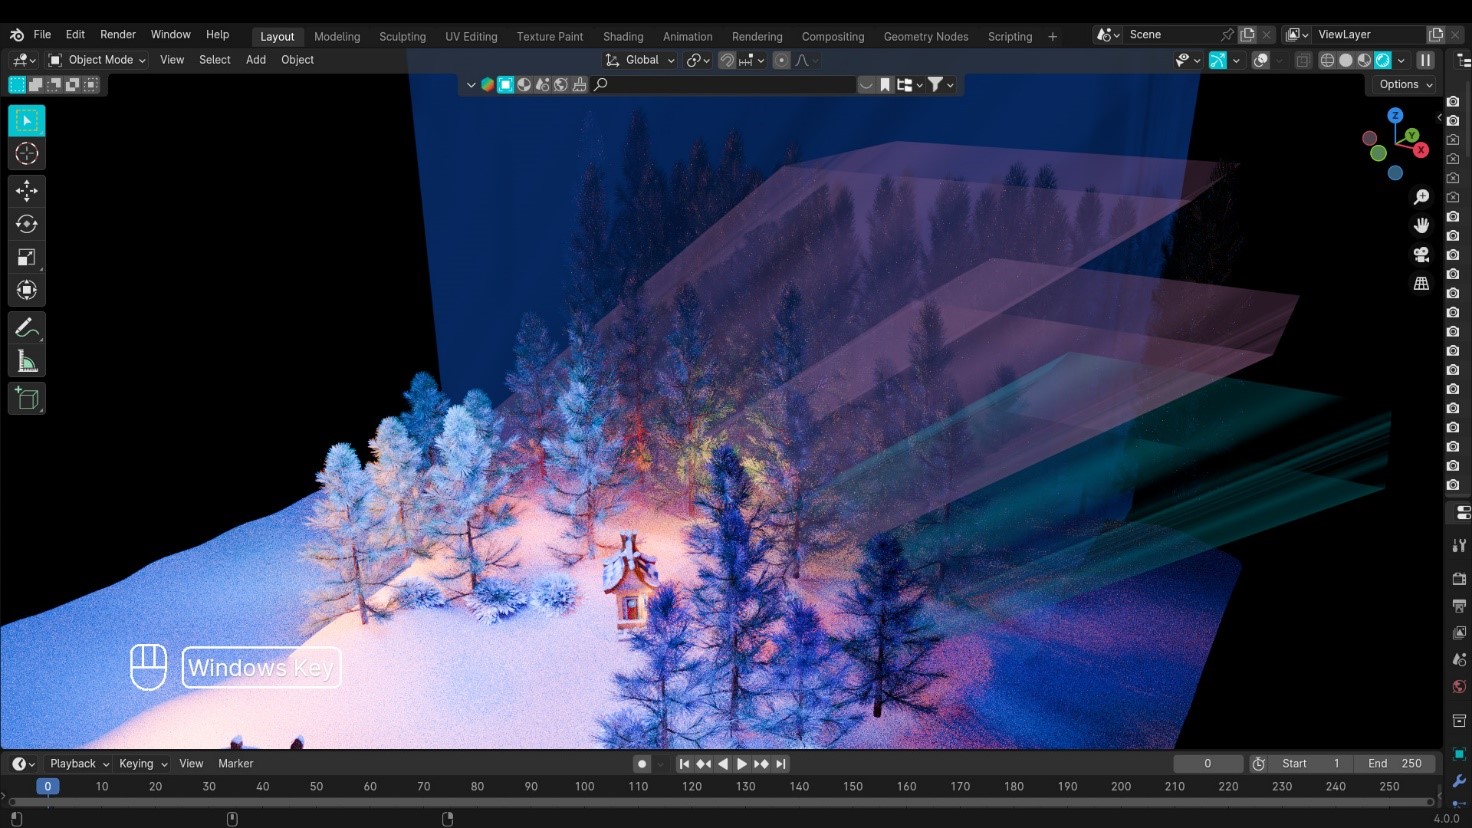
To complete the look, I added some god rays using cubes with transparency and a noise texture.
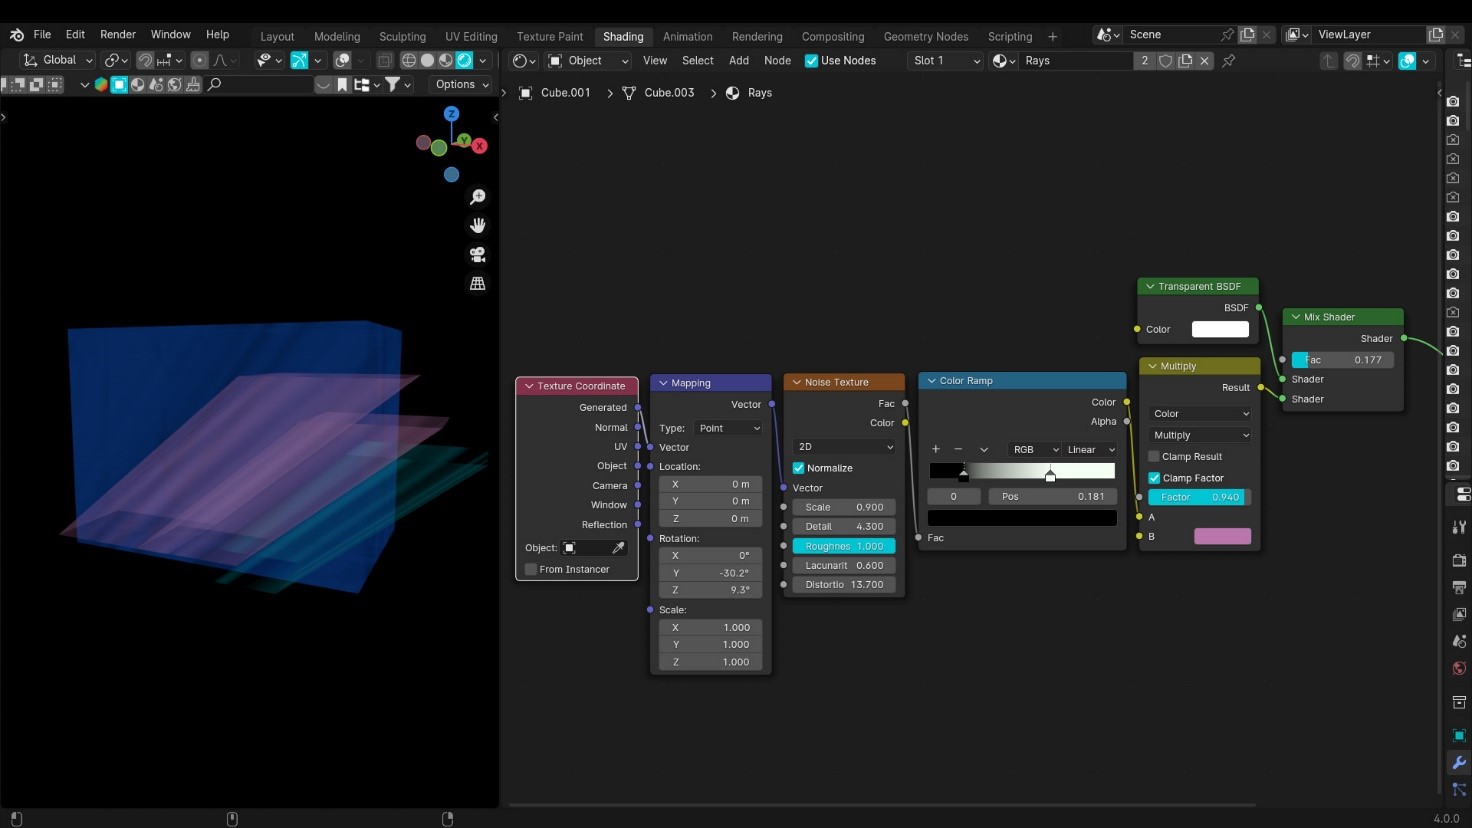
I also made a bigger one to put around the trees in the background to make it look like fog.
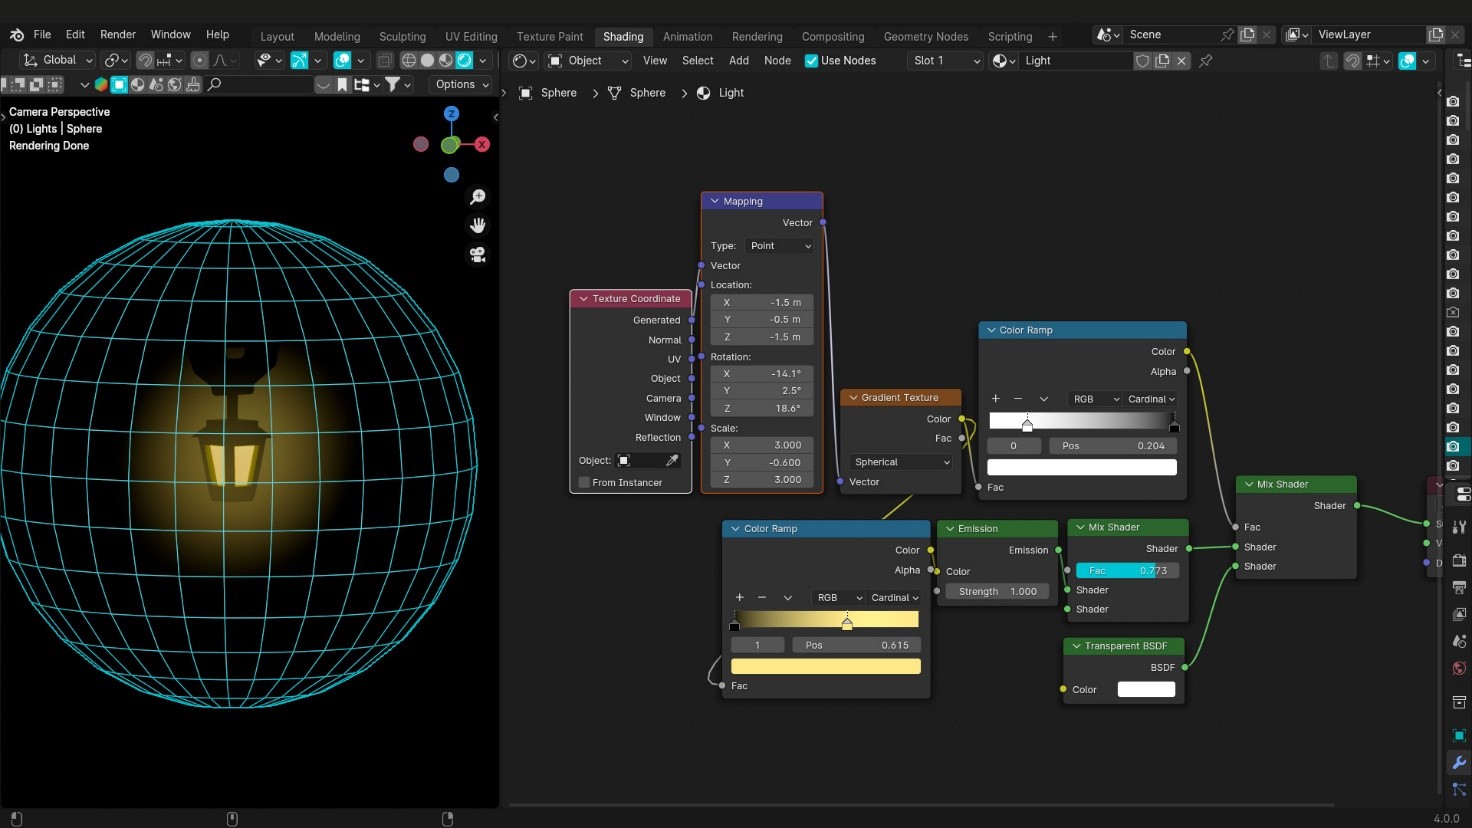
To create the bloom around the lantern, since this is a still image, I used a UV sphere with a spherical gradient texture and mixed it with a transparent shader, and used the same coordinates to mask it by plugging a color ramp in the face socket.
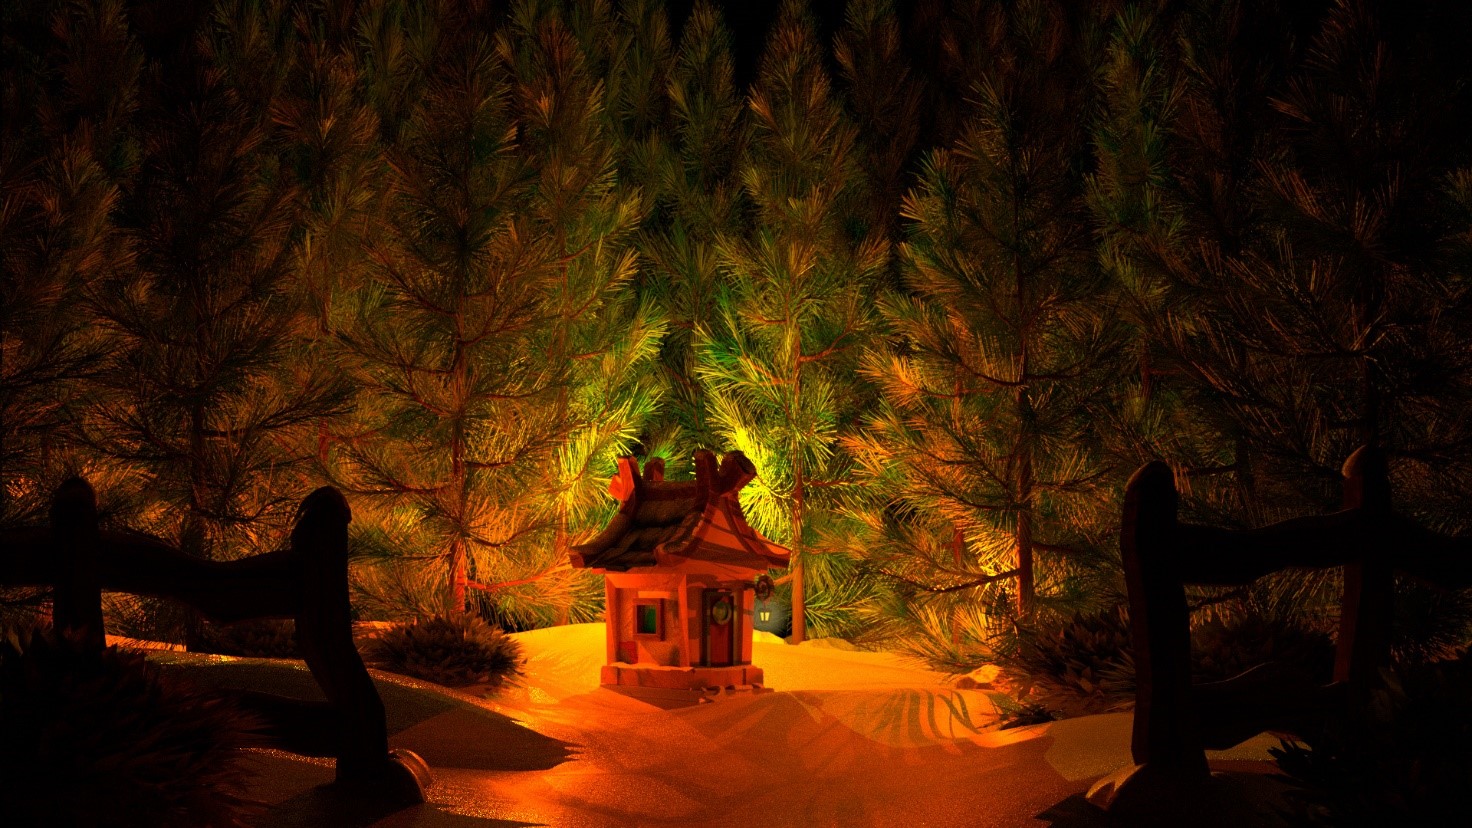
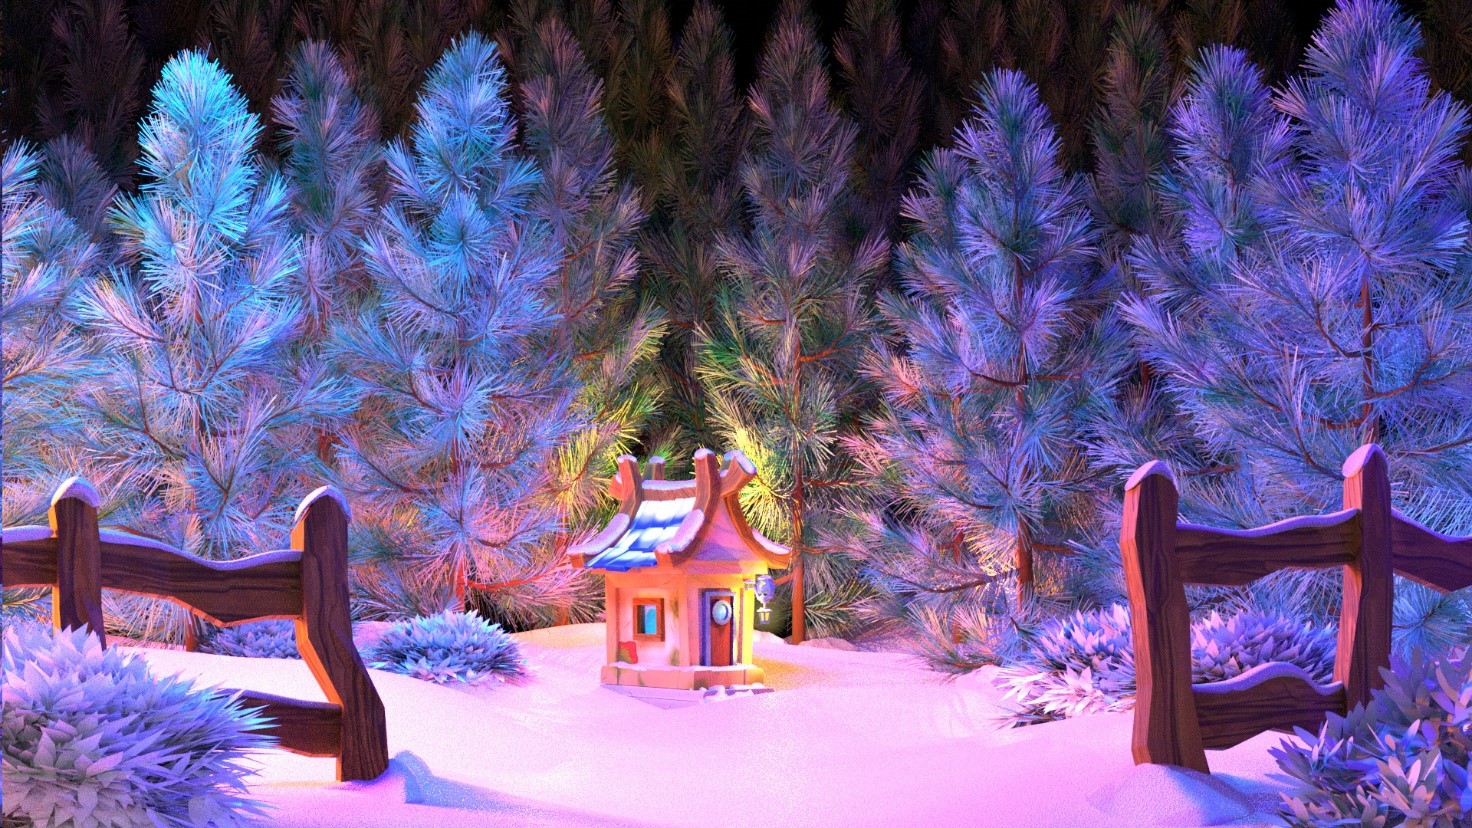
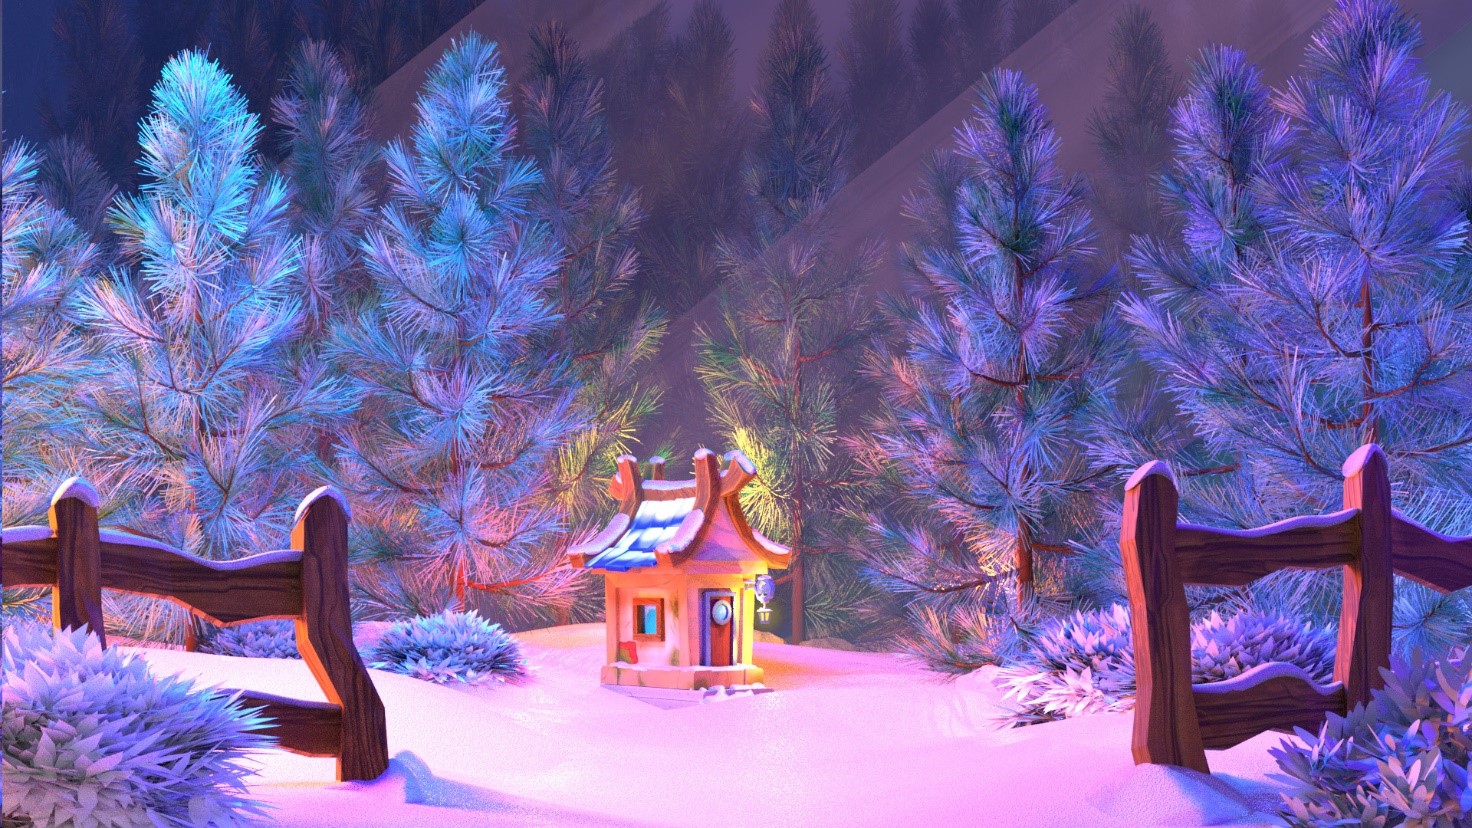
Here is the raw render from blender:
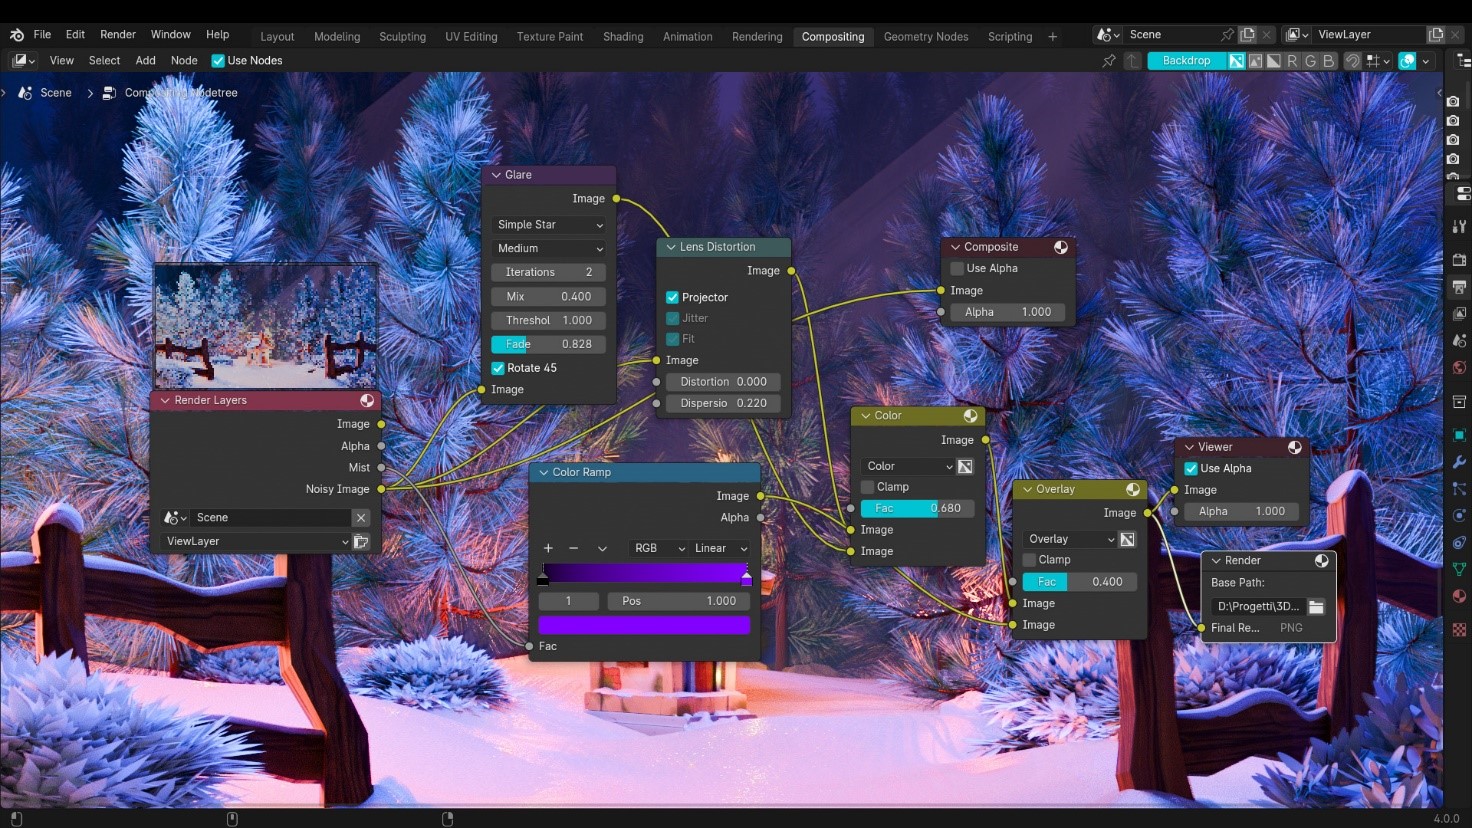
Post-Processing
To conclude the work, I worked on the compositing of the final render in Blender and adjusted some things like the overall contrast, added some mist as well as glare to give the snow a shinier look, and finally a slight lens distortion effect.
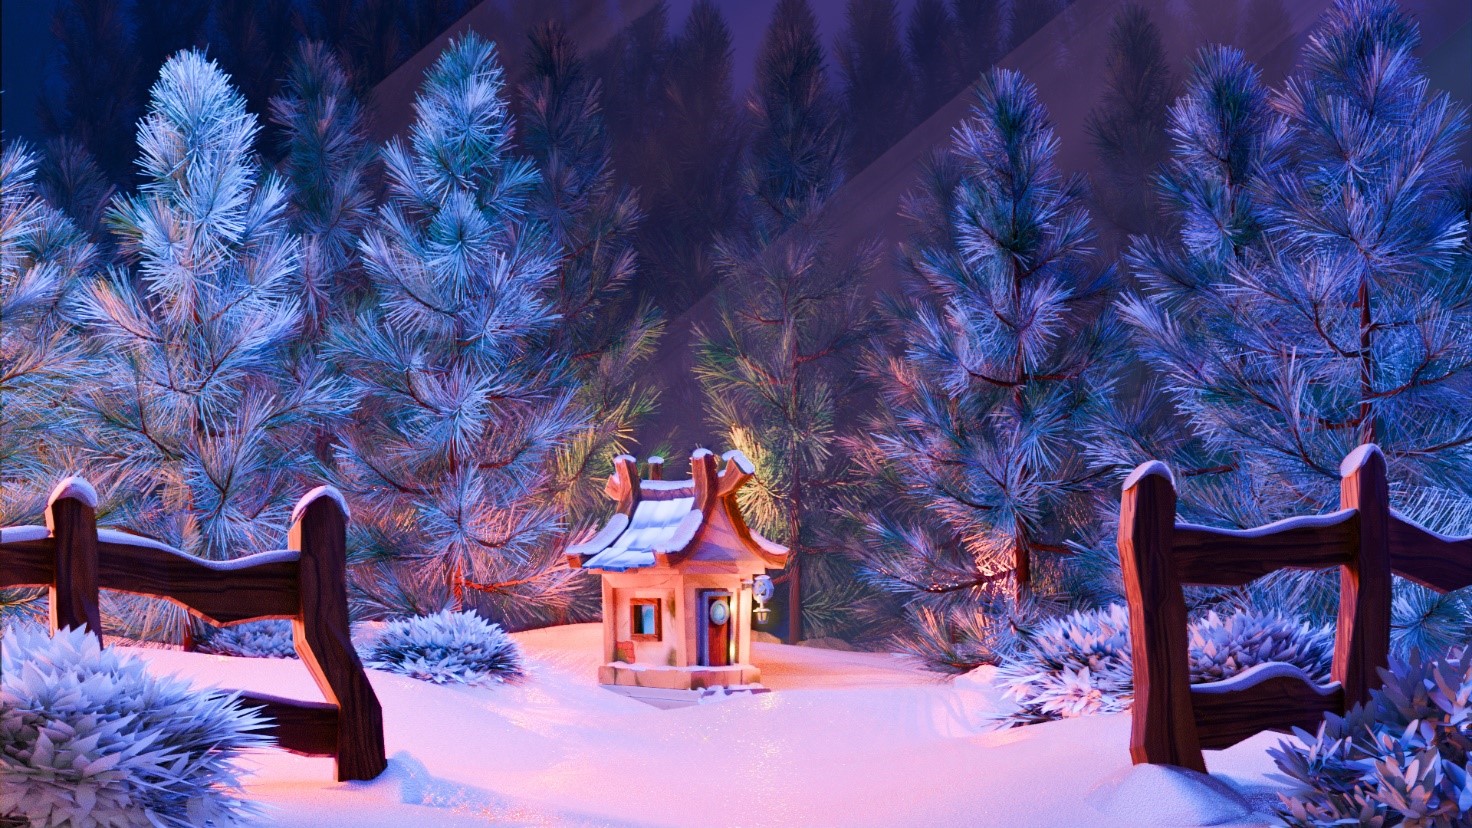
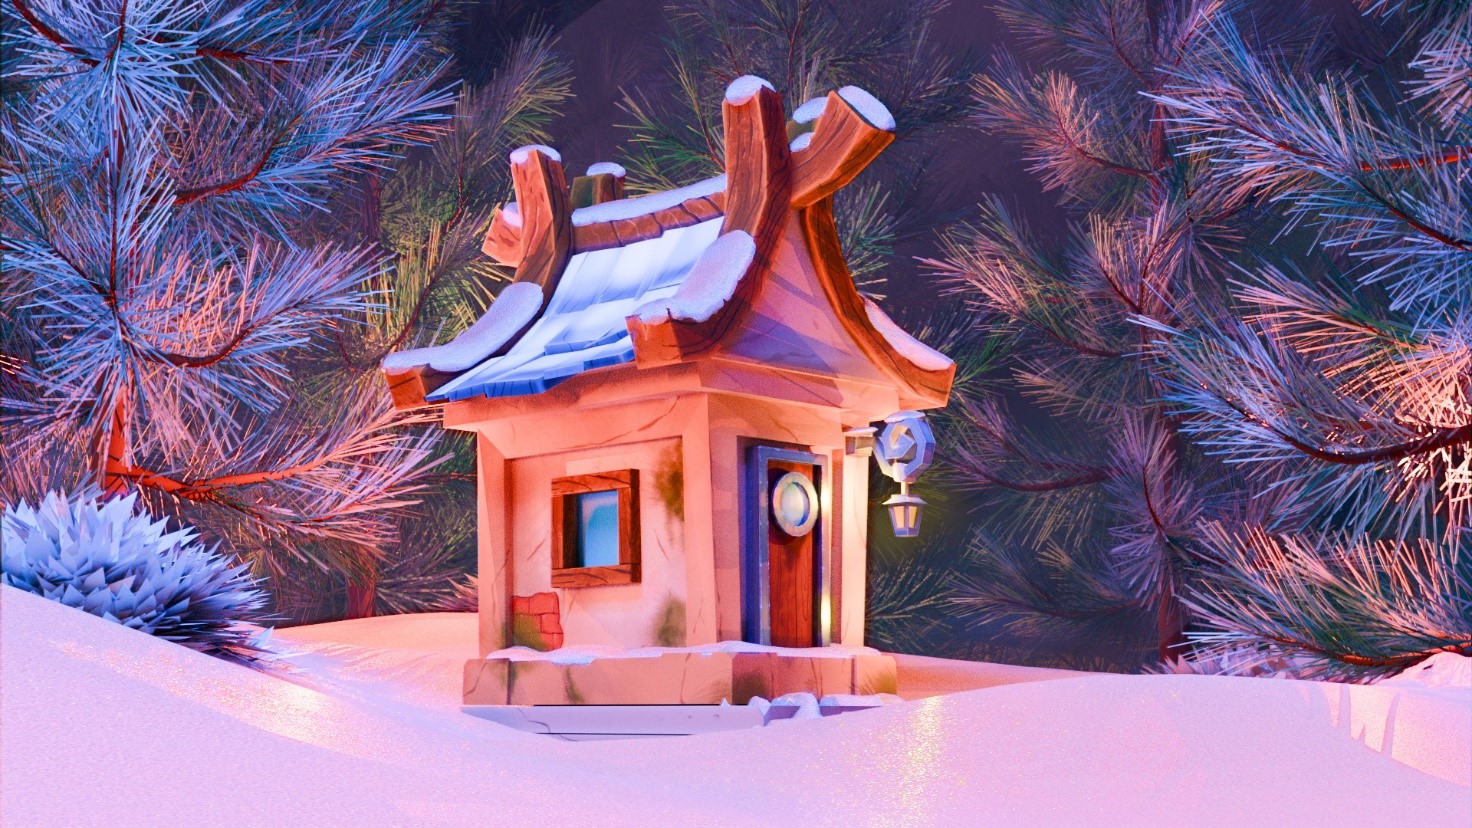
And that wraps up the entire process of creating the artwork. I hope you found it enjoyable! Below are the final renders. I hope you like them!
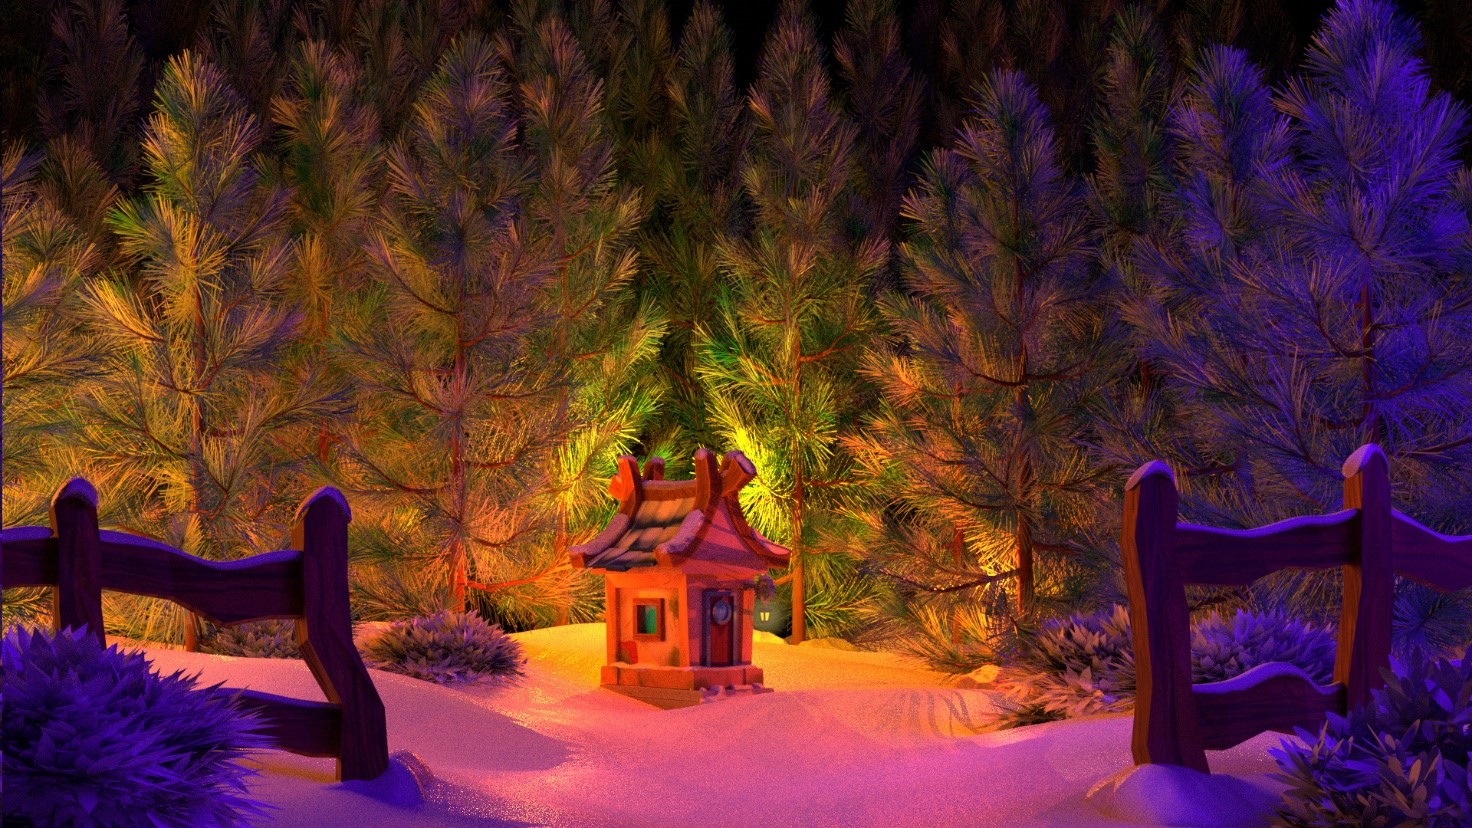
RENDER : Back to December
Thank you for reading my article, and I hope you enjoyed it! Feel free to ask questions on my social media. Have a great day!
About the Artist
Maba is an artist from Italy. She is currently working as a designer for an international general contractor company based in Italy.