Behind the Scenes: Realistic Bathroom
INTRODUCTION
Hi there, my name is Stefan Vogt, aka Nautilux. I am a 54-year-old self-taught Blender and 3D art enthusiast from Southern Germany. I started playing around with Blender 2.26 back in 2003, doing the usual stuff you try when you’re new to a 3D software like a reflecting sphere hovering over a chessboard floor and such. Discovering the tutorials by Blender Guru really helped me to get started (thanks Andrew!).
Sadly, I don’t work in the industry but if I was 20 again, I guess I’d try and pursue a career…
INSPIRATION
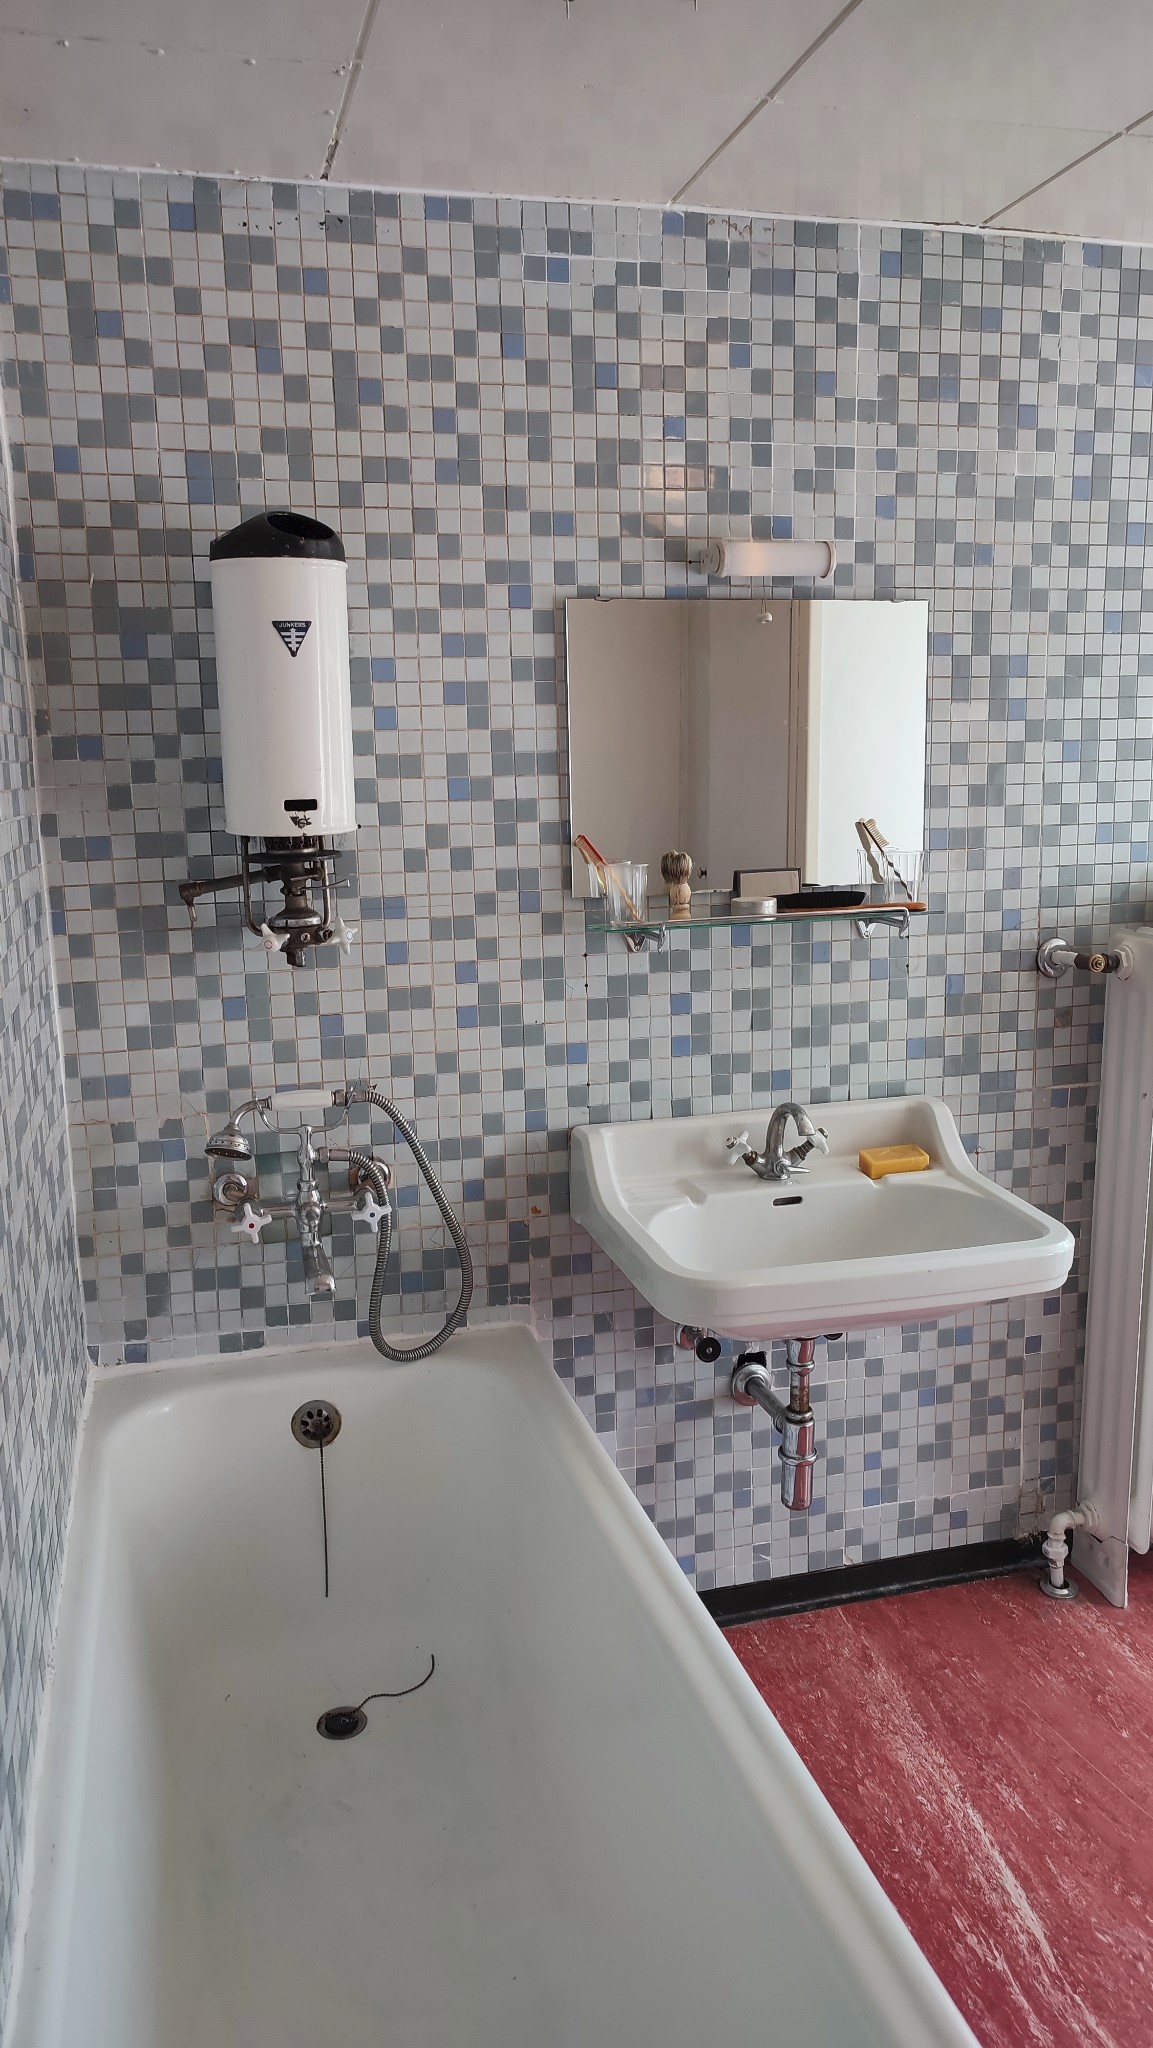
I visited an Open Air Museum where you can experience everyday life in former times. Each building was painstakingly transported to the museum site and furnished with authentic period pieces. In the “MAN Stahlhaus,” a house whose outer hull and frame was built entirely out of steel, the bathroom inside kind of fascinated me. So I decided to try and make a bathroom in Blender.
PROCESS
Hardware
- AMD Ryzen 7 7500G
- 32 GB RAM
- NVIDIA Geforce RTX 3060
Software
- fSpy
- Blender 3.6.5
- Cycles
- Affinity Photo
- Affinity Designer
Preparation
I went online and chose a photo which I then put into fSpy to match camera and perspective, and then exported it to Blender.
Modeling
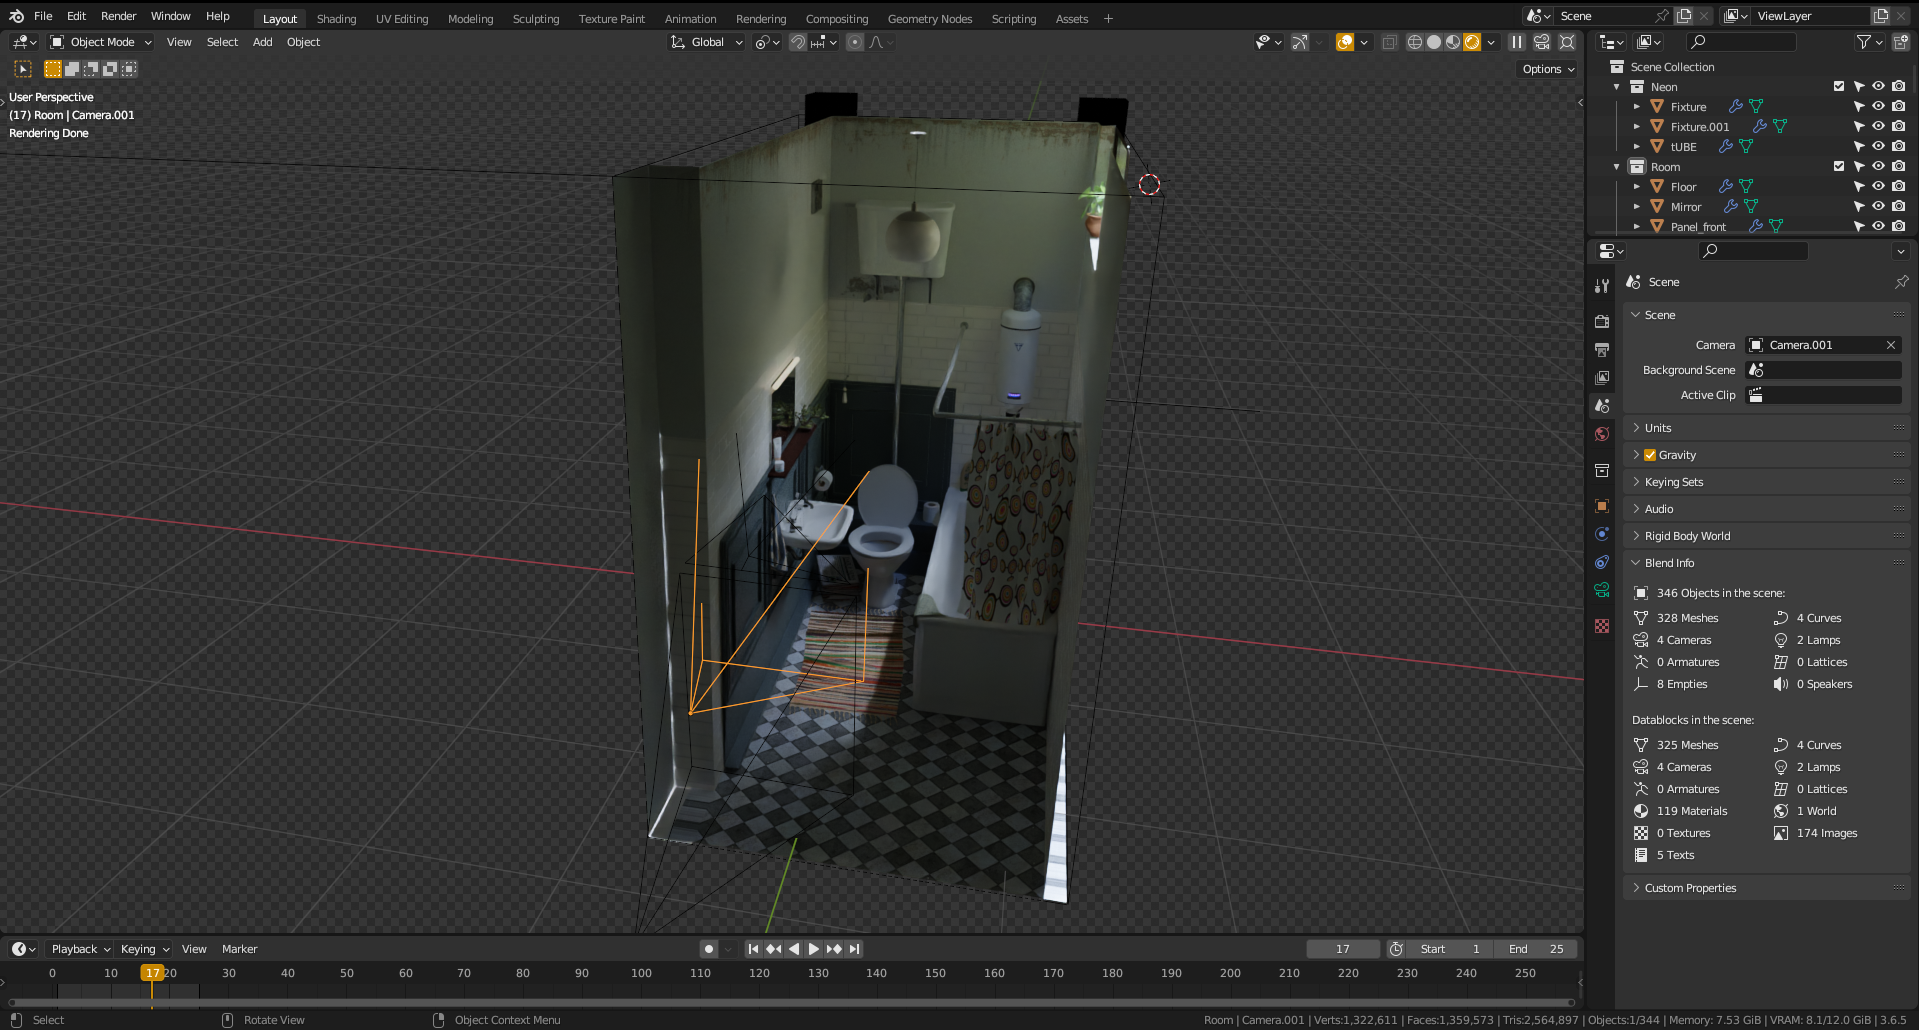
The room itself consists of a cube with the normals recalculated on the inside. In edit mode, I assigned my materials to the corresponding vertex groups. I’m really pleased with how the look of the tiles turned out.
Example:
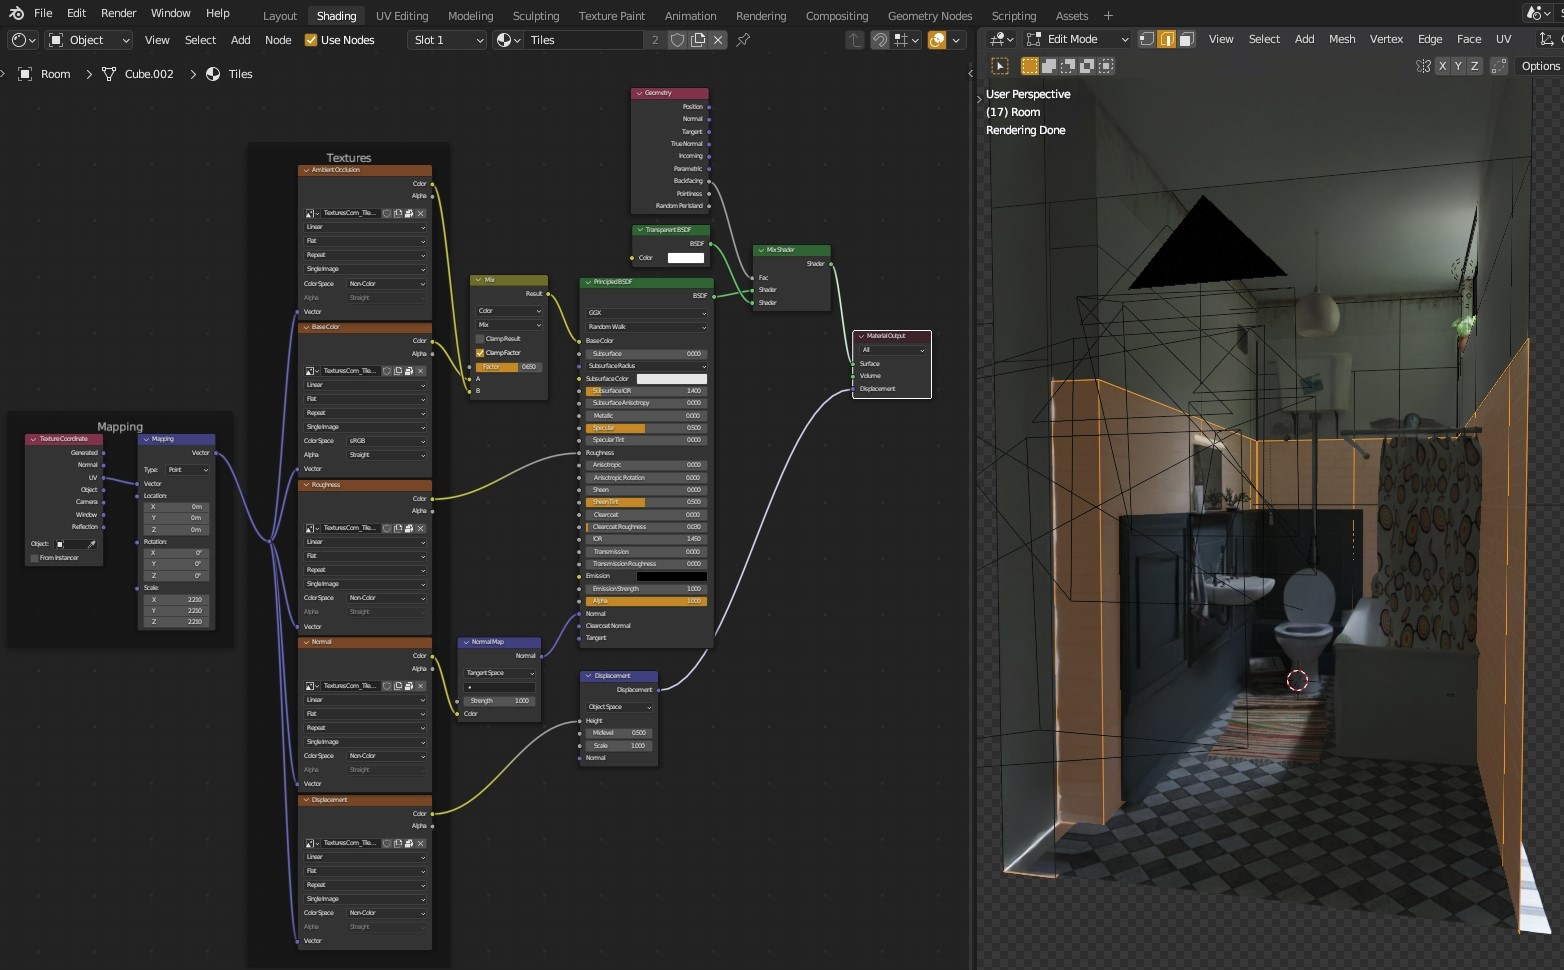
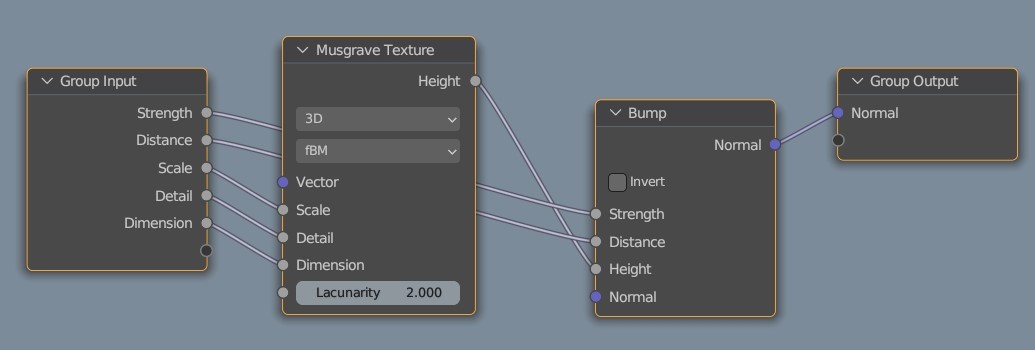
Adding the nodes in the picture below to all materials of the cube allowed me an unobstructed view of the interior of my bathroom, while at the same time being able to test different lighting situations which greatly facilitated my workflow.

Node setup to make backsides of the walls invisible to the camera
Because this only works in the rendered preview, I also set the viewport visibility to “bounds” for the cube for better visibility in the solid viewport view.
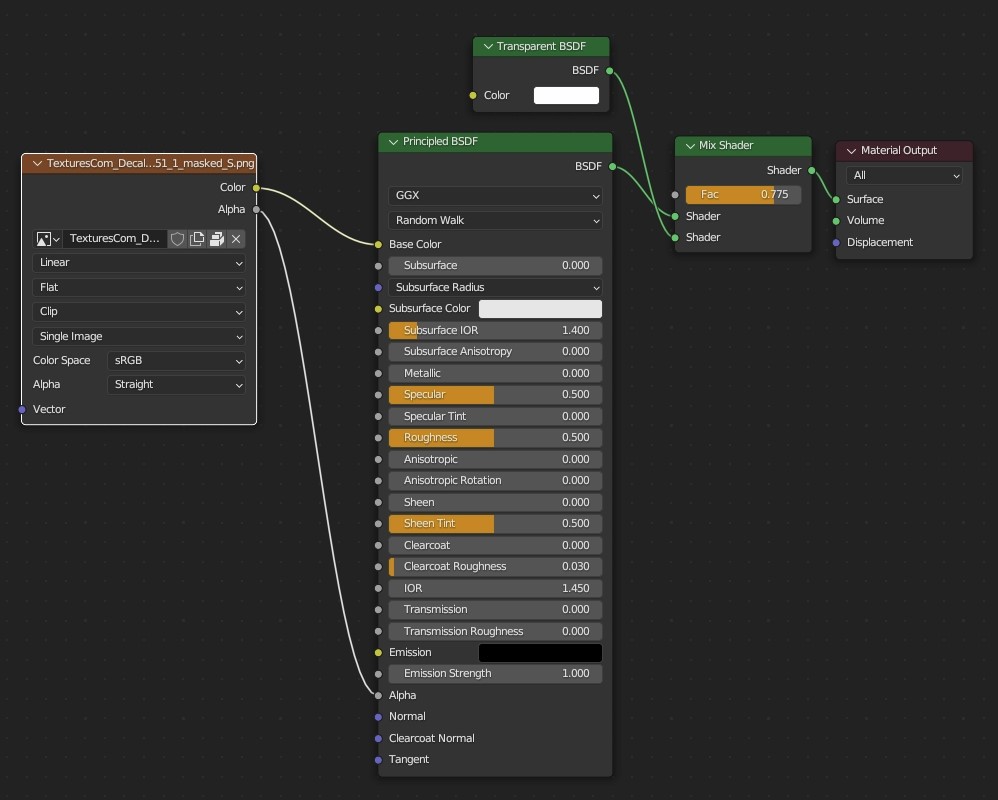
The worn look of the parts of the wall that are not tiles was achieved by adding images as planes with an alpha channel and also mixing in a transparent node to weaken the otherwise too prominent look of the bricks:
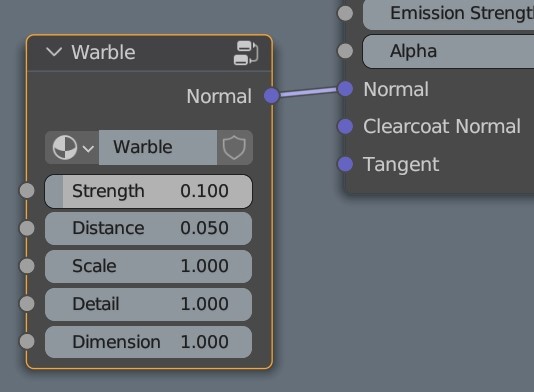
Mirror
To make the mirror look a bit more realistic, I added a “warble” node group. I discovered this in one of Ian Hubert’s “lazy tutorials” on YouTube:
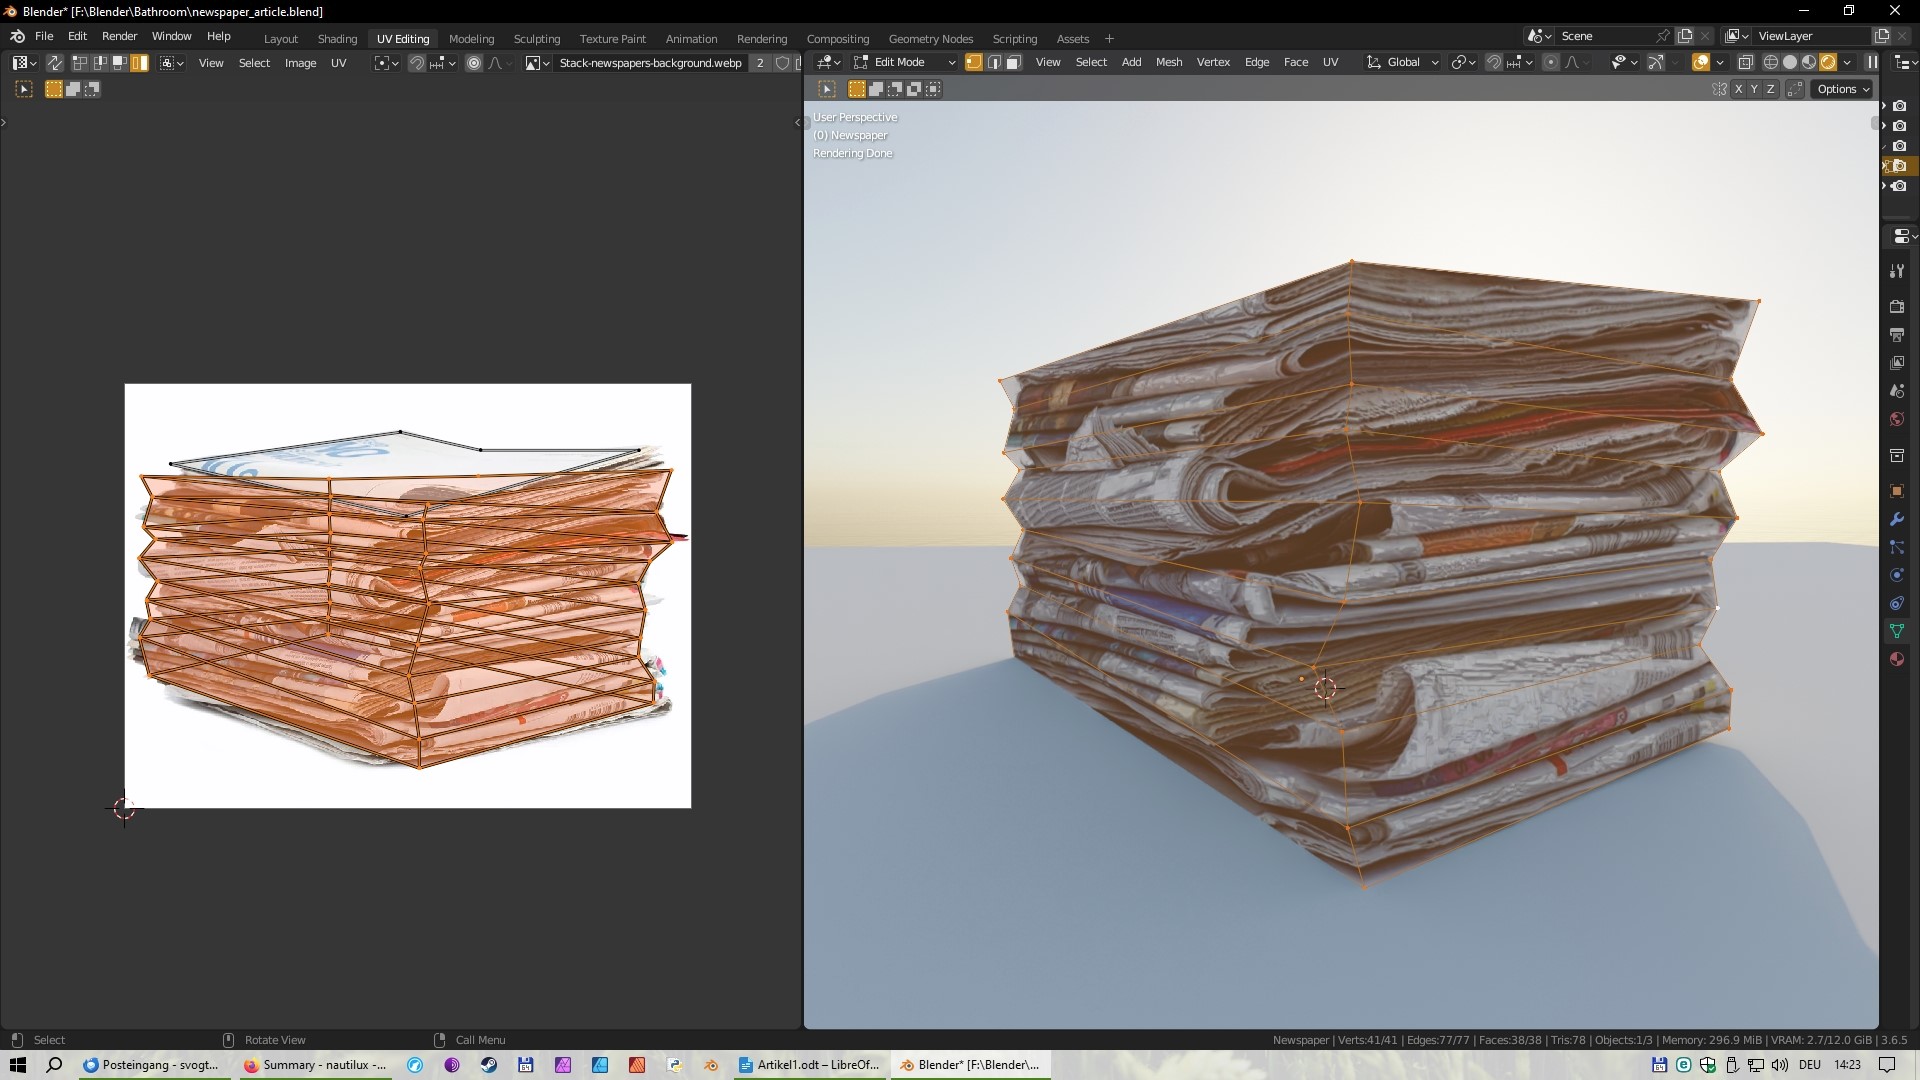
Newspapers
For the stack of newspapers, I took a cube, found a photo of a newspaper stack online, UV-unwrapped the cube using “project from view,” and added a couple of edge-loops. I warped the vertices around a bit until they kind of resembled a stack of papers. Since the newspaper stack is in a pretty dark corner of my artwork, the rather crude making of the stack doesn’t show.
Hot water heater
I modeled the hot water heater to resemble the one seen in the photo I took back at the museum. For the material, I mixed a diffuse BSDF and a glossy BSDF to give it a painted metal look. The sign with the brand name was made in Affinity Designer after I found a photo online and then stuck it to the boiler with a shrinkwrap modifier. The same goes for the sticker on the toilet cistern.
Towel
I modeled the towel following a tutorial on Blenderguru.com.
Assets
I used quite a number of assets that were partly modified and supplemented by me to suit my needs:
Polyhaven:

Blenderkit:
- Toilet paper holder
- Toilet tissue
- Toilet bowl
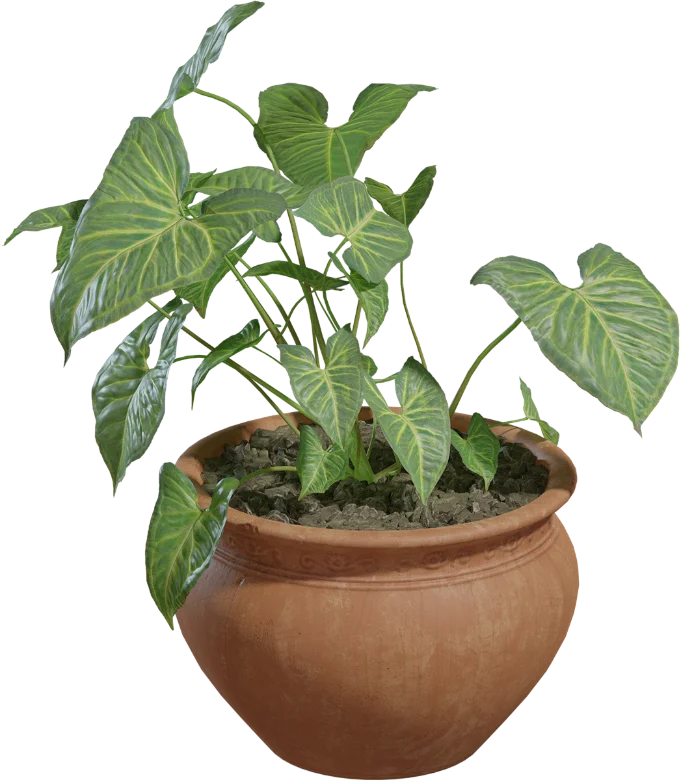
- Bonsai tree
Blendswap:
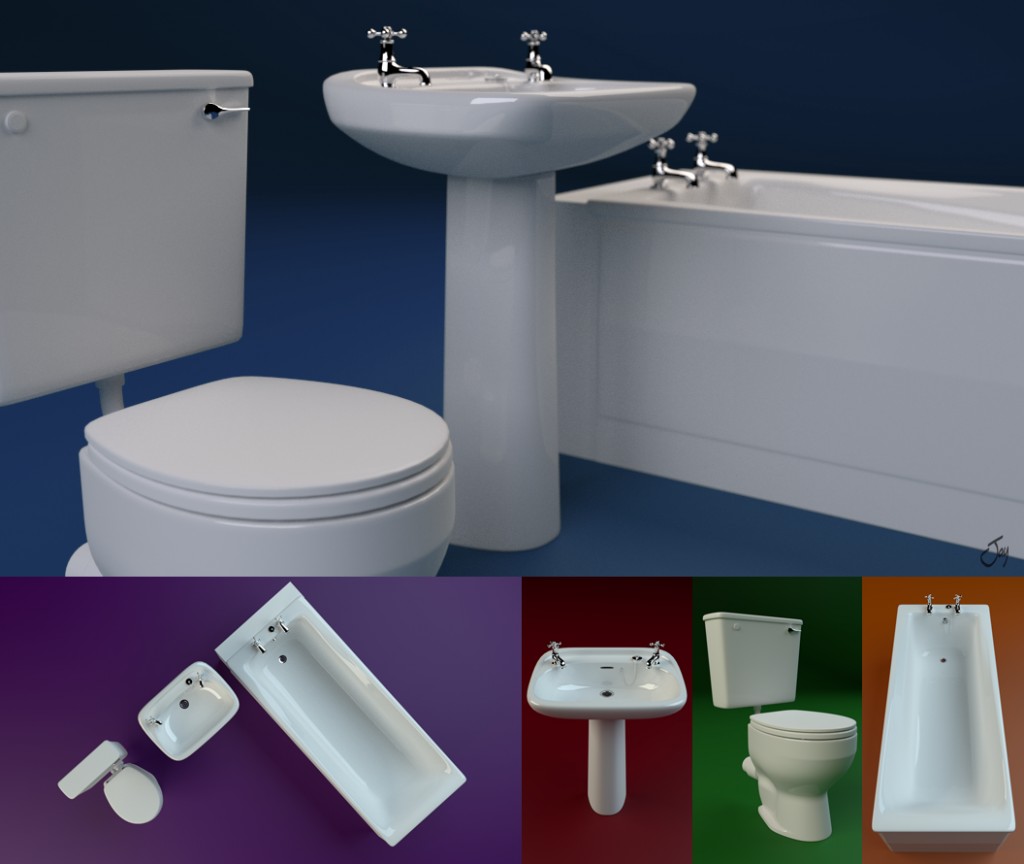
- Bathroom suite by Jay Hardy
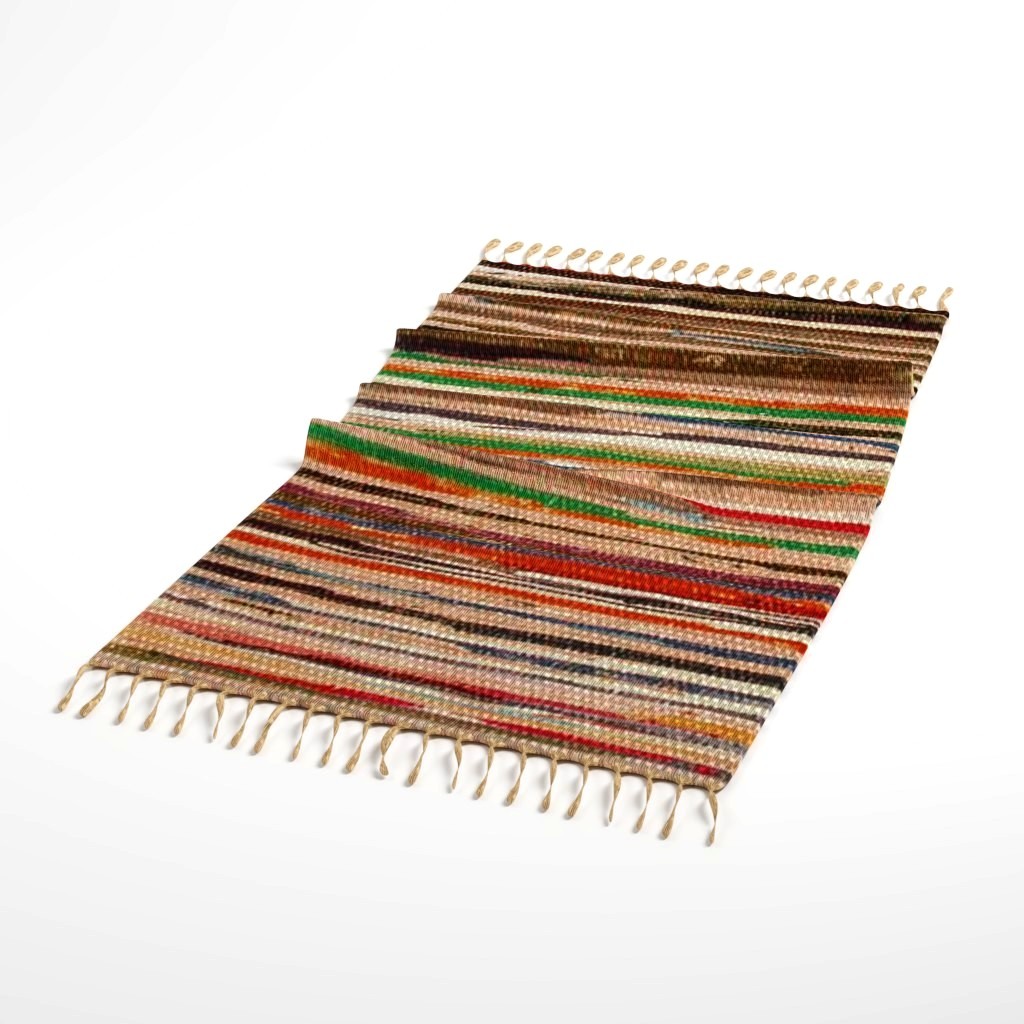
- Carpet by duncan778
CGTrader:
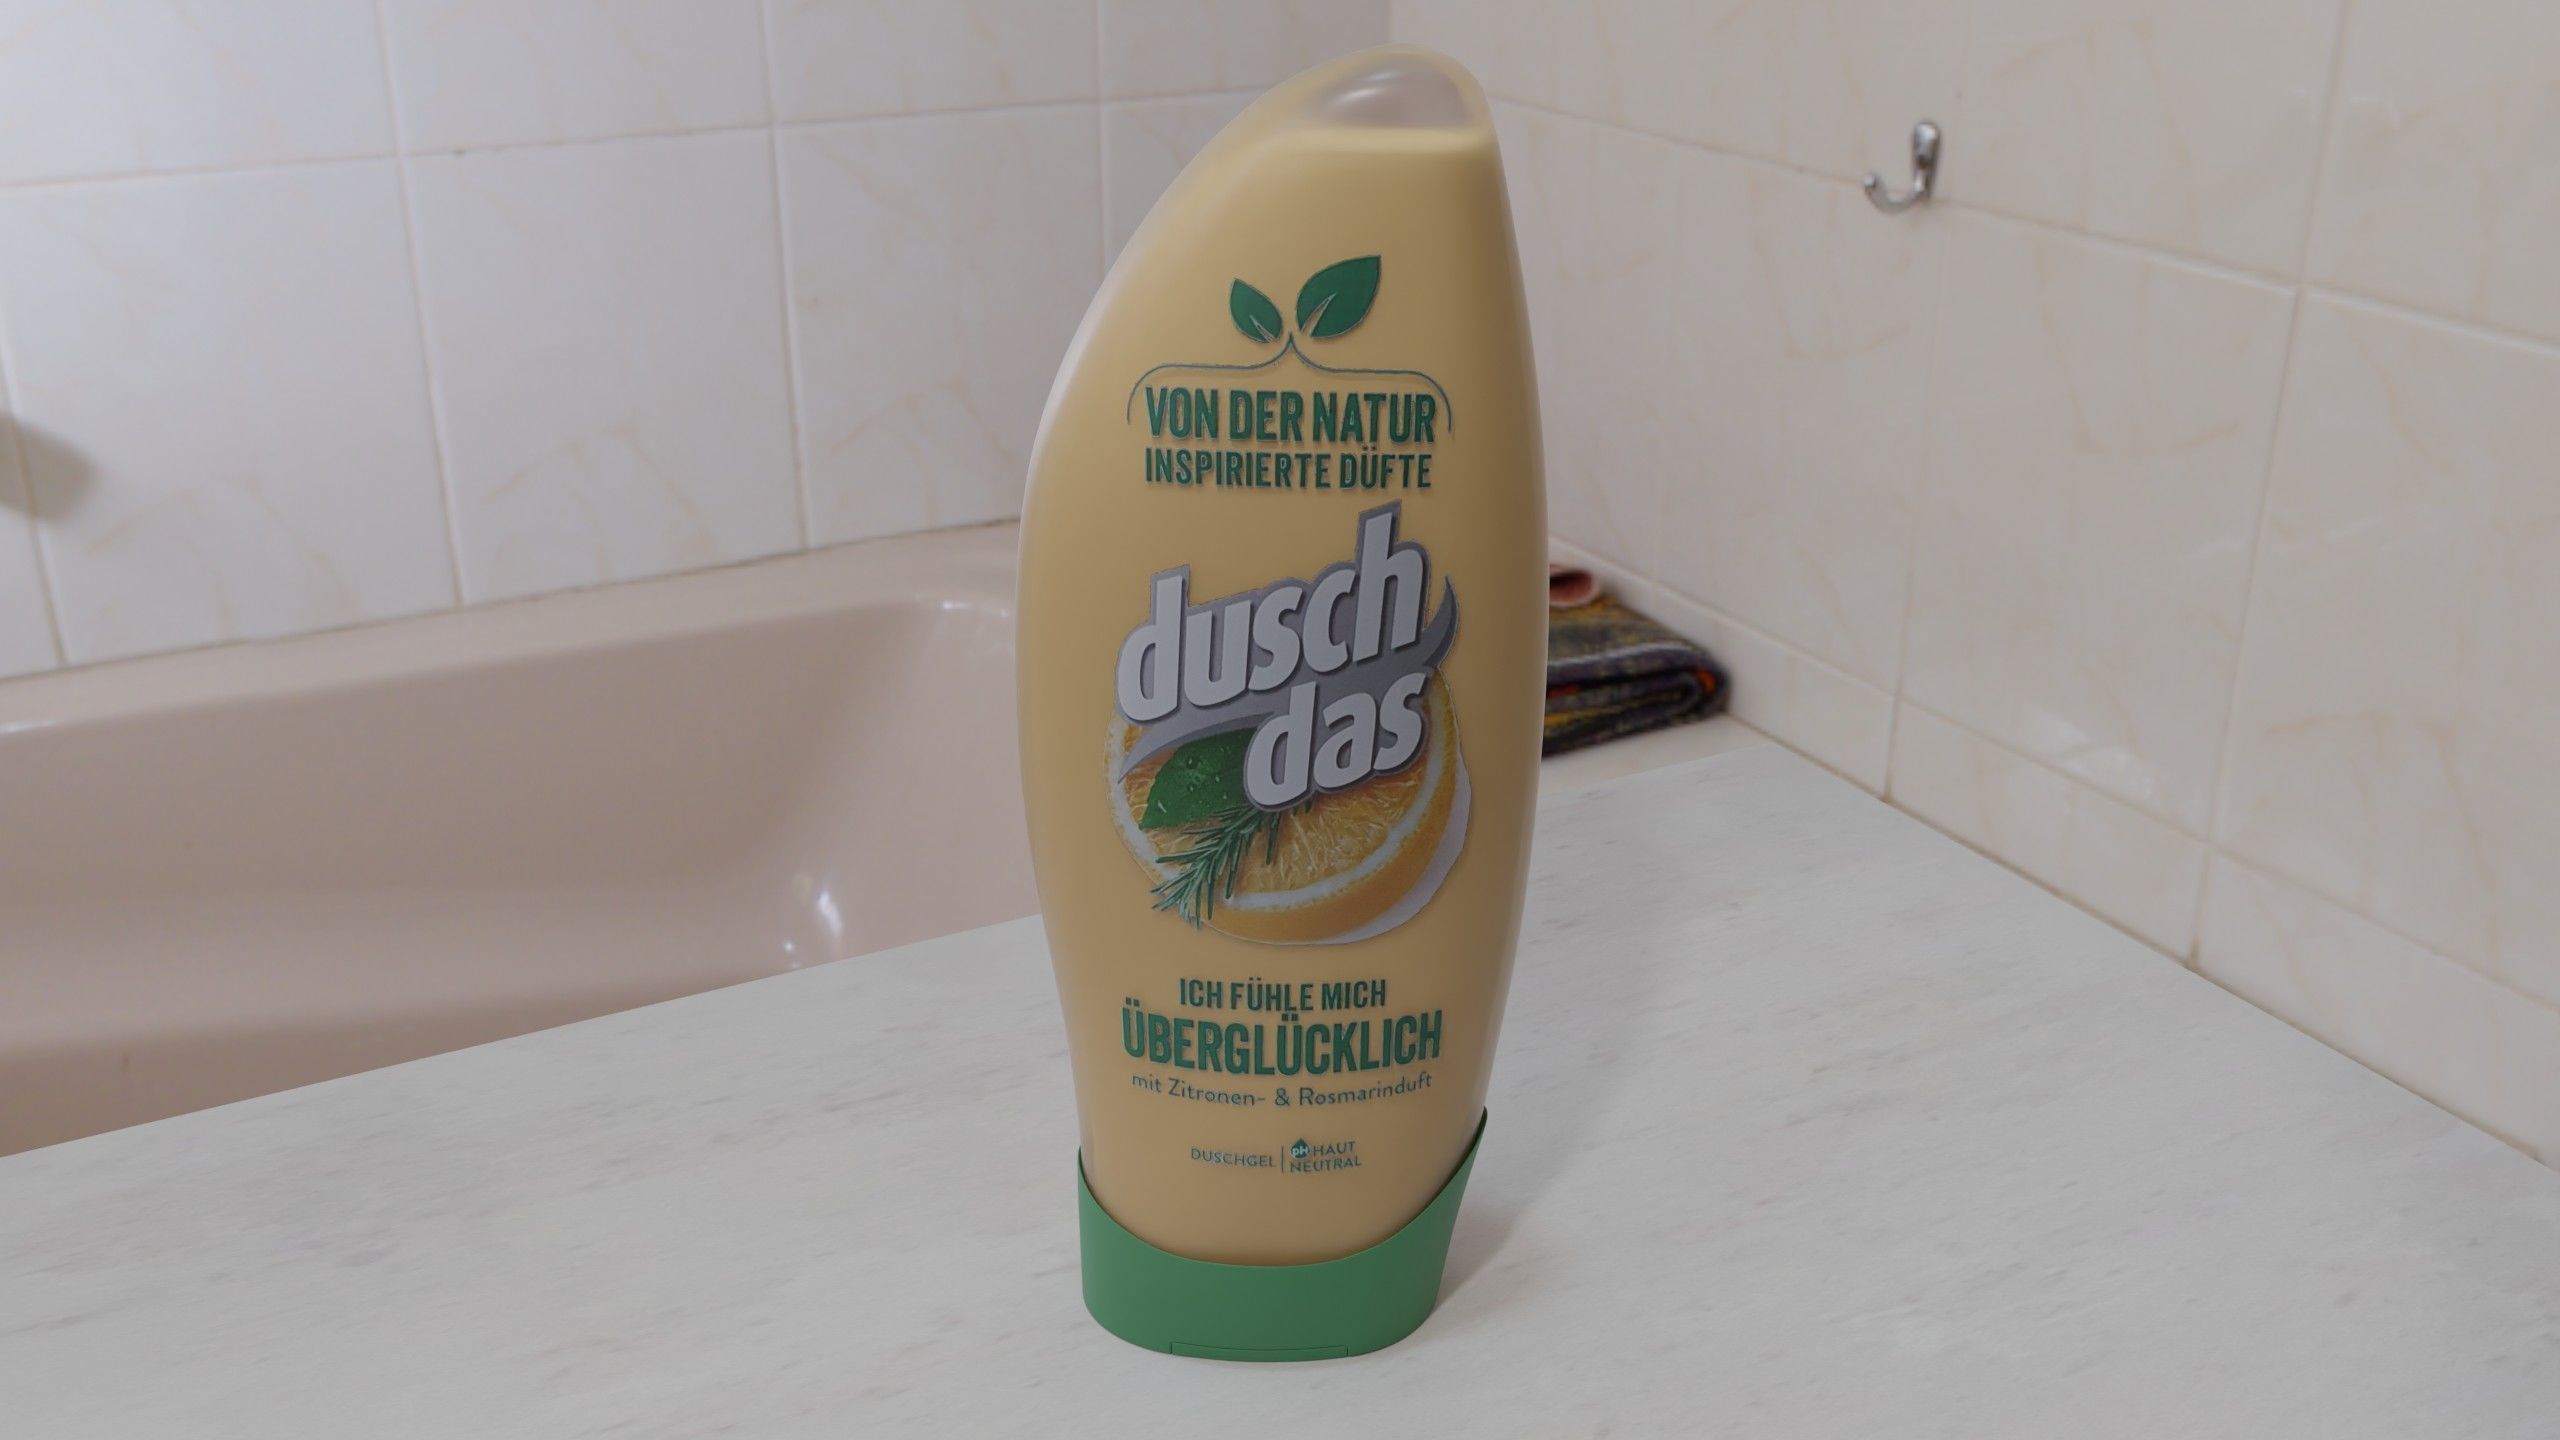
- Shower soap bottle by rpe1976
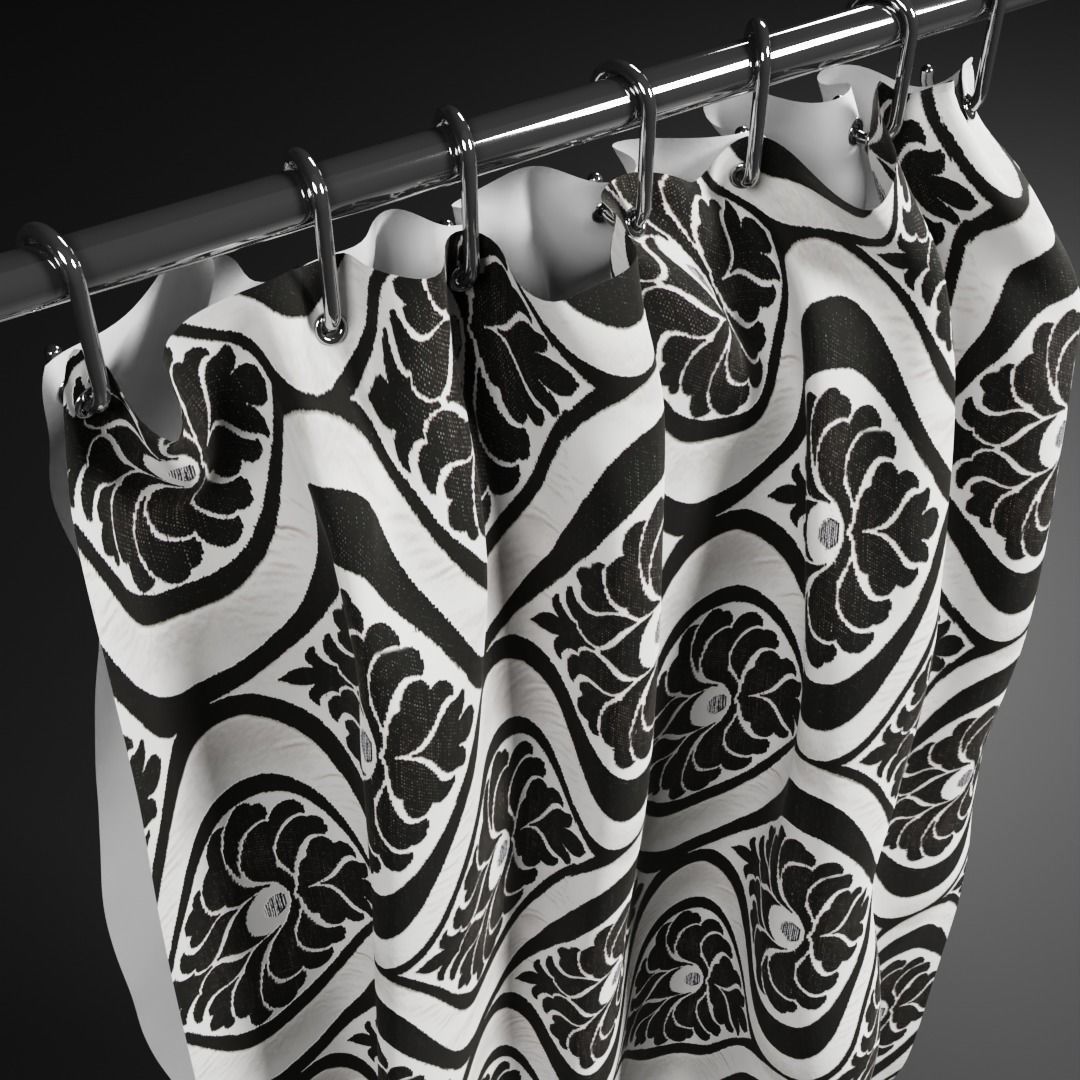
- Shower curtain by bfox024
Patreon:
- Procedural Stove by Anurag Raturi
- Industrial Greebles by Ian Hubert
Most of the textures I used are obtained from Textures.com, while some are from my own collection.
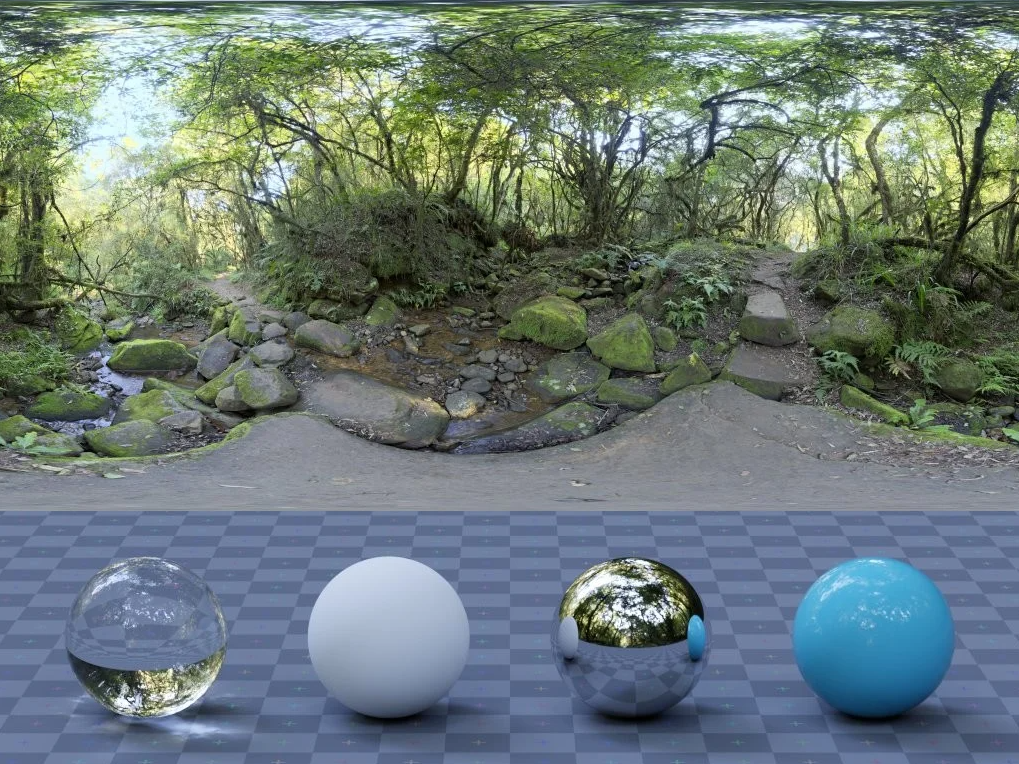
Lighting
For lighting, I experimented with different HDRIs and finally settled for “Mossy Forest.” An area light in the window was used as a portal. I also put a point light near the window with shadows turned off.
In the object properties panel of the point light under “ray visibility,” I unchecked everything except “Diffuse” so that the light source is in the room but hardly does anything. I did this because I heard somewhere that doing so would reduce fireflies in the render.
Rendering
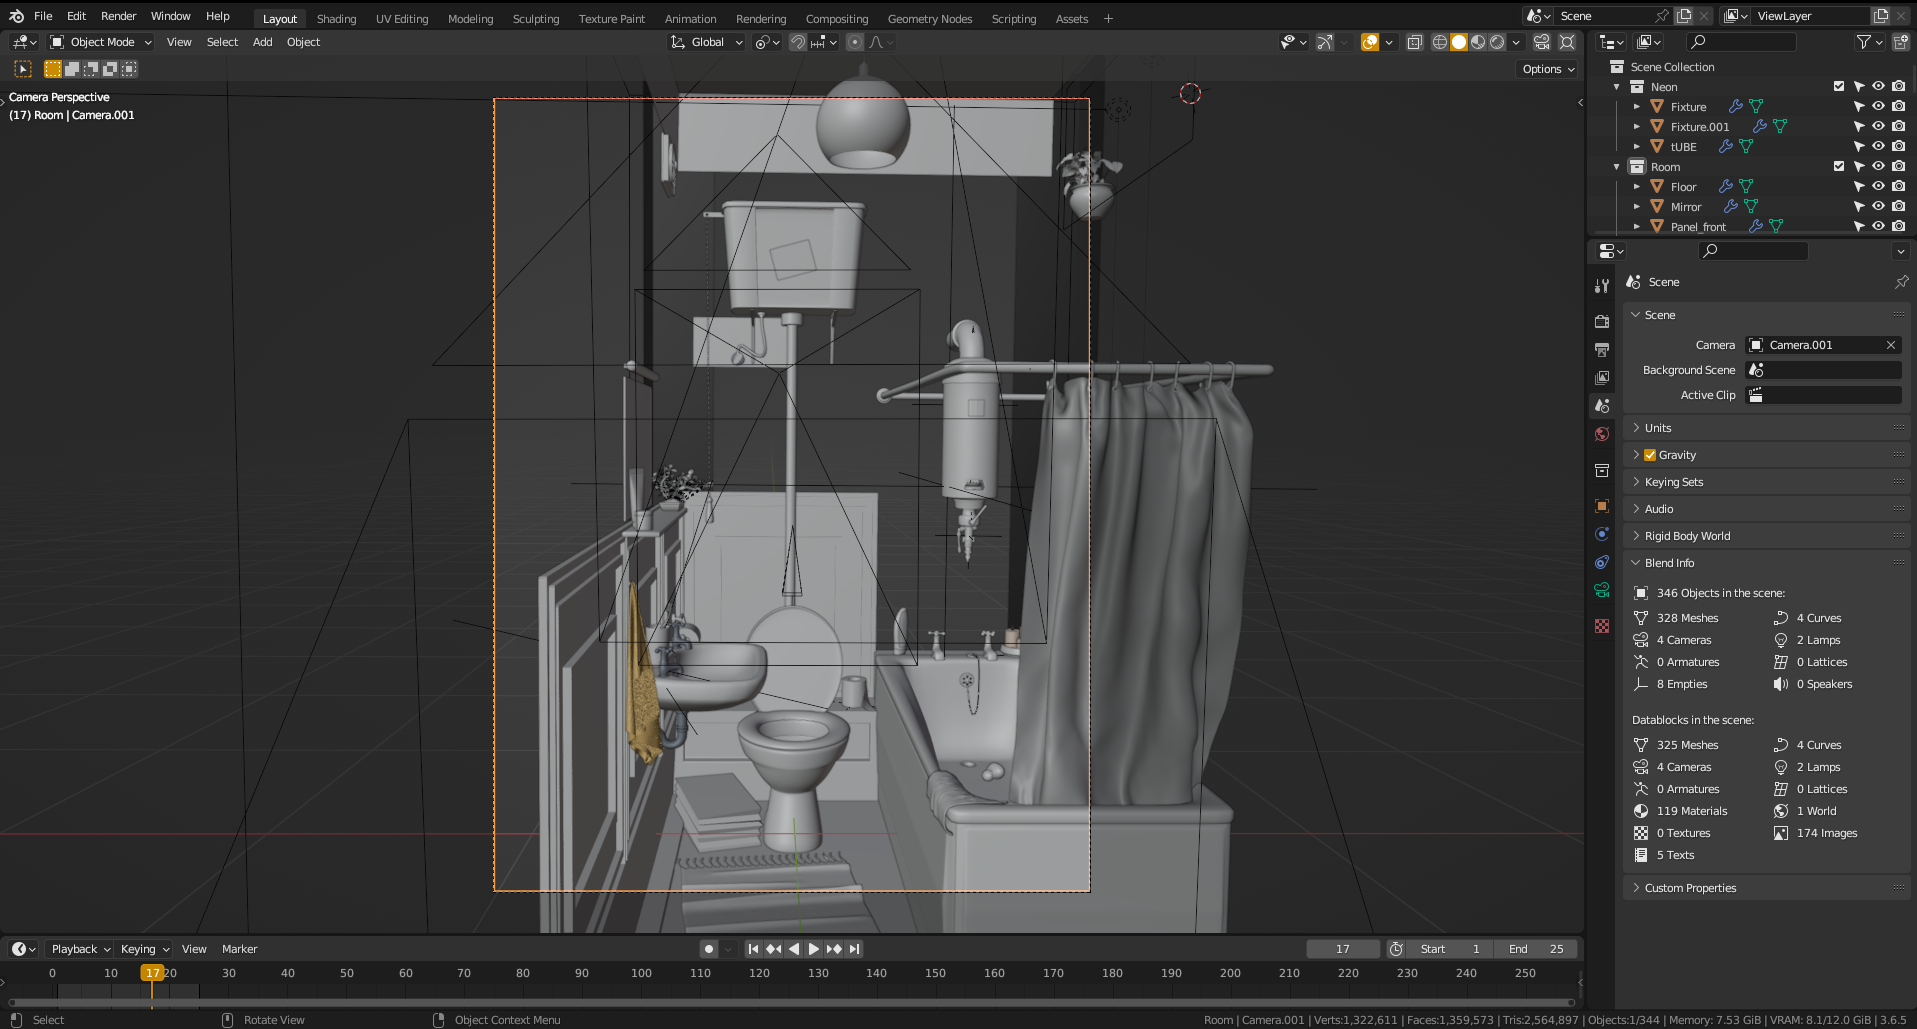
The final render was done in cycles with 1024 samples and OpenImageDenoise at 1875 x 2500 pixels. Some minor final touches were added in Affinity Photo.
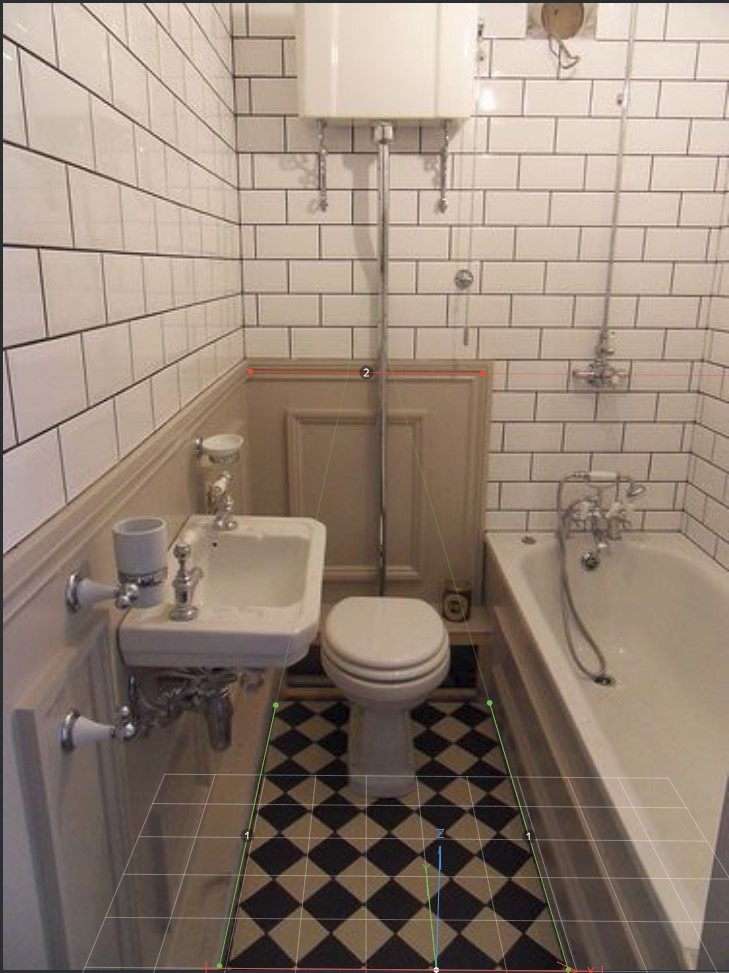
This is the original perspective that fSpy gave me:
And that’s it!
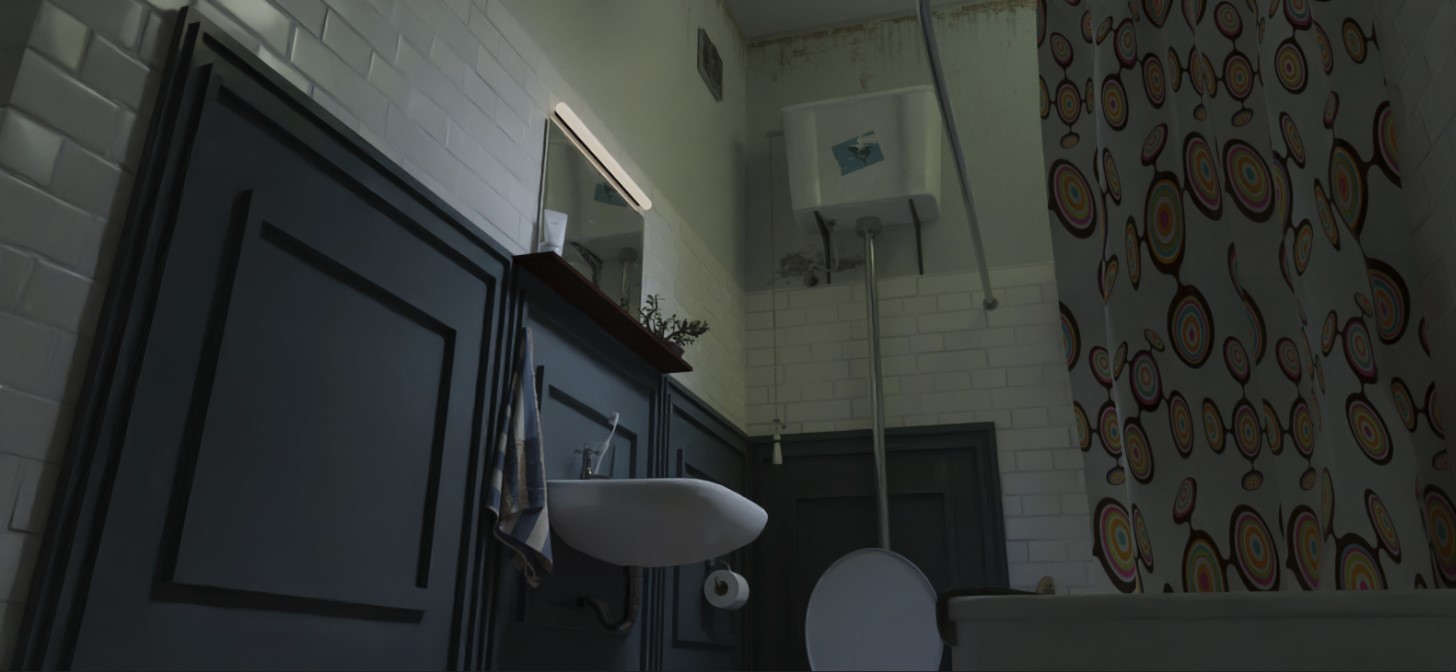
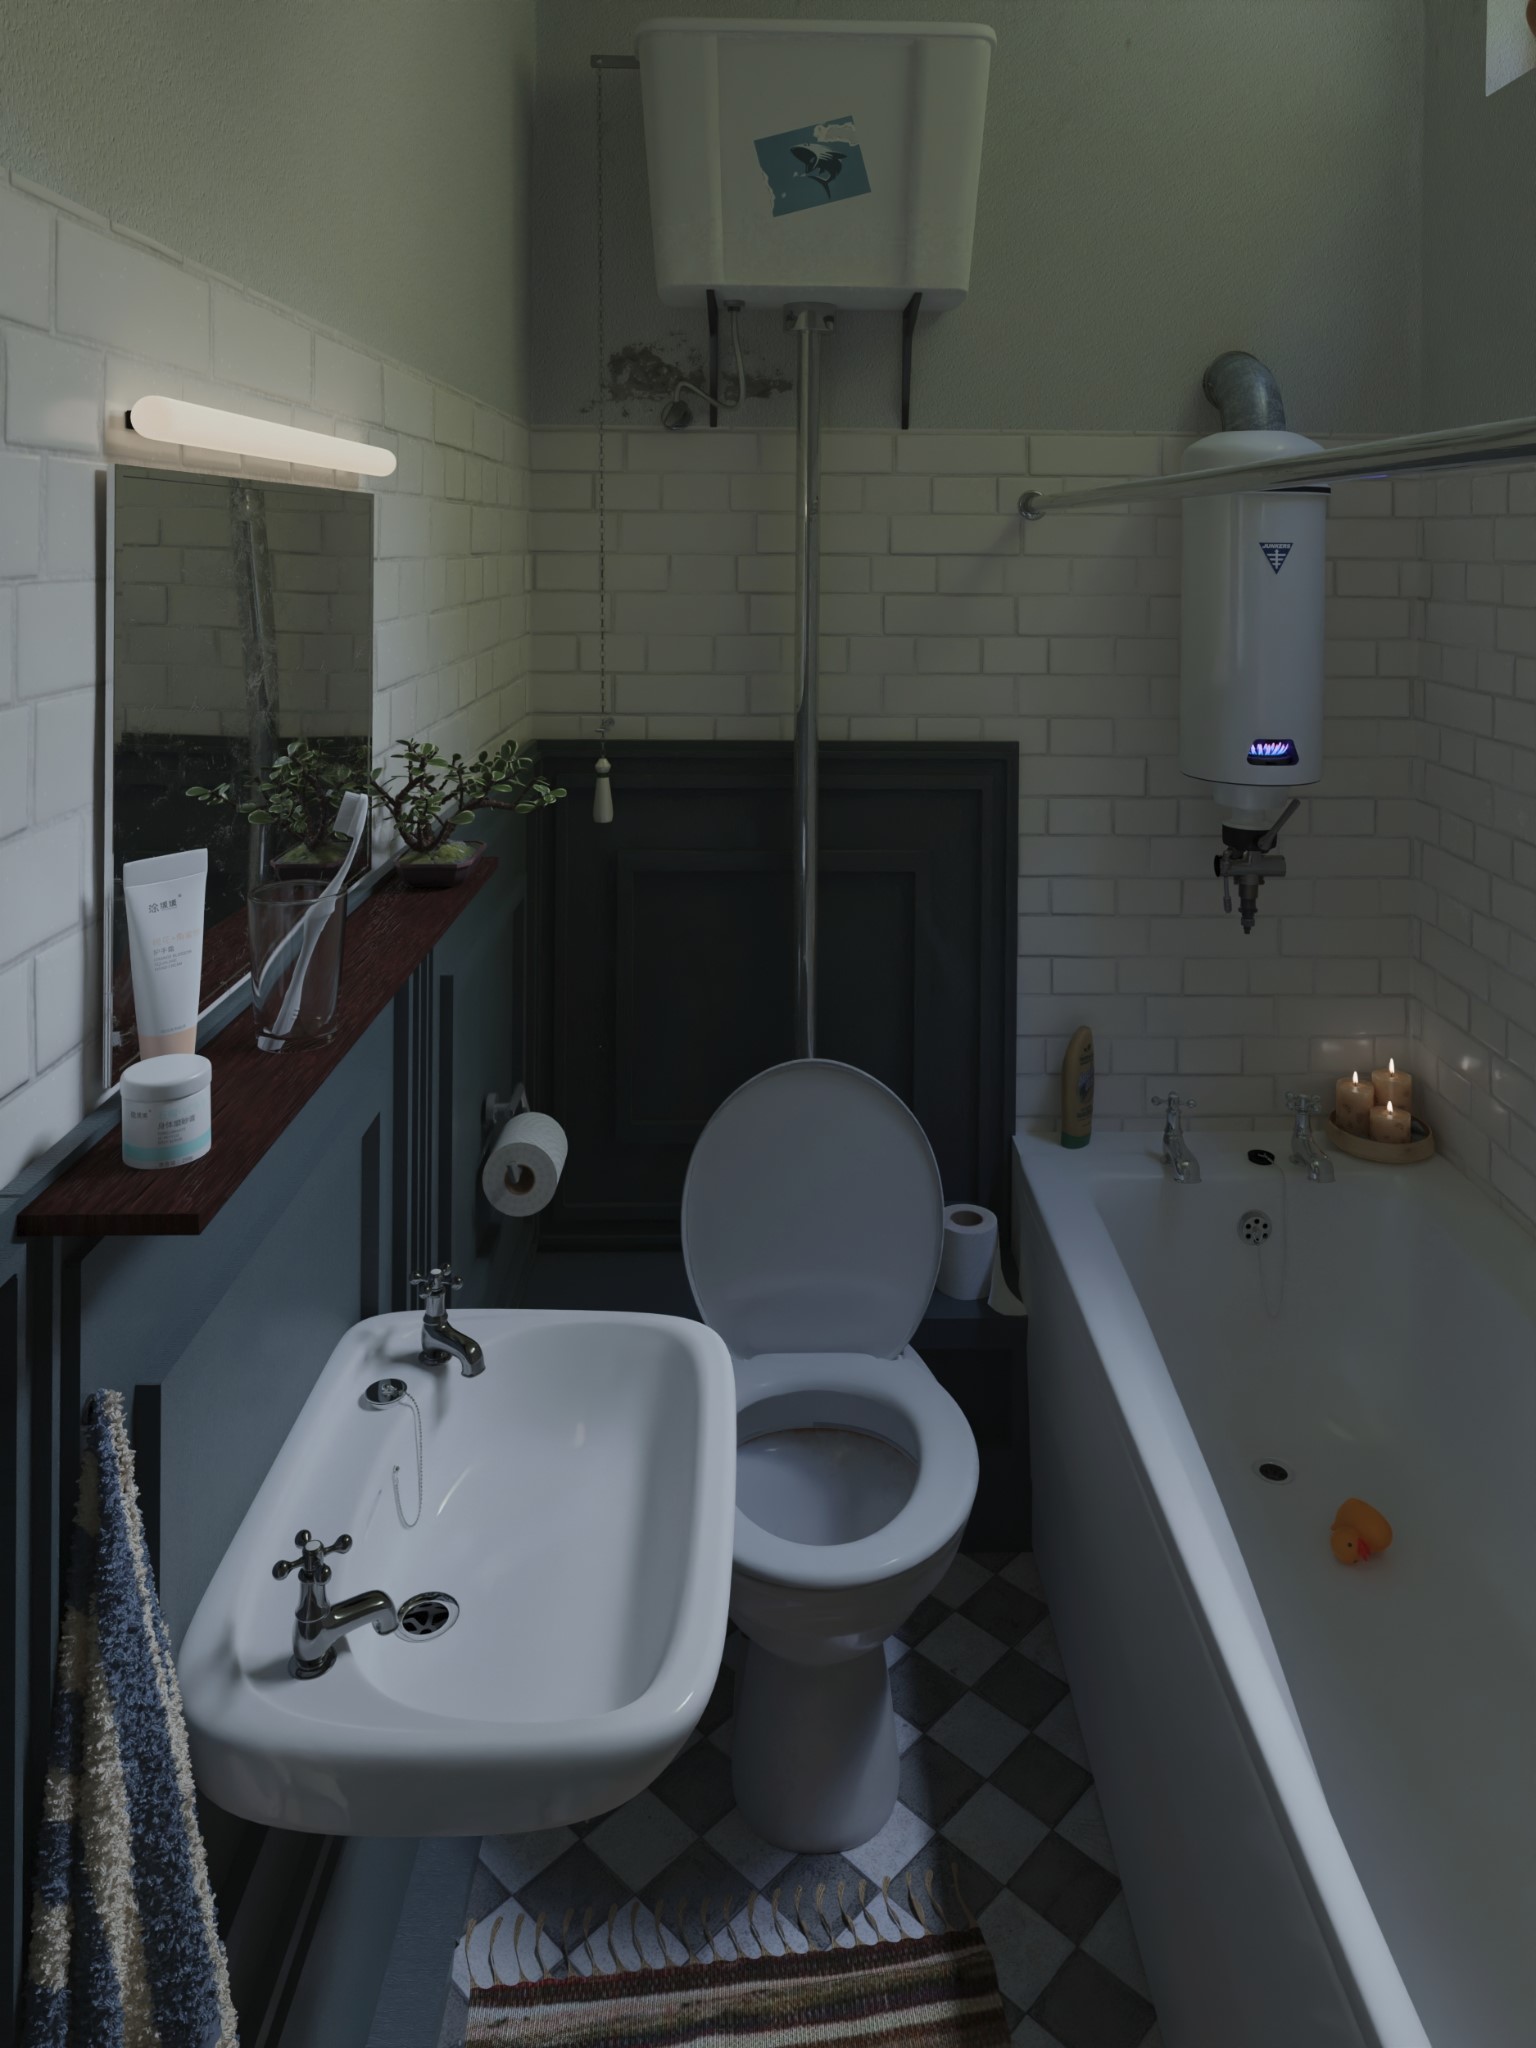
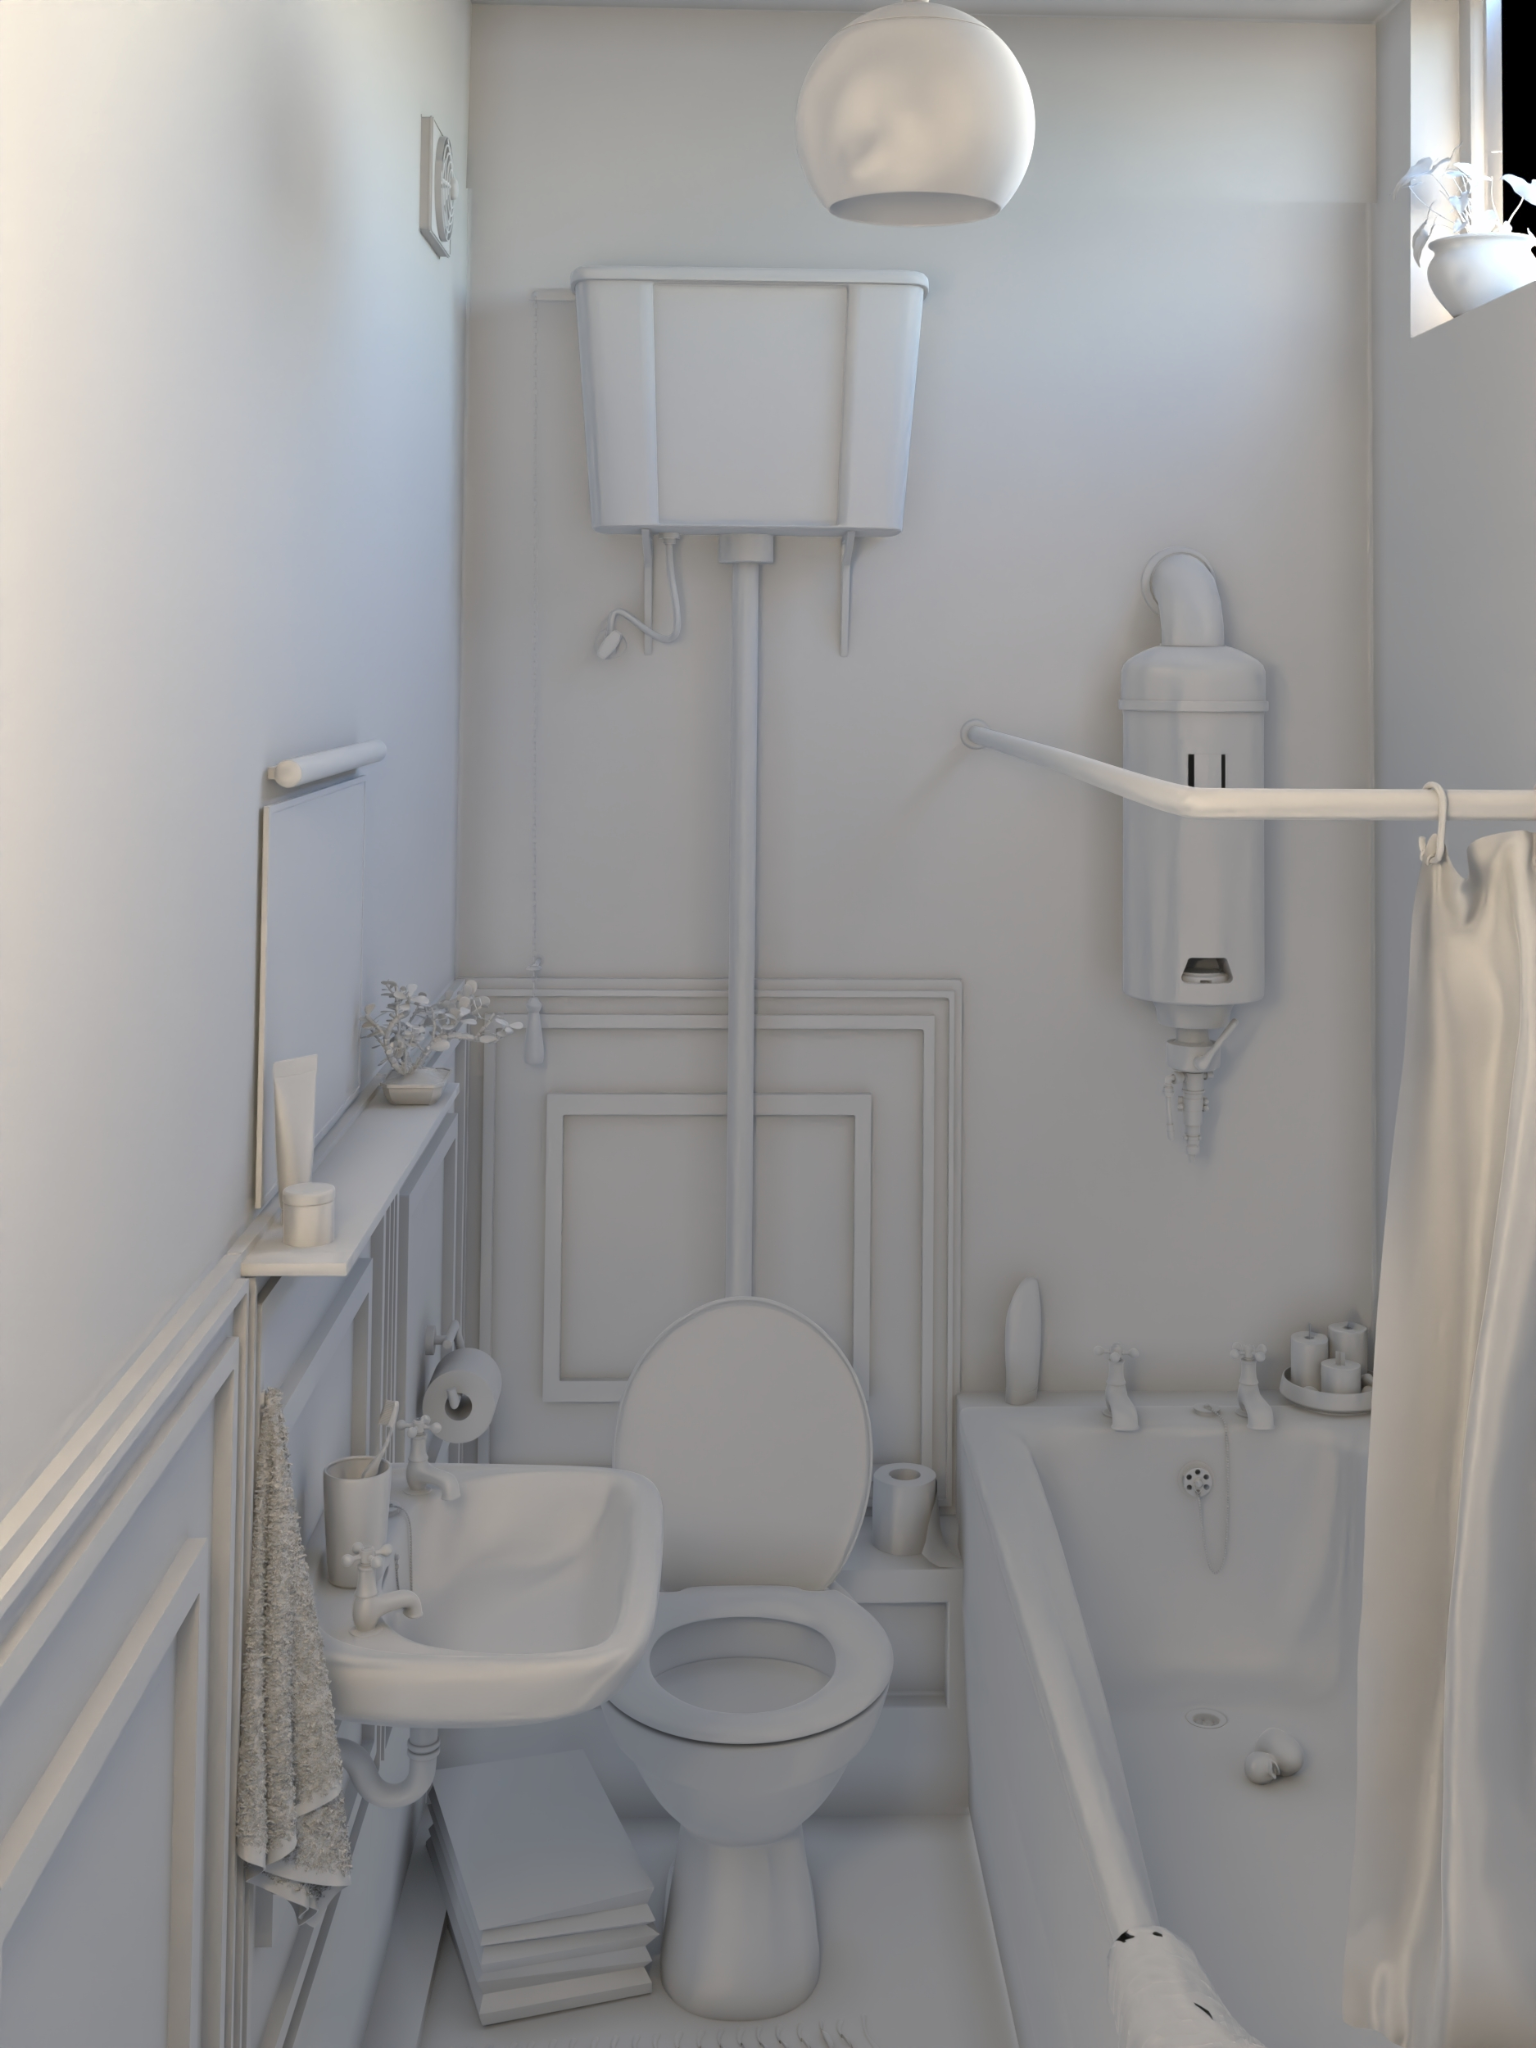
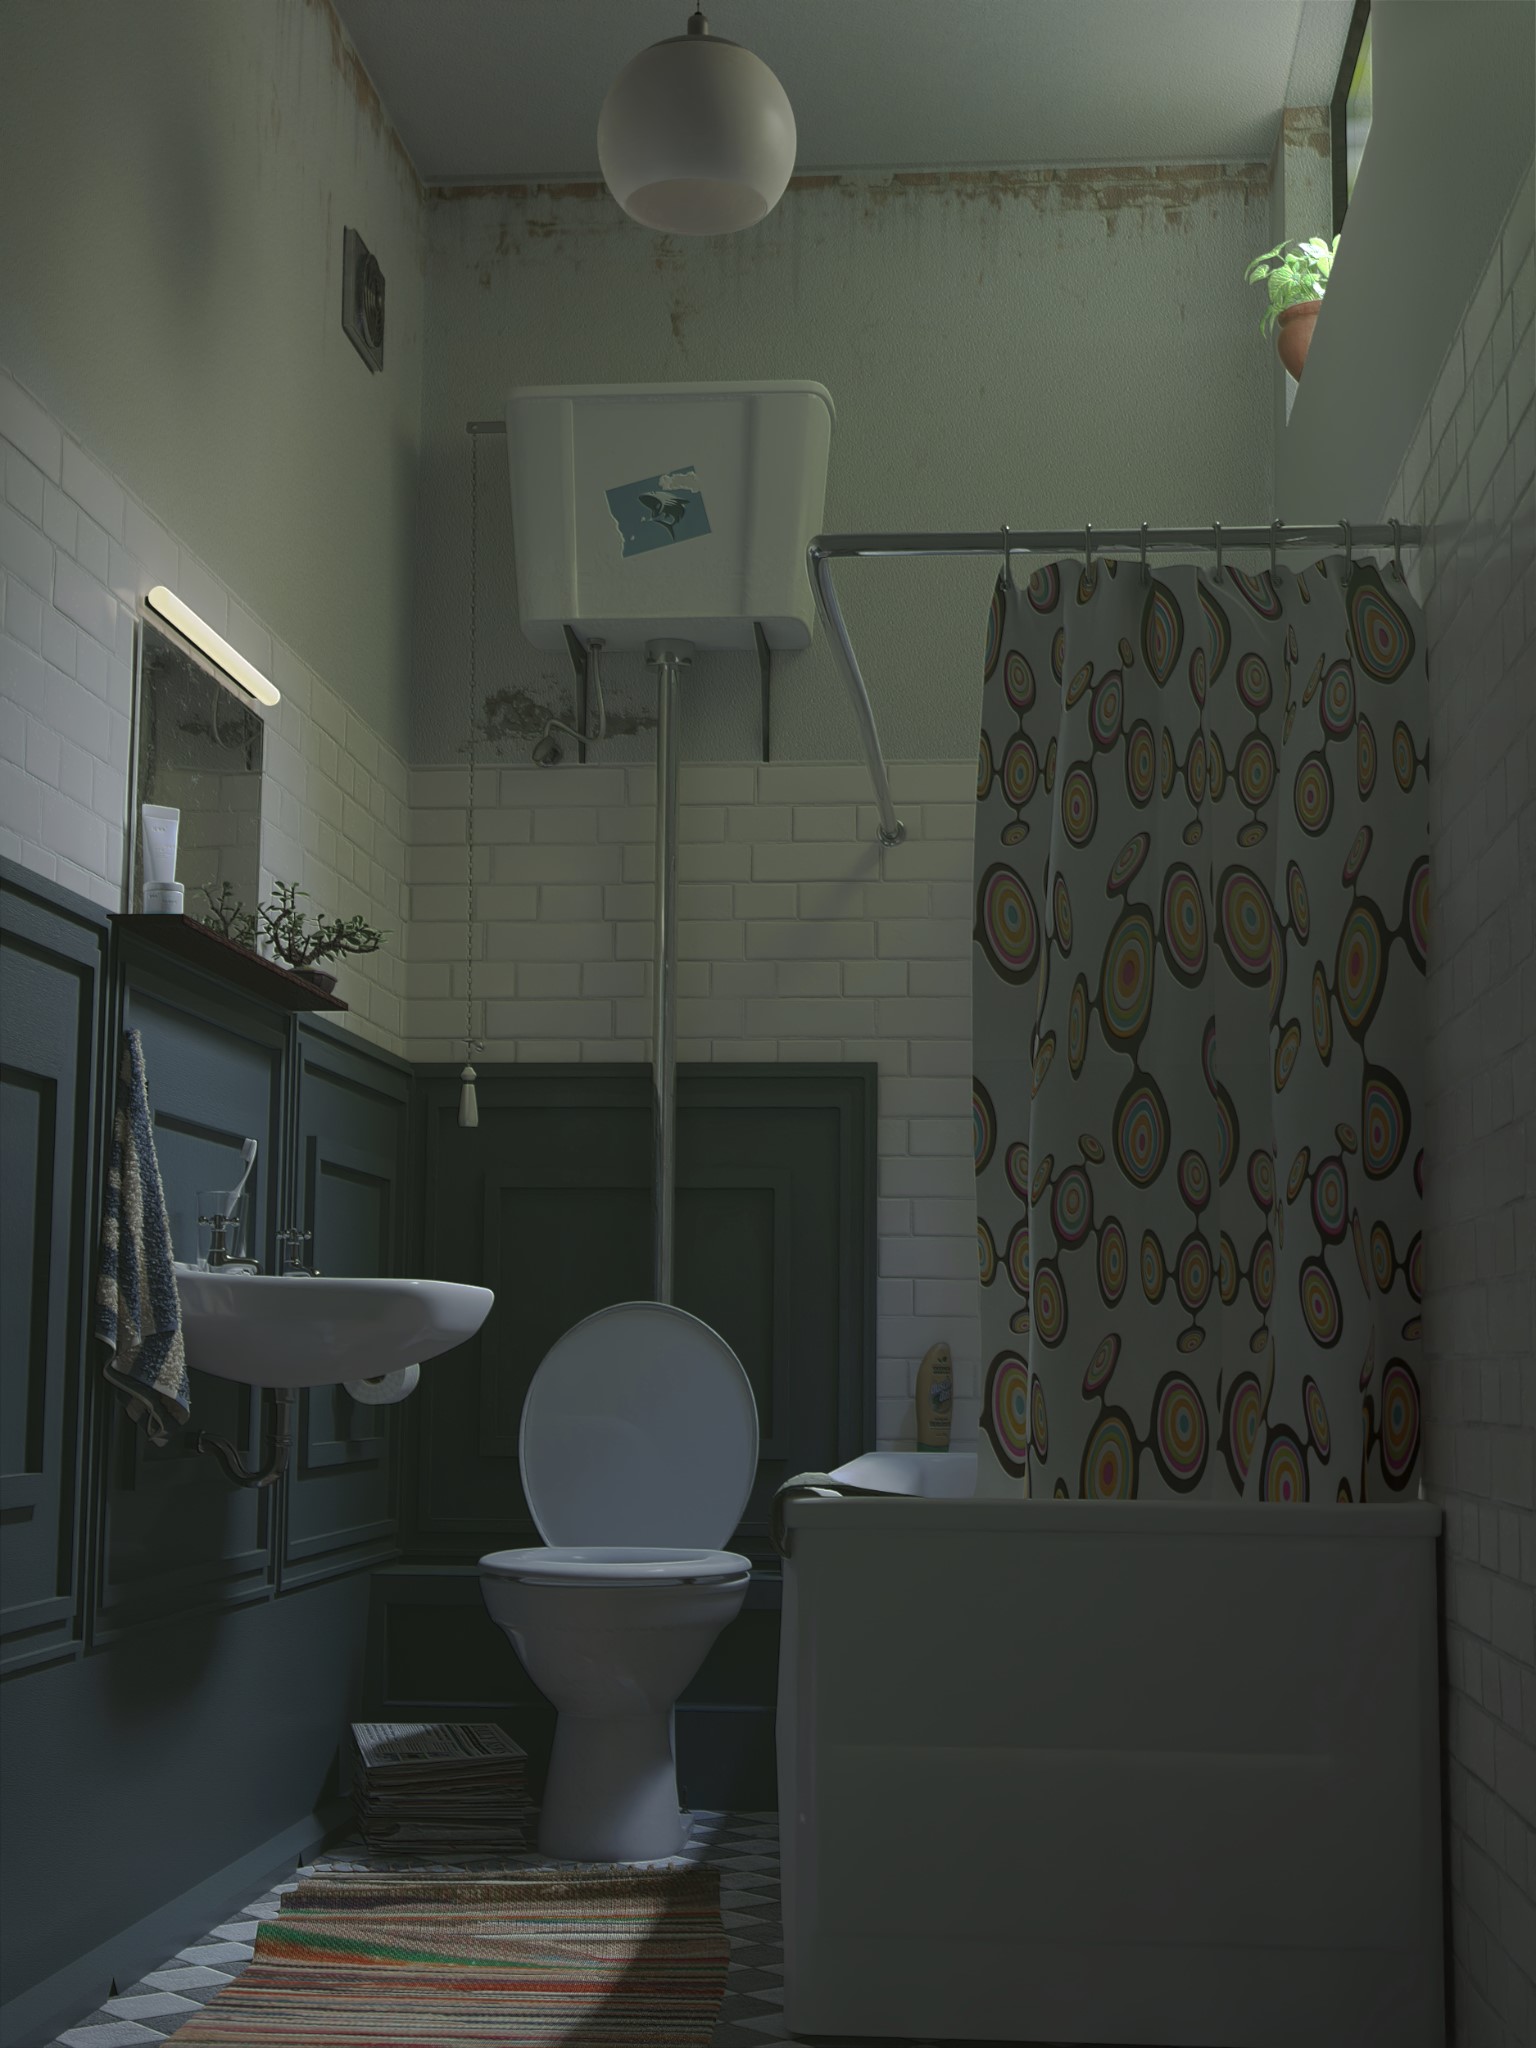
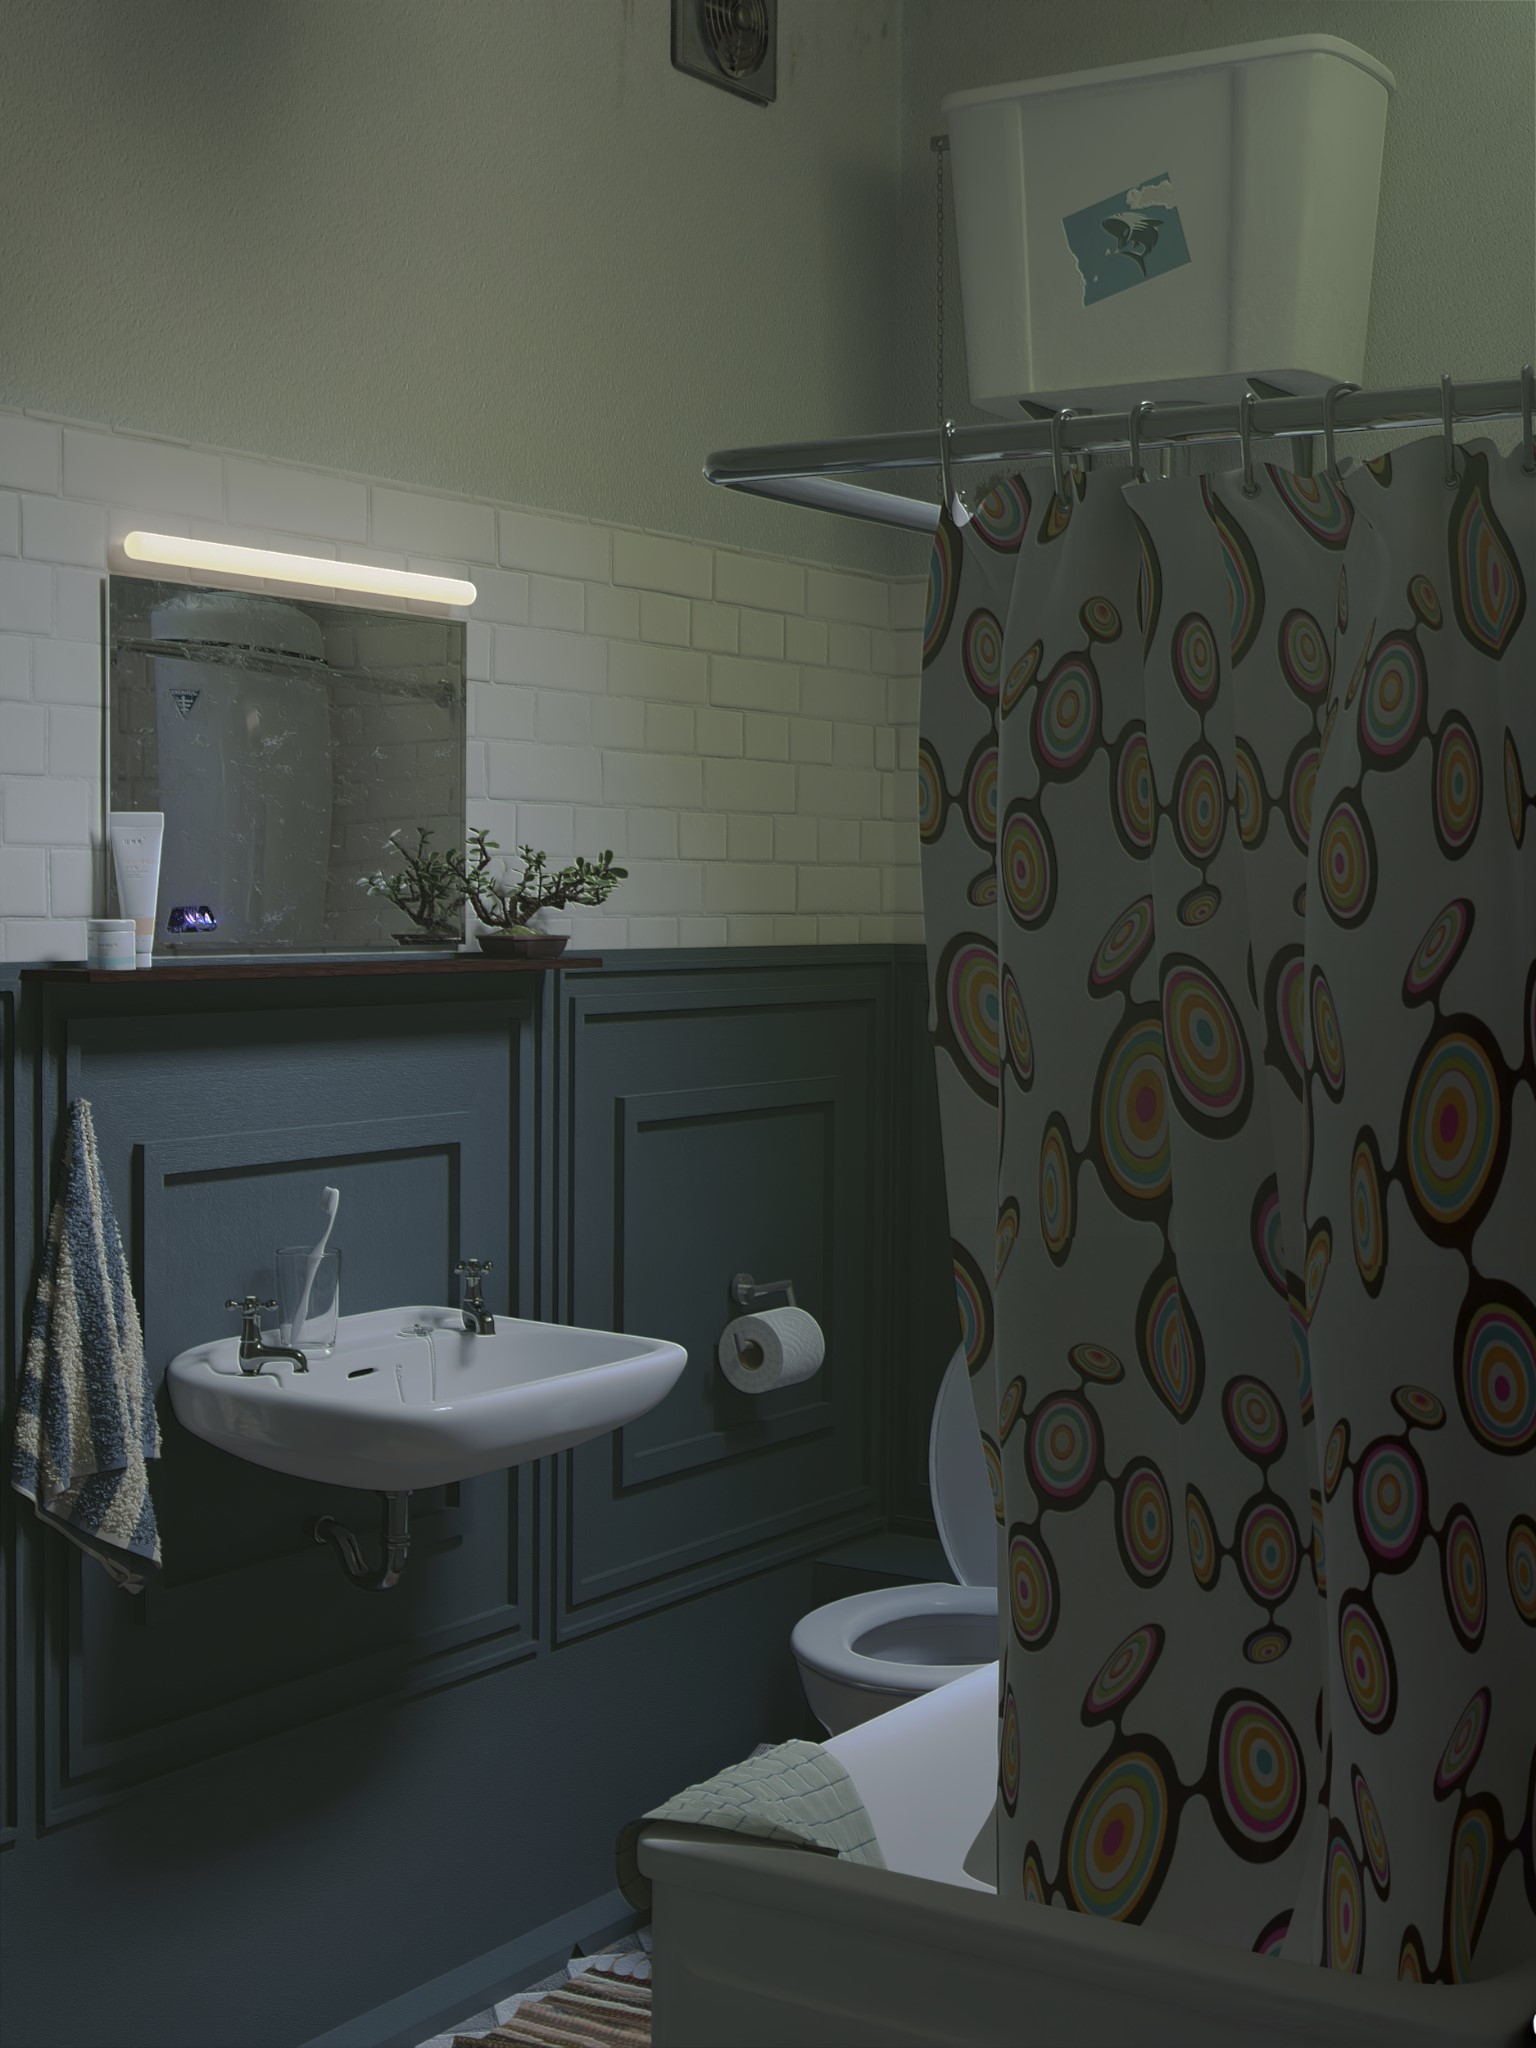
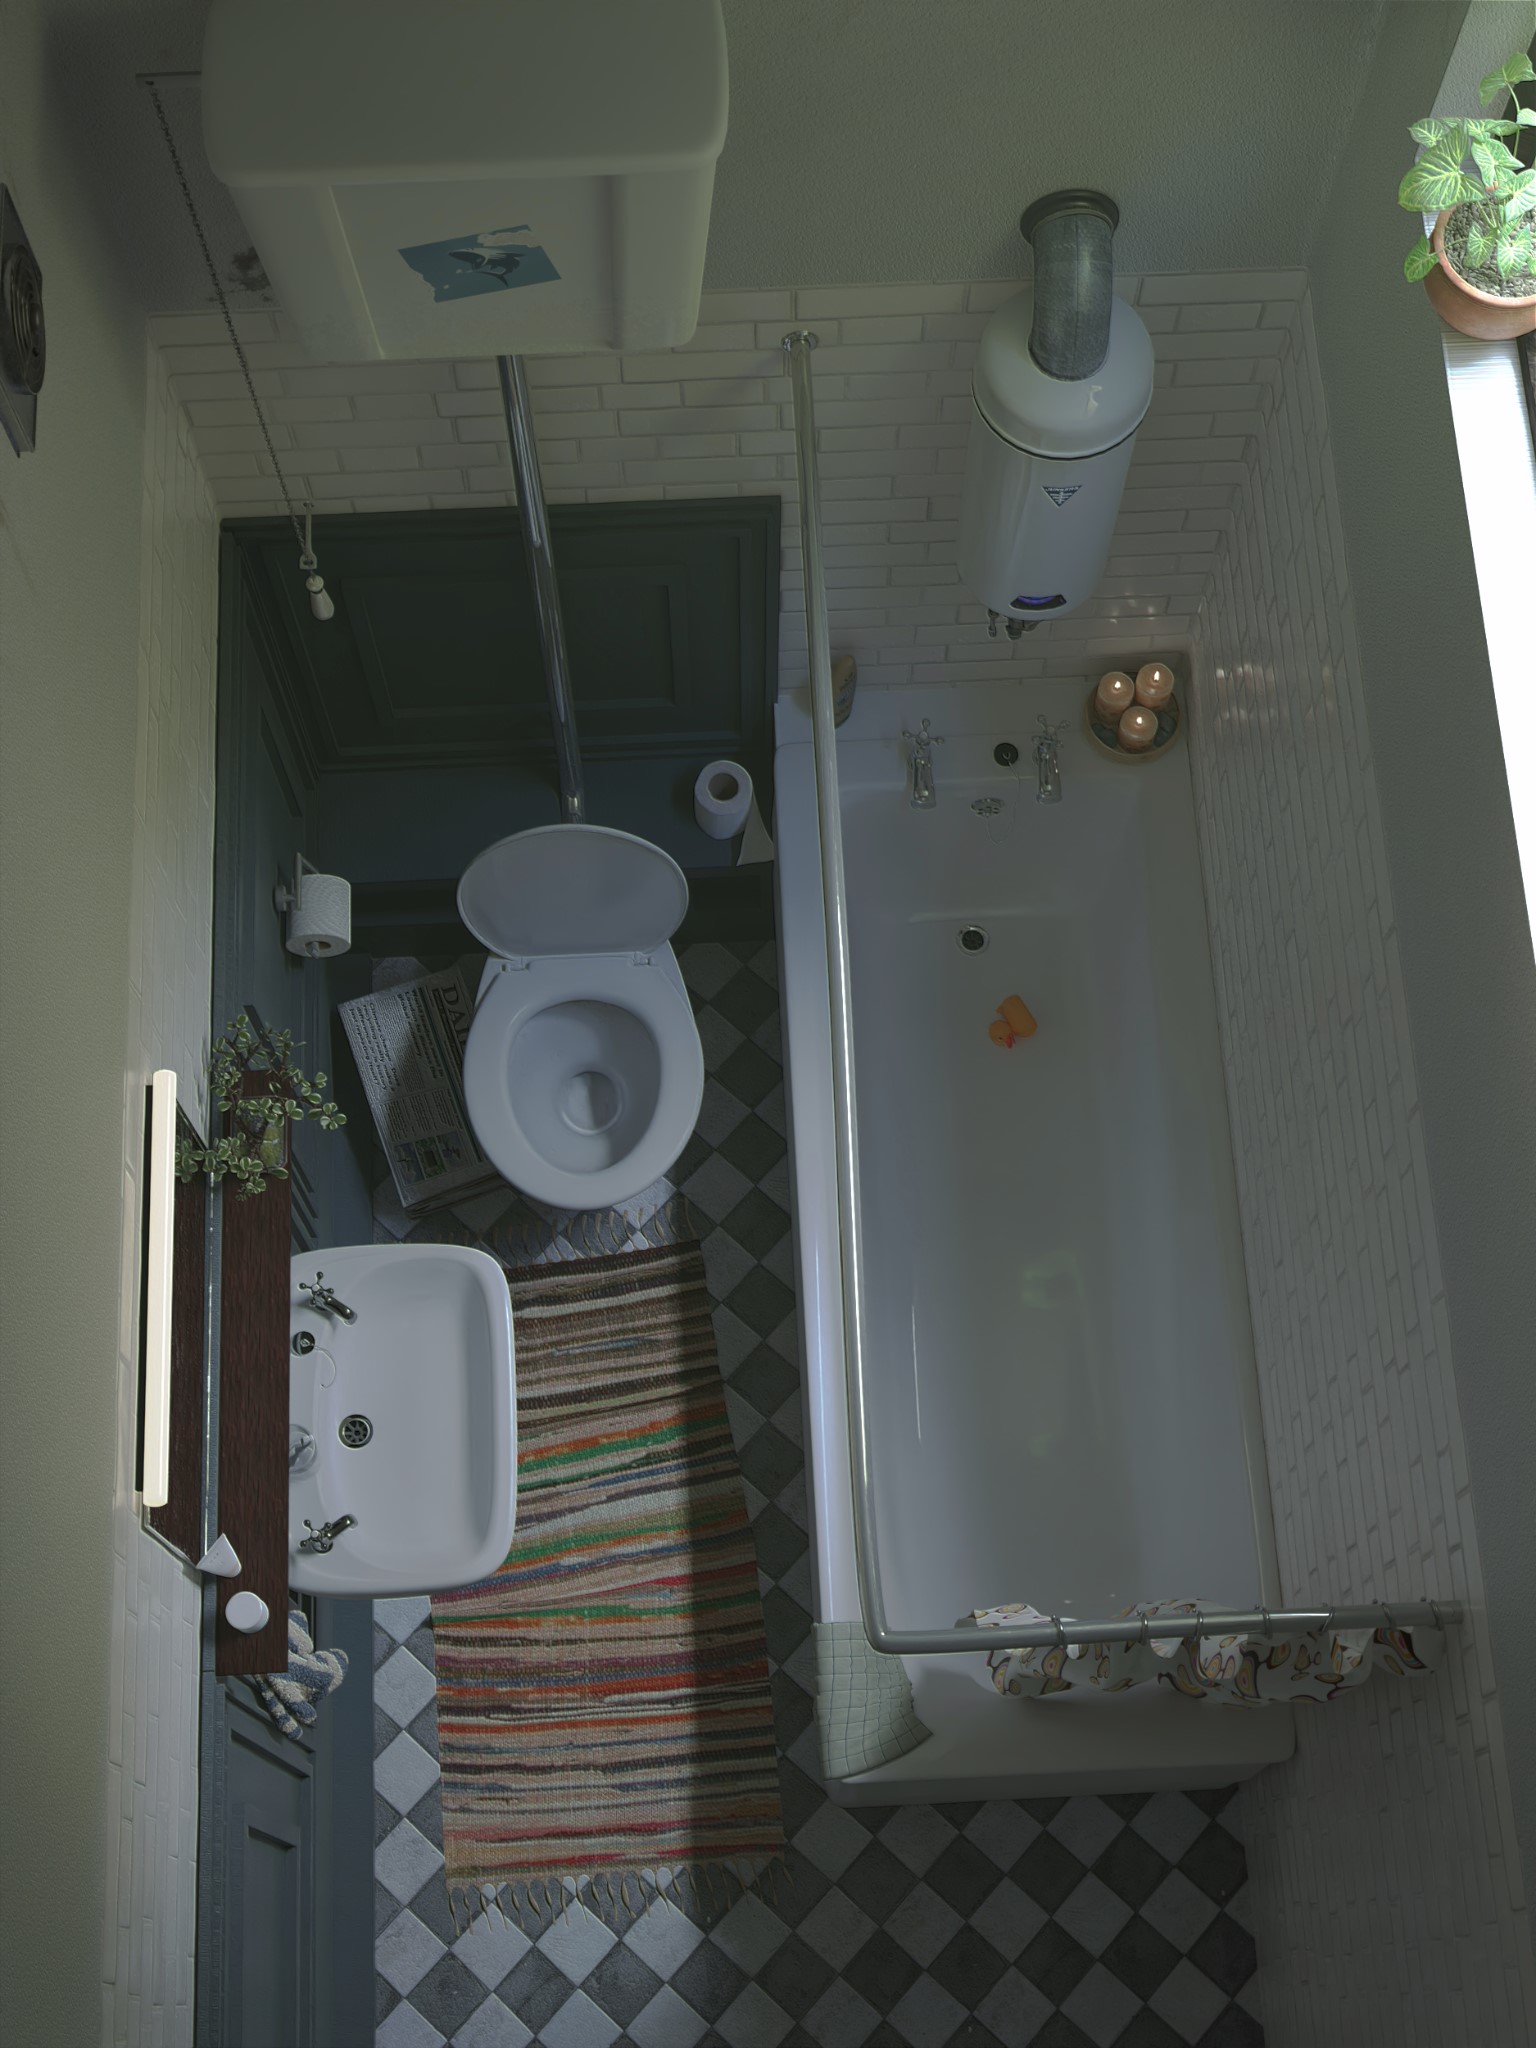
Below are the final render, the clay render, and renders with different perspectives.
RENDER : Realistic Bathroom

Different perspectives:
Thank you for all the support. Feel free to ask any questions, and if you like my work, follow me on social media. Have a good day!
About the Artist
Stefan Vogt, aka Nautilux, is a Blender and 3D enthusiast who loves to relax by spending his spare time trying to achieve presentable art in Blender. He lives with his wife in a small town in the southern part of Germany.


Thank you for sharing your inspiring work. Your article has truly been one of the best articles I’ve read!
Cheers!
A Blender Artist and 3D Enthusiast like you!
Thank you SHWETA, glad you liked it!
Cheers
nautilux