Behind the Scenes: Ghosts of Streetlight
INTRODUCTION
Hello everyone, my name is Théo Coeugniet. I’m a 26-year-old from Lille, France. I’m working in a film and exhibition studio where I supervise students in the creation of their films, but specifically in the shooting department. Being close to so many artists on a daily basis and seeing their awesome productions sure helps at motivating for personal artistic projects.
I was always fond of animation films and video-games, hence my wish to develop my 3D skills as a hobby. I had the chance in a previous job to work on an animation movie with great technicians, allowing me to learn a lot from them and giving me confidence in my own artistic vision and skill. Now, I’m just using Blender for fun.
INSPIRATION
My need to create artworks is quite sudden. The image comes quite naturally to me, in a very rough shape, and I work on it before doing it in 3D. Here, I knew I wanted to work with rain and splashes; the idea of those ghosts (more like will-o’-the-wisps actually) came soon after. But, without knowing at all how they would look.
In terms of inspirations, I came across Lukas Walzer’s Rainy Night which was a very interesting artwork I drew some ideas from.

PROCESS
The project has been created in Blender 3.60, some of the texturing has been done in Substance Painter, and post-processing was done in Adobe Photoshop. I used The Grove (a paid add-on) for Blender which I couldn’t recommend enough for creating realistic-looking trees.
For the explanation of the creation process, I will focus on two specific aspects, which are the ghosts and the rain/splashes.
Creating the ghosts
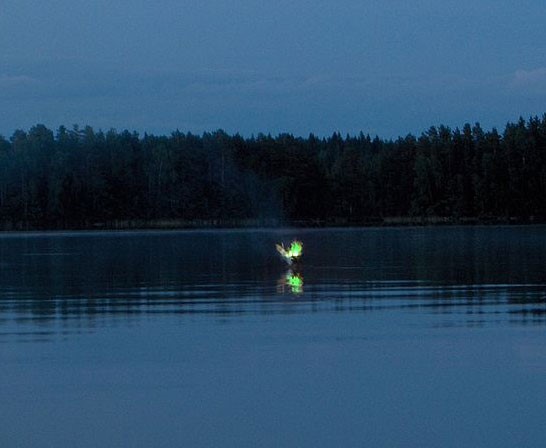
Without knowing exactly the form the ‘ghosts’ (in blue) would have, I checked some references online and came across will-o’-the-wisps (famously used in video games, depicted as little, living flames having eyes), in their real form where a very rare occurrence of combustion of different chemicals in the air resulted in a phosphorous sparkle, hence emitting light with different colors.
Below are some occurrences of will-o’-the-wisps caught on camera. These pictures are not mine.

If I would have created the different forms in Photoshop, entirely digitally, I feared it would look too controlled and too man-made. I wanted to have random, intense and dimmer parts, leaking shapes that I could fine-tune afterwards on Photoshop. For this reason, I turned towards the process of real light manipulating with photosensitive paper and chemical development.
To put it simply, I used a Durst Enlarger (I don’t recall the exact reference), which emits light pretty much like a little spotlight that goes through a negative film and hits a table further away, enlarging the initial negative. A photosensitive paper is placed on the table to receive the enlarged image, and is then ready for chemical development in dark rooms.
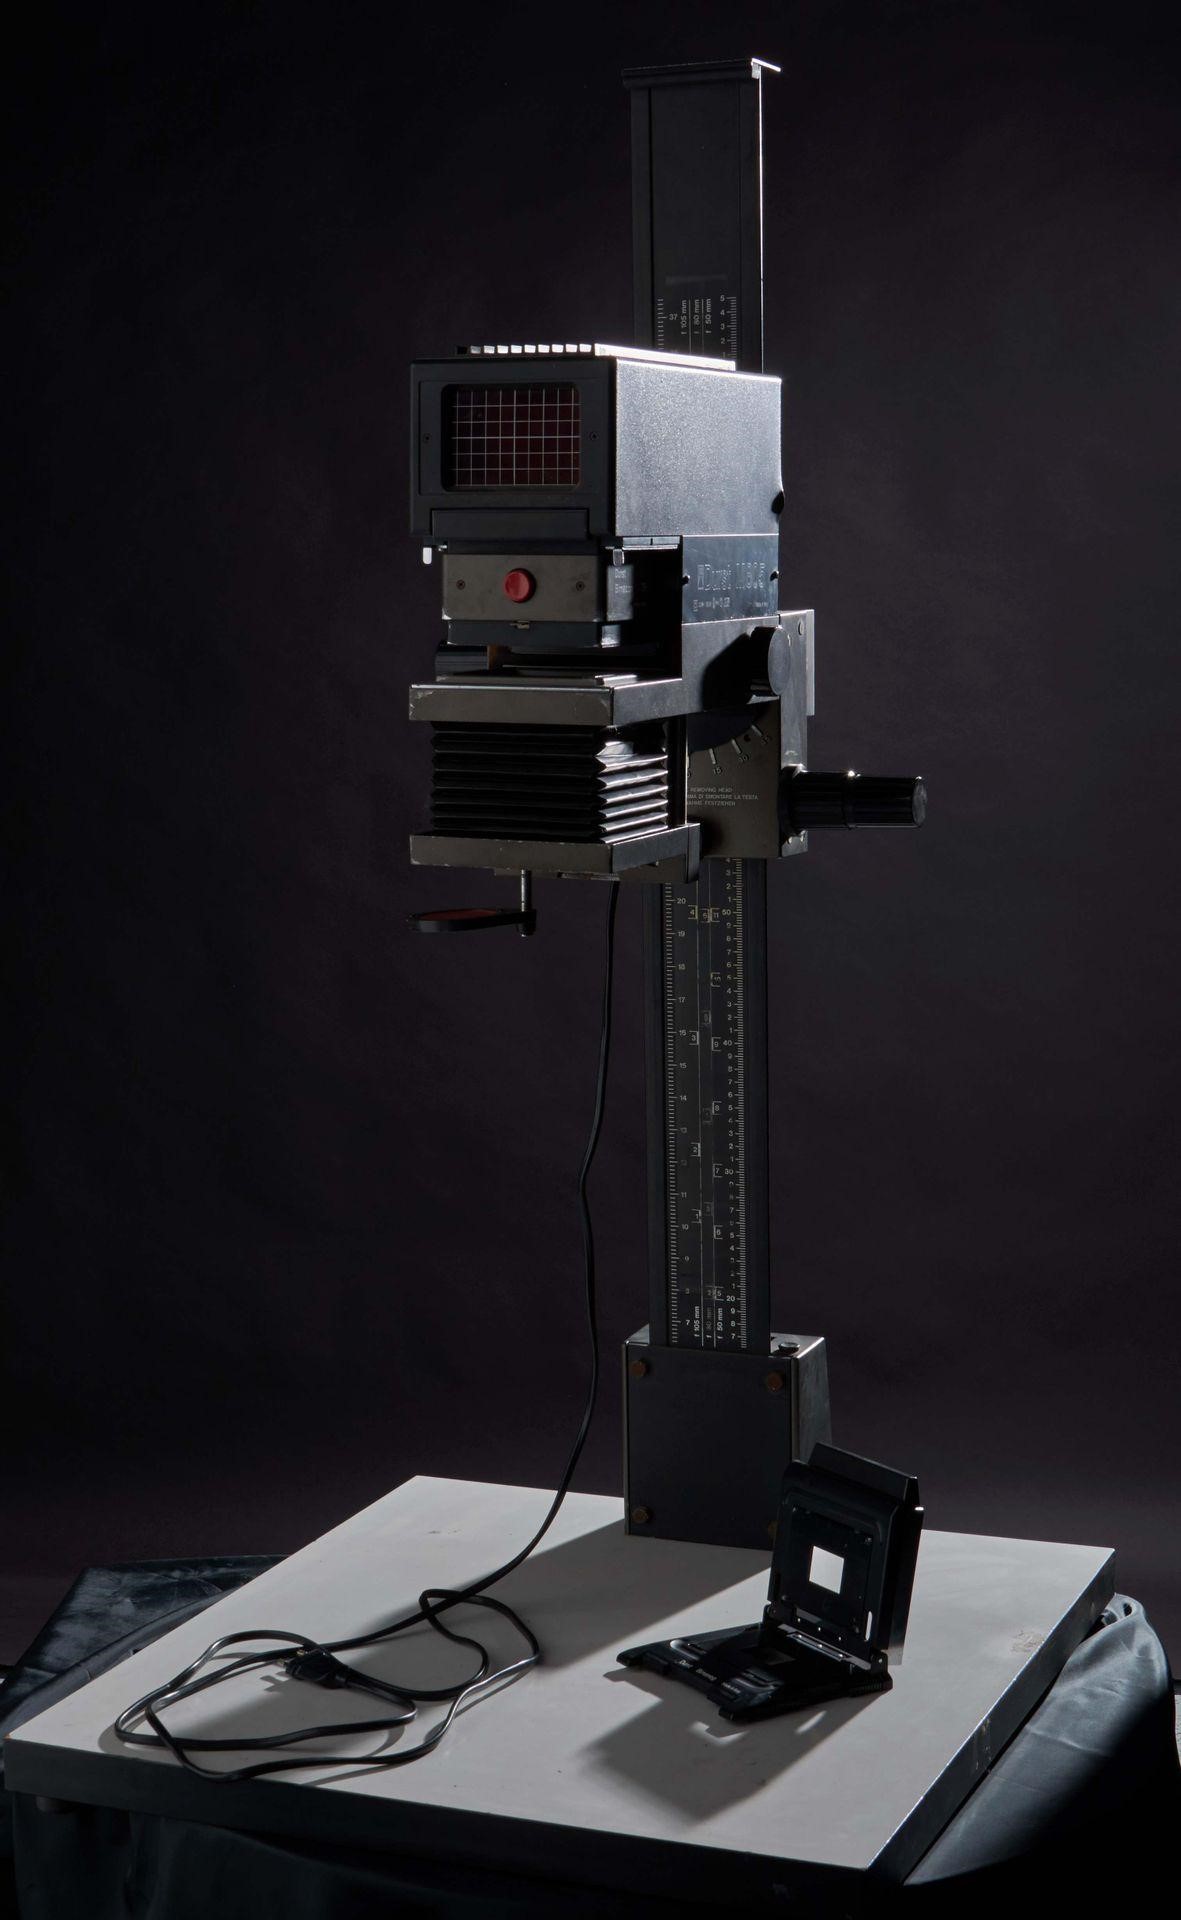
Now imagine that there is damaged cinefoil (black, matte paper used on cinema shootings to block light) instead of the negative film. Light goes through the tiny holes of the used, damaged paper, and gives very interesting and random shapes.

Here are the results of three different developments after a scan.

After some fine-tuning in Photoshop, I cleaned the shapes and used the resulting textures as Mix Factor in Blender with transparency and emission.

However, the shapes needed to be worked on. Here, it caught the eye way too much and we don’t particularly understand what it is, nor where it comes from. Just looking like a glitch.
Then, I added leaking parts, some more details, this sort of hollow-look in the middle, and combined it with a fast movement in Blender to imitate motion blur. At that point, it was much better.


Getting the Splashes Right
Another challenge of the image was to make good-looking rain and splashes.

Using Motion Blur was absolutely necessary to have convincing rain and splashes, or else it wouldn’t have worked well together. The problem is, to have small, detailed splashes without them being too resource-intensive, I couldn’t have just used Blender’s fluid simulation system Mantaflow in the main scene.
To have Motion Blur, splashes need to be animated, and I couldn’t just freeze a frame in a simulation and use the one I liked. On top of that, if I wanted to adjust any detail, I would have to redo the whole fluid baking process and it would have taken forever (if it worked).
I noticed Blender has a hard time computing very small simulations, as those were real-scales (indeed, the inflow is 0.003 m = 3 millimeters big).
Also, having a droplet fall at high speed on a surface in Blender doesn’t result in a good-looking splash at all. It seems like it doesn’t splash vertically, but just slides horizontally when hitting the ground. This was a major drawback so I had to find a solution.
As a solution, I turned towards what is called Crown Splashes, often used in product visualization. Most of those Crown Splashes are used for making an object fall in a water volume so it makes a splash in the shape of a crown (hence the name).
Below is a tutorial on Crown Splashes by CrossMind Studio called “Simple Hack for Better Crown Splash Simulation with Blender 3D.”
Even though I didn’t need a full water volume, I recreated this process on a much smaller scale, with a little amount of water already on the ground before the droplet fell on it at high speed. And tadaa~, it worked.

I then had to make multiple different iterations. This way, I managed to create decent-looking splashes with Motion Blur (even though I spent a lot of time researching and finding the right parameters).

To be able to work seamlessly on the main scene and the splashes, I created an empty .blend scene with multiple small splashes, and then exported each of them in animated Alembic files that I reimported in the main scene. That way, it was quite light in terms of resources in the main scene, and if any modification was to be made, I would just hop on the other splashes.blend file, fine-tune the fluid simulation, and re-export it in Alembic.
You managed to read all of the above. Congratulations!
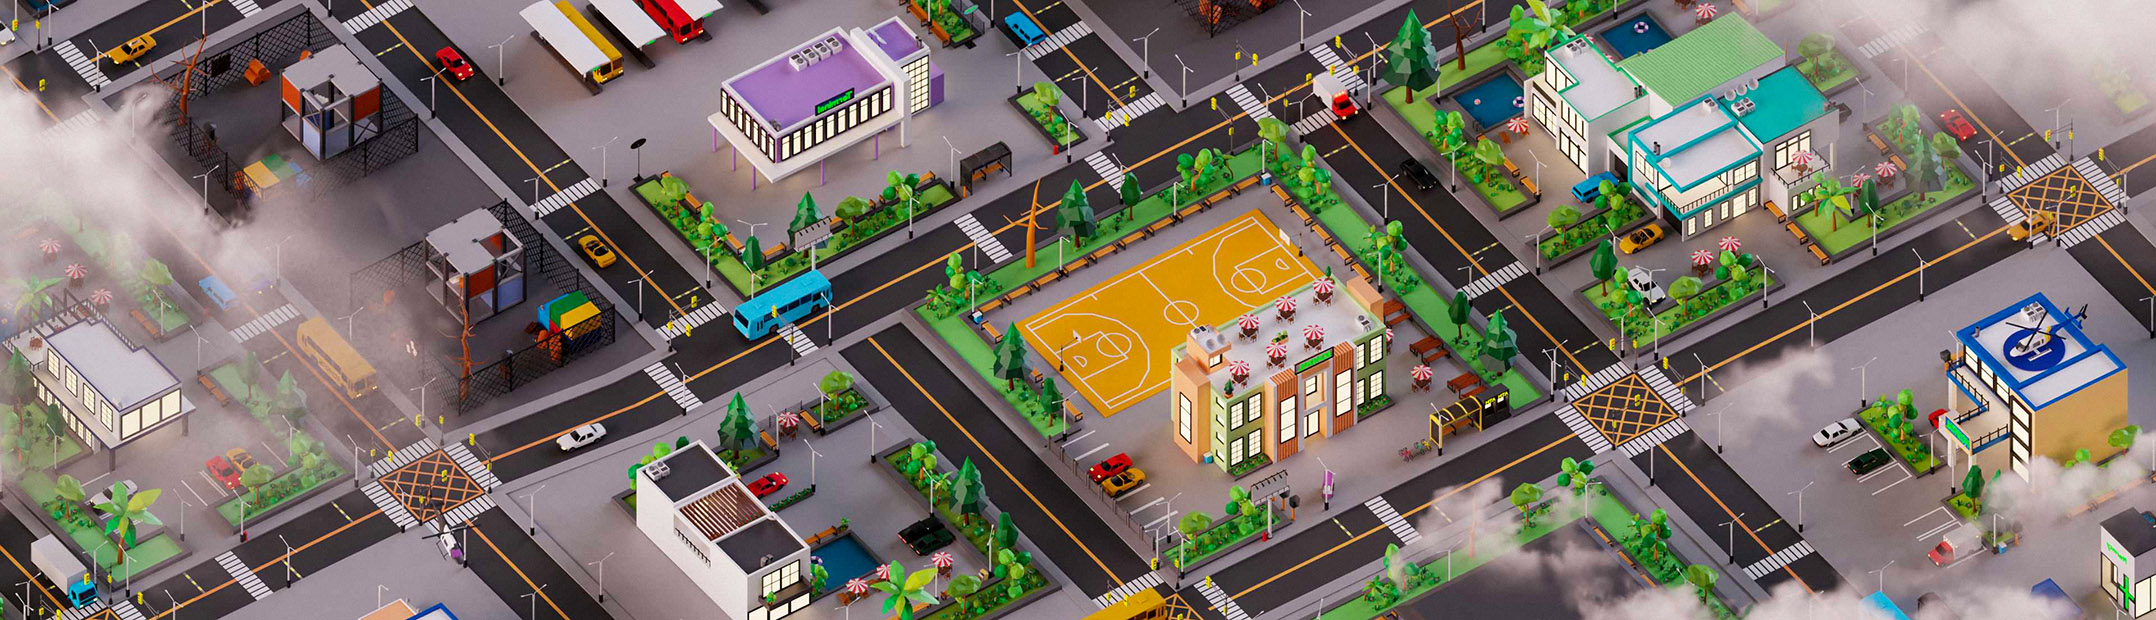
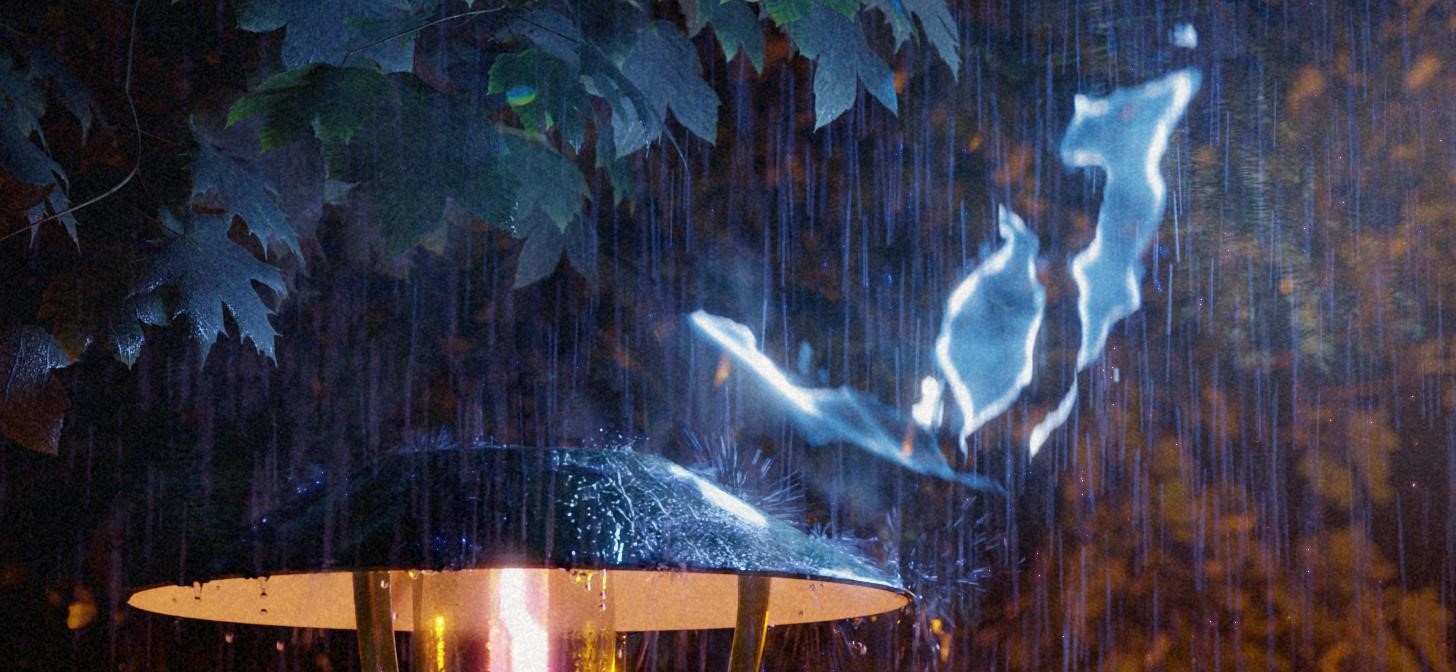
RENDER – Ghosts of Streetlight
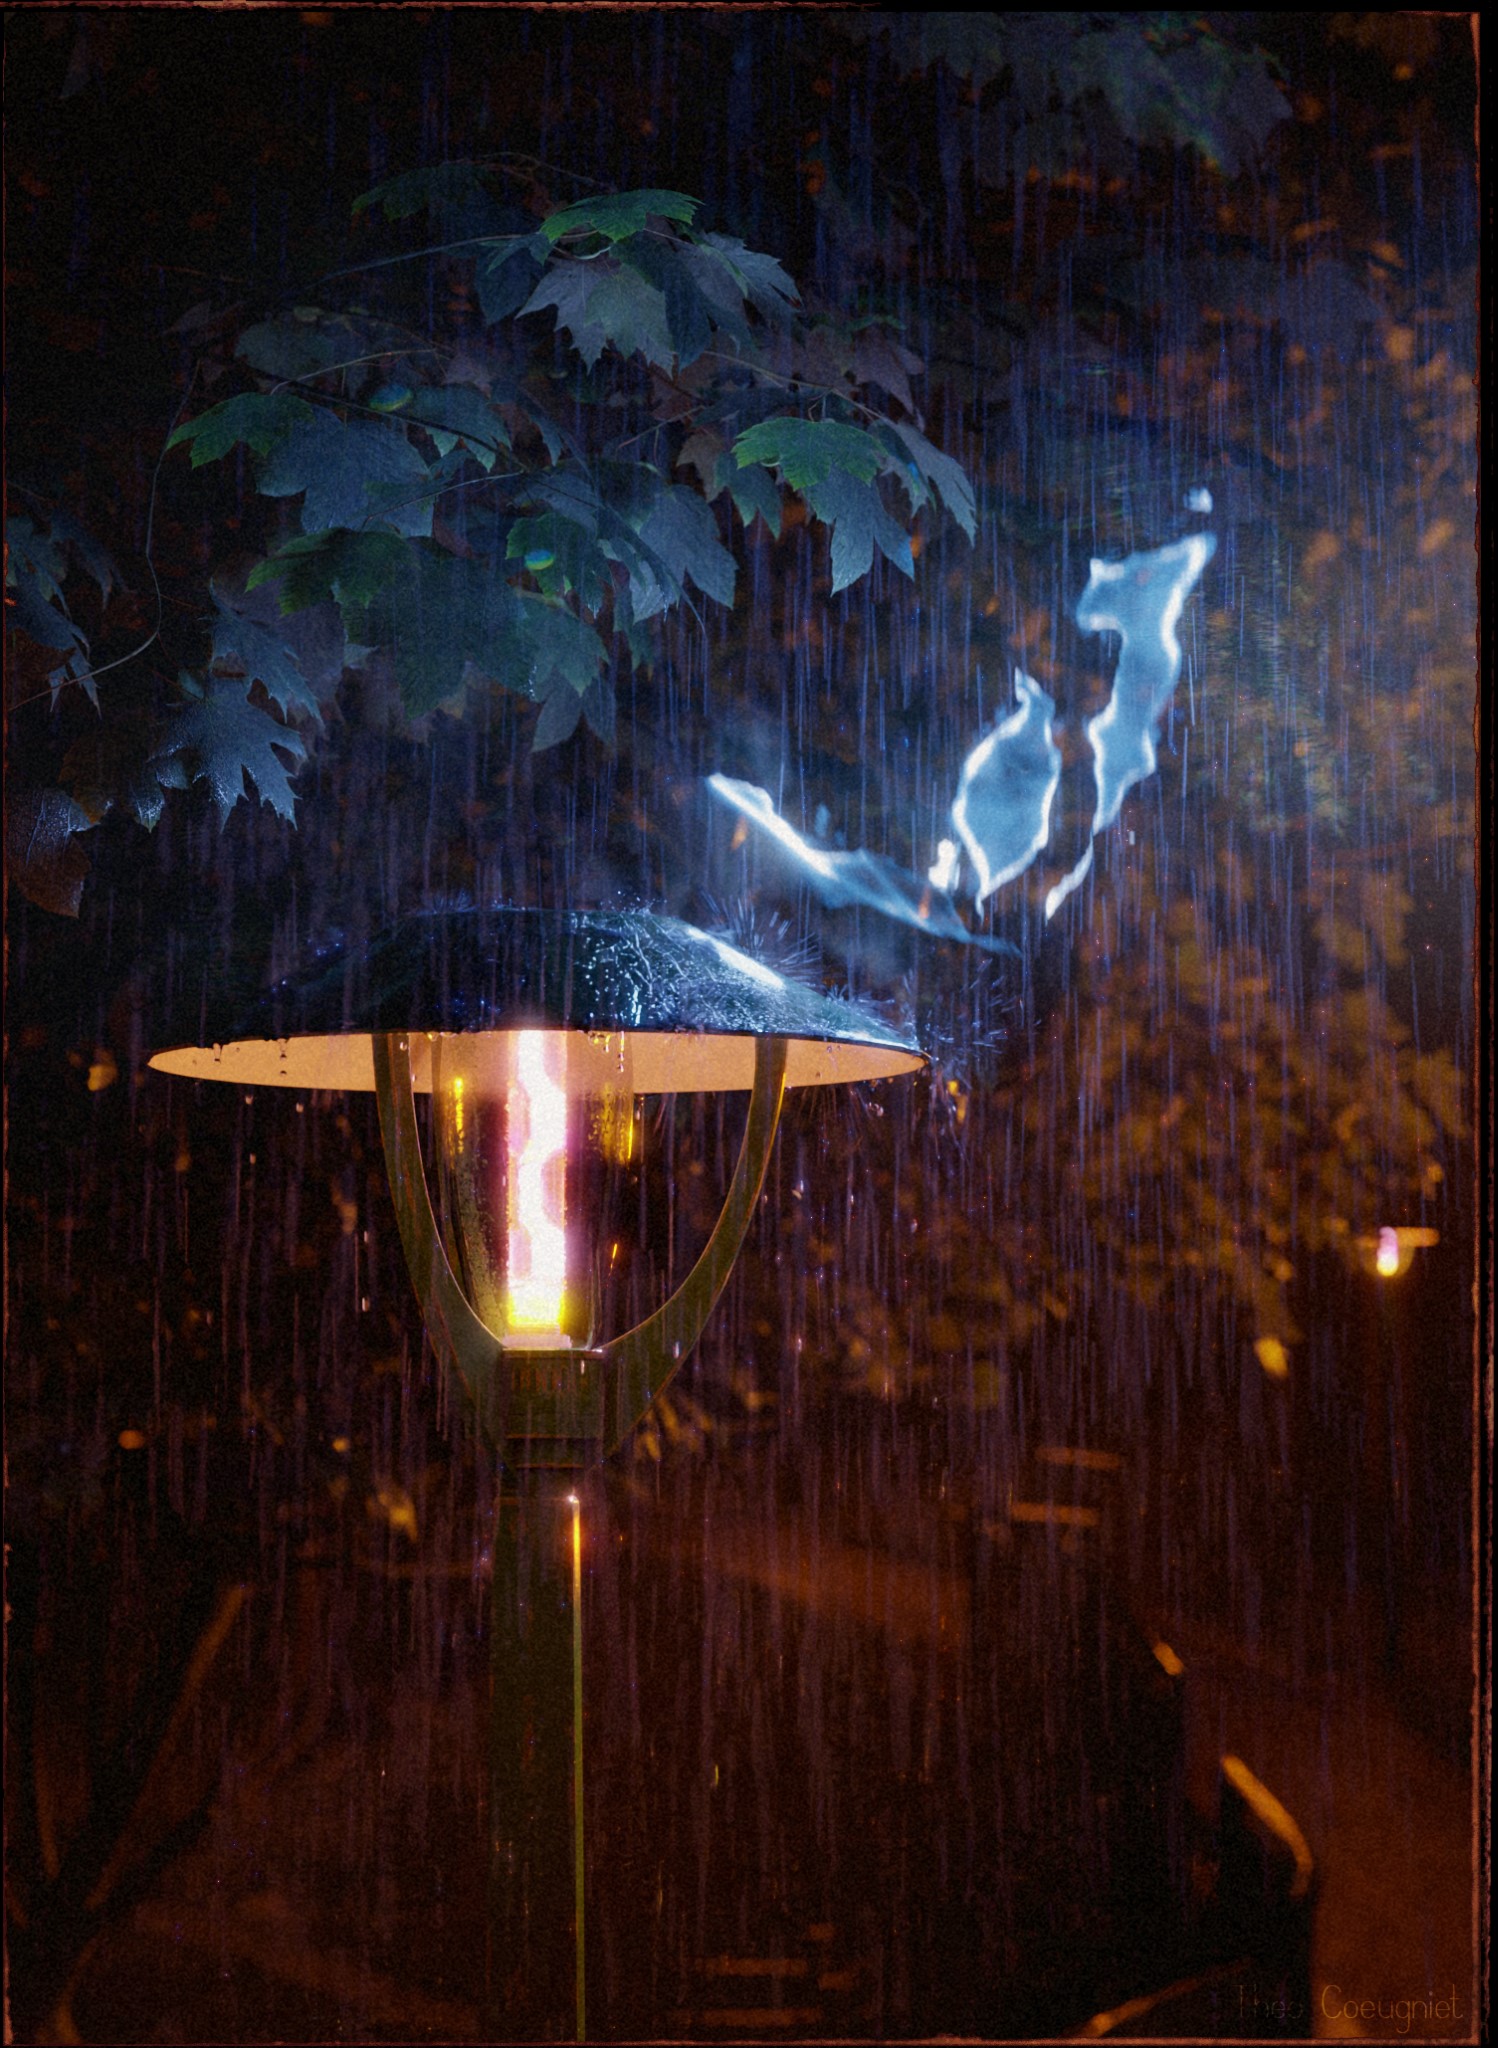
Thanks for reading, and feel free to ask me anything. Have a great day!
About the Artist
Théo Coeugniet is a 3D artist currently working in the film studio ‘Le Fresnoy Studio National des Arts Contemporains’ at the shooting department in Lille, France.


