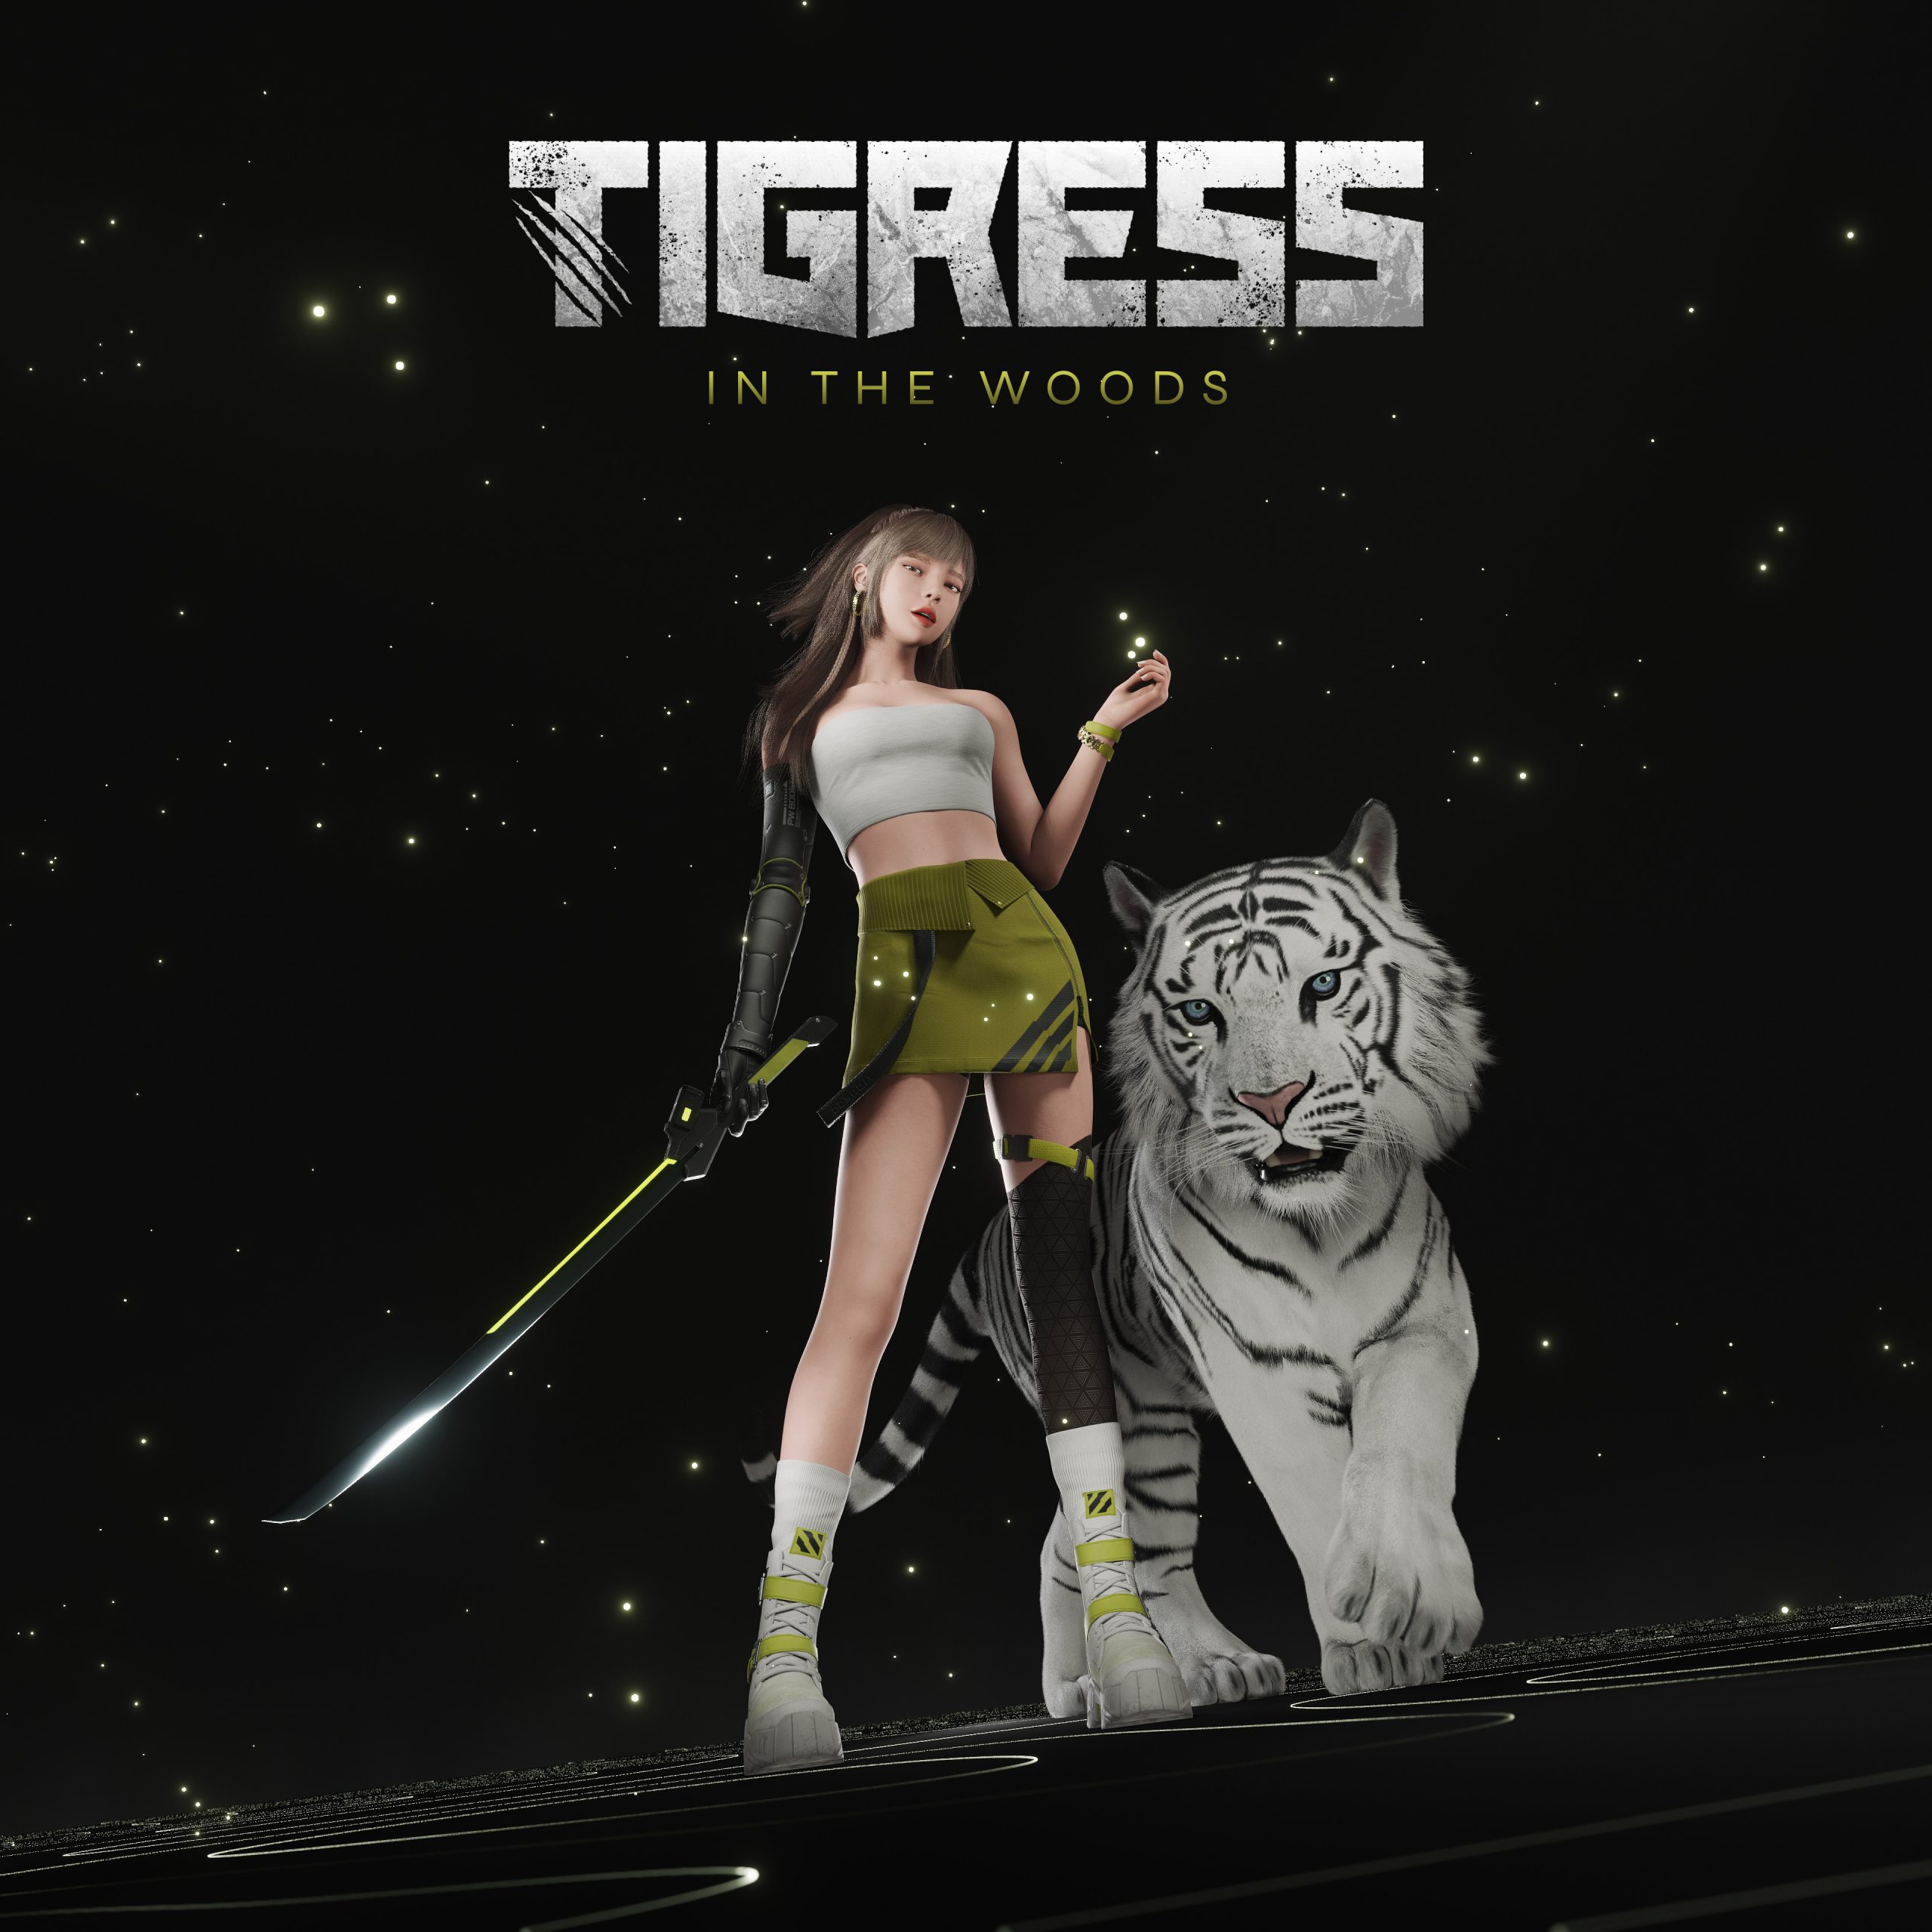
Behind the Scenes: Tigress in the Woods

INTRODUCTION
Hi, my name is Yizhi Choi, and I also go by Steven or YZ Choi. I am a self-taught graphic designer from China. Daily, I create posters, user interfaces, and 3D graphics like 3D emojis, short animations, etc, and I particularly like the 3D part of my work the most. I started to use Blender in version 2.8, and I like creating personal character projects in my spare time. It is always a fun and stress-free experience because I can free myself from restrictions on creative subjects or styles, and learn so much from the art community.
INSPIRATION
I started this personal project with two purposes in my mind. First, to learn how to use Blender’s new curve hair system. Second, to use EEVEE to render final images since I was blown away by Blender Studio’s open movie Charge rendered with EEVEE as far as I know.
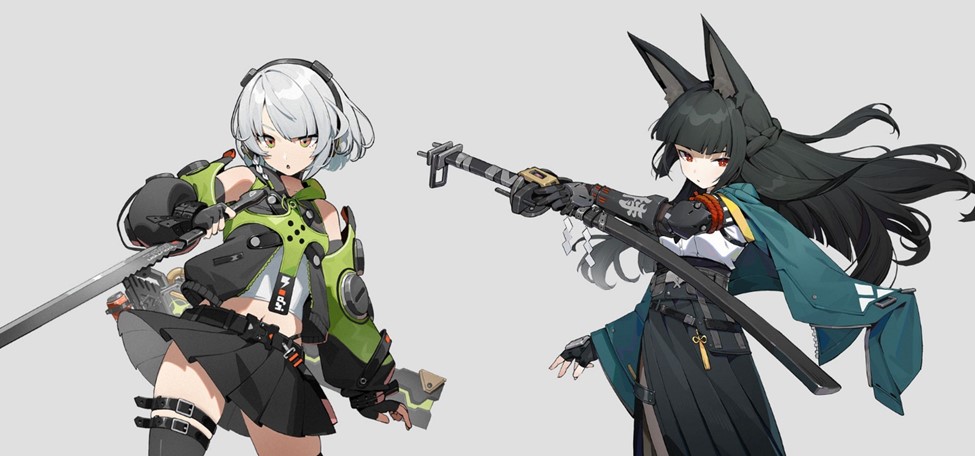
For the subject, my inspiration mainly came from the game trailer of Zenless Zone Zero. I liked the character concept of the game, especially Anby and Miyabi. I wished I could create a character similar to the concept but more in a semi-realistic style rather than an NPR manga style.
PROCESS
Modeling
I started sculpting from the character’s head, which I usually like to start from scratch and gradually refine until it looks decent.
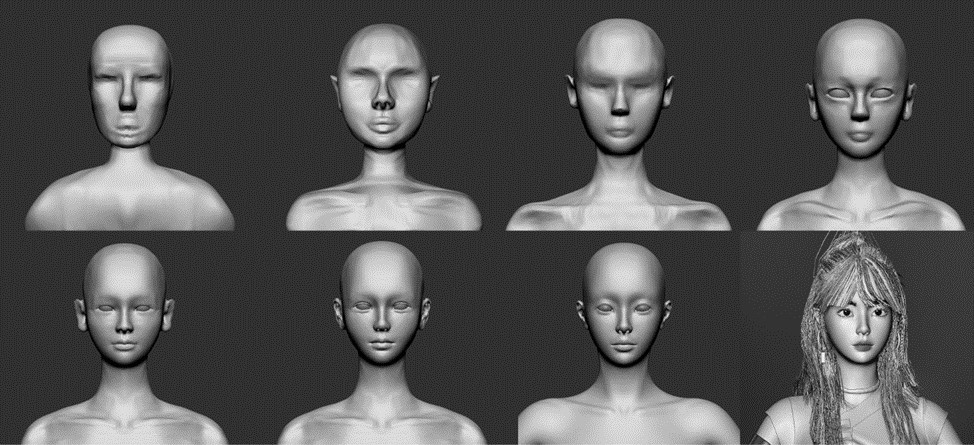
For the body, I re-meshed a base mesh made for my previous project, adjusted the proportion, and added details. Then I merged the head and body mesh, and sent it to Blender for retopology.
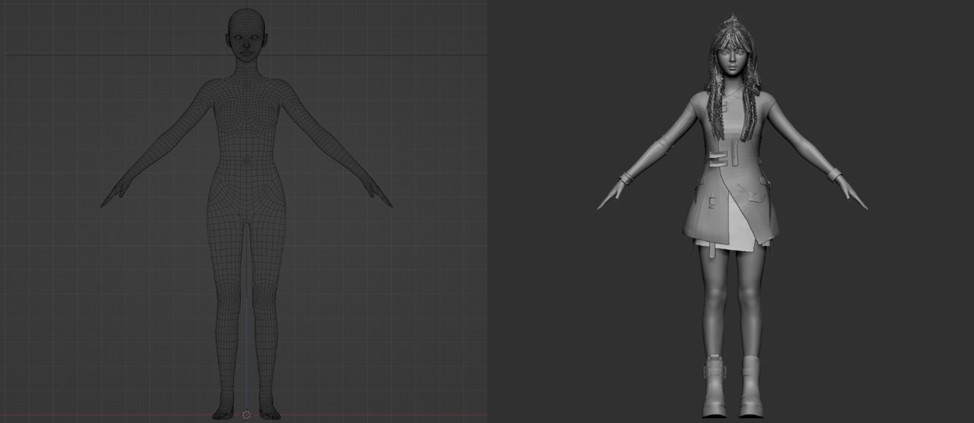
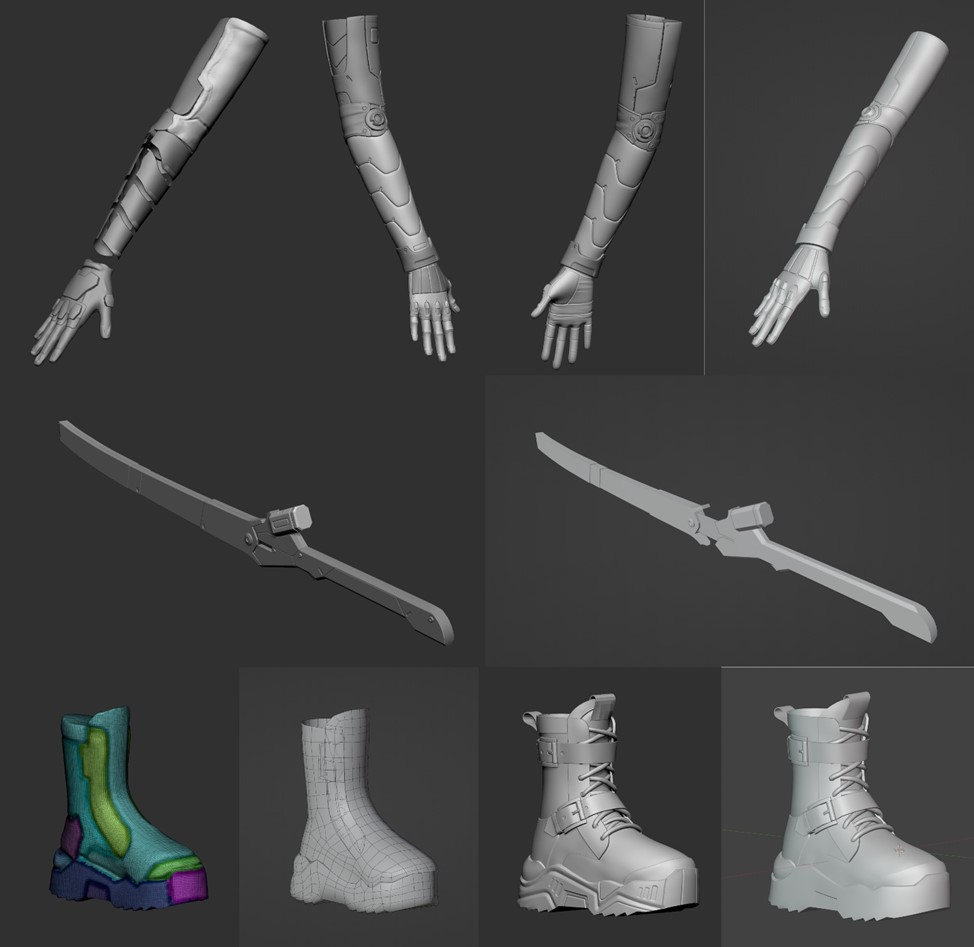
Accessories like the sword, shoes, and armor piece follow the same modeling process: poly modeling or sculpting to get the shapes I like, and then retopologizing in Blender afterward.
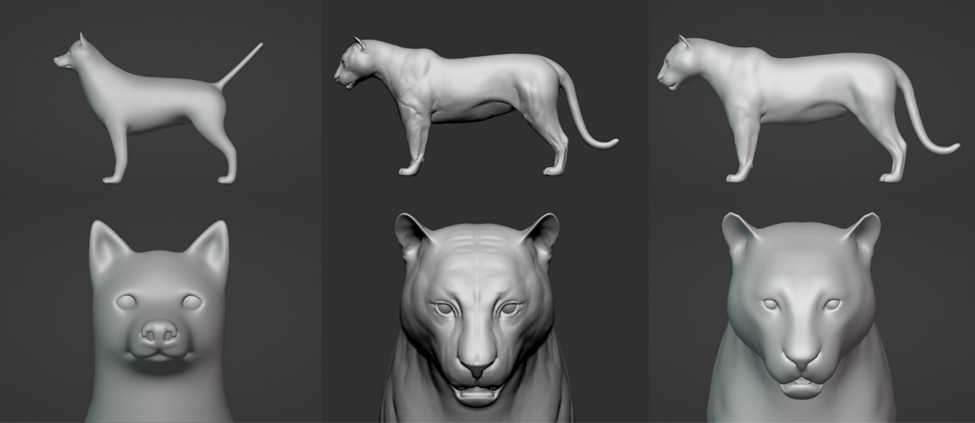
A similar process applies to the tiger model as well. I sculpted the tiger from a dog base mesh of my previous project.
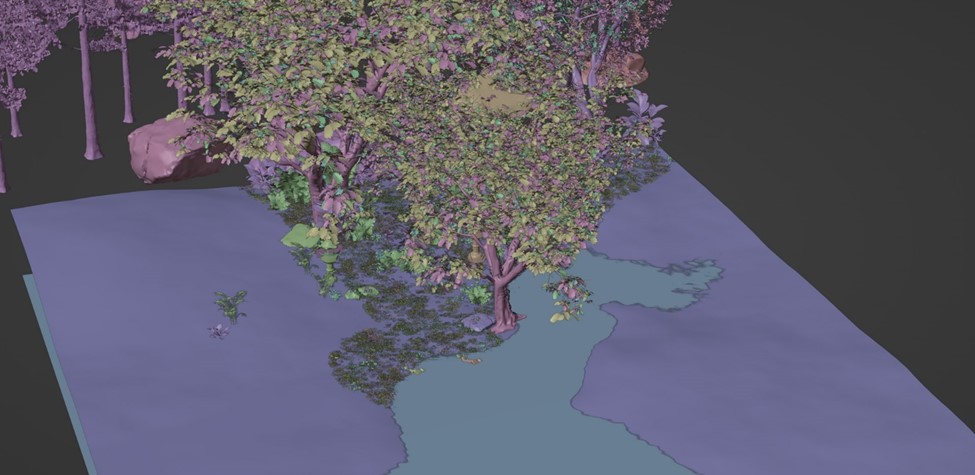
Then I moved on to the environment. I added two planes to my scene, one for the ground and the other for a water pond to get some reflections. Then I subdivided and displaced the planes to find contours that suited the scene. After that, I covered the ground plane with grass, bushes, and trees. The tree models I used were from Poly Haven, with credit to Rico Cilliers and Rob Tuytel, and the other vegetation was created using the well-known Blender addon, Botaniq.
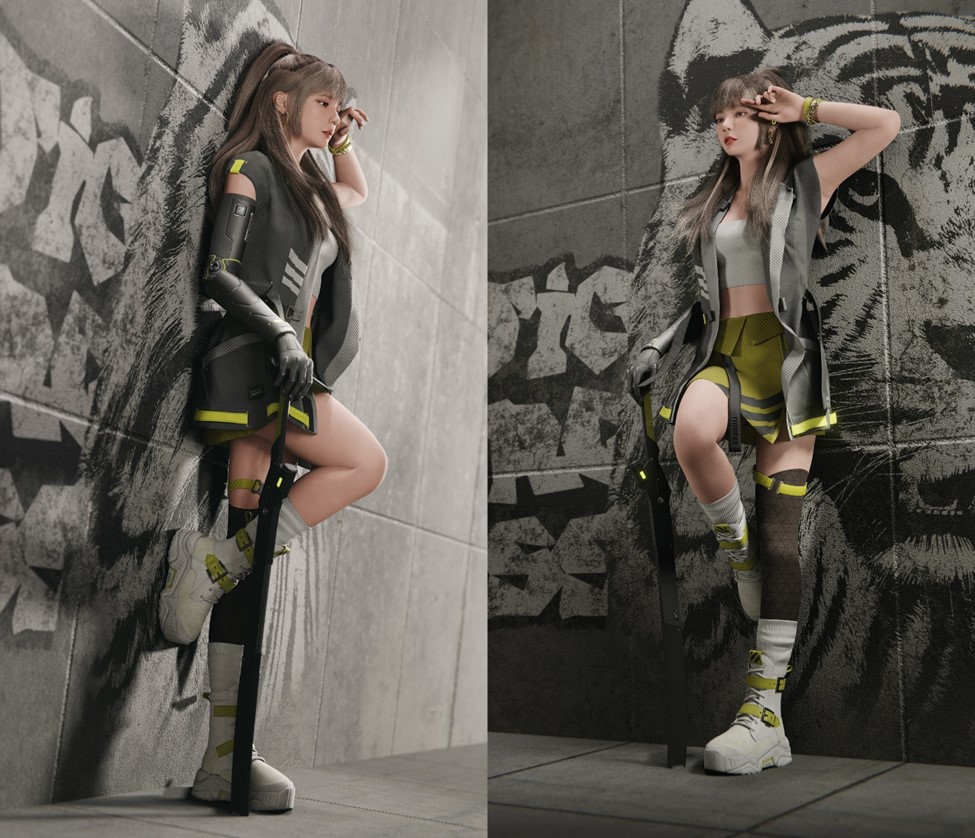
Clothes
Instead of drawing cloth patterns directly in Marvelous Designer, I began my clothes’ creation process with sculpting as well. I blocked out the clothes that I was aiming for at first, and then Polygrouped and Zremeshed the clothes in ZBrush. By doing so, I can get some quick flattened UV patterns, which after a little bit of vertex cleaning in Blender, can be used as cloth patterns in Marvelous Designer to sew and simulate the clothes.
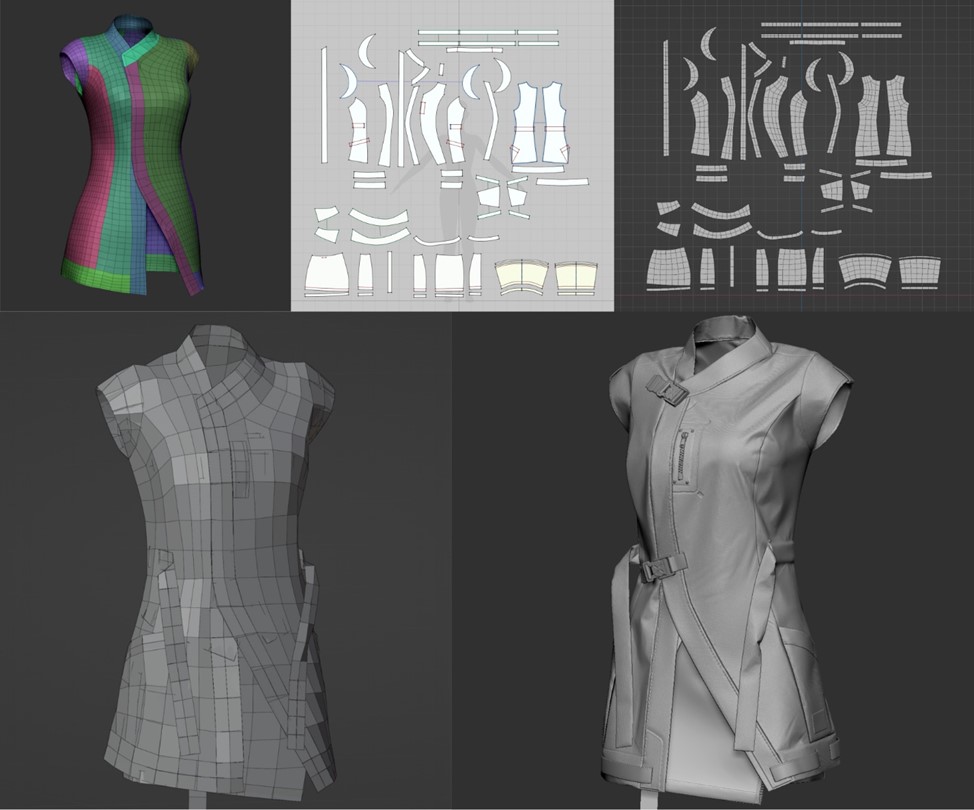
I then sent the high polycount simulated clothes back to Blender for retopology. In this way, a 3D character creator like me who knows little about tailoring can also make almost any kind of clothes I could imagine. In addition, the clothes will fit better on the character without me spending too long looking for proper 2D patterns online or constantly fiddling with 2D patterns to make them fit. You can learn more about this technique from Outgang’s video.
Hair
I made the character’s hair and the tiger’s fur with Blender’s new curve hair system. As far as I can tell, the modifiers that come with Blender 3.5 are versatile and easy to use.
After watching the official introduction video above about the hair system, I could achieve my desired hairstyles by simply stacking the modifiers, touching almost no geometry nodes.
Texturing & Materials
I completed the character’s textures mostly in Substance Painter after unwrapping the UVs and baking the details. Materials for body parts such as meniscus, hair, eyeballs, and irises were procedural materials built with Blender’s shader nodes. For the tiger, I projected the skin texture using the stencil paint tool in Blender.

My goal was to render the scene with EEVEE, so I also ticked on the Screen Space Refraction and Subsurface Translucency options for eyebrow and eyelash materials. Otherwise, the contact shadow would look too dark and blurry to my taste.
Lighting
After rigging and keyframing my characters, it finally came to the fun part—lighting. I wanted to practice several different light set-ups with this scene, so I created 3 light set-ups including sunrise, morning, and night.
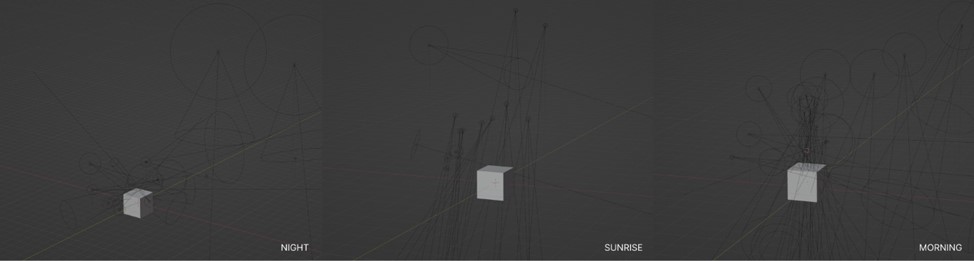
At first, I tried to use gobos with EEVEE’s lights, but it turned out that gobos mostly worked in raytraced engines only. So instead, I ended up setting multiple spotlights to mimic shadow patterns often seen in forests. For the background lighting, I used the sky texture node, which allowed me to adjust the time of the day quite easily.
RENDER – Tigress in the Woods


That’s it. Thank you so much for reading. Have a great day!
About the Artist
Yizhi Choi aka Steven is a self-taught graphic designer from China, who especially loves making 3D stuff for his work and personal projects, using Blender the most.


Superb work!