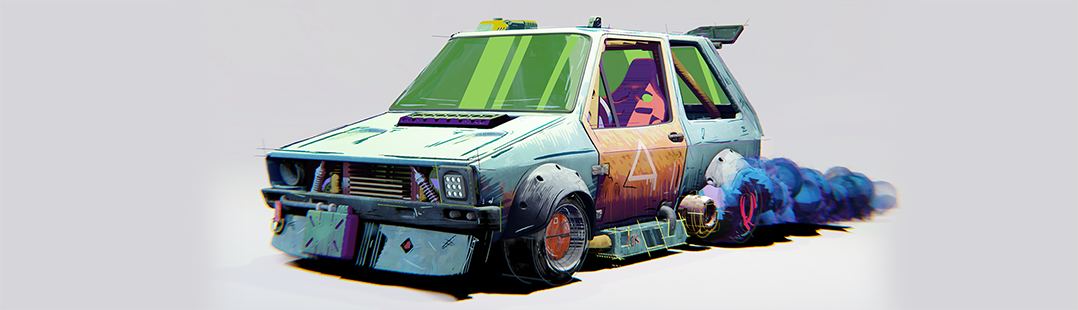
How to Achieve Realism in 3D
Achieving realism in 3D rendering is an art form that goes beyond simply mastering the software. It involves meticulous attention to detail, an understanding of composition, effective lighting techniques, and the incorporation of imperfections. In this short behind the scenes, aumission delves into the intricacies of creating lifelike 3D scenes.
Leveraging the Blender Community
One of the often-overlooked aspects of 3D rendering is the vibrant community surrounding it. Blender, the popular 3D modeling software, is not just a tool but a community of creators. Engaging with this community can be a game-changer in your journey toward realism. Online platforms such as Reddit, Stack Exchange, BlenderNation, Blender Artists and other forums are invaluable resources for learning, troubleshooting, and seeking feedback from experienced artists.

Composition: The Foundation of Realism
Composition plays a pivotal role in making your 3D scenes appear real and captivating. It is important to make use of composition guides like the rule of thirds. This principle encourages placing key elements slightly off-center, which not only draws the viewer’s attention but also provides opportunities to manipulate depth of field.

Mastering Depth of Field
Depth of field is a crucial tool for achieving realism. It allows you to control which parts of your scene are in focus and which are not. Try to find a way to use depth of field effectively to accentuate the details of a scene. By strategically placing the focal point, you can make objects closer to the camera stand out, just like in real photography.

The Magic of HDRI Lighting
Lighting can make or break the realism of your 3D renderings. While there are various lighting techniques available, nothing beats the realism achieved with High Dynamic Range Imaging (HDRI). HDRI not only provides realistic lighting but also adds mood to your scene. Websites like Poly Haven are a good source to find a wide array of HDRI maps that suit your project. Adjusting the power of the HDRI can further enhance the lighting effects, allowing for customization to match the desired mood.
Imperfections: The Devil in the Details
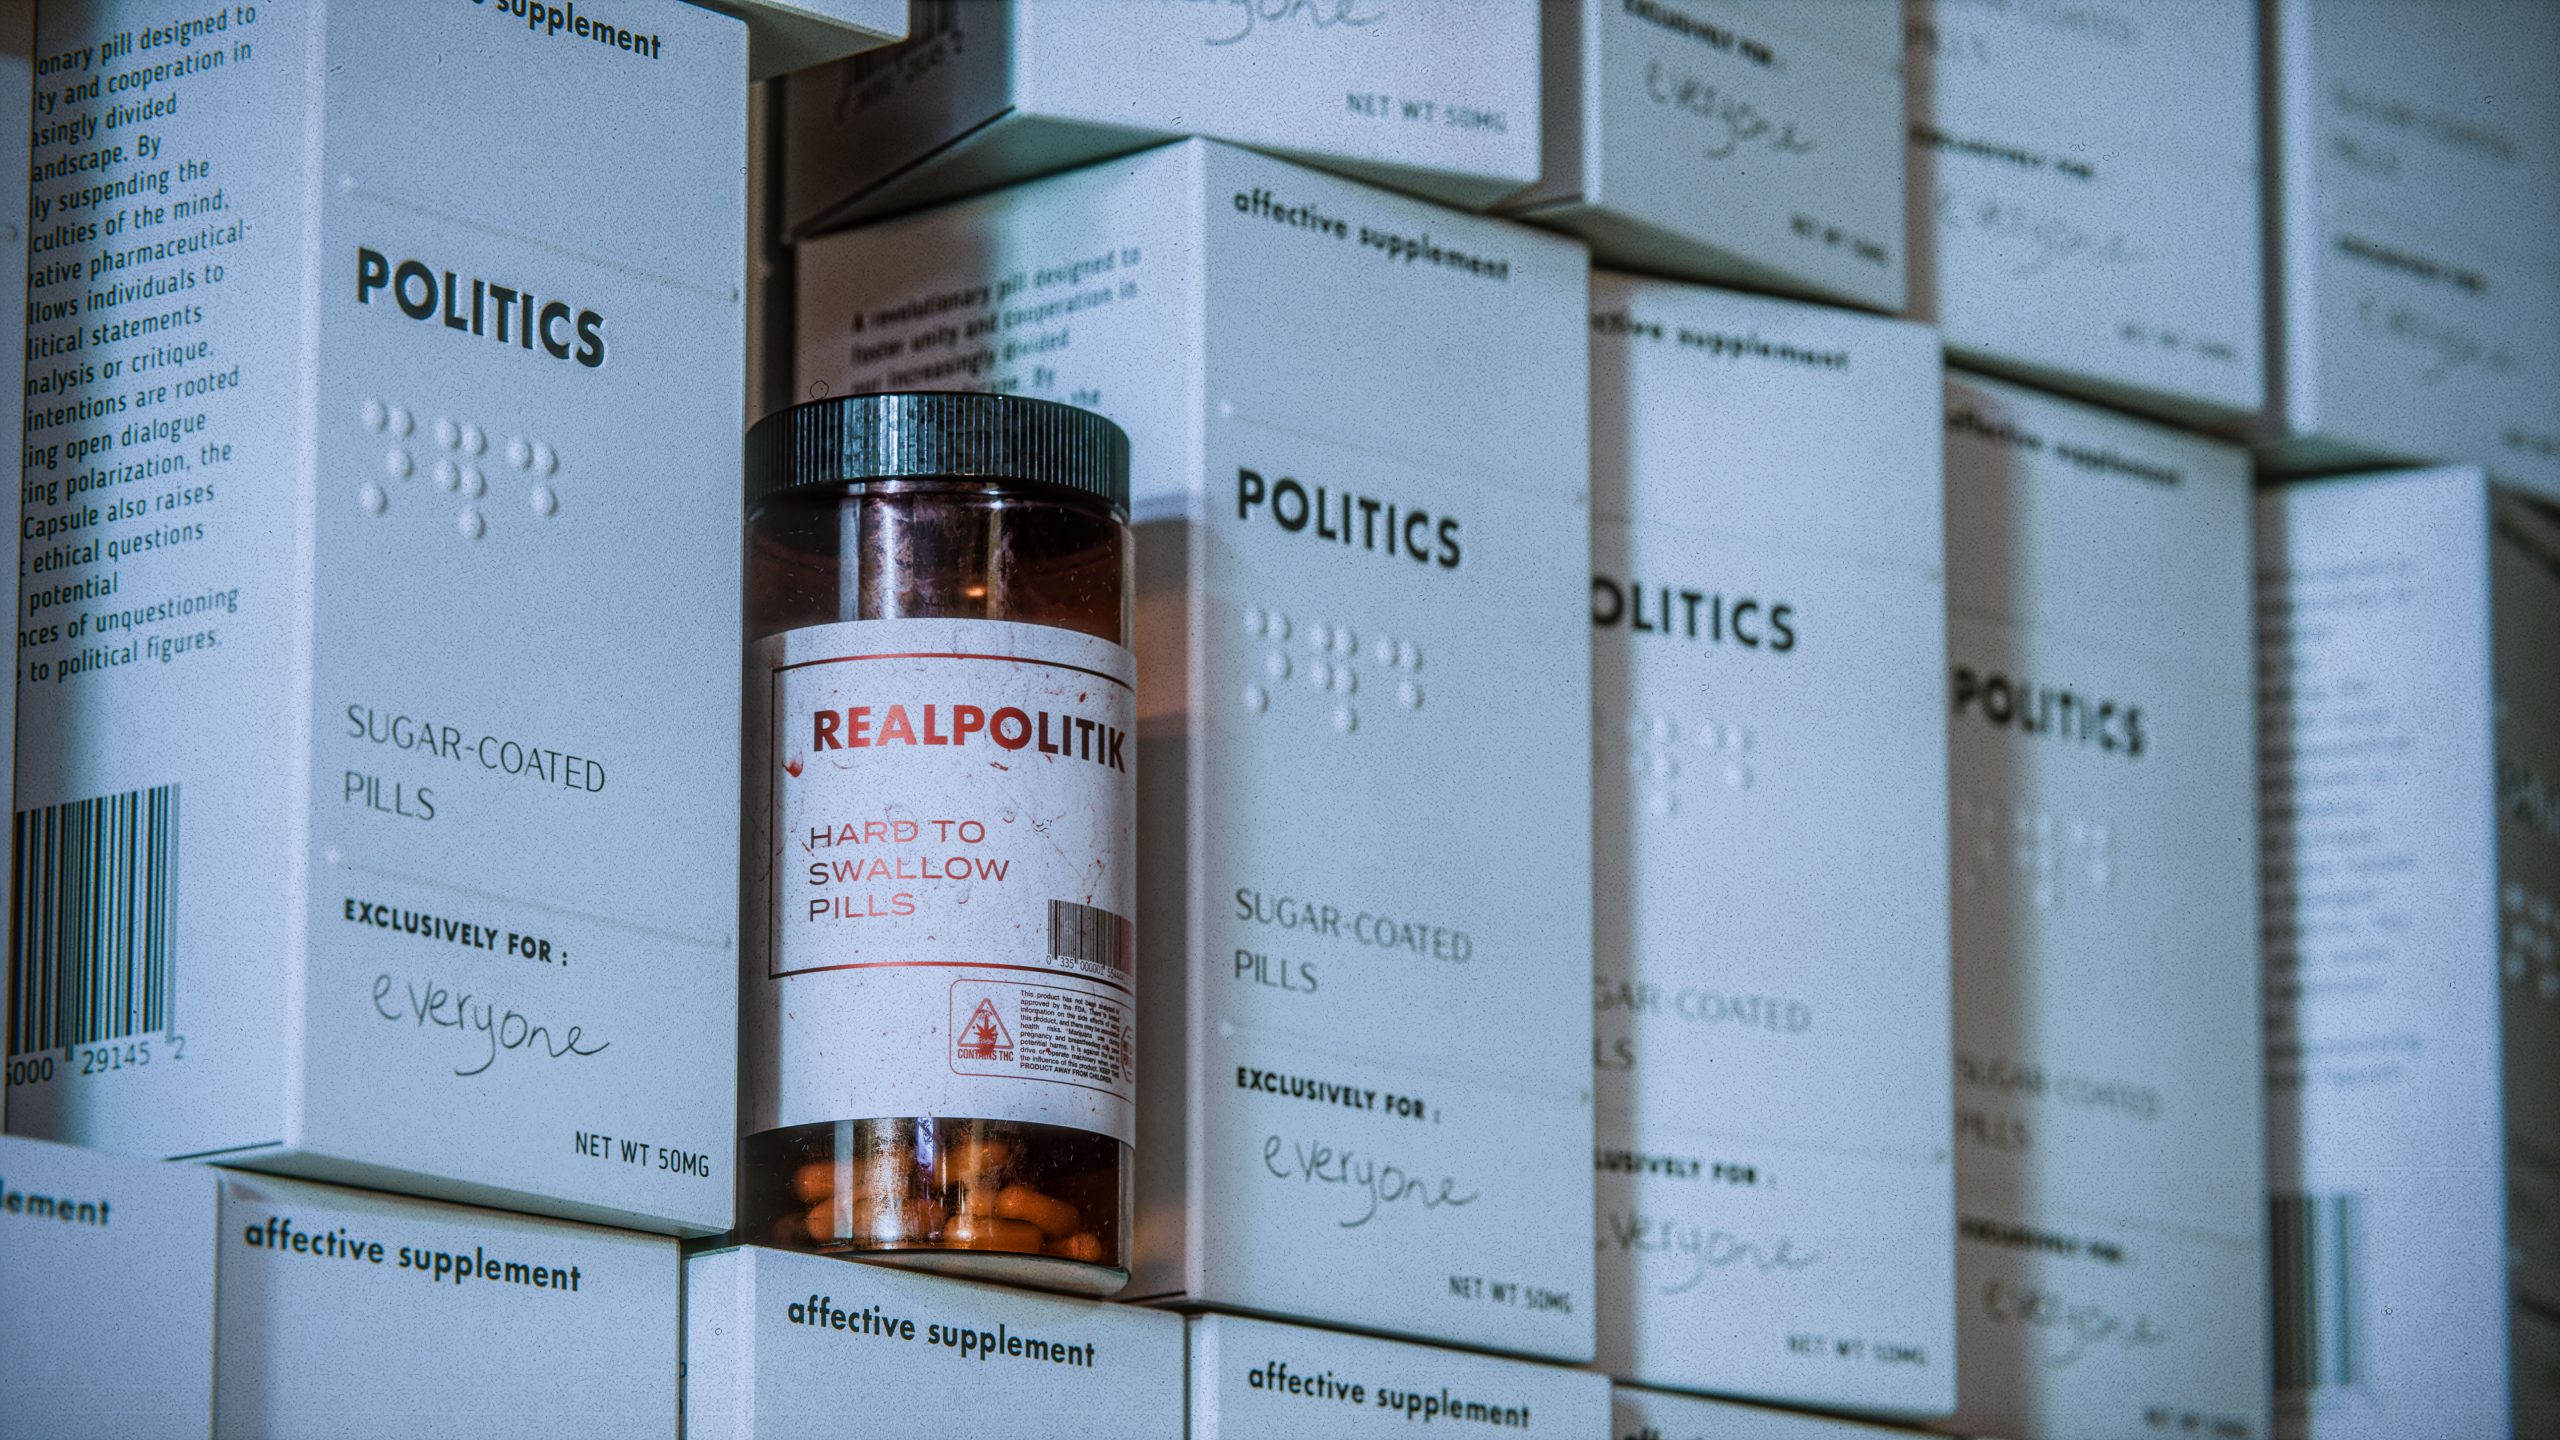
The devil is indeed in the details when it comes to realism. Adding imperfections to your models can make them look more authentic. Imperfections can be broken down ,but are not limited, to two types: scratches and fingerprints. Scratches affect the surface of materials, while fingerprints alter the roughness. These imperfections can be applied using normal maps, bump maps, or displacement maps, depending on their nature.
Sourcing Details from Reference Photos
To add those crucial details to your 3D models, reference photos are your best friend. Whether it’s replicating slits in cardboard or adding Braille text to a label, using reference images ensures accuracy and realism. Various details, such as barcodes, can be found on Google Images. This approach saves time and ensures that your 3D models closely match real-world objects.
The Art of Post-processing
The final step in achieving realism involves post-processing. While the tutorial’s primary focus is on 3D modeling and rendering, it acknowledges the importance of post-processing. Using software like Photoshop or DaVinci Resolve allows you to fine-tune your renderings for that extra touch of realism. Exporting in EXR format is recommended for a broader dynamic range, allowing for more significant adjustments in post-processing.
Conclusion
Mastering realism in 3D rendering is a journey that combines technical expertise with artistic intuition. By leveraging the Blender community, perfecting composition, mastering depth of field, embracing HDRI lighting, adding imperfections, referencing real-world details, and applying post-processing techniques, you can take your 3D creations to the next level. Experiment, learn from others, and, most importantly, enjoy the process.
A more detailed video version of this breakdown can be found here :


I am still searching that “vibrant” community many blender evangelists speak of. So far I found a few very self-centered “I am an artist, I know that I am good” places and a couple of “I want to make pirn or games, where do I have to click to get it done automatically for me” ones.
“vibrant”? not really.
As for realistic looks, the over the top (ab-) use of DoF in the example could be debated whether it helps or breaks the image. Personally, I think the image went from OK to “nope, that’s no use”, but that is really a subjective perspective.
I would love to honestly and openly participate in discussions about realistic renders and have accepted by now that blender can be part of the show. It is the lack of a “professional” community (in the sense of “getting things done, because, money”) that, to me, has turned out to be the biggest hurdle of putting blender into my tool belt.
To be honest I think you just havent been blessed by the algorithm just jet. Especially Blendernation is a great resource for new technics try hopping to earlier posts.
For the “professional community”, it’s true that those guys like to hide a bit. To find the stuff I would recommend browsing youtube on “new videos” not “recommended” as the algorithm of yt is kind of in the gutter right now.
Great channels are
– Wenbo Zhao
– Interactiv
– JBRASH
-Derek Elliott
Pinterest is a great place to find all kinds of stuff
– Welpix | CGI Photography Pinterest
And here is the pinterest list I actively use myself. I recommended this one a few times already. Maybe this helps. https://pin.it/5pTnZnX
This is where you find the Vibrant community. Its here ;D
Great article thank you for posting.
Please share update regarding blender
What do you mean? Is this question even related to this article?
Anecdotal but I apprecite your input. Have a great day.
Thank you, Mr. Tyde,
Youtube I try to avoid at almost any cost. I deleted my over 500 tutorials that I uploaded over close to 15 years and really try not to visit that site. Learning-wise I am fine with digging my way through it (Blender and other things) :-)
Not sure if Pinterest is a platform for in-depth discussions? Never visited that intentionally.
I am old-school. I don’t do Facebook, Instagram, Twix (or whatever that Musk-guy is calling his toys today) or any of those things :-)
There’s a lot I would love to discuss and experiment (with limited time, I get paid for results, not for gimmicks) around blender and blender-in-a-pipeline, really. I’d just prefer a real forum/billboard, not some endless scroll-torture-devices …
There are some forums like blenderartists.org. A lot of blenderer upload their works here like this one: https://blenderartists.org/t/the-forest-river/1487052
I’d recommend checking it out. While structuralwise the forum has some things that could be improved (imo), like pictures in the overviews and newest posts first not last, its a great place to get some information.
Another great resource is Discord. There are a lot of creators having Blender Discord server. I just dont know which are good right now. If someone knows some big Blender Discord servers I’d love to know :D
No wonder, your attitude seeps from you. If you want to be a part of a great community, you don’t just mock everyone around, and if you do, the community doesn’t even want you to be a part of it.
Thank you. Yes, I do agree, Discord might really be a good option. I have visited a few servers in the past and while there were quite nice people around (“nice” as in “helpful, respectful”), there were always the SHIELDXX types that froze many of those nice people out after a short time. I join into your search for “the great discord”
:-D
Blenderartist I will have another look for sure, it feels slightly more civilized than blendernation(?).
Blendernation is more of a news place. Its pretty good one with great information. I’d love to hear what you find. Blendernation is very civilized. As everywhere else it’s important to be respectful, not to trip the mines of conflict, so we can help each other finding solutions for our every problems. I am sure you will soon find the many facets and the vast knowlege of us, the Blender community very appealing. :D
What we all share in common is the will to build a community of positive connection and the chase of progress (in the most effective and sometimes also in the most ineffective way ;D). We dislike hate, you wont find a lot here. Here is were everyone has the “chance to shine”. If you take the time, are factual and learn the tools, help your peers you will be good. :D
If you find some good resources, let us know :D