
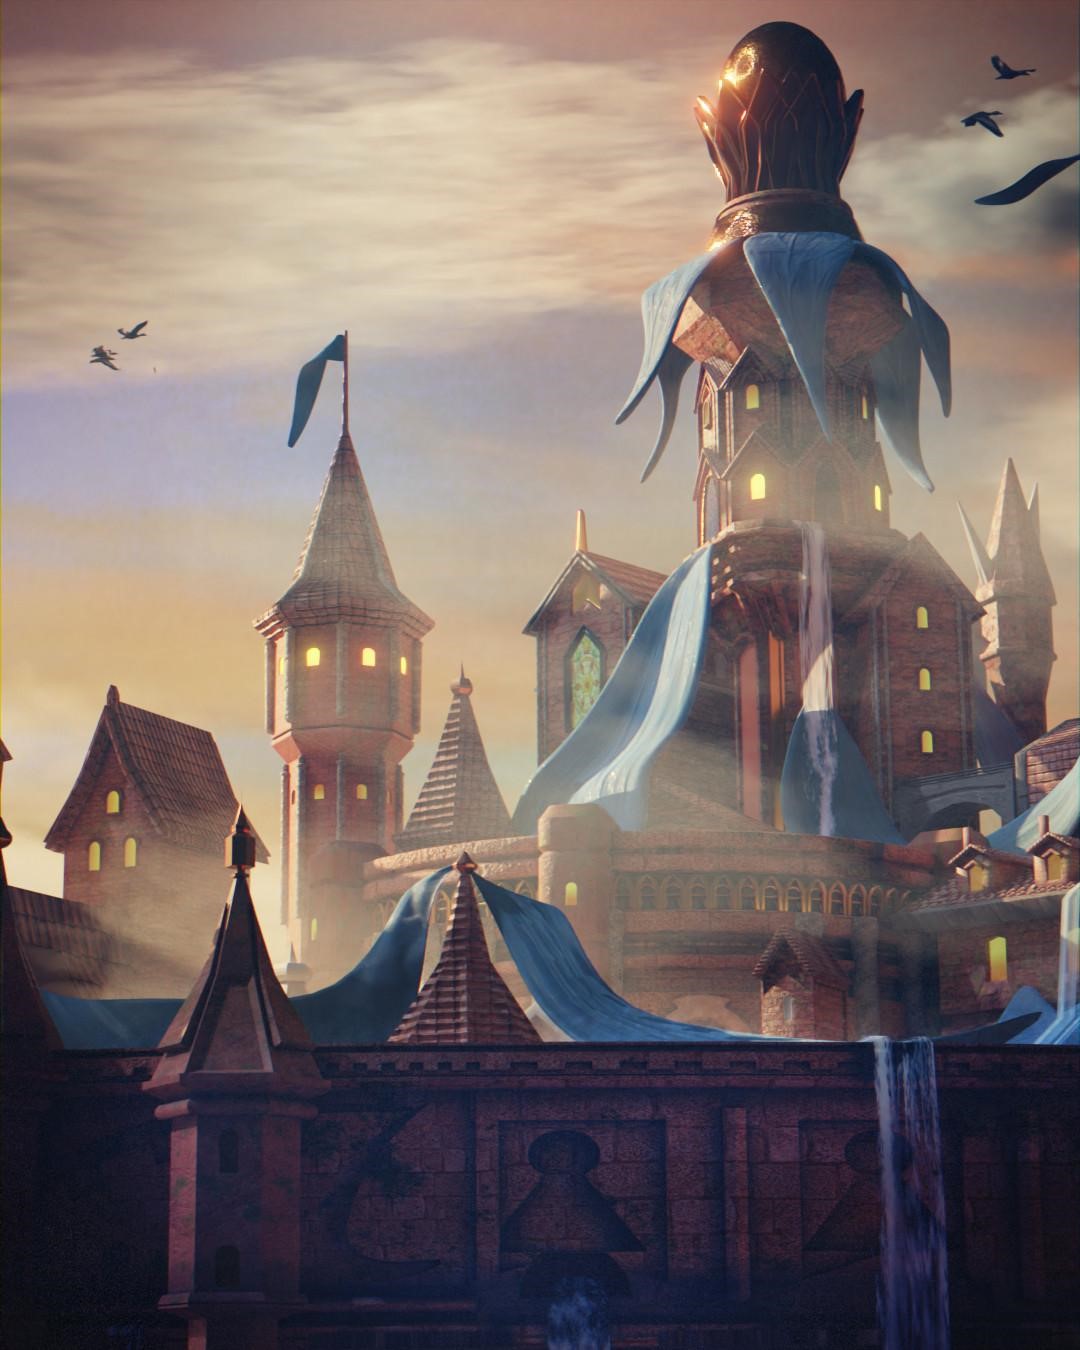
Behind the Scenes: Castle Vantress

INTRODUCTION
Hi everyone, I’m Davide Picardi, a self-taught 3D artist from Italy. I first started modeling in 2015 when I was only 15, inspired by a random Youtube video. Although this is not my full-time job (in fact, I work in a completely different field), I am super passionate about it and still experimenting every single day. I just love to create and see how far I can go!
INSPIRATION
I was inspired by a Magic: The Gathering card, “Castle Vantress,” illustrated by the talented artist John Avon. I took the reference and pasted it onto Pureref.

PROCESS
Below is the entire process of this project, which involves blocking out, modeling, texturing, lighting, and post-processing.
Modeling
The first thing I did was block out the scene. I didn’t use any third party software to get the focal length right. I just eyeballed it and hoped it would look nice!

After the blocking out was done, it was time to start modeling all the assets. Keep in mind that for this render, all the things you see on screen were modeled by me, and no pre-created assets were used.
In particular, I modeled the first tower, gate, bridge, and wall. The rest are all variations of the same objects.

The exterior wall was created using a combination of array modifiers to repeat the pattern and a simple deform to give it the circular look. To create the details on the surface, I used a simple boolean modifier.
This was the first test render.

For the rocks in the foreground, I used a simple deformed sphere, added a subdivision surface and a couple of displacement modifiers to create an interesting effect.
Texturing
To create the material for the rocks, I used a texture I downloaded from Poliigon and tweaked the color using an RGB curve node to give it a reddish-brown color.
I also added a displacement node to give it a little more roughness and make it look a bit more interesting.

The other materials were really simple—just a combination of textures mixed with a musgrave acting as a mask. This way, I was able to establish which part of the building (or wall) is dirty and which is “clean” by giving the material some variation. I also used an ambient occlusion node to make the crevices look more contrasty.

Adding depth
In order to give some depth to the scene, I used lots of volumetrics. A simple volume contains the entire scene, adding a soft veil of mist to the overall image.

To add more depth, I used more volumes, with a higher density.

Flags and physics simulation
To create the flags, I created a basic shape and, instead of manually “folding” it, I decided to use physics simulation. Was it necessary? No. Did I still do it? Yes!
To determine the range of influence, I used some weight paint and excluded the part that needed to be still.

After that, I set up a very basic wind and turbulence force field, set the strength, and here’s the result.

Lighting setup
The lighting on this one was pretty simple. I used one sun light with a strength of 15, a slight orange/yellow color as the main light source, and an HDRI downloaded from Poly Haven with a really low strength to fill in the shadows. The background is an emissive image I took from Unsplash.
Post-processing
For the final image, most of the post-processing was also done in Blender. I added some lens distortion, vignette, glow, and adjusted the color using a combination of mix color and color balance nodes.

Finally, I added some subtle film grain, dust, and did some more color adjustments in Gimp.
RENDER – Castle Vantress


Thank you for reading. Feel free to ask any questions, and if you like my work, follow me on social media. Have a good day!
About the Artist
Davide Picardi is a self-taught 3D artist from Italy, not making any money out of it but still loving the process of creating something new!


Wow, I’m impressed! You wouldn’t be willing to share a top-down layout, would you? I’m getting ready to include this location in a D&D campaign and it doesn’t make sense to reinvent the wheel if you’re willing to share.