
Behind the Scenes: Dead End
INTRODUCTION
Hello everyone! My name is Andrei Okram, a 29-year-old currently living in Moscow and online. I am a self-taught 3D generalist and multidisciplinary artist with an architectural background.
At the moment, I work as a 3D designer for a brand that produces and sells designer furniture and accessories, offering interior solutions (and yes, we use Blender as the main 3D software in the studio). In my free time, I’m always thinking about future personal projects or curious about technical aspects that are new to me. I entered the world of CG 2 years ago (when I got my first order), and now I’m sure that at the intersection of all my interests, it’s a great medium for me in the near future.
INSPIRATION
This scene is a concept art for one of my interactive projects, which I want to create in the future in Web 3.0 format. The main goal was to have fun with the process as well.
When creating this work, I was inspired by the idea of reflecting on the themes that are inherent in urban space (here I chose the topics of transport and graffiti), but giving it a more primitive and archaic setting of nature and light mysticism. As a basis, I took a real place at dawn and made a 3D scan of my first object.
REFERENCE
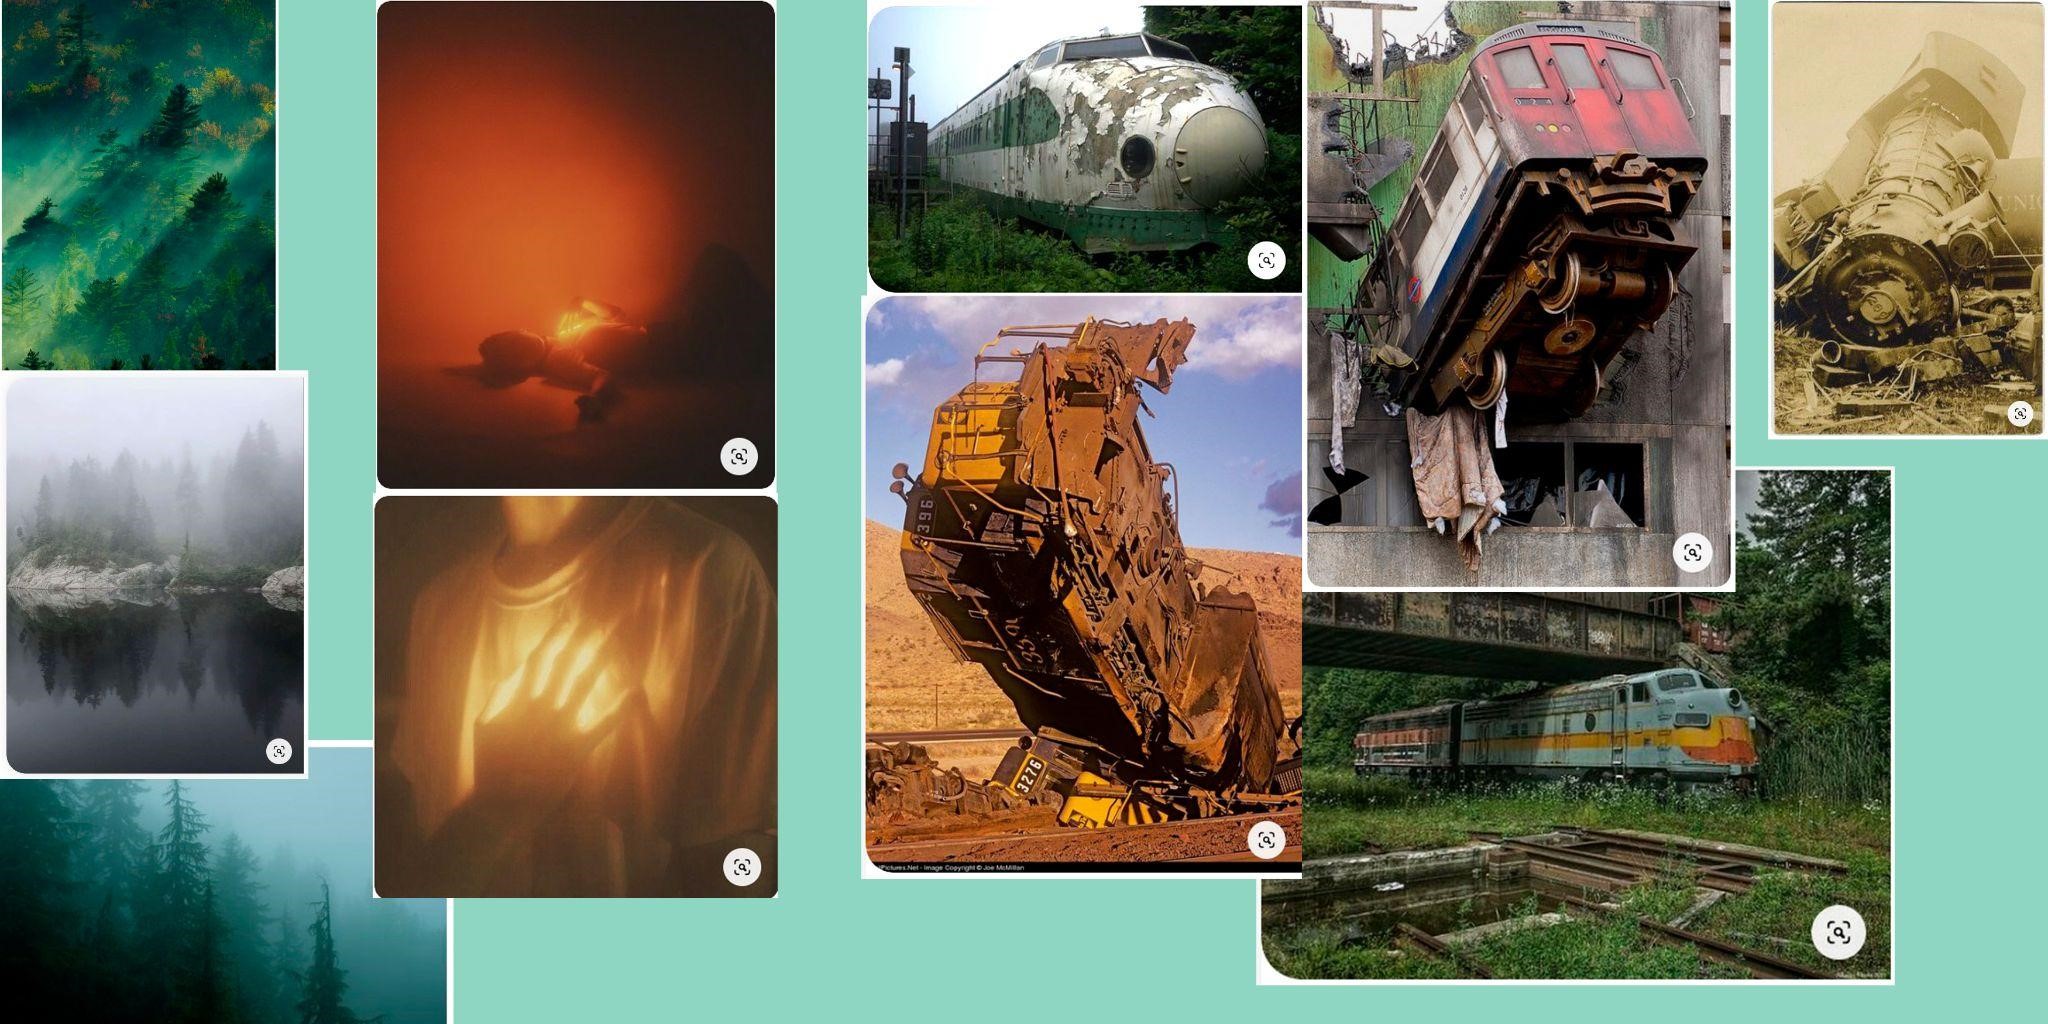
Below are the references I used for this project:
ASSETS
In making this story, I created two main assets:
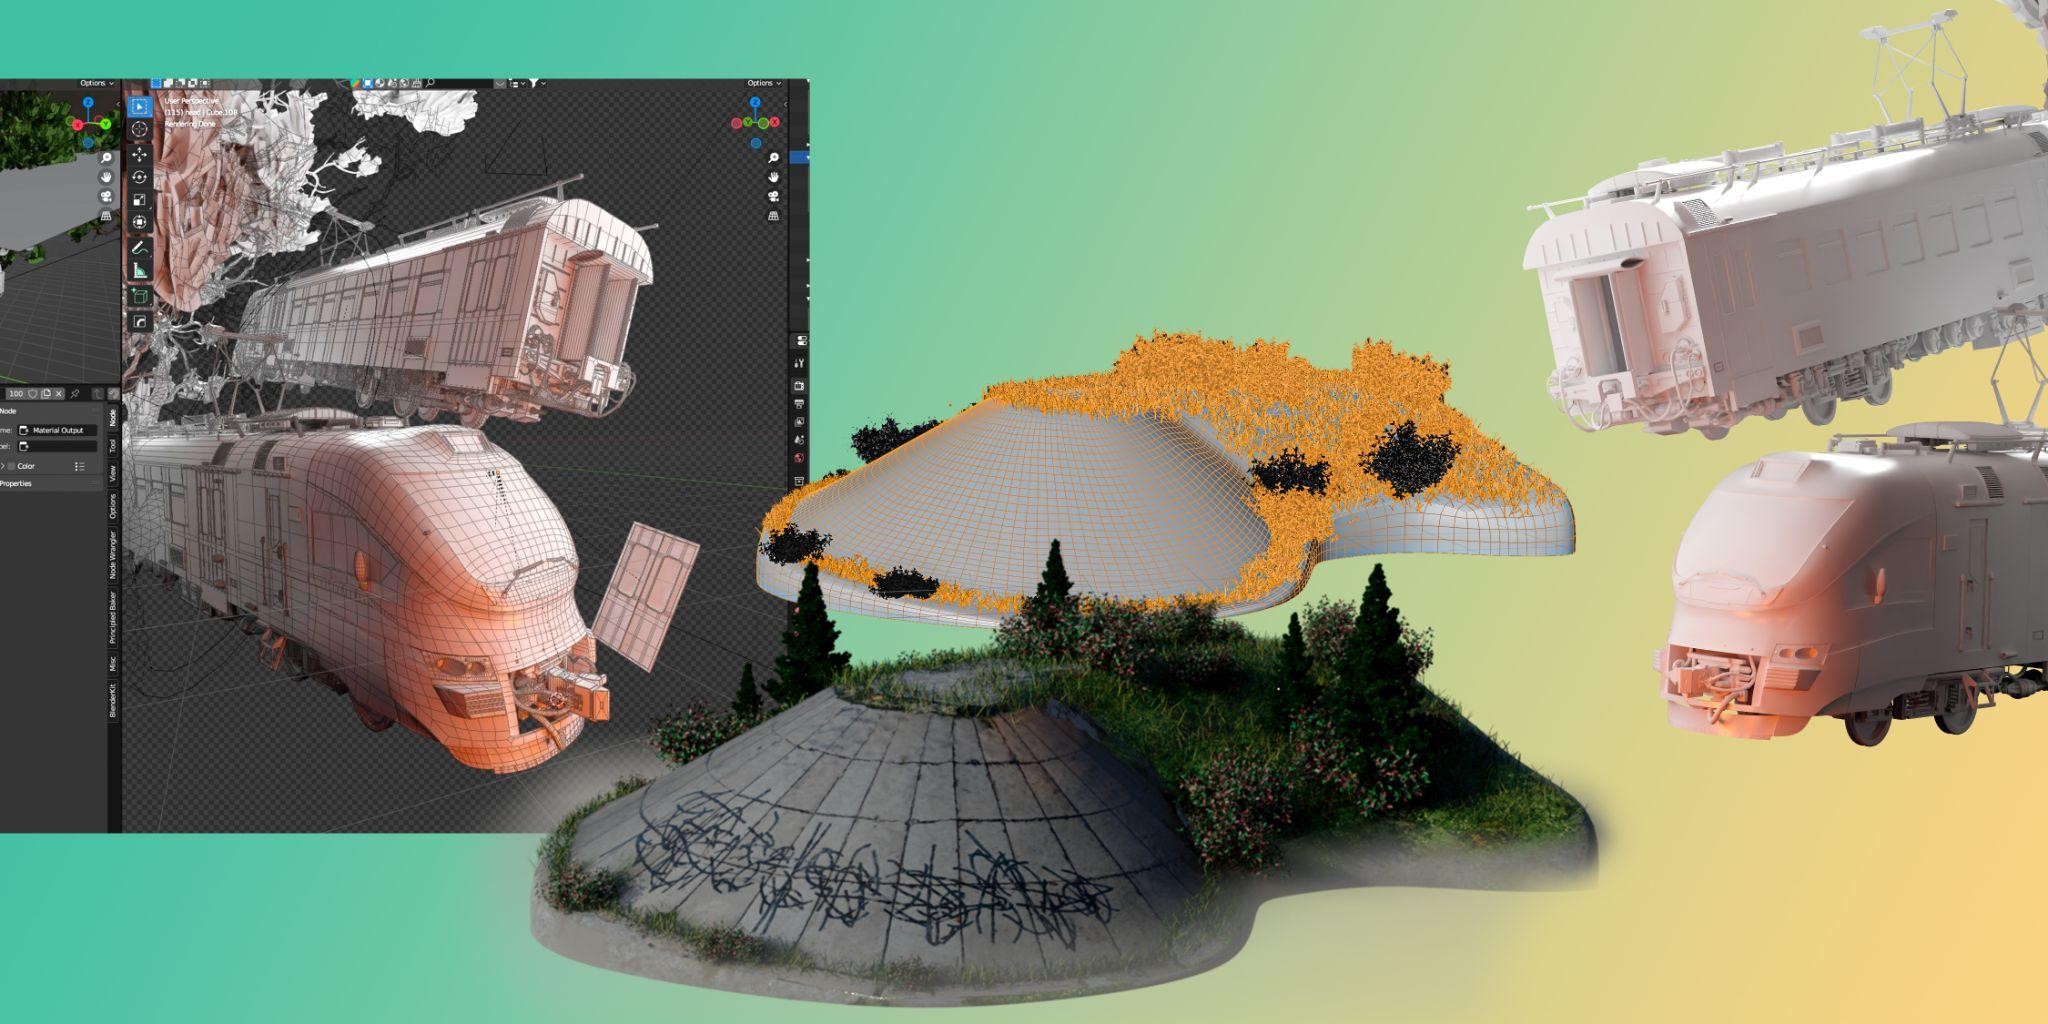
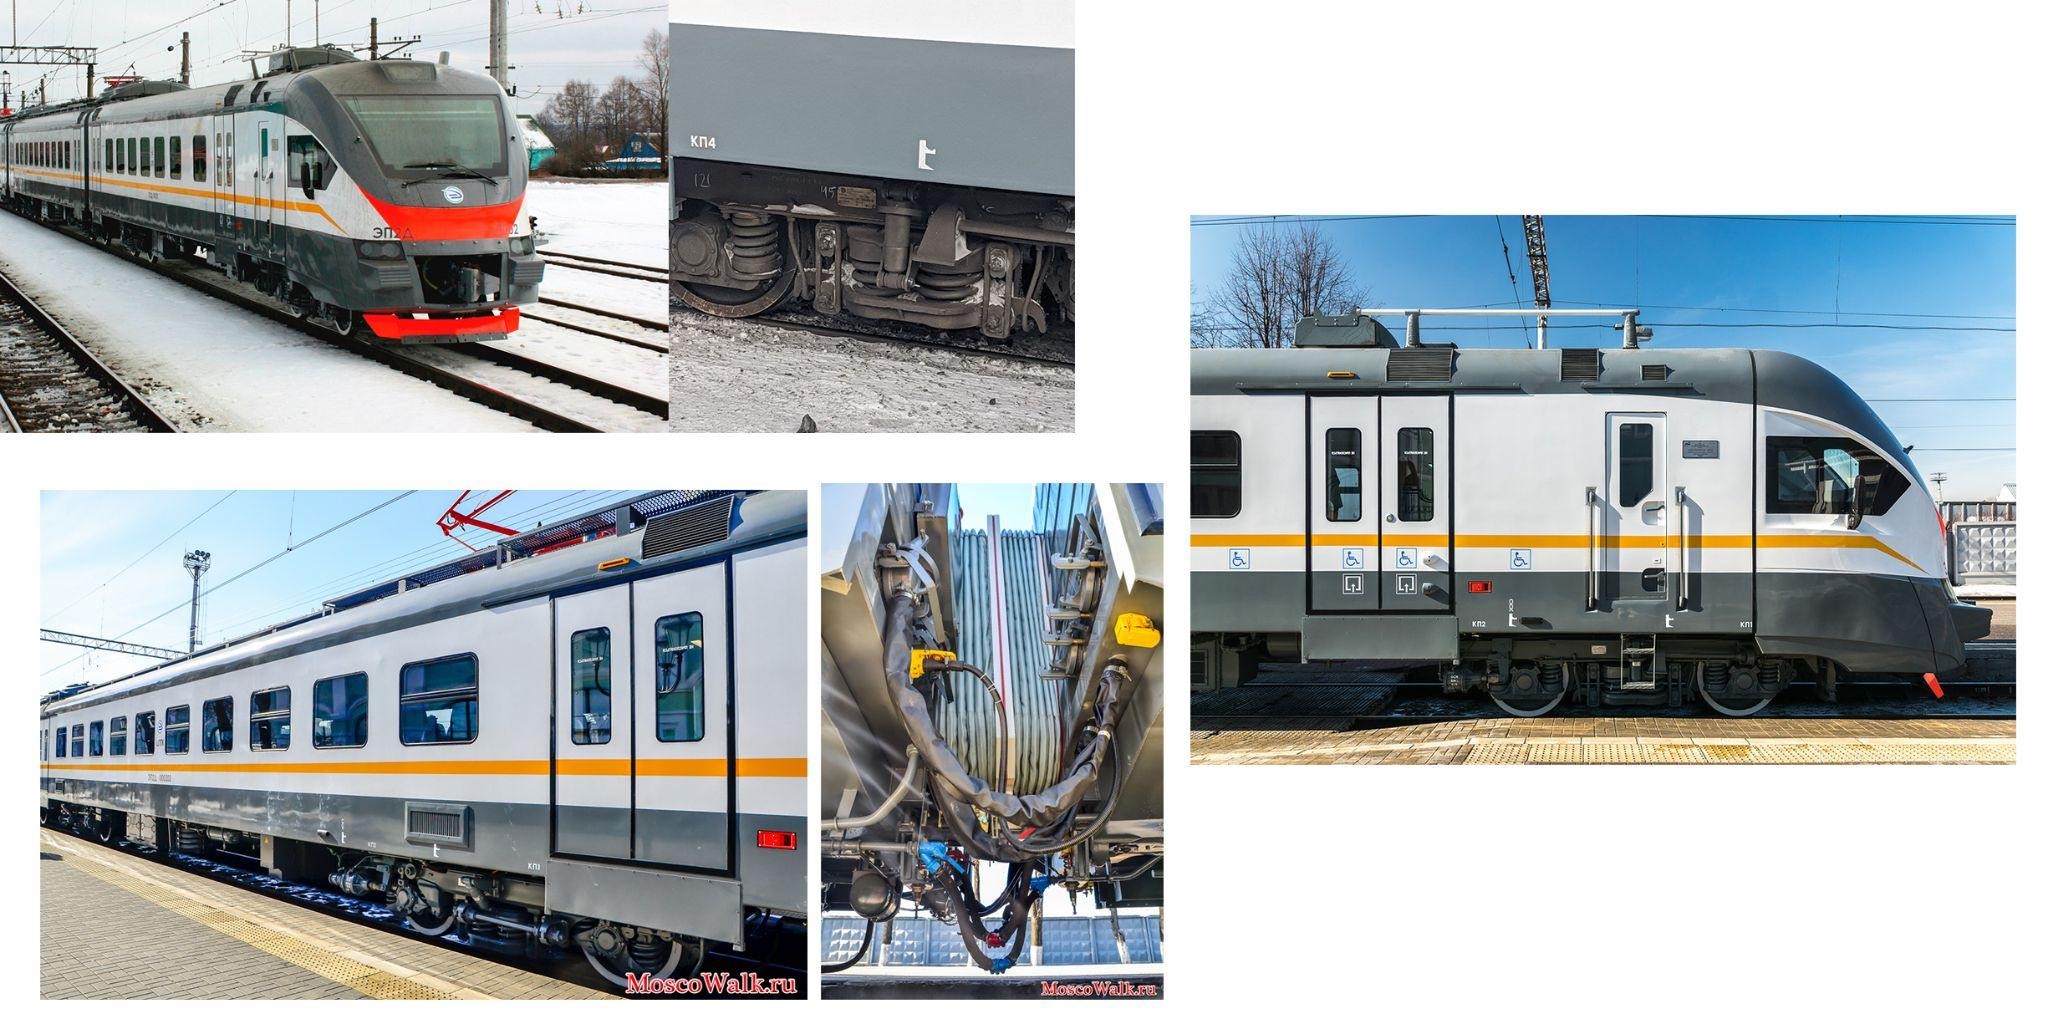
The first is a commuter train model “ЭП2Д”, which is made entirely in Blender using the software Fspy, both from photos on the internet and my own personal shots.
A broth of modifiers, such as mirror, array, and the add-on HardOps were allowed to turn the whole process into a pleasant meditation. I plan that in the future, I will polish it up, making it a full-fledged optimized asset.

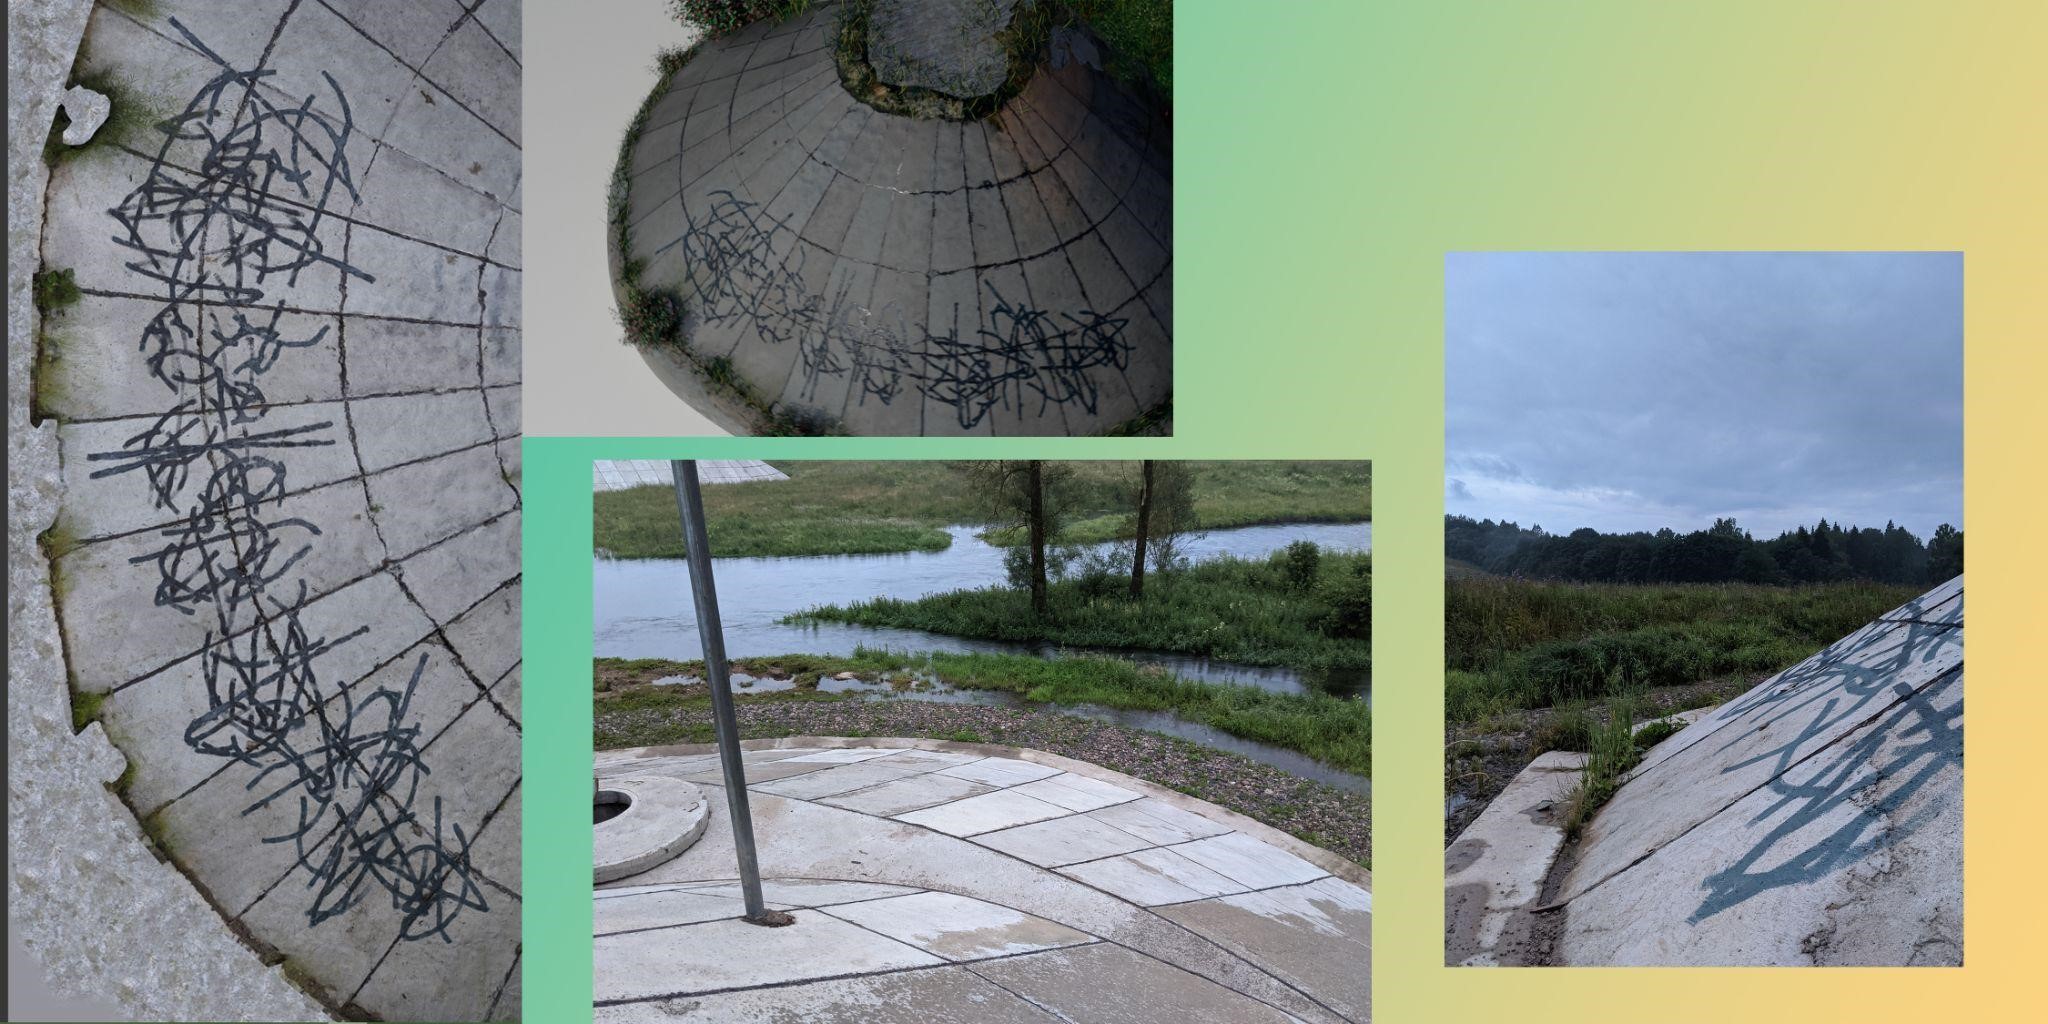
The second object (the one with “ancient” graffiti on the left) is a bridge support, which I scanned in the software Meshroom (making about 30-40 photos from different sides) and everything else that I did already in Blender (model clean-up and retopo, texture baking, adding grass with the particle system).
COMPOSITION RESEARCH
After a few drafts in search of a composition, I had roughly decided on how the scene would be positioned, as well as strategic points of attraction for the eye.

And as soon as my brain realized how it should look in volume, I immediately jumped into the stage of creating my scene in Blender.
ENVIRONMENT
It was important for me to convey the mood and portray the idea first and foremost. So, to create the rest of the environment, I decided to proceed in the fastest way possible, namely sketching out my purchased Megascans and Botaniq add-on assets, scattering these objects using the Scatter 5 add-on. For a scene like this, it turned out to be the perfect combination by quickly filling in the composition and seeing how it worked with the light in 3D.
But first, I divided the depth of the scene into 3 main plans:

And then after that, it took shape:
After that, I modeled some more details from scratch, fleshed out the existing meshes, and started texturing.
TEXTURES
Since I planned to finish the work in Photoshop manually, for most of the materials I decided to use a simple setup consisting of only one texture (or no texture at all), which I broke into RGB channels and used for another desired properties of a shader, for simplicity, and to save time, plus other resources.

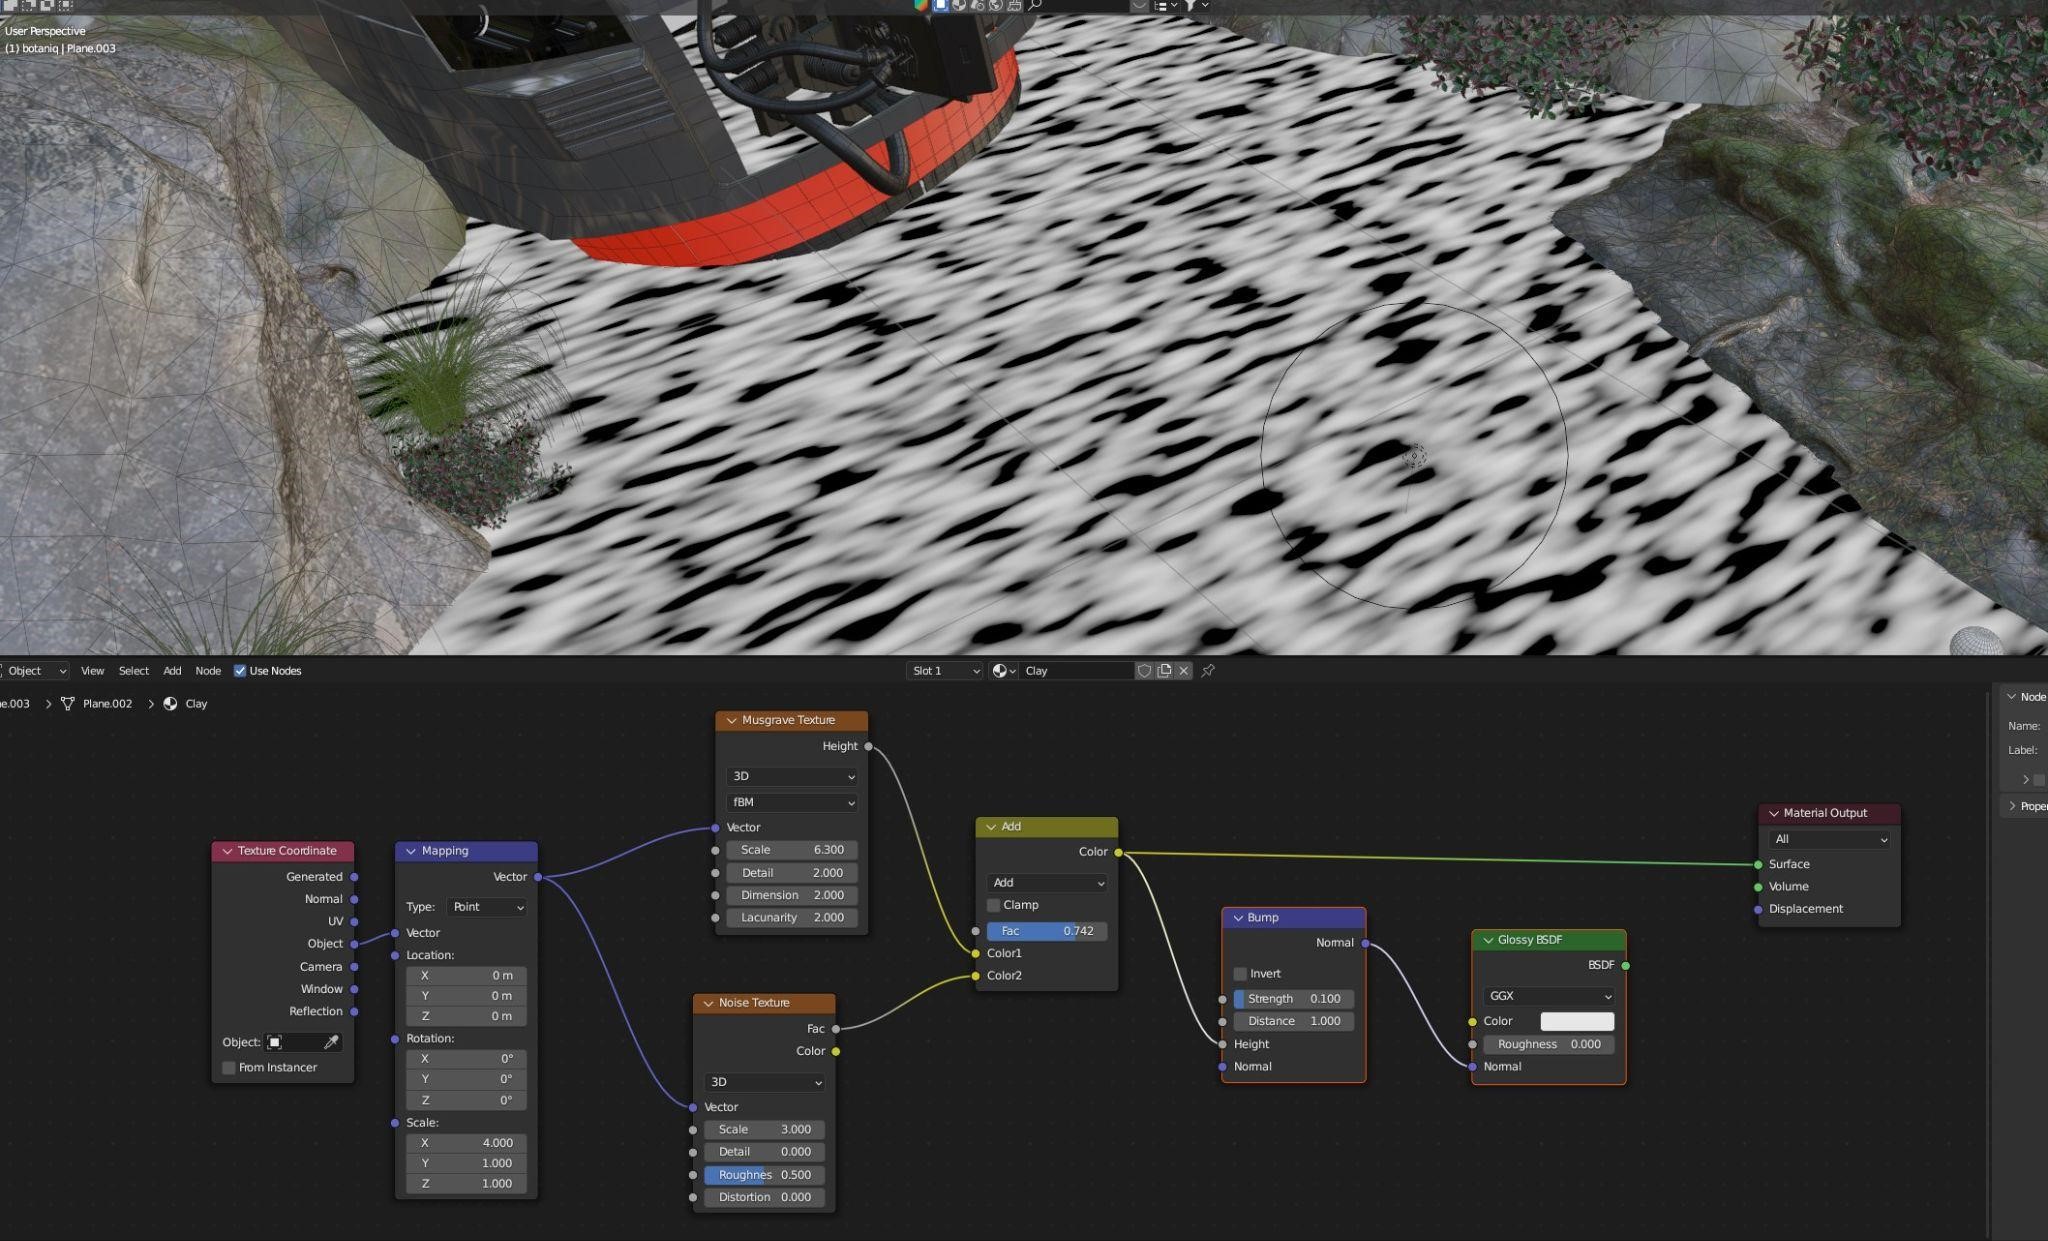
For water, for example, I used the simple procedural set-up below:
LIGHTING
When creating the lighting, I used the sun to give the scene volume and two point lights for accents. For the background and shadow fill, I just made a solid color background node.

RENDERING
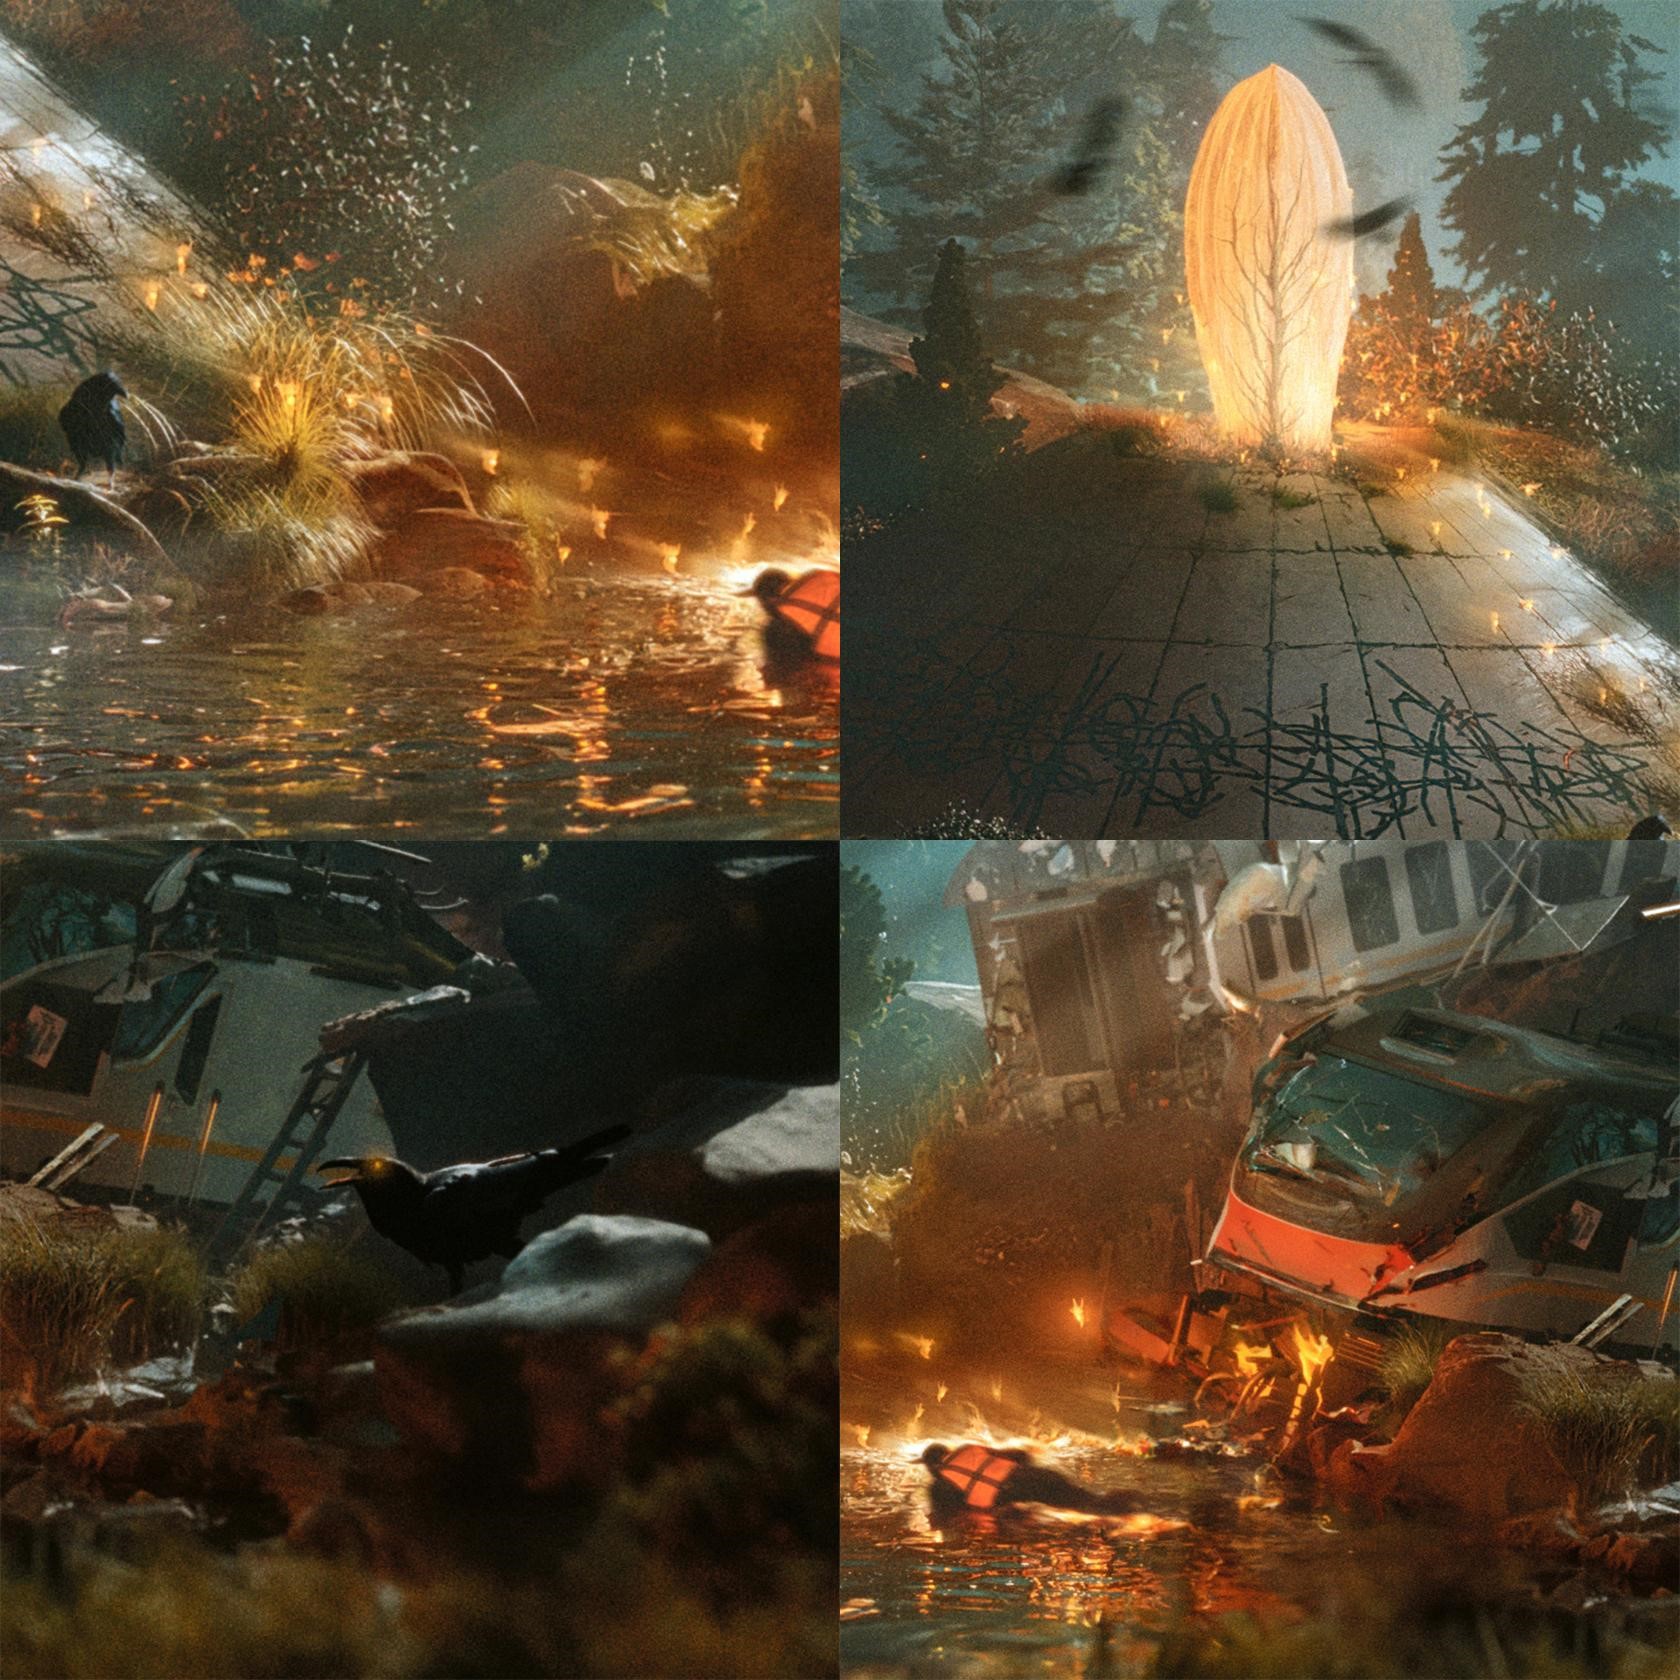
After rendering and final processing in Camera Raw in Photoshop, I worked with one of my favorite Dehancer filters and overpainted the details, using reference photos of scuffs, broken glass, and crash scene photos as a sample for the stencil brush (which was color-corrected after to fit in the scene with such classic tools like curves, color correction, blur, etc). After that, I added the clouds and ravens, and then softened the detail transitions with the Generative Fill AI tool in PS to fit them more naturally into the scene.
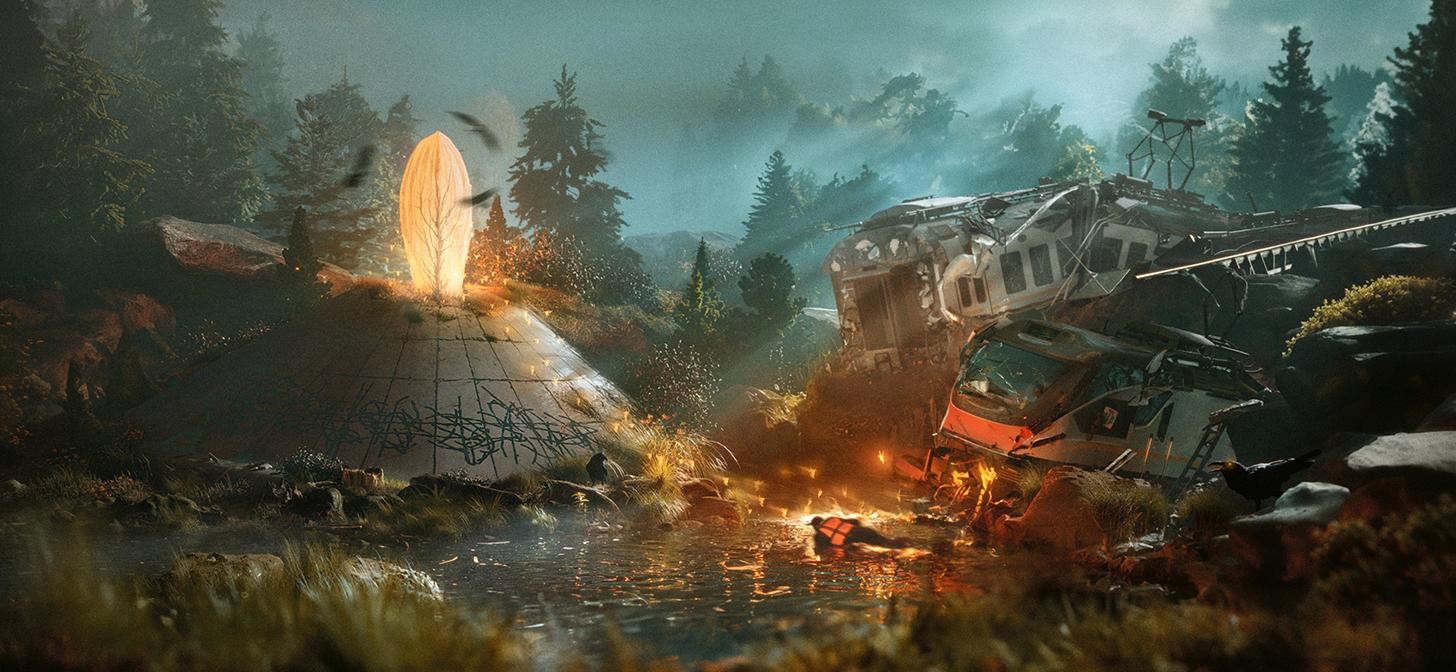
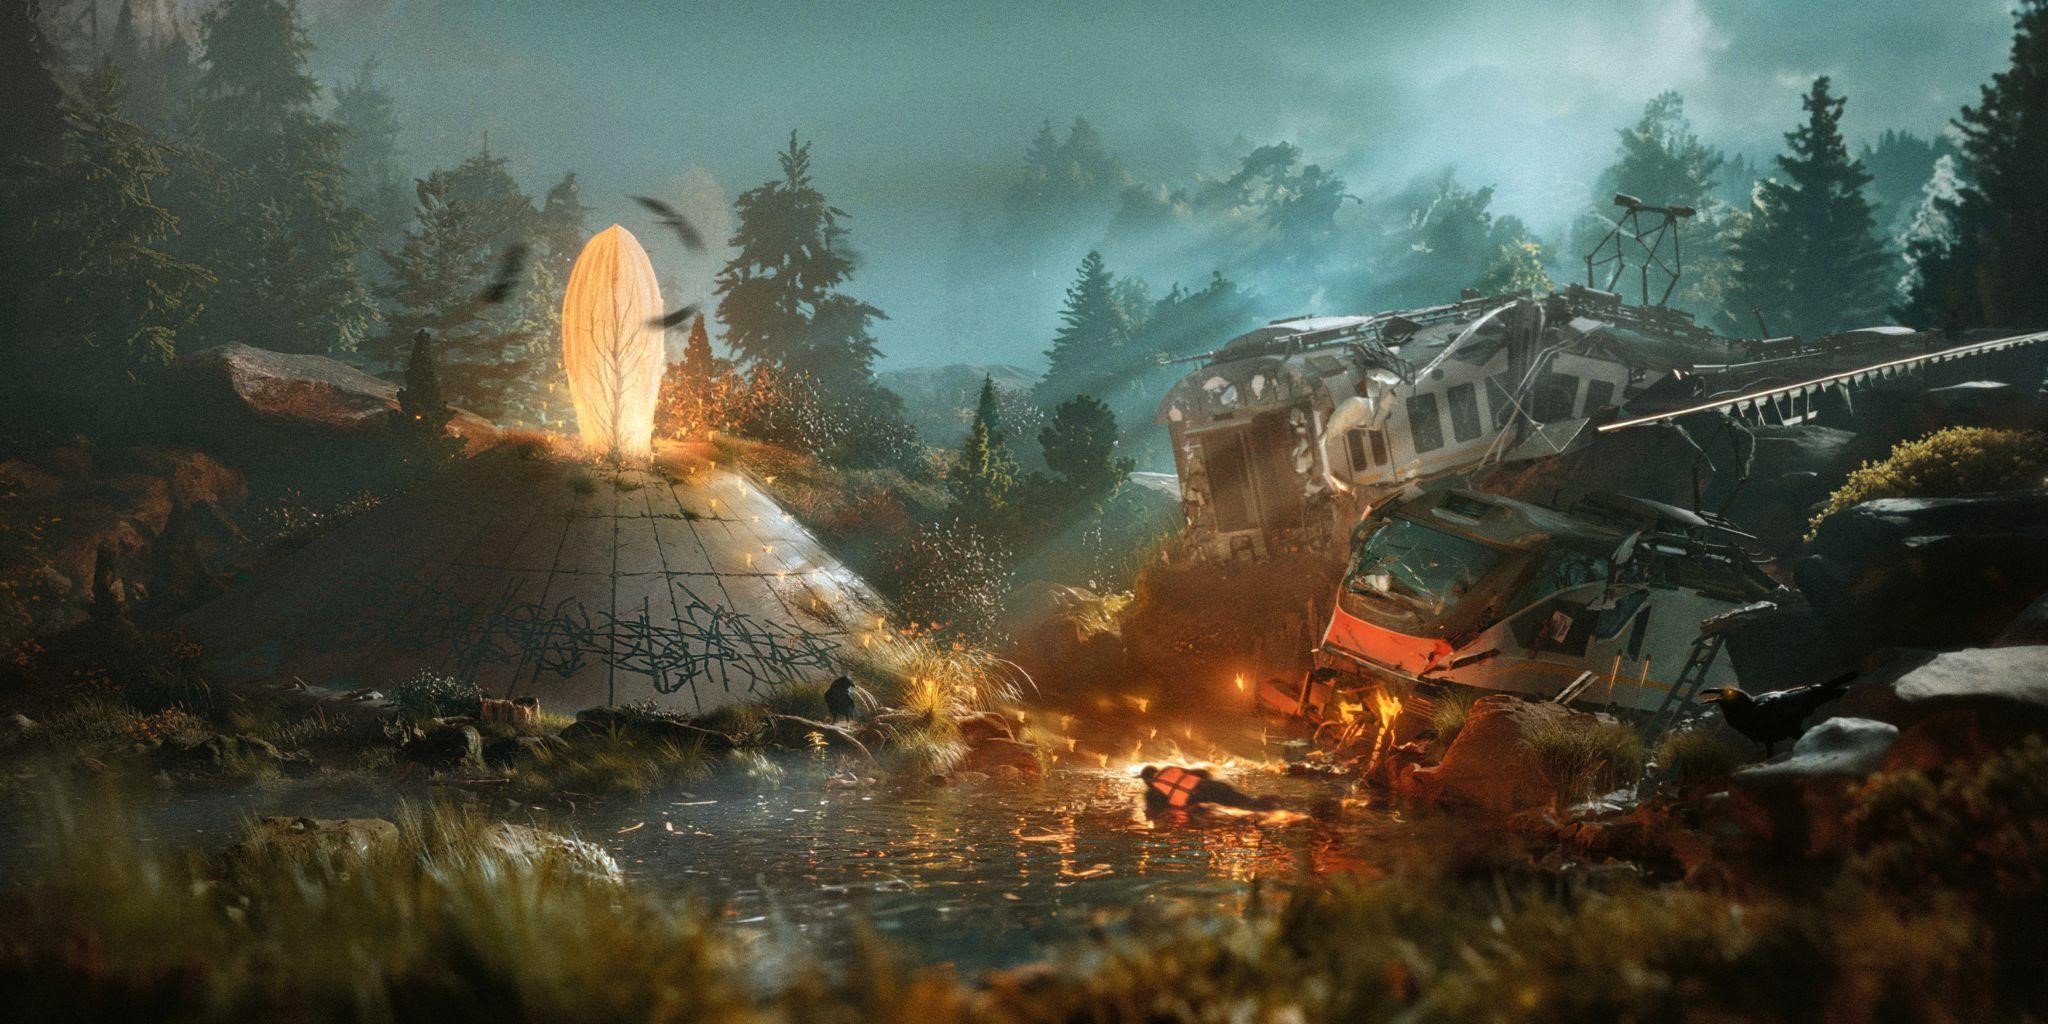
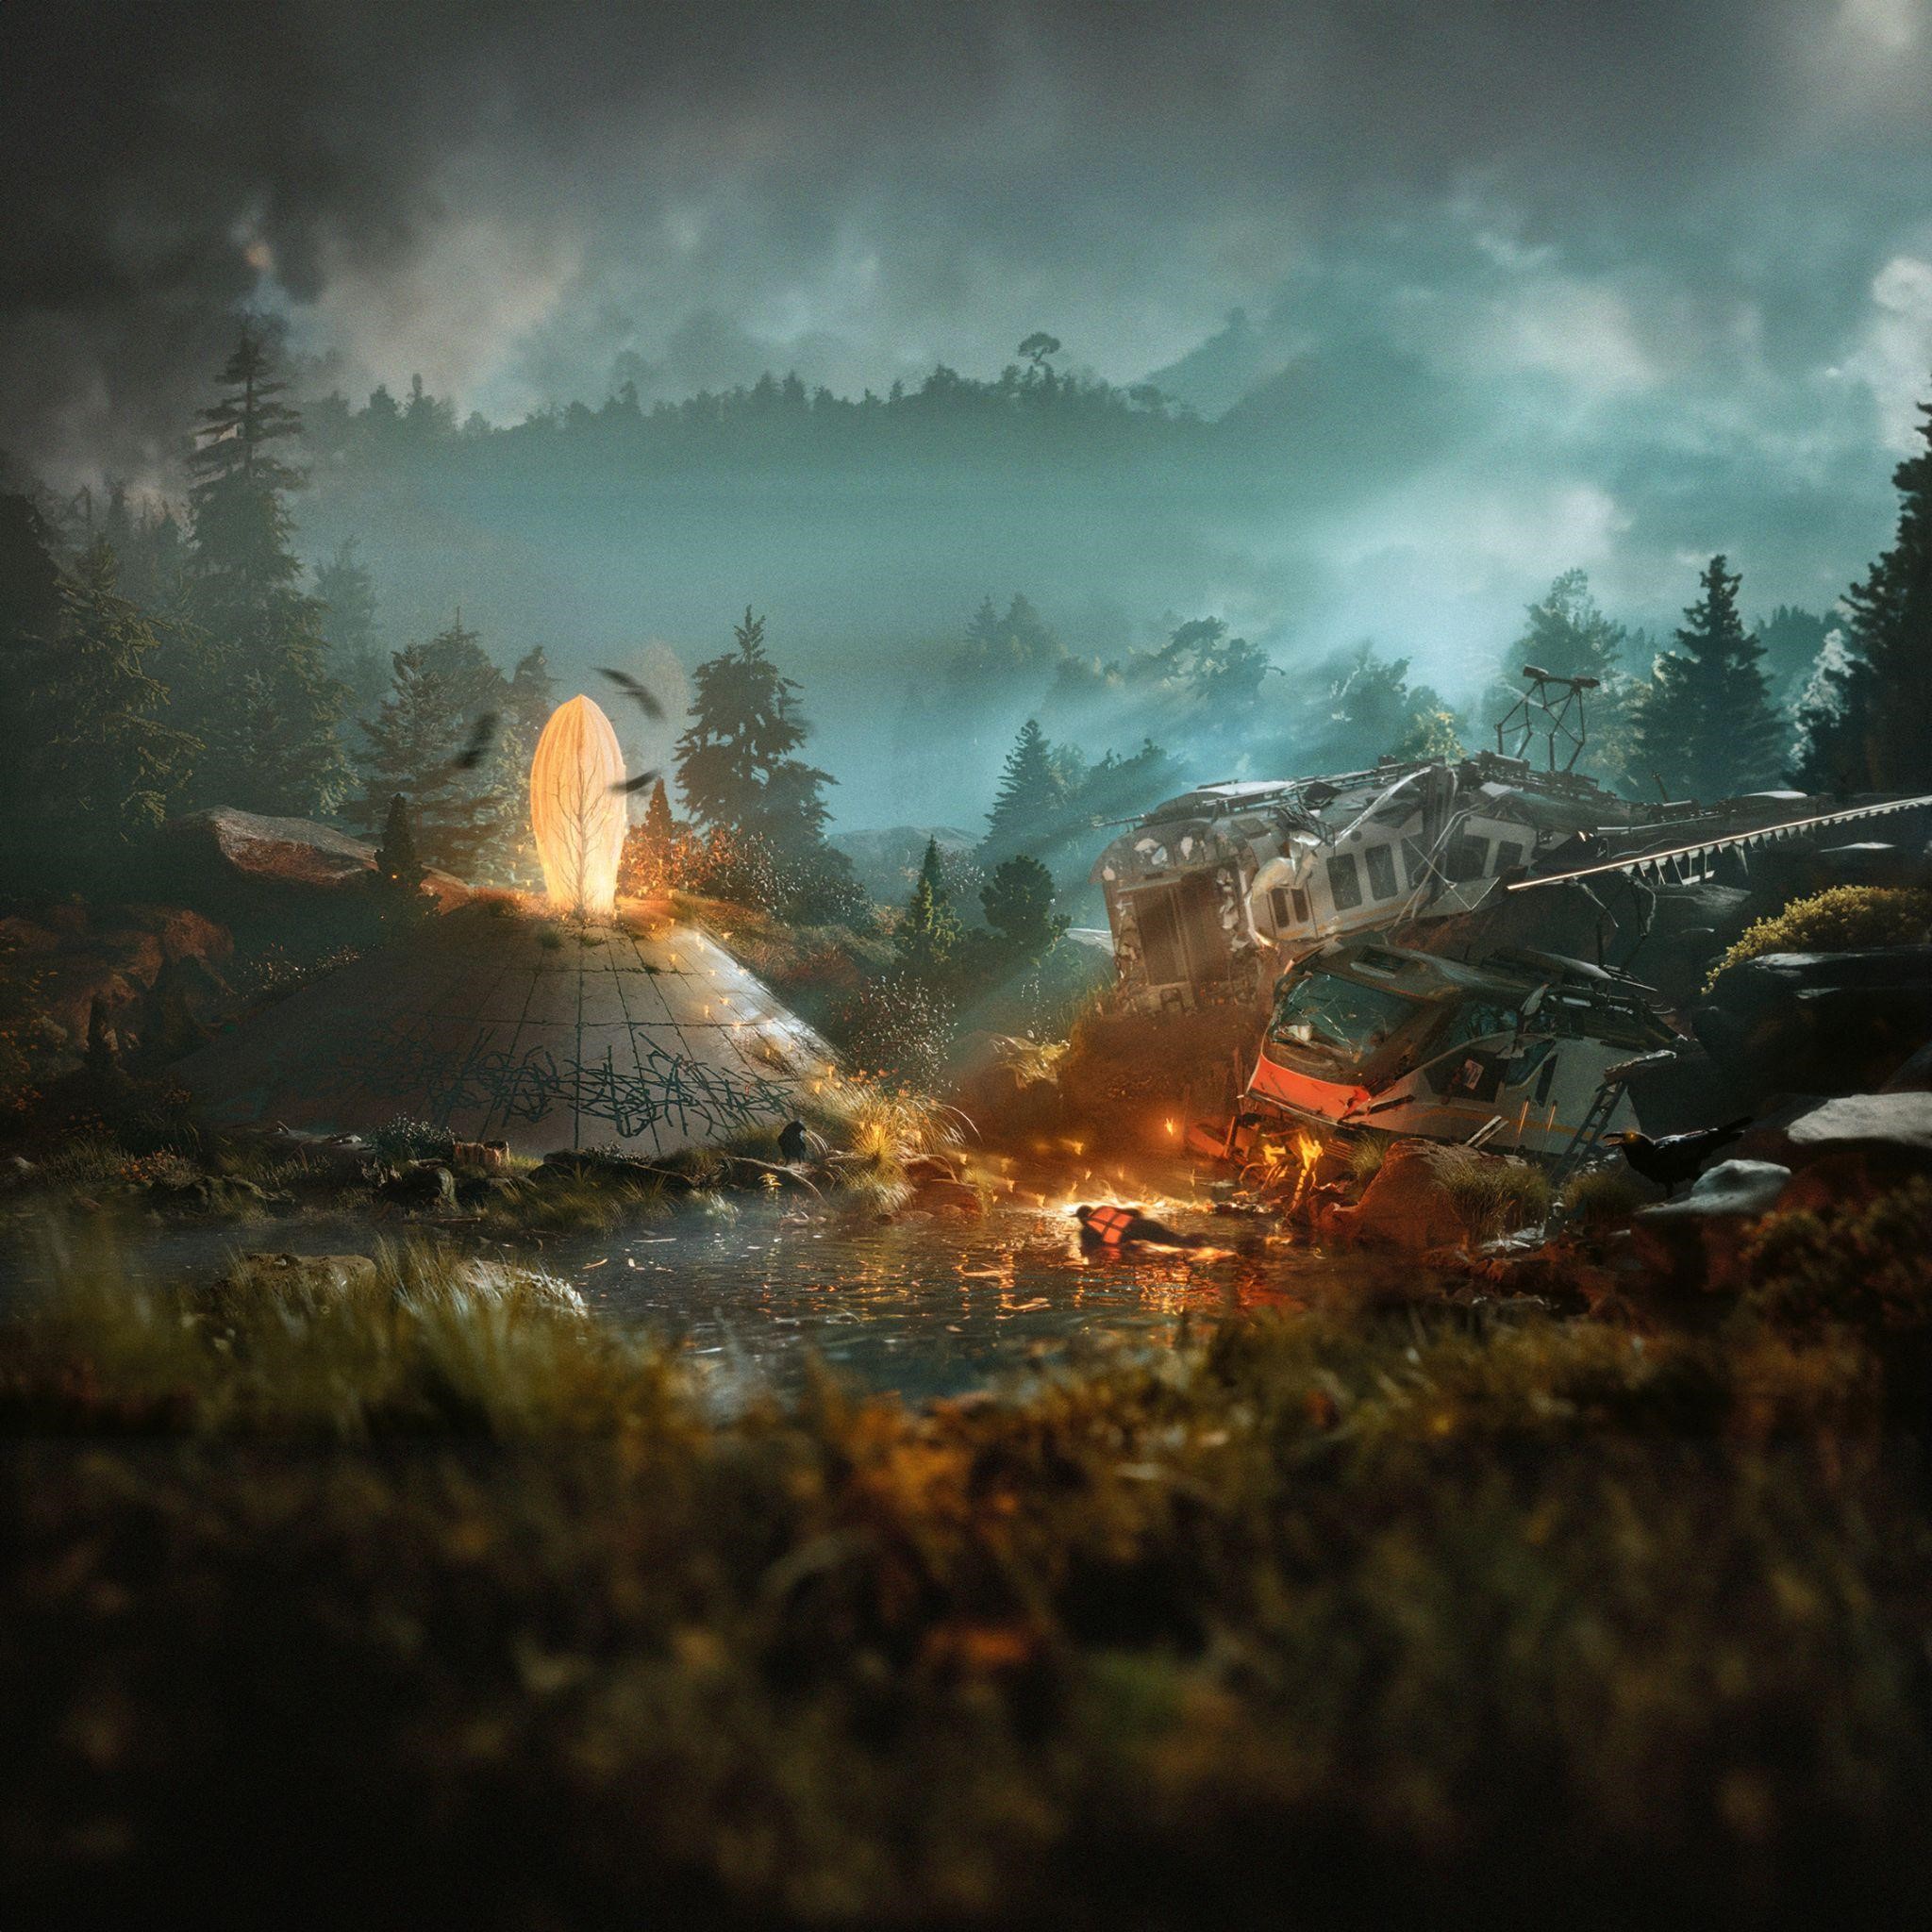
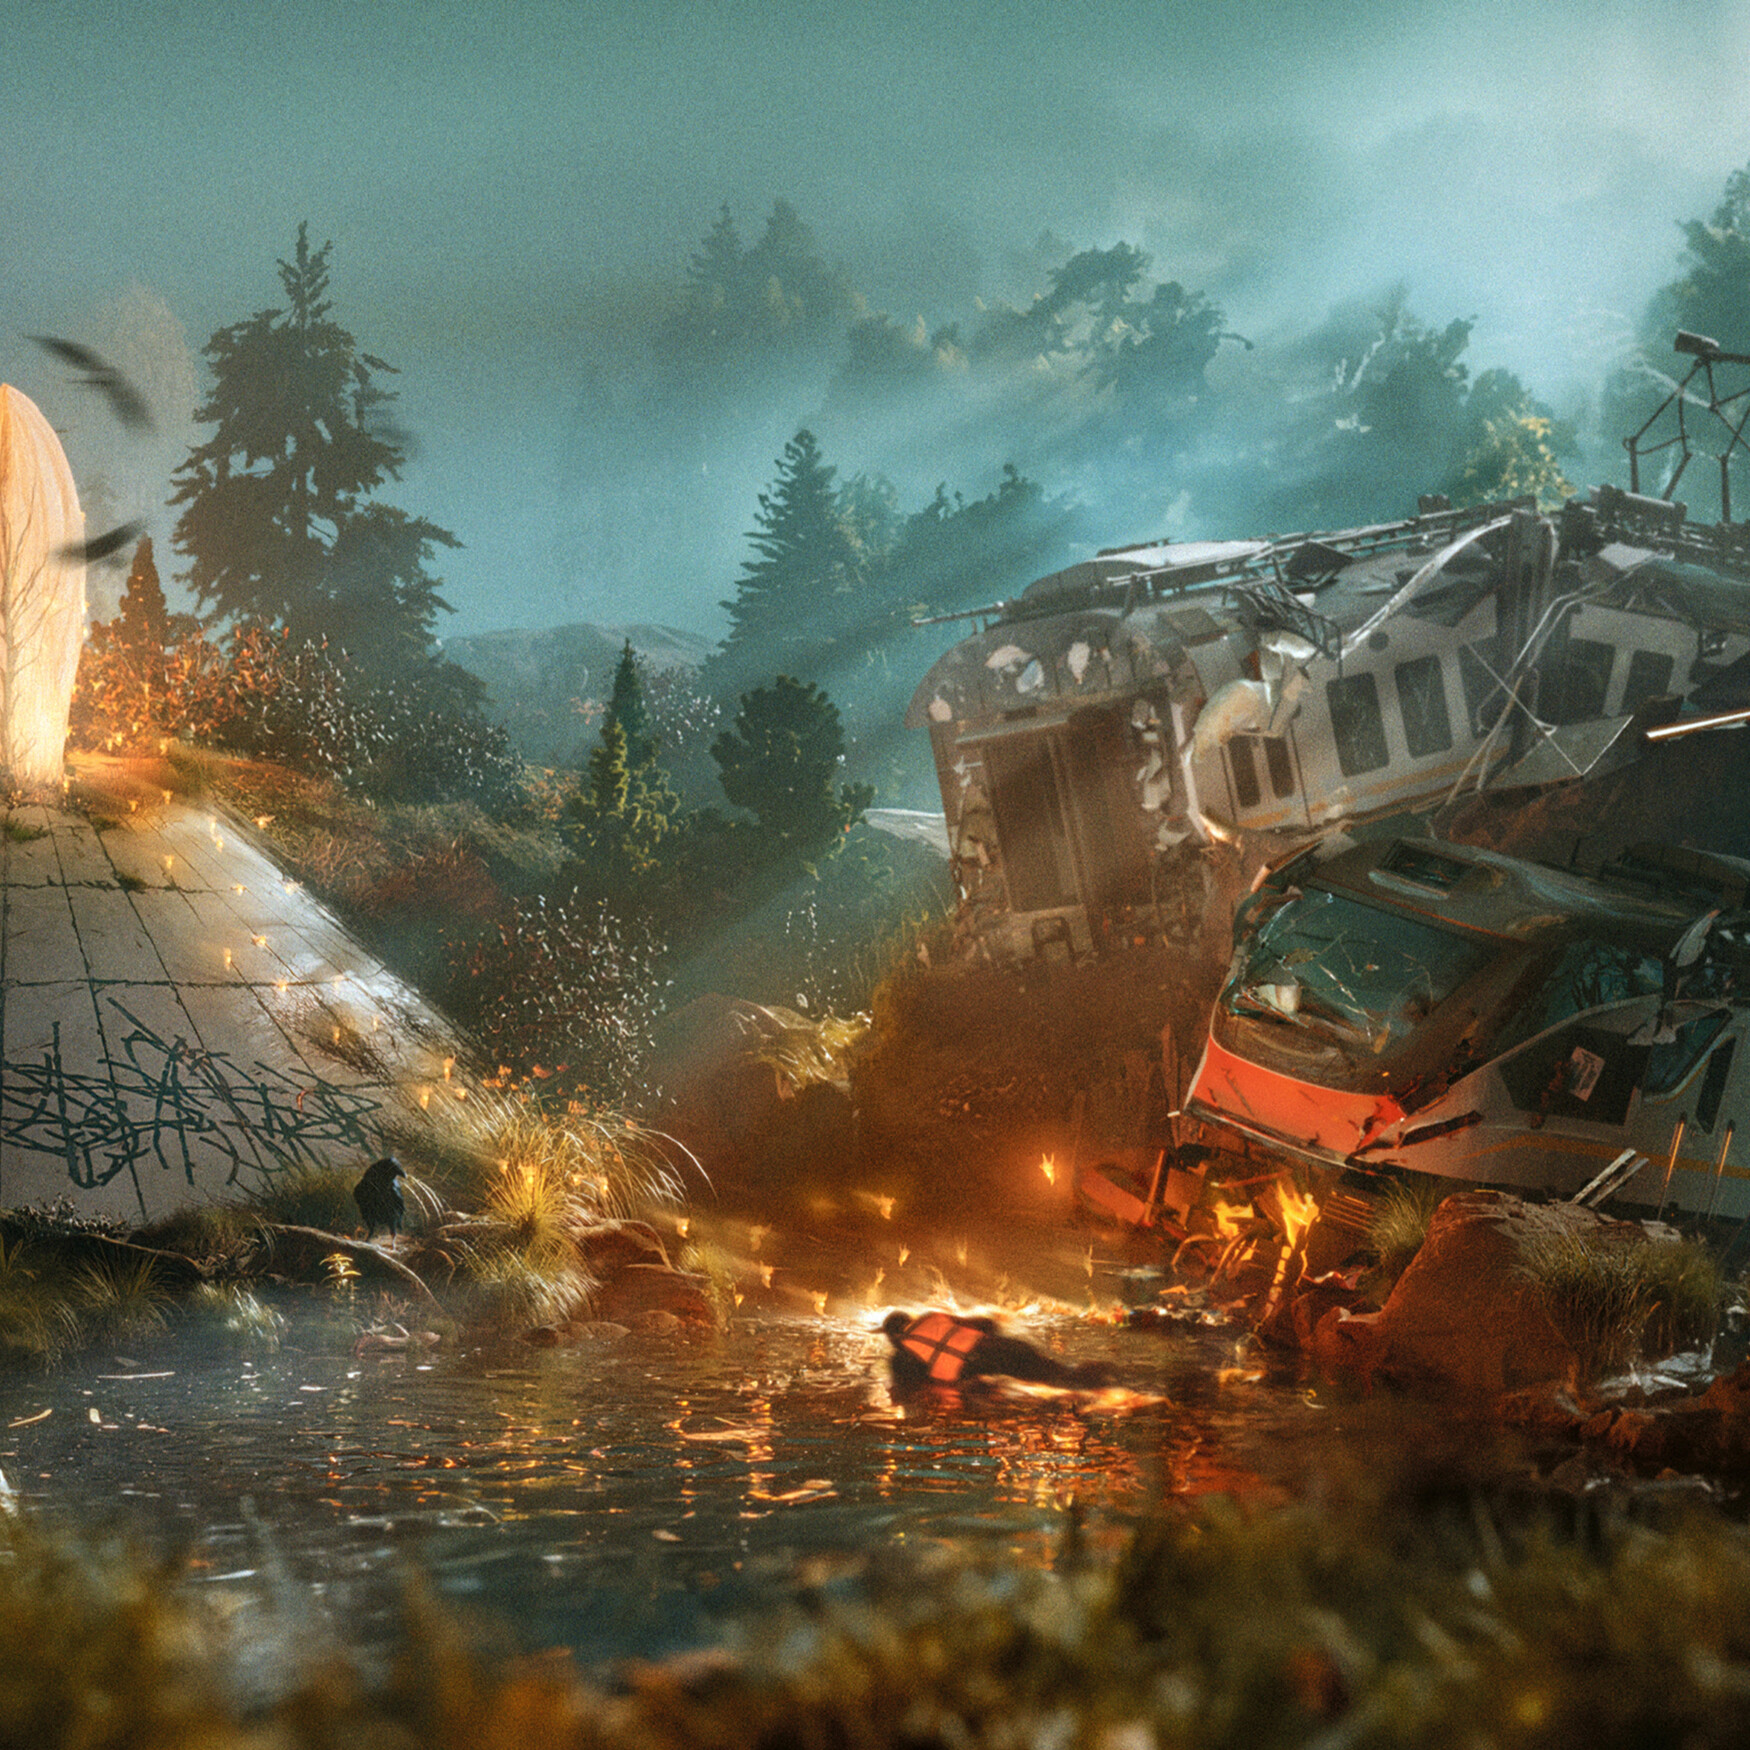
And that was it! Below are the final renders.
RENDER – Dead End
Thank you for reading the article. Feel free to explore more of my work on my social media accounts. Have a wonderful day!
About the Artist
Andrei Okram is a multidisciplinary artist, 3D generalist, and environment enjoyer from Russia.


This work looks really cool man, thank you for sharing it.