Behind the Scenes: Moji Ep – 1

INTRODUCTION
Hi! My name is Ivan Basholov, but I go by CoinHero online, and I’m a self-taught artist from Bulgaria.
I started off as a 2D illustrator, but after a couple of years of painting, I decided to try out sculpting for fun and with that, my love for Blender was born.
INSPIRATION
There are two factors that contributed to starting this project. I’ve been very focused on an urban aesthetic for years and wanted to try out something different. I’ve been looking at a lot of different storyboards and sakuga(working drawing) with lots of high energy scenes. The models that I had aren’t a good fit so with this series, I’m starting from scratch.
Here’s some stuff I was looking at while I worked: Storyboards from Avatar: The Last Airbender and artwork by Seung Chan Lee.


I don’t try to find a reference that looks like what I’m trying to make but rather something that has a similar “energy.”
PROCESS
I always start off by writing a script for the animation. Every shot, camera angle, movement, lighting, color, etc, are all written down and described in detail before I do anything else. I often find myself in situations where I can only work on my personal art during the weekend, so it’s very easy to forget the idea and feeling of an animation when you’re not thinking about it all the time, which is why I always make a detailed script.

After this, the fun part starts when I roughly storyboard the whole animation, while focusing on clearing up parts that are hard to understand in the script, and then I design the new models.

Usually, no one else would see this so the focus isn’t to make something that looks good but to just get the idea across and have it make sense to me.
MODELING
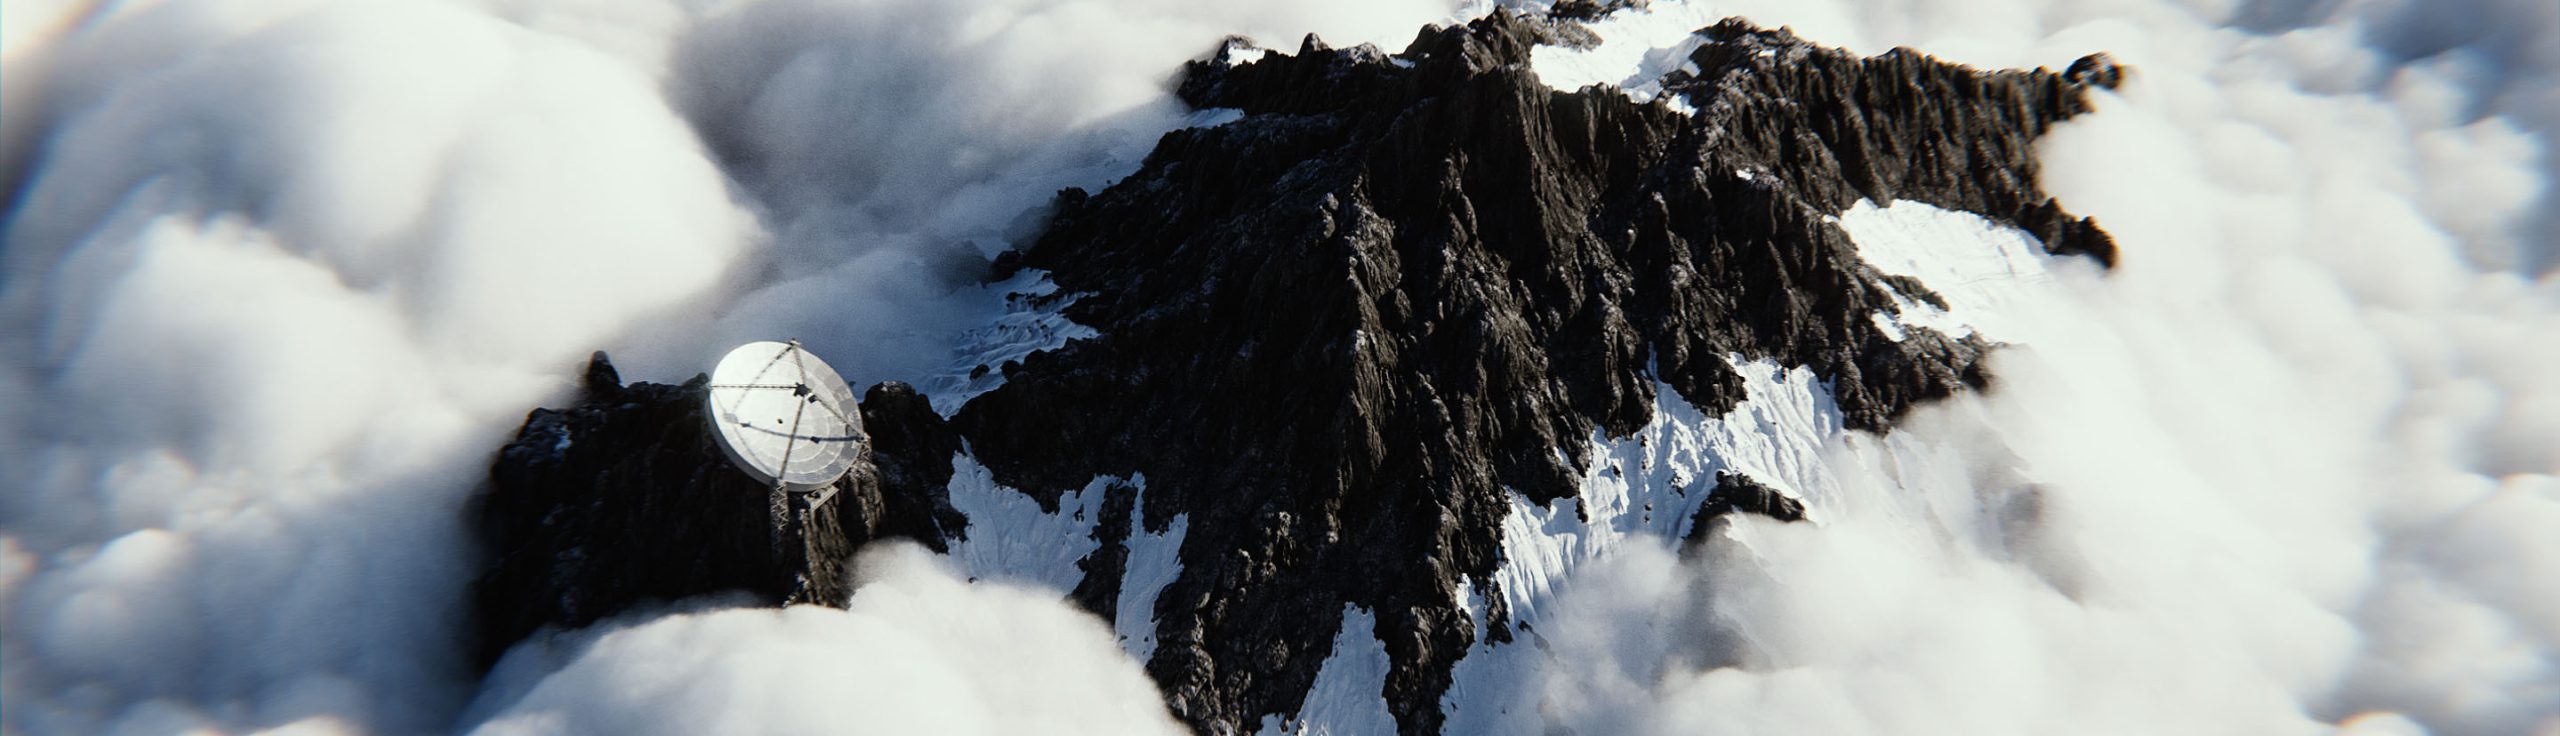
When it comes to modeling, I keep everything as simple as possible. The last thing I want is to be working on a laggy scene. In this animation, there are actually very few assets which I just moved around each shot to create the illusion of a different space.

This shot covers pretty much all of the models used.
LIGHTING
Nothing is random, and every shadow and highlight is there because I wanted it to be.

Each shot is full of invisible objects that are just there to cast shadows. In this case, it also has them very high up to cast various shadows. The light rays are fake, the volumetric effects are just textures, and even the ground texture is actually just a plane with brush strokes on it for maximum control.

TEXTURING
Almost everything is hand painted and while the assets are made very reusable in this animation, I usually texture paint from the camera perspective and around the light.

Here’s an example from the project I’m currently working on. All the textures are painted according to the light set up and I think it can create a cool effect. Downside is, of course, that you have to be fully committed to the light setup because once the textures are painted, you can’t move anything.

My approach to texture painting in 3D is to think the same way I do when painting in 2D. Painting is an intuitive process and if you start thinking too hard about the logic behind it, you’ll end up with stiff results which is a common pitfall I’ve noticed with 3D artists.

Just focus on what you find cool and don’t worry about anything else.
ANIMATION
In general, my approach changes based on the shot and scene but my favorite is to just animate on 2D with no interpolation. Not that I’m trying to achieve more of a “2D look” but rather because I just hate dealing with interpolation problems and it works a lot faster with this approach. There’s nothing fancy going on when it comes to the characters, just 3D models snapping to a different position every 2 frames.

Effects on the other hand are a lot more interesting as I’ve been playing around with Grease Pencil for a while but this is my first time using it on a larger scale and it’s definitely not going to be the last time. It’s a very powerful tool with a lot of potential and I’d recommend everyone give it a shot. It helps you figure out early what each shot is going to be, and to commit fully.
RENDER – Moji Ep – 1
Here is the second episode of this series, Edgy Troubles.
This animation is made to be an introduction to the new direction I’m going. I didn’t spend too much time on it, only around two weeks. I hope this will be helpful and an inspiration for other artists. Thank you for your time. Don’t stop grinding, we’re all gonna make it!
About the Artist
Ivan “CoinHero” Basholov is a passionate artist and an animation nerd.


