
Behind the Scenes: Haganezuka – Demon Slayer
INTRODUCTION
Hello! My name is Sandy Liem, aka Ducklyarts, and I am from Indonesia. I graduated with a Bachelor of Arts in 2018. I have always been passionate about 3D art and have been creating 3D artworks whenever I have the chance. I worked as a lighting, rendering, and compositing artist for three years at an animation studio. I have also contributed as a compositing artist for a short film by Pixar animator Shad Bradbury, titled “Run Totti Run,” and another short film by producer Sveta Yuferova in her film “The Little Fan.”
Currently, I am working as a 3D artist, creating characters and assets for the game studio Stairway Games, contributing to the development of the game “Coral Island.”
INSPIRATION
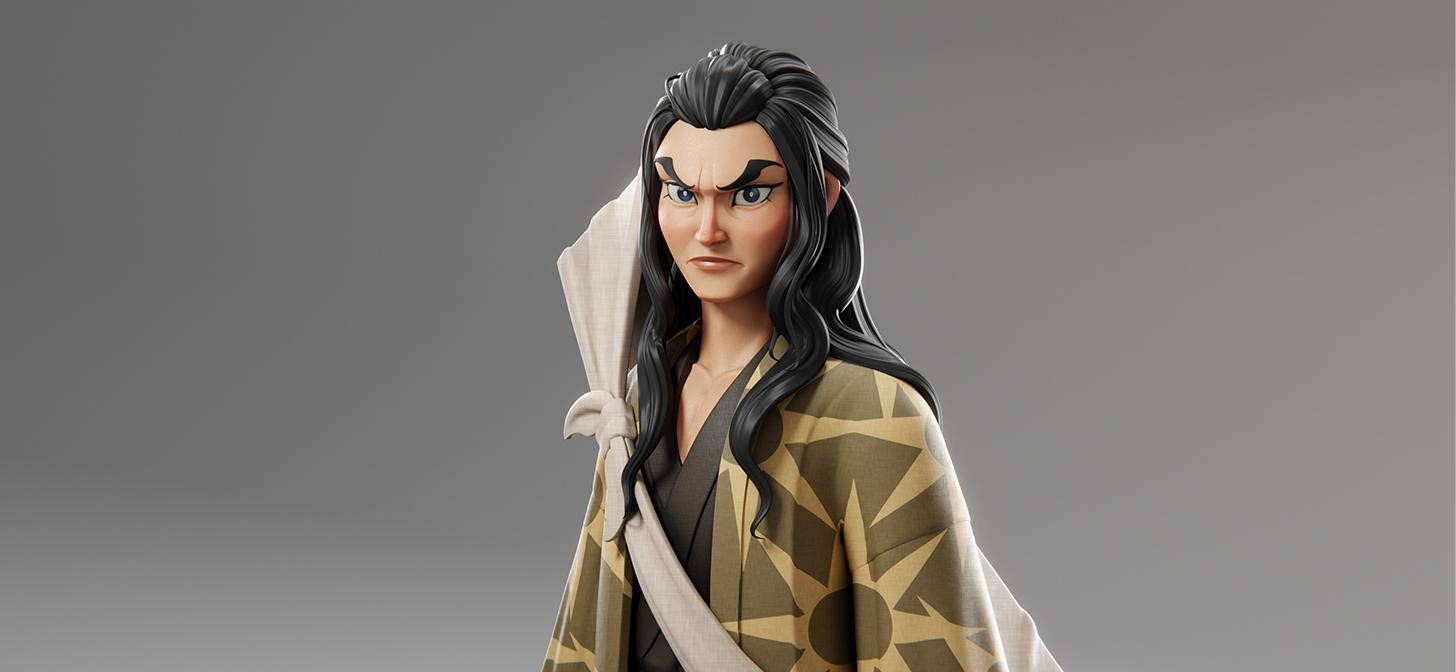
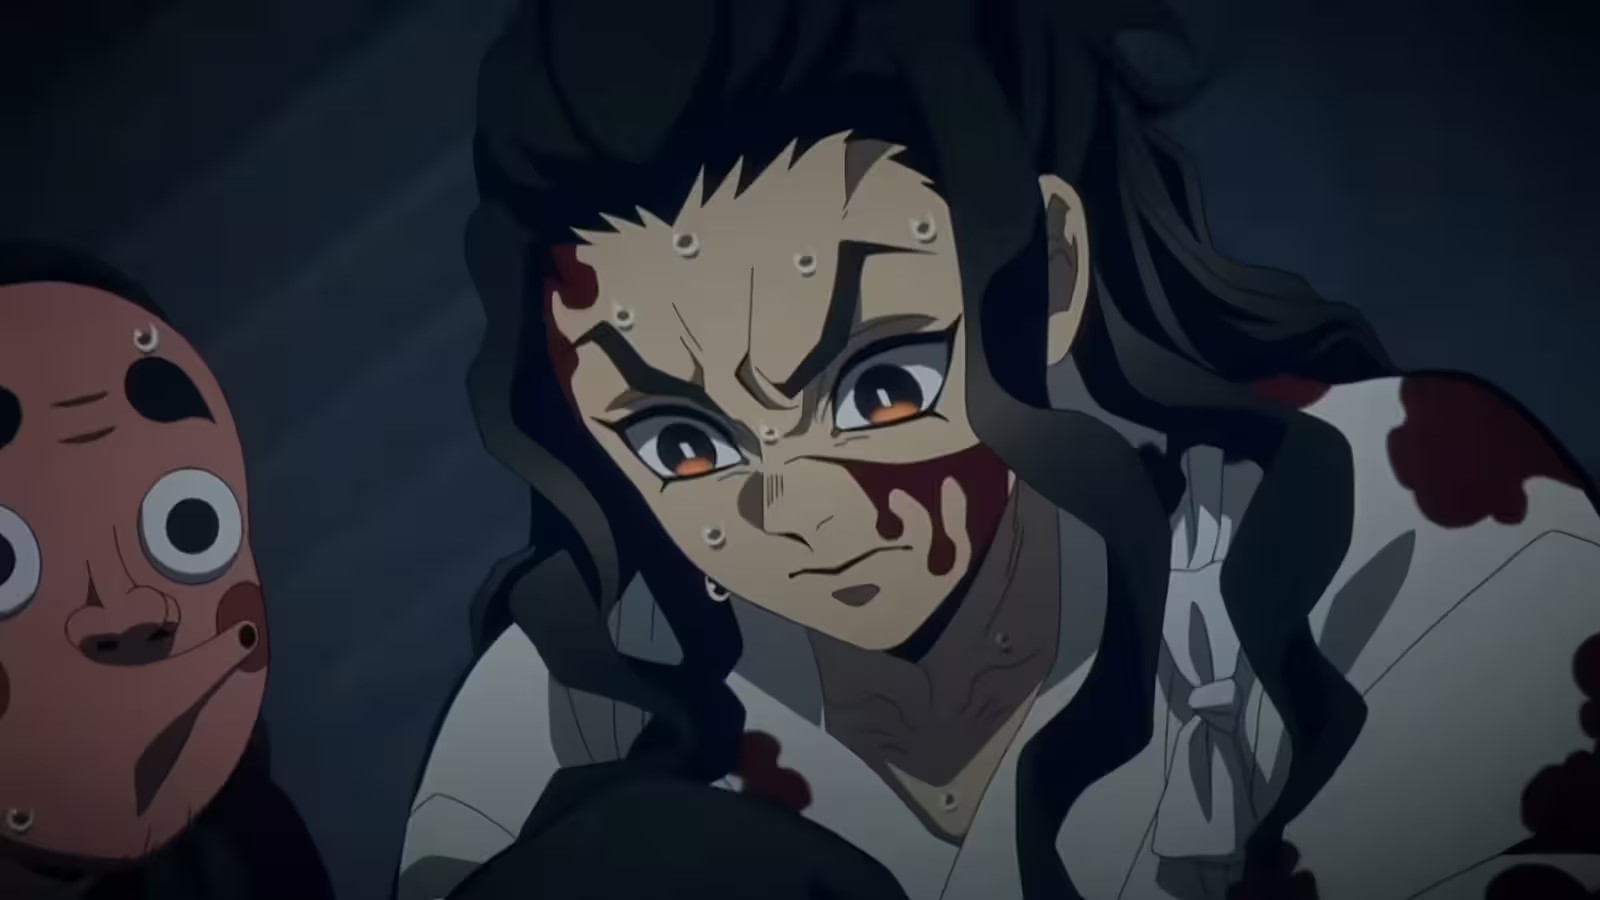
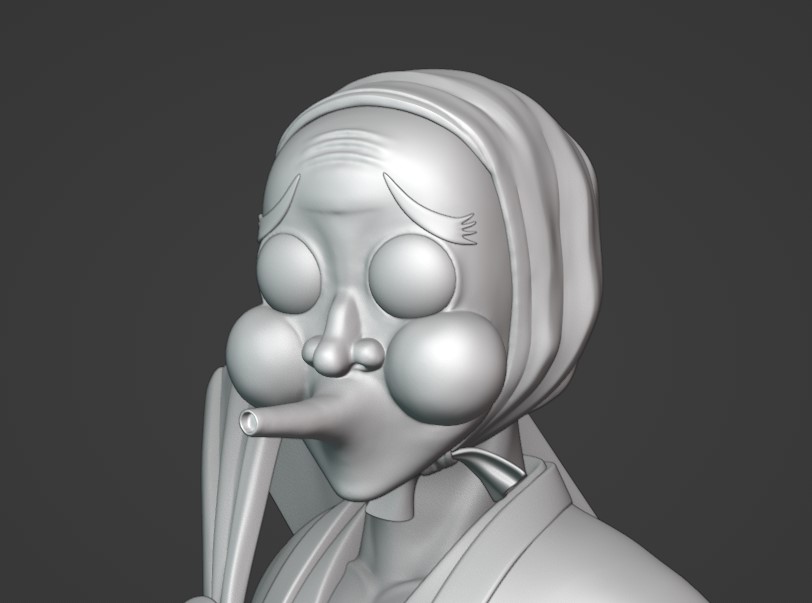
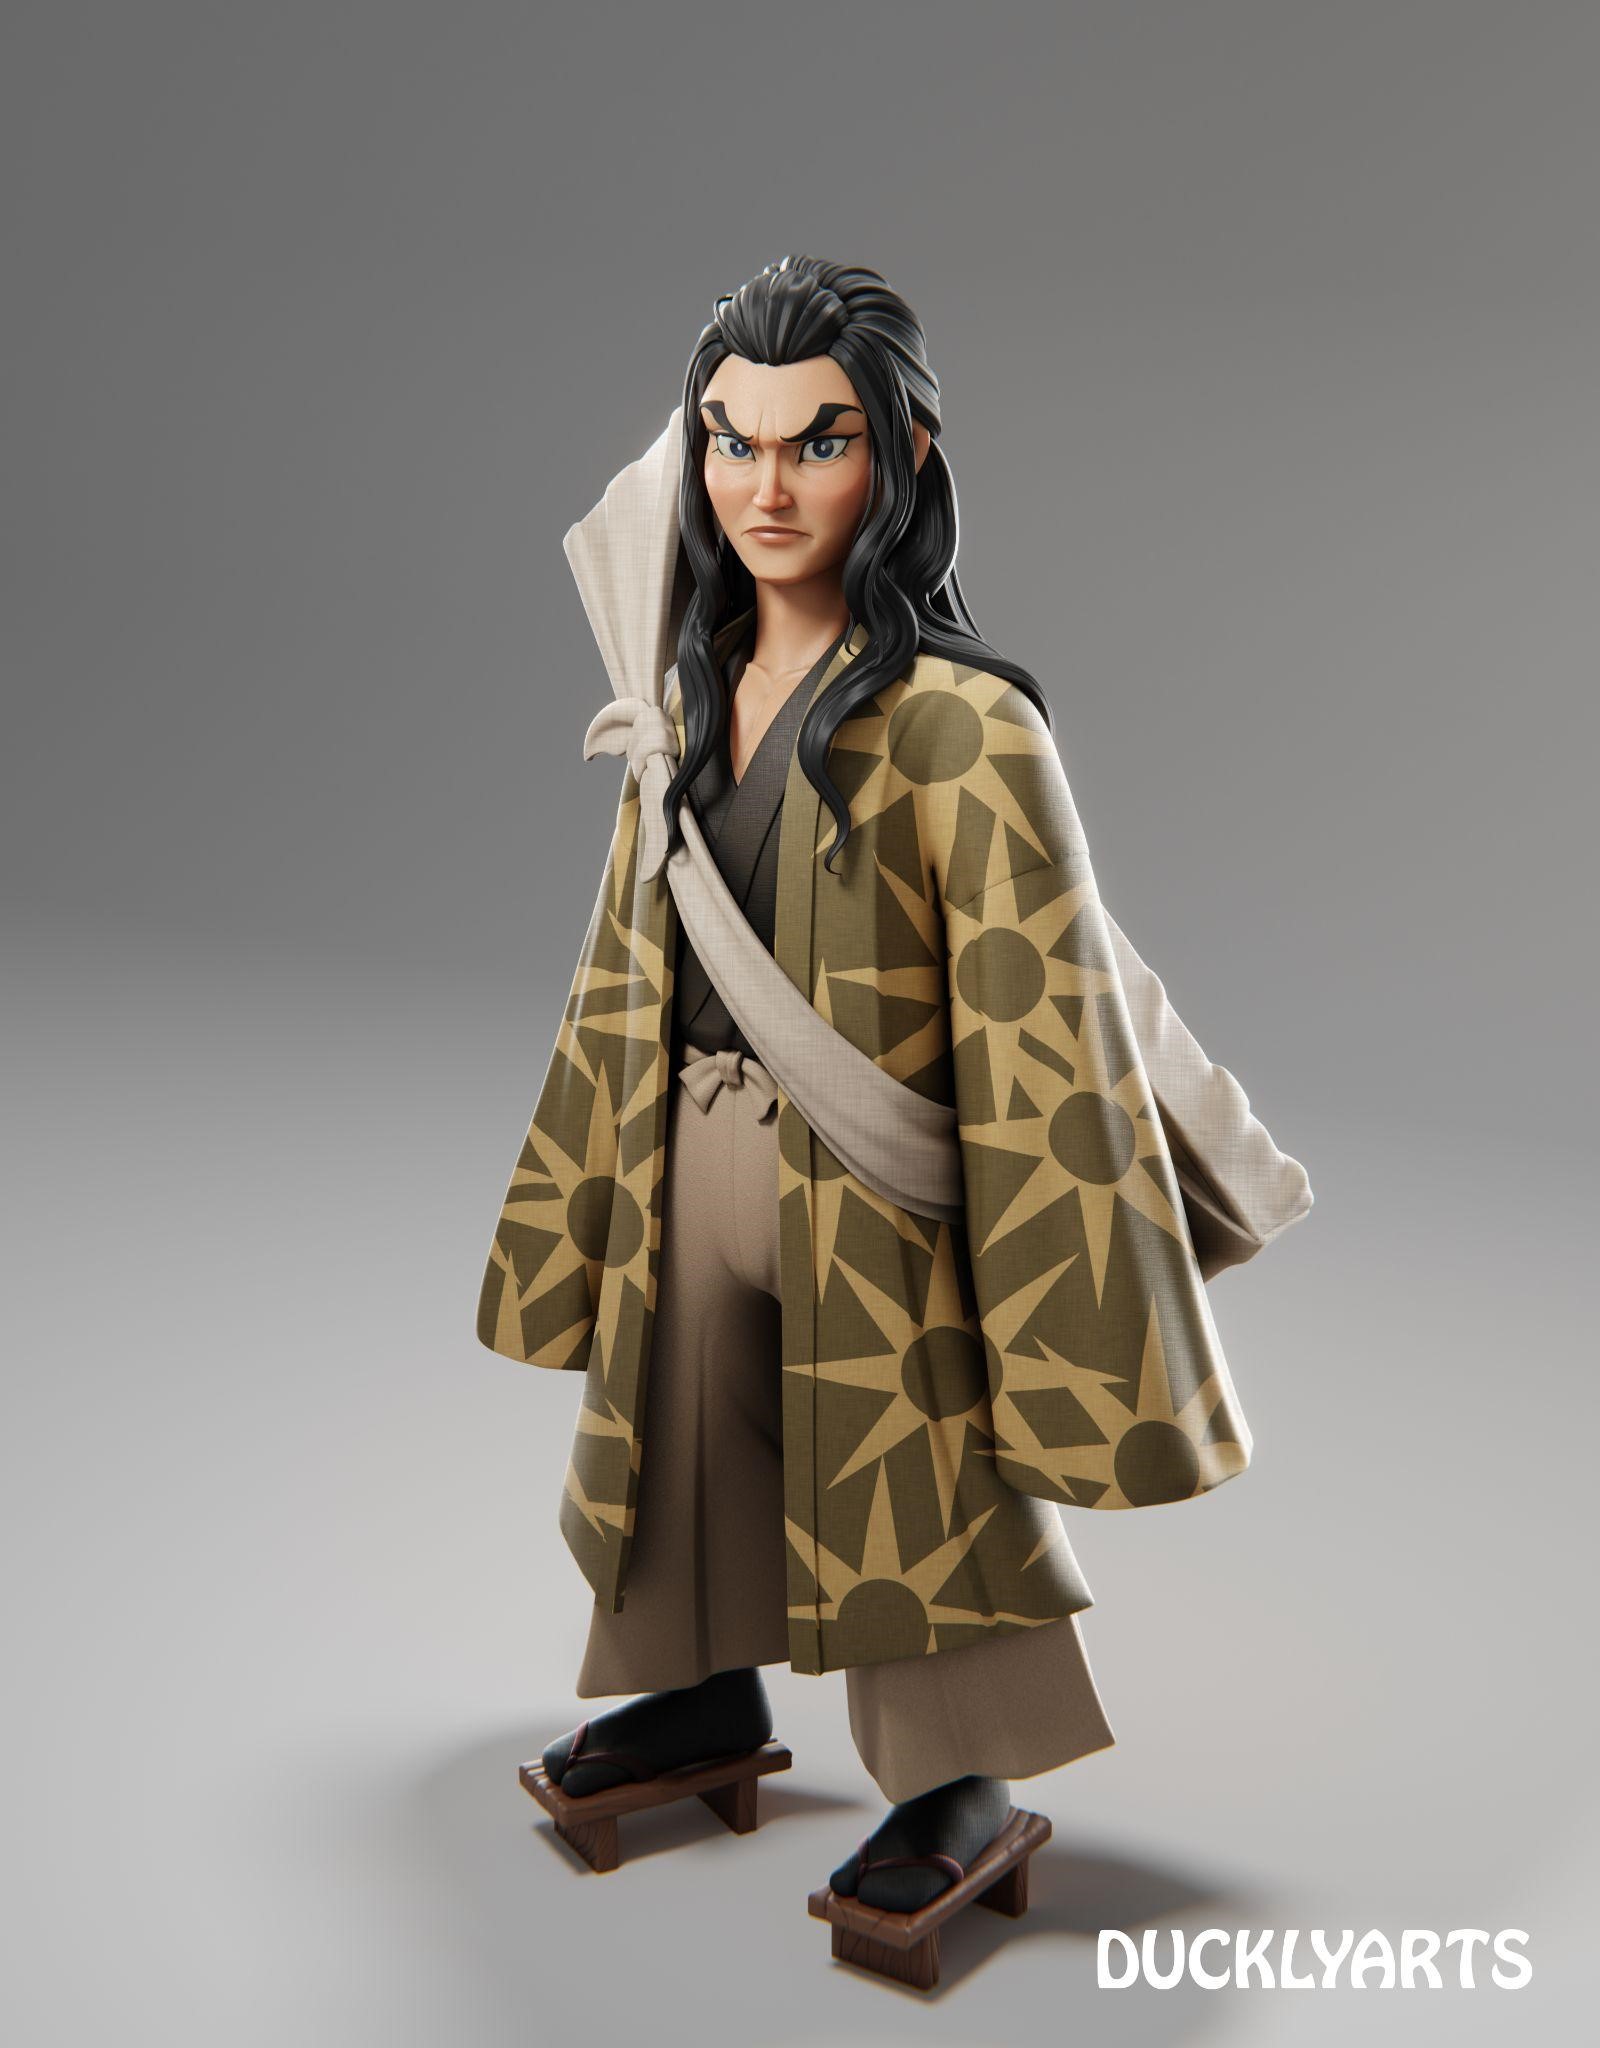
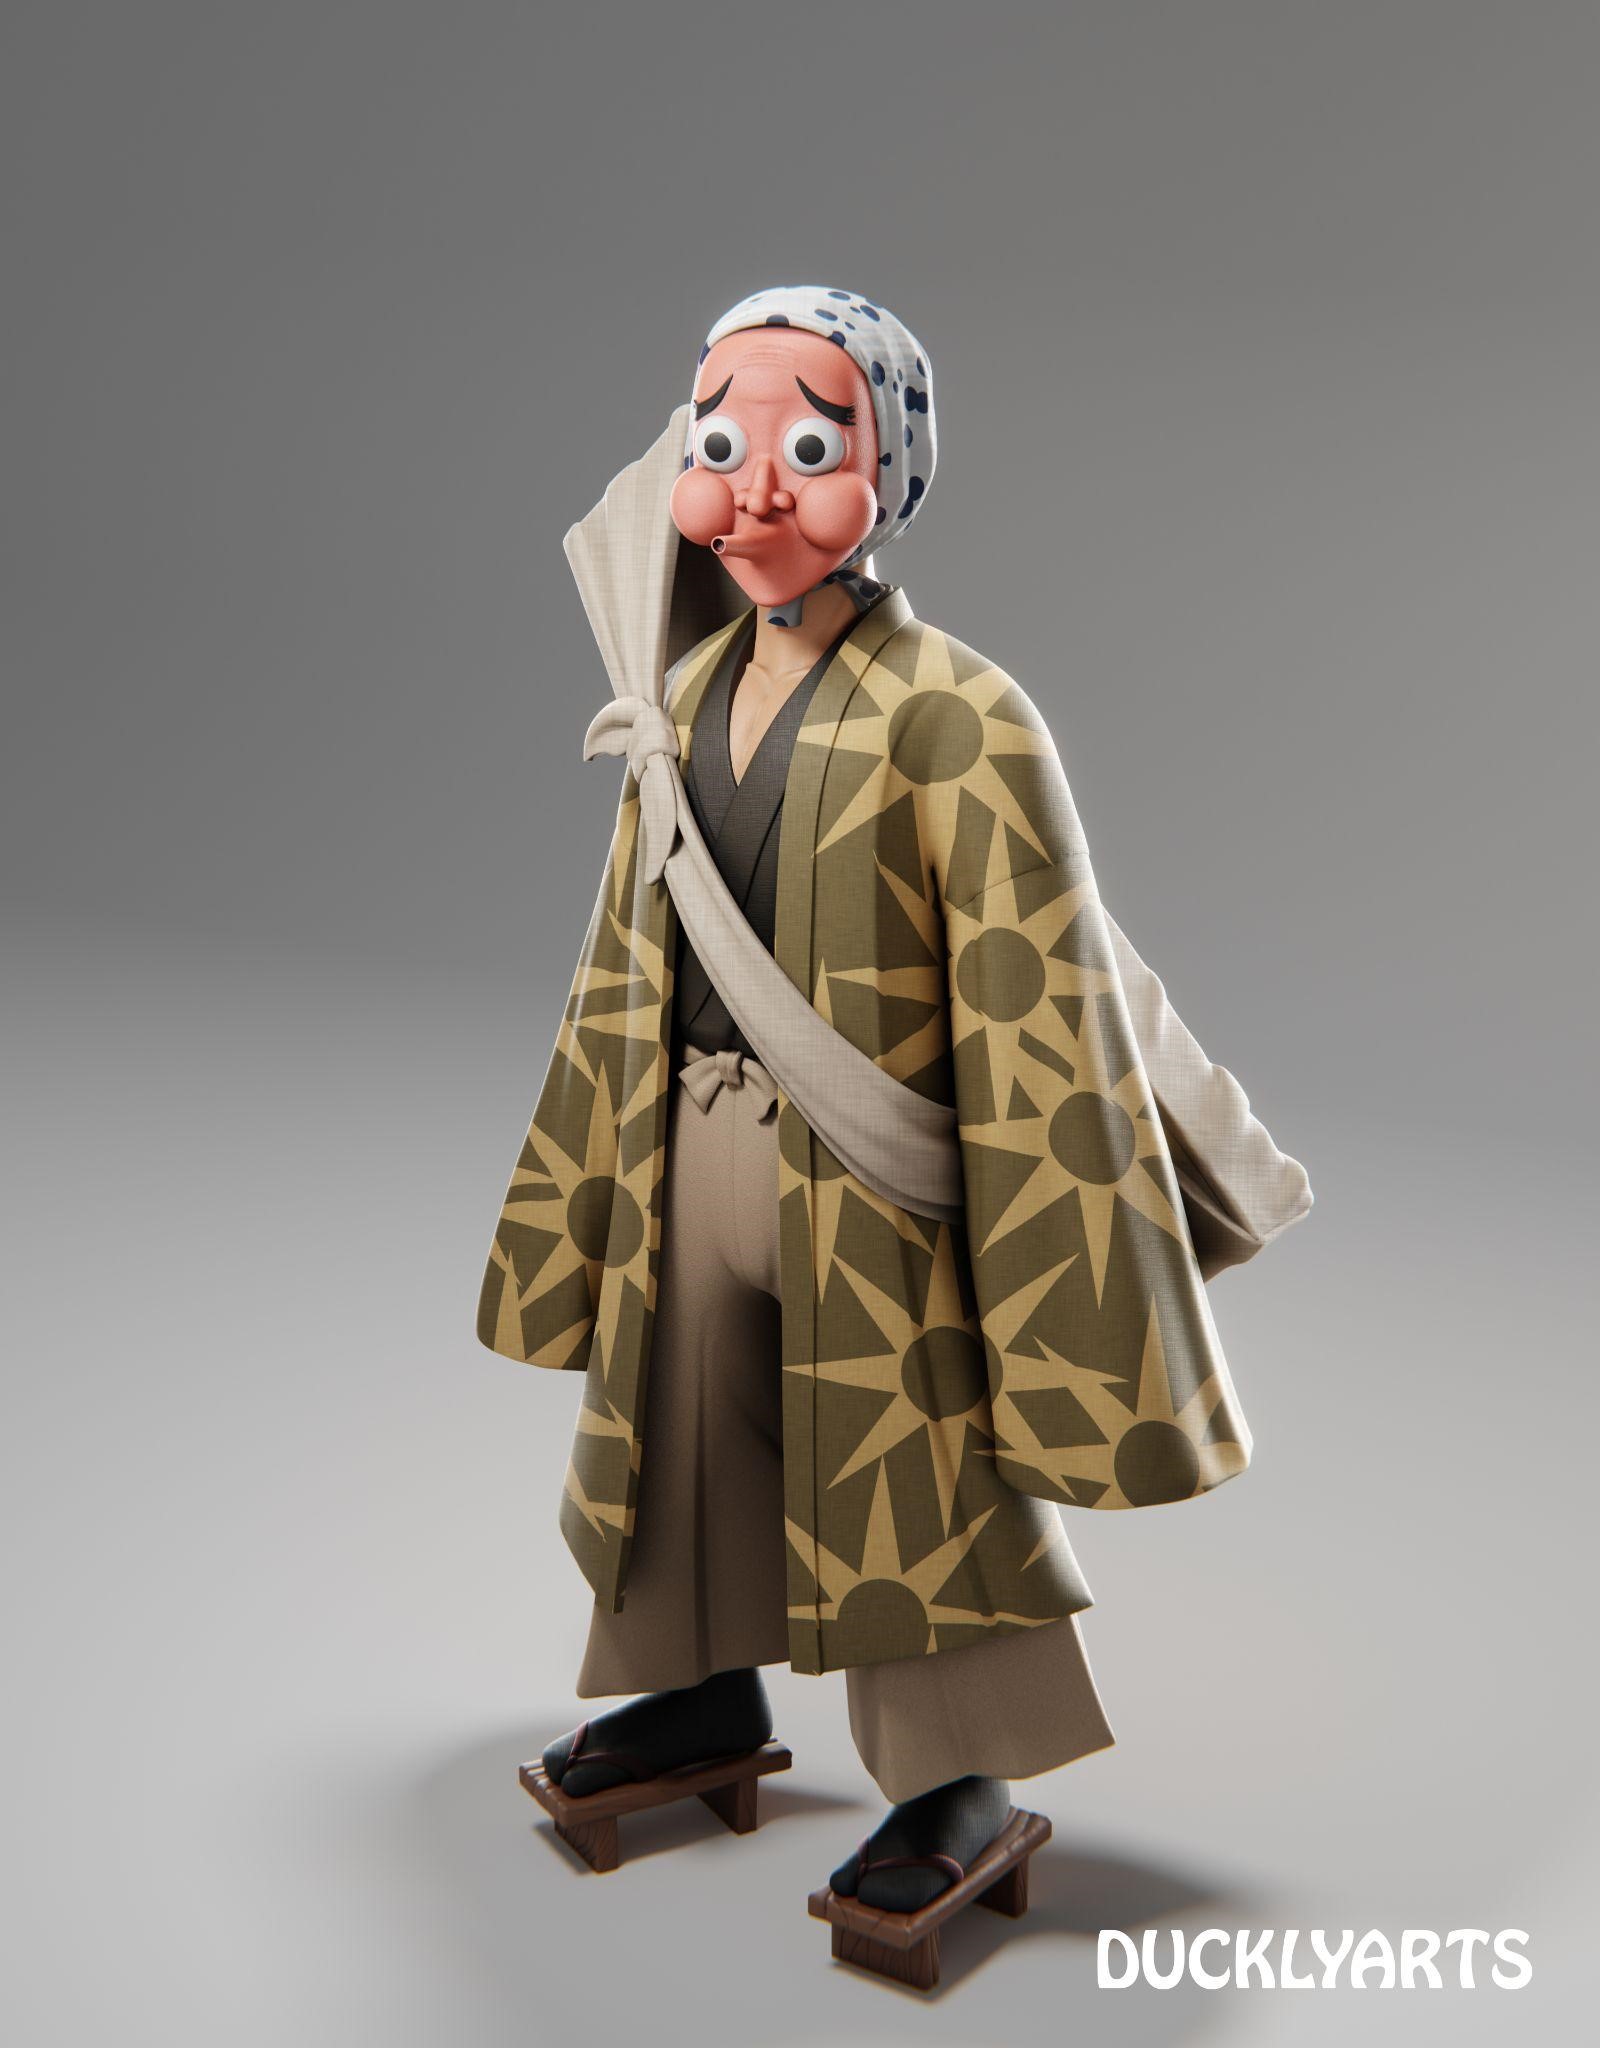
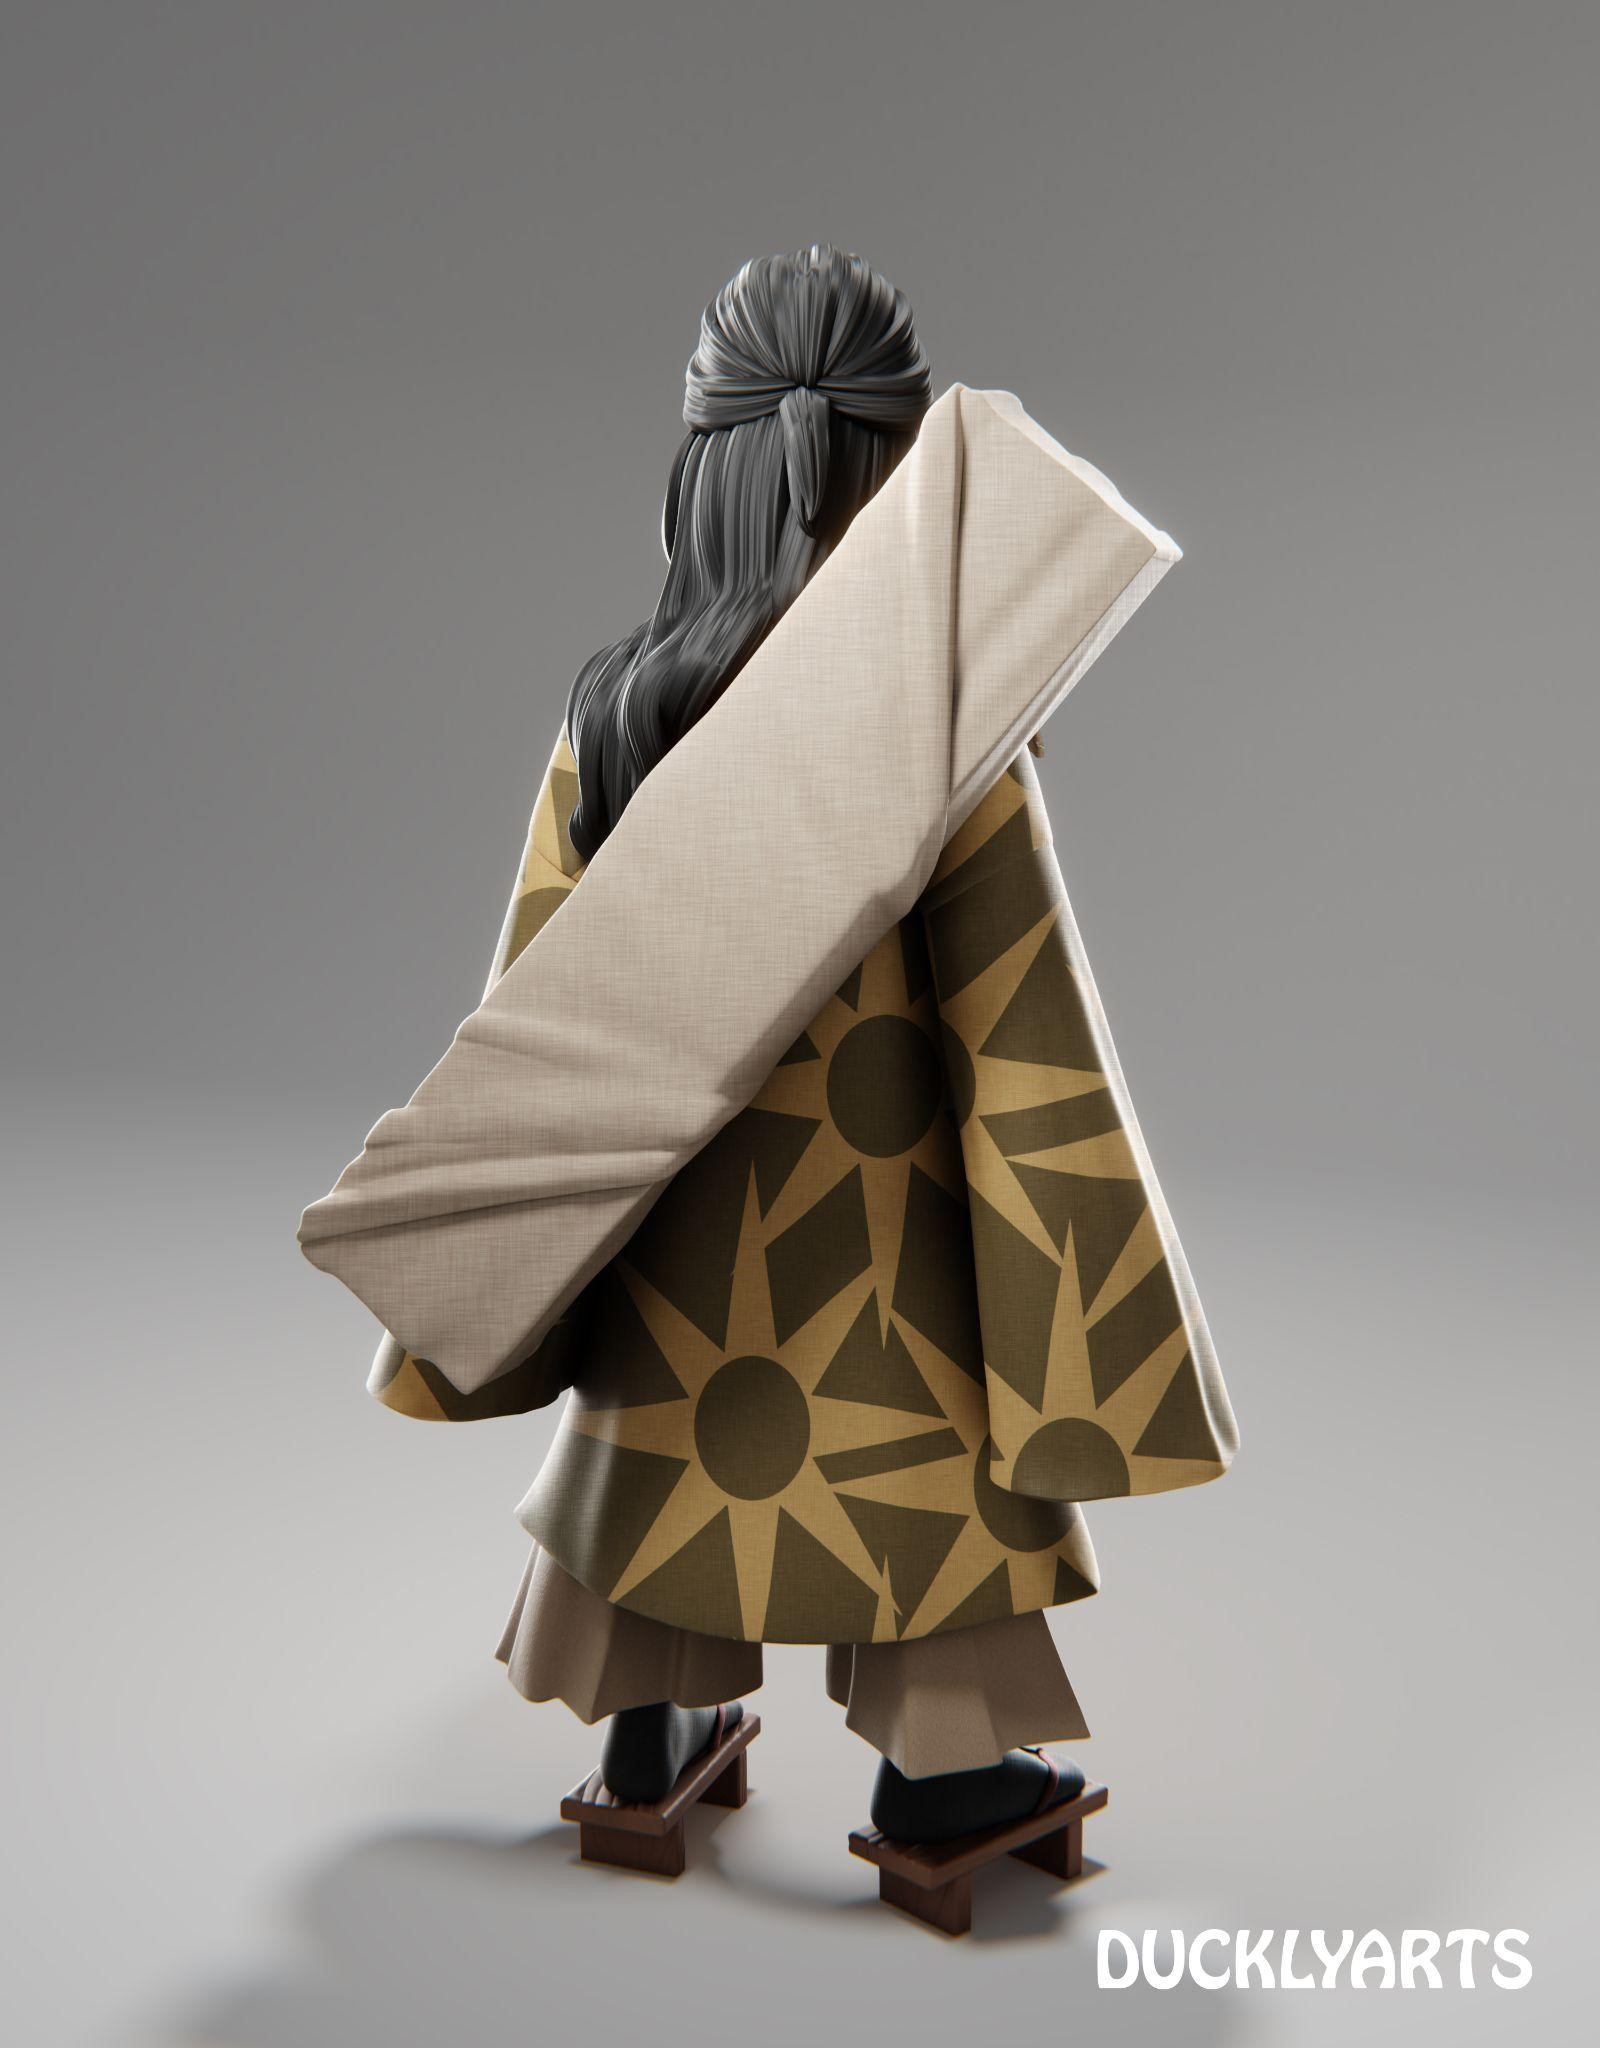
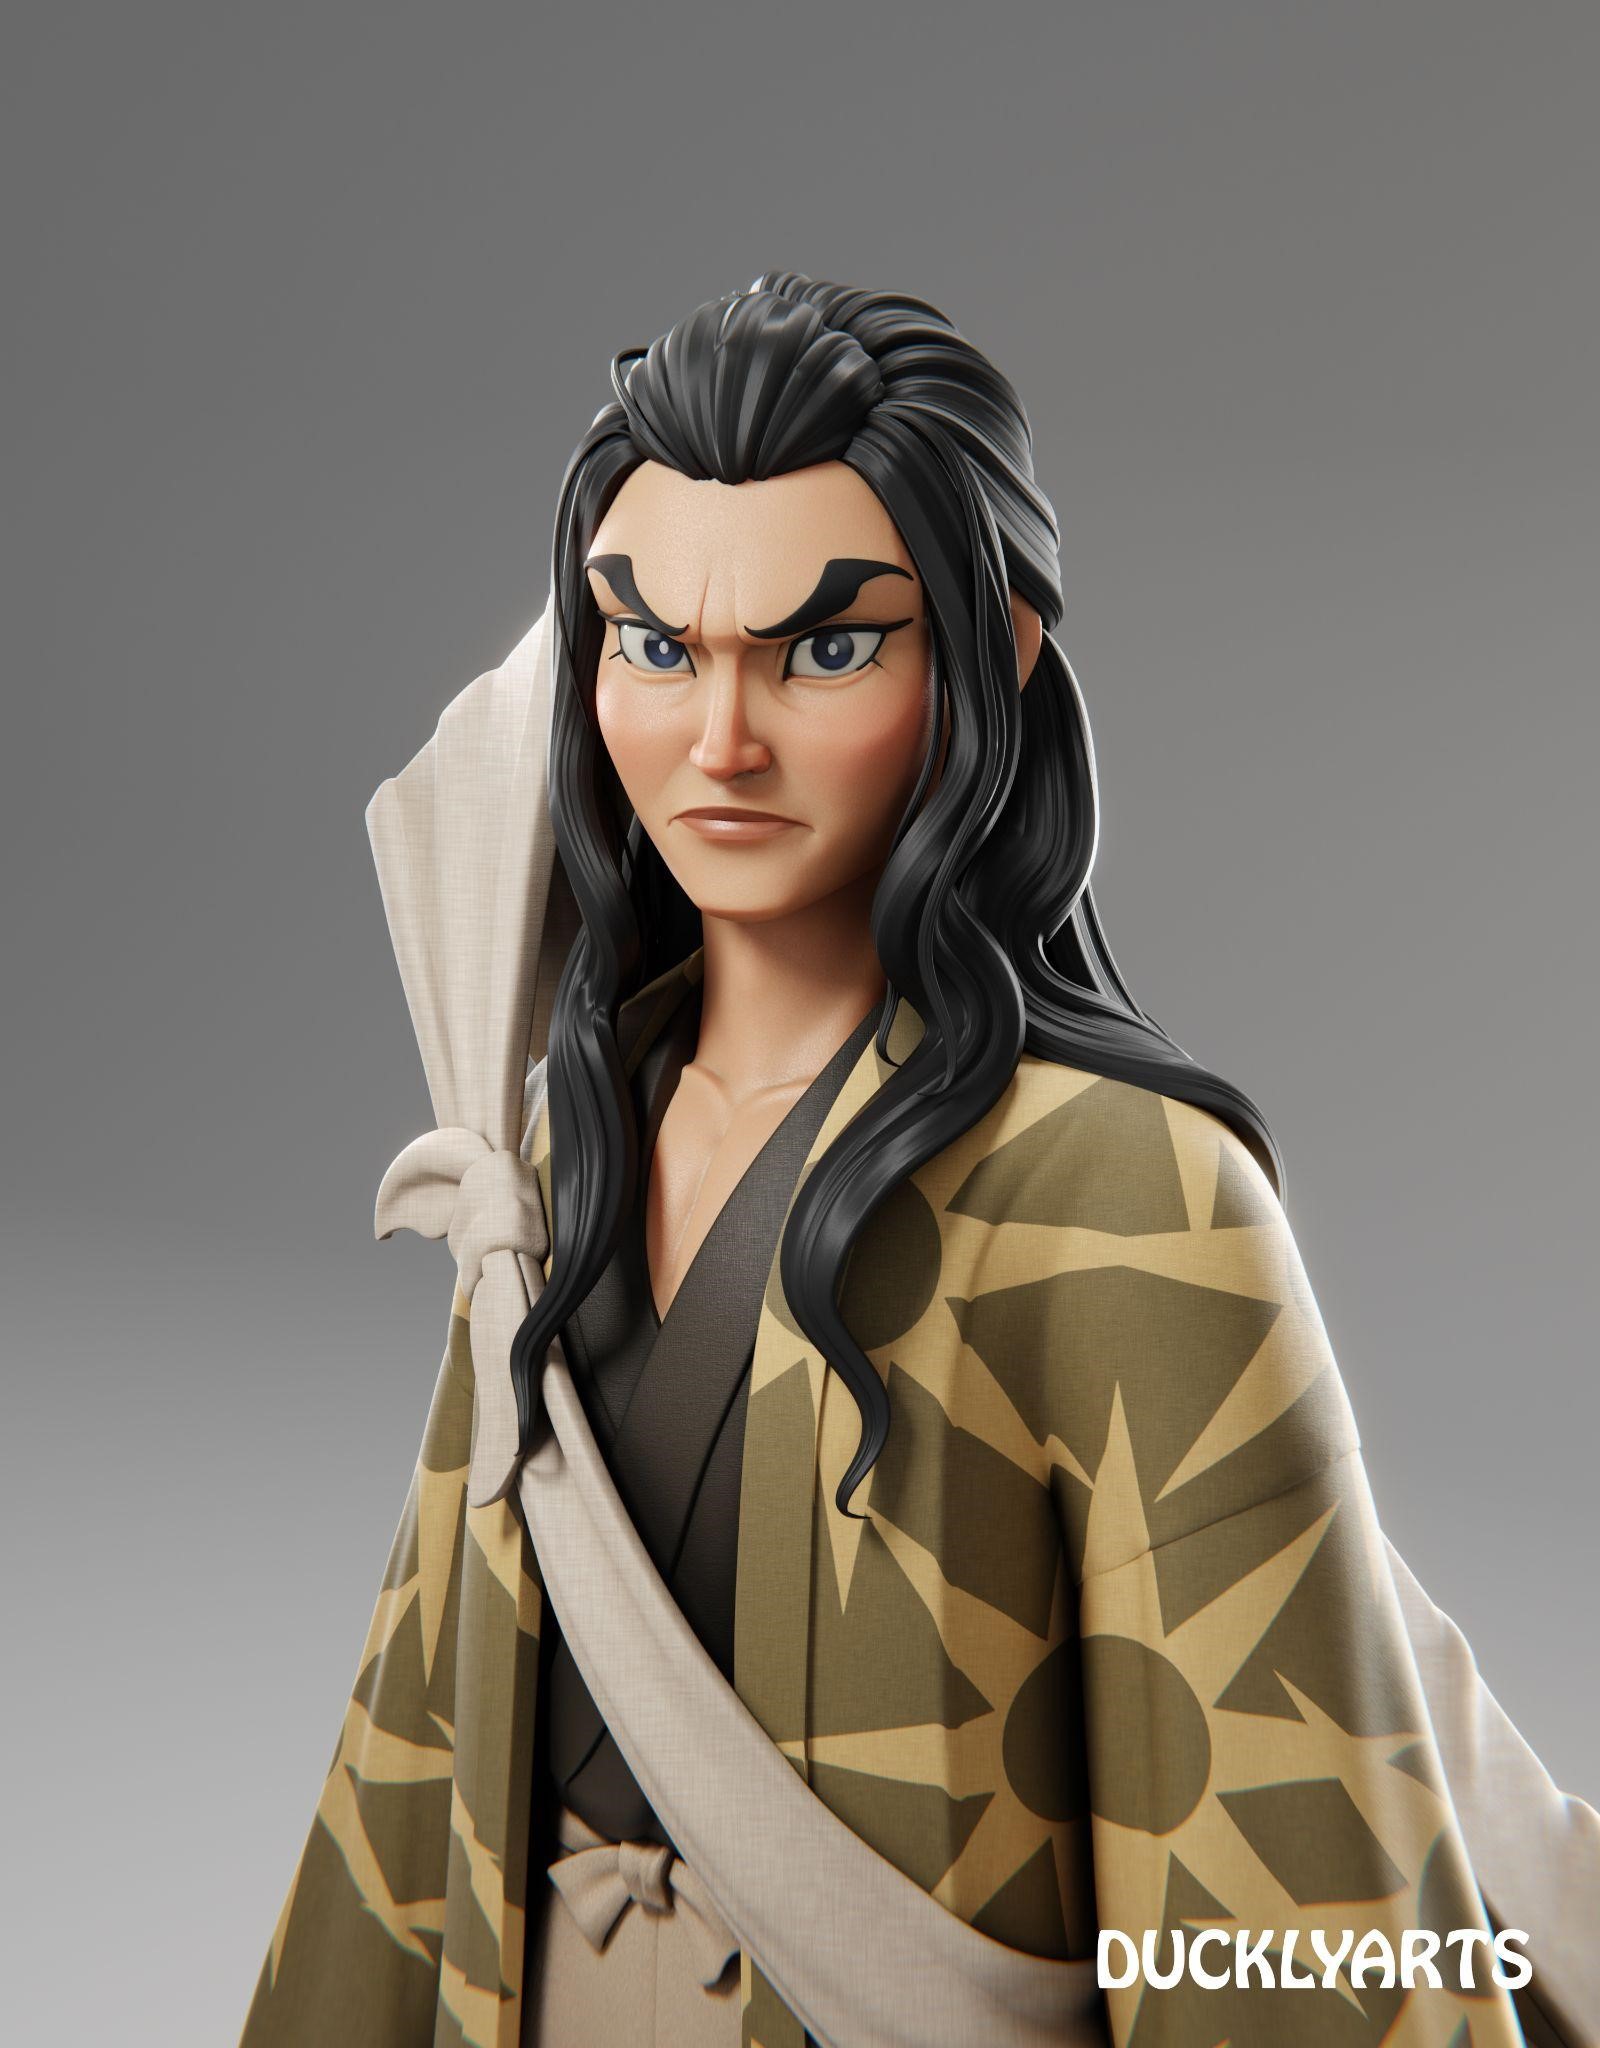
I have always loved watching animated movies, anime, and reading manga since I was young. This passion motivated me to pursue a career path in 3D art. One of my recent favorite anime series is “Demon Slayer,” which currently has four seasons. In the latest season, we were introduced to the face of a character named “Haganezuka” for the first time. This inspired me to create a fan art of the character using Blender.
When I am working on my 3D projects, I draw inspiration and reference from several artists, including Gabriel Soares, Kevin Christian Muljadi, Julien Kaspar, Follygon, and Danny Mac.


SCULPTING
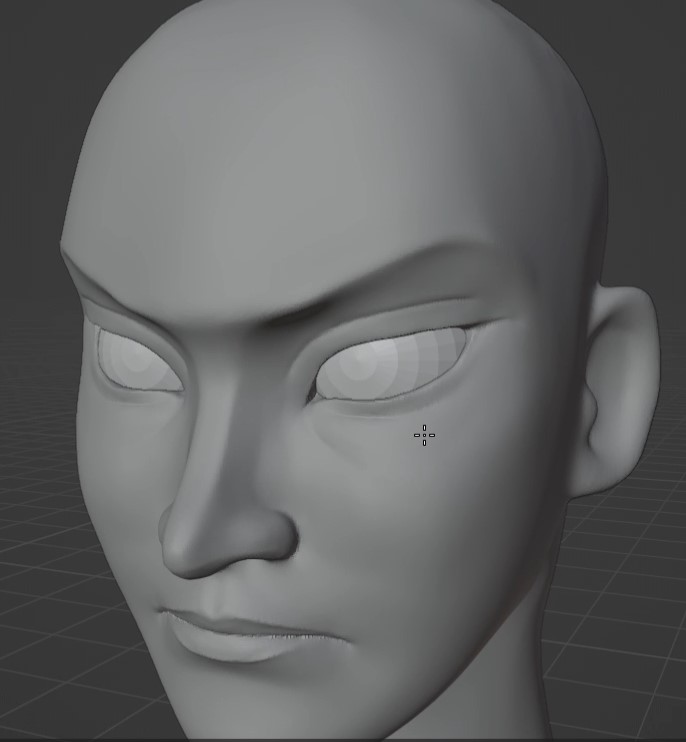
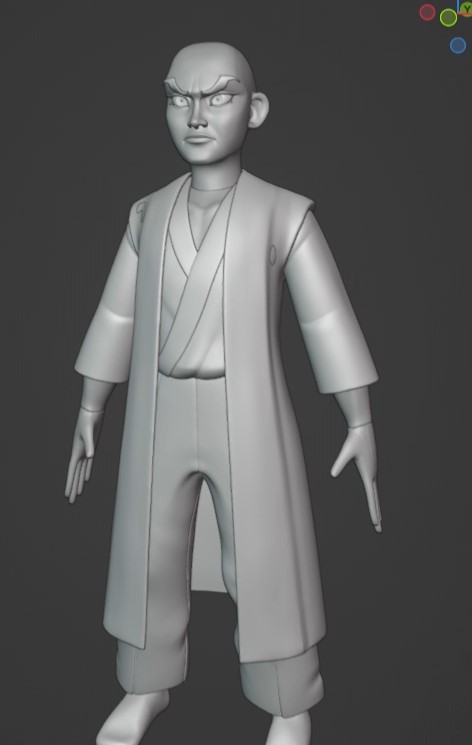
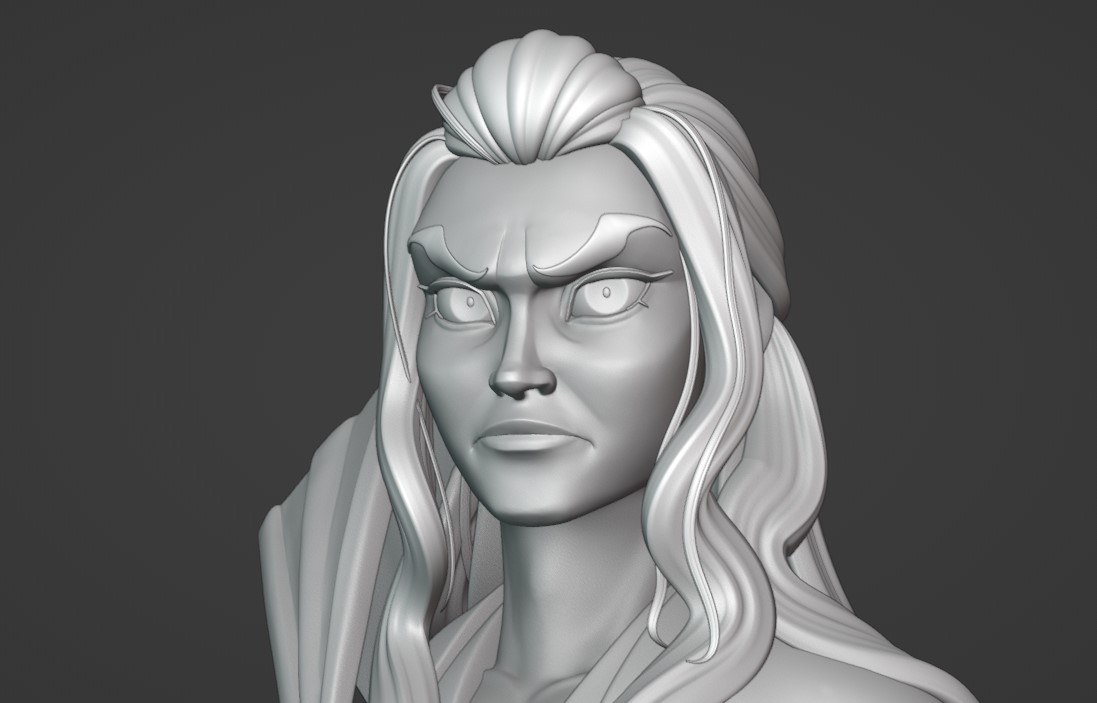
After collecting all the references I needed, I started the sculpting process. My workflow in creating 3D art involves not focusing on one part at a time, but rather working on every part simultaneously. While I begin with the face, I also work on other body parts and start blocking out the shirt, pants, or other accessories. This way it is easier for me to visualize the final image.
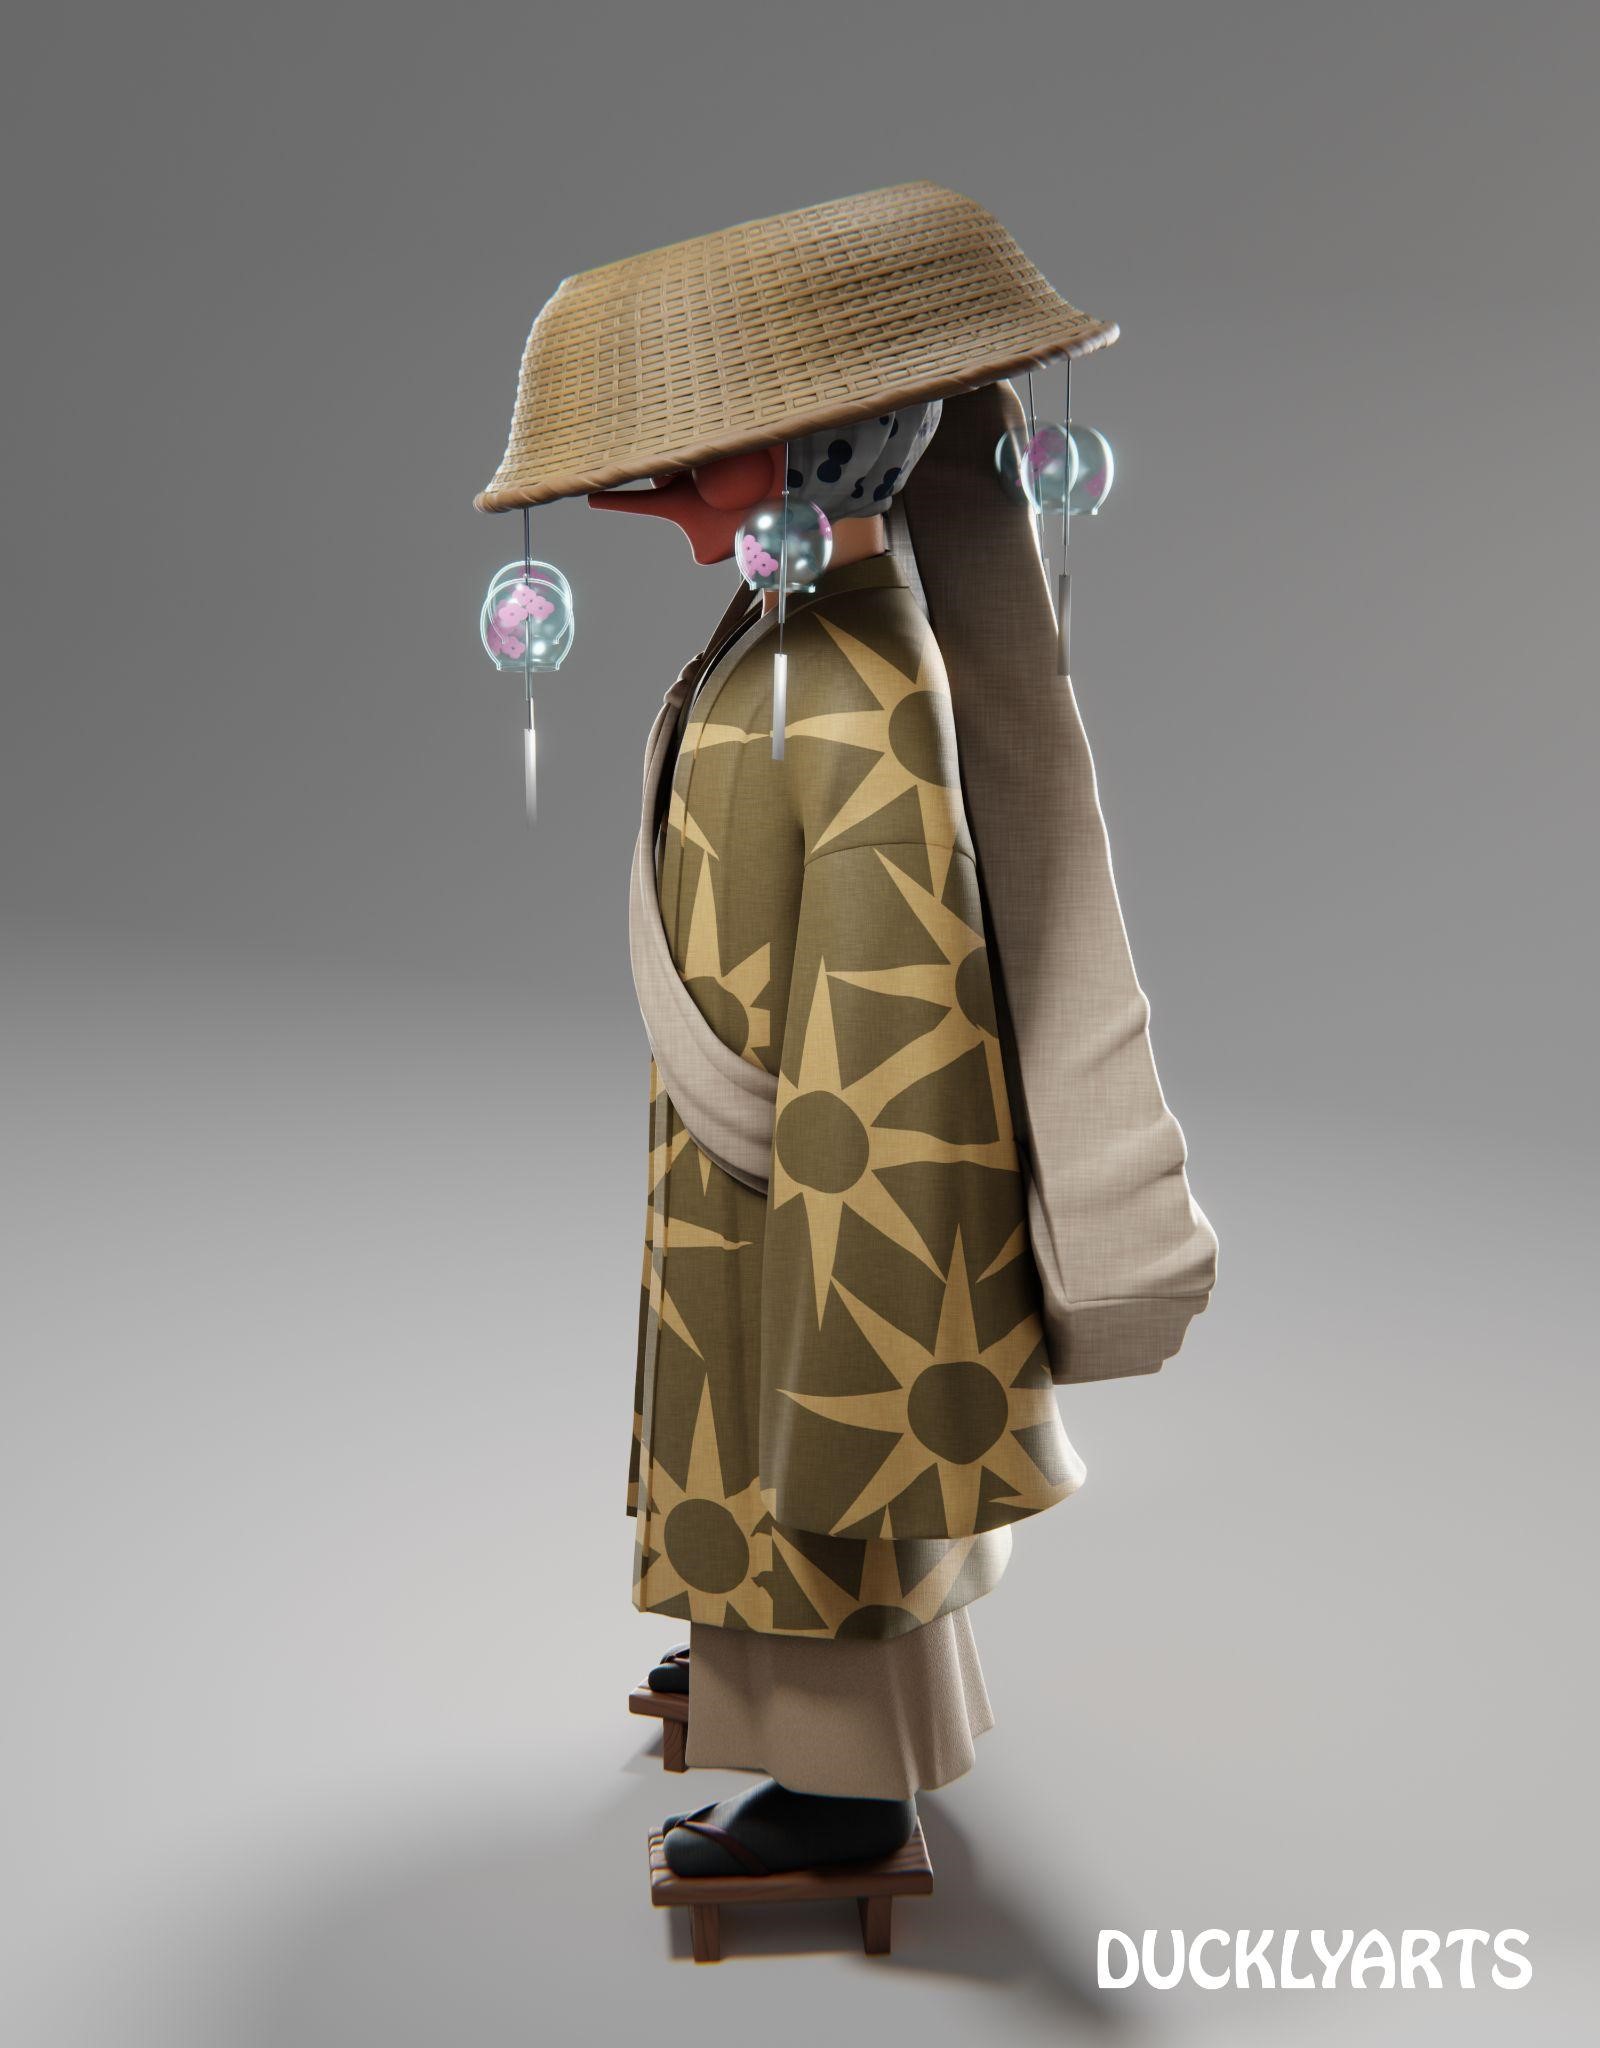
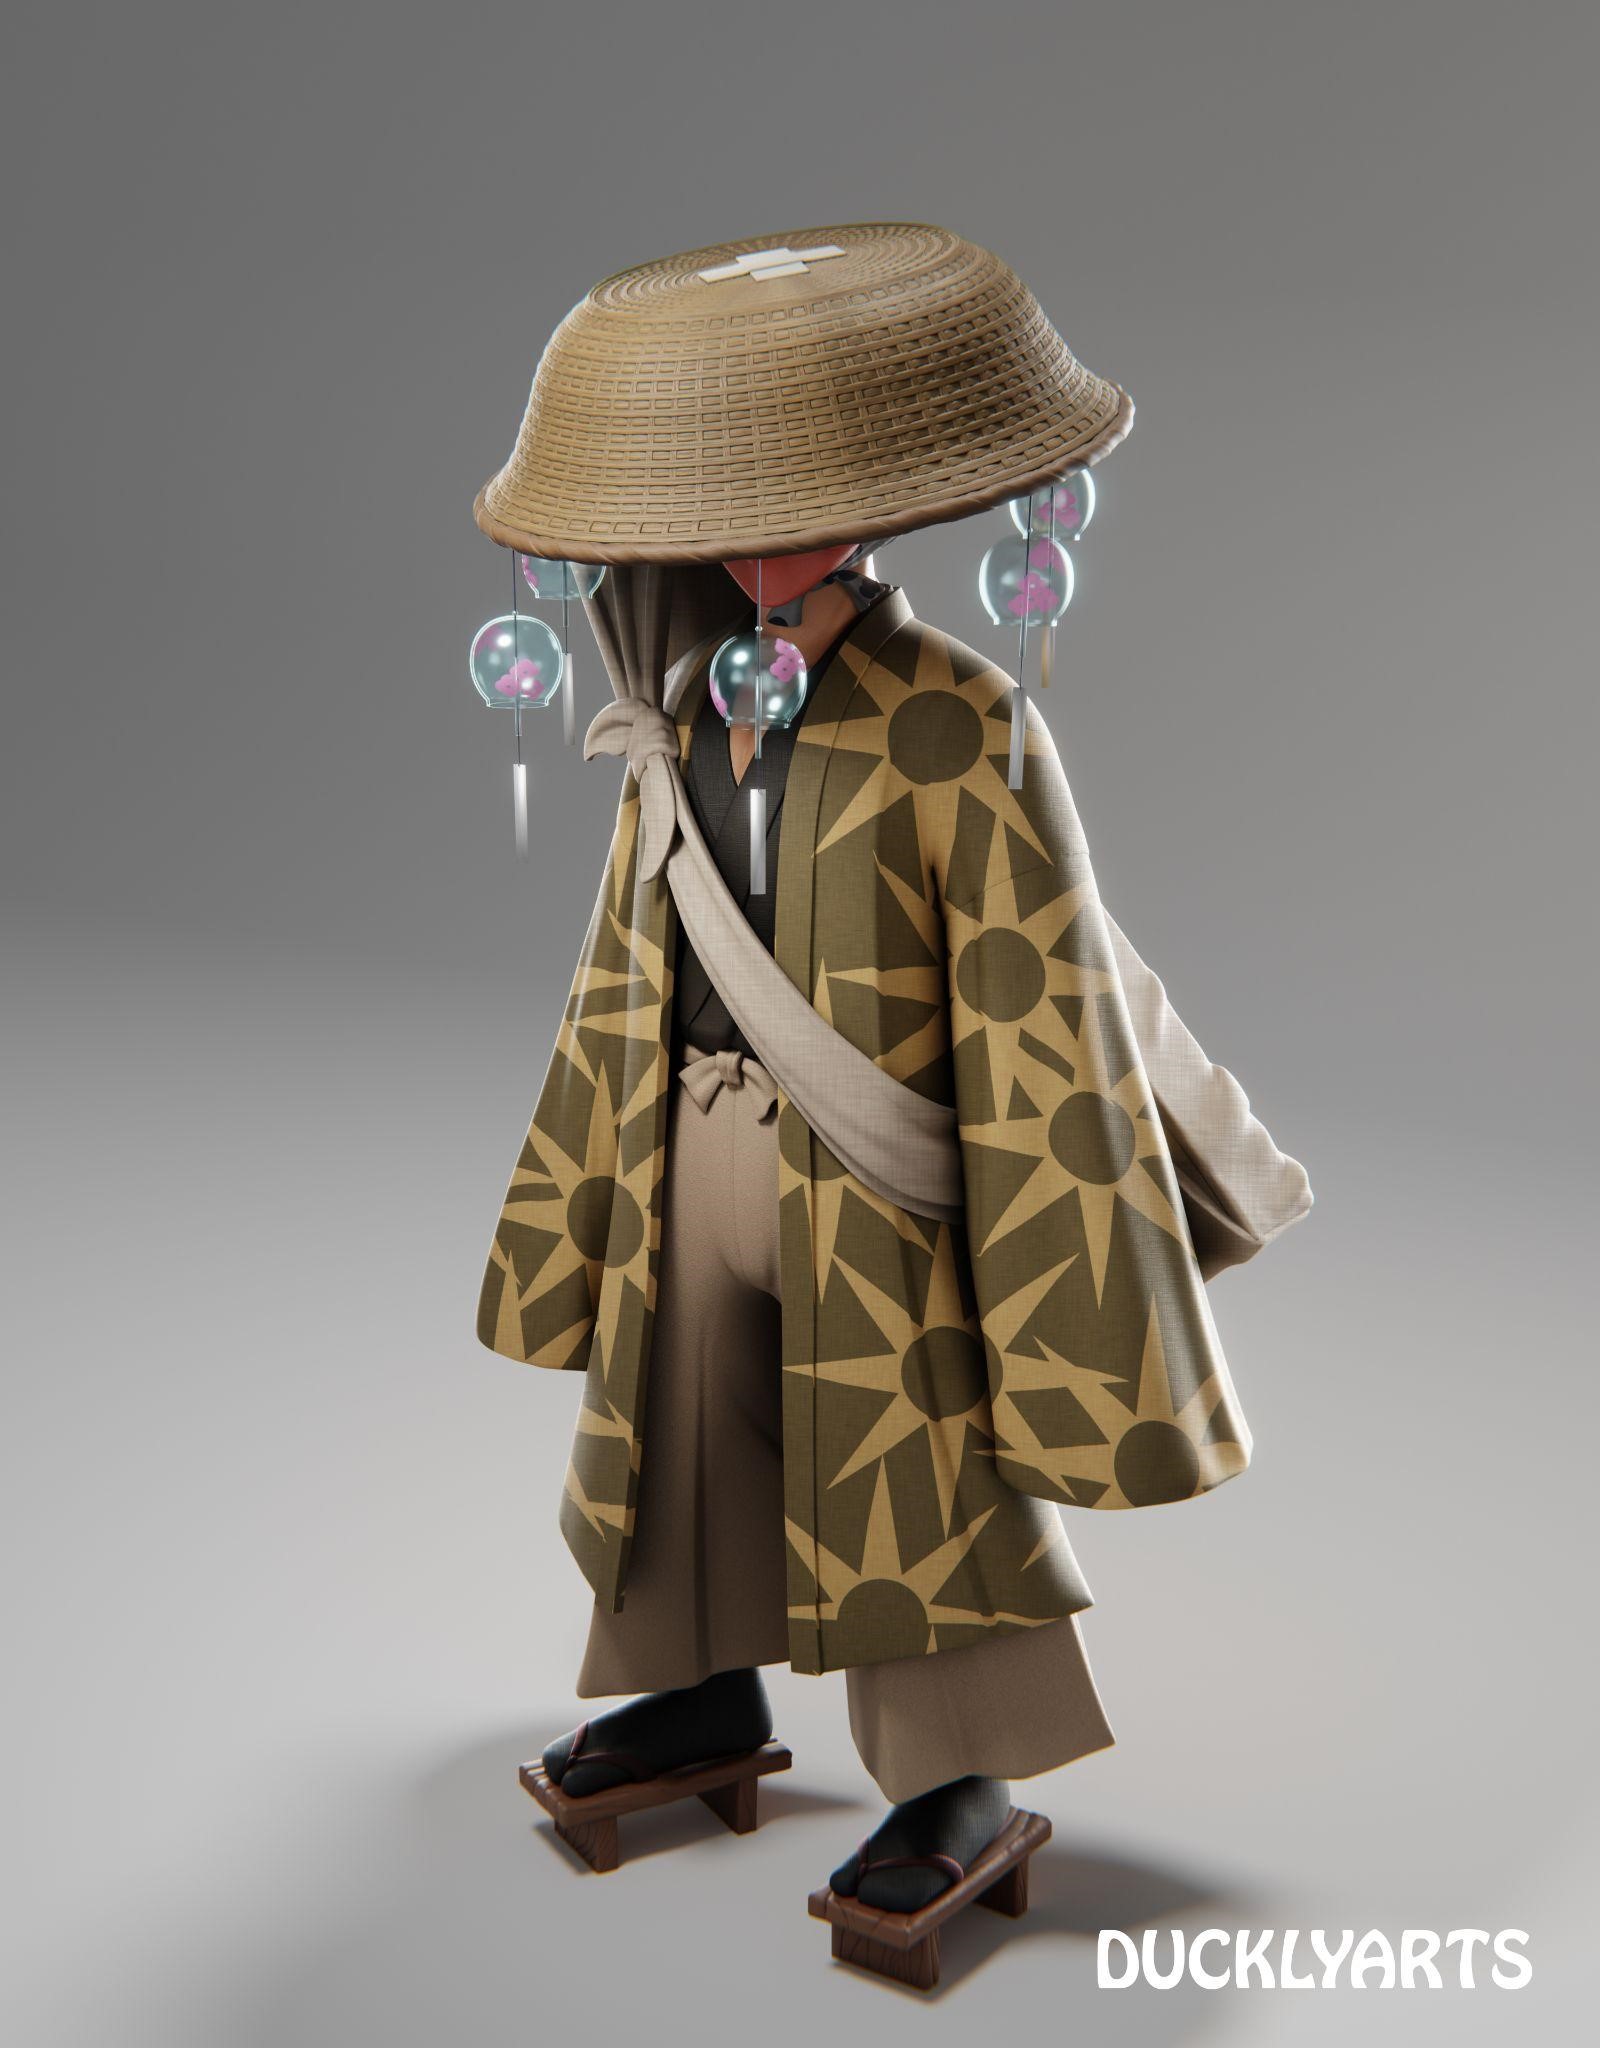
For the hat, I modeled it instead of sculpting it. I used the curve modifier to create the woven pattern and lattice to help shape the hat.
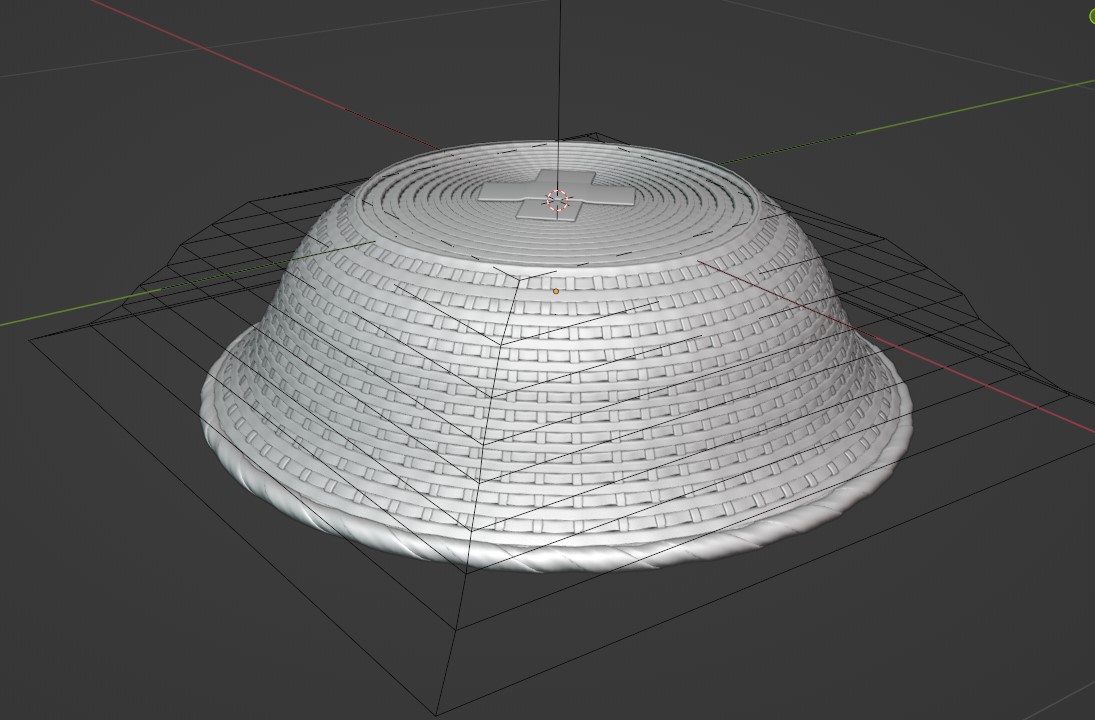
For the woven pattern, I used a YouTube tutorial to help me; you can check it out here:
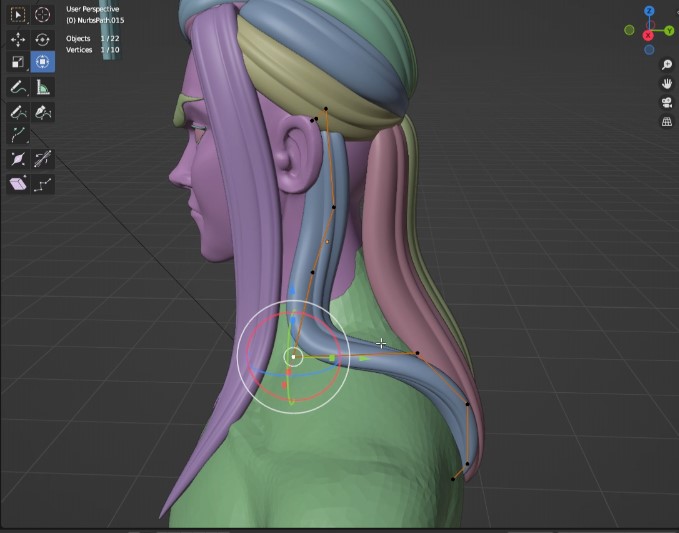
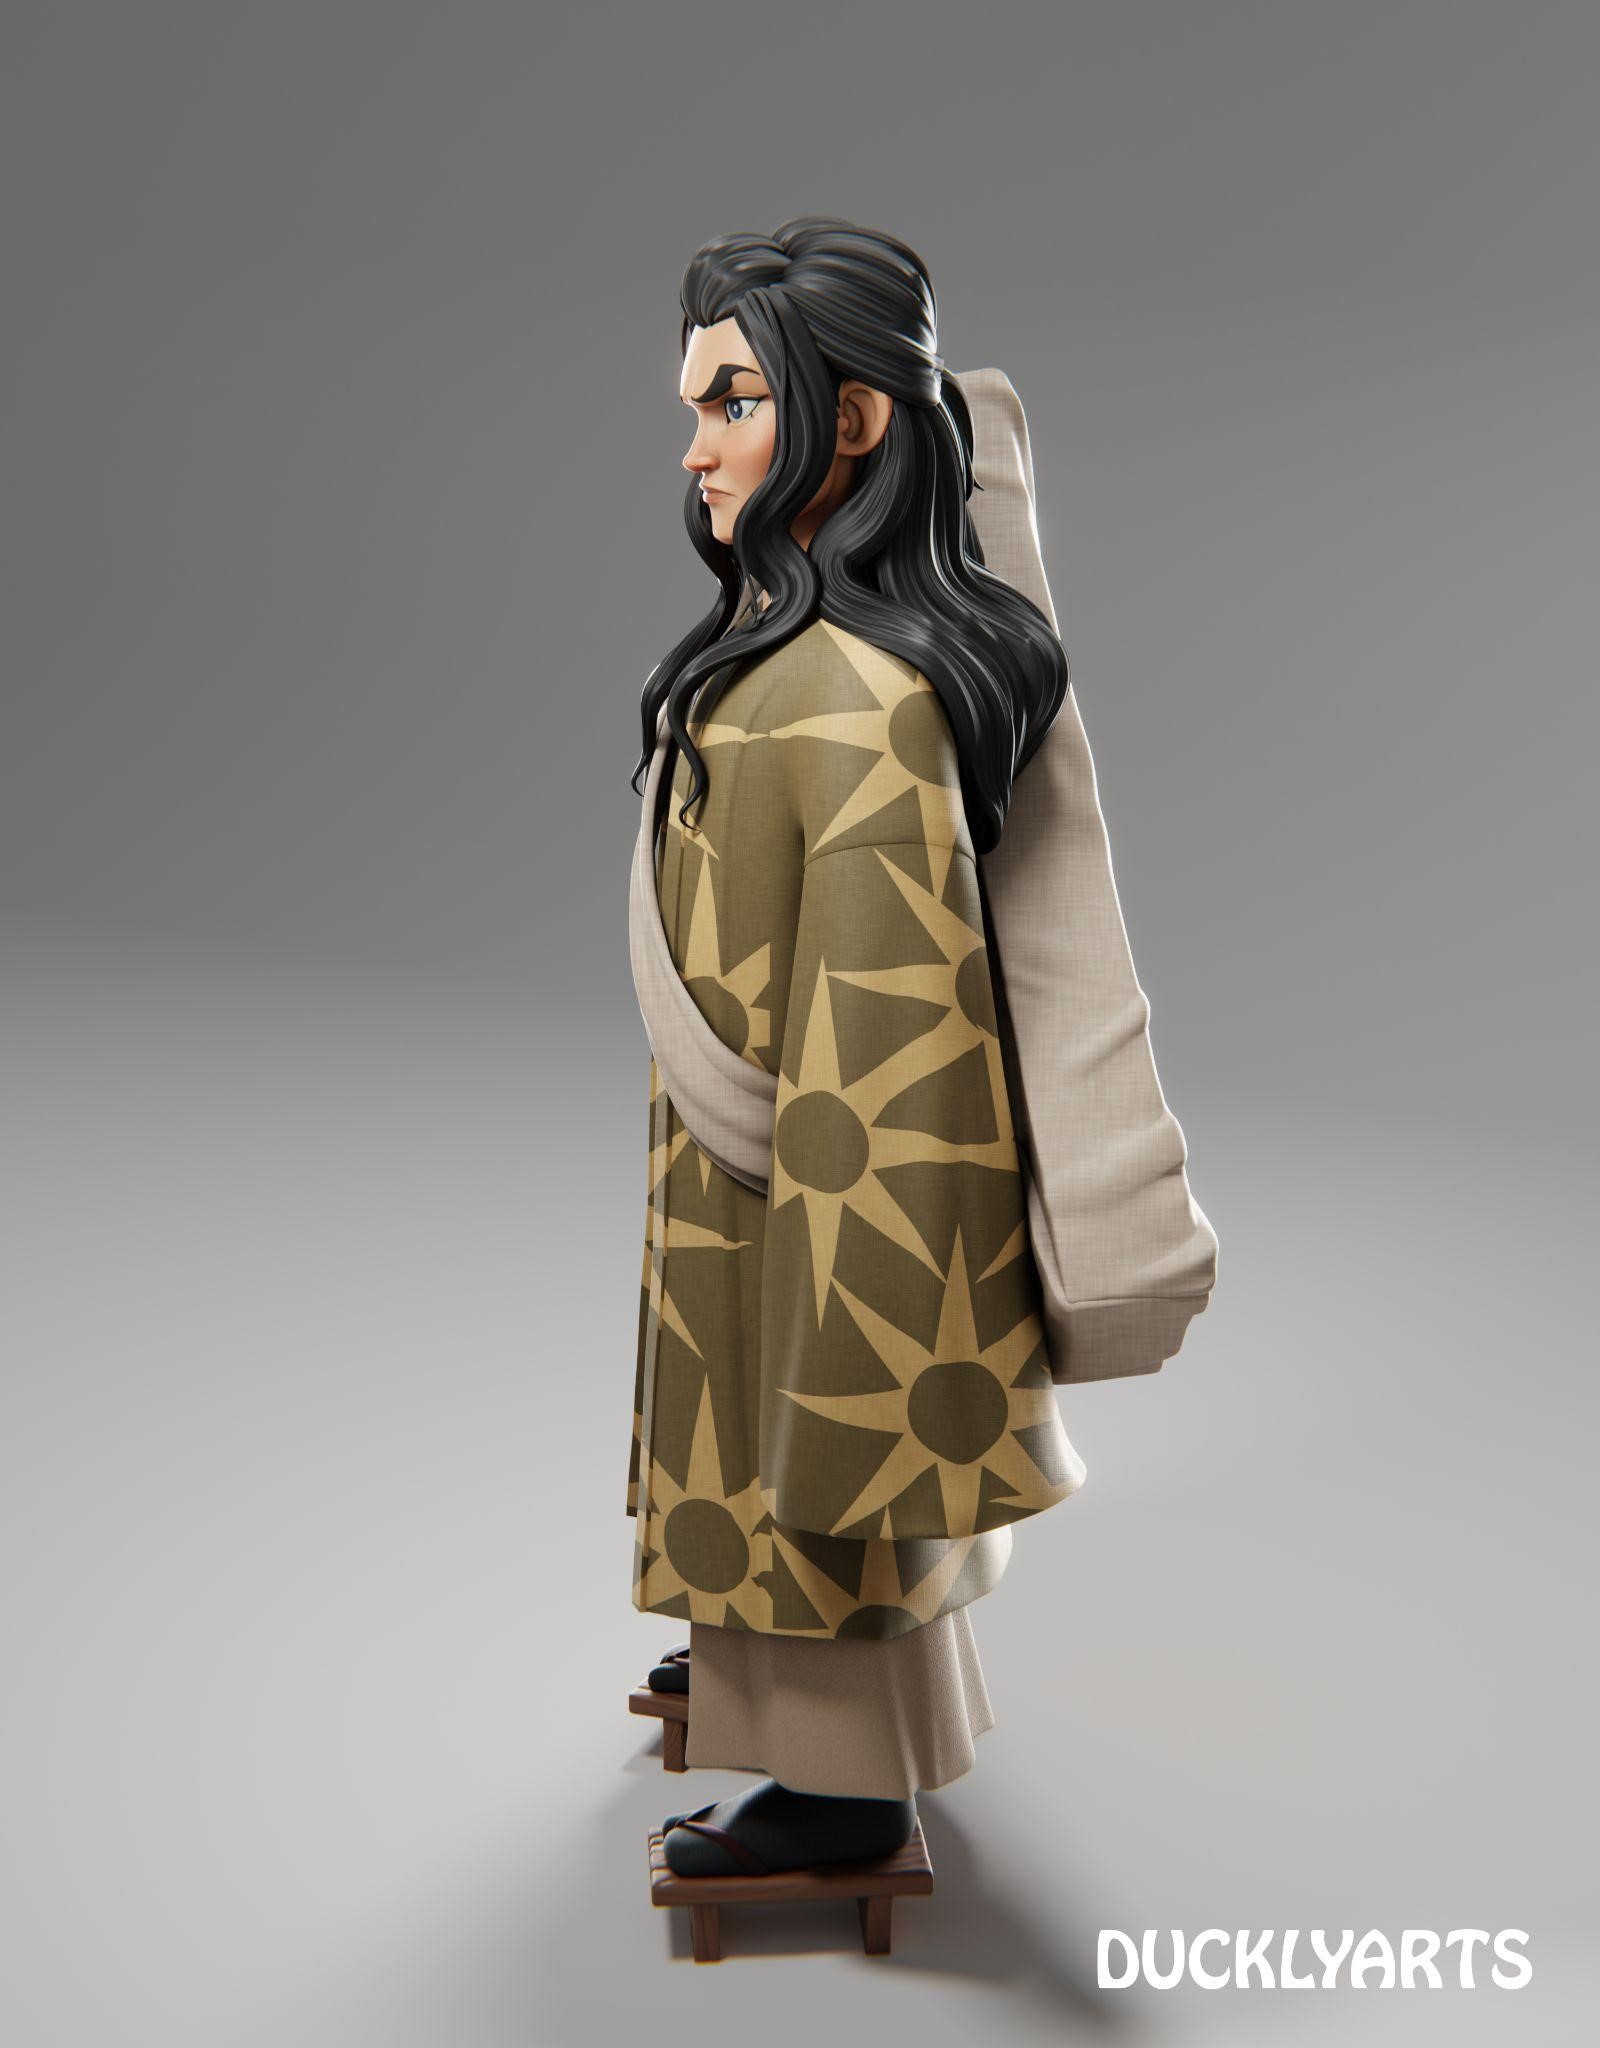
I also used the curve modifier for the hair.
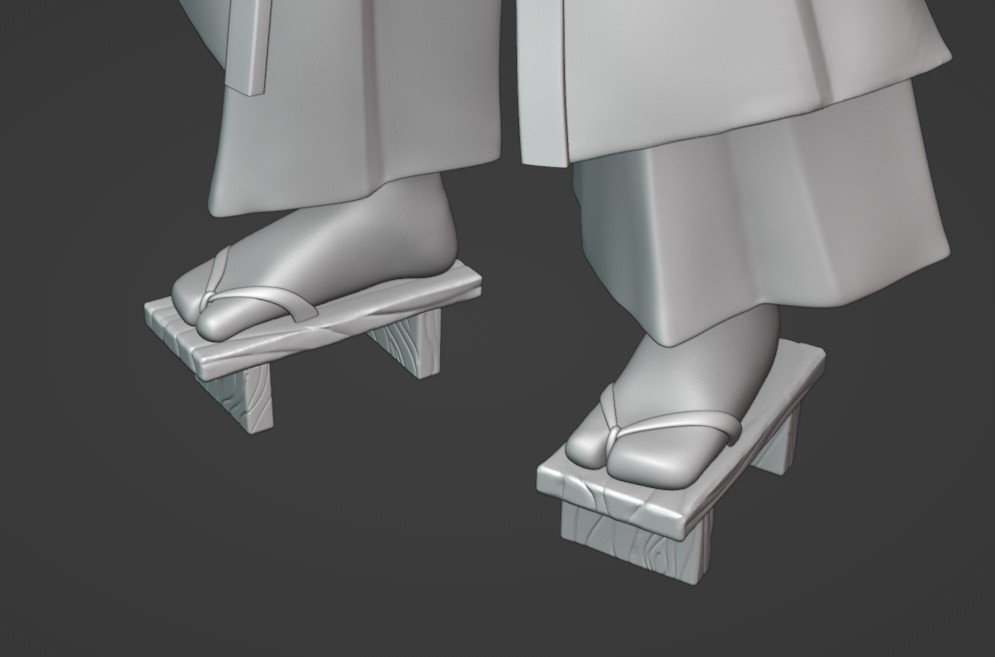
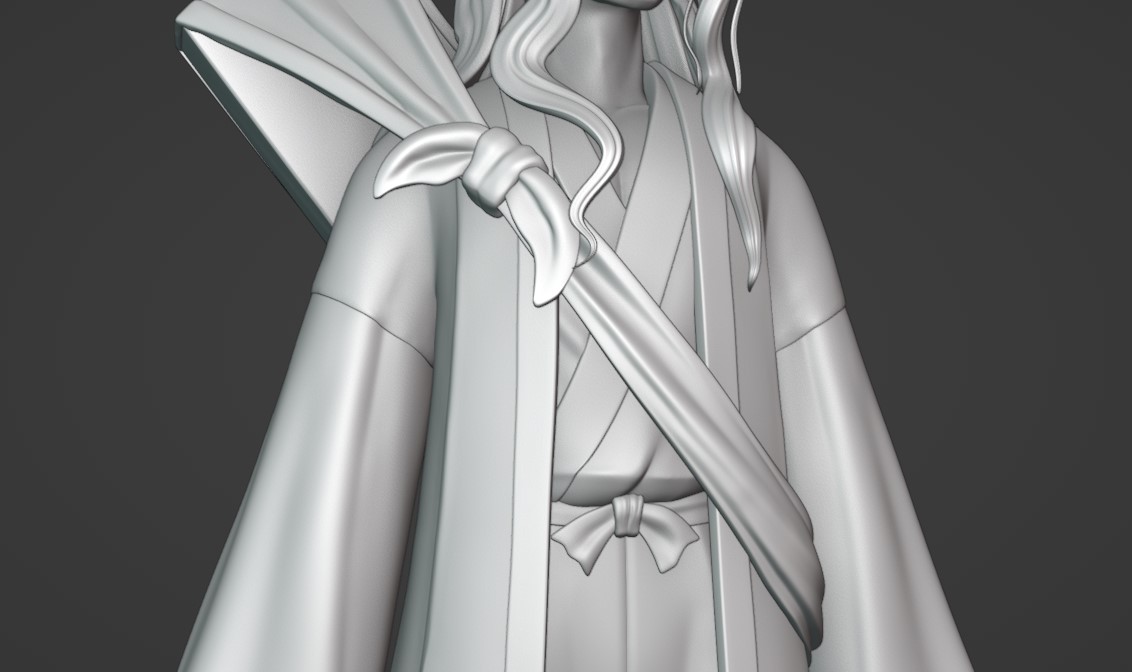
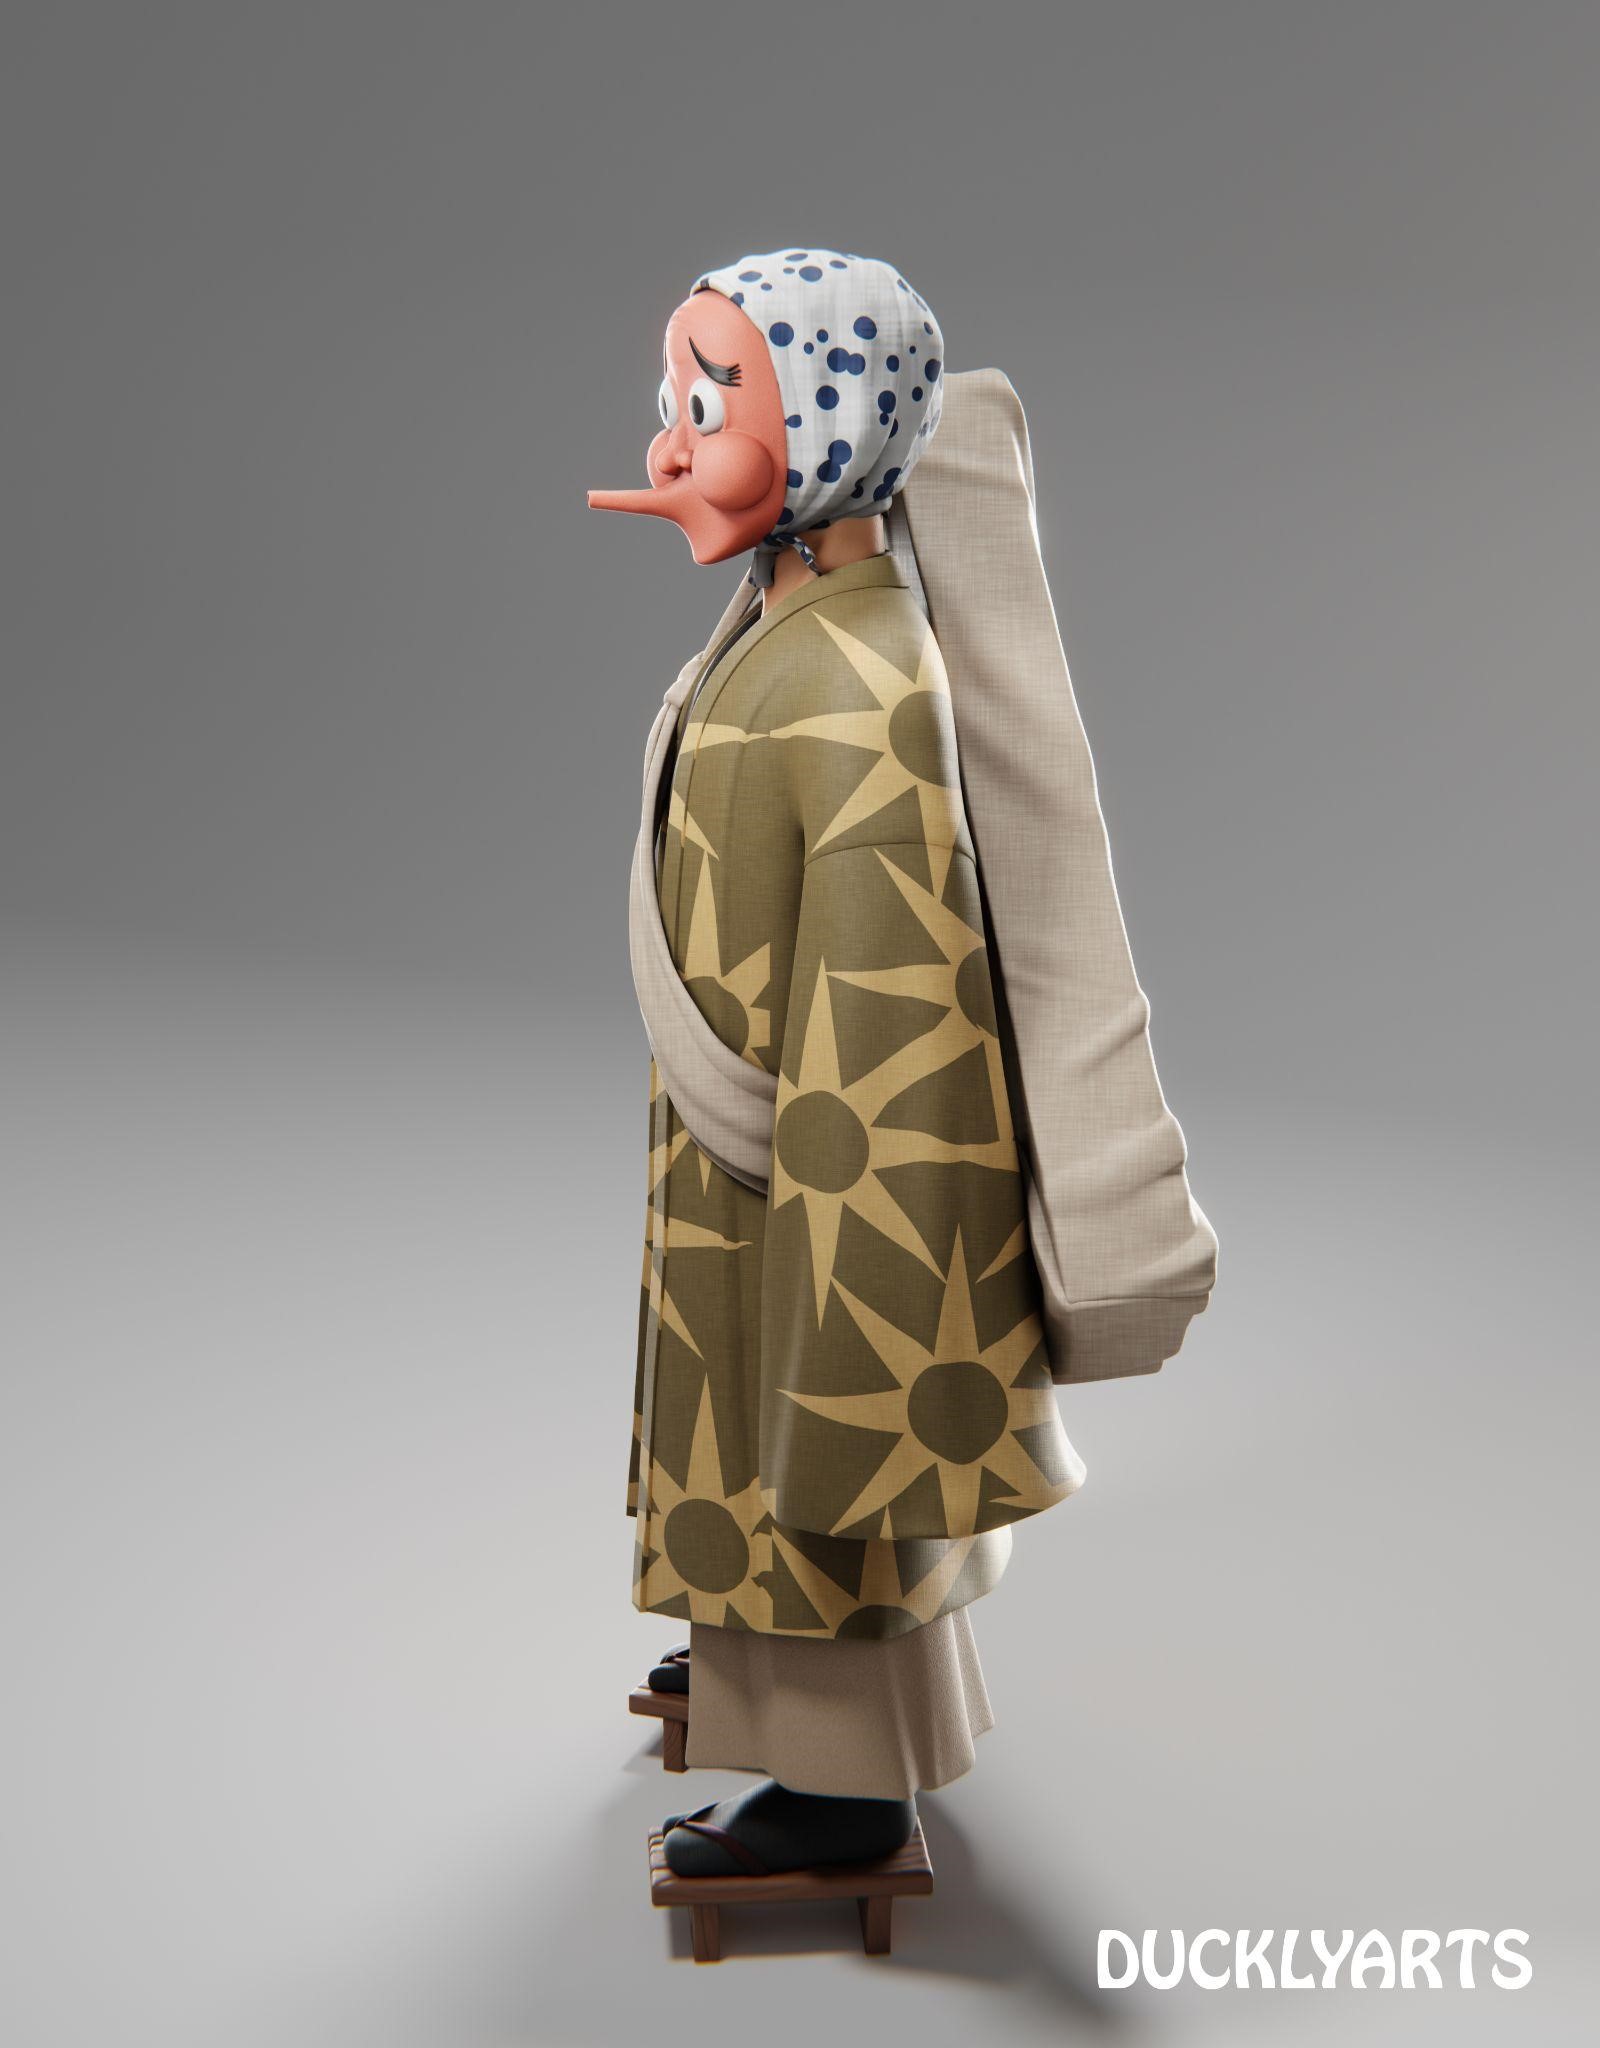
After the blocking was done, I started working on the details, such as the wood pattern on the sandals and the folds on the cloth.


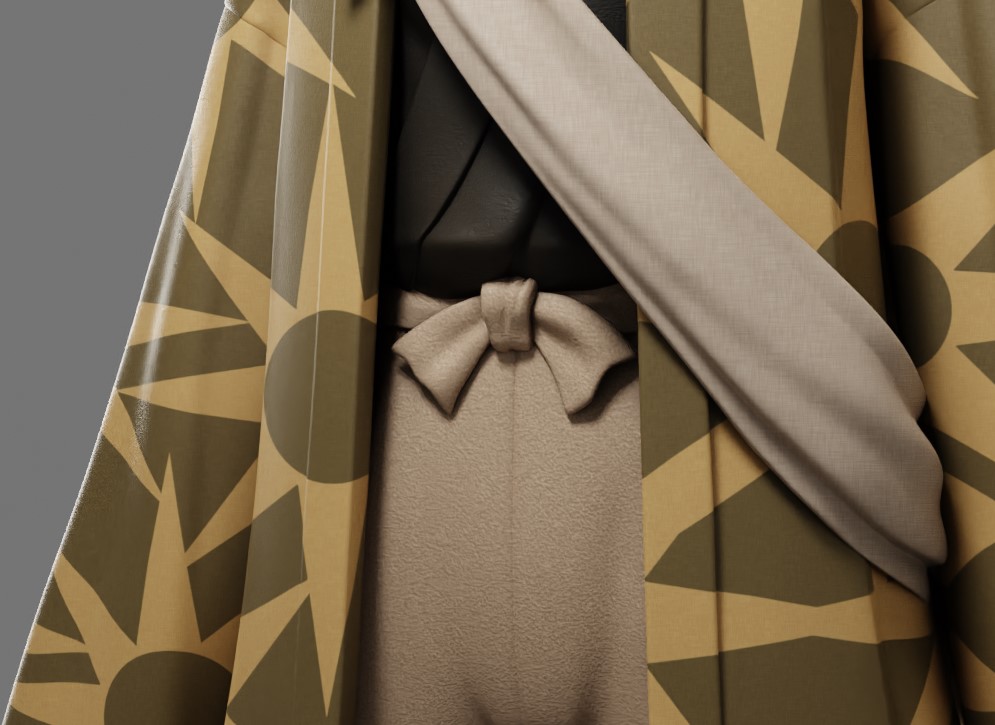
MATERIAL
I used procedural materials, mainly Principled BSDF for my character. I only did a bit of painting for the lips and blush on the cheek using vertex color and then combined it with the procedural material.
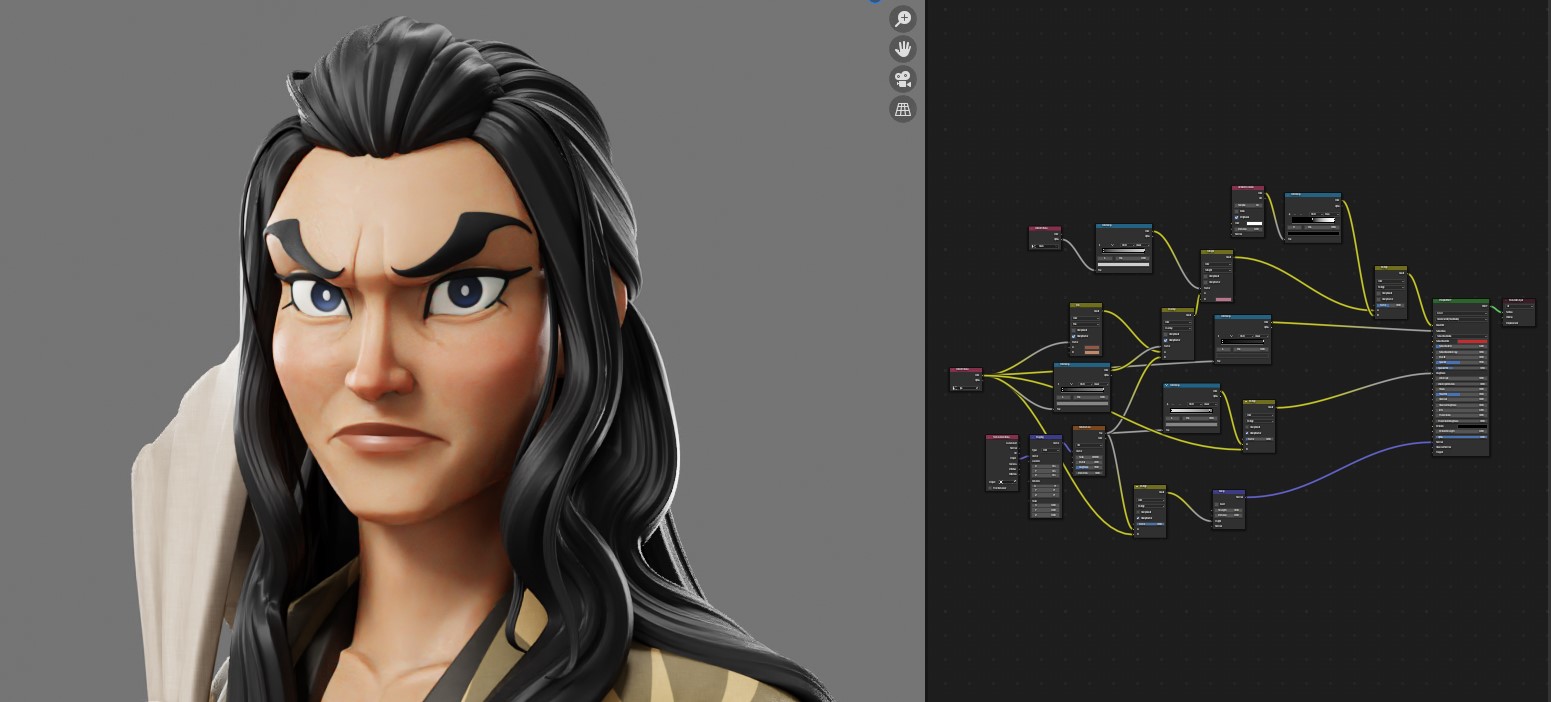
Then, I used a simple noise texture to create the cloth texture. For the star pattern, I painted the stars as a texture and used the camera view for the texture coordinate instead of UV.
LIGHTING
Lighting is really important for the final render. I already did some basic lighting while sculpting to help me see how the lights and shadows were shaping my character, so for the final render, I just added a few more lights and adjusted them accordingly. I used 7 lights for the final render.
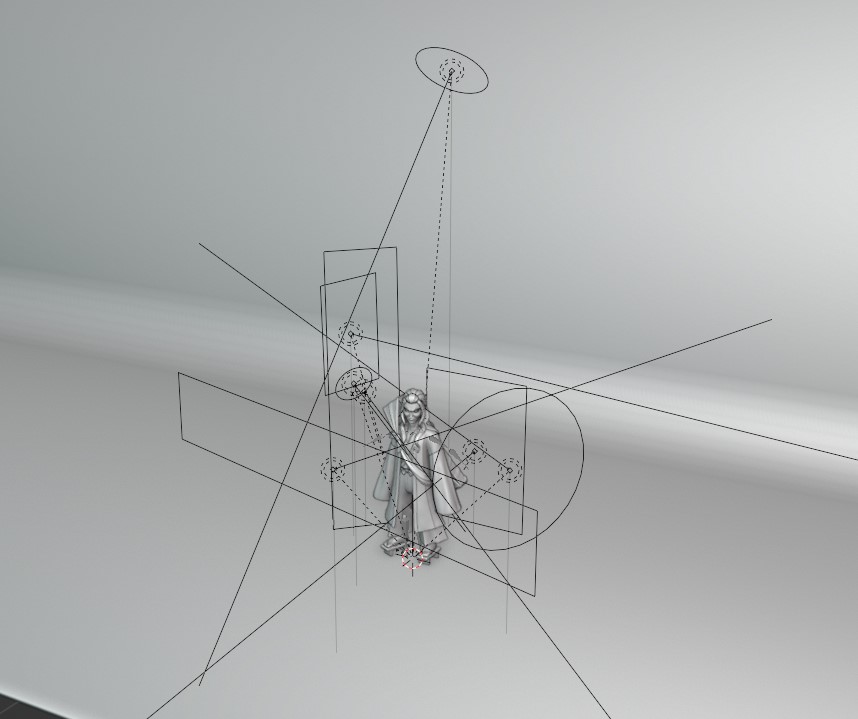
For the final post-process, I only added a little ambient occlusion and glare. And that was it!
RENDER – Haganezuka, Demon Slayer


Thank you so much for reading!
You can also follow me on my social media platforms. Have a good day!
About the Artist
Sandy Liem, aka ducklyarts, is a 3D artist, based in Indonesia. Currently, she is working for the game studio Stairway Games.


