Behind the Scenes: Scottish Cow
INTRODUCTION
Hi, my name is Andrei Zubachevsky. I’m from Ukraine, and I have been working in 3D for a year and a half now. I mostly focus on 3D animation and modeling, and I am also a lighting artist. Lately, I have been getting into grooming because I realized it makes my characters more interesting. I used to do photography, but I realized I lacked control over light and composition. Moreover, I couldn’t create stylized characters in real life. That’s why I started doing 3D.
INSPIRATION
I was inspired to create this wonderful cow by the approaching summer and the desire to apply my newly acquired knowledge in practice.
PROCESS
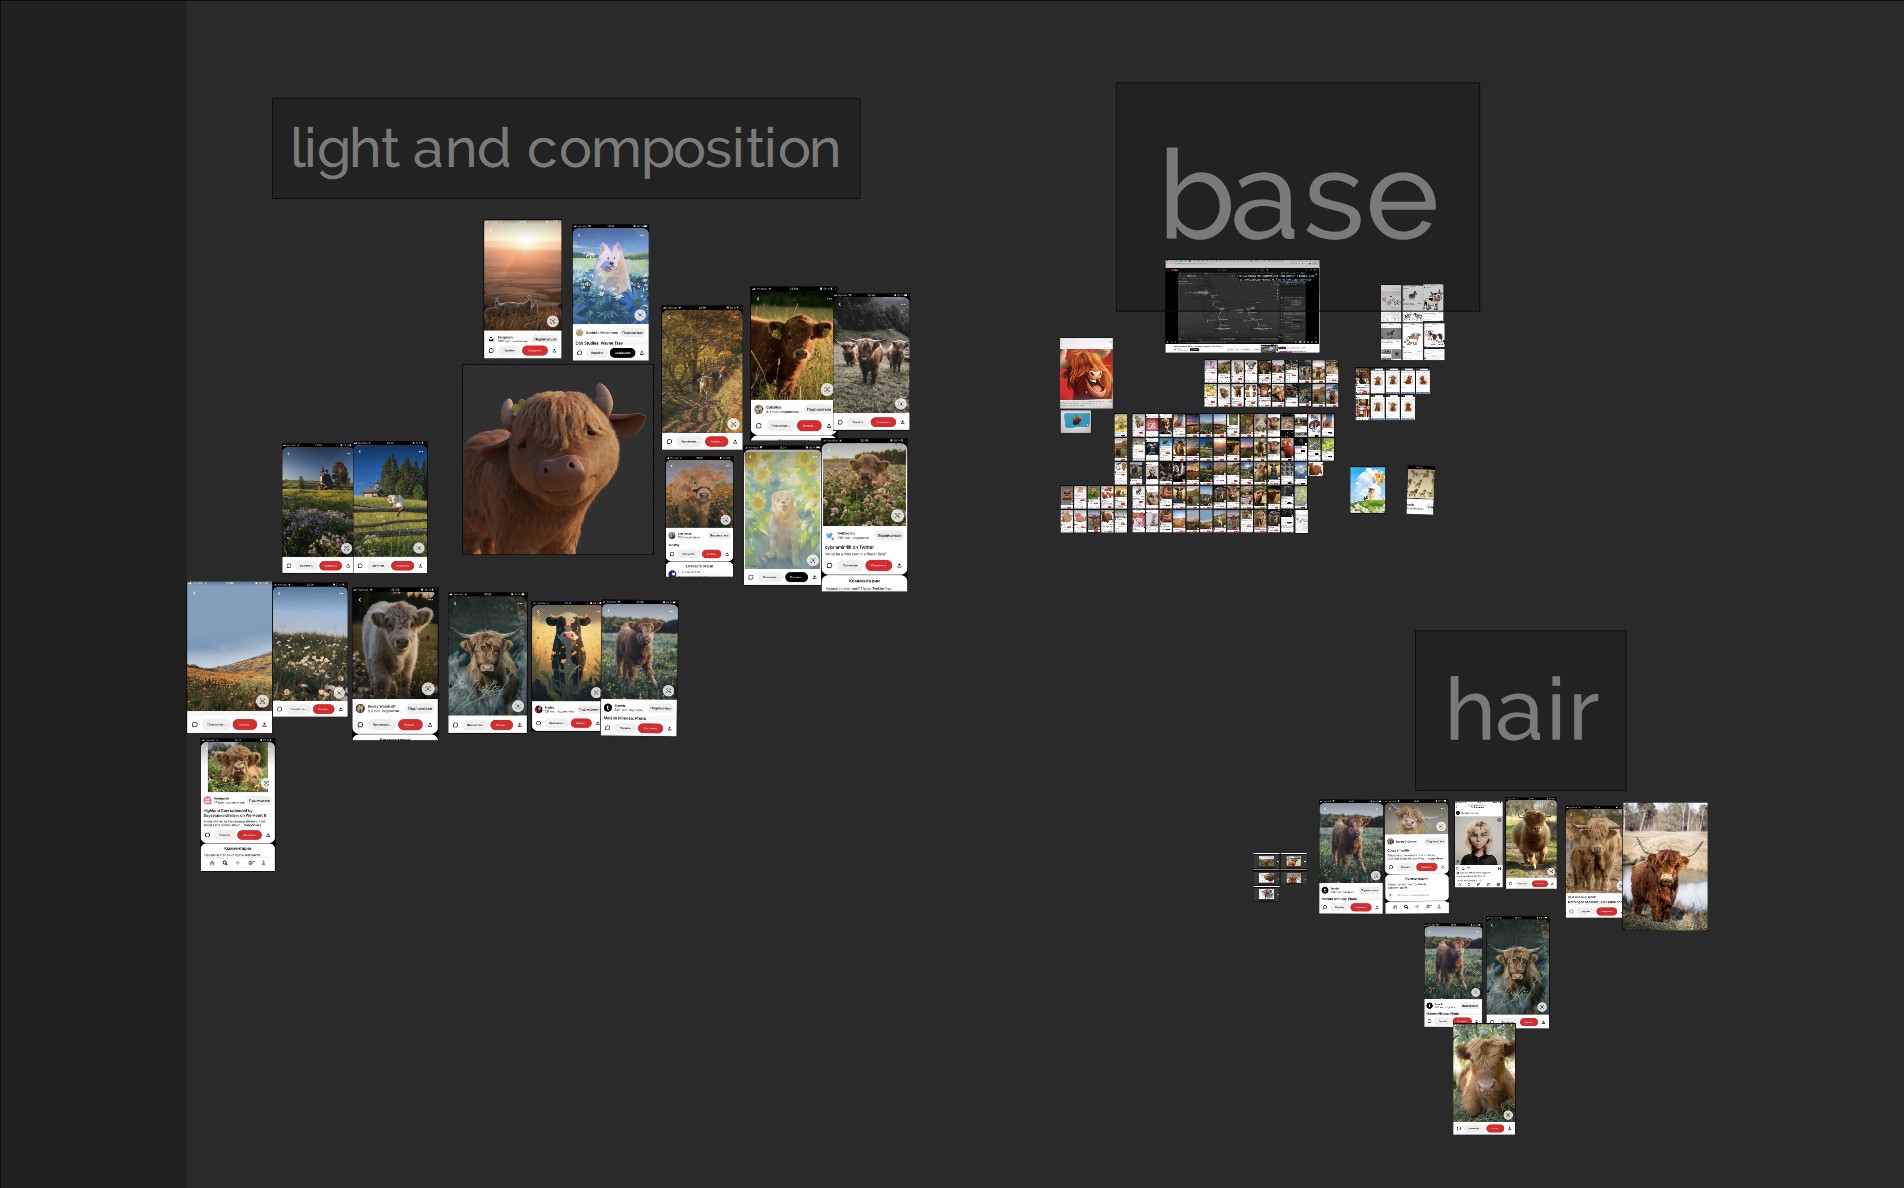
The main software I used was Blender. The work started with collecting references.
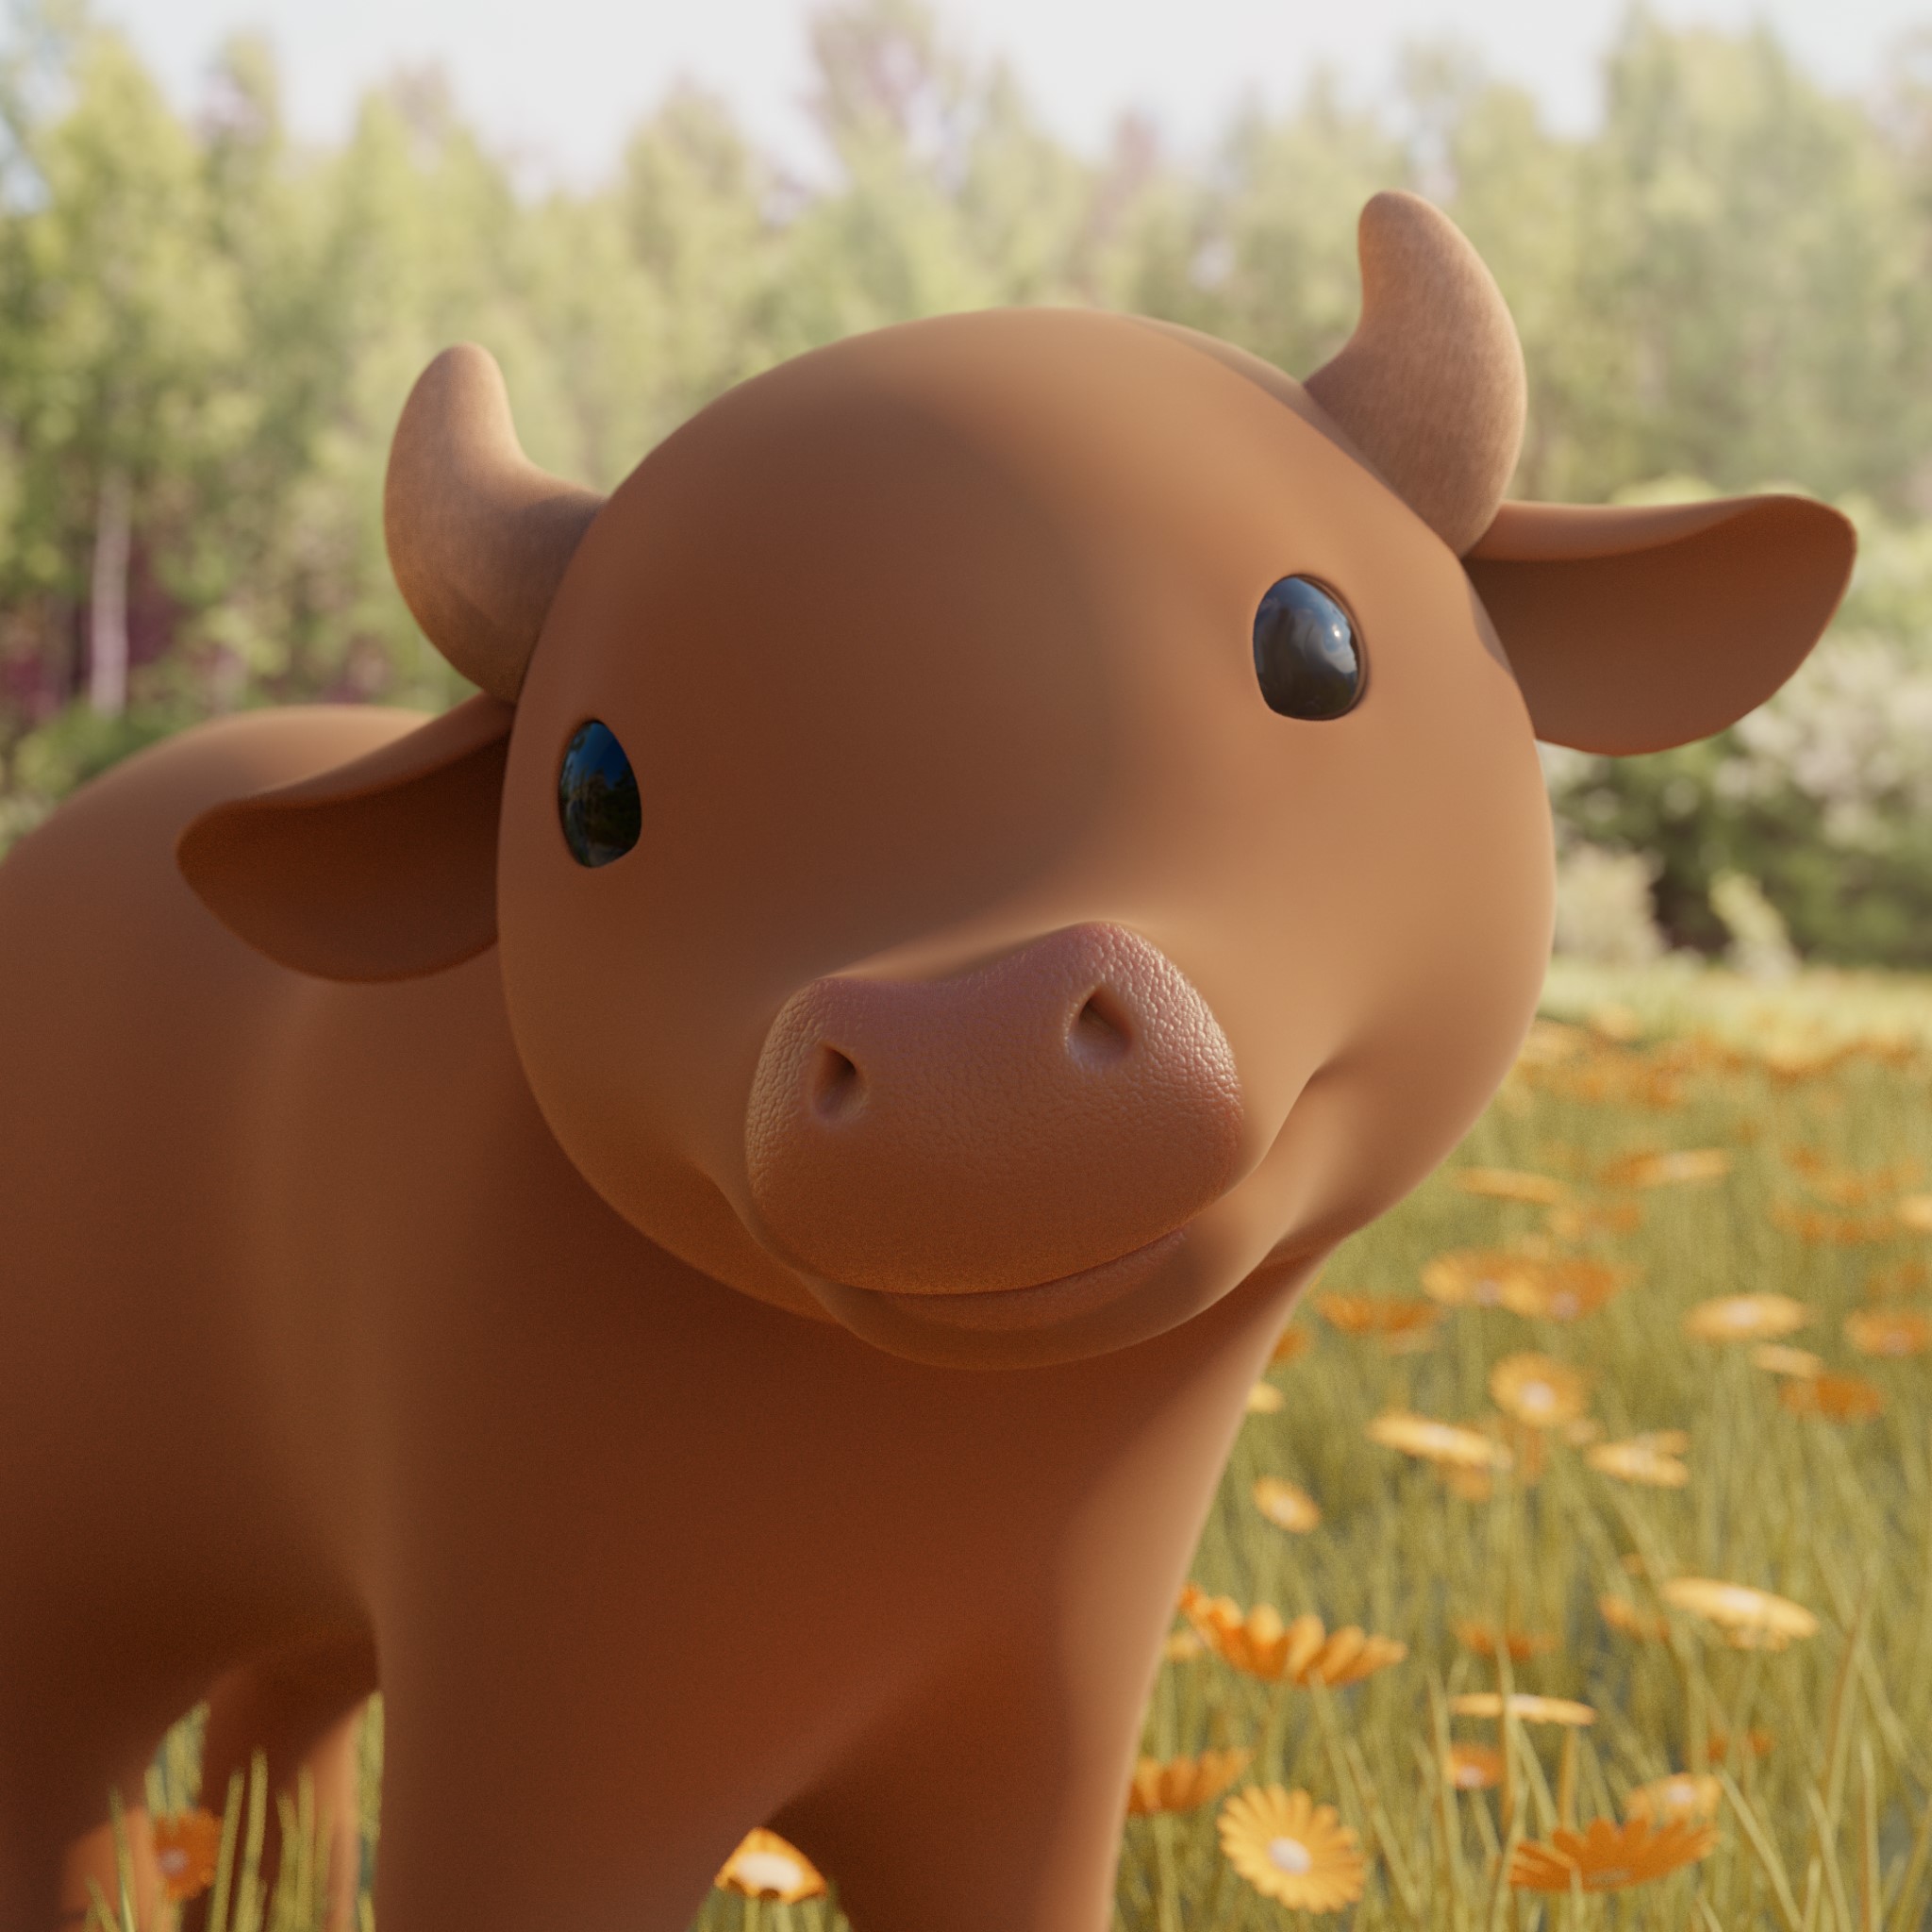
MODELING
After deciding on the cow’s pose, foreshortening, and stylization of shapes and wool, I began modeling. Instead of sculpting, I used classic Subdivision surface modeling.

TEXTURES
I used Substance 3D Painter to create the textures. Here, I created the textures for the cow’s nose and horns.
HAIR & FUR
Next, I moved on to the most interesting part, creating the hair and fur. I achieved this through the classic particle system. I used four particle systems, each serving its own purpose. Let’s start with the first and main particle system. To achieve the desired result, I applied this hair almost everywhere except for the very tip of the face.

1. For the first particle system, I created a length and clump map. You can refer to the screenshot above to see the Clumping and Roughness settings.

2. I used the second particle system to create a smooth transition from the main particle system to the nose. This fur was shorter and thinner compared to the main one. There is nothing particularly special about the Clumping and Roughness settings here, but I spent a lot of time combing.

3. Over time, I decided that I needed to make the main fur fluffier. After some experimentation with the first particle system, I realized that it would be easier to edit a copy. The copy became the third particle system, and by making it less dense and combing it, I was satisfied with the result.
4. The fourth particle system was used for the hair on her head. However, there was a little problem. When I tried to create curls using the Clumping settings, they didn’t look as nice as I wanted them to.
After carefully reviewing the references, I noticed that the large curls were transitioning into smaller ones. Even when I manually gathered the small curls into larger ones, there was still something wrong. But after experimenting with the Kink settings, I finally achieved the desired result.

LIGHTING
The lighting in this artwork is beautiful, yet not overly complex. On the right, we have the main light source, an Area light, while on the left, there is a similar light source, but with reduced intensity. This softens and enhances the shadows on the left side.

Something still seemed missing, though. To complete the artwork and make it more vibrant, I added a reflector to the front. With this addition, the artwork became more appealing and juicy!
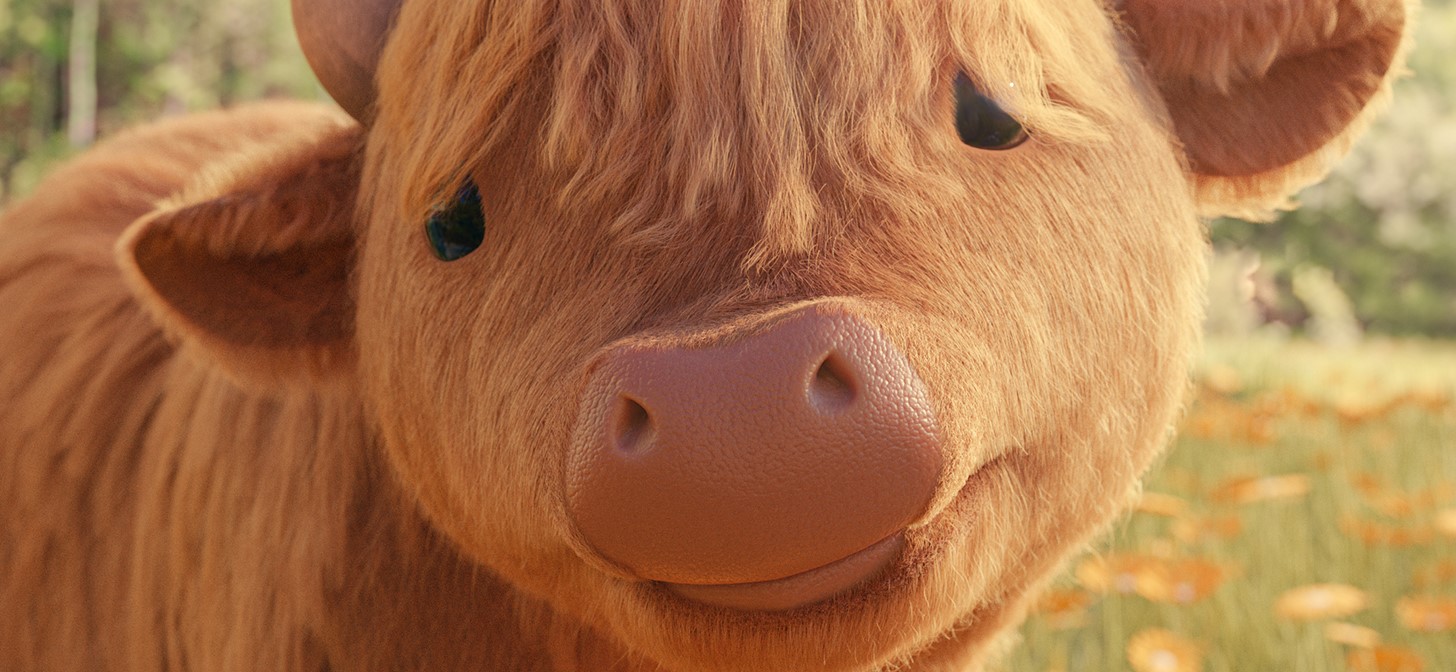
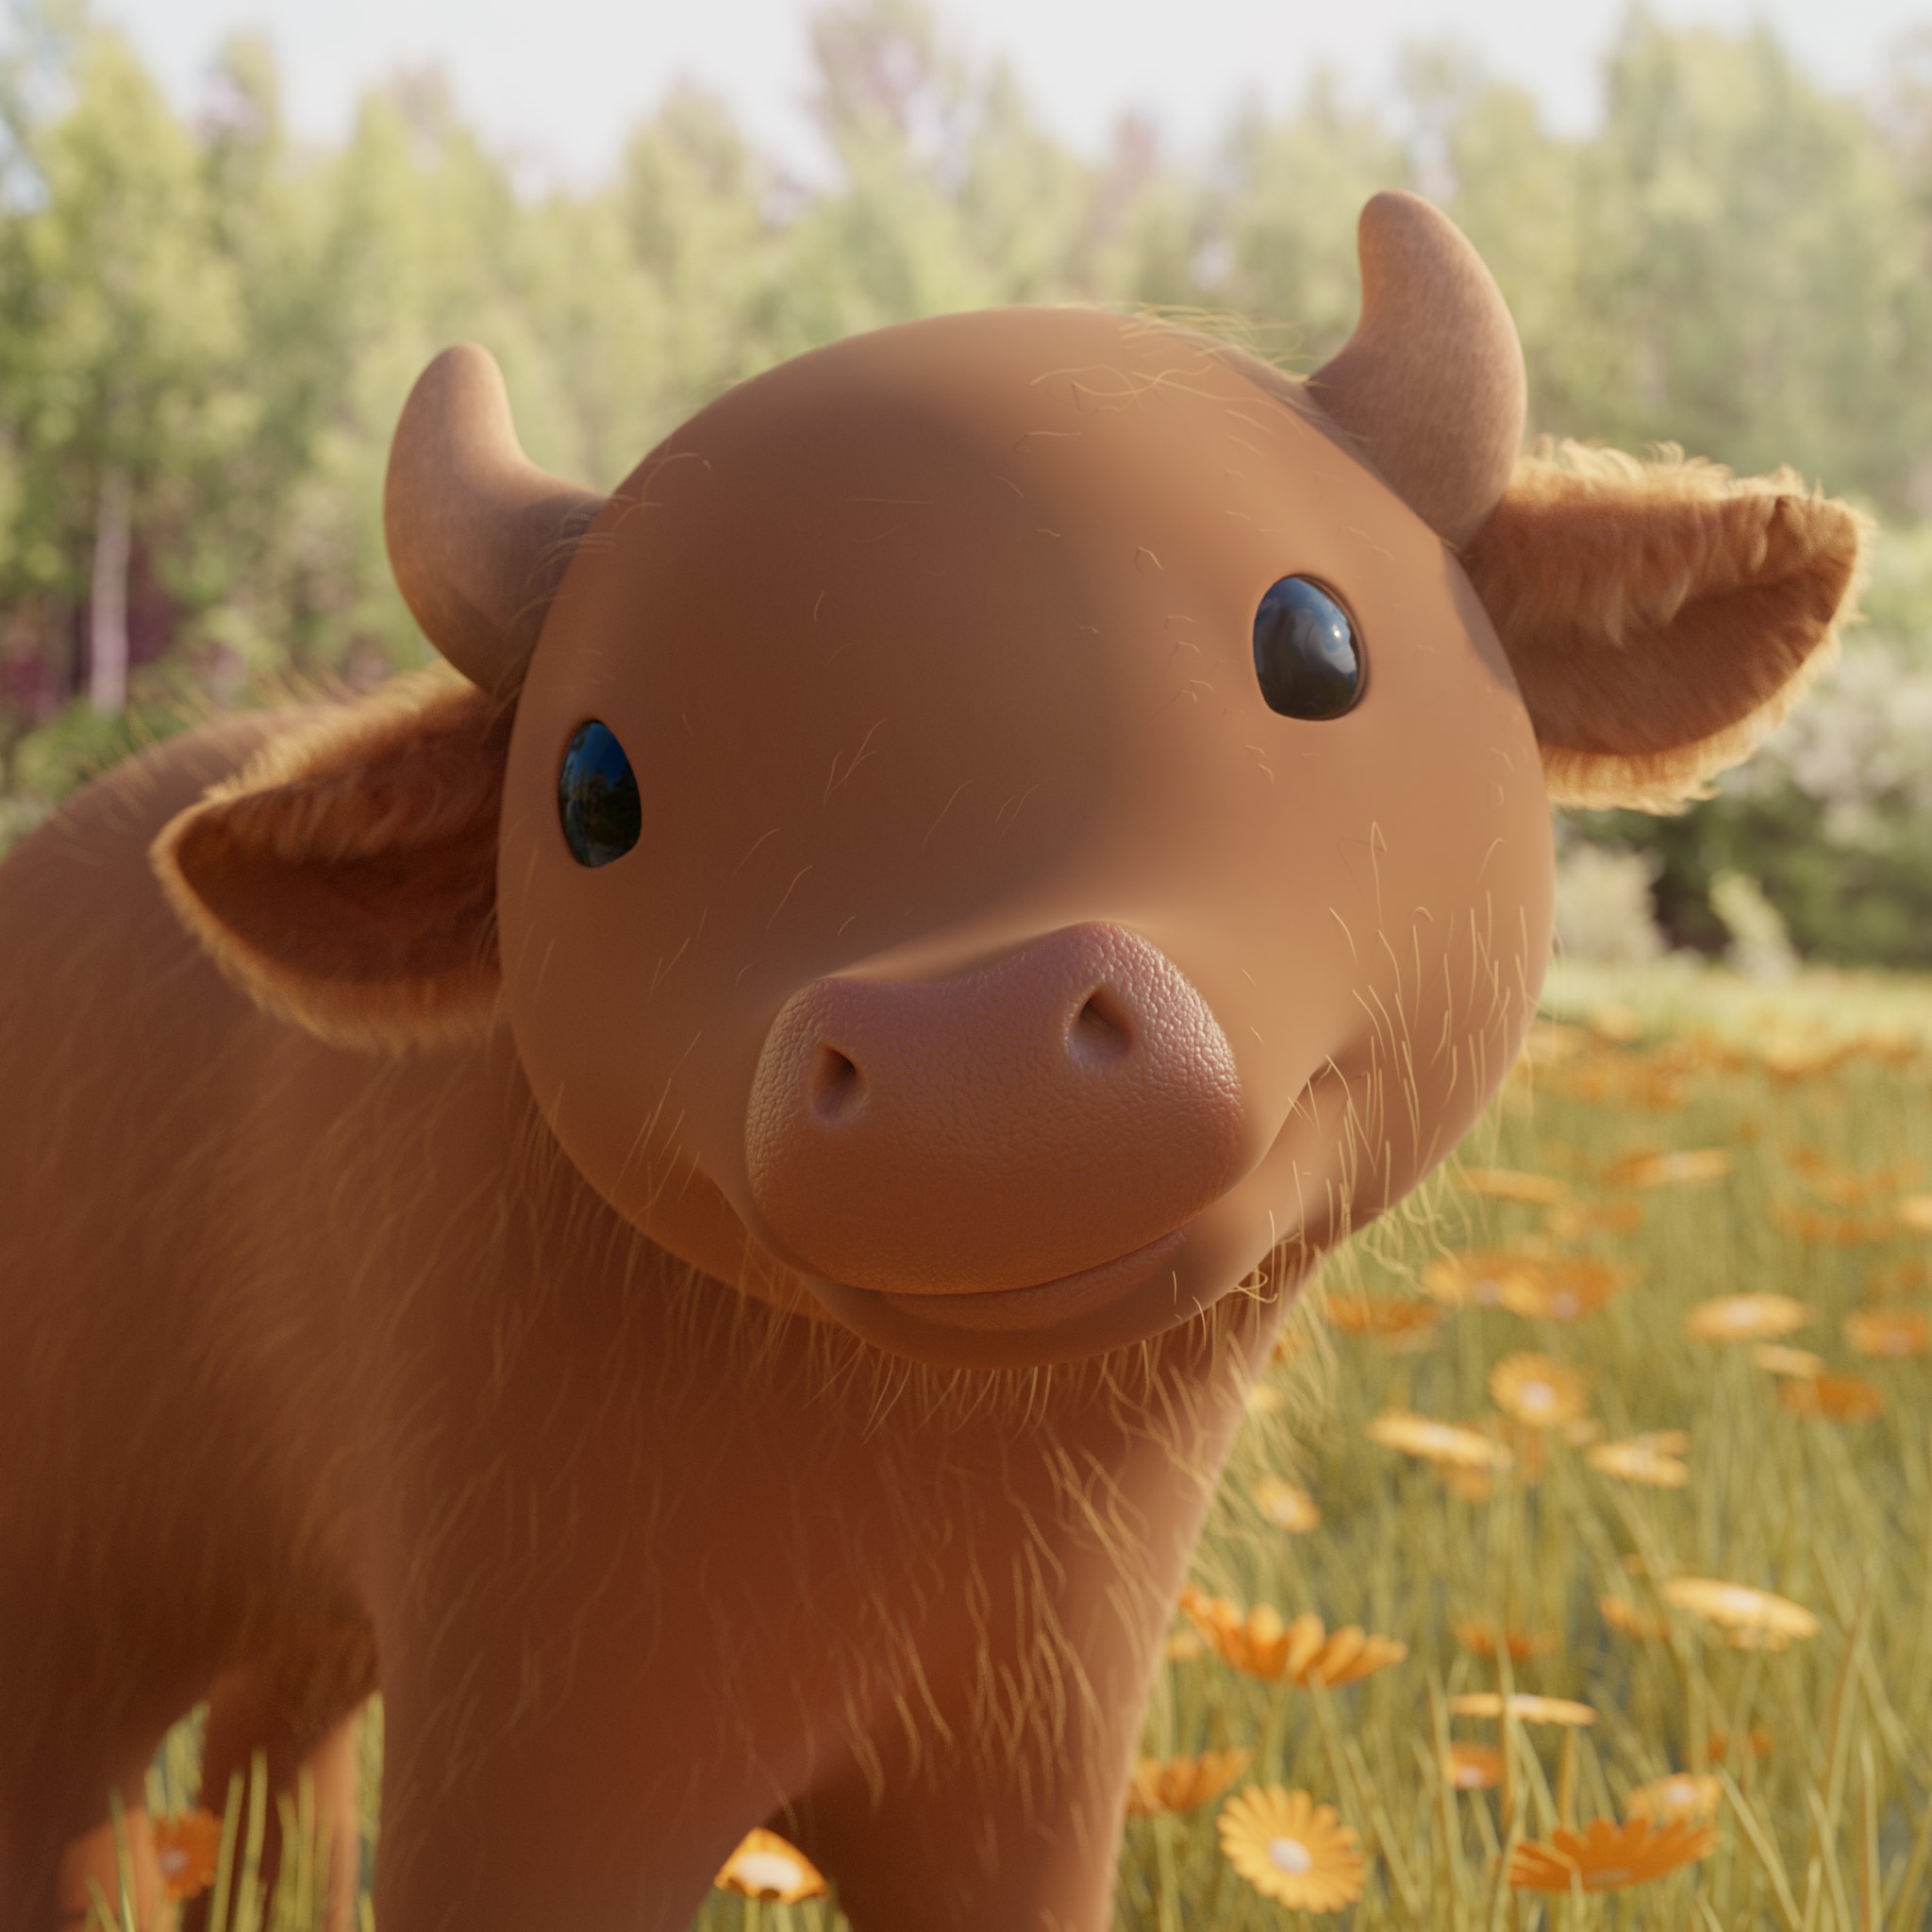
RENDER – Scottish Cow


Thank you for your attention. Don’t forget to follow me on my social networks! I wish you great creative success!
About the Artist
Andrey (tviintik) specializes in 3D animation, modeling, and lighting artistry. At the moment, he does freelance work.


OMG, this cow is so cute! Could you please share how you set up a light reflector? Is it a plane with a reflective texture or is there a better way? Thanks!
I *think* you can just use an area light as a reflector… a reflector on a movie set would be used to bounce light back into the scene. Instead of doing that in Blender, you can just add another light :D
It seems to me that the reflector gives a softer light than conventional light sources, but maybe I’m wrong
I use a regular Principled BSDF, and use its settings to adjust the reflection.
Thank you for sharing! I agree, the light looks soft and very natural, the way light is reflected in daylight. Brilliant solution and beautiful rendering!
Wow!! I love this so much!
How sweet it is! :)
Wow, this is soo cute! Lovely cow Amazing work, Andrey!