Behind the Scenes: Alien Containment Lab
INTRODUCTION
Hi!
My name is Marton, and I am a 3D artist from Hungary currently studying mechanical engineering in Denmark. I started learning Blender about 5 years ago, and ever since then, I have created whatever I could imagine. I just love the aspect that as long as I can imagine it, I can create it in Blender with sufficient time.
INSPIRATION
Believe it or not, this scene was inspired by a picture of a chicken without a beak. Yep, that’s it! The rest just seemed like a fitting environment, and I wanted something that tells a story.
SCULPT
The first part of the scene that I created was the alien sculpt. This was the first time I had created anything complex with the sculpting tools in Blender, but surprisingly, it was pretty easy. After finishing the sculpt, I remeshed it (I’m too lazy for manual retopo).

TEXTURES
To texture the alien, I used texture painting, which, as it turns out, is really useful, and I don’t know why I haven’t used it before. Some of the image textures I used are images of a mango…

The water material looks something like this:

It’s something that I have previously made and I use it regularly whenever I need water.
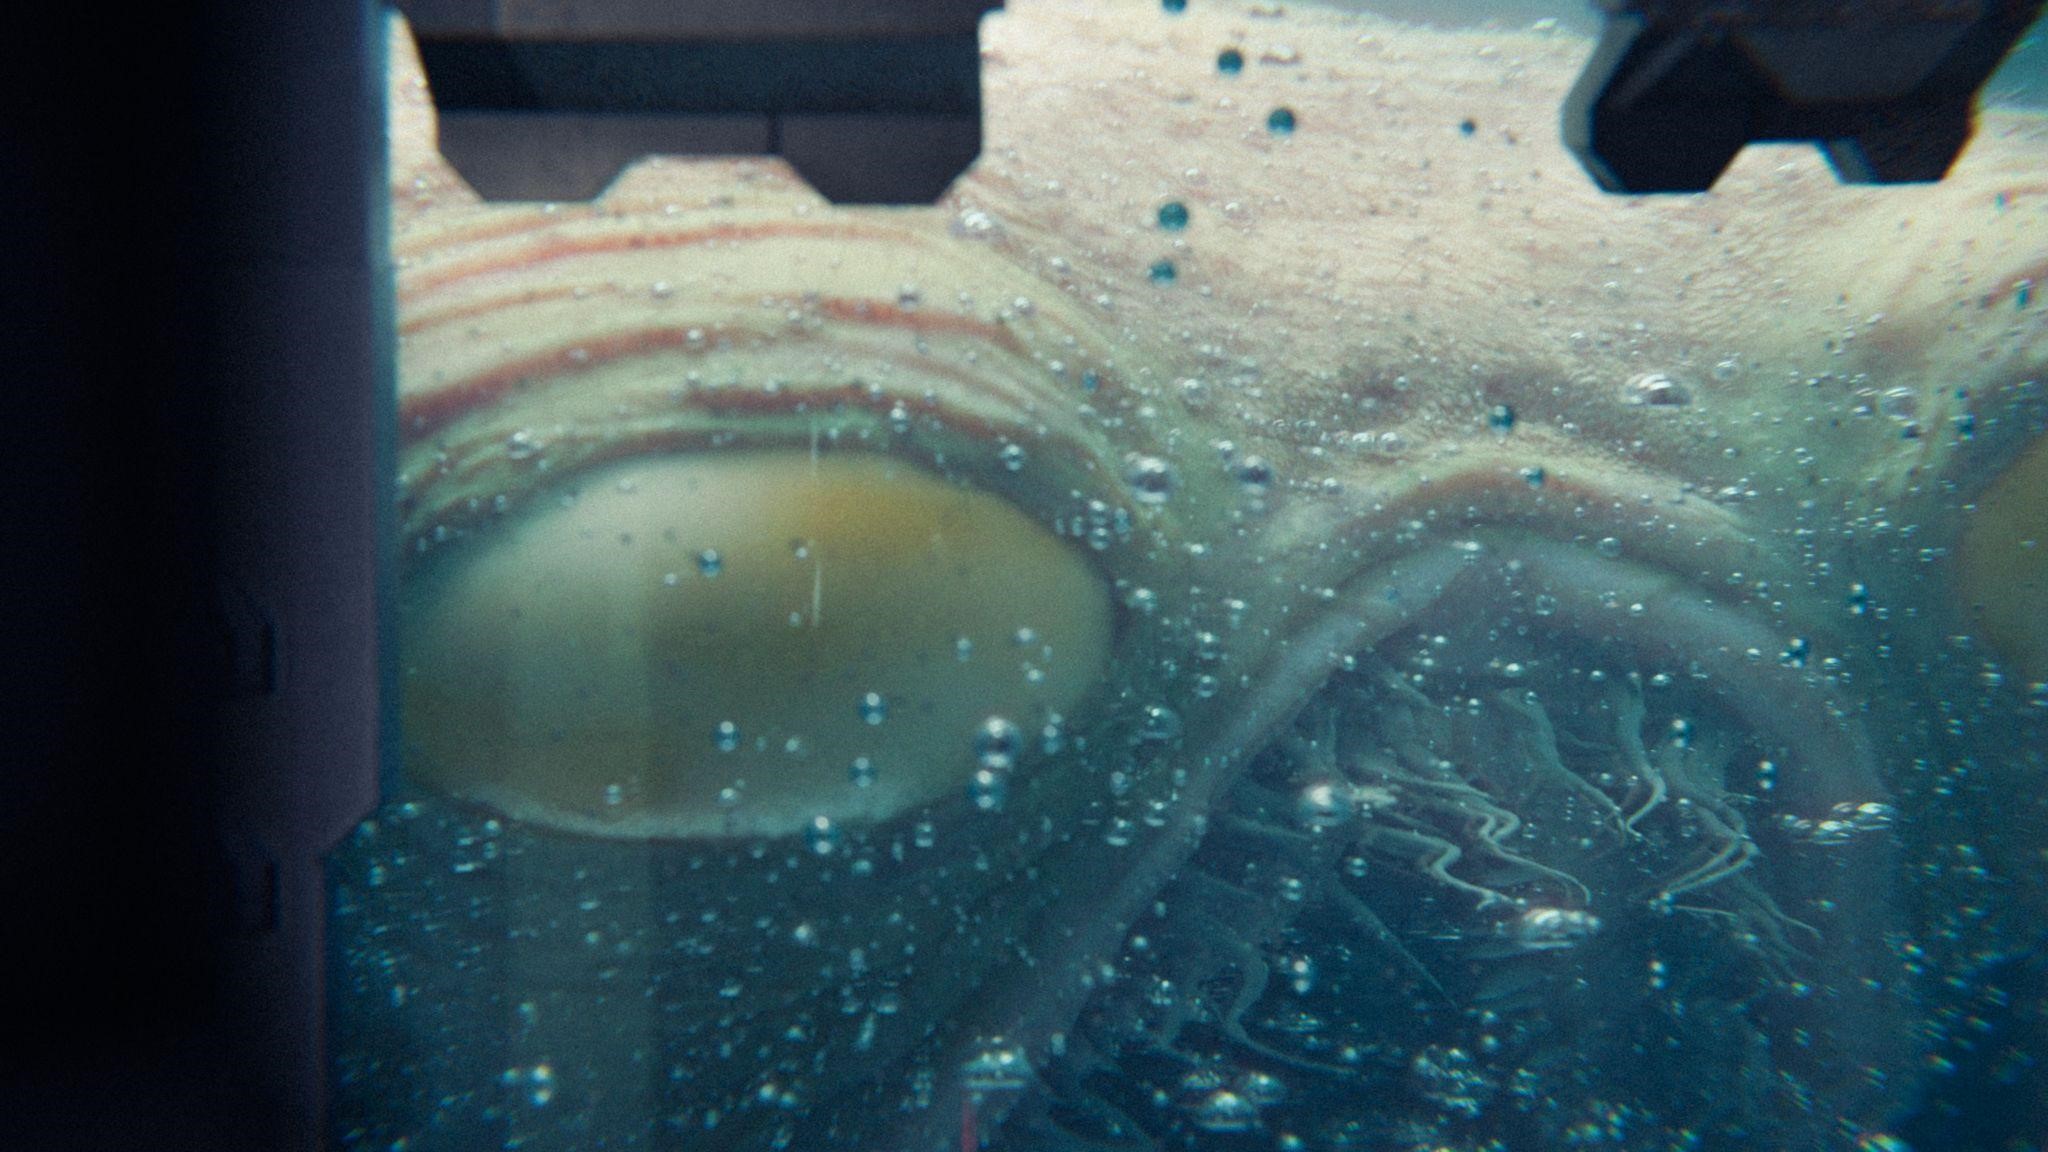
As for the bubbles, they are just particles. I added particles to everything that was in the water, as well as some floating around.

The bubbles were a bit overwhelming for my potato PC, so I only made them appear in the final render. As for the bubble material, it’s simply a glass shader with an IOR of 0.
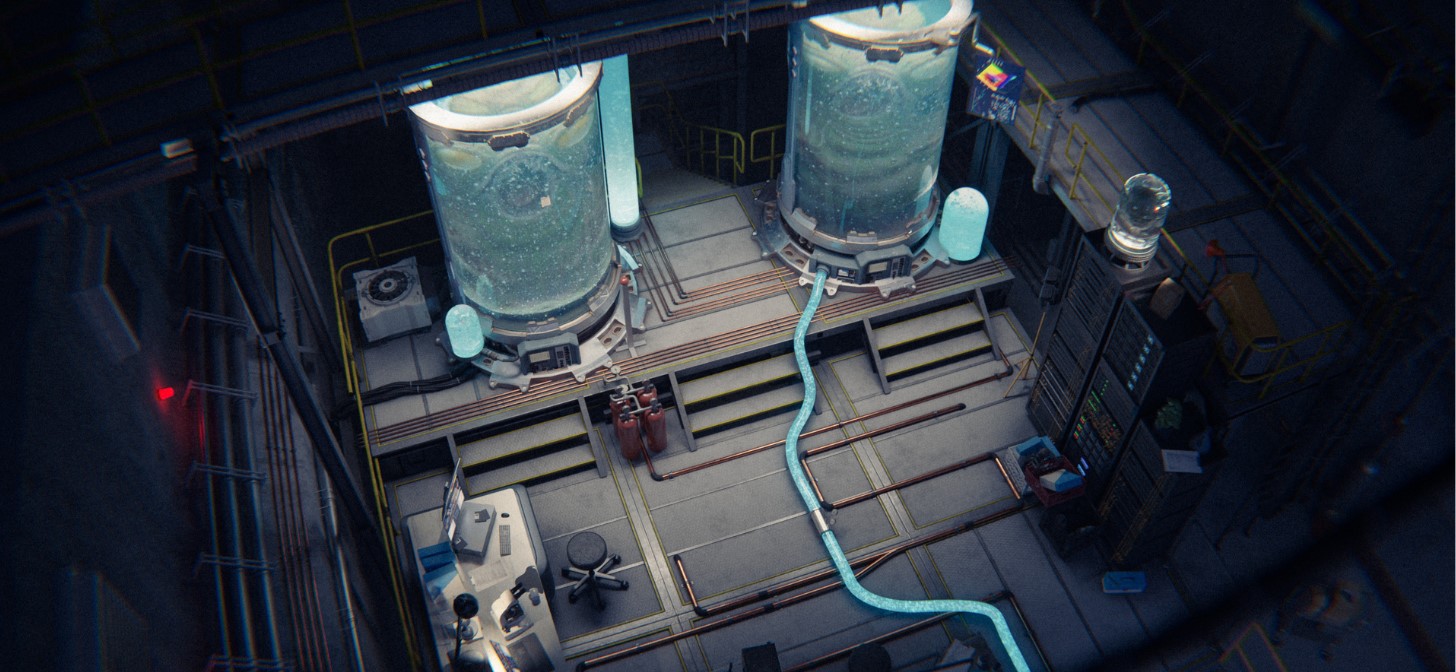
SCENE
After the alien was complete, I appended it to a new file and started building a scene around it. I had these warehouse asset kits lying around in my asset library, and this seemed like a perfect chance to use them.

When I had a basic layout of the scene, I started to think about what other objects would look nice in the scene and how the alien would actually fit into it. This is where I had the idea to put the aliens (Larry & Barry) into a vat of fluid. This would also allow me to have some nice shots with bubbles and dispersion.
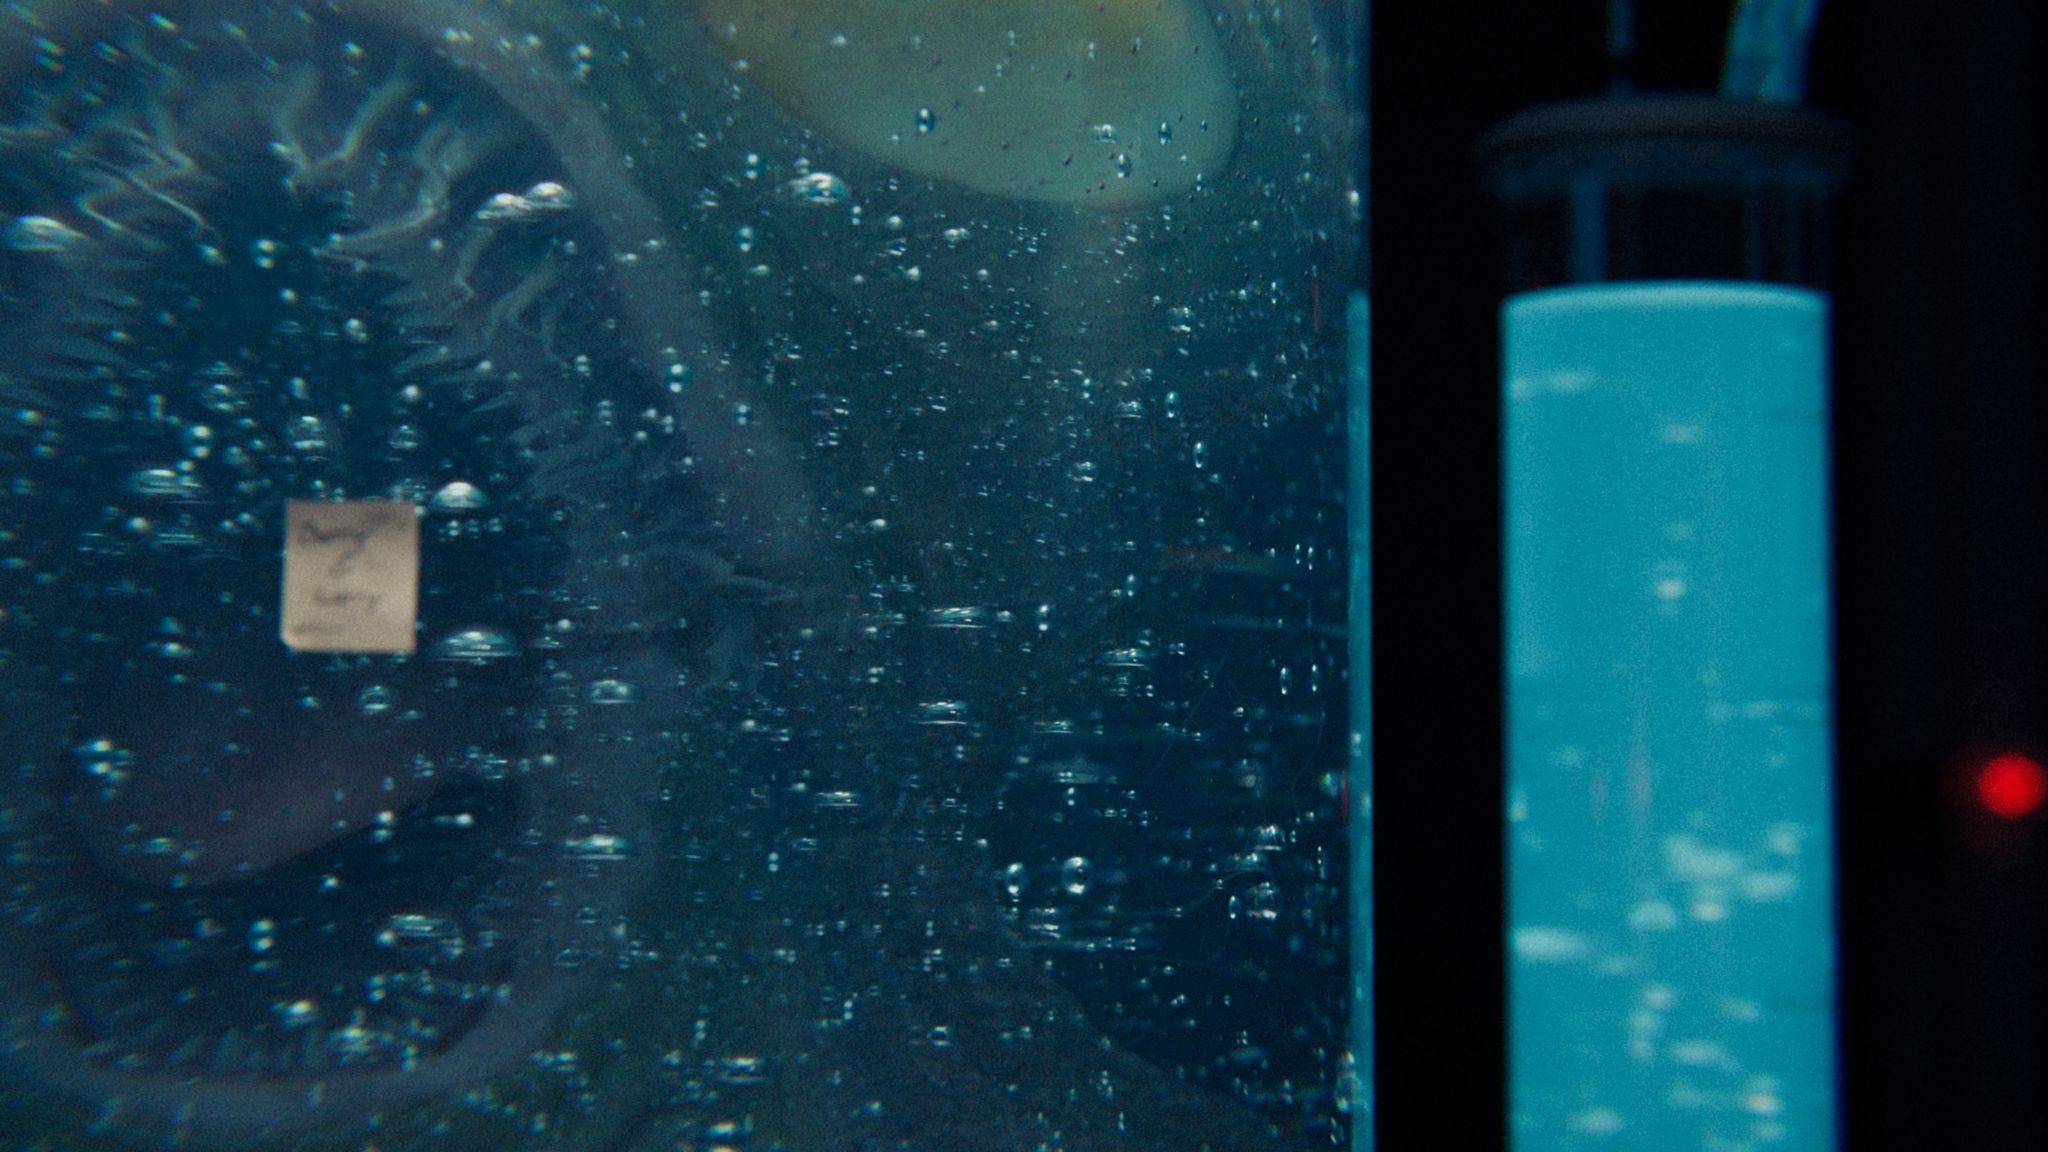
COMPOSITION
After the scene was done and I had all the objects placed, I just fooled around with the camera to find interesting compositions that showed what I wanted to show the viewer. I also added some bloom and lens distortion in the compositor.
After the renders, I used Lightroom to touch up the colors and added grain to the image, which really put the shine on it. Here’s an example of the image before the Lightroom touch-up:

As I said, adding some grain and increasing the contrast really makes the images pop.

RENDER – Alien Containment Lab


Thank you for reading. Feel free to ask any questions, and if you like my work, follow me on social media. Have a good day!
About the Artist
Marton, a 3D art hobbyist from Hungary, currently studying mechanical engineering in Denmark.


