Behind the Scenes: Cat5!

INTRODUCTION
Hey! My name is Mark Kyrylov. I’m a guy living in Khmelnytskyi, Ukraine, and additionally, I’m a 3D artist and designer. It all started two years ago when I stumbled upon Blender Guru’s donut tutorial. I tried it, liked it, and to this day, I keep a habit of messing with vertices. Pretty trivial beginnings, that’s all I can say.
As for today, I continue my self-education process through project-based learning. And I’m more than happy about the path I chose.
INSPIRATION
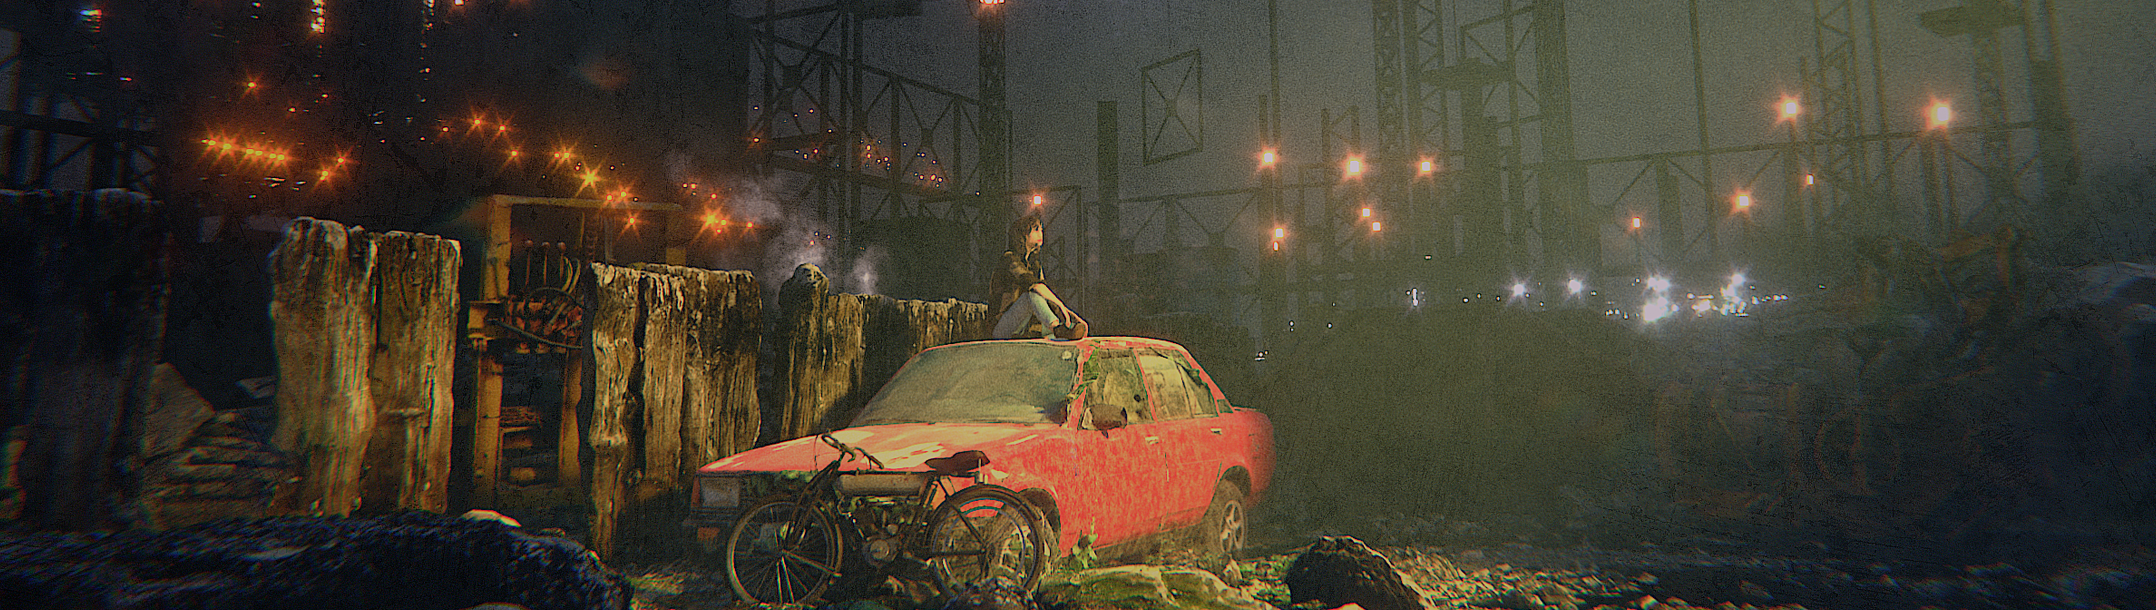
This particular work is just a part of my future short film, which features a lot of techy and grungy objects.
In the idea-gathering stage of this project, I was cleaning my house and found a bunch of old and used Ethernet cables, as well as cut RJ-45 connectors. I instantly fell in love with these guys and did a little photoshoot to add them to my reference sheet.

Initially, I had planned to model these cables as ordinary assets for my film, but I loved the look so much that I decided to treat them as an individual little project with their own set of renders.

The majority of my inspiration comes from the references themselves. I shot my connectors over a cheap plastic flashlight to capture translucency better, and it created this trippy gradient background surrounded by vantablack darkness. So when I had everything I needed, I proceeded to work.
MODELING
After gathering all the important references, I started my work. I decided to begin with the hardest part, the RJ-45 connector. This feat was not the easiest one because there were so many tricky parts about it. Firstly, it’s microscopically tiny, and it was almost impossible to find adequate references or blueprints anywhere on the internet. Secondly, it’s translucent and refractive, making it extremely hard to understand how it looks from the inside.
The modeling part was the toughest for me, and it took me a long time to overcome this challenge. I worked on my mesh directly in Blender because I was planning to take extremely close shots with my model, so it was important to keep my topology right and clean.
This quad-subD hell took me around a week. I was never good at maintaining clean topology.
SCENE BUILDING & LIGHTING
Right after I modeled and unwrapped my mesh, I started building my scene composition. I always do this before texturing because I want to create my materials based on the already-built light setup. I find it easier to work this way as I establish my mood beforehand. It’s also pretty hard to make textures too reflective or bumpy when you know your light values.

There is nothing extremely special about my light setup. In one of my scenes, I used my all-time favorite technique, which is to “Take any image you have on your PC and use it as an environment texture.” It works every time, and thanks to that, I discovered a lot of beautiful color variants.

TEXTURING
From the start, I wanted to create a yellowish texture for my RJ-45 connector. I gathered some additional references and tried to achieve this effect by node noodling but quickly failed.

So, I exported my mesh to Substance Painter and started working on it. I took a simple brush and randomly painted yellow color on the corners.
After that, I selected the Smudge tool with a dirt texture and smudged the yellow color to make it more random and realistic.
Then, I added a Gradient filter to create multicolored areas on my mesh. On top of that, I applied an 8K imperfection map to create cracks and scuffs.
I made some more tweaks with Cycles nodes, and in the end, my node tree looked like this!

DUST PARTICLES
To make my closeup scene look and feel more believable, I decided to experiment a little. In addition to using .png imperfection maps, I wanted to add physical hairs and dust strands to my shot.
And it turned out to be extremely easy.
First of all, I created a few Bezier Curves that somewhat resembled dust particles and converted them into meshes. If I wanted to make some particles more recurring or common, I simply duplicated them a few times. I took every little strand, put them into one Collection, and then used it inside the Particle System tab.

Then, I adjusted the settings of my Particle System. I enabled random rotation and scale and tried different seeds and variations until it looked passable.
I was satisfied with the result. To add a little bit more realism, I manually added a few extra fat hairs. Funny enough, I completely skipped any texturing, and my dust strands still had this default Principled BSDF look. I checked everything, and it looked good! I was so happy it worked.
And that’s probably it. After that, I rendered my images, slightly post-processed them in Photoshop, and they were ready to go. I think this little project turned out nicely.
RENDER – Cat5!


Some of the WIPs and unused drafts:
RENDER: Video
If you liked my work and are interested in learning more about my workflow, I actually have a whole video that covers that topic. Take a look; I would be grateful for your attention!
Thank you for your attention!
Hope it was interesting, and you learned something new. Have a nice day!
About the Artist
Mark Kyrylov, a 3D artist from Ukraine. He is very passionate about glossy surfaces and beer.


Very good.
Looks great! Thanks for sharing the process. As somebody who has crimped many of these through the years, I can say you have definitely nailed it for accuracy and realism.