Behind the Scenes: Krishnabai Shiva Temple
INTRODUCTION
Hi, my name is Bhargav Kubal, and I am a 3D artist from Vengurla, India. I am self-learned and have worked for Modelry, an outsourcing company. I have developed a strong interest in prop creation and aspire to work as a prop artist.
INSPIRATION
Inspiration drives work, when a subject holds personal meaning and significance, it becomes enjoyable to work on. If you’ve ever heard someone say, “It was a labor of love,” this is what it means.
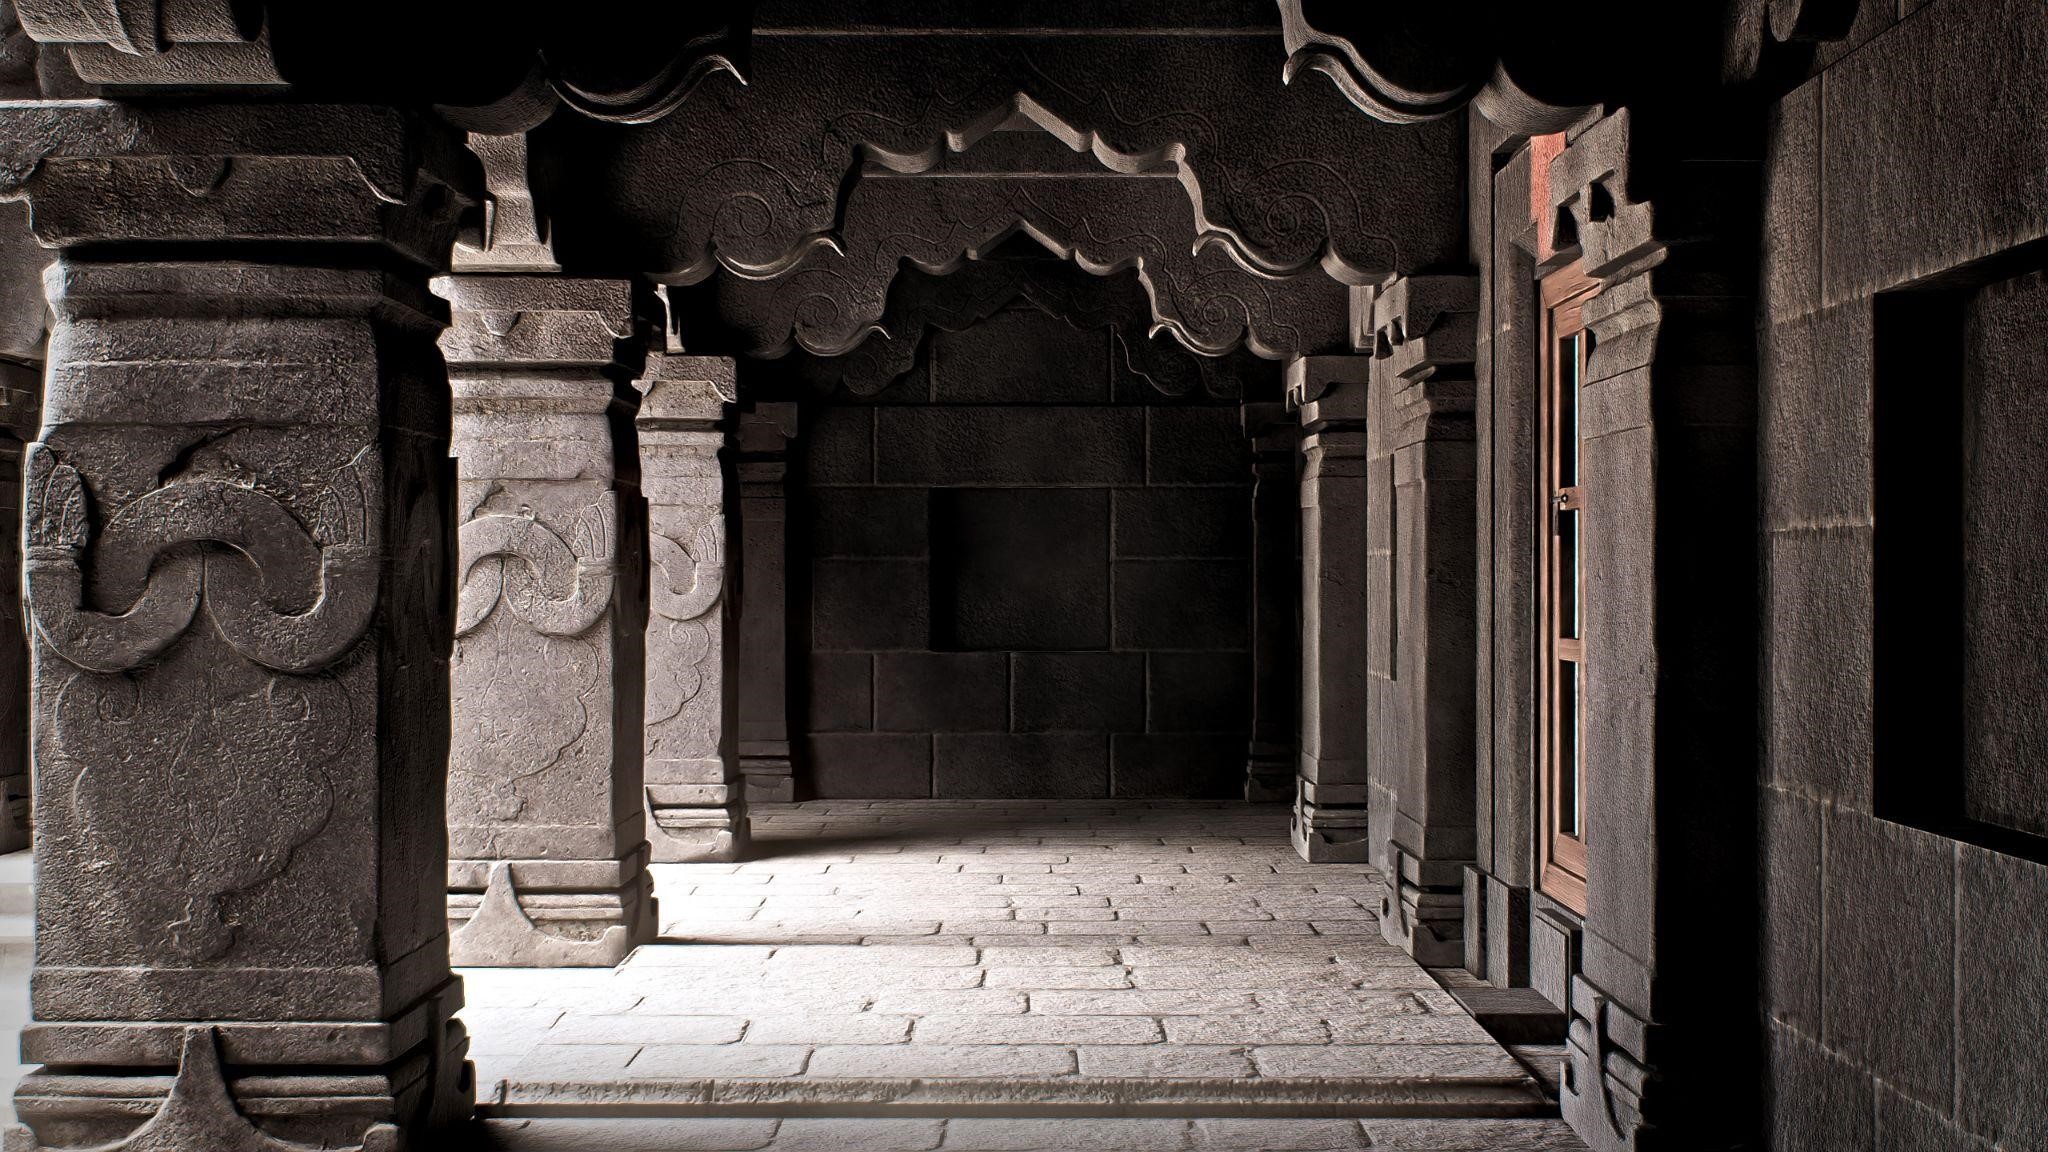
For this project, I wanted to learn and gain experience with modular assets while also creating a portfolio piece. I like choosing subjects that mean something to me, things that I know by firsthand experience. Years ago, I visited the Krishnabai Shiva Temple in Mahabaleshwar and found its distinctive appearance perfect for this project.

References play a vital role in any project. Gathering good references from different angles ensures accurate modeling and saves you from rework later on. Pureref is a helpful software for gathering references and creating mood/reference boards. I made sure to collect numerous references for the various areas of the temple through YouTube videos and Google Images.
BLOCK-OUT
Blockout is crucial for establishing the proportions of an asset. A well-executed blockout saves you from making corrections later in the modeling stage. When creating modular assets, it’s advisable to stick with widths that are multiples of 2 or 3, making them easier to manipulate in game engines.
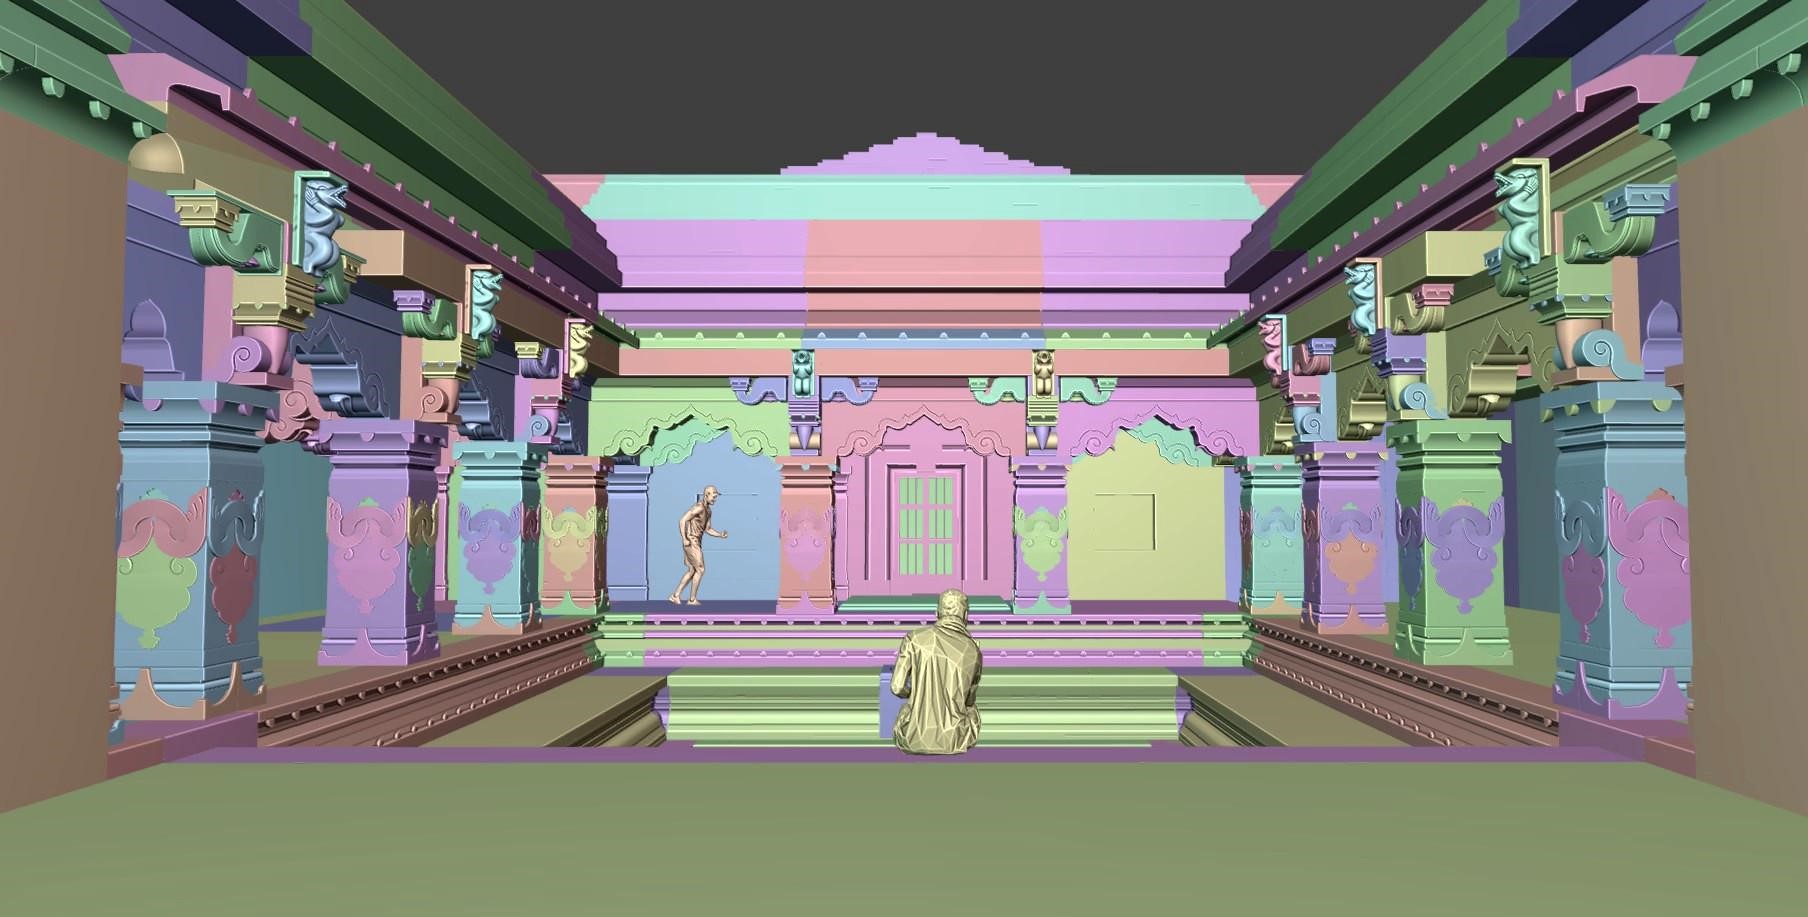
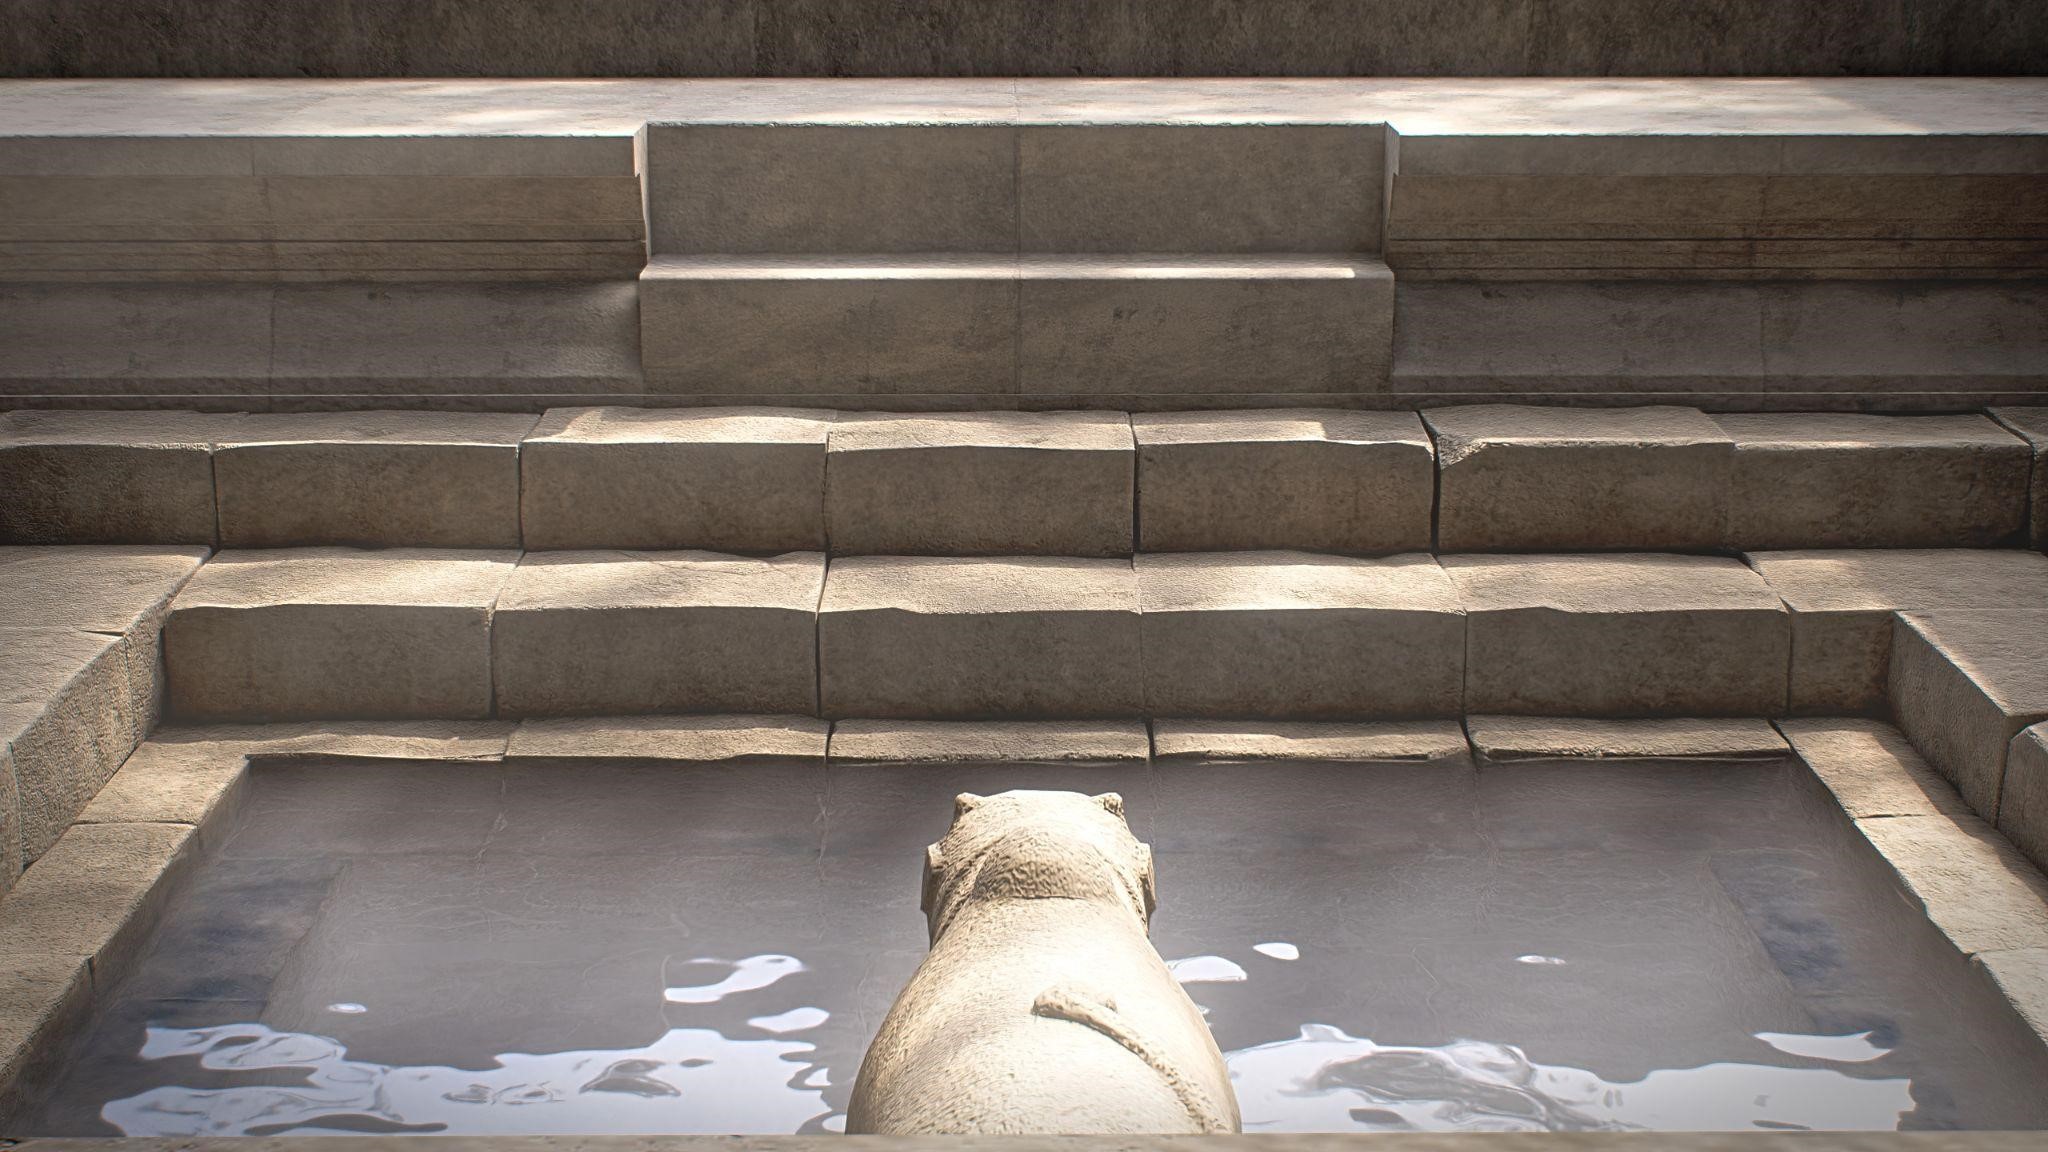
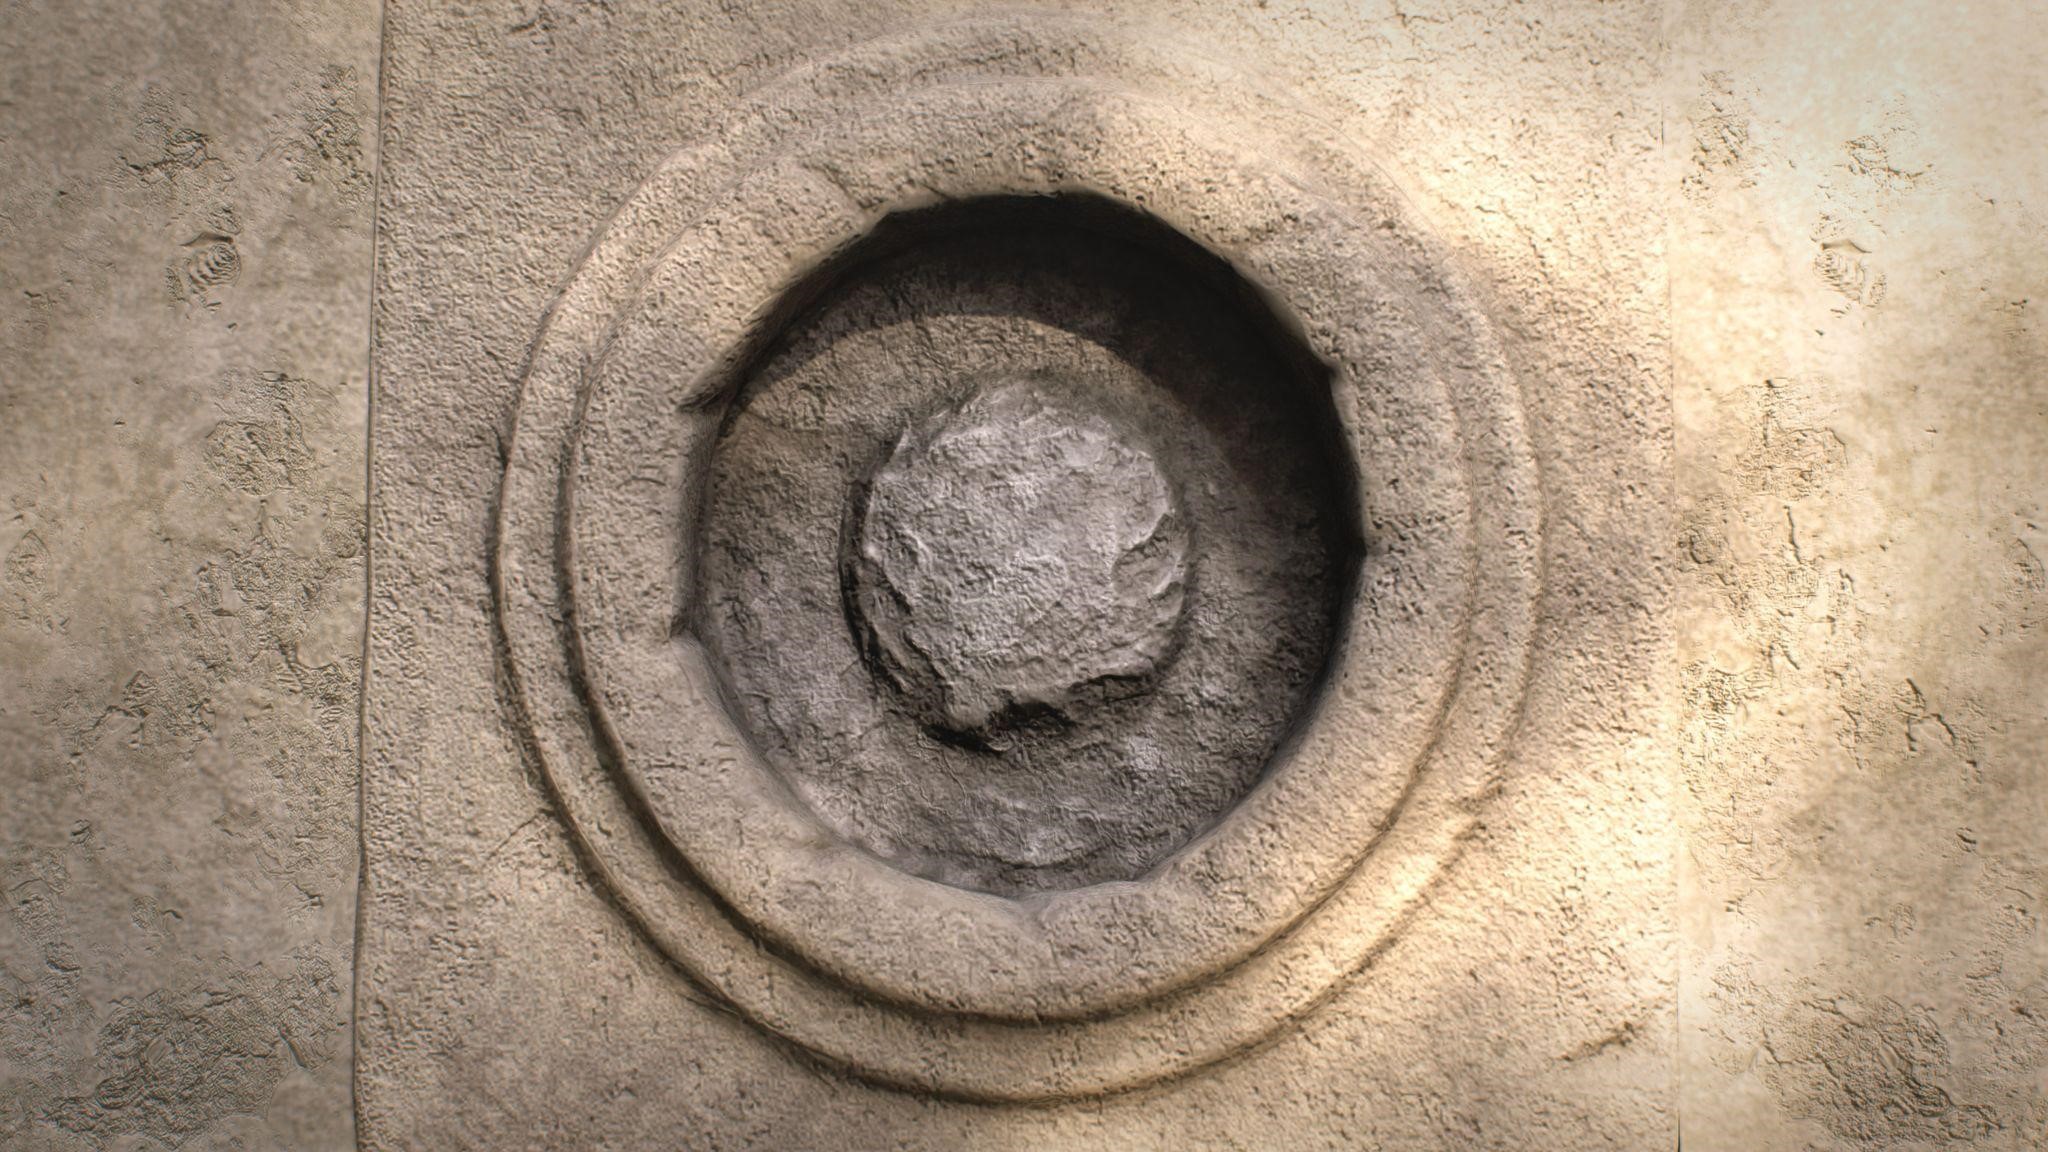
For this project, I decided to use 3m widths for roofs, walls, floors, arches, and ceilings, and 1.5m for corner pieces of walls and roofs, as well as for assets in the central area like stairs and Kund stones.
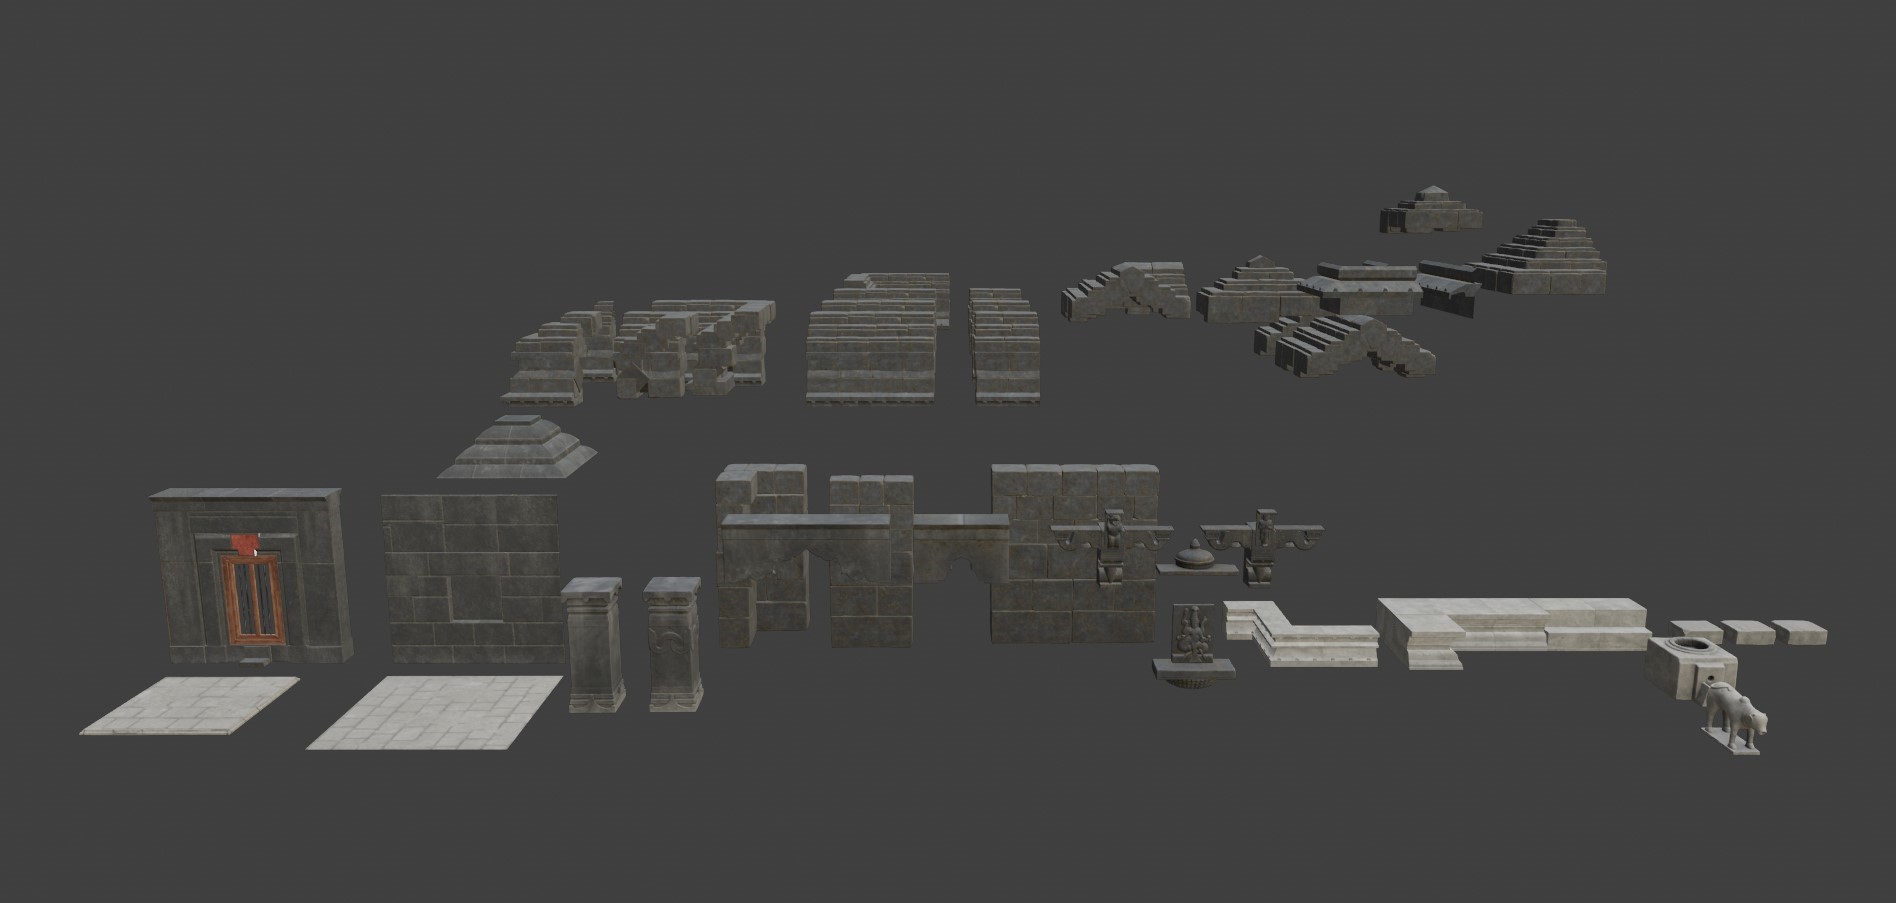
MODELING
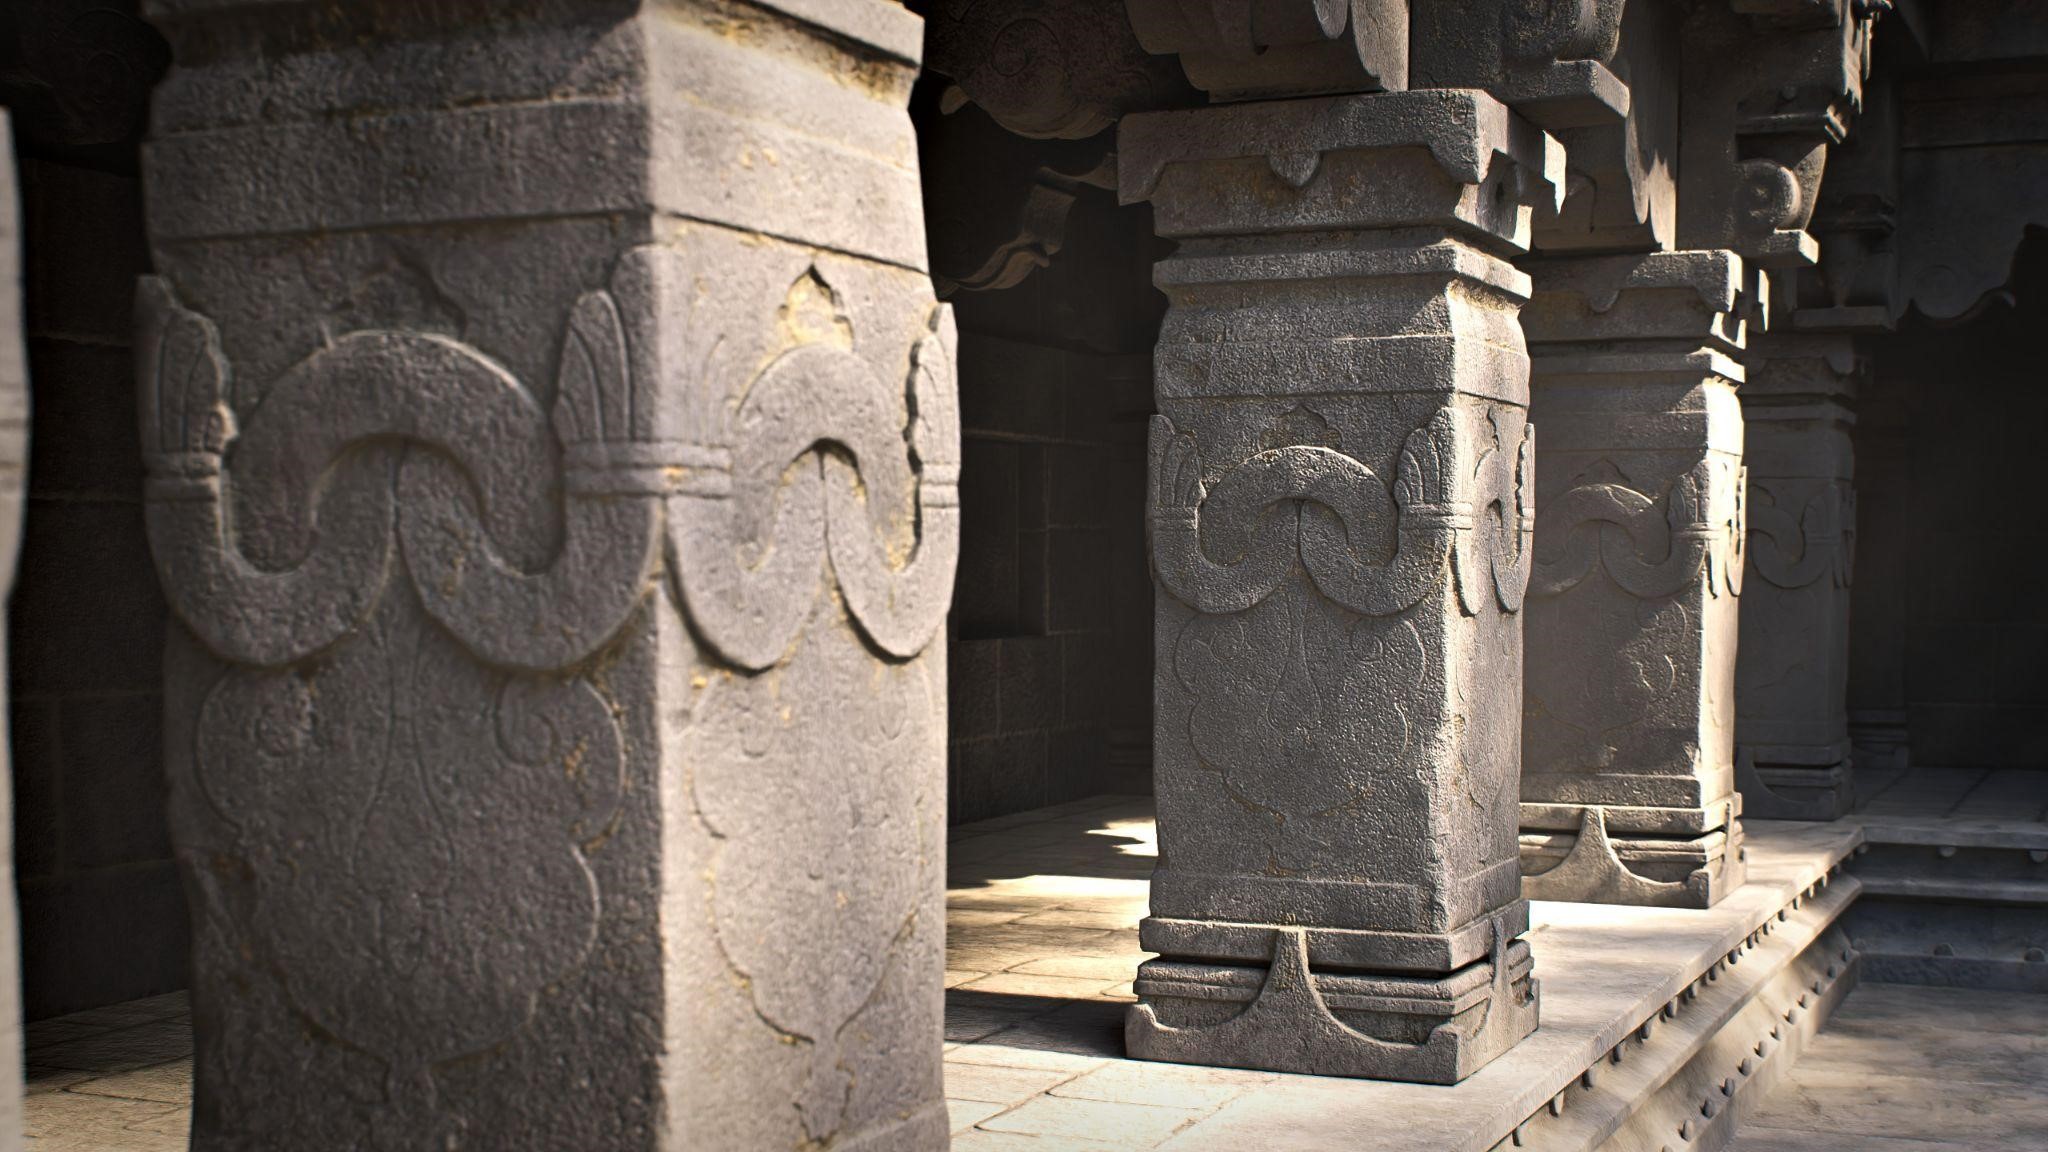
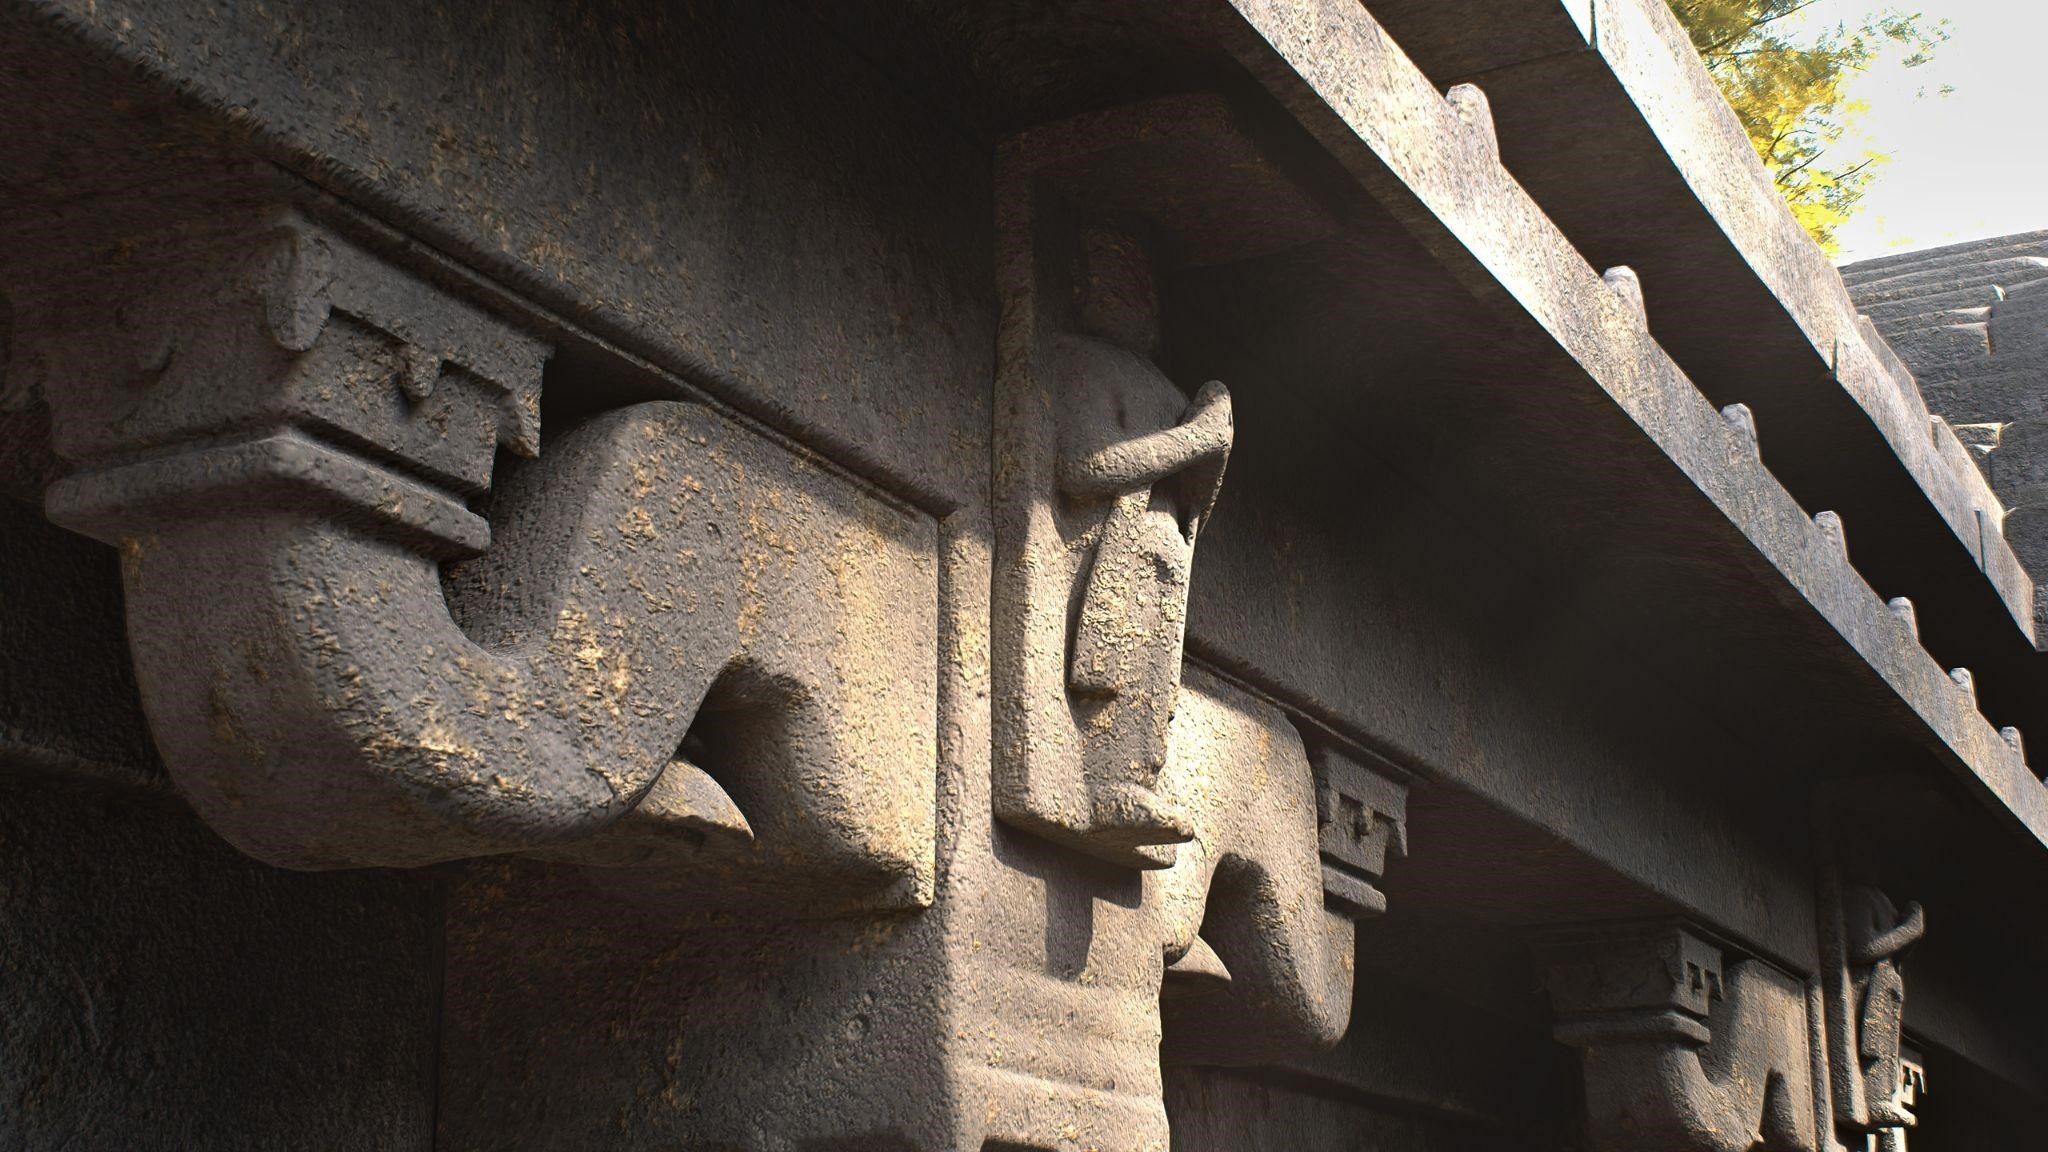
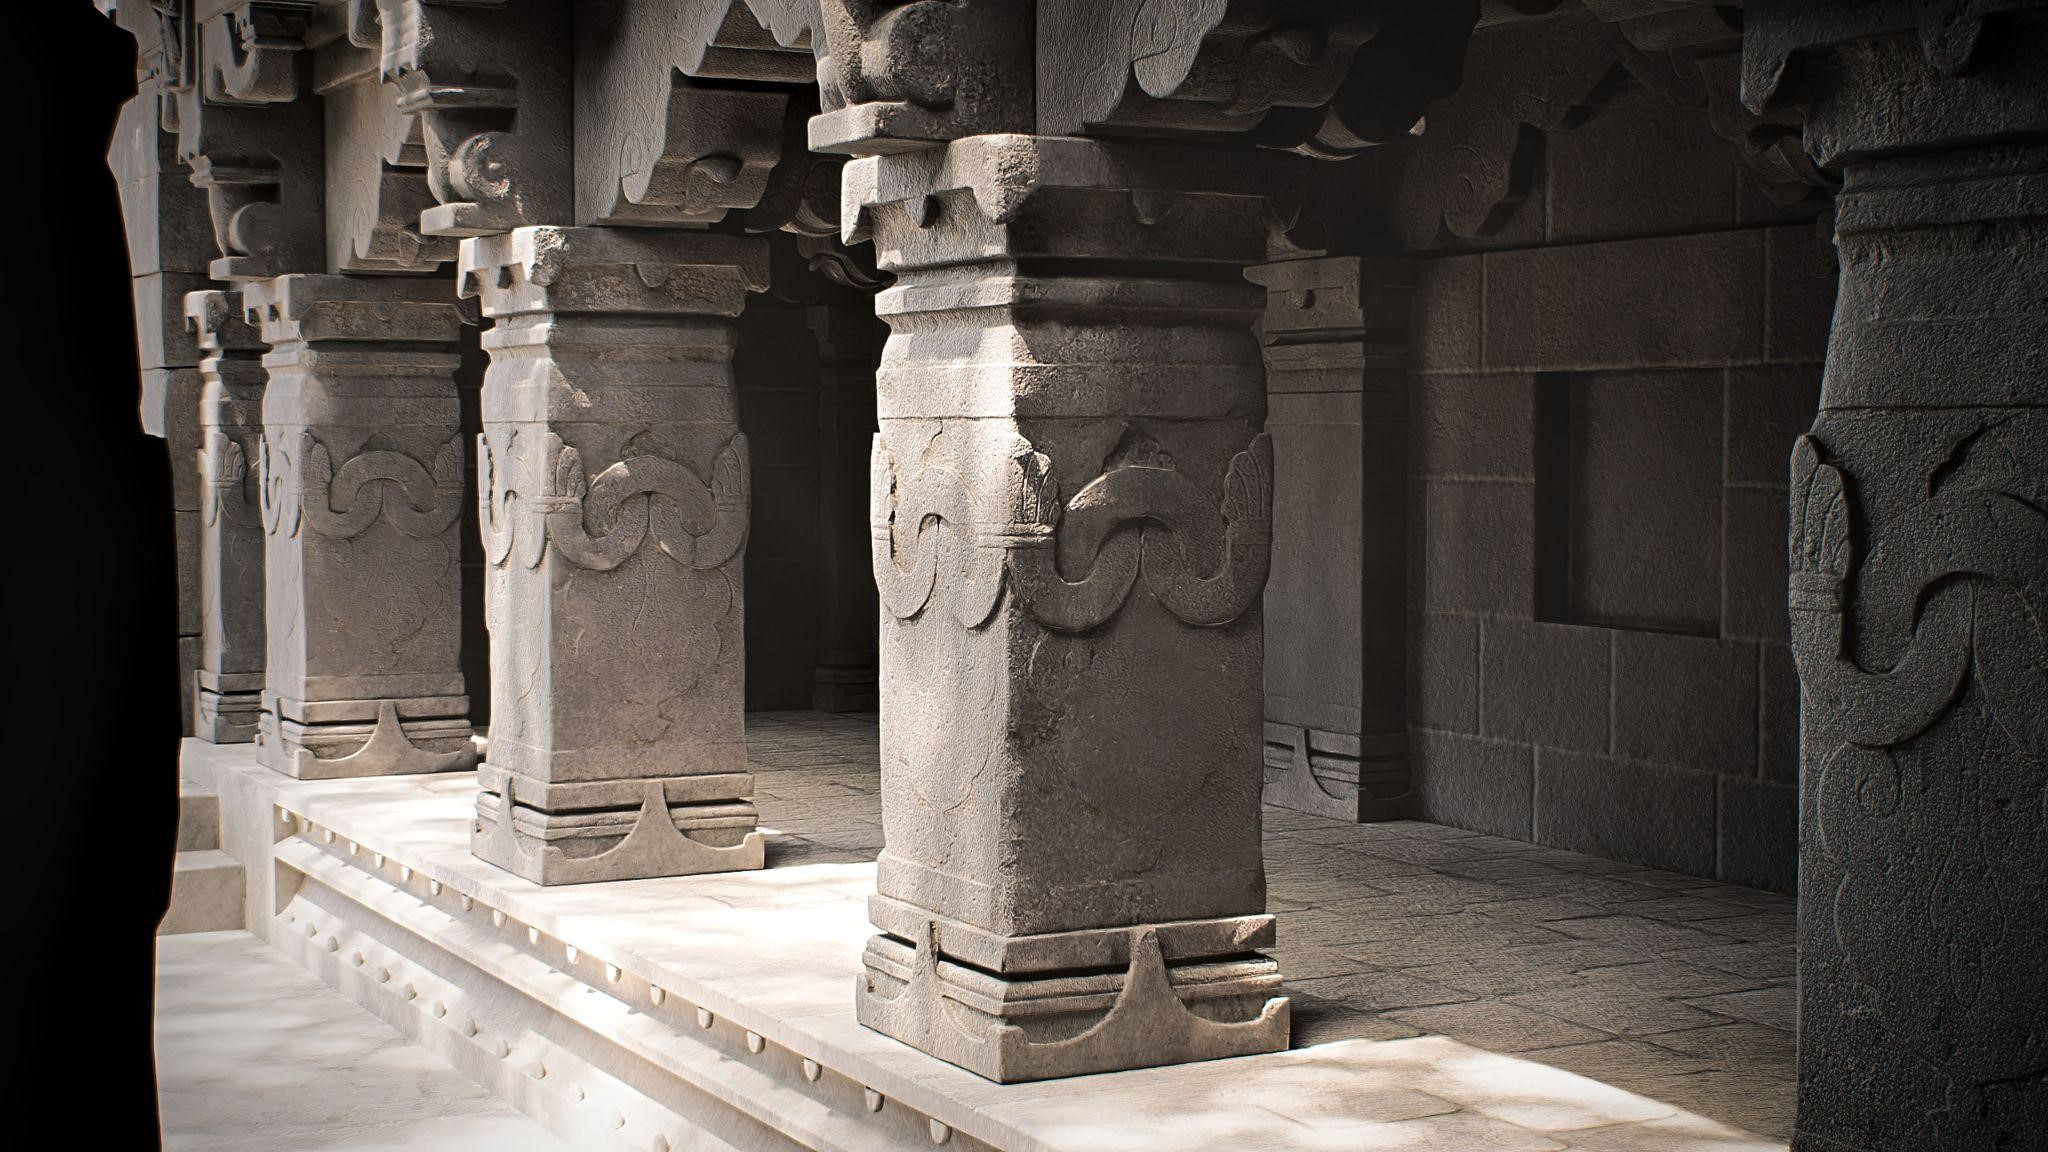
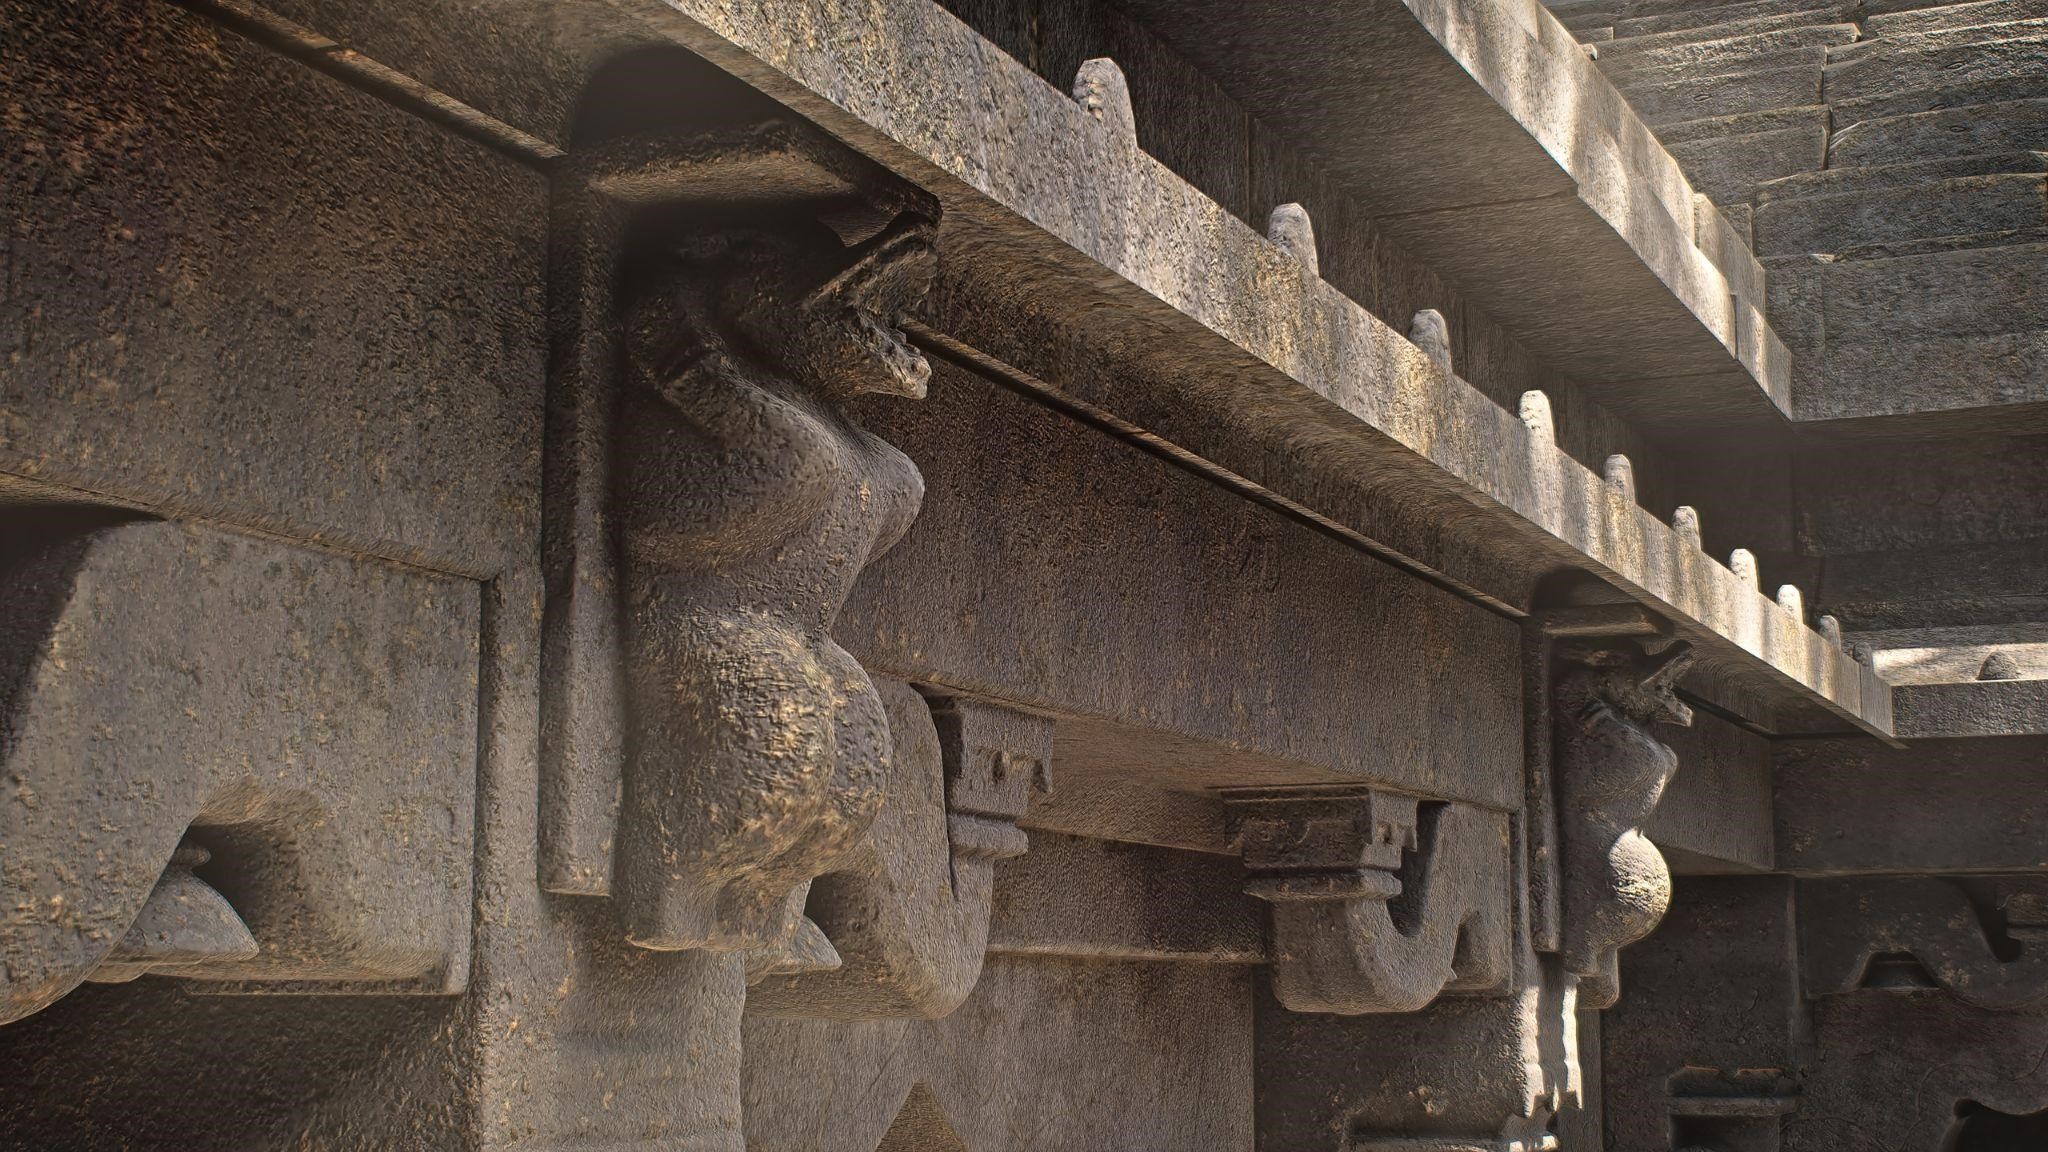
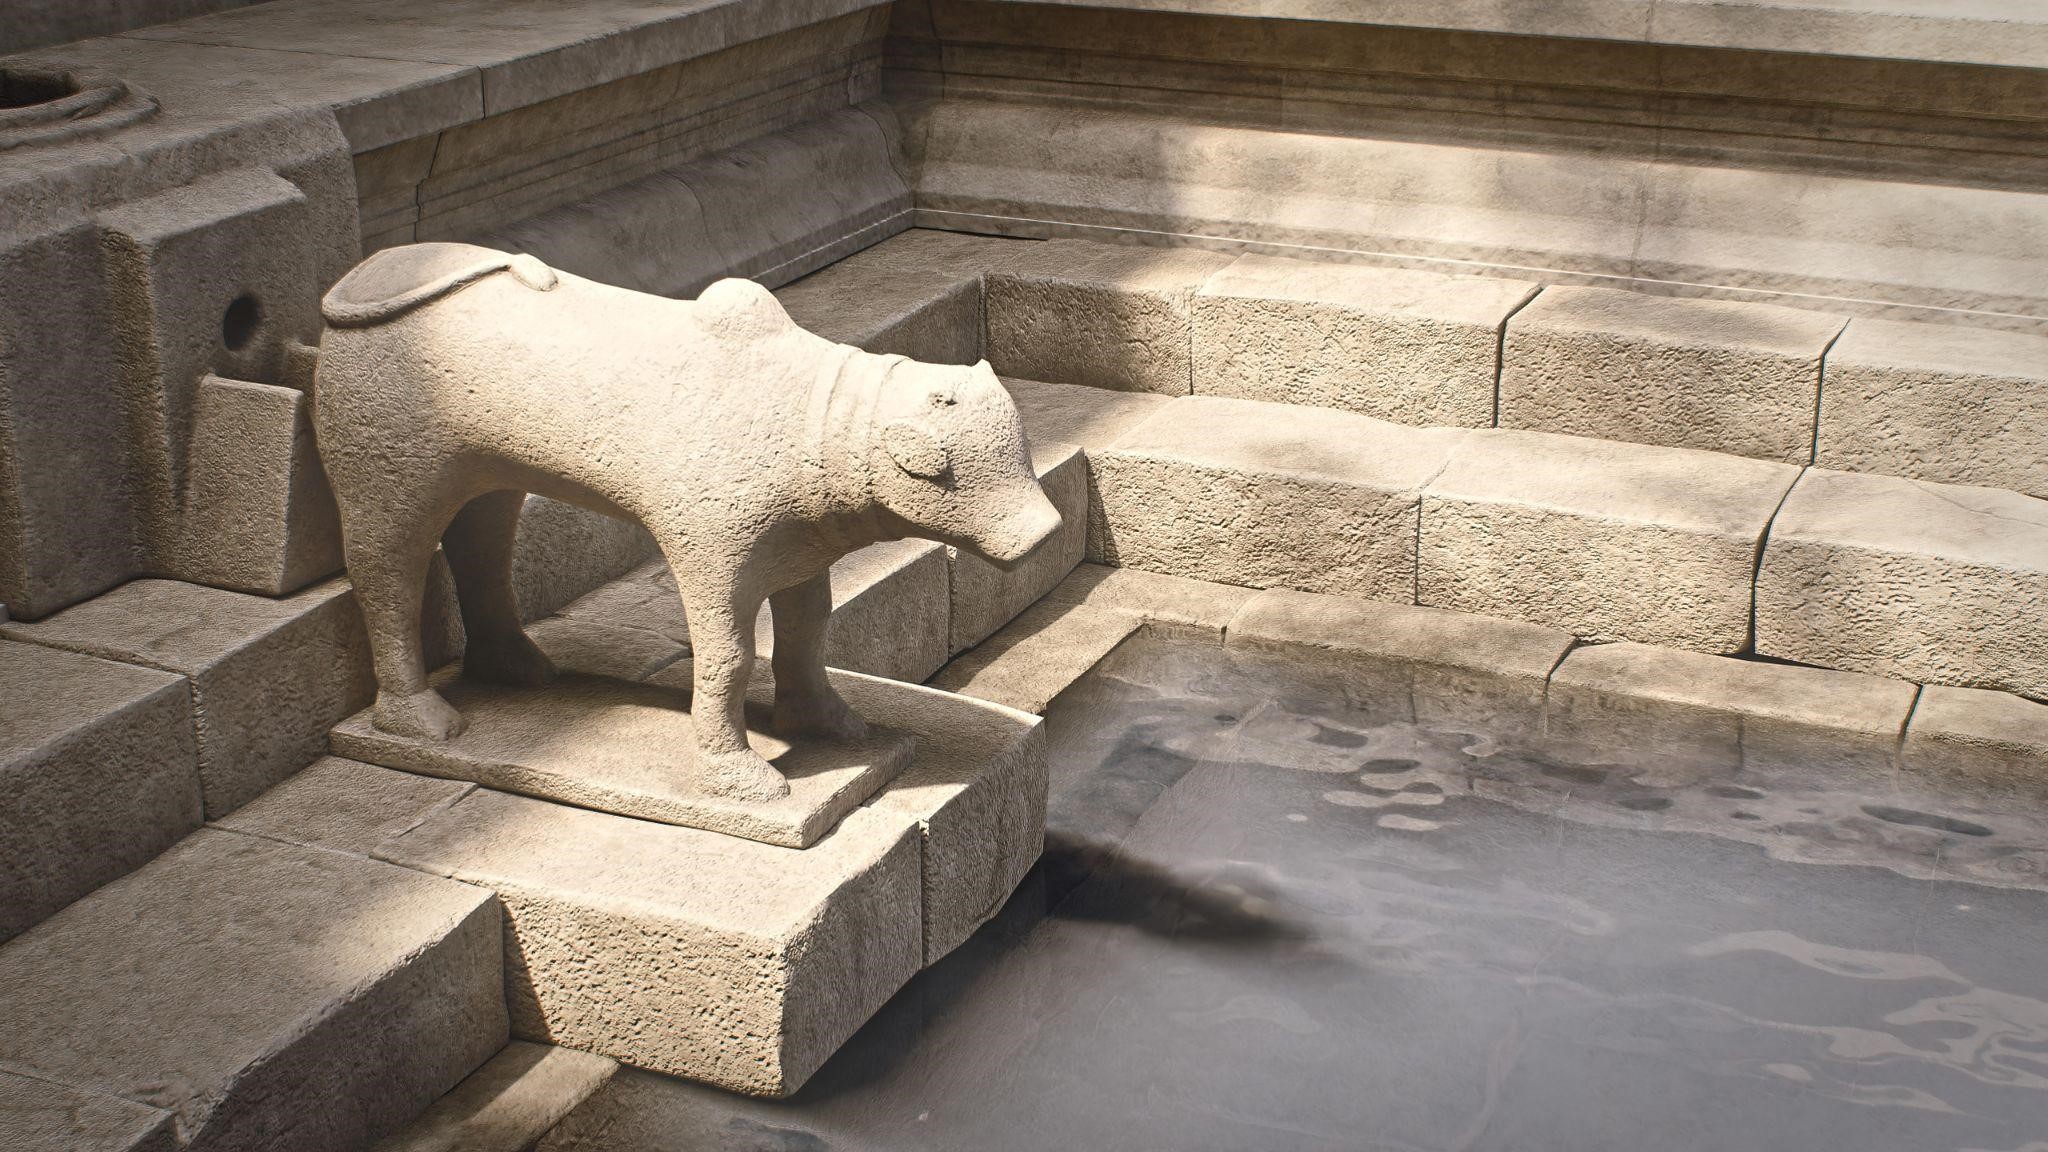
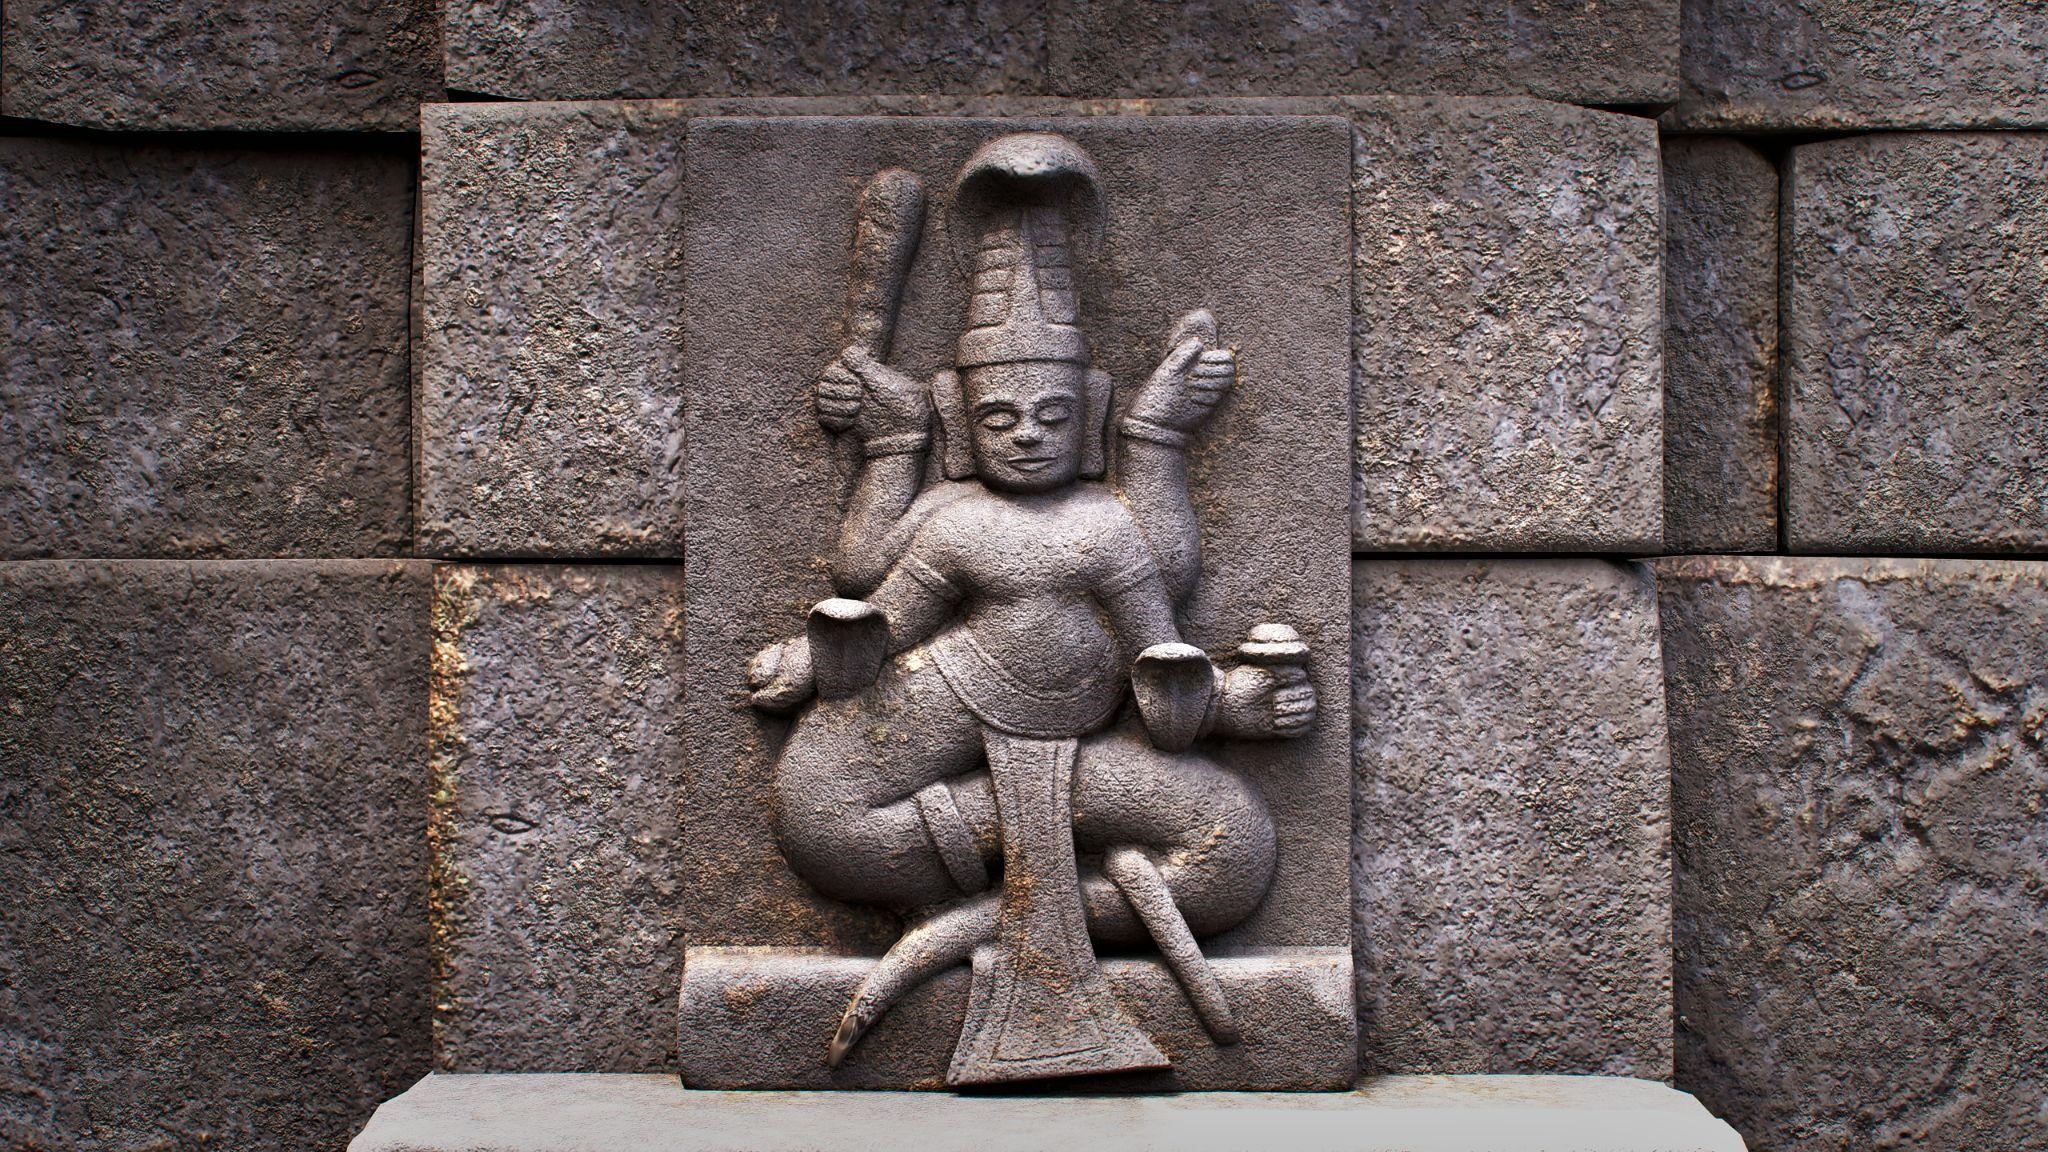
Before modeling assets, particularly in a large project, it’s necessary to decide which ones will have unique texture sets and which ones will use trimsheets. The pillars, arches, cow statue, wall stones, main deity, and Kund stones had unique textures. The hanging deities also had high-poly models created. However, to keep the texture budget reasonably low, I chose to decimate the sculptures and use a trim material on them.

In terms of workflow, it’s a good idea to start with larger pieces of the project, as you spend more time on what will be seen more. Then, you can move on to the smaller, more interesting props. Additionally, keeping modular pieces large, helps you save time when assembling the assets.
RETOPOLOGY
Retopology plays an important role in asset creation. The retopologized mesh should not have shading artifacts; otherwise, when the textures are mip-mapped, the artifacts become visible. However, due to the large number of meshes requiring retopology and strict time constraints for the project, I couldn’t manually retopologize this time.
Instead, I had to use Simplygon, a quick LOD creation tool, for the low-poly meshes. You simply set the reduction amount, and it reduces the mesh accordingly. The reduced mesh did have some artifacts due to high reduction. To address this, I used the weighted normals modifier to remove as many shading artifacts as possible and achieve flatter shading.
UV
Grouping the assets into different texture sets was an intuitive and iterative process, considering factors such as texture budget, the relationship between the assets, and their sizes (as size corresponds to UV space).
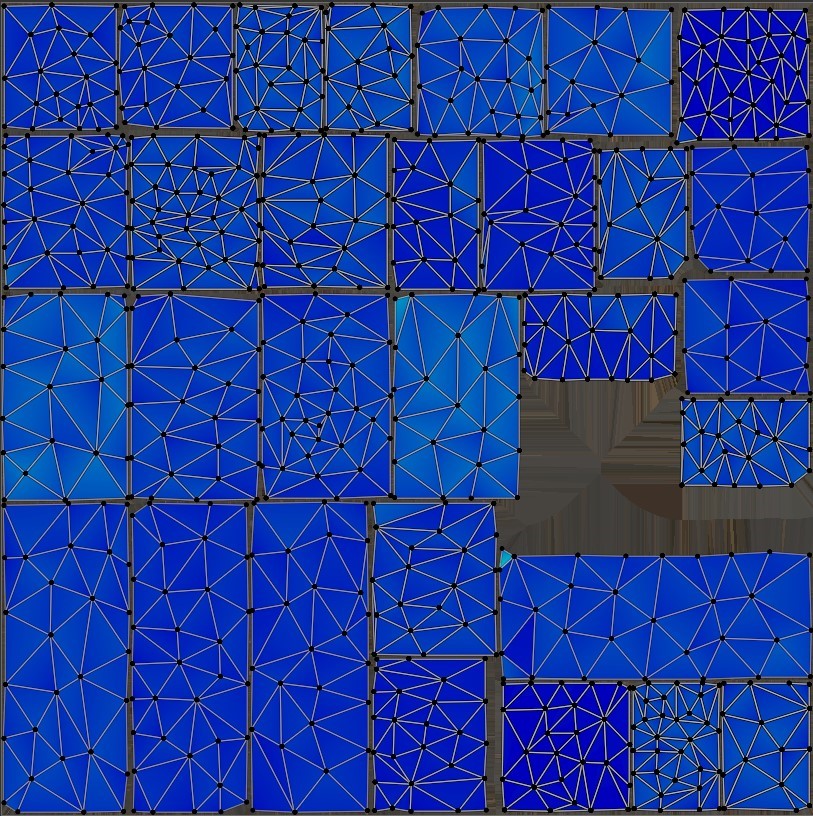
Although websites and YouTube videos often recommend an edge padding of 32 pixels for Uvs with a 4k texture, in reality, it wastes too much space.
I recently discovered that 16 pixels at 4k is the preferred practice. This video explains it well:
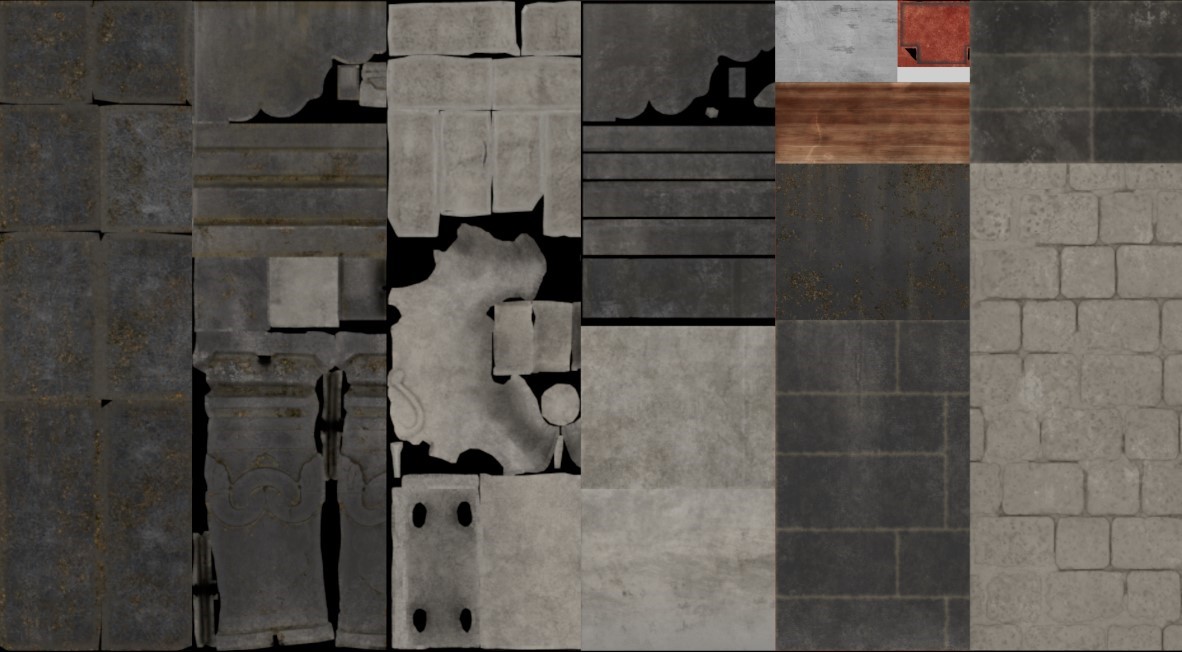
TEXTURING
Substance Painter is a powerful tool that makes texturing a hassle-free process. Having high-resolution reference images at this stage is extremely helpful. Jason Ord’s hand drill tutorial on ArtStation Learning greatly aided my understanding of Substance Painter. I highly recommend checking it out: “Substance Painter: Pushing Your Texturing Further.”
Once all the assets are textured, it is crucial to color-match them. Adjusting saturation and values ensures that all the assets look cohesive, and the attention doesn’t focus solely on a single asset.
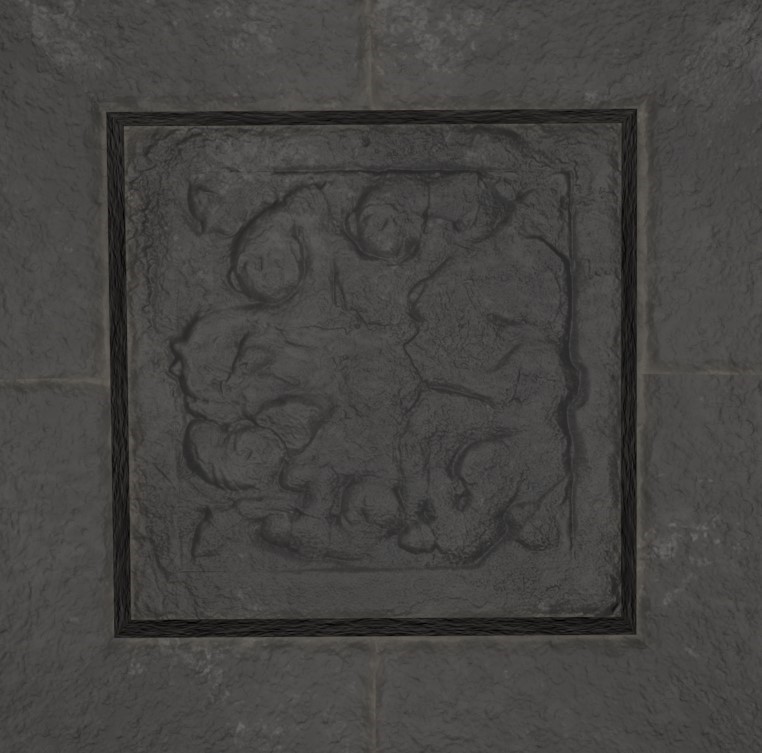
The ceiling featured a worn-down sculpture, and I used Substance Sampler to extract the height detail from it. I then added this detail to the trimsheet in Substance Painter.
POST-PRODUCTION
I textured the asset in ACES, so I had to install ACES in Blender; otherwise, the colors looked off. Magic Mark has a good article on how to do this, and they have narrowed down the color profiles to make it more manageable when using it in Blender.
When using ACES in Blender, make sure that any imported assets have been assigned the correct color profiles. Sometimes, this field can be empty, which can cause Blender to crash in lookdev mode.
Post-production is a crucial step in giving your renders that final 15% polish. DaVinci Resolve is a really great program for video editing. It’s free, with only a few locked features that I didn’t find to be a problem. You can export in 4k, the playback is smooth, and the nodes are really intuitive.
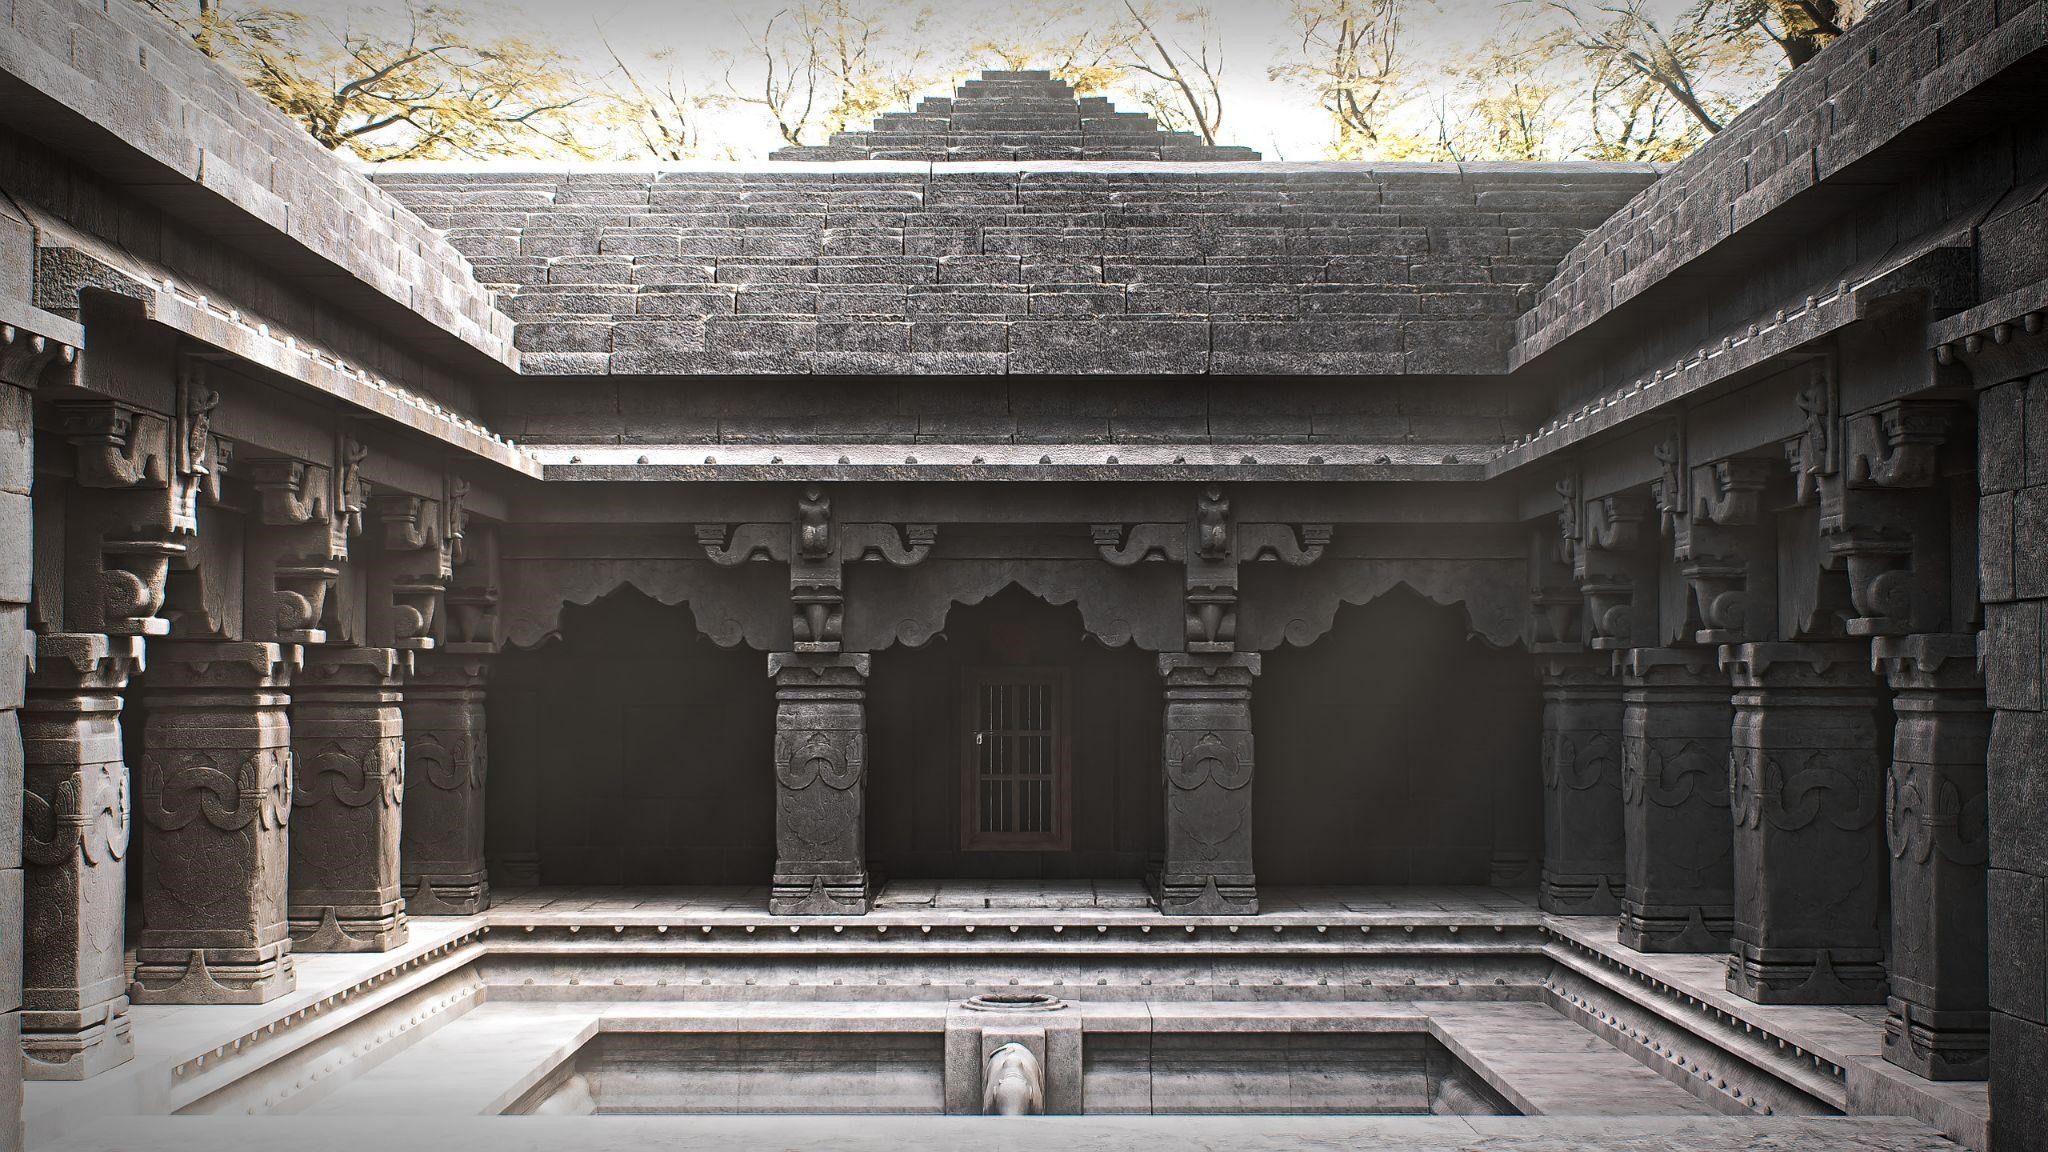
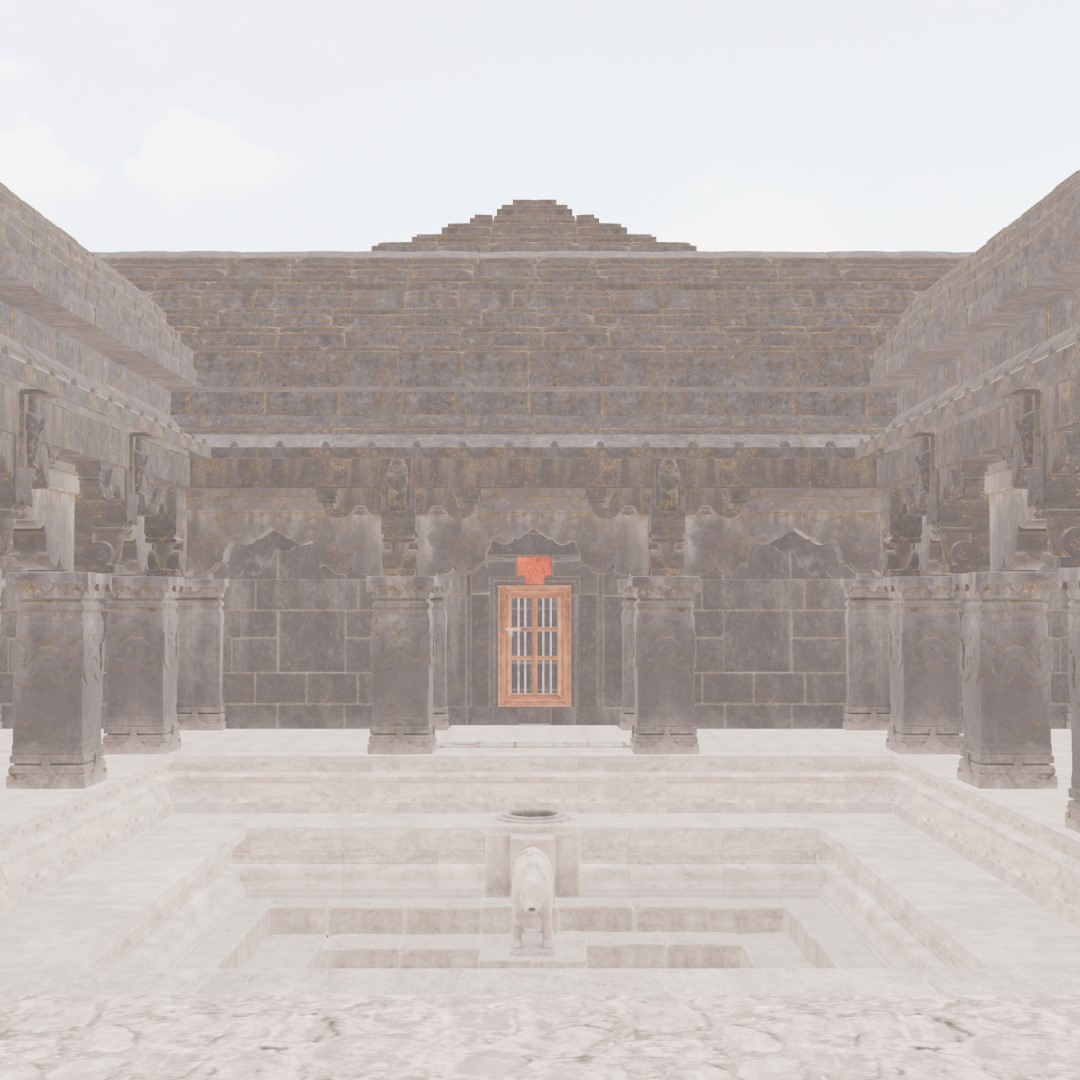
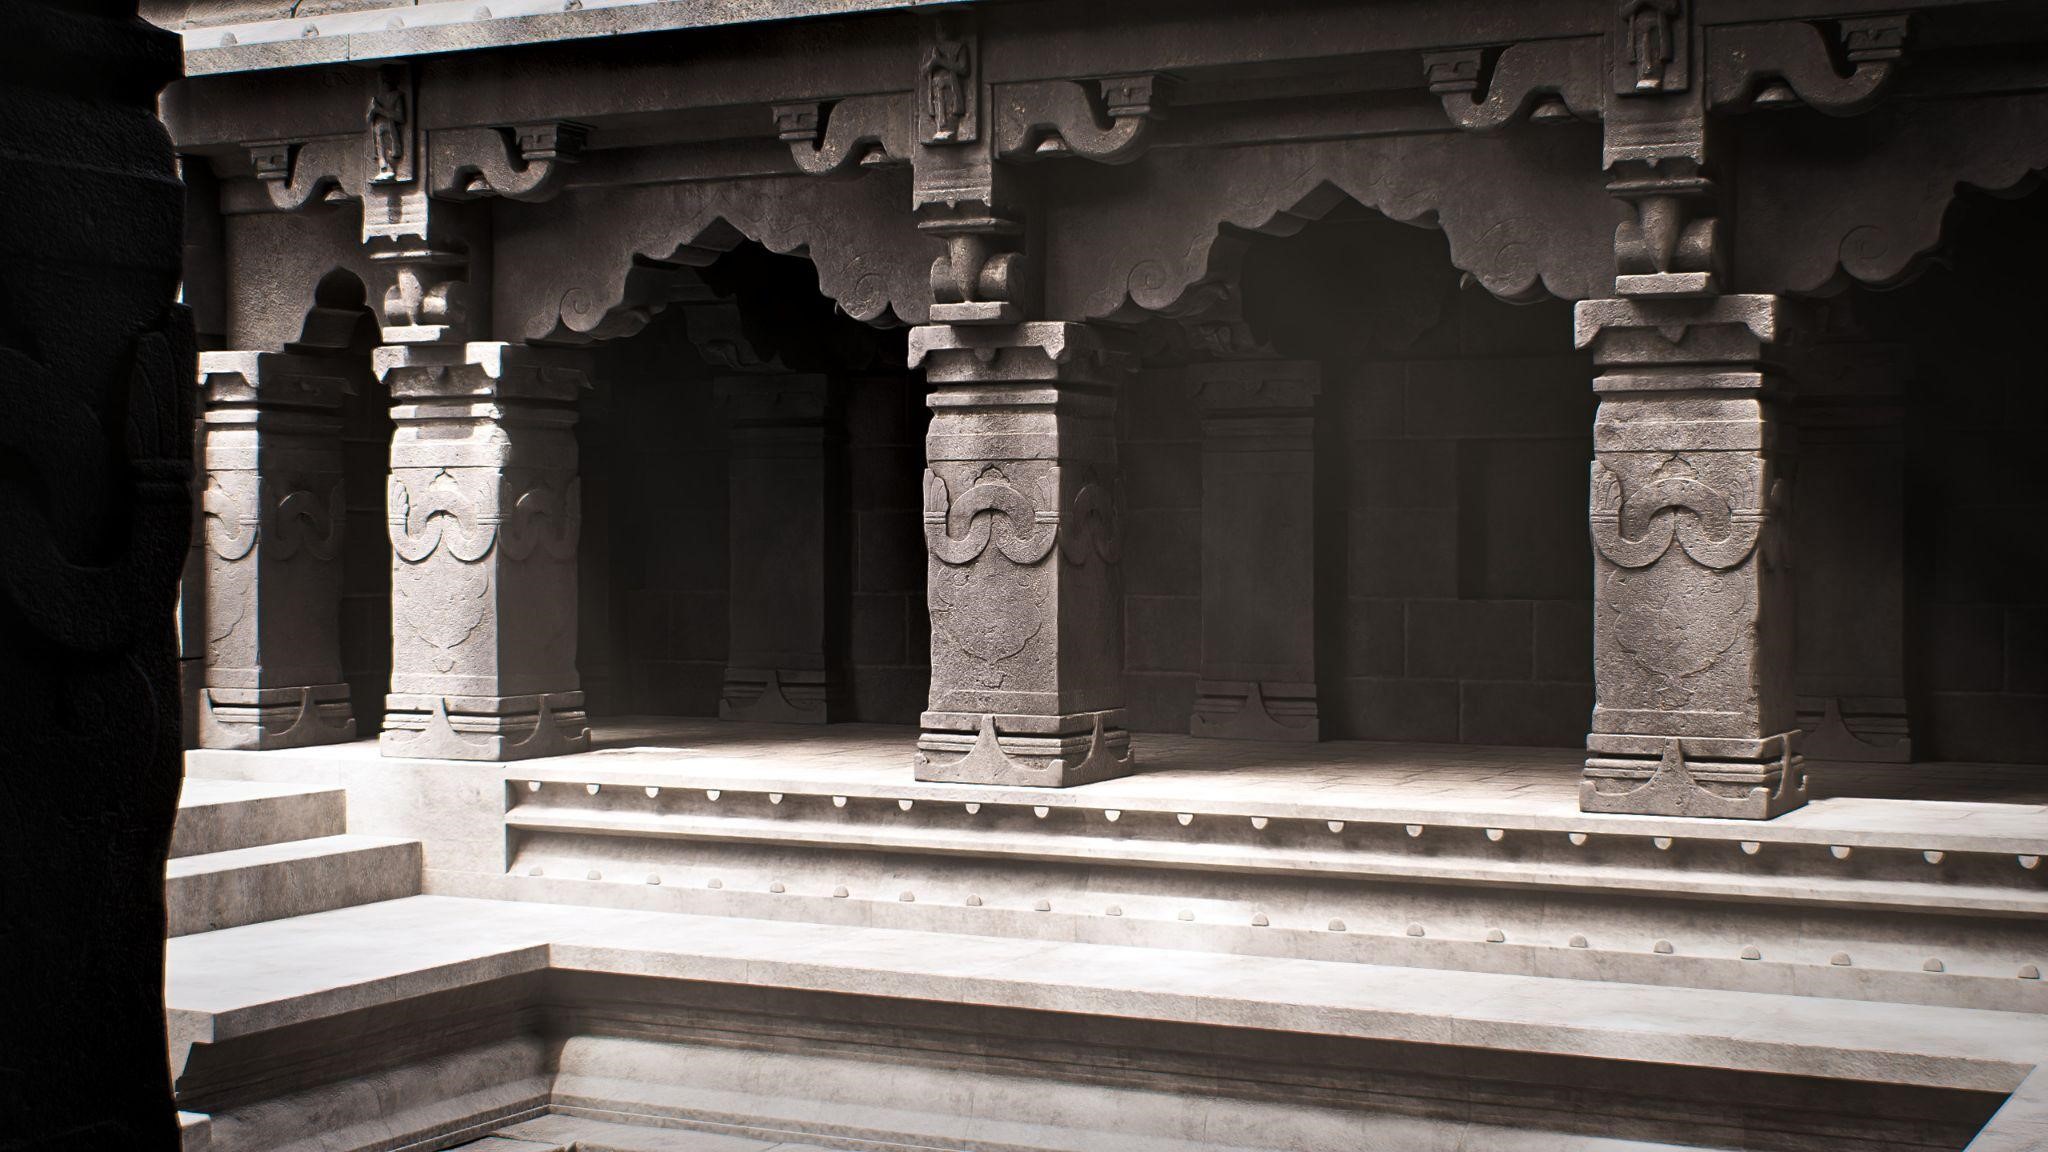
RENDER – Krishnabai Shiva Temple
Thank you for your time, I hope you enjoyed reading this article and learned something useful from it.
Have a nice day!
About the Artist
Bhargav Kubal, a 3D artist from Vengurla, India. Currently working as a freelancer.


If you want to use this asset just message me on my artststion or blender artists.