
Behind the Scenes: Best Friends Forever

INTRODUCTION
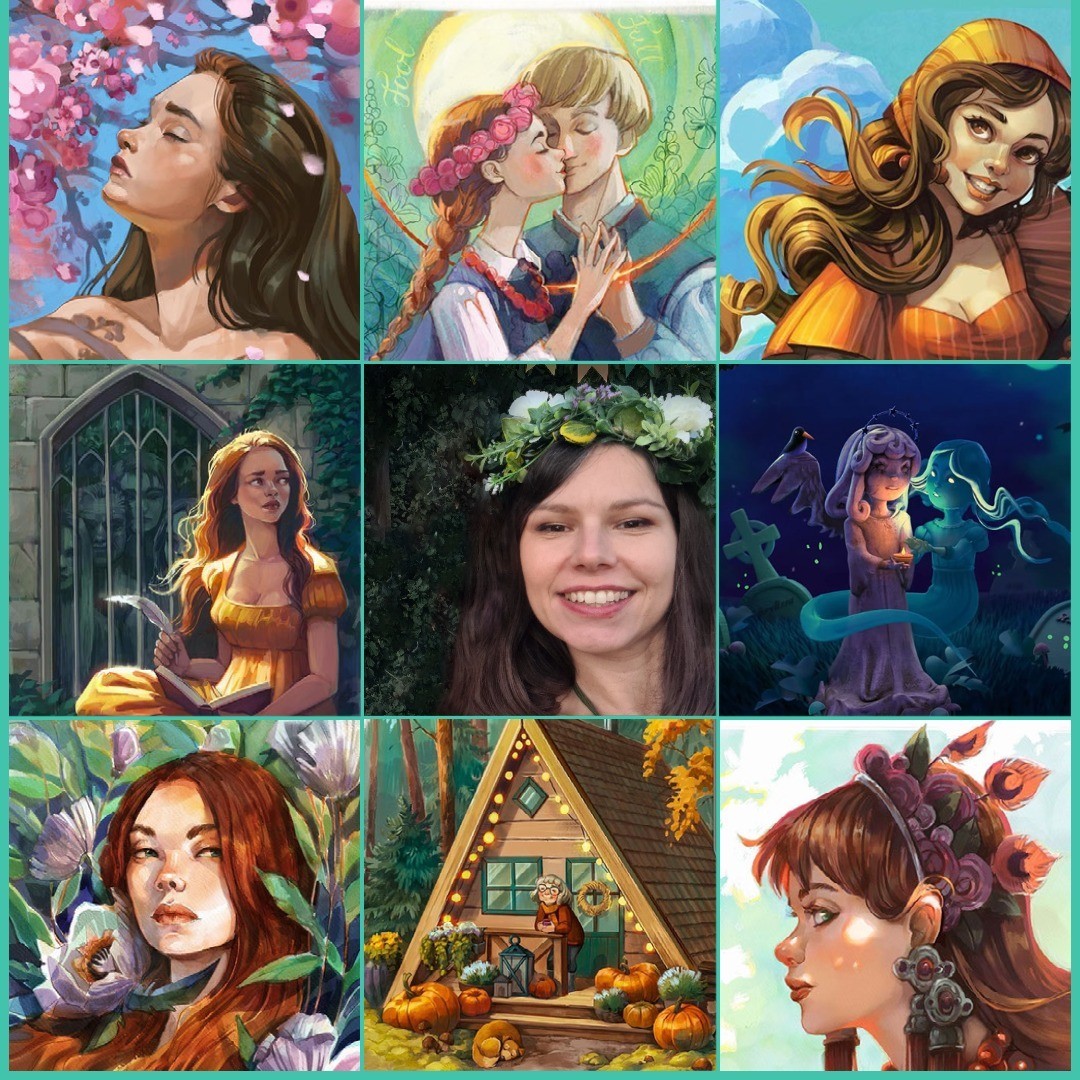
My name is Kamila Stankiewicz. I am from Poland and I work professionally as an illustrator. I mostly illustrate books for children and young people, and until 2021, I had nothing to do with 3D.
In addition to eating cinnamon rolls, I love to create, draw, paint, read, learn, and discover new ways to transfer ideas, dreams, and stories into visual language. I draw both at work and in my free time. My favorite techniques are watercolor, gouache, and digital painting, but I am becoming increasingly interested in the 3D world.
I have been working as a full-time illustrator since 2009, mainly illustrating books, comics, and animation for children and young people, but I welcome new challenges. I hope to one day illustrate my own stories, of which there are plenty!
I have approached Blender three times over the course of ten years. Twice, I failed to get through the basics, but the third time it clicked, thanks to the cult ‘donut tutorial‘ by Andrew Price. I continue to explore the program in my spare time, mostly at nights.
INSPIRATION
With every new 3D project, I try to learn something new. In this case, I was interested in creating hand-painted textures and learning how to use the BPainter add-on.
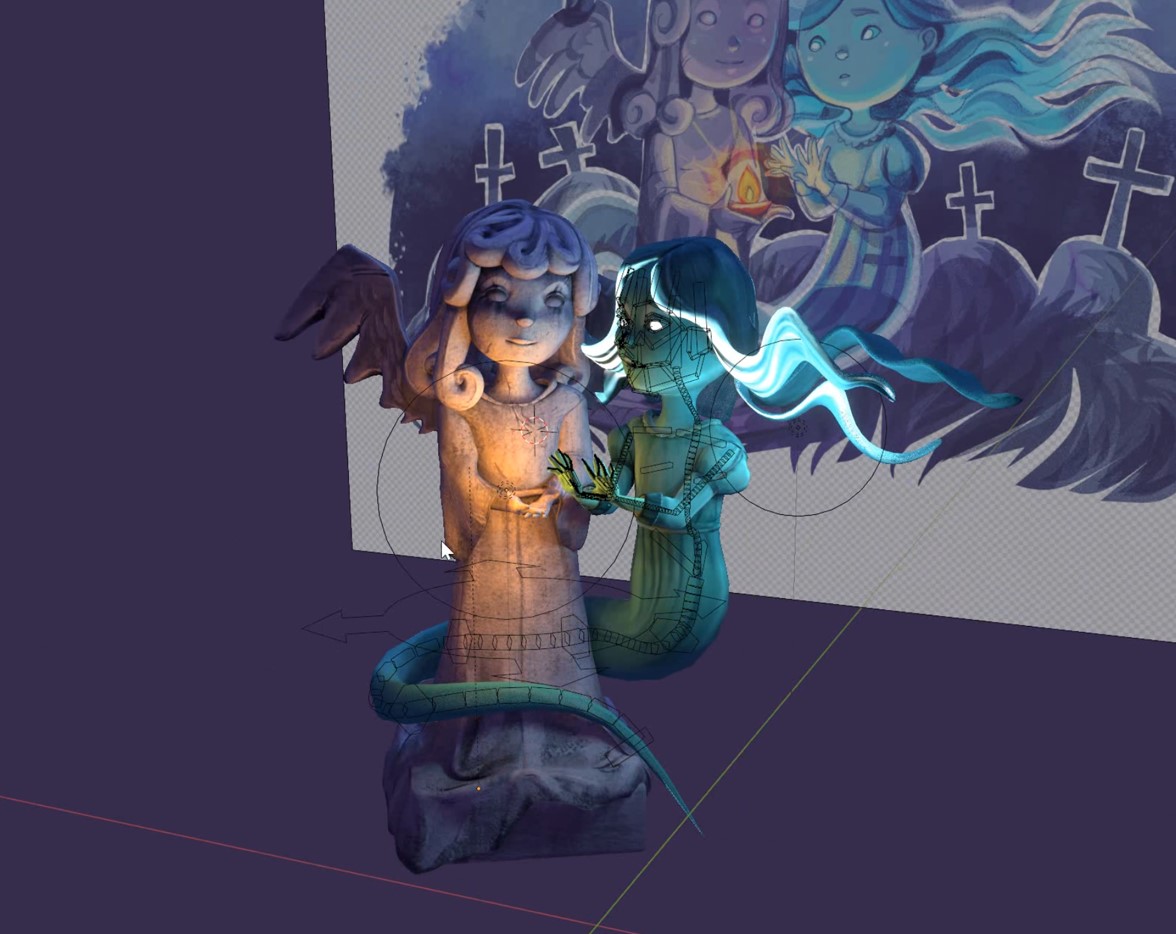
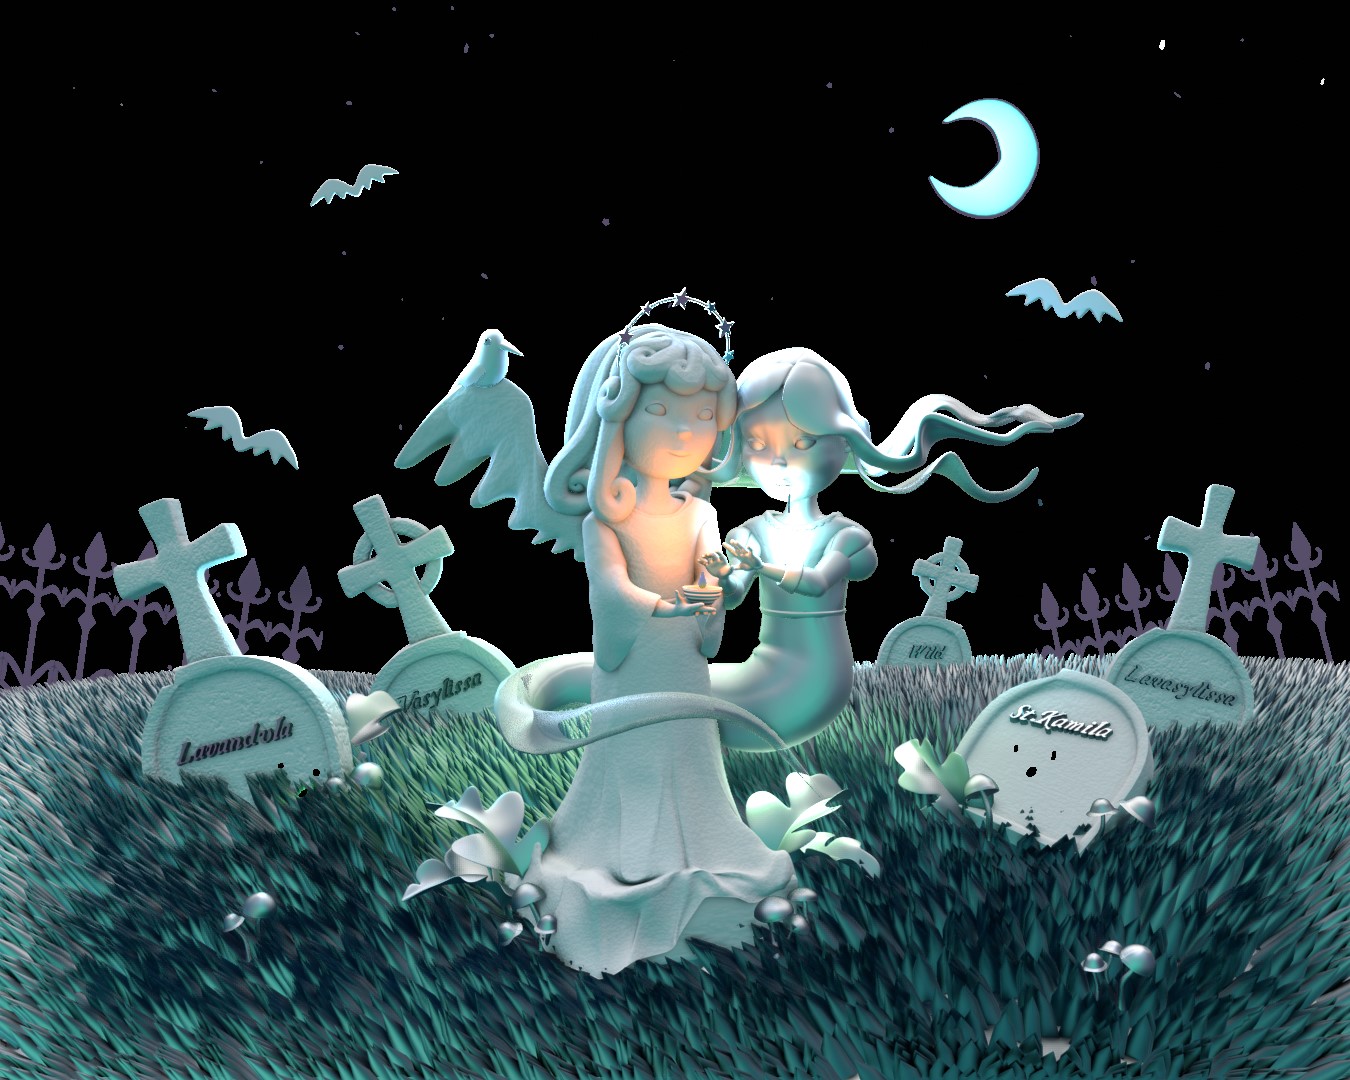
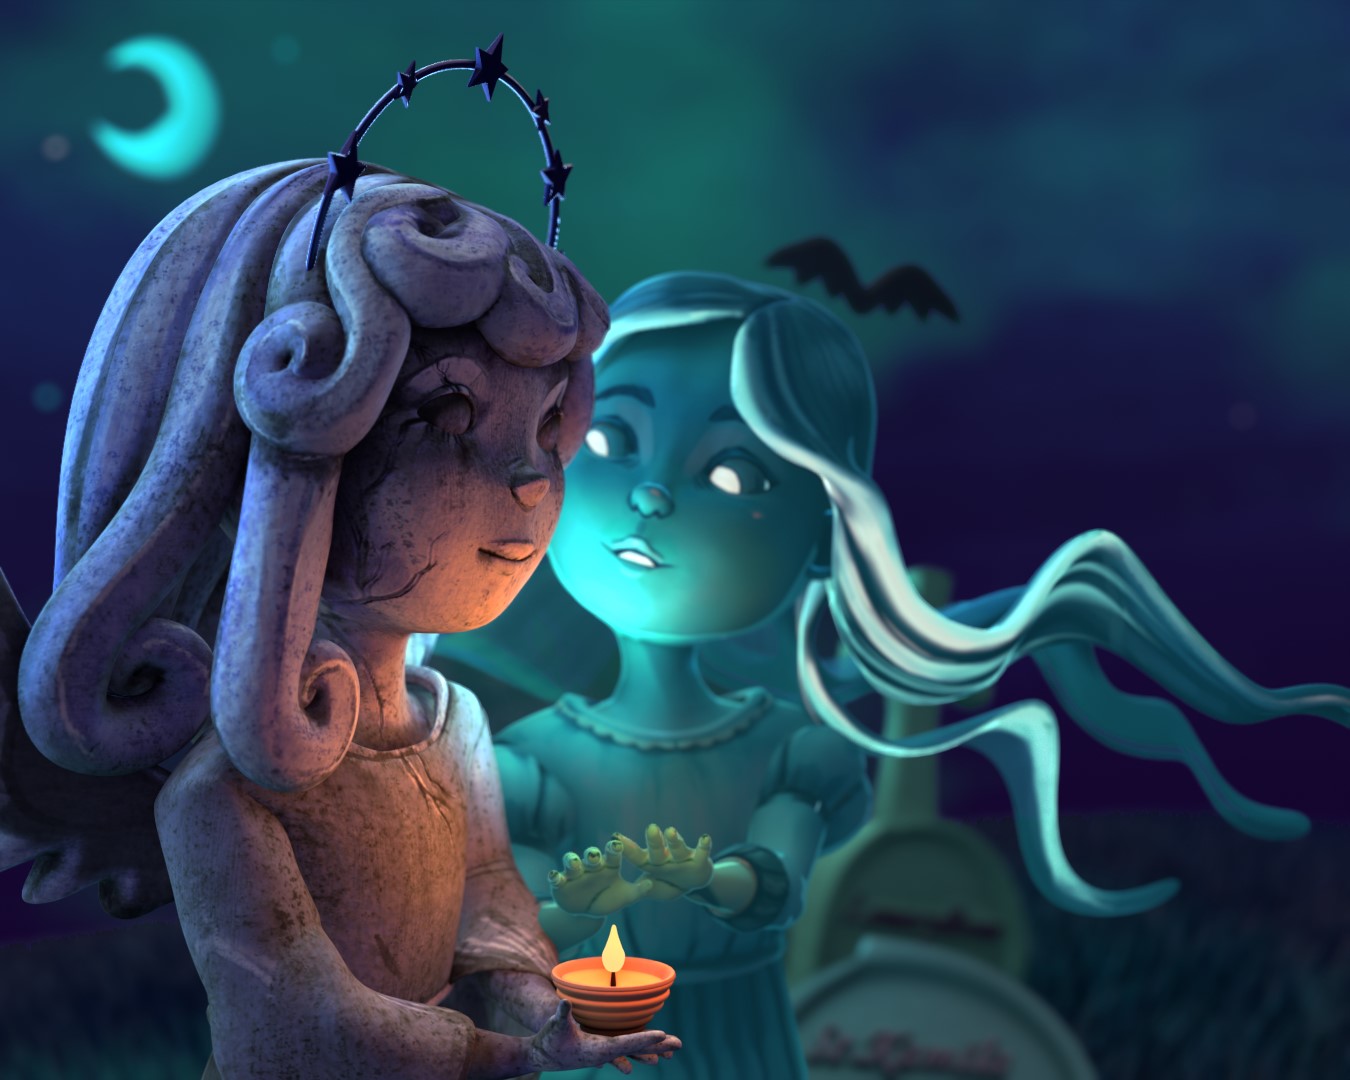
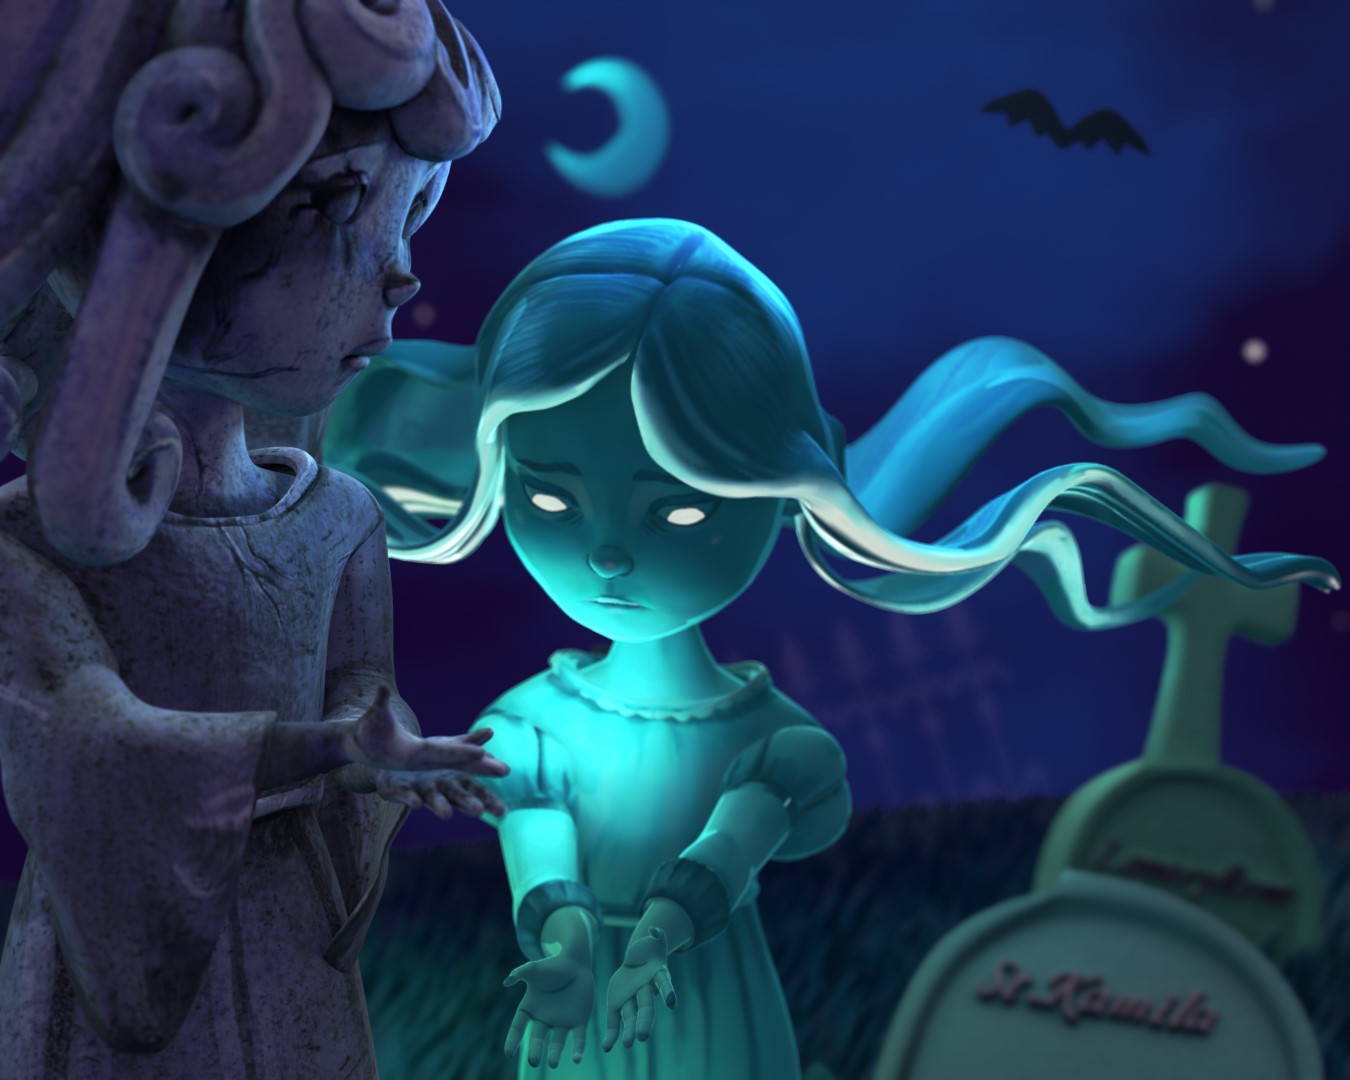
The inspiration came from one of my illustrations, “Best Friend Forever,” which was painted in Infinite Painter. It depicts a rather unusual friendship blossoming in a graveyard between a lonely ghost and a stone angel statue.

The illustration had cool potential, as there was a story spelled out in it and the characters, already in the 2D version, had a simple, stylized look.
MODELING
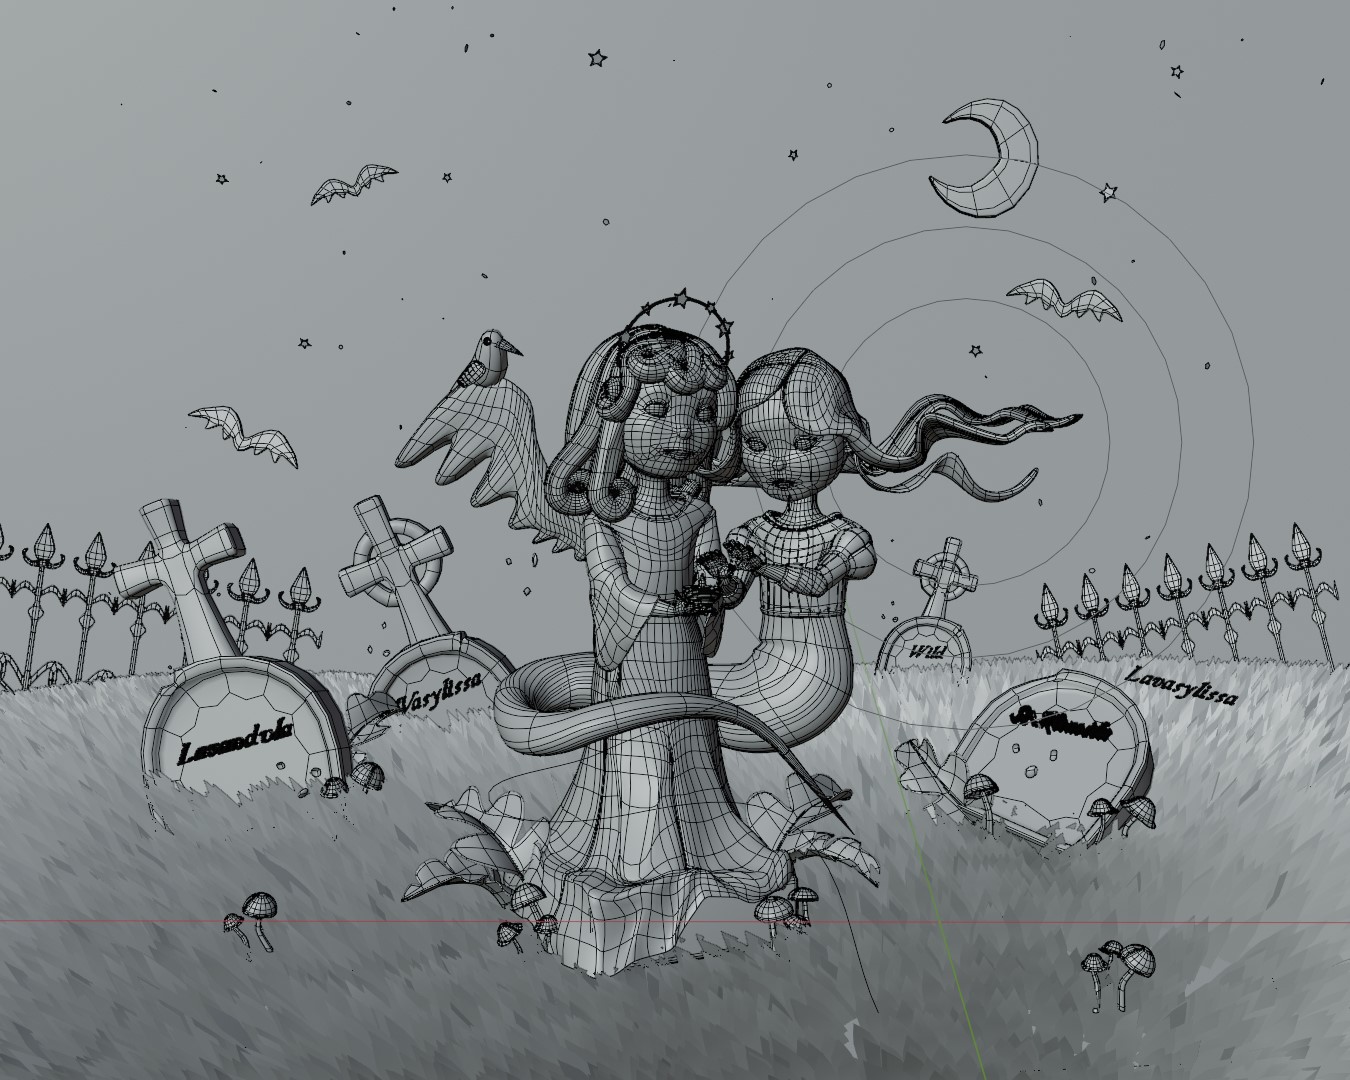
I skipped the sculpting phase for the faces and went straight into modeling. Both characters have rather simple shapes, so I believed it would be easier this way.
As a 2D artist, I thought sculpting would be the most interesting part for me, but surprisingly, I found that I enjoy modeling more. Additionally, skipping the retopology part is always a plus.
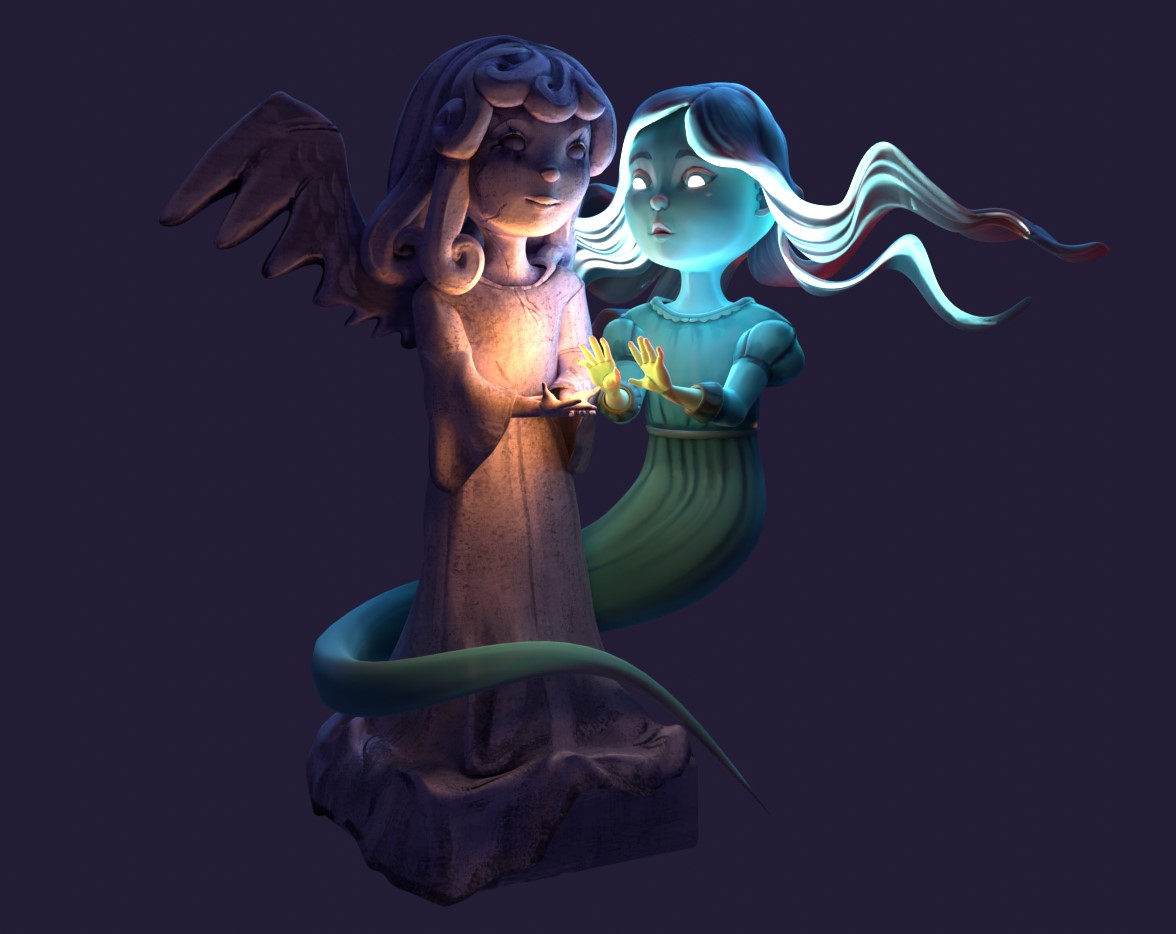
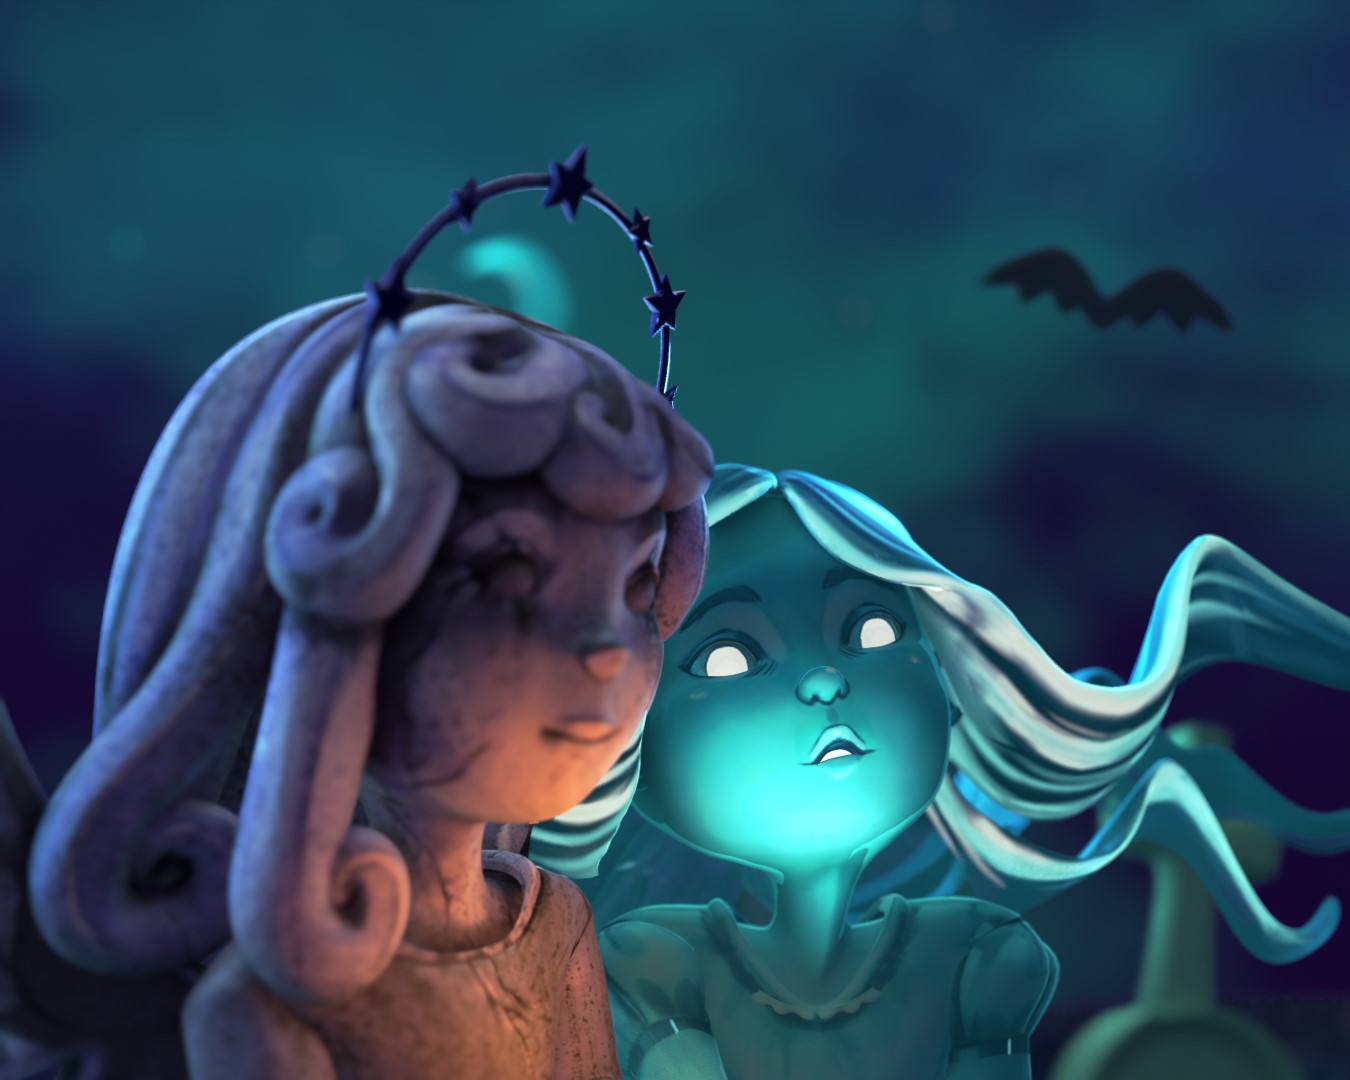
The ghost girl model consists of separate parts: the body with an elongated tail, eyes, hair, and caftan. The stone angel consists of: the figure, kaftan, hair, eyes, gown, and wings. I particularly enjoyed creating the angel’s hair and giving it a sharper edge with the Curve Brush (curve method). I planned to animate both models, so I created them in the ‘A-pose’.
TEXTURING
Next, I moved on to the UV unwrapping stage and created separate textures for both characters using BPainter, a paid add-on.
I was eager to learn how the add-on’s layer system works, as it makes painting on a model more similar to painting in a graphics program, while also allowing the use of various properties of PBR materials, such as glowing eyes and ghost hair.

I admit that it took me some time to get familiar with this add-on, but it was worth it.

POSING
I used the free add-on Rigify to pose the models.
In both cases, I removed the leg bones. For the angel, it was simpler, as it remained stationary from the waist down. The ghost’s tail had to wrap around the statue, so I created extra bones for it and turned them into bendy bones.
This was my first time working with this type of bone, so it took me a lot of time and some nerves. But, another item on my list of things to learn in Blender was crossed off!
SCENE
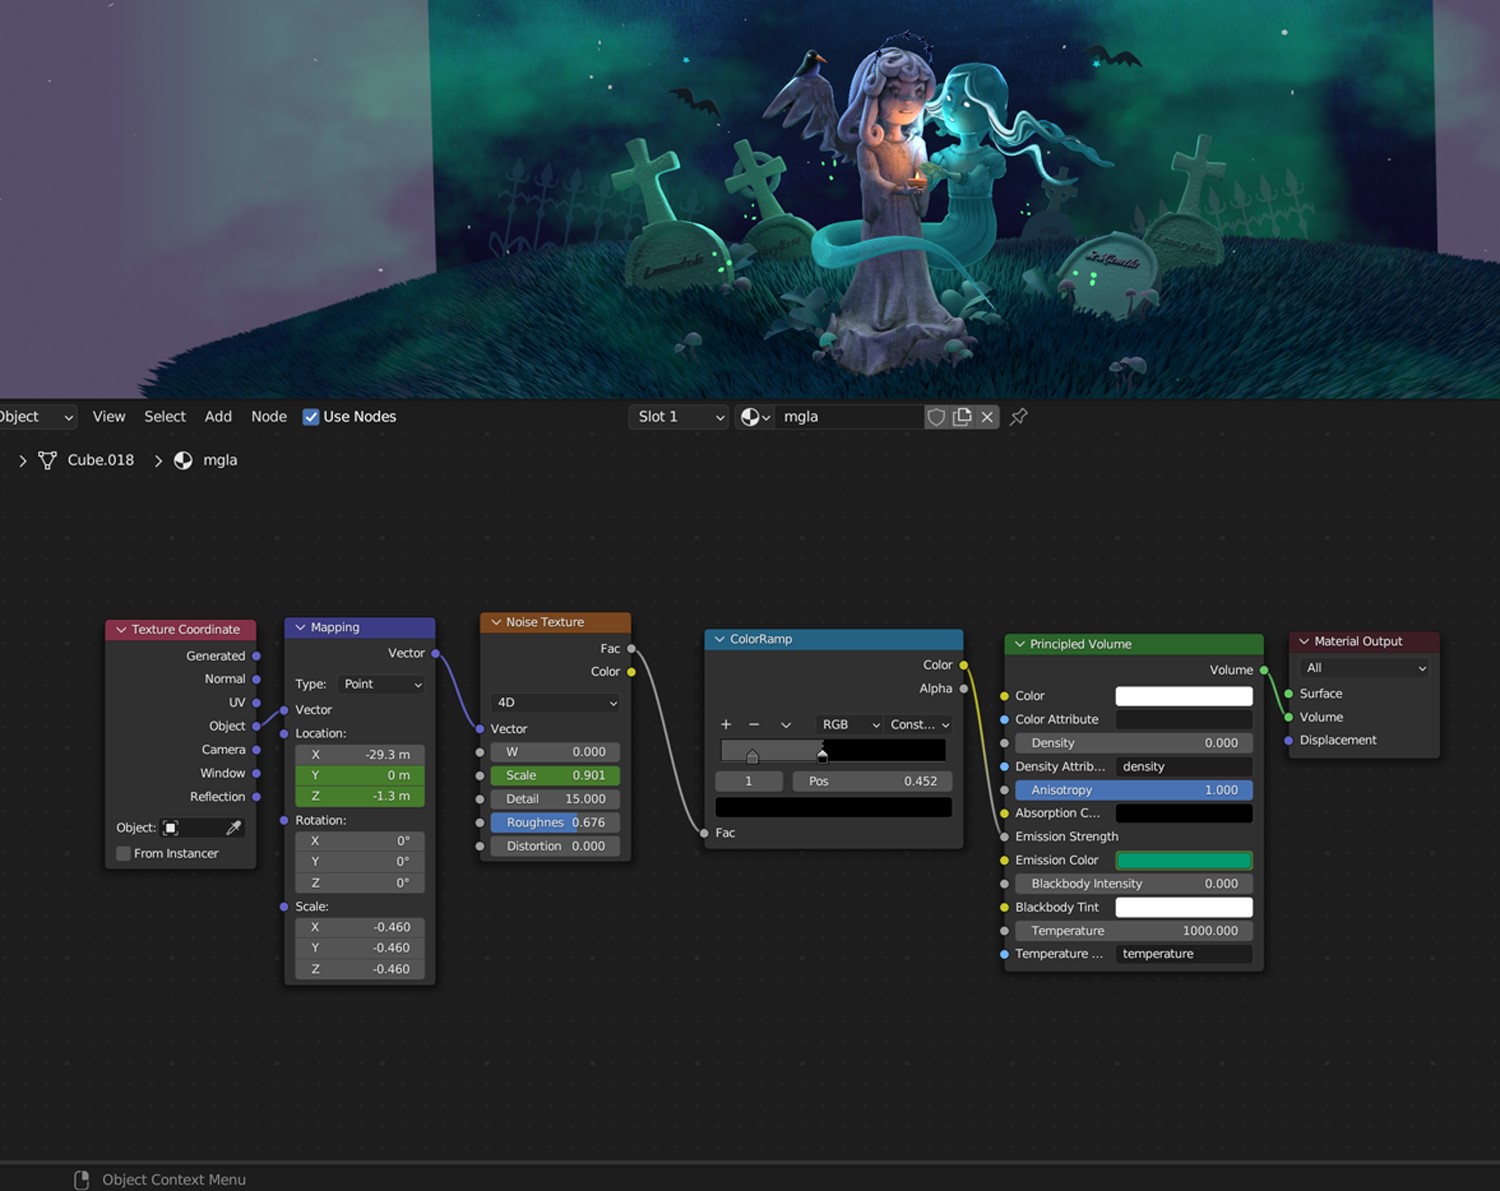
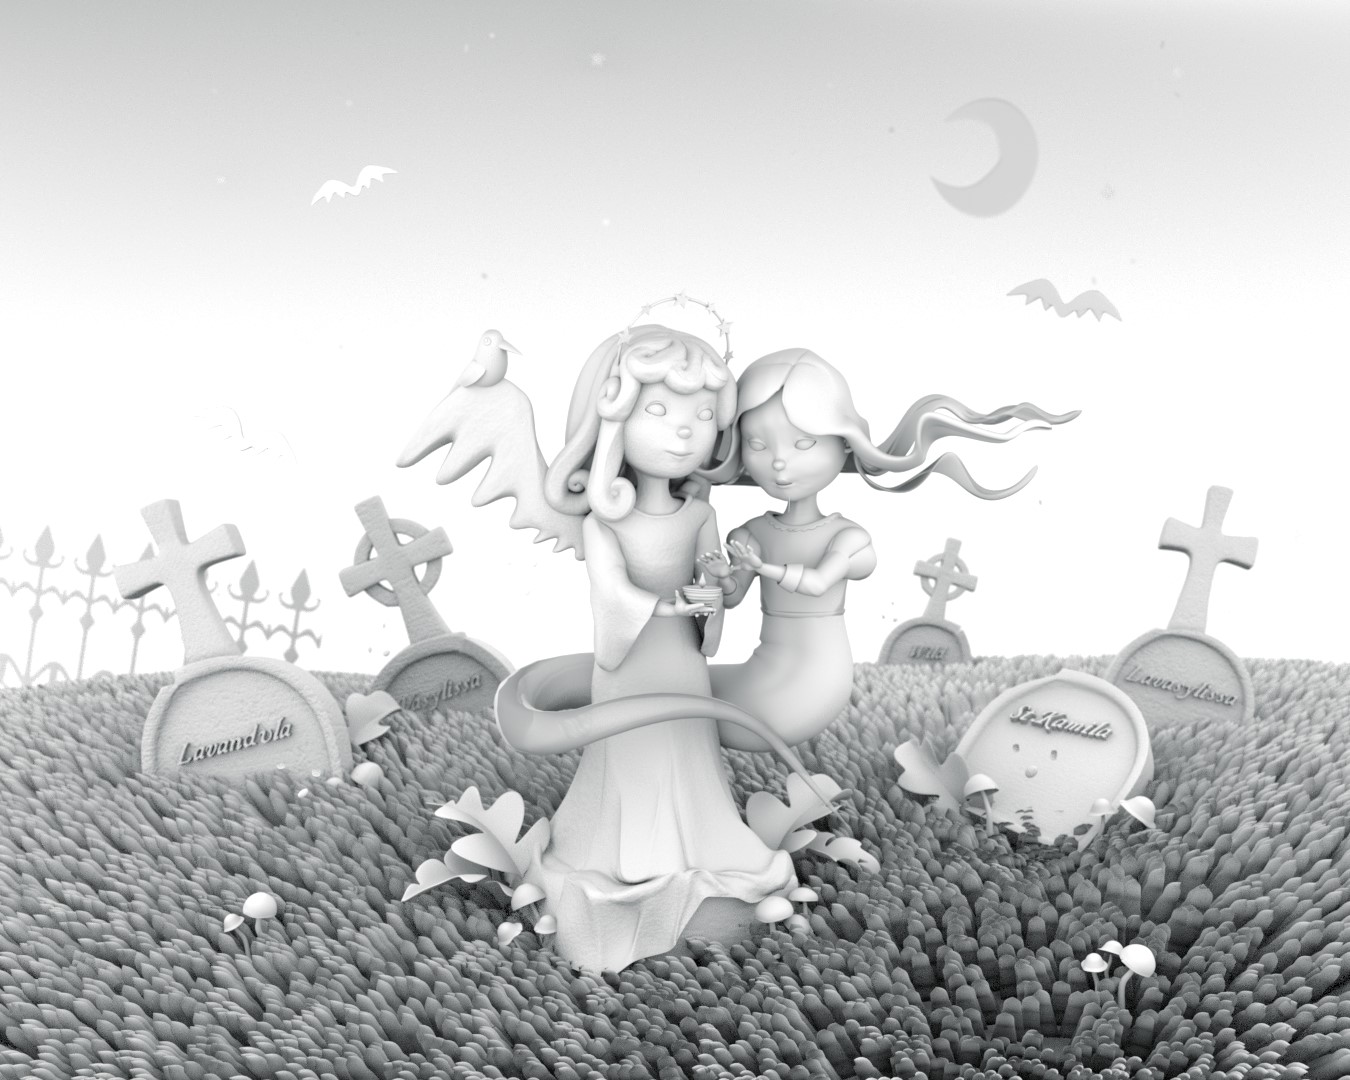
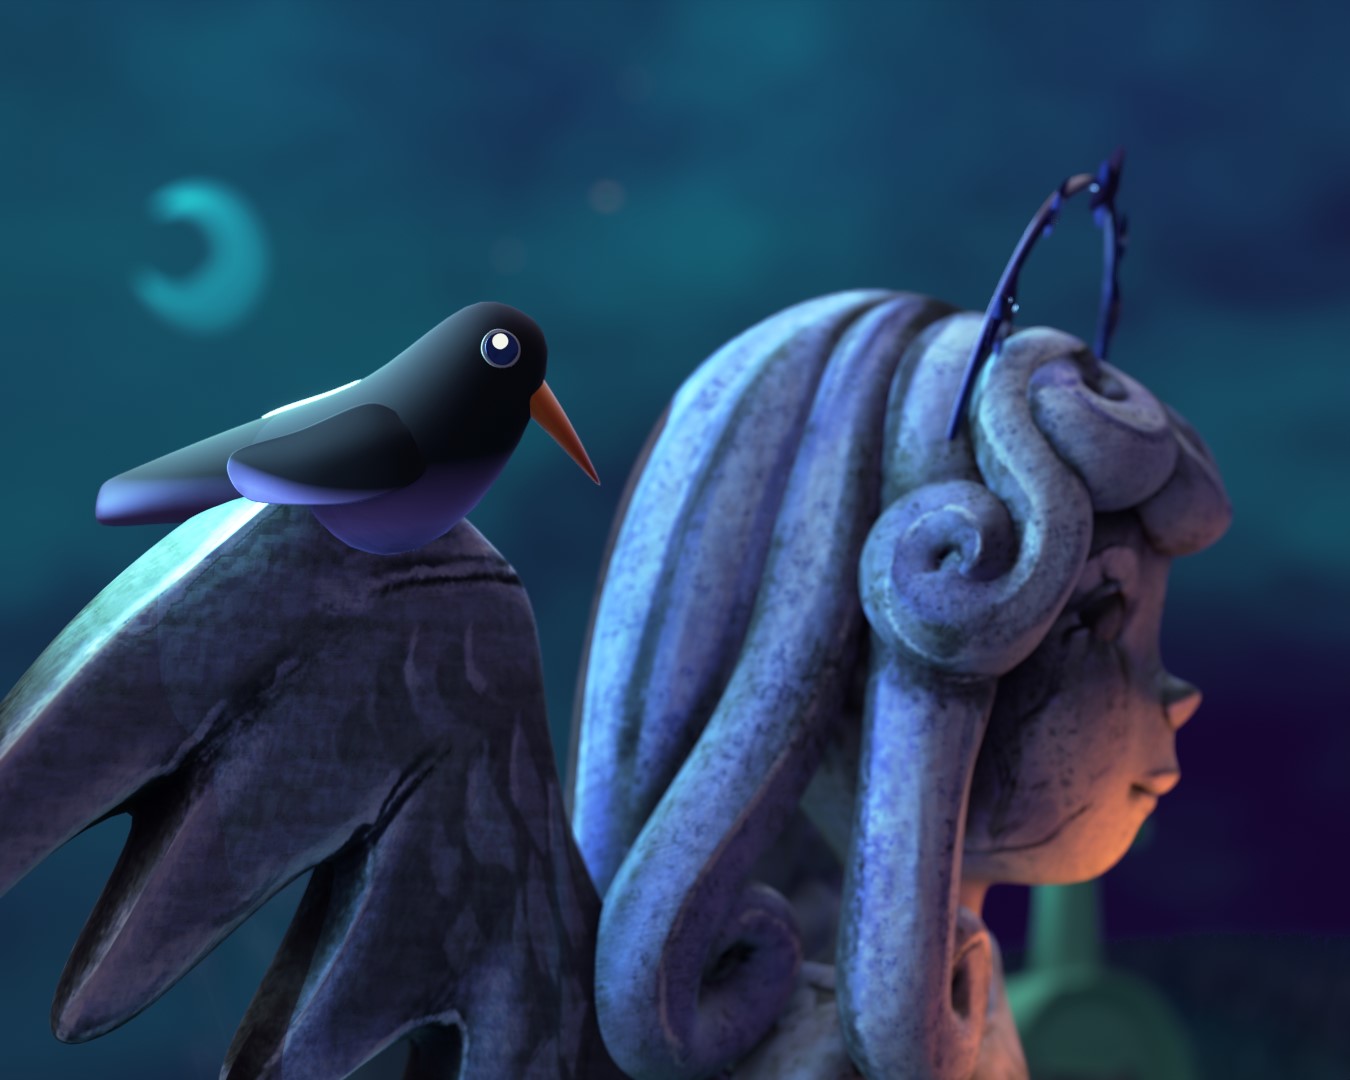
Once the characters were posed, I created the rest of the scene- the grass using the particle system, low poly graves with my past and present nicknames (don’t ask, it’s probably something for a psychiatrist to handle); and all these little details which give the scene a bit of flavor and atmosphere: fireflies (glowing spheres), a little crow, bats, a whimsical fence made of mushrooms and plants (not too many to avoid distraction), a background with a watercolor texture, a crooked moon and some stars, and snow (using the particle system).
A very cool task was adding fog to the scene by creating a cube and giving it a volume material. By adjusting the values in the nodes, I was able to easily create the fog animation.
LIGHTING
The lighting in this scene represents the two main characters. The blue, cold light represents the dead girl and her paranormality, sense of coldness, and loneliness. The warm light coming from the candle symbolizes life and warmth, and the idea that someone still remembers her. Both point lights illuminate the figures from below to give them a spooky look.
Additional area lights are used to illuminate the graves from behind, creating rim lights to bring out their silhouettes.
ANIMATION
The last task was a small animation showing the interaction between the two heroines (and the fact that both are not very smart ;), allowing you to experience the atmosphere of the cemetery on a cold winter night. This stage was the longest and definitely needs refinement, but at this point, my skills in this area do not allow me to do it better.
However, I hope I was able to convey the story I had in mind while painting this illustration. I will save learning the intricacies of animation for future projects!
BEST FRIENDS FOREVER


More renders:

Here is the animation:
You can also see the short TikTok from the process.
Thank you for reading my article and have a nice day!
About the Artist
Kamila Stankiewicz, a children’s illustrator and a 3d artist from Poland.


