
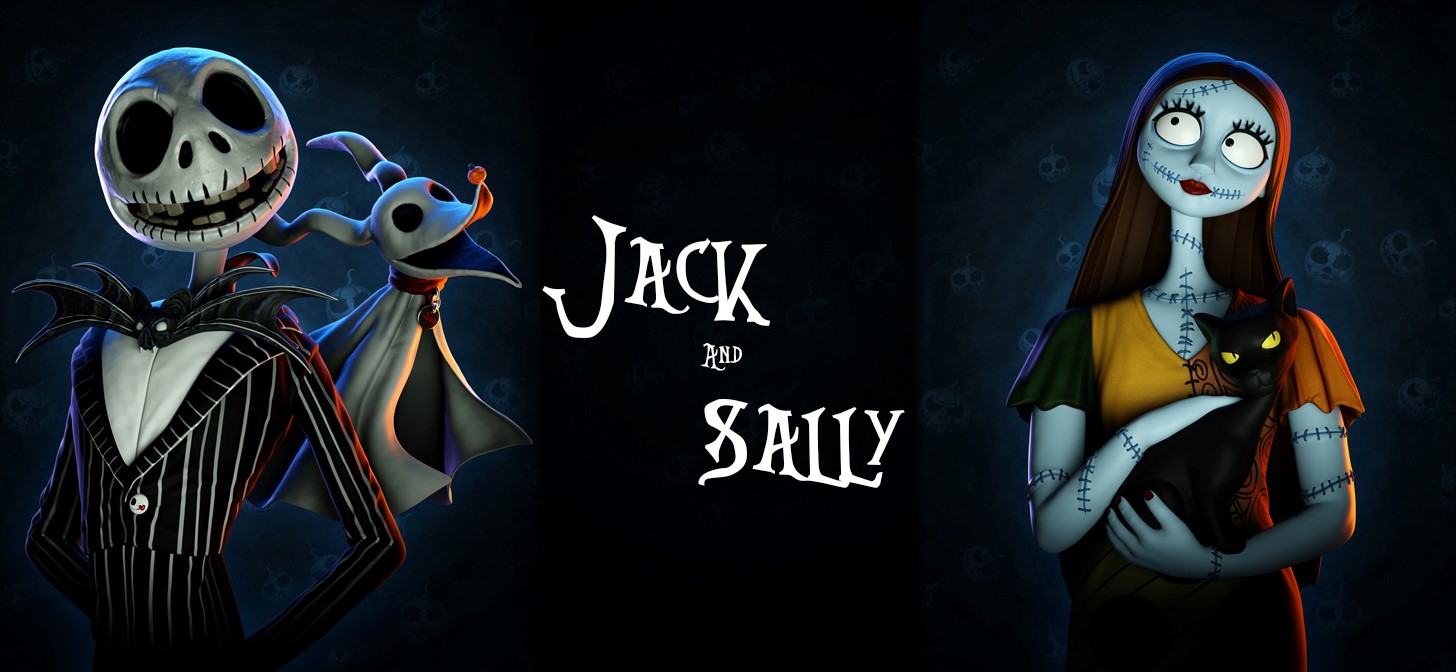
Behind the Scenes: Jack And Sally
INTRODUCTION
Hello there! My name is Chris Vian. I’m a self-taught 3D artist from Indonesia, currently living and working in Selangor, Malaysia.
I started my career as a 3D animator in 2008 for 3D animation series and advertising when I was in Indonesia. I was guided by very good people and that was pretty much like my school back then. From there, I learned the whole pipeline for animation, and I ended up being a generalist.
I changed my career to the game industry as a 3D modeler in 2015 and got the opportunity to move to Malaysia in 2016. I’ve worked on numerous projects such as Street Fighter V: Arcade Edition, Warcraft III Reforged, Diablo II Resurrected, Star Ocean: The Divine Force, as well as a few others.
INSPIRATION
It all started in October 2022, when I usually spent most of my time making a quick sculpt at lunch time. But this time, I wanted something different for my own collection of sculpts, so I gathered a lot of reference pictures from the internet and put them into my Pureref, and started to do a lot of quick sculpting for my ‘Halloween’ collection.
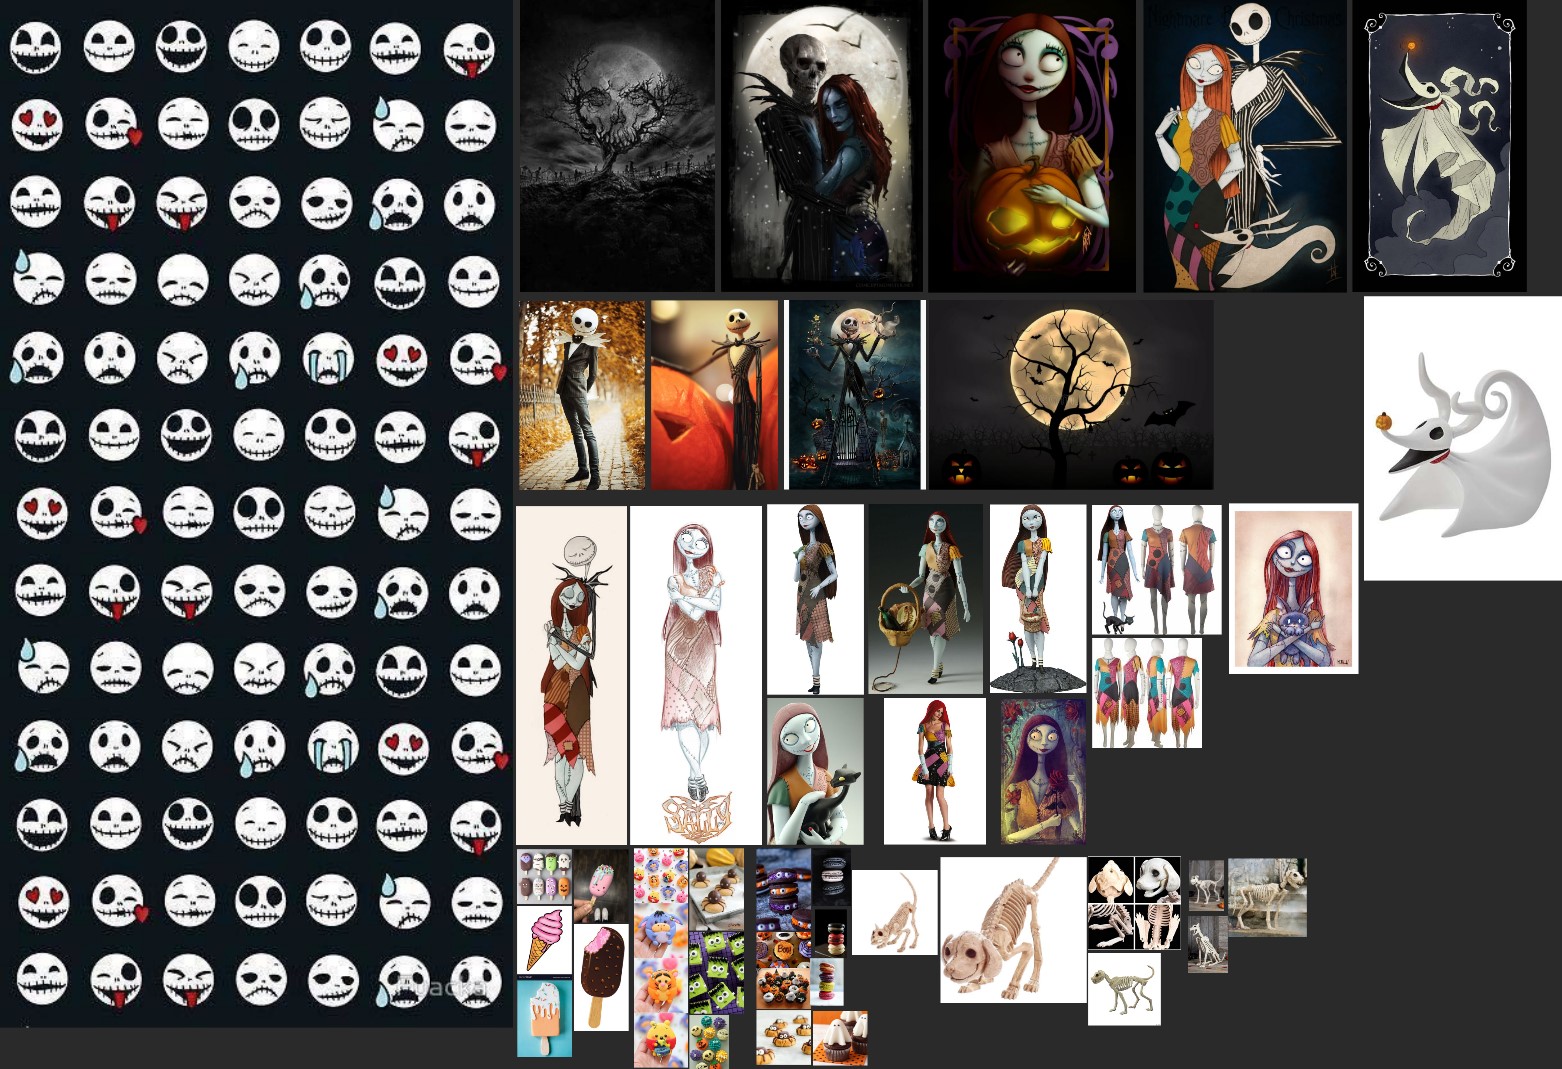
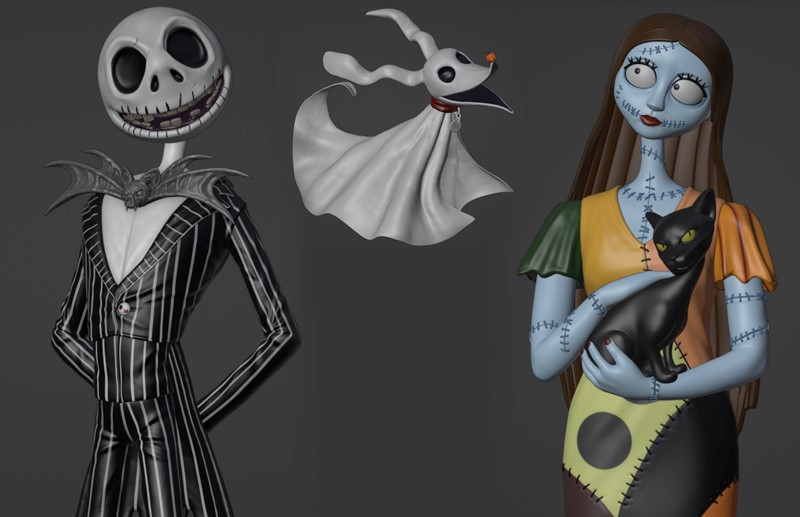
The idea was for me to have a little bit of fun by sculpting each day at lunch time for 1 hour at the studio, and Tim Burton’s The Nightmare Before Christmas has always been my favorite movie. Jack and Sally is the finale of The Halloween sculpt for my collection (You can check out my Instagram for the other Halloween Sculpt collection that I did.)
MODELING
I use Blender for most of my personal and professional work.
For Jack & Sally, I started with the simple block-out as usual. This is where I explore poses and proportions. I used skin modifiers for the arms and legs, which makes it easier to change to a different pose.
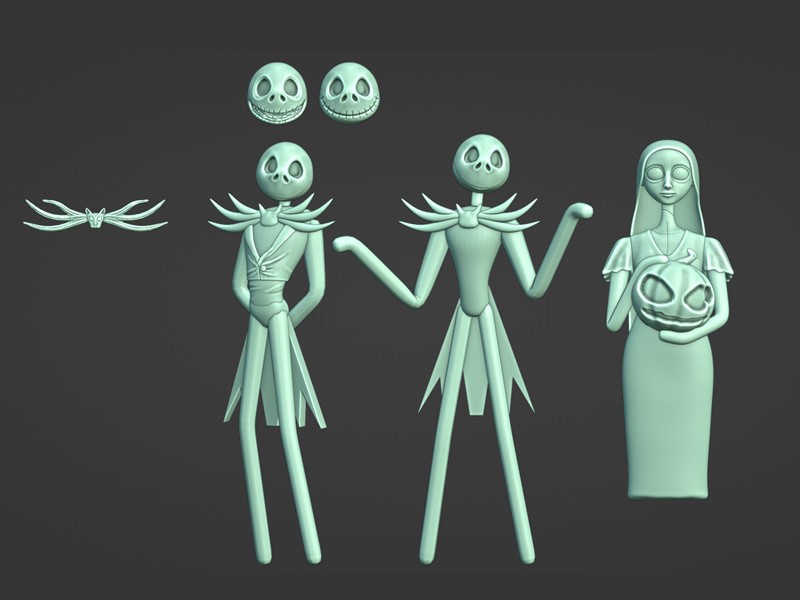
I sculpted multiple Jack expressions so that I’ll have more options for Jack’s head that I will use in the final presentation. And as we all know, to sculpt on the mesh, we need to have enough topology on the mesh itself. This is where Dyntopo/Remesh comes in handy in Blender.
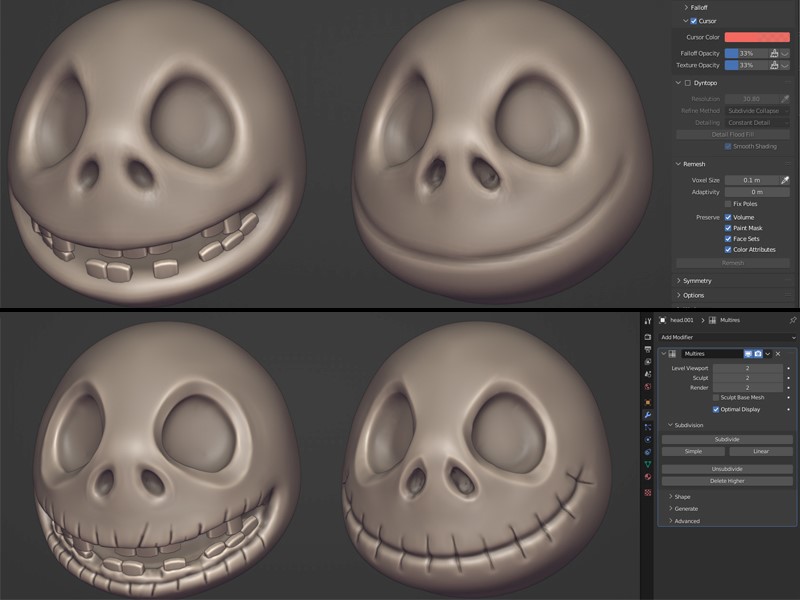
I started with the rough sketch and once I was happy, I did remesh and added Multires modifier on the mesh. This is for going into more detail by changing the subdivision level. I used the Quad Remesher addon that I purchased from EXOSIDE, which gives me cleaner topology for sculpting.

The thing that I needed to keep in mind before I added the Multires modifier was that every mesh needs to be watertight or closed at the surface. It means the meshes do not contain holes, and separating the objects such as the head, body, and tie. This way is easier for me if I have any changes in mind for them later on.
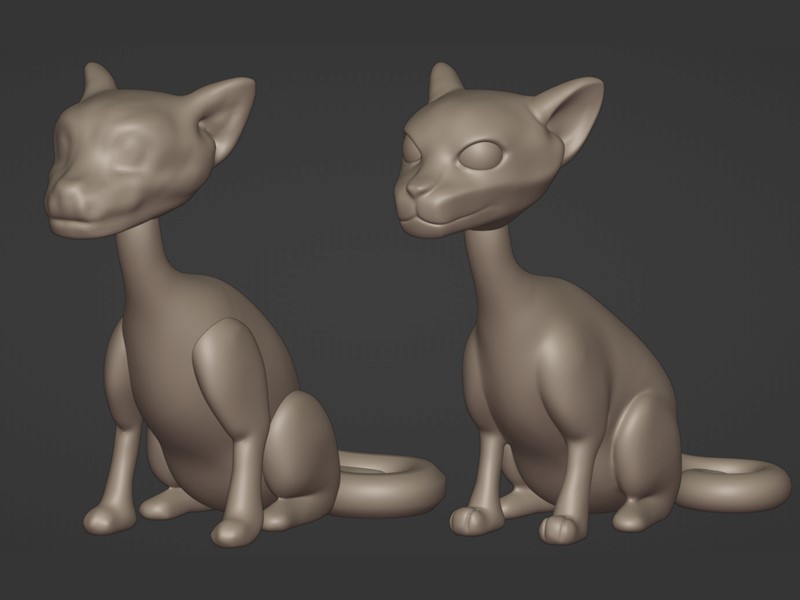
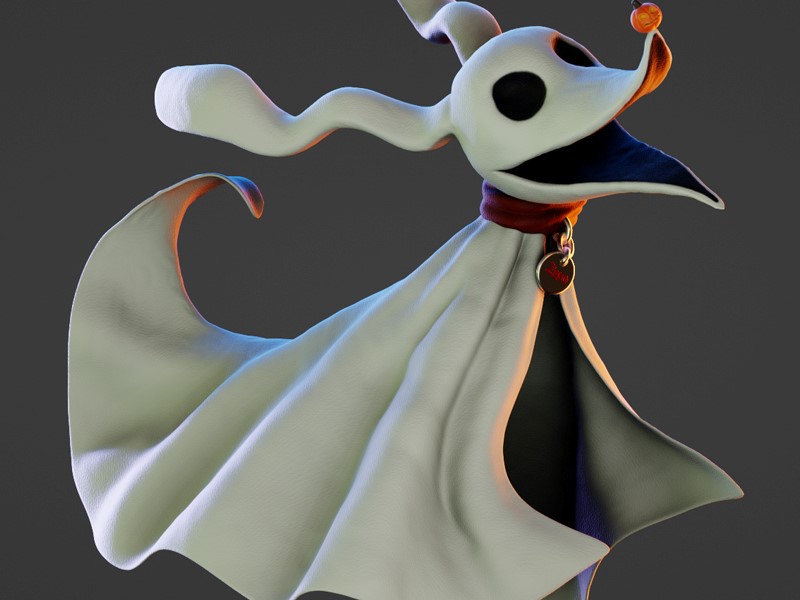
I used multiple modifiers for Zero’s body, because Zero has the face of a dog while the rest of his body takes on the appearance of a children’s ghost costume. I used Solidify modifier to give a thickness after I sculpted the body in the Multires modifier, and then added the Subdivision modifier in the end.

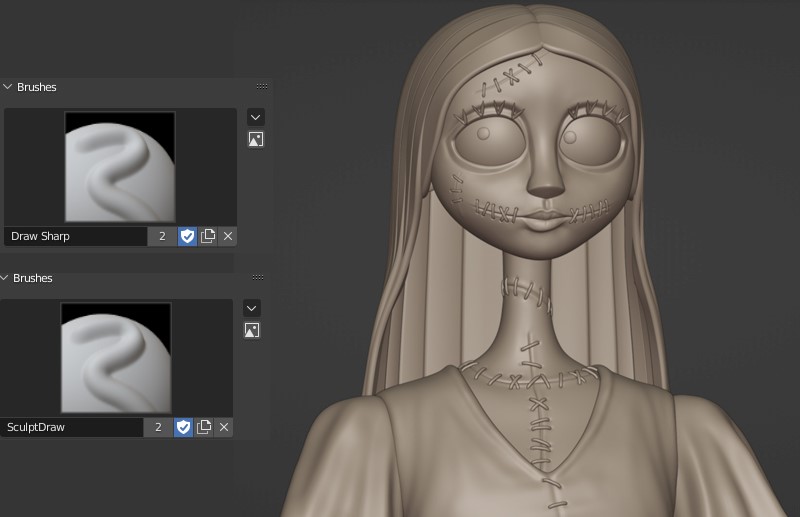
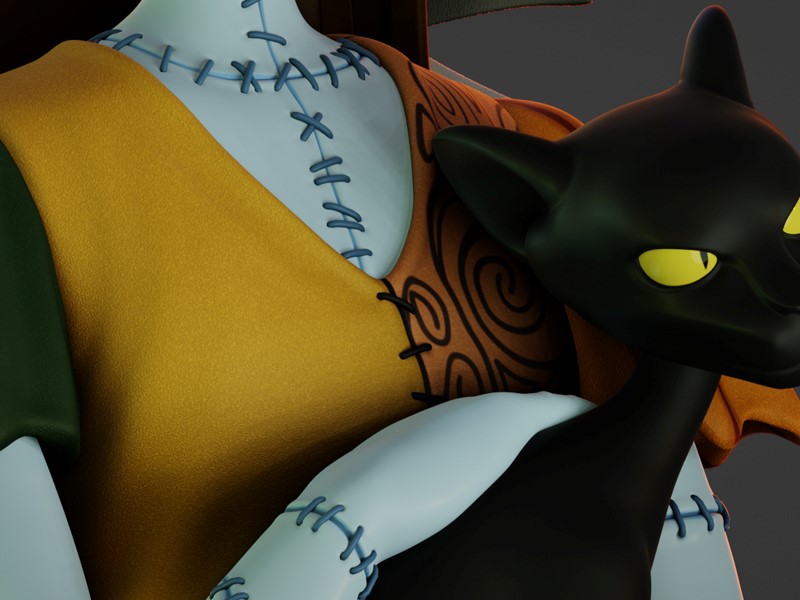
Sally’s patches are modeled and placed one by one. Not everything was sculpted; some of them are polygonal modeling such as her eyeballs, eyelashes, and hair.
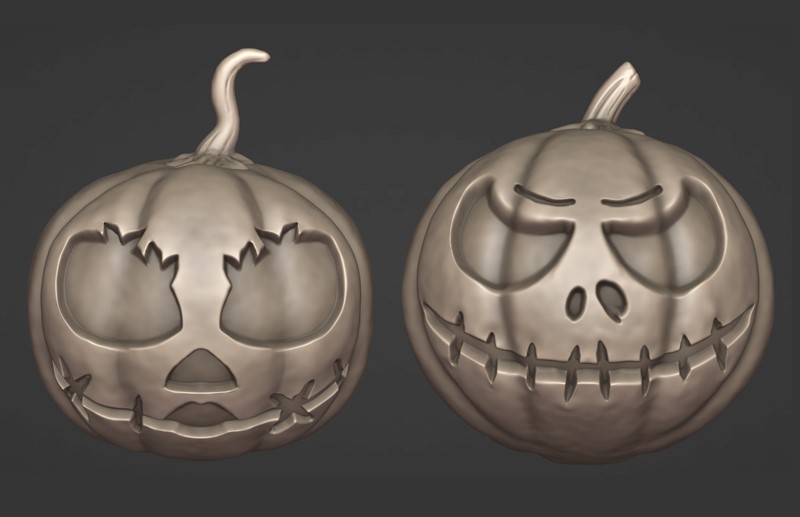
As an extra, I sculpted Jack and Sally’s pumpkins because I thought it might be useful later on when it comes for the final presentation.
COMPOSITION
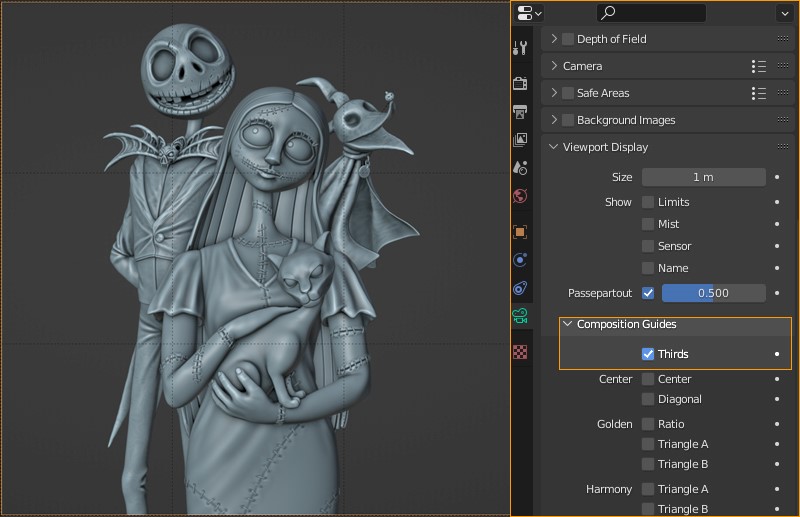
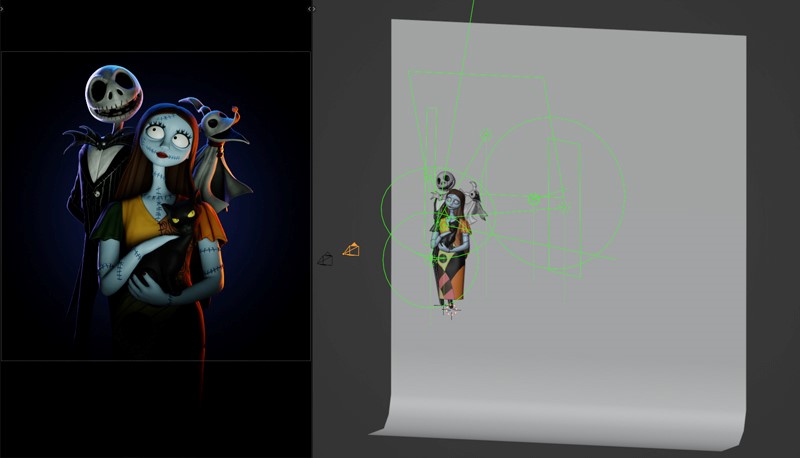
Once all the modeling was finished, I put them all together and placed them carefully because I wanted them to interact with each other. This is why I separated their meshes in the beginning so I could easily rotate their heads and do the final tweak sculpt as needed.
I created a camera, and used the Composition Guides in the camera property to help me for a better placement.
TEXTURING
For the texturing process, I did it mostly using a quick unwrap and basic color fill in Texture Mode by assigning them in the same material based on their Texture Set. In this stage, I needed to pay attention to the parts that had to be in one texture set to maintain the texture as not too pixelate/jaggy. The highest resolution is 2048×2048.
Some of them are just plain material with some shader adjustment for the details, and some of them just use the Vertex Paint in Sculpt Mode for color.
Jack’s Tie is a little bit special because I wanted to pop out the sculpting detail in the texture.

I used ‘Dirty Vertex Color’ in the vertex paint mode to get the cavity color from it.
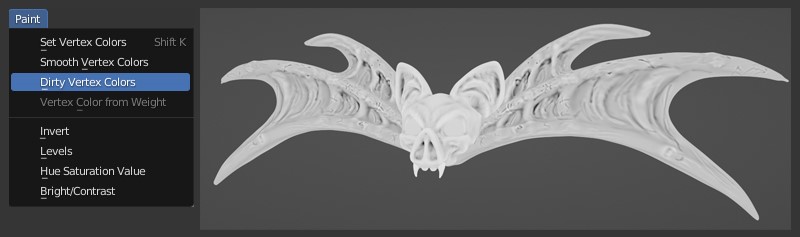
Because I wanted to render it in Eevee, this trick will do well to get the cavity color out.
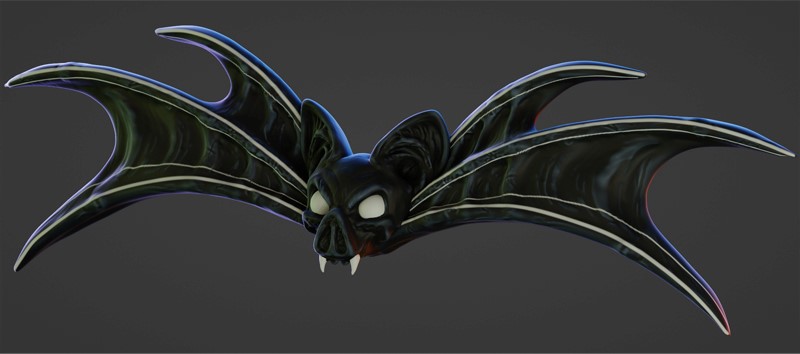
Now I have two color attributes—one for the base vertex paint and the other for the cavity, which I then combined in the Shader Editor to get the result I wanted.

For Sally’s shirt and Zero shader, I use Voronoi Texture to give a random noise bump in the Shader Editor.
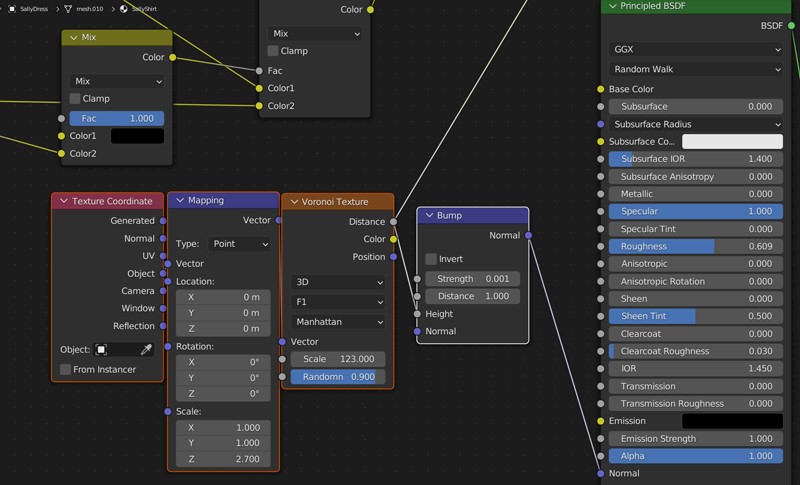
And that’s pretty much it for the texturing and shader process.
LIGHTING
For me, lighting is important as it can make or break the final presentation. This is where I made a Studio set up collection and saved it as a blend file, and appended them from the collection whenever I needed to light my scene.
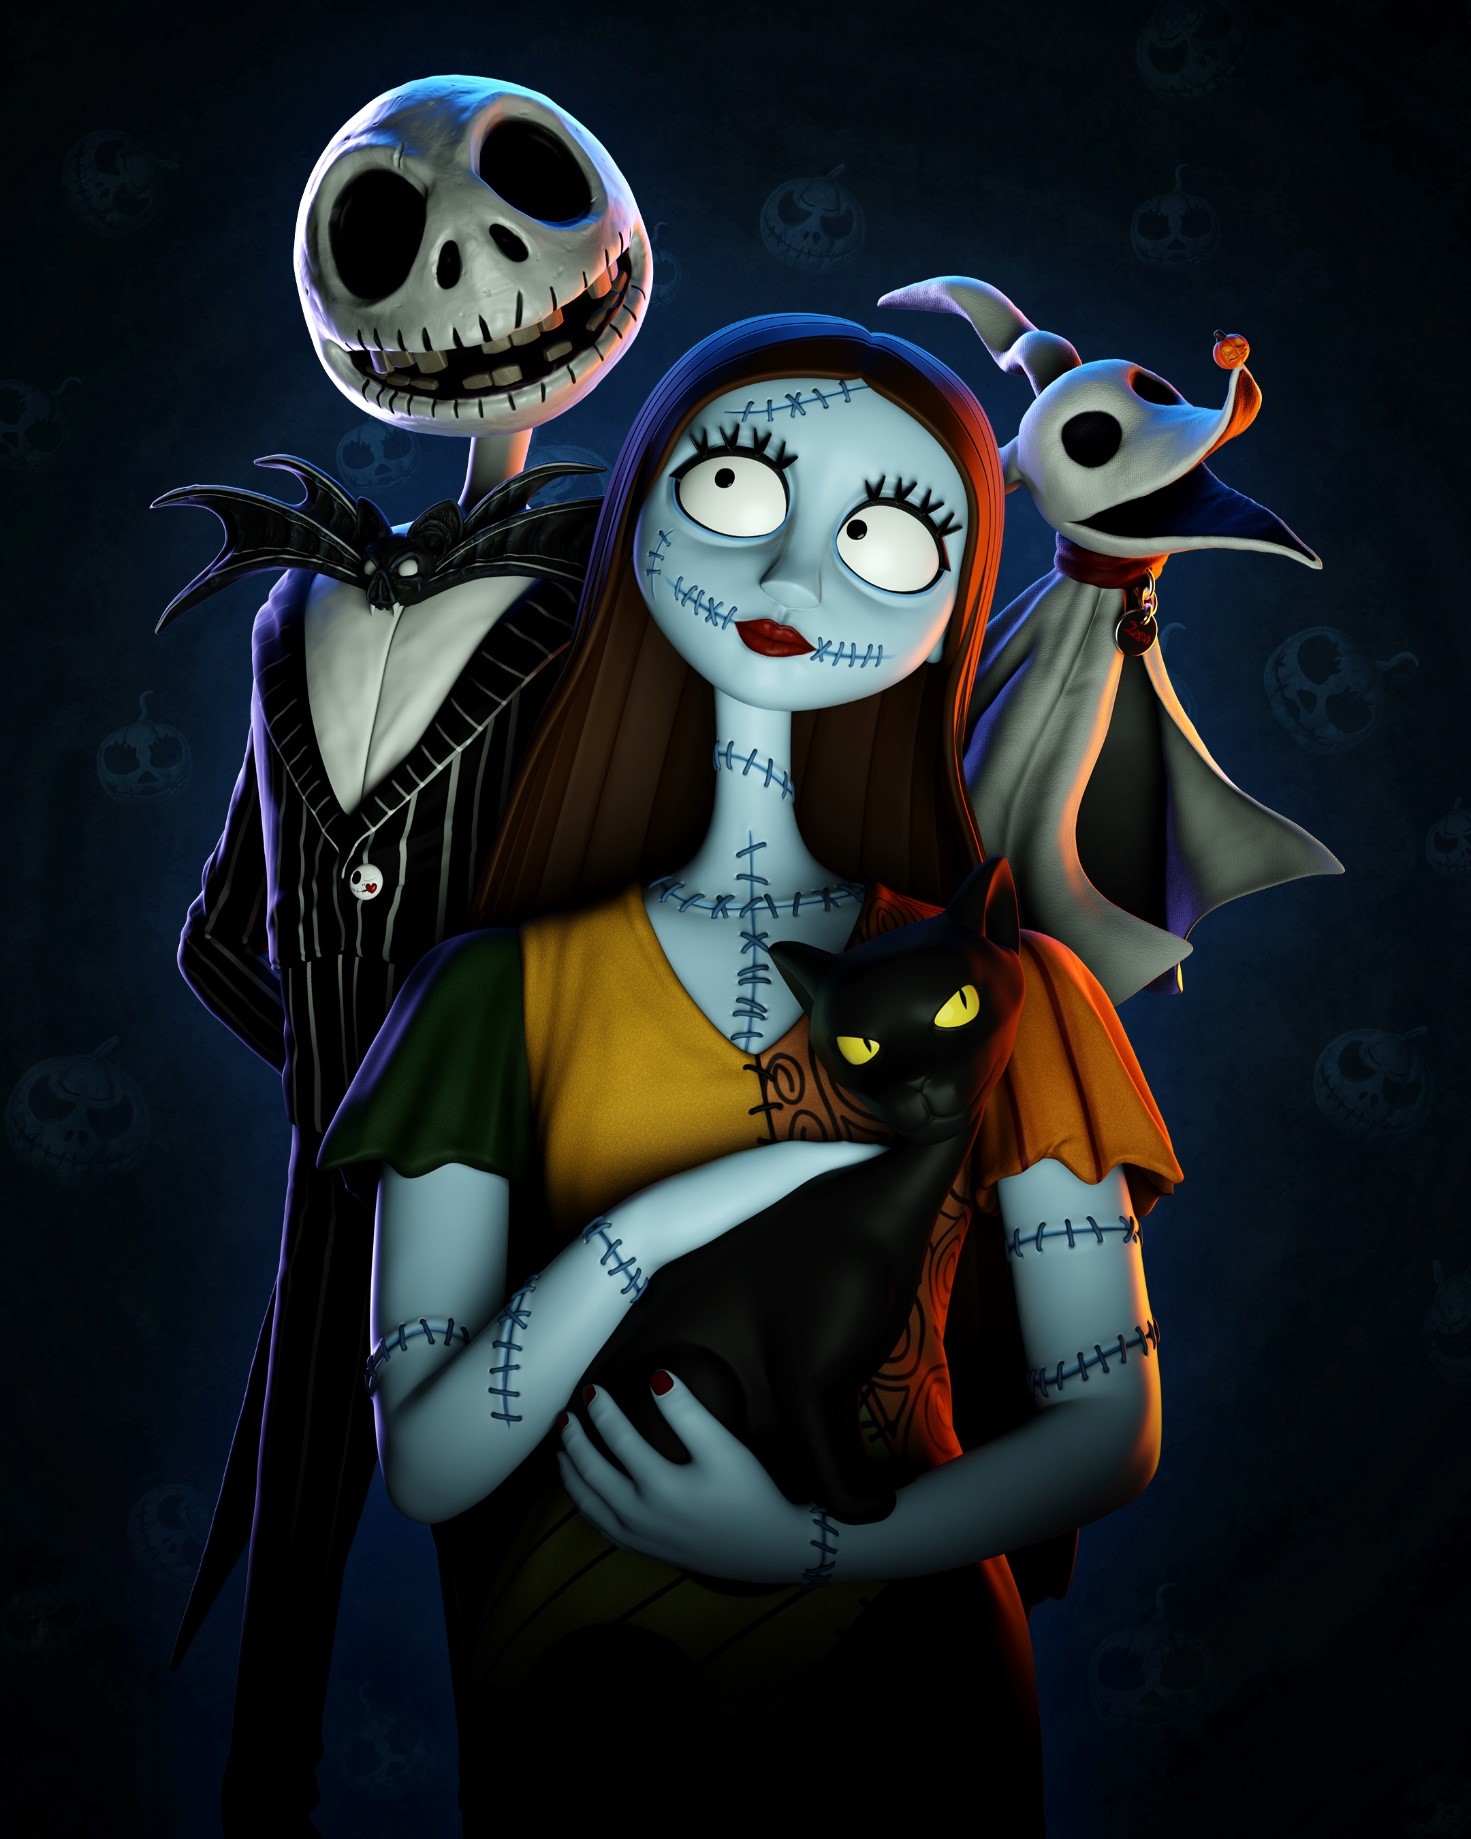
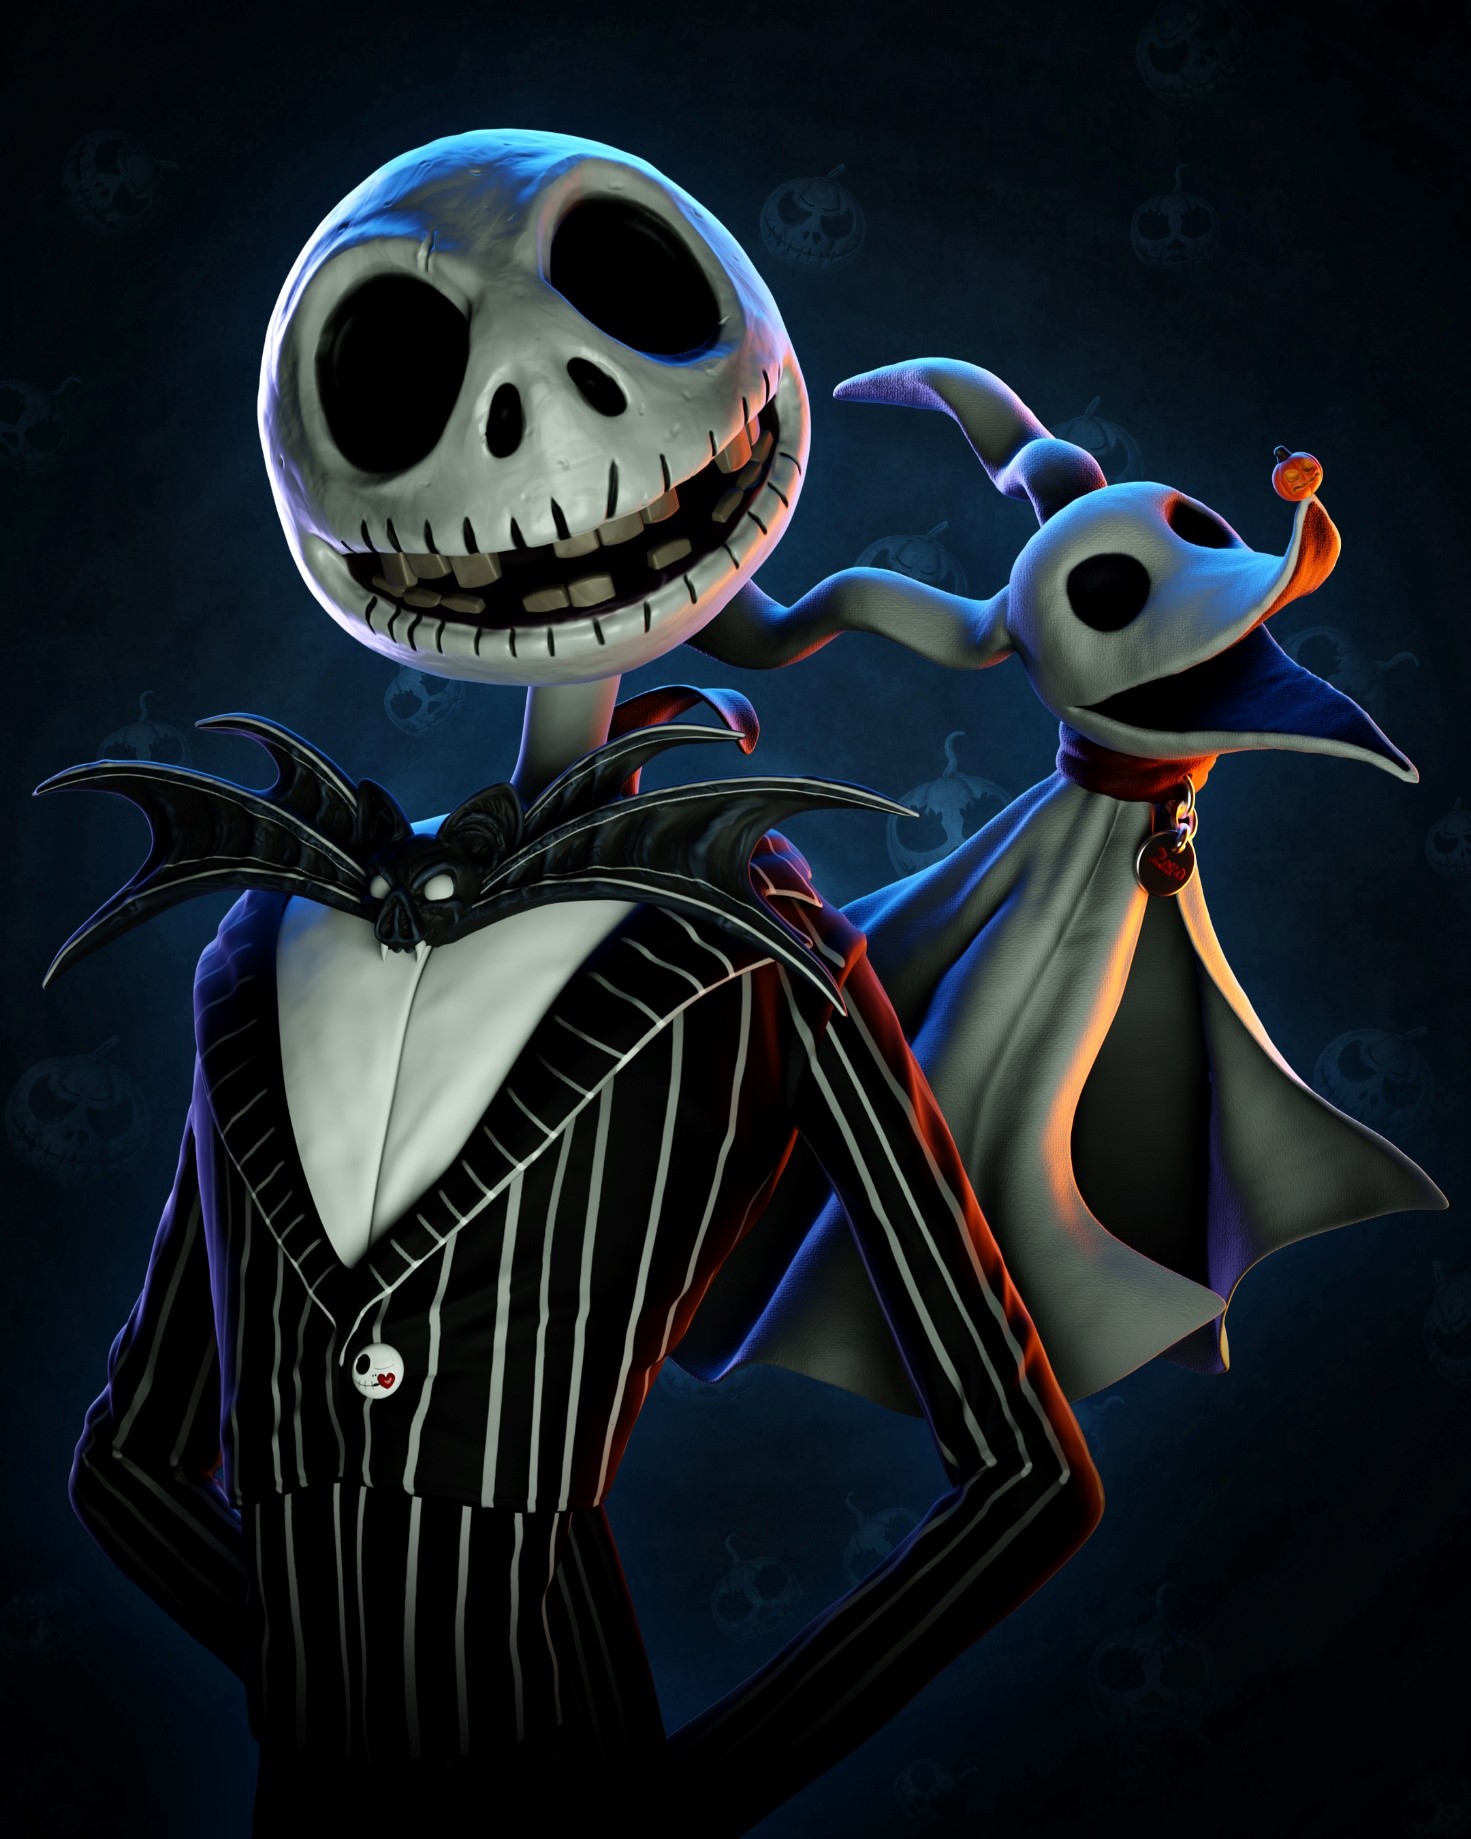
And because I had a plan to render Jack and Sally separately based on their companion (Jack with Zero, and Sally with Black Cat), I wanted them to be in the same lighting mood color.
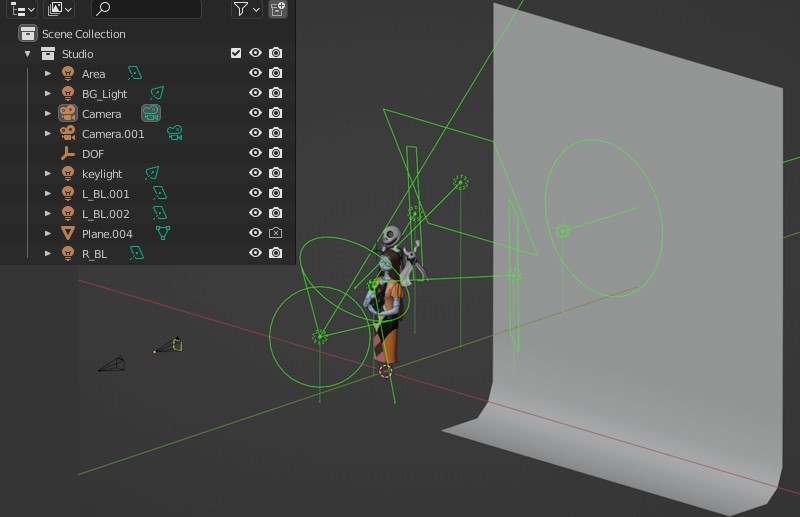
The light sources that I used for Jack and Sally are mostly spotlights and area lights. And because the beauty of the Blender Eevee render engine is able to show real-time, I didn’t find any trouble placing the lights and seeing it through from the camera with a real-time visual.
The basics of lighting that I always keep in mind whenever I light my characters are ‘Key Light, Fill Light, and Rim Light.’
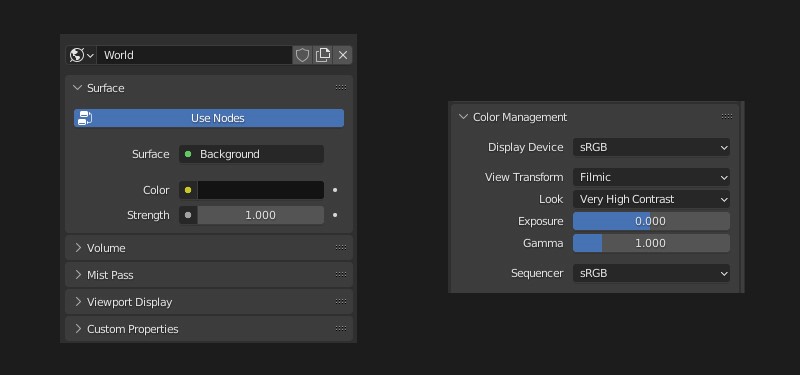
Once everything was set, I changed the Color Management look from ‘None’ to ‘Very High Contrast.’ This was to give the final render more contrast.And the background color is slightly darker in the ‘World Properties’ tab so it won’t give any ambient color in the final render since I didn’t use any HDRI information.
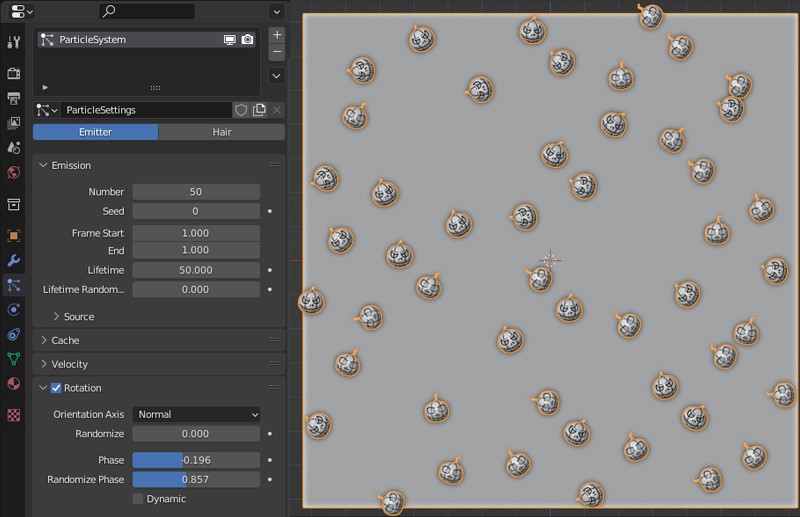
Remember that I still have Jack and Sally’s pumpkin sculpt? I used ‘ParticleSystem’ to generate them randomly on a plane, and disabled the ‘Show Emitter’ on the render tab, saving it from ‘Viewport Render Image’ with high resolution image output.
And put them together in Photoshop as a background.
JACK AND SALLY

And that’s all for Jack & Sally. I really do hope you were able to learn a thing or two from this article. And stay in the light!
About the Artist
Chris Vian, a 3D artist from Indonesia. He is currently working as a 3D modeler for video games at Lemon Sky Studios, and freelance character artist.


