
Behind the Scenes: DTIYS-Moody Academia Girl
INTRODUCTION
Hey guys! I’m Aravinth from Tamil Nadu, India. I’m an architect graduate (2019). After working for one year as a junior architect, I started to learn 3D during the 2020 pandemic and now, I’m a full-time freelance 3D artist. Like most of the Blender users, I started with BlenderGuru’s donut tutorial and learned other 3D stuff mostly from YouTube.
INSPIRATION
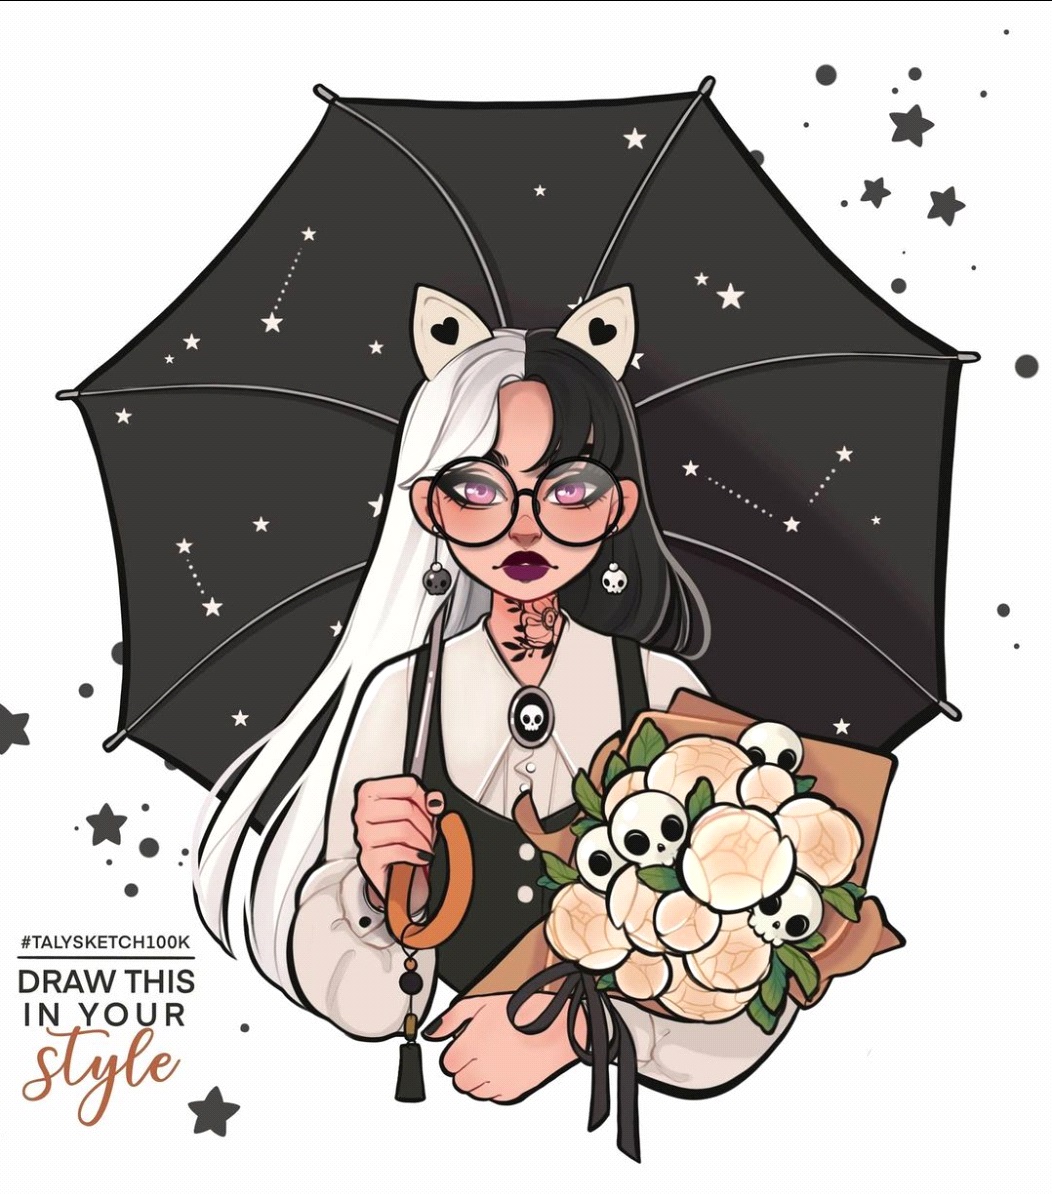
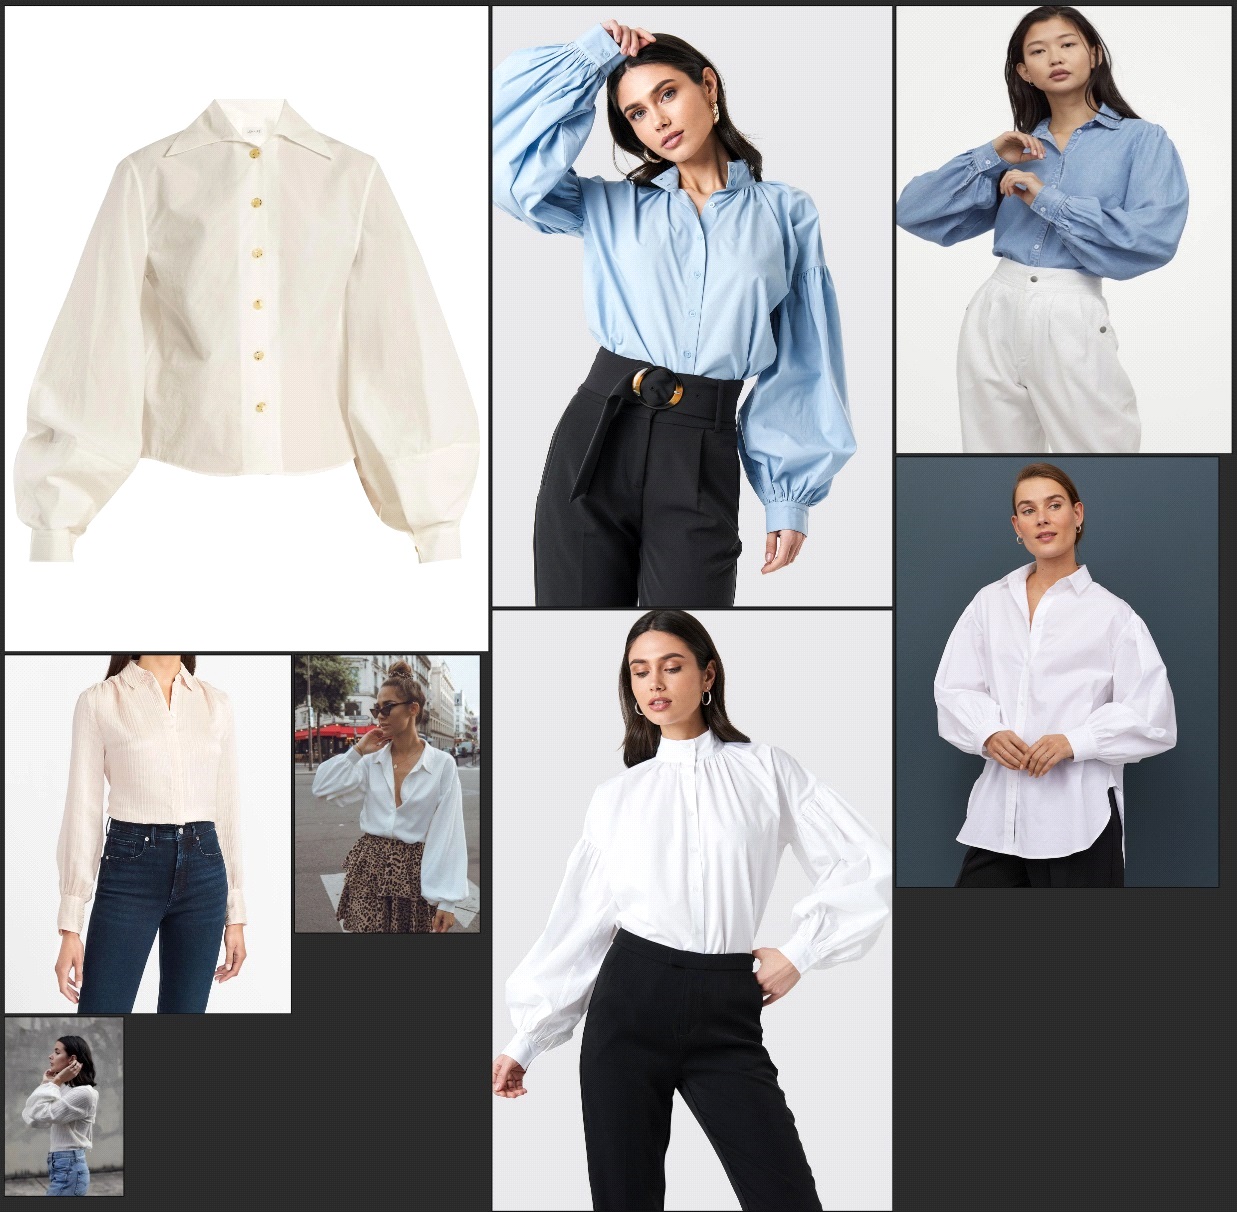
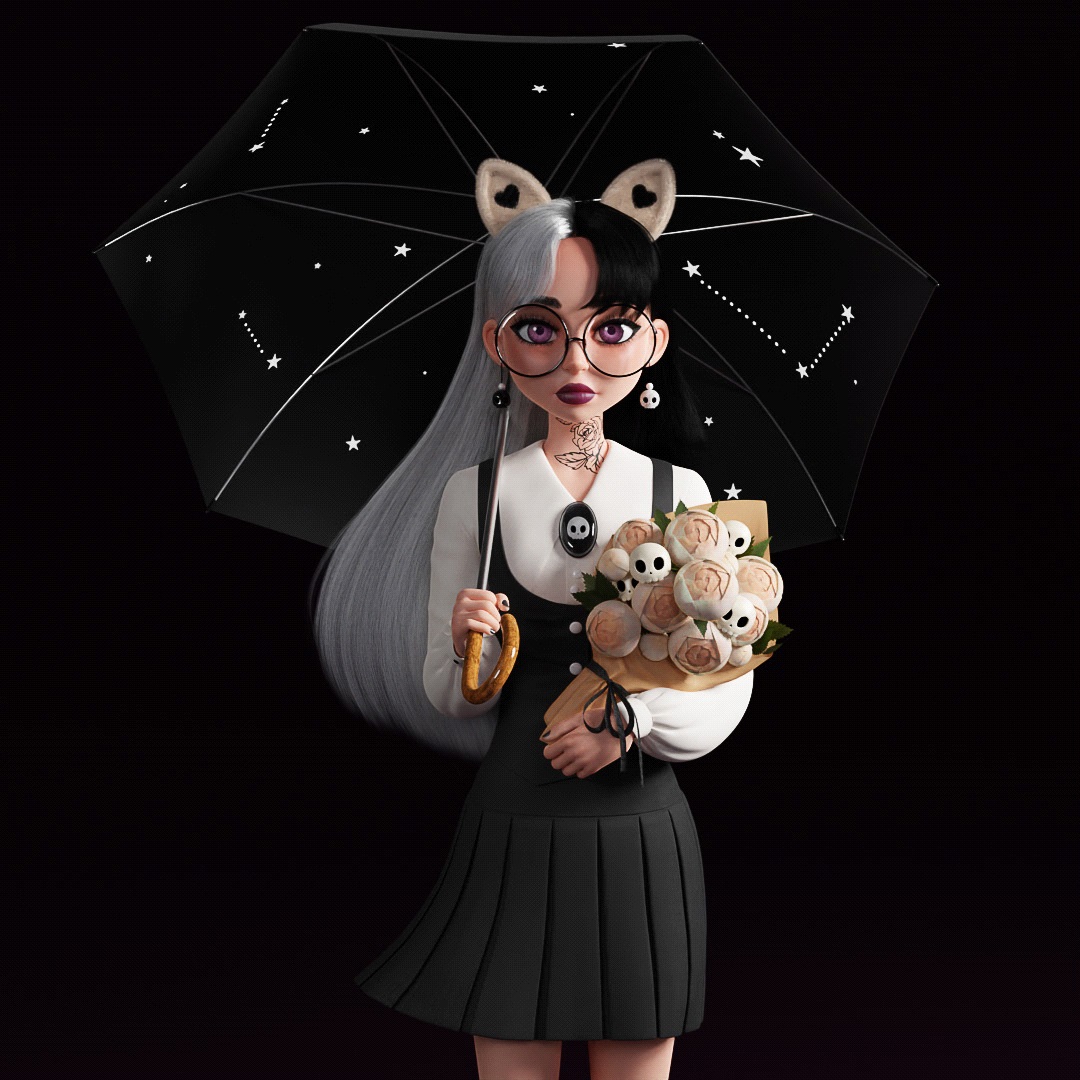
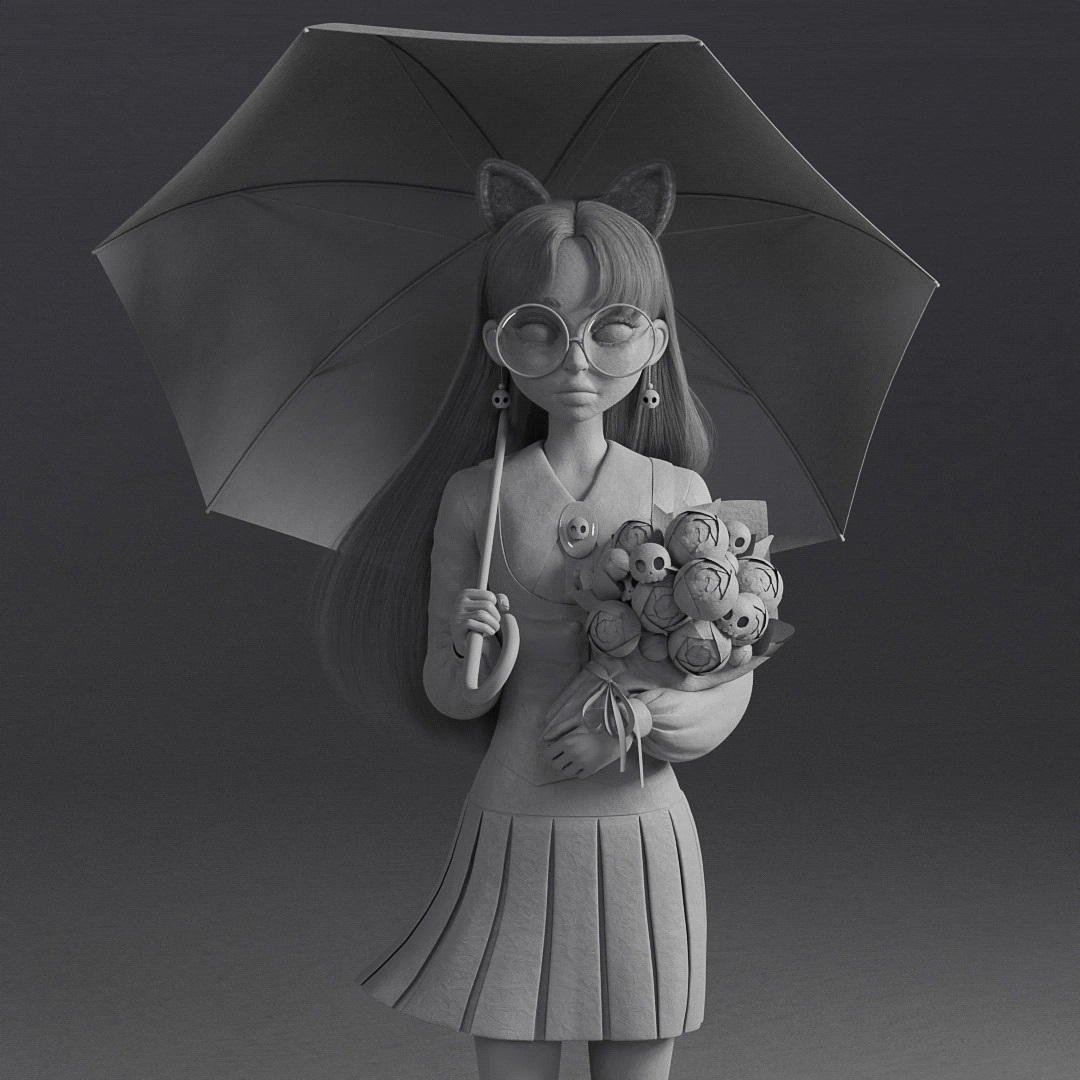
After completing my previous character (Princess Jasmine), I was looking for some interesting character designs to make for practice. Then I stumbled upon a beautiful DTIYS challenge by @talysketch
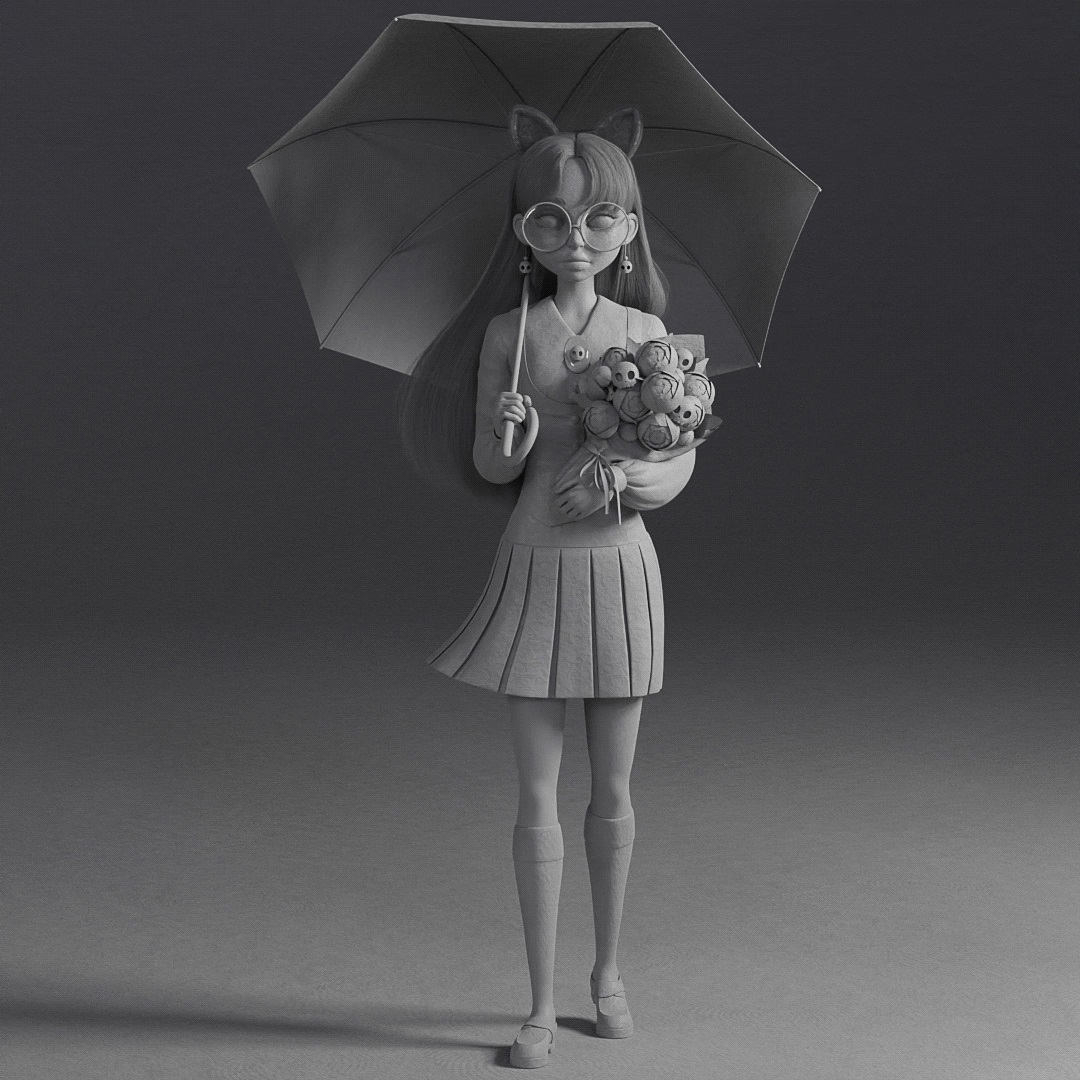
It felt like the character challenged me “I dare you to make me in 3D.” And I was like “Hell yeah! I want to make it as close to the 2D design as possible.” Because it seems challenging with the baggy clothes, skulls, flowers, and bouquets.
SCULPTING
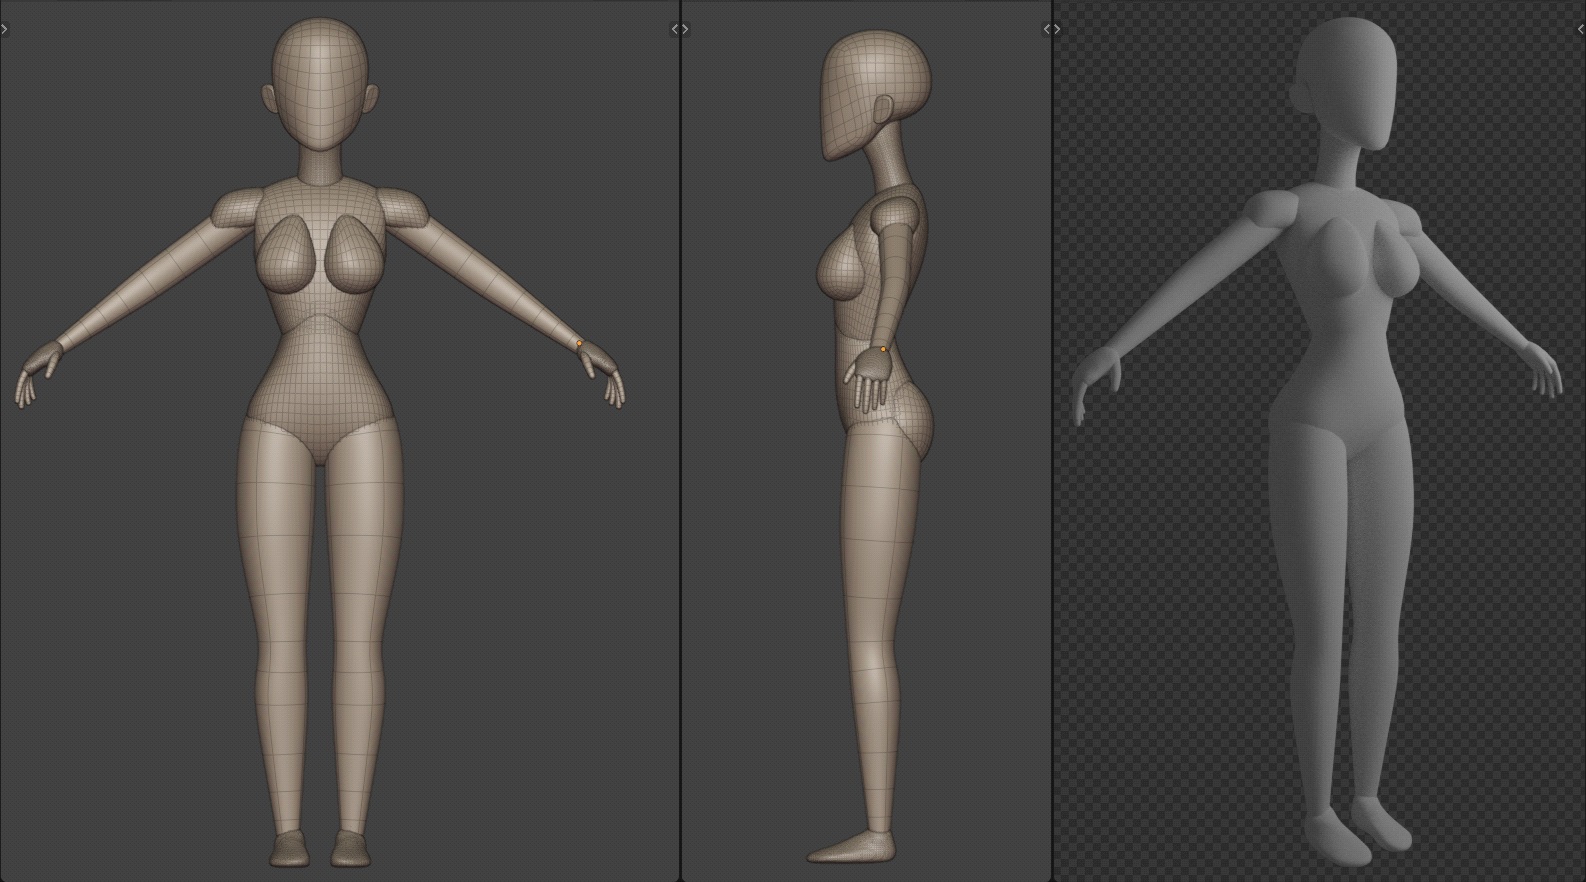
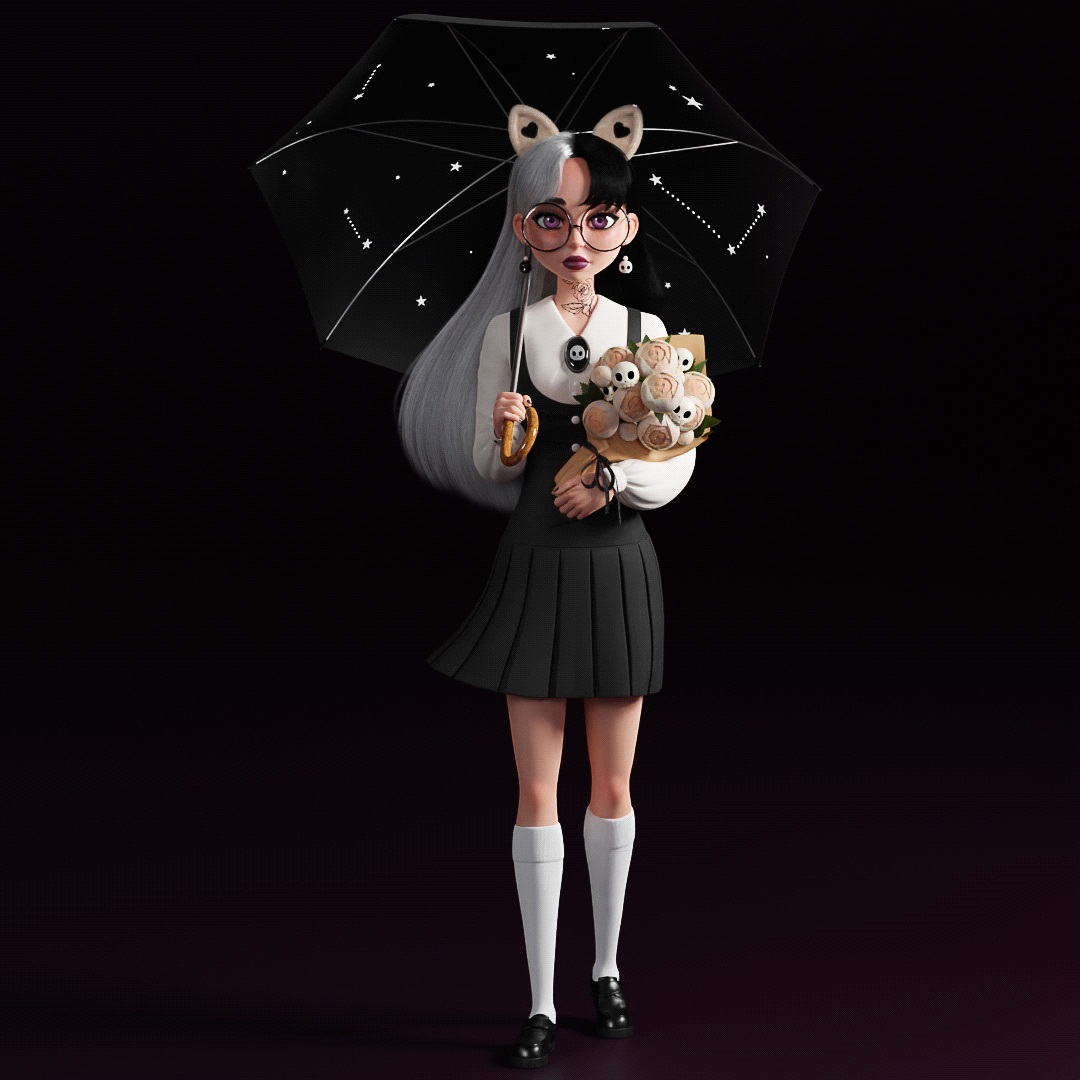
I made a base mesh for each of my characters to practice proportions instead of using one base mesh for all characters. And I wanted to make a full version of the character, unlike the 2D design. The legs, arms, and fingers were blocked out with edges with skin modifiers.
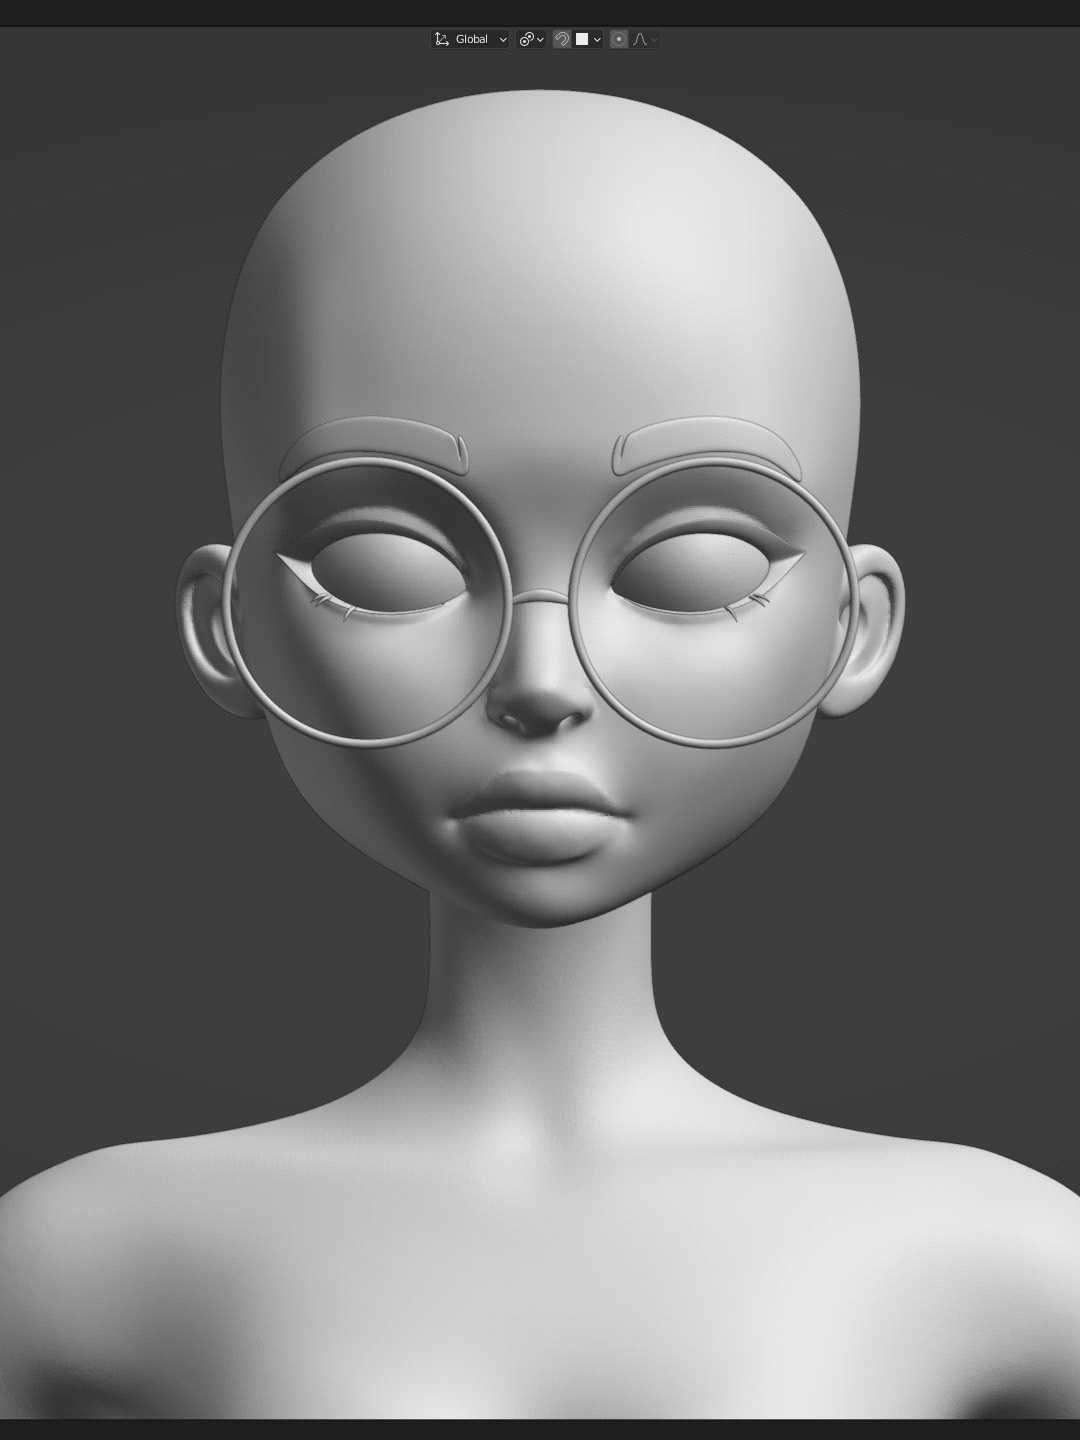
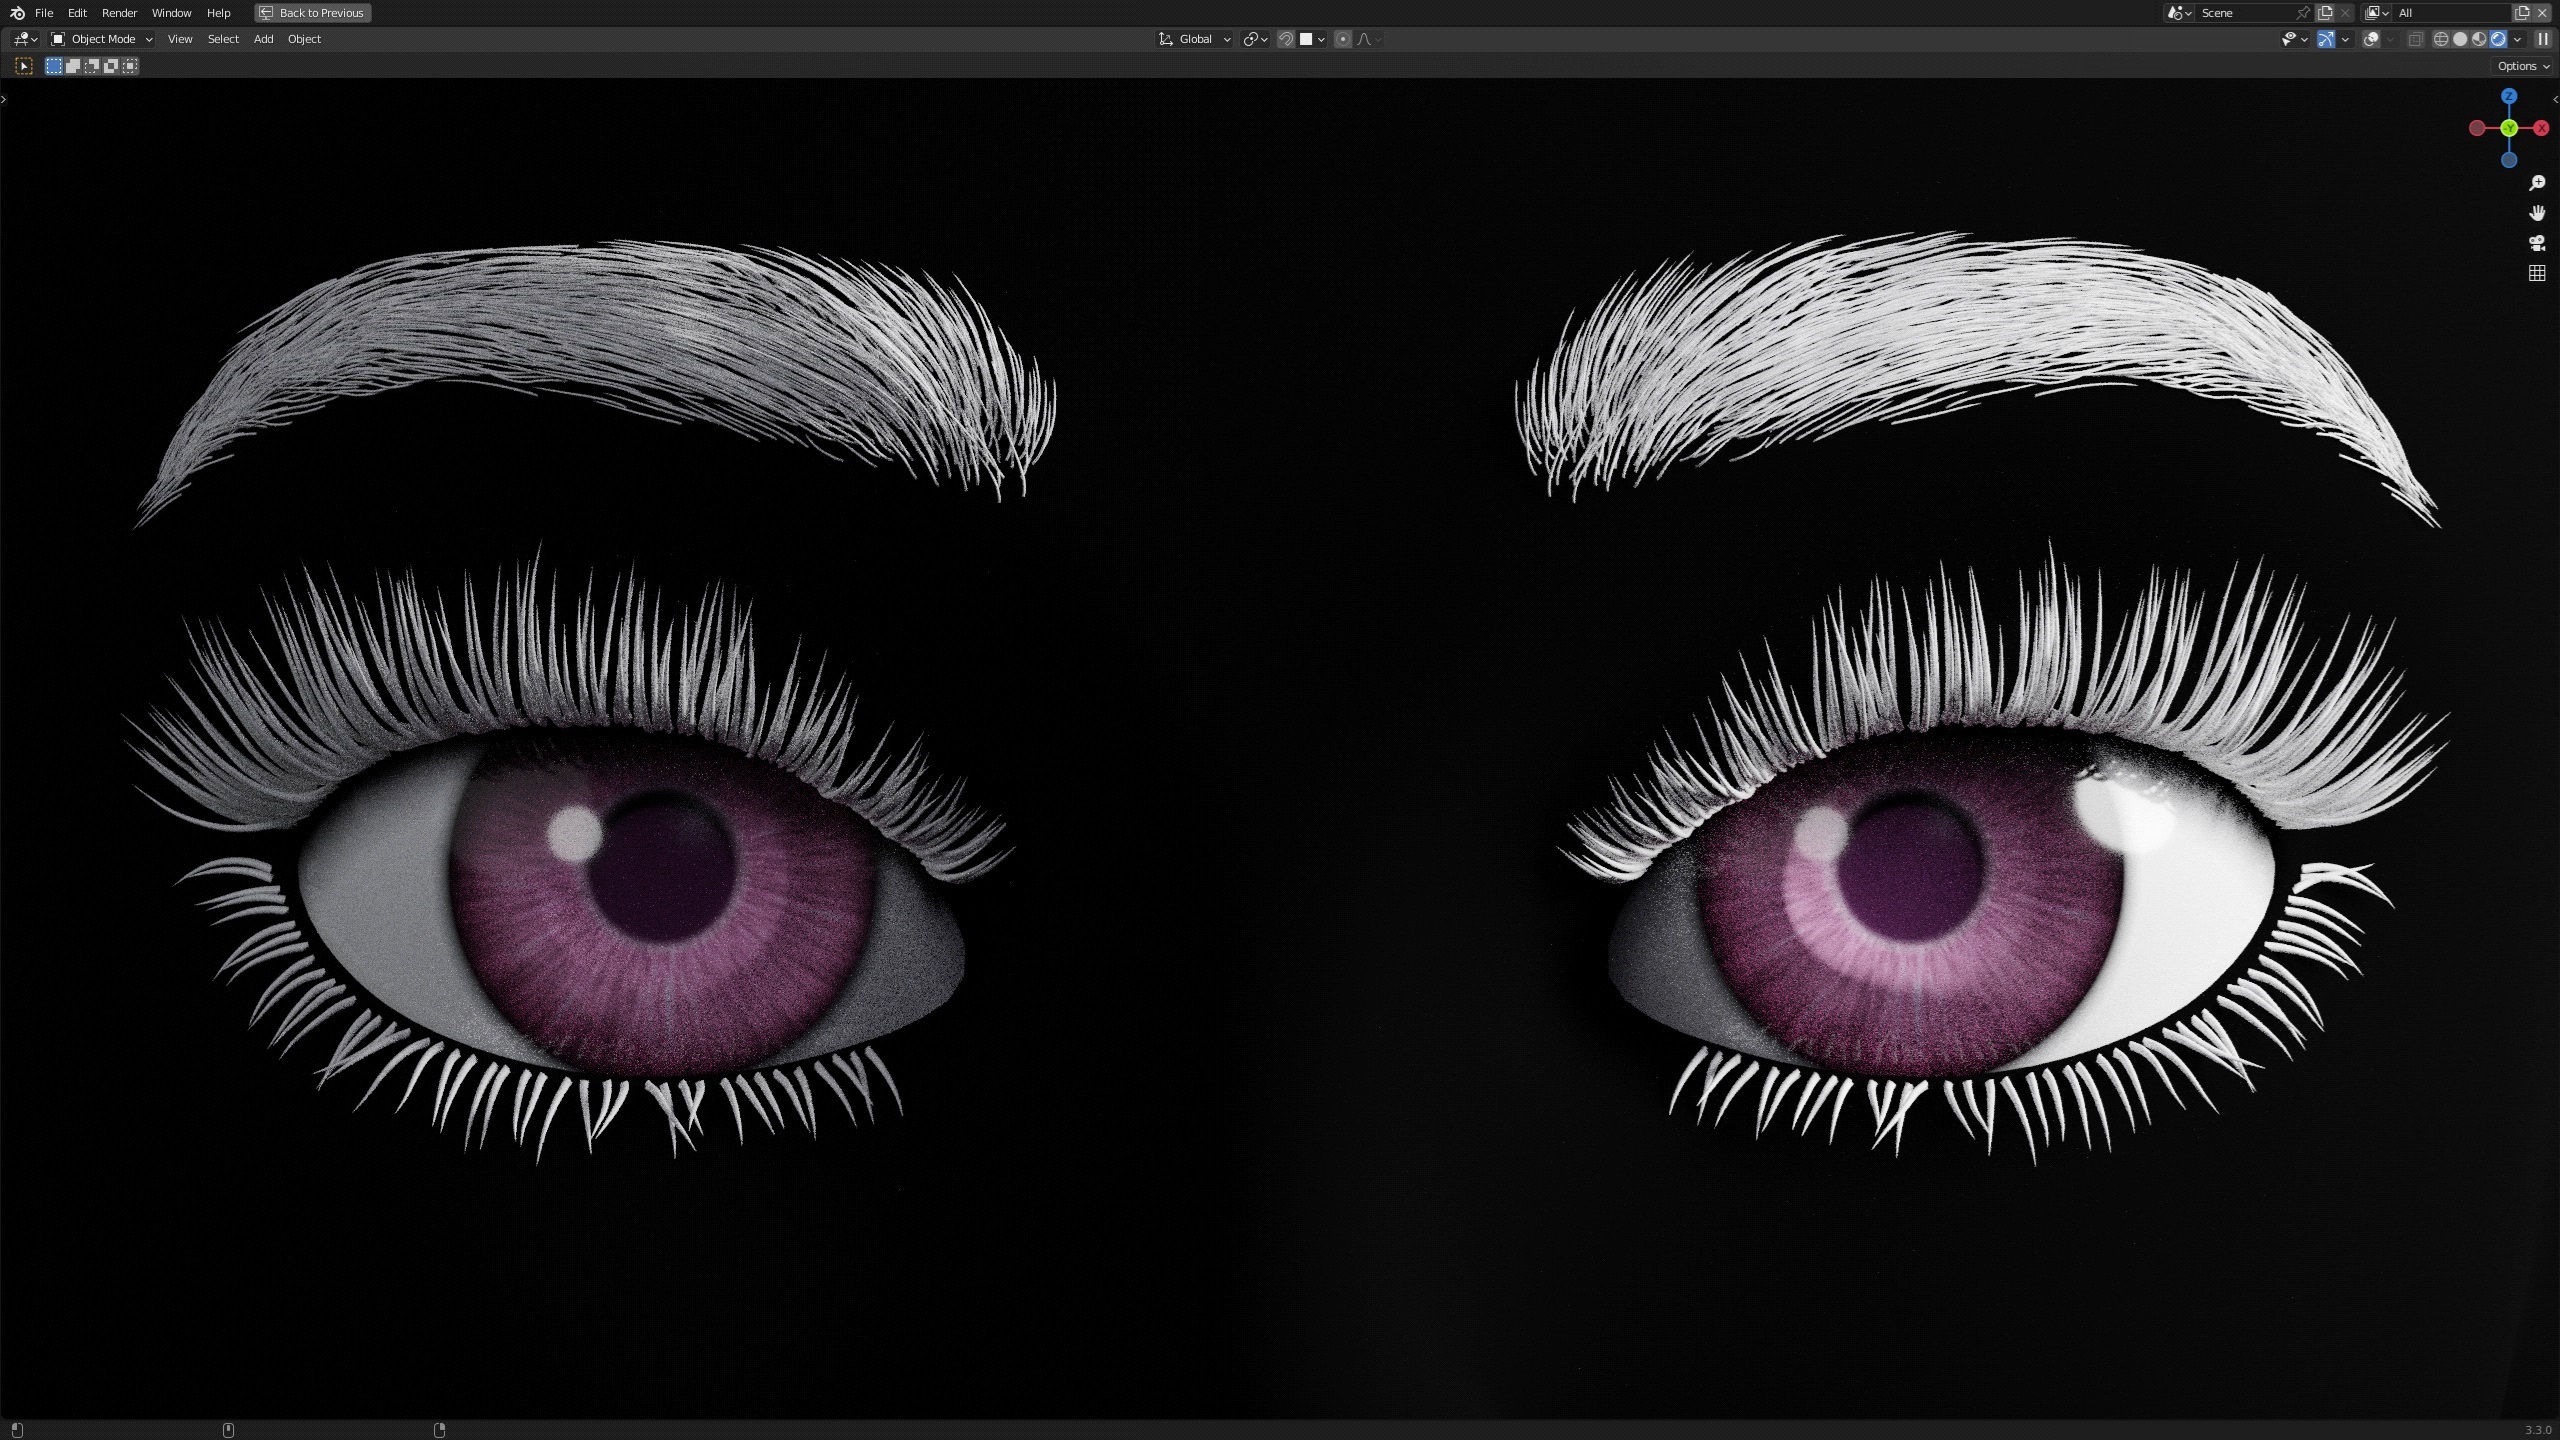
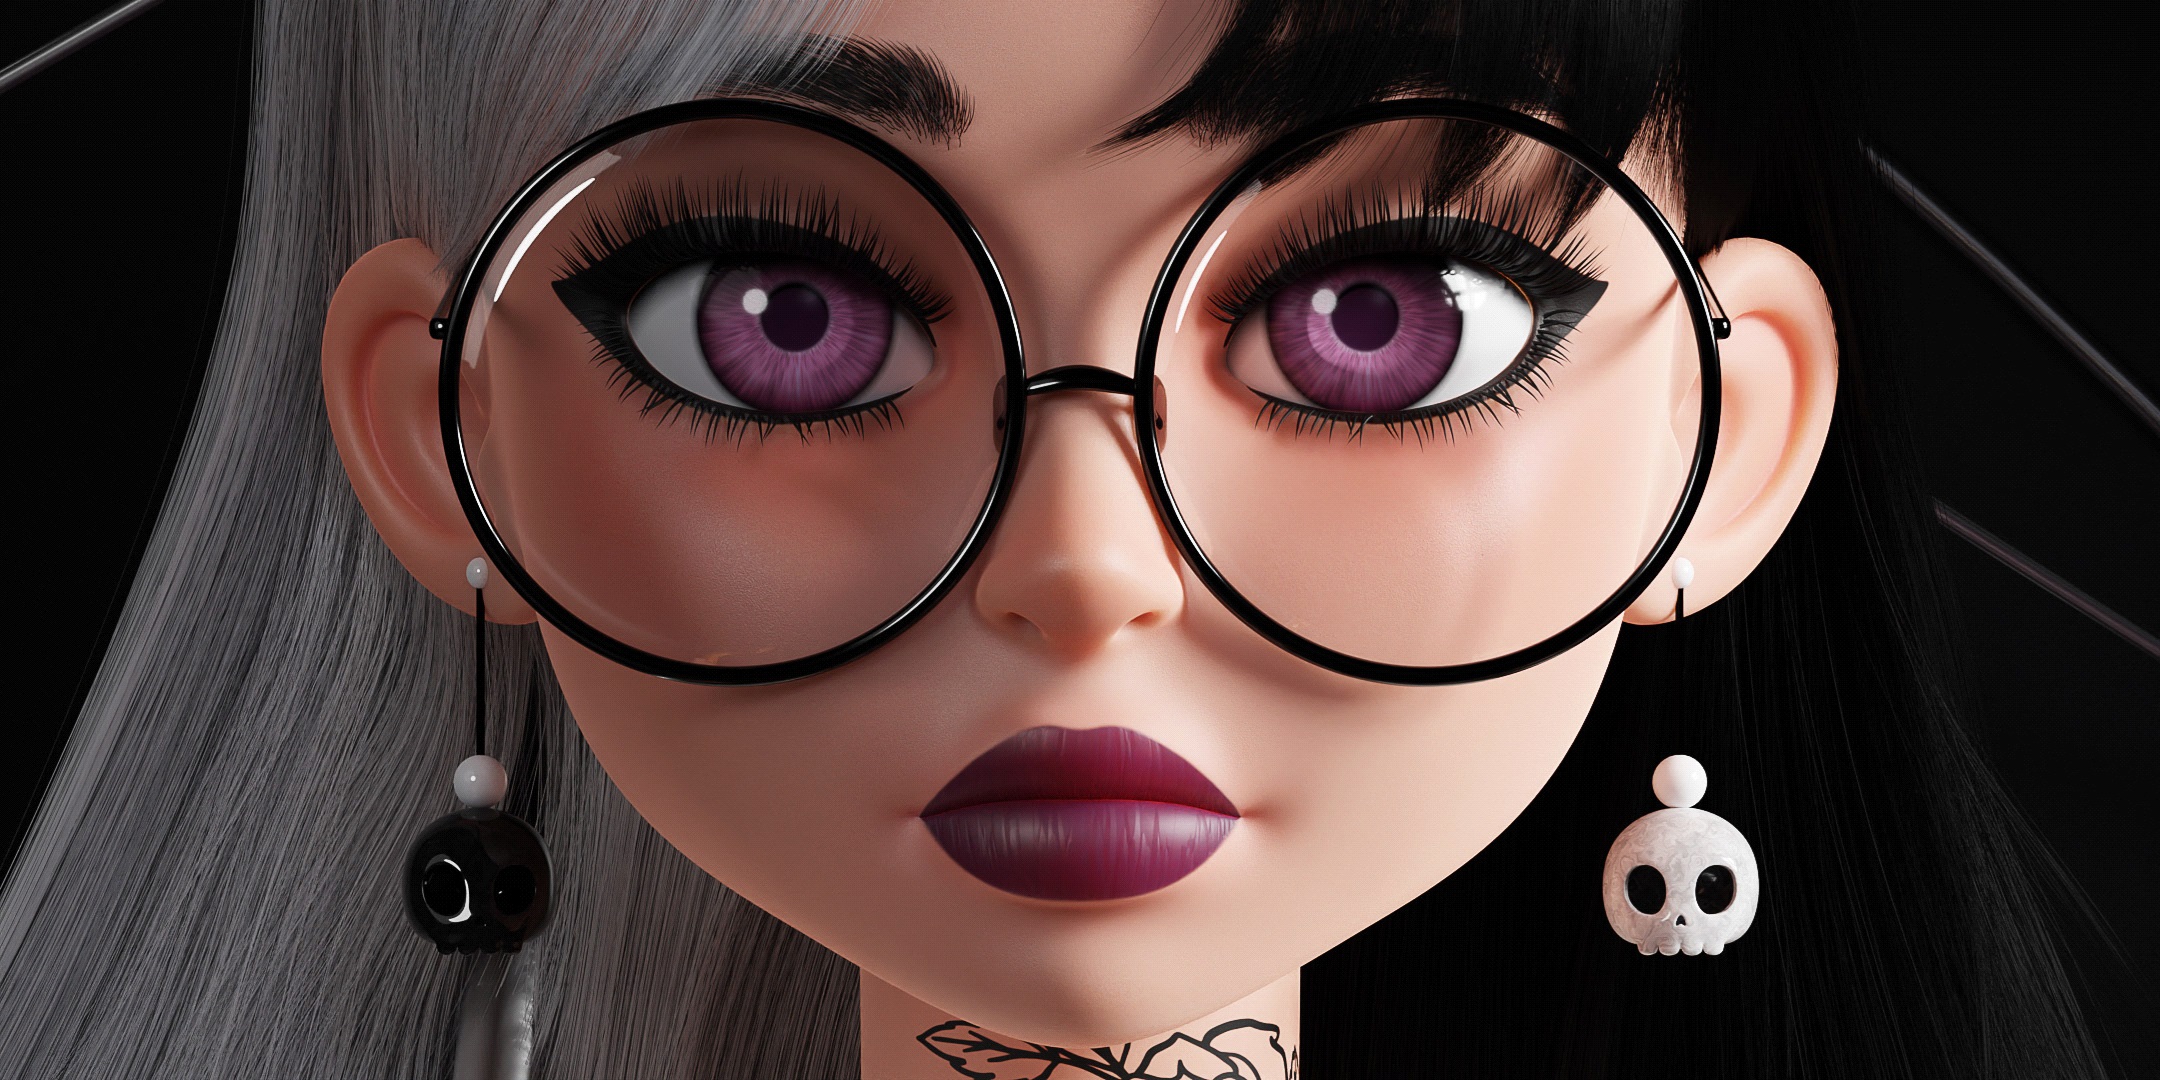
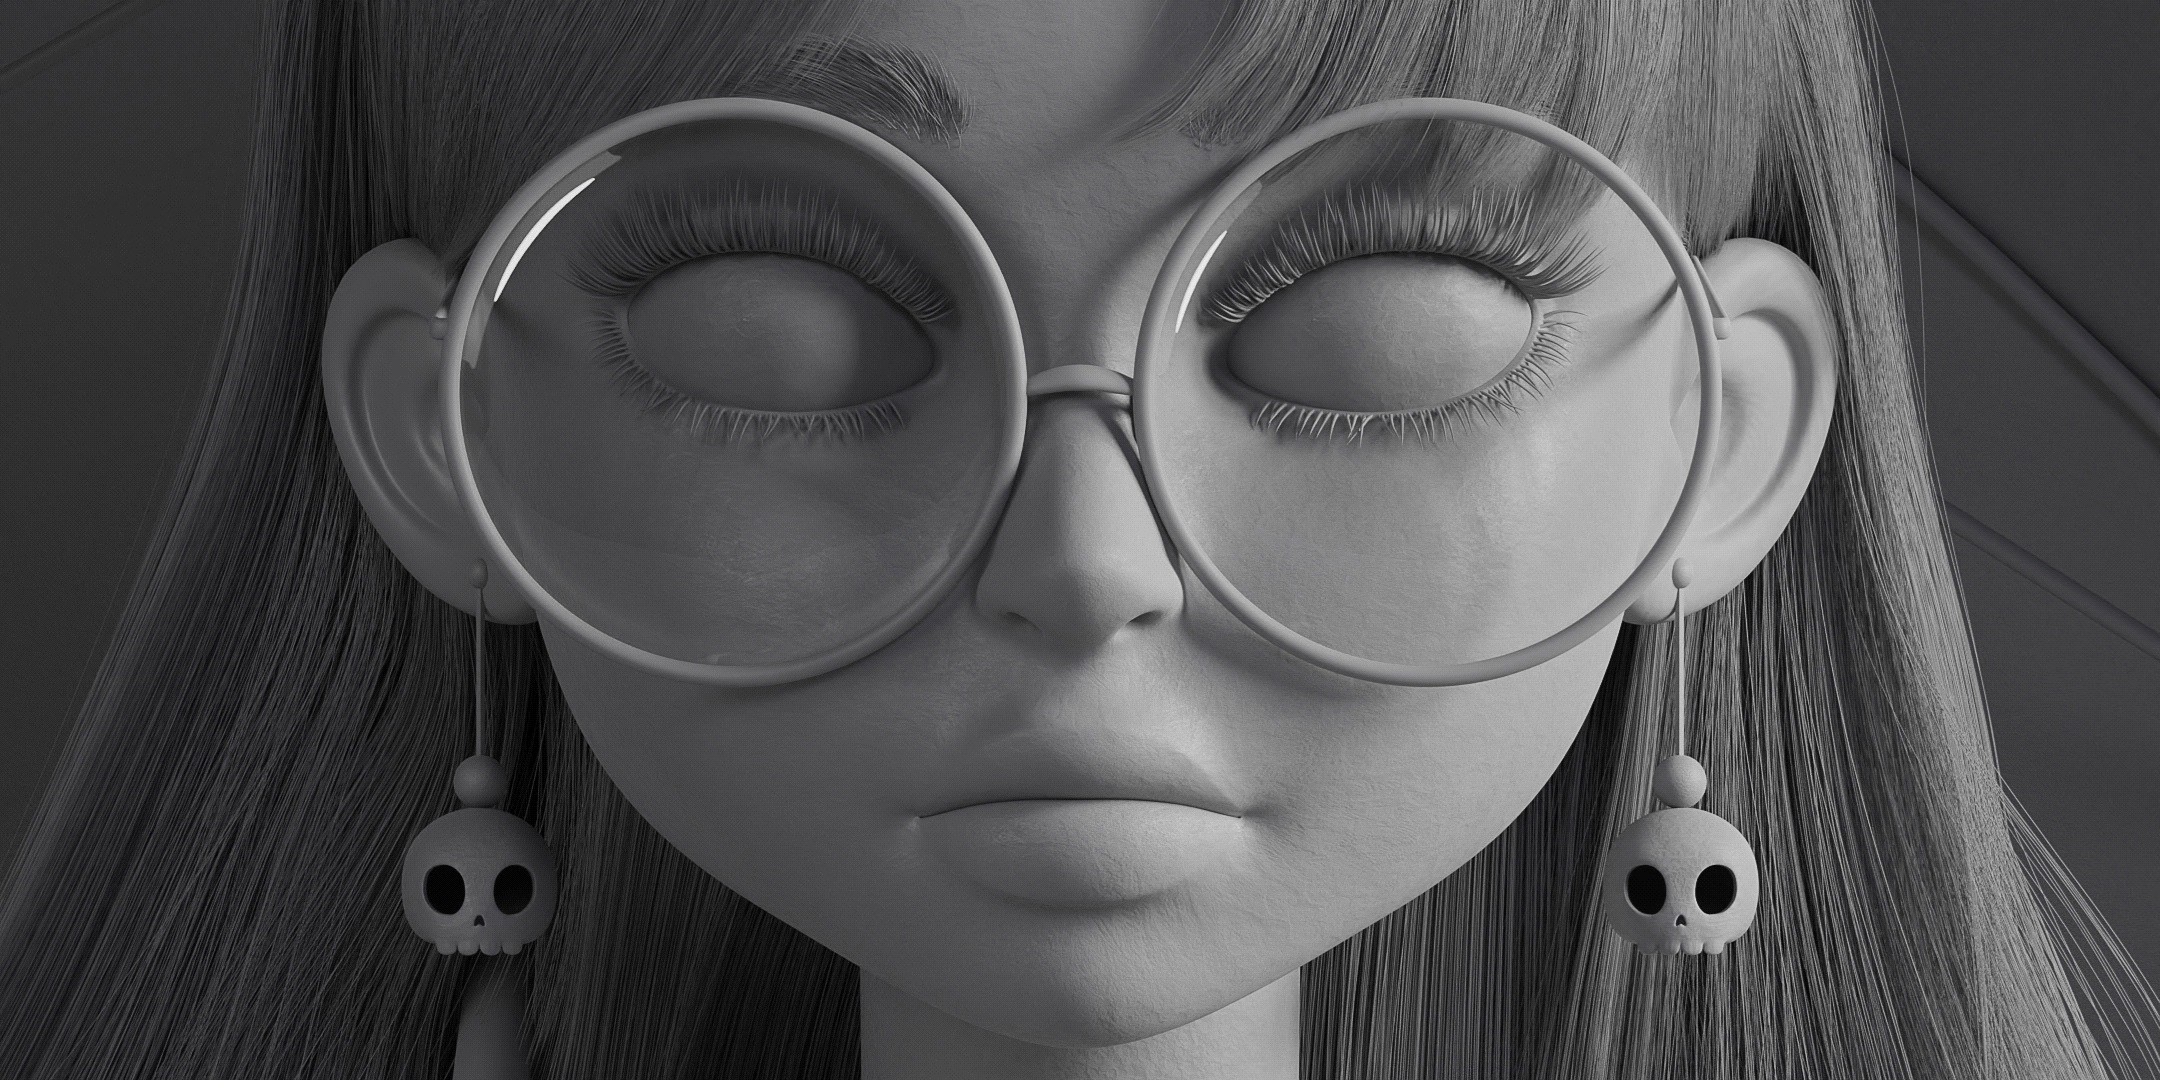
First, I sculpted the head as a separate object and then added the main aspects like eyebrows and eyelashes as soon as possible to visualize the proportions better.
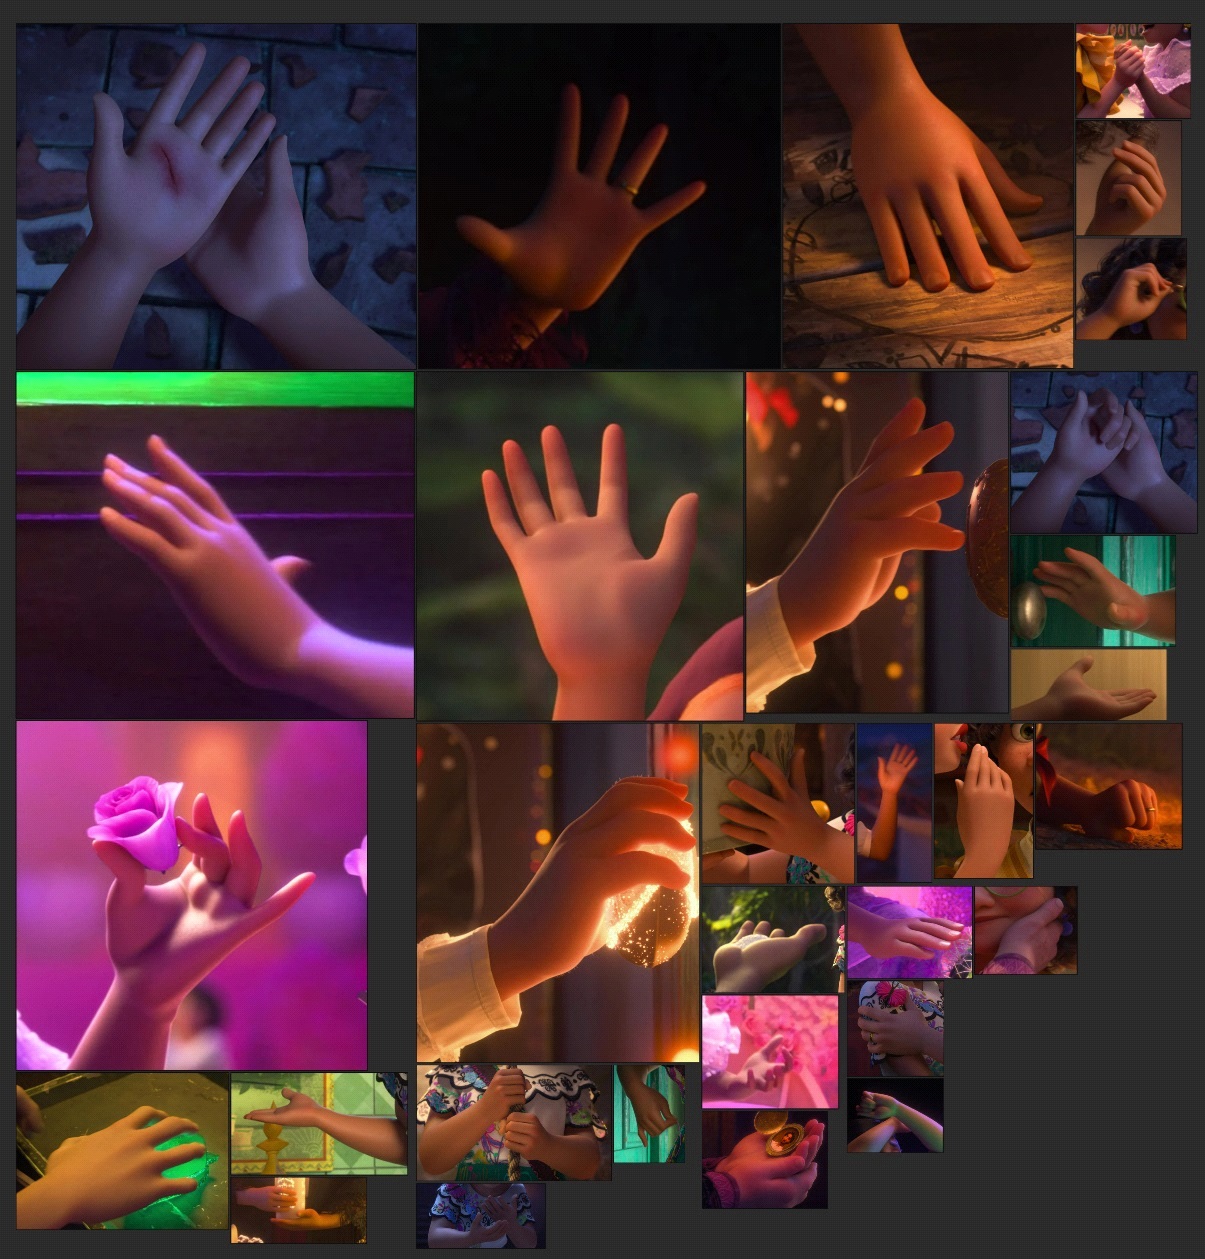
For the hand, I gathered references from Animation Screencaps https://animationscreencaps.com/, particularly from Encanto since it is new and had some nice poses and textures.
Sculpting hands is tough for some if not most of us. Here is a pin I made from the time-lapse of @carlosortega3d which helped me a bit. I wish I could share my entire process of sculpting hands for beginners, but it will be a long one. Feel free to contact me if you want to know.
Sculpting other body parts is pretty much the same—gathered some anatomy references and compared proportions. There were some times when I was afraid to make changes to the sculpt after I combined all the base meshes. But it was so much better after I made the changes.
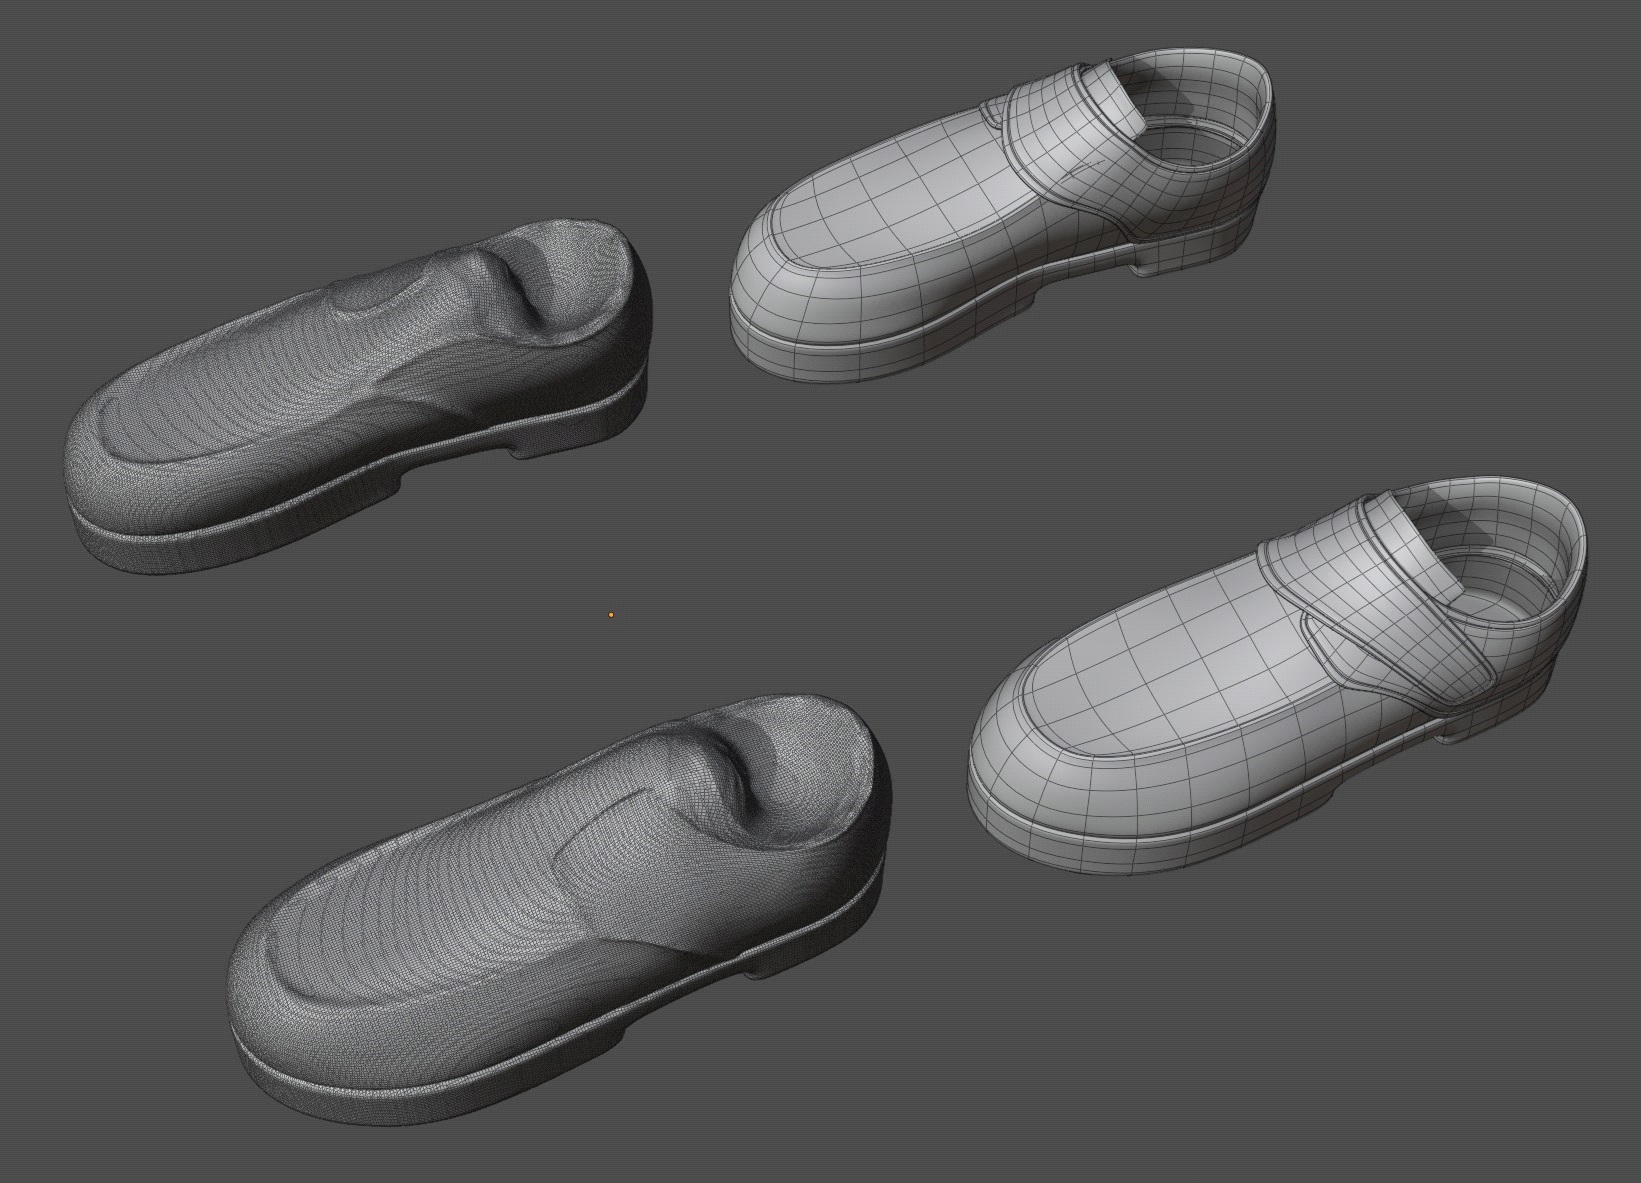
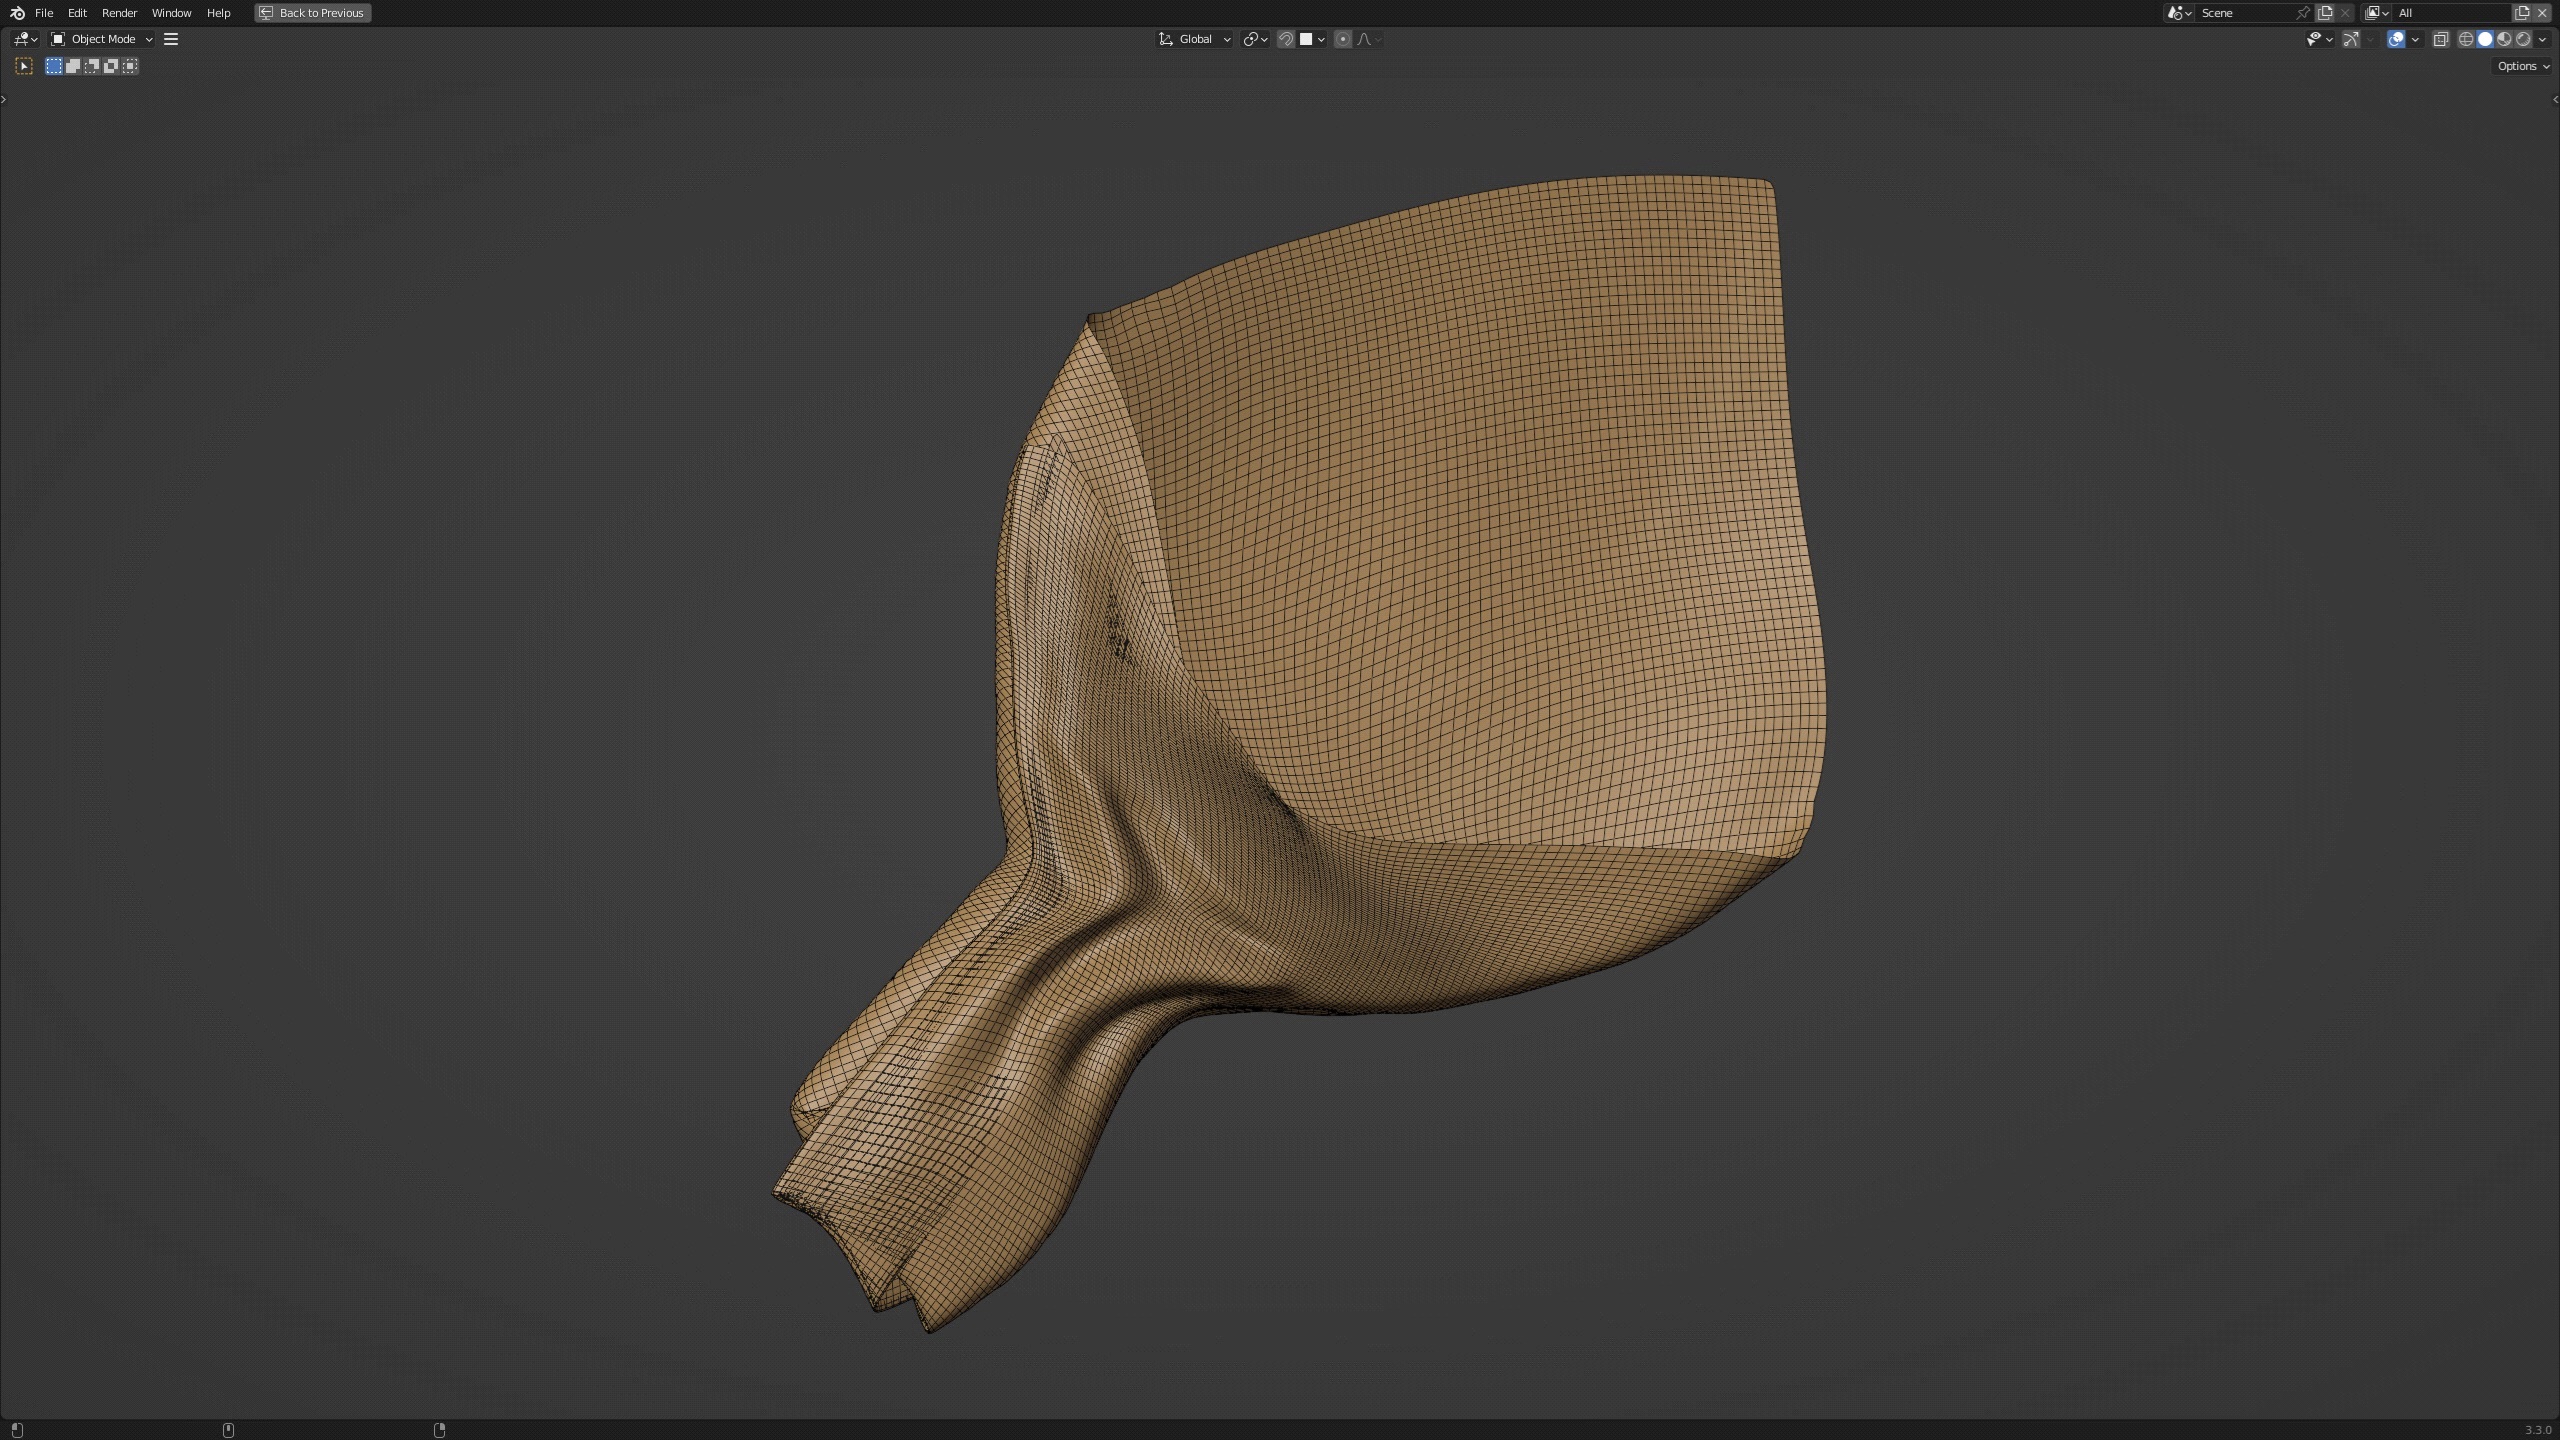
I learned that sometimes sculpting a complex object and retopologizing it is better than poly modeling. In my case, it was the shoe and bouquet.
For the bouquet, I watched videos on how to fold a paper bouquet, which I then transferred to 3D. I’ll share my basic approach to it. Hope I made them clear.

The flowers were made with basic modeling. Make one petal, duplicate it circularly, and then duplicate that again into two more layers.
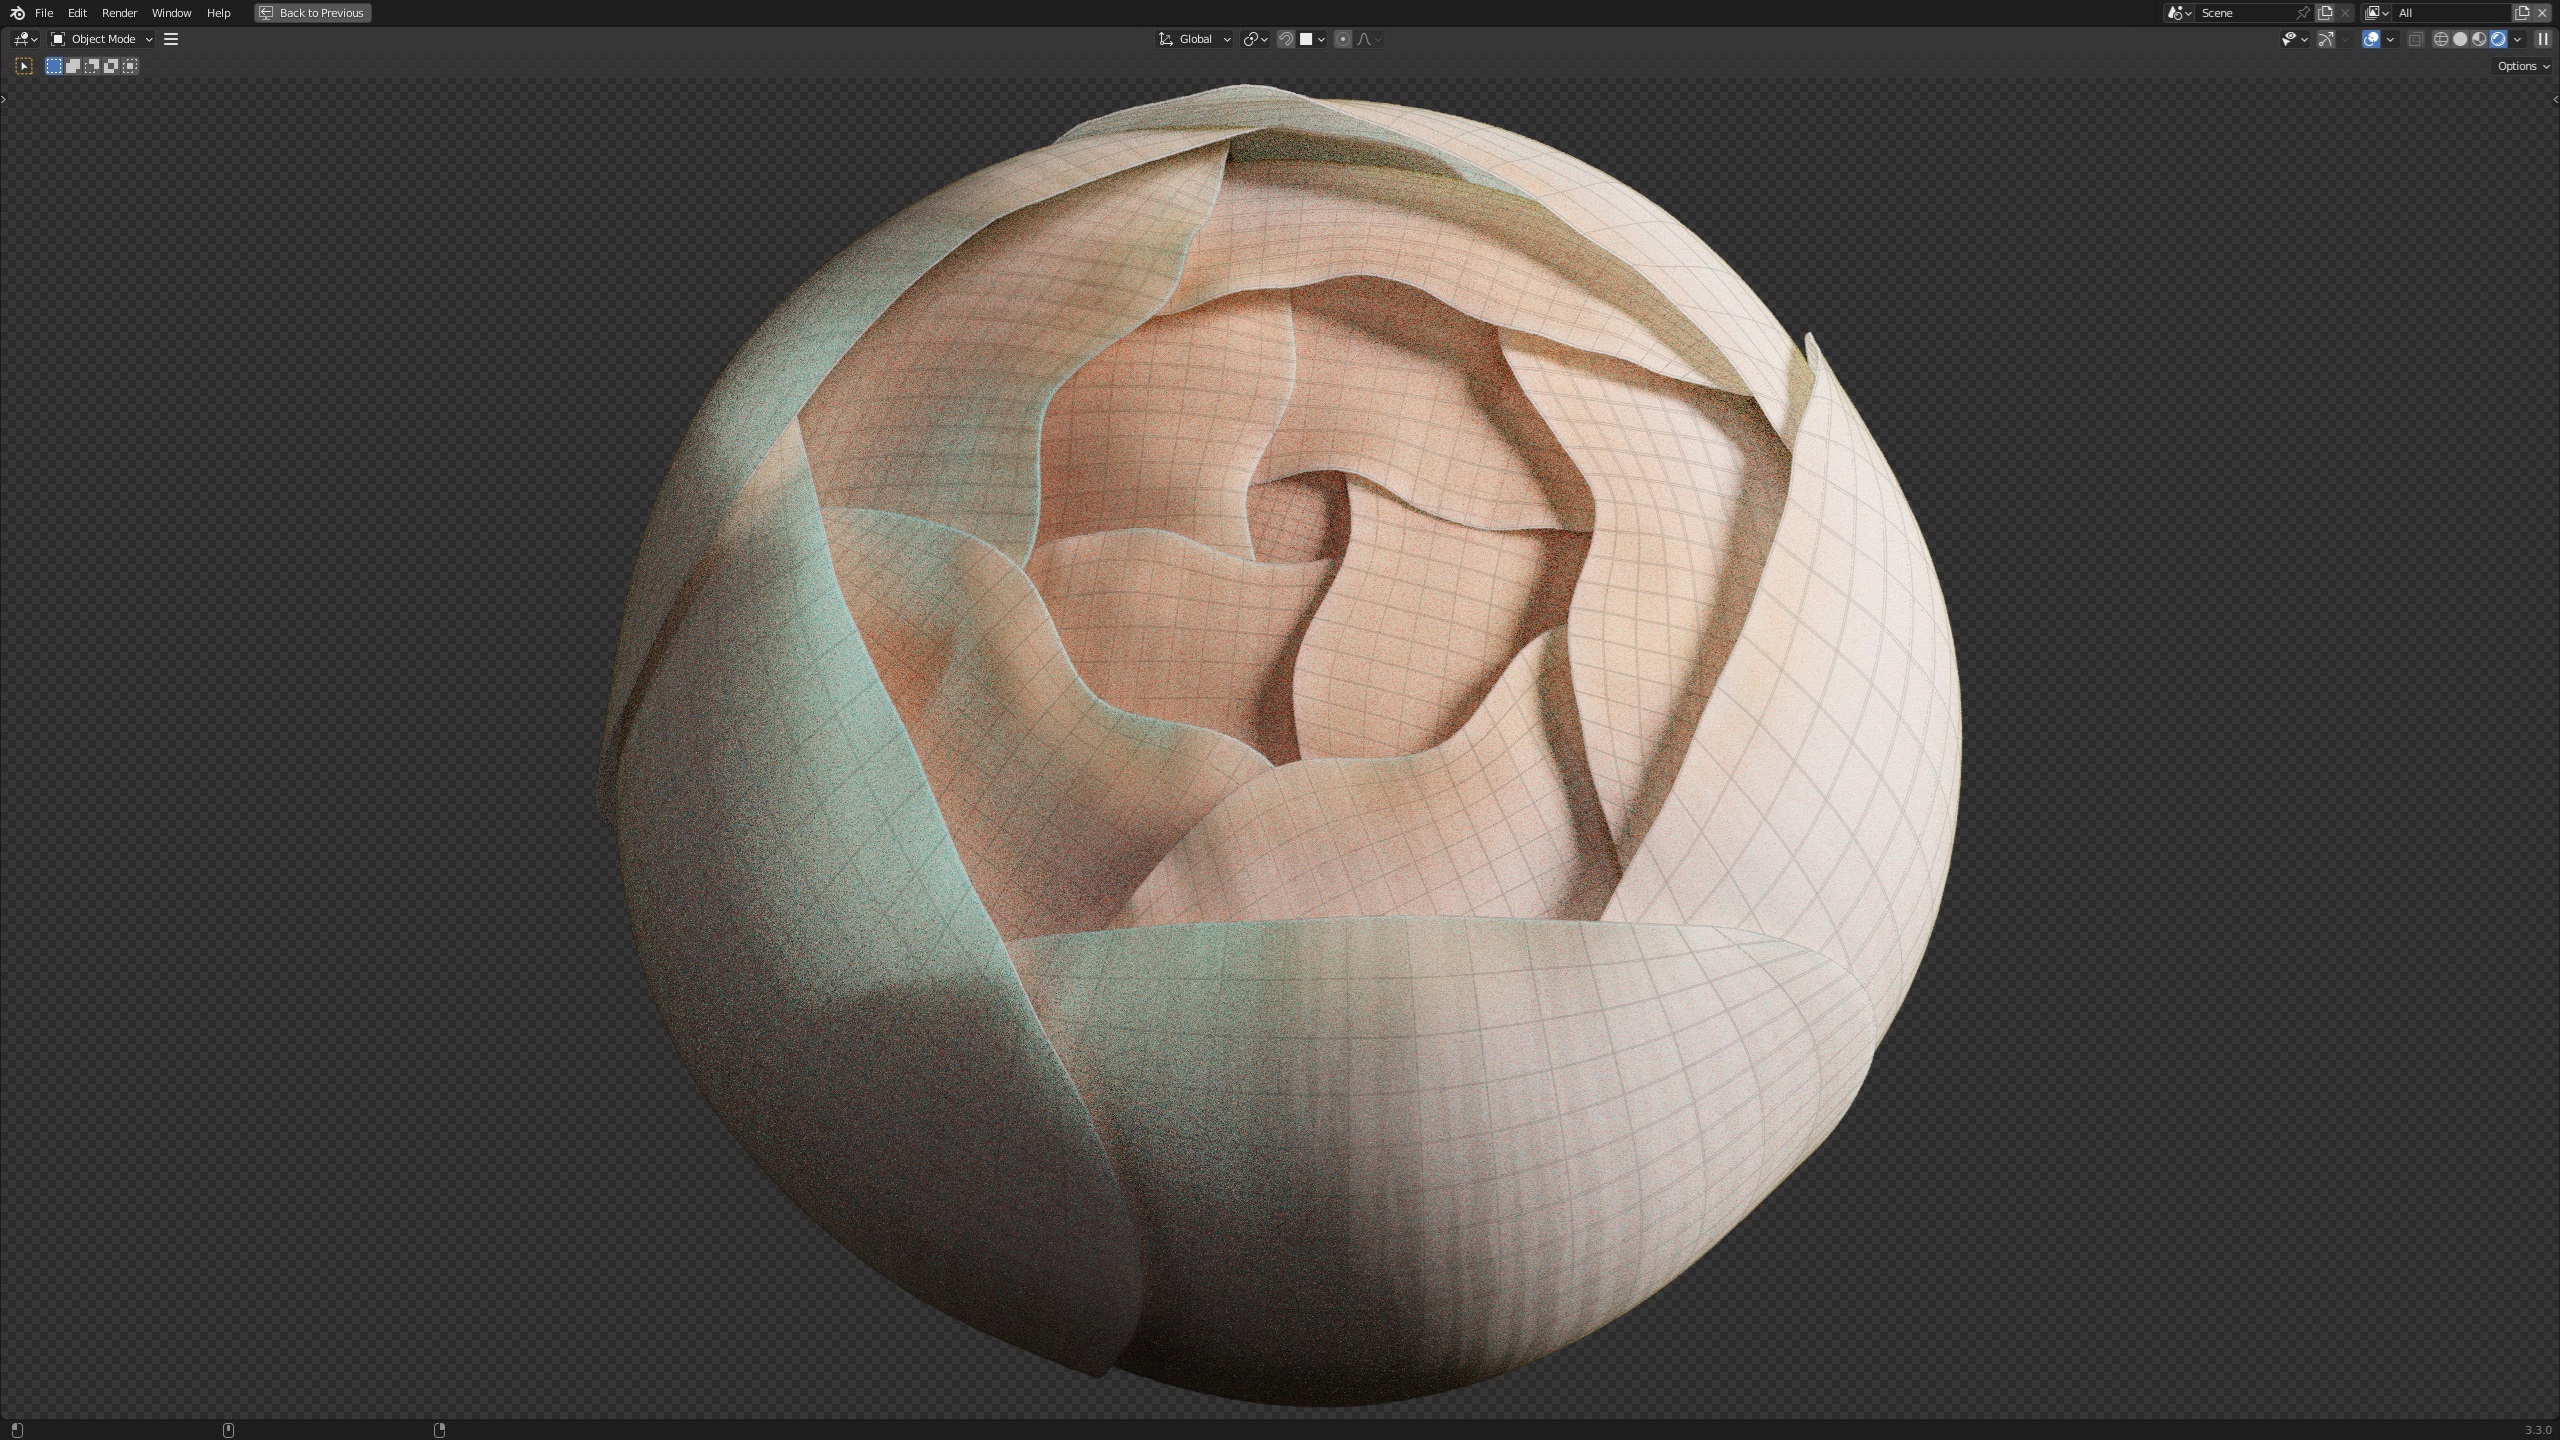
Assign a vertex group to the top edge of each petal. Add a displace modifier with the assigned vertex group with low strength to have some of that waviness.
RETOPOLOGY
Though I did retopology and texturing myself, my basic foundation was Snow character creation live streams by Blender Studio YouTube channel. It has everything regarding this topic.
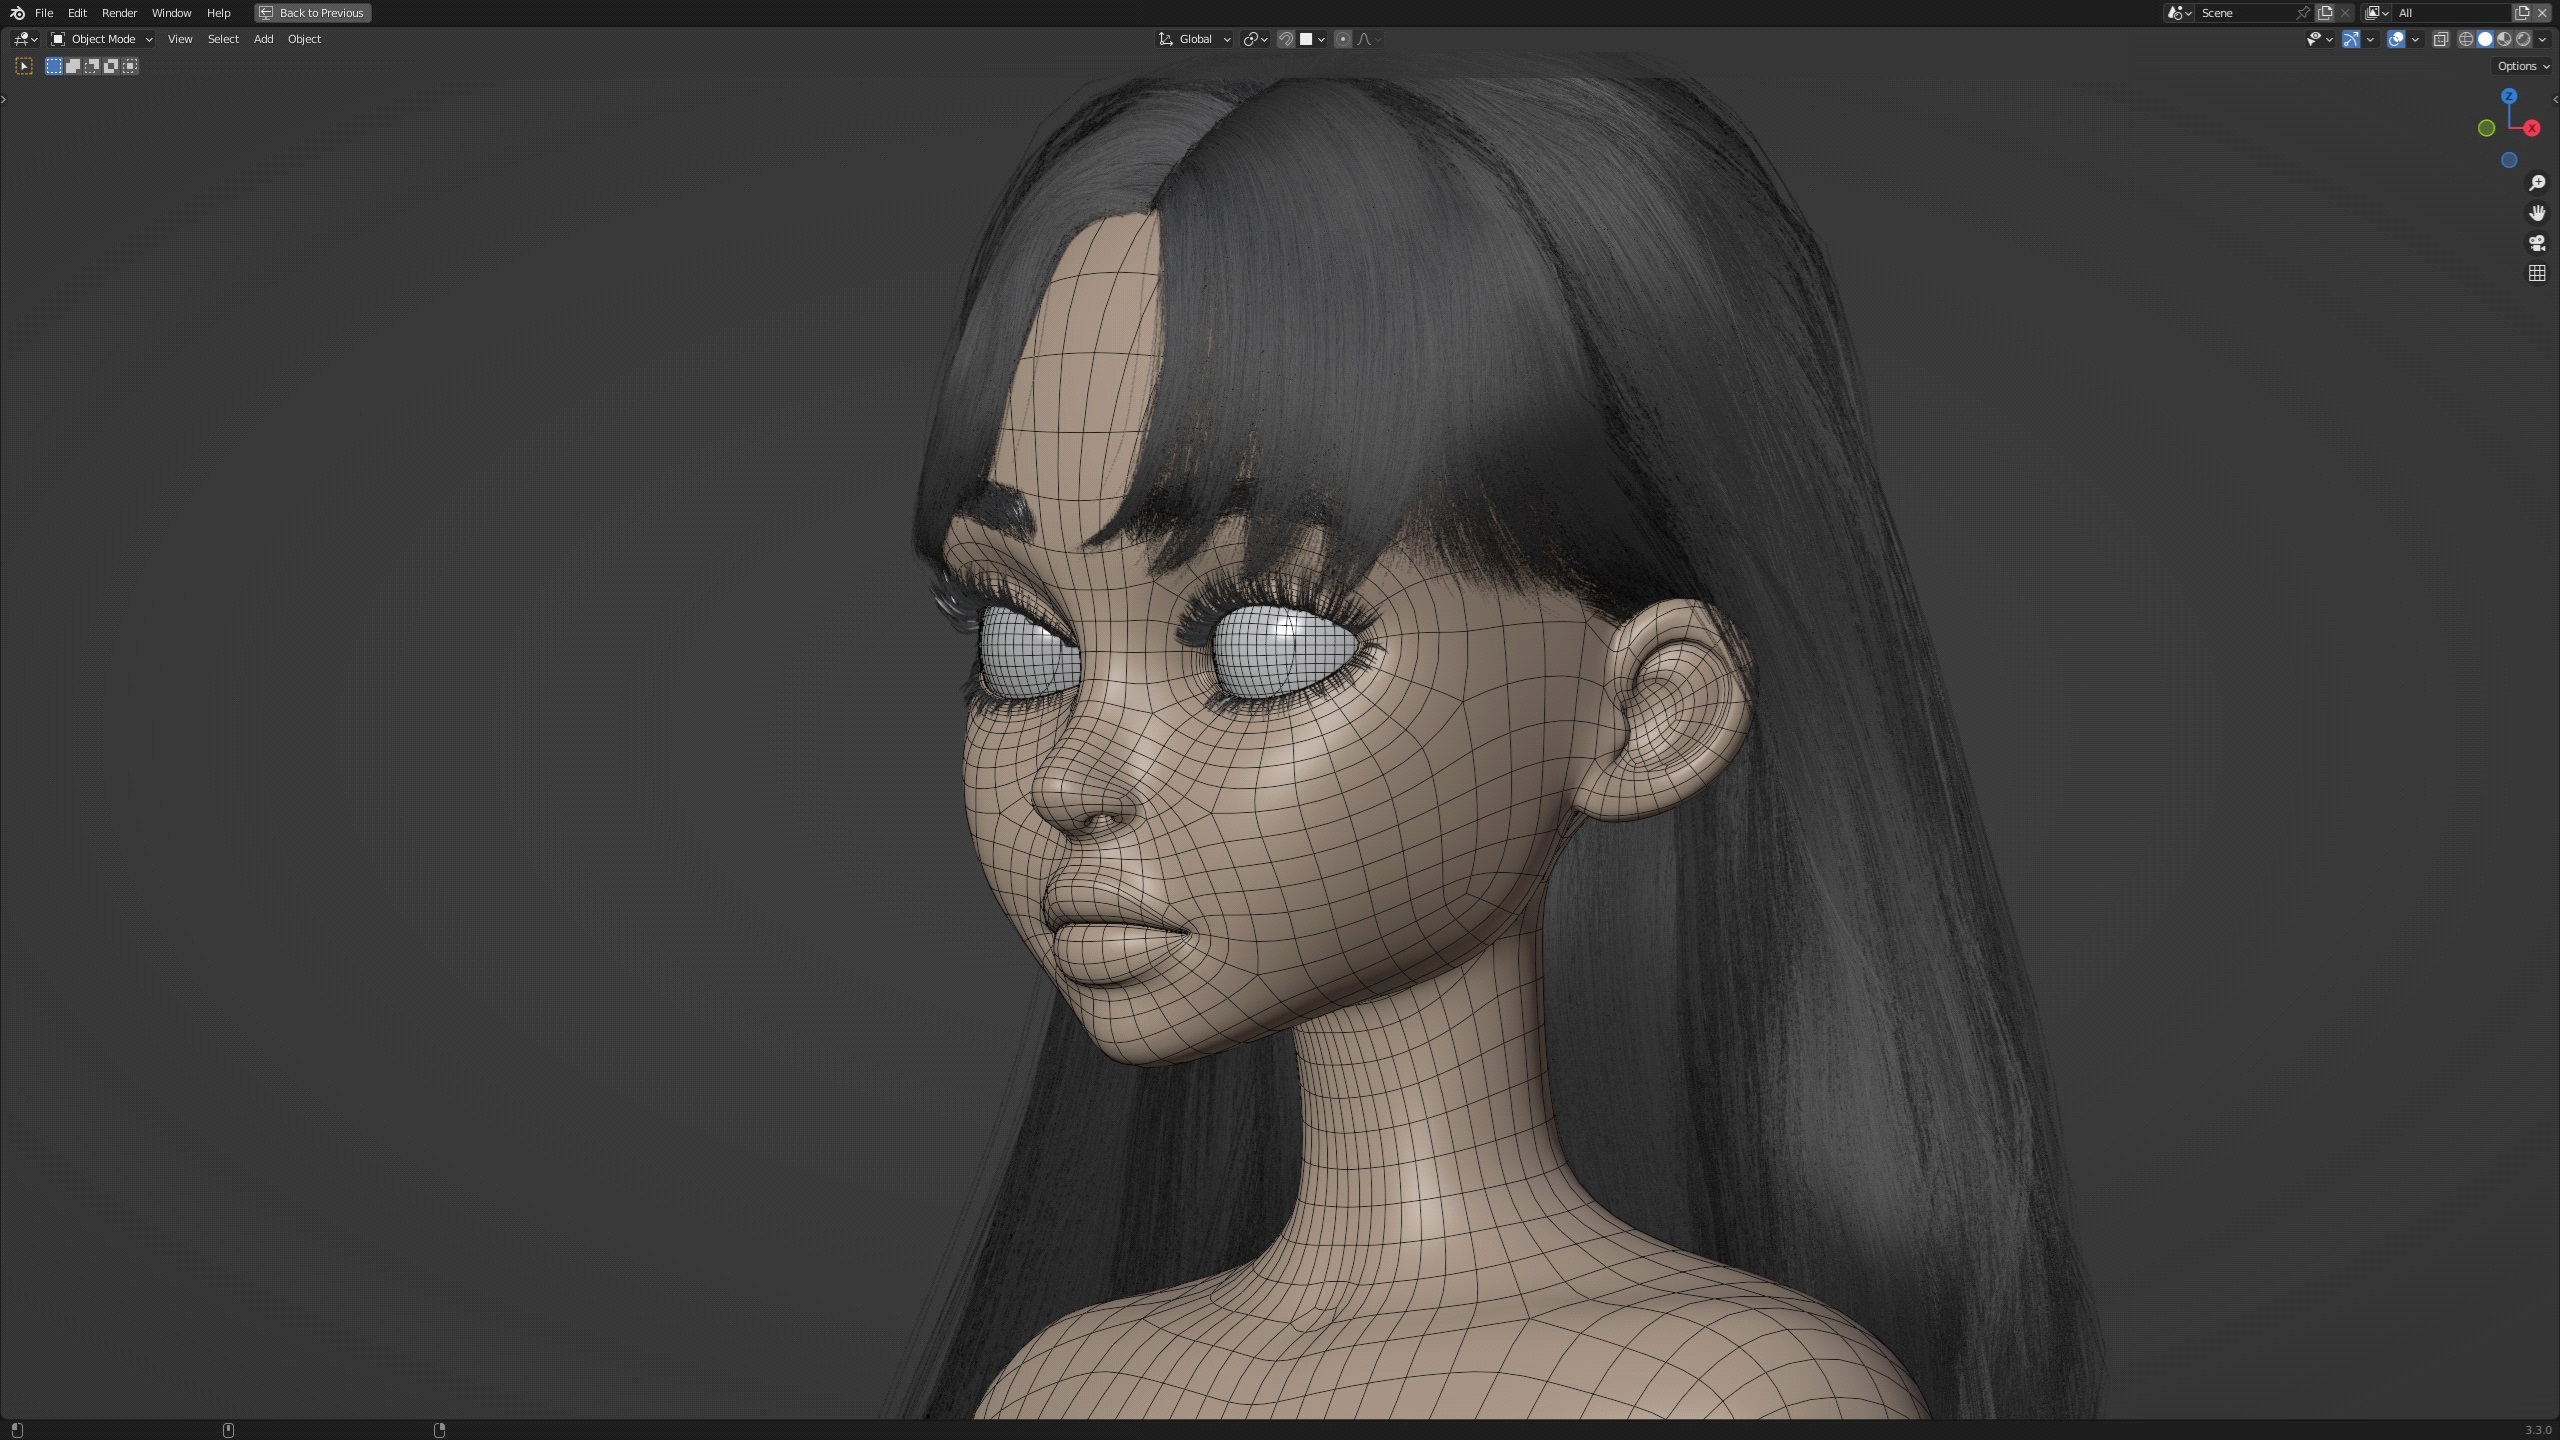
Retopology for the face was easy. Since I wanted to make characters suitable for film productions, I made sure there are enough polygons to support the shapes.
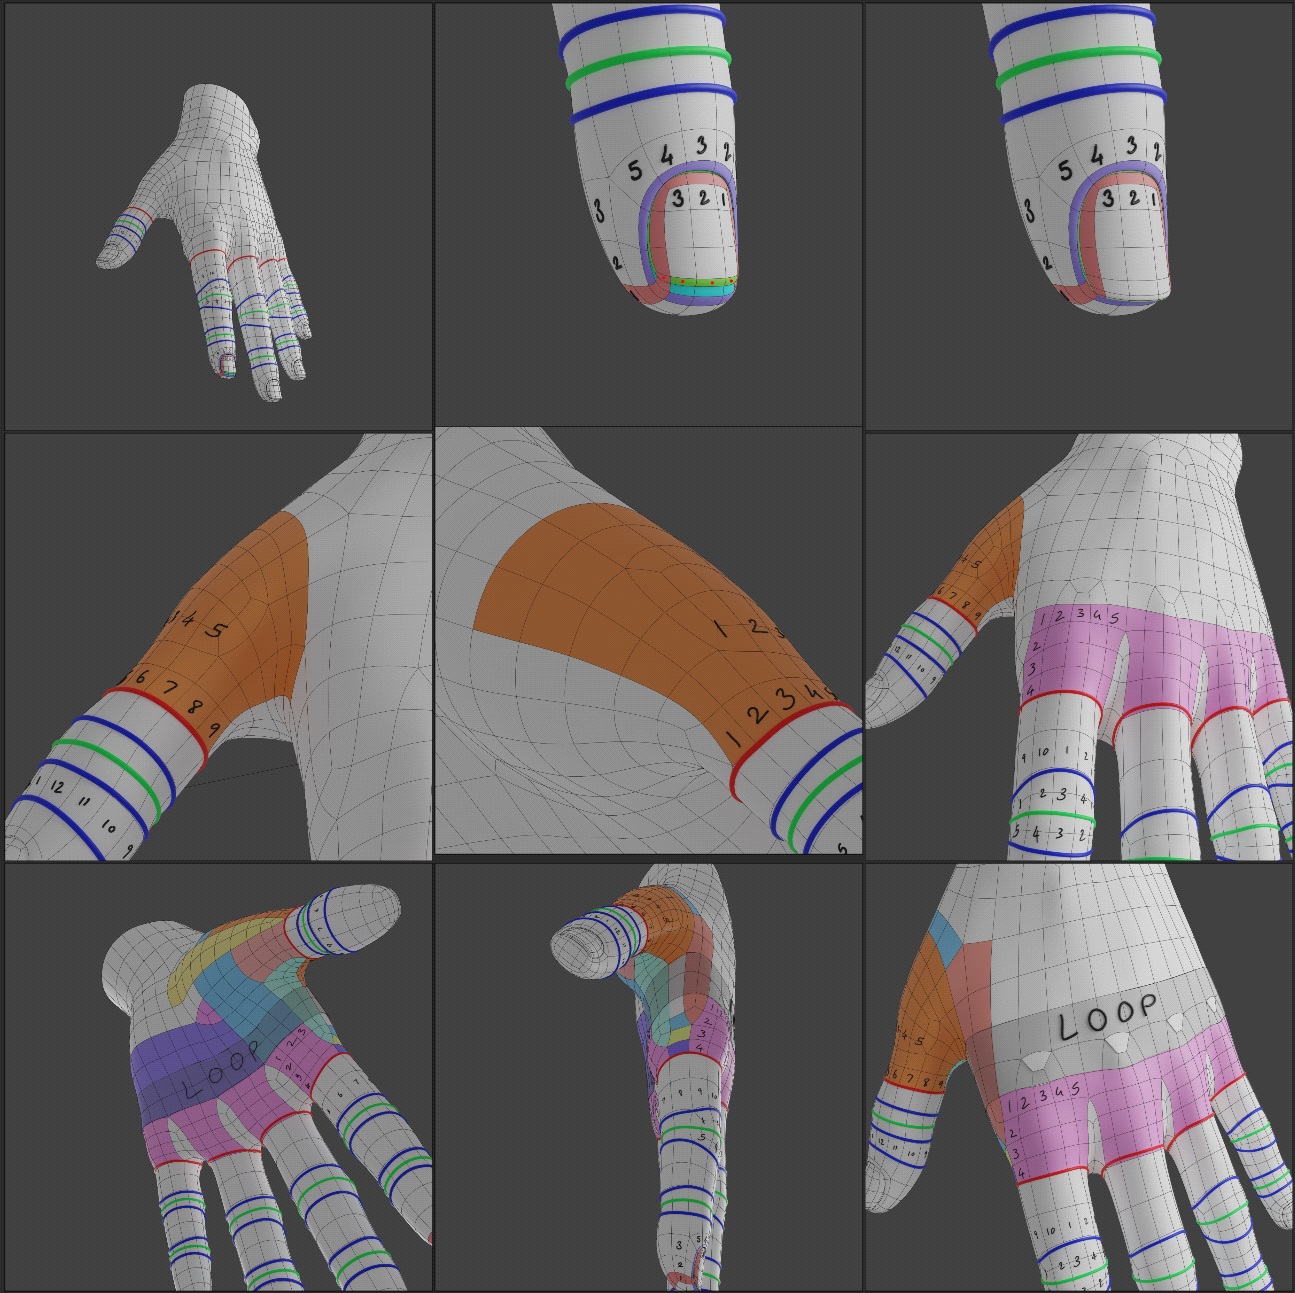
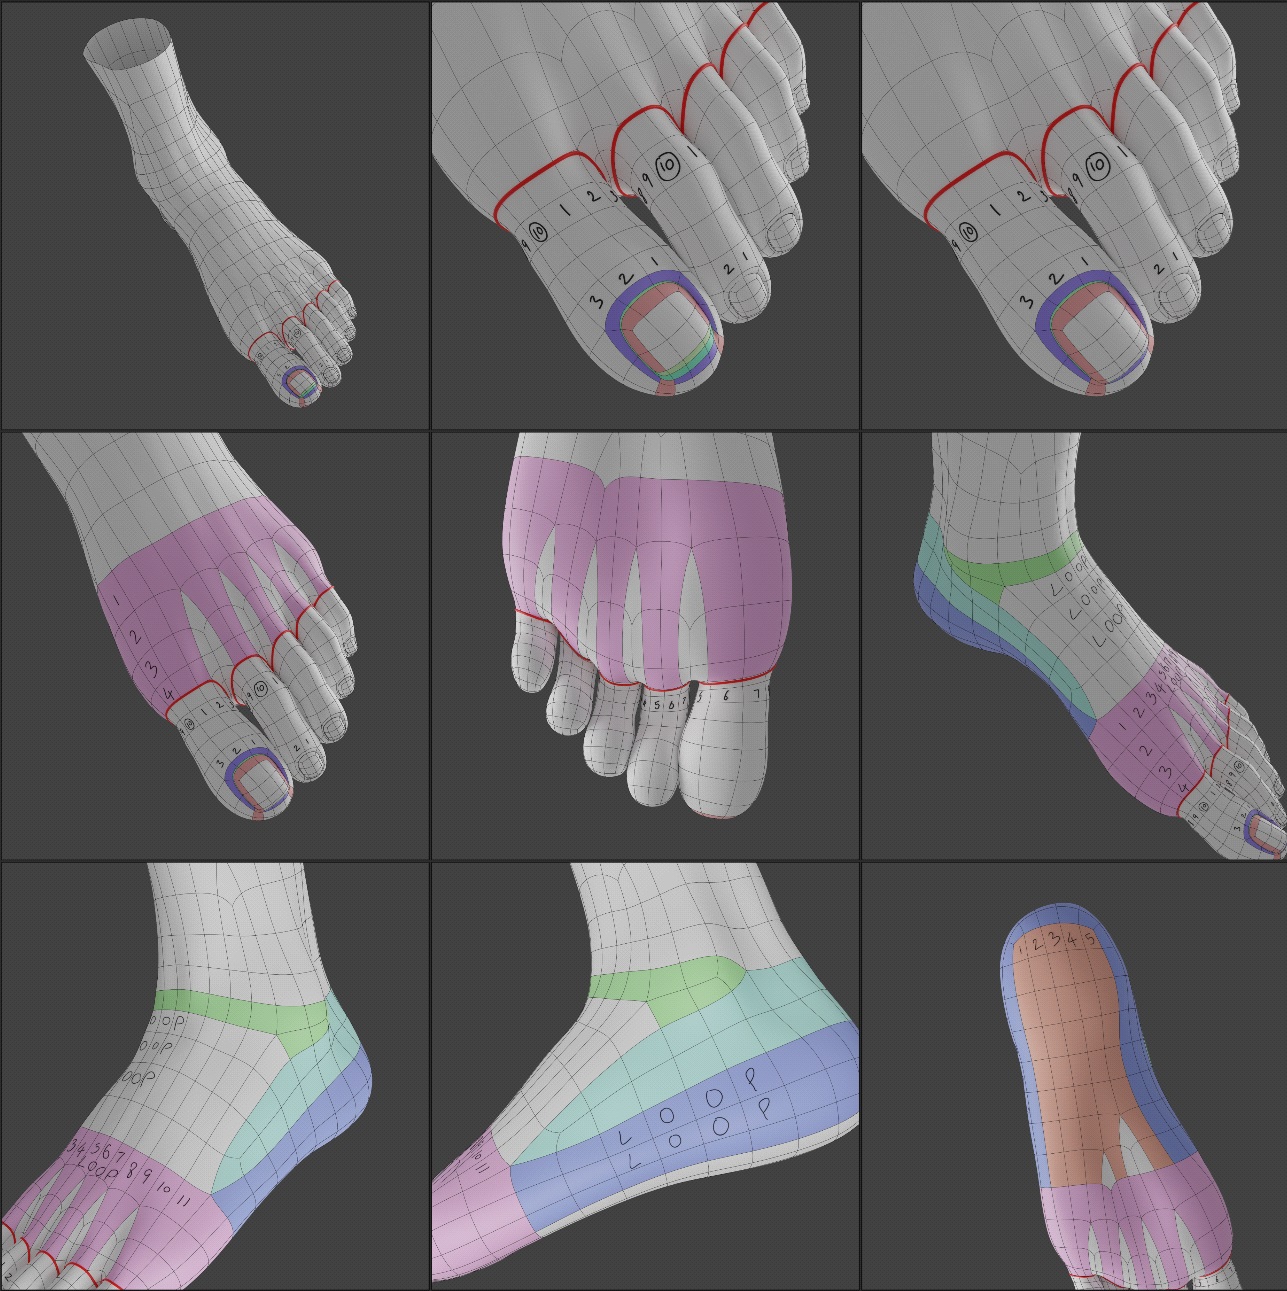
I find it hard to have good topology for hands so I had an old model from DAZ studio. I studied the hand and foot topology of that model by adding vertex colors for possible loops and patches. They seemed perfectly placed.
TEXTURING
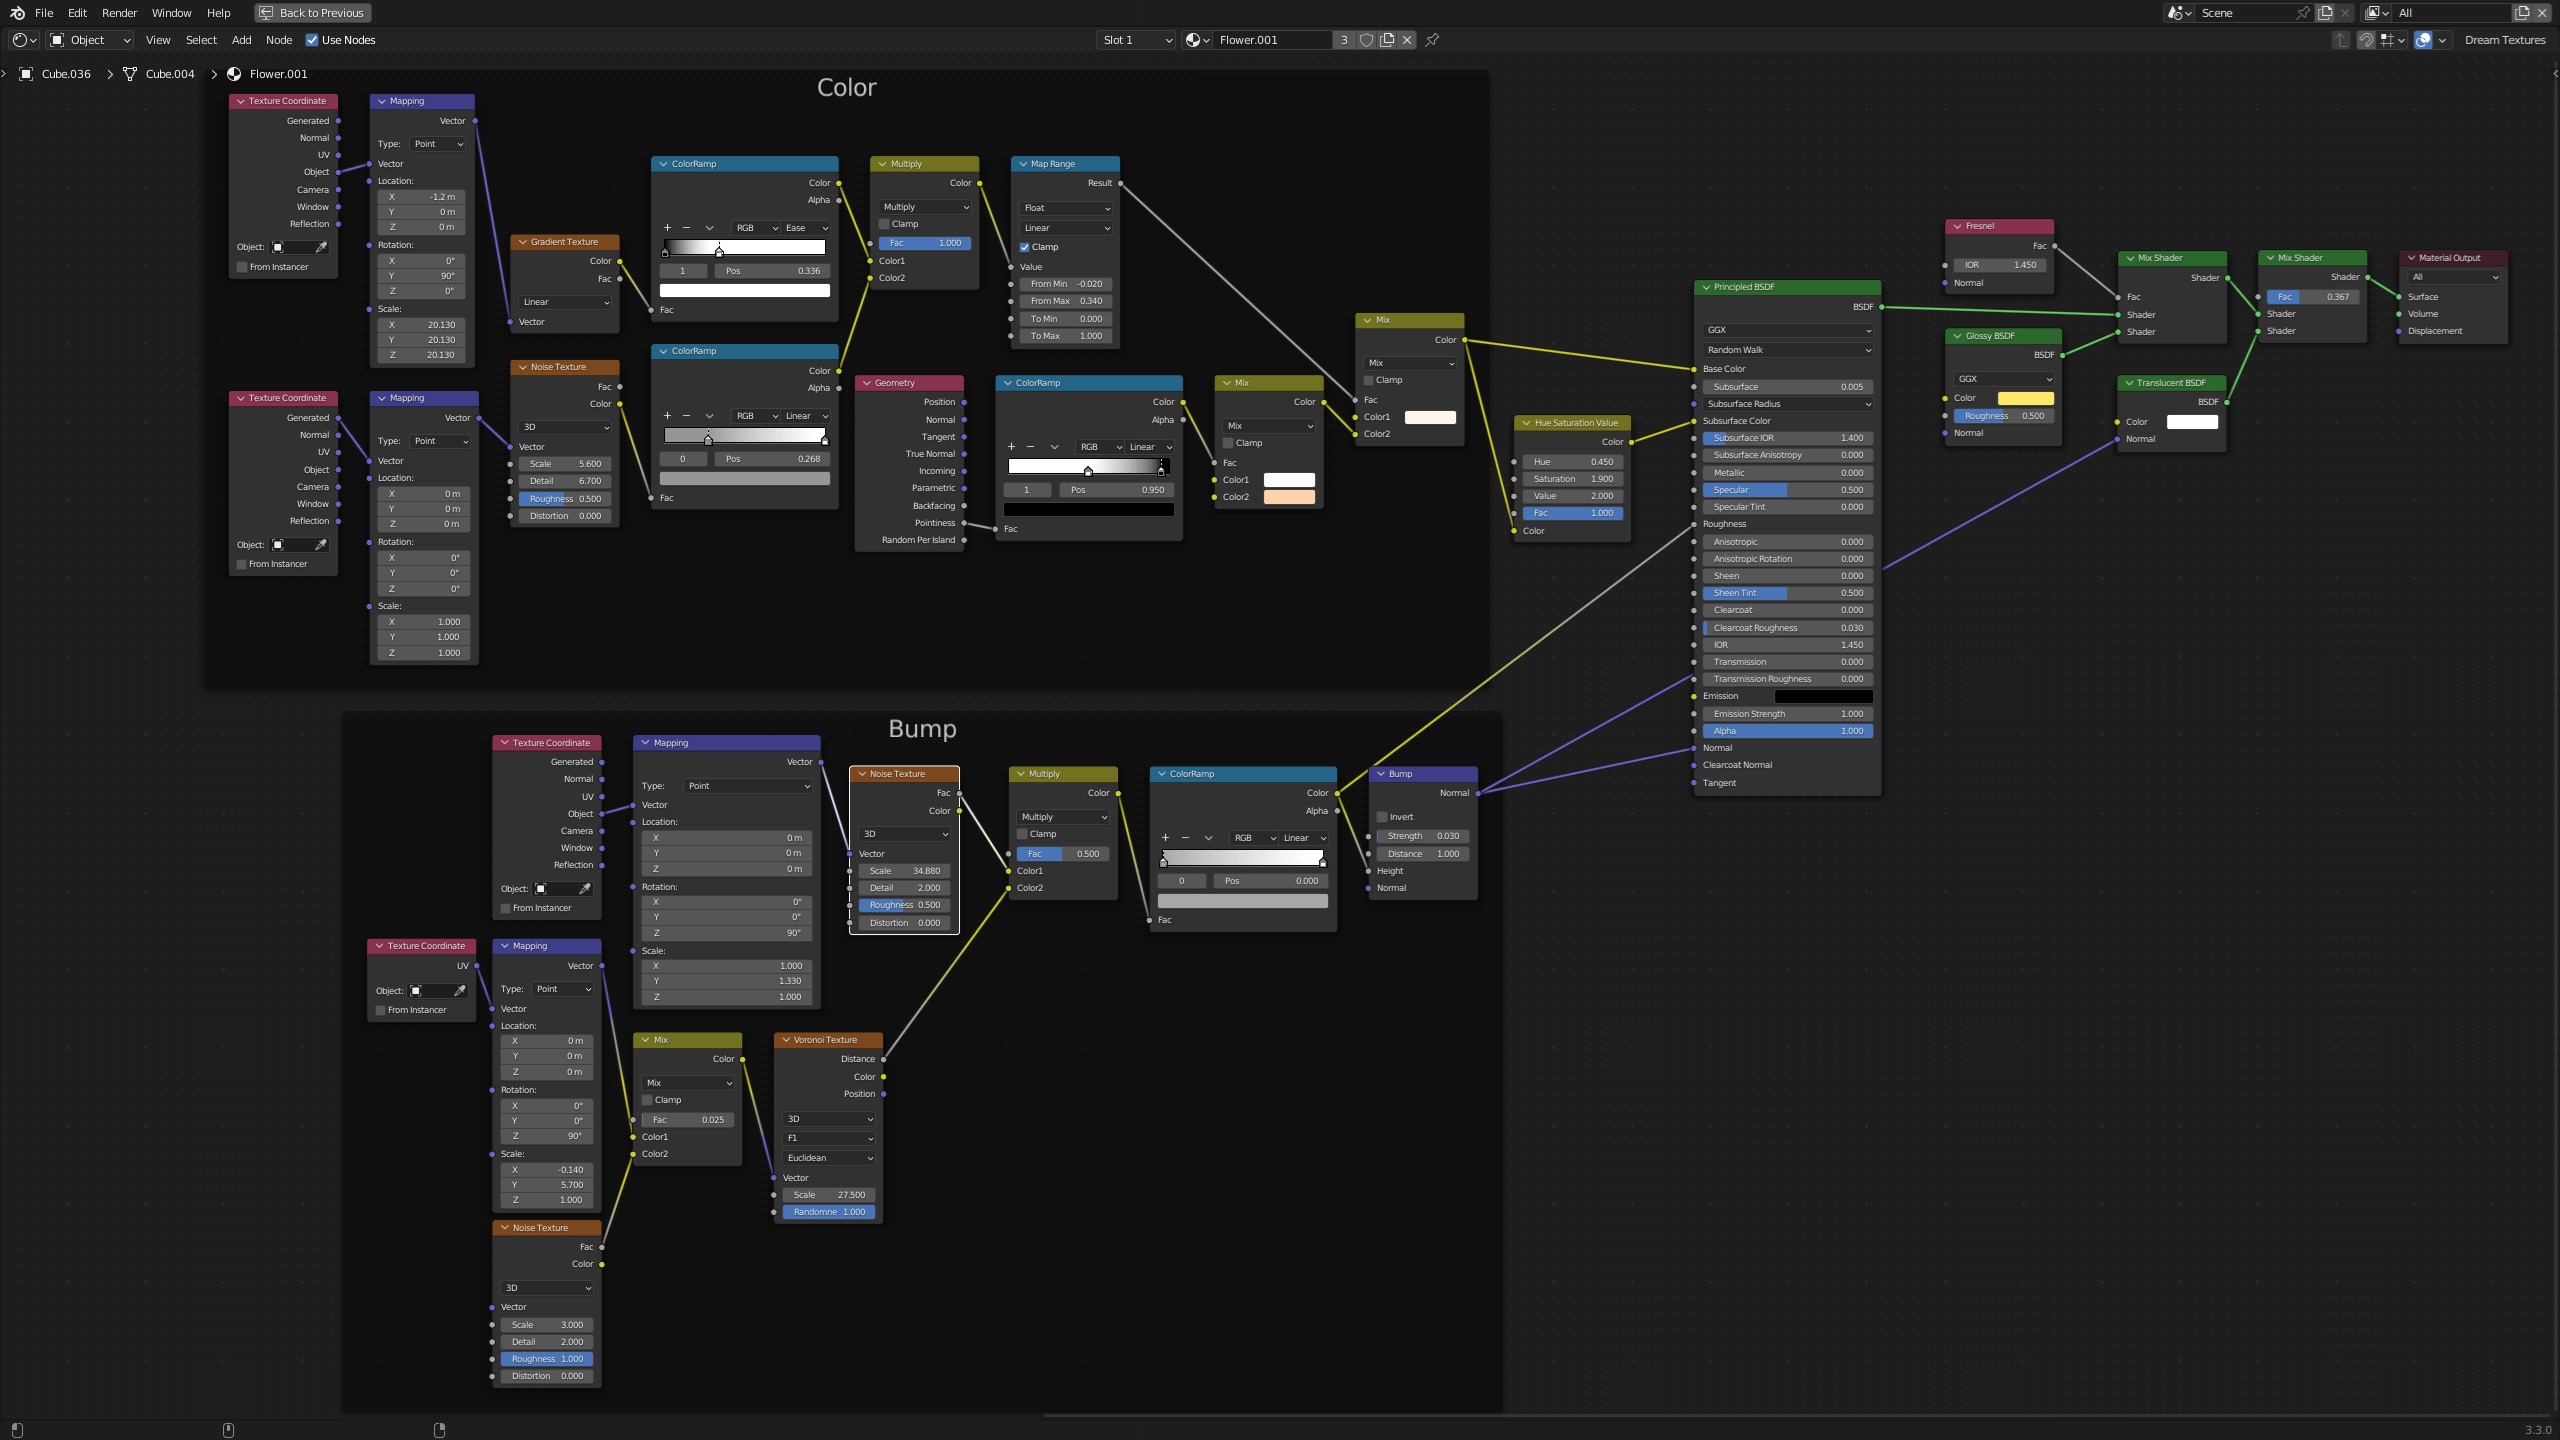
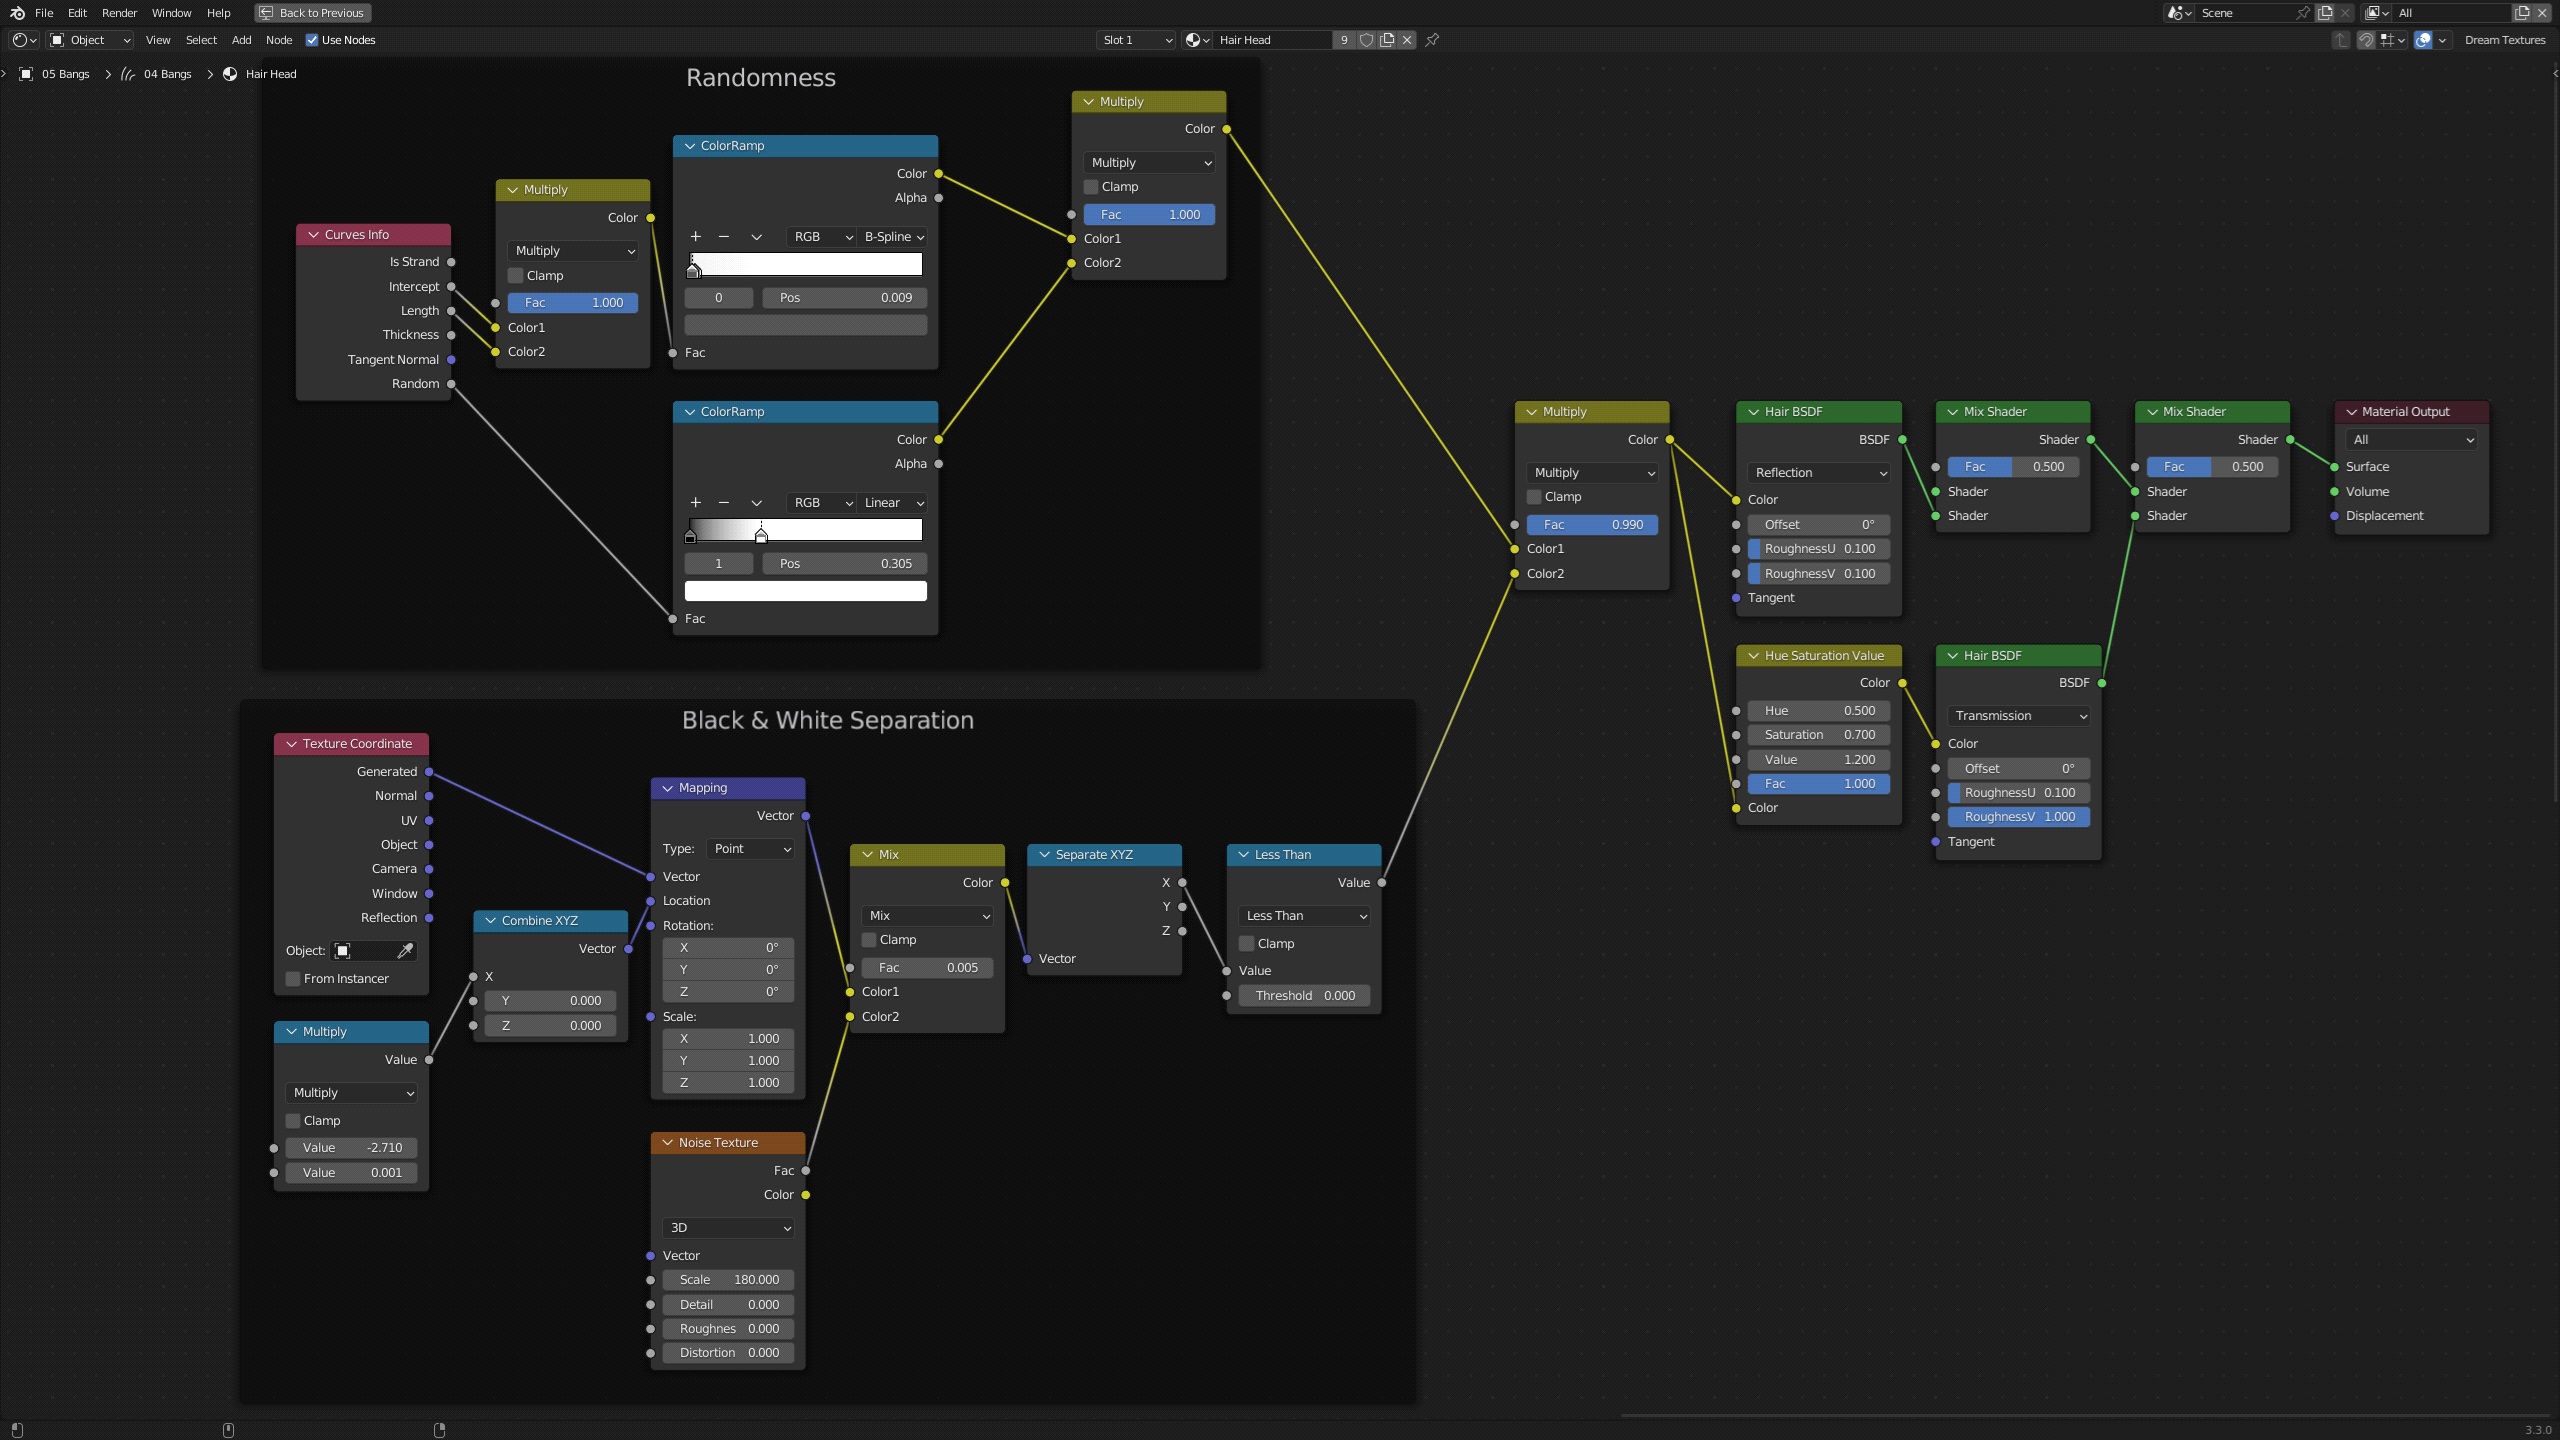
For the skin texturing, I had a semi-procedural approach. I mostly used noise and Voronoi texture nodes for color variation, roughness, and bumps. This might be the most complex node tree I made on my own. Sorry for the poor node arrangements.
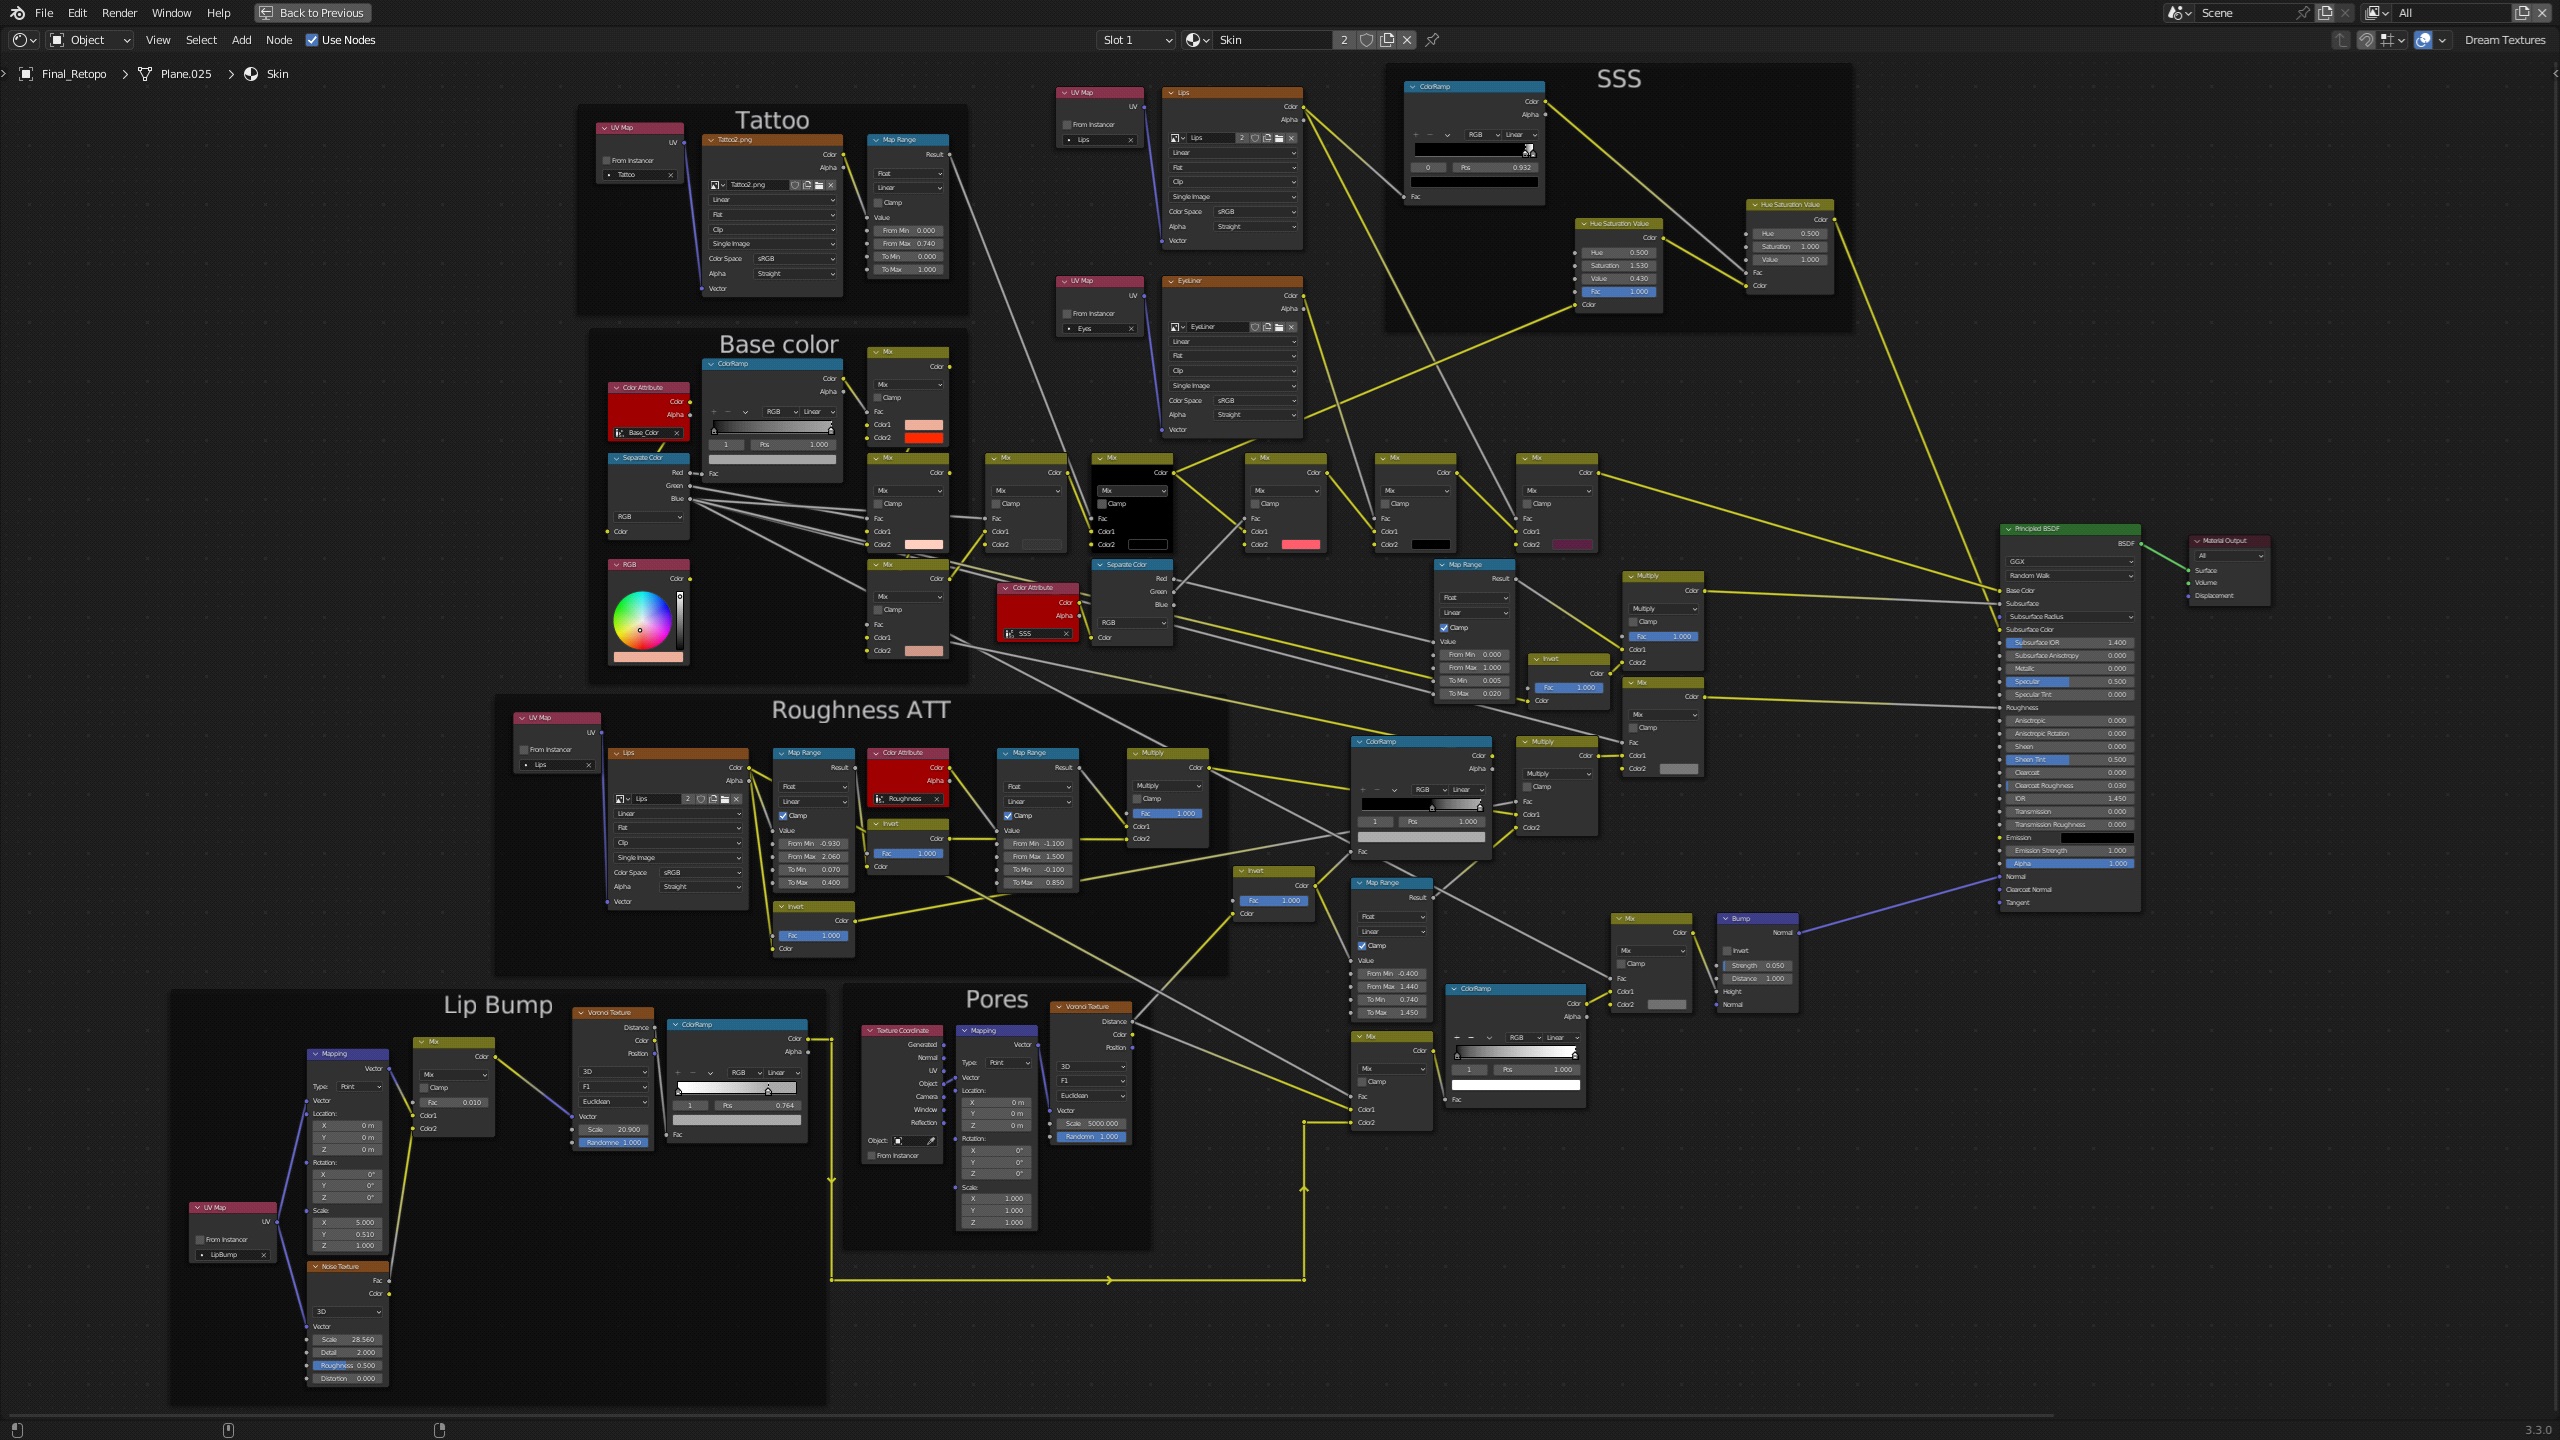
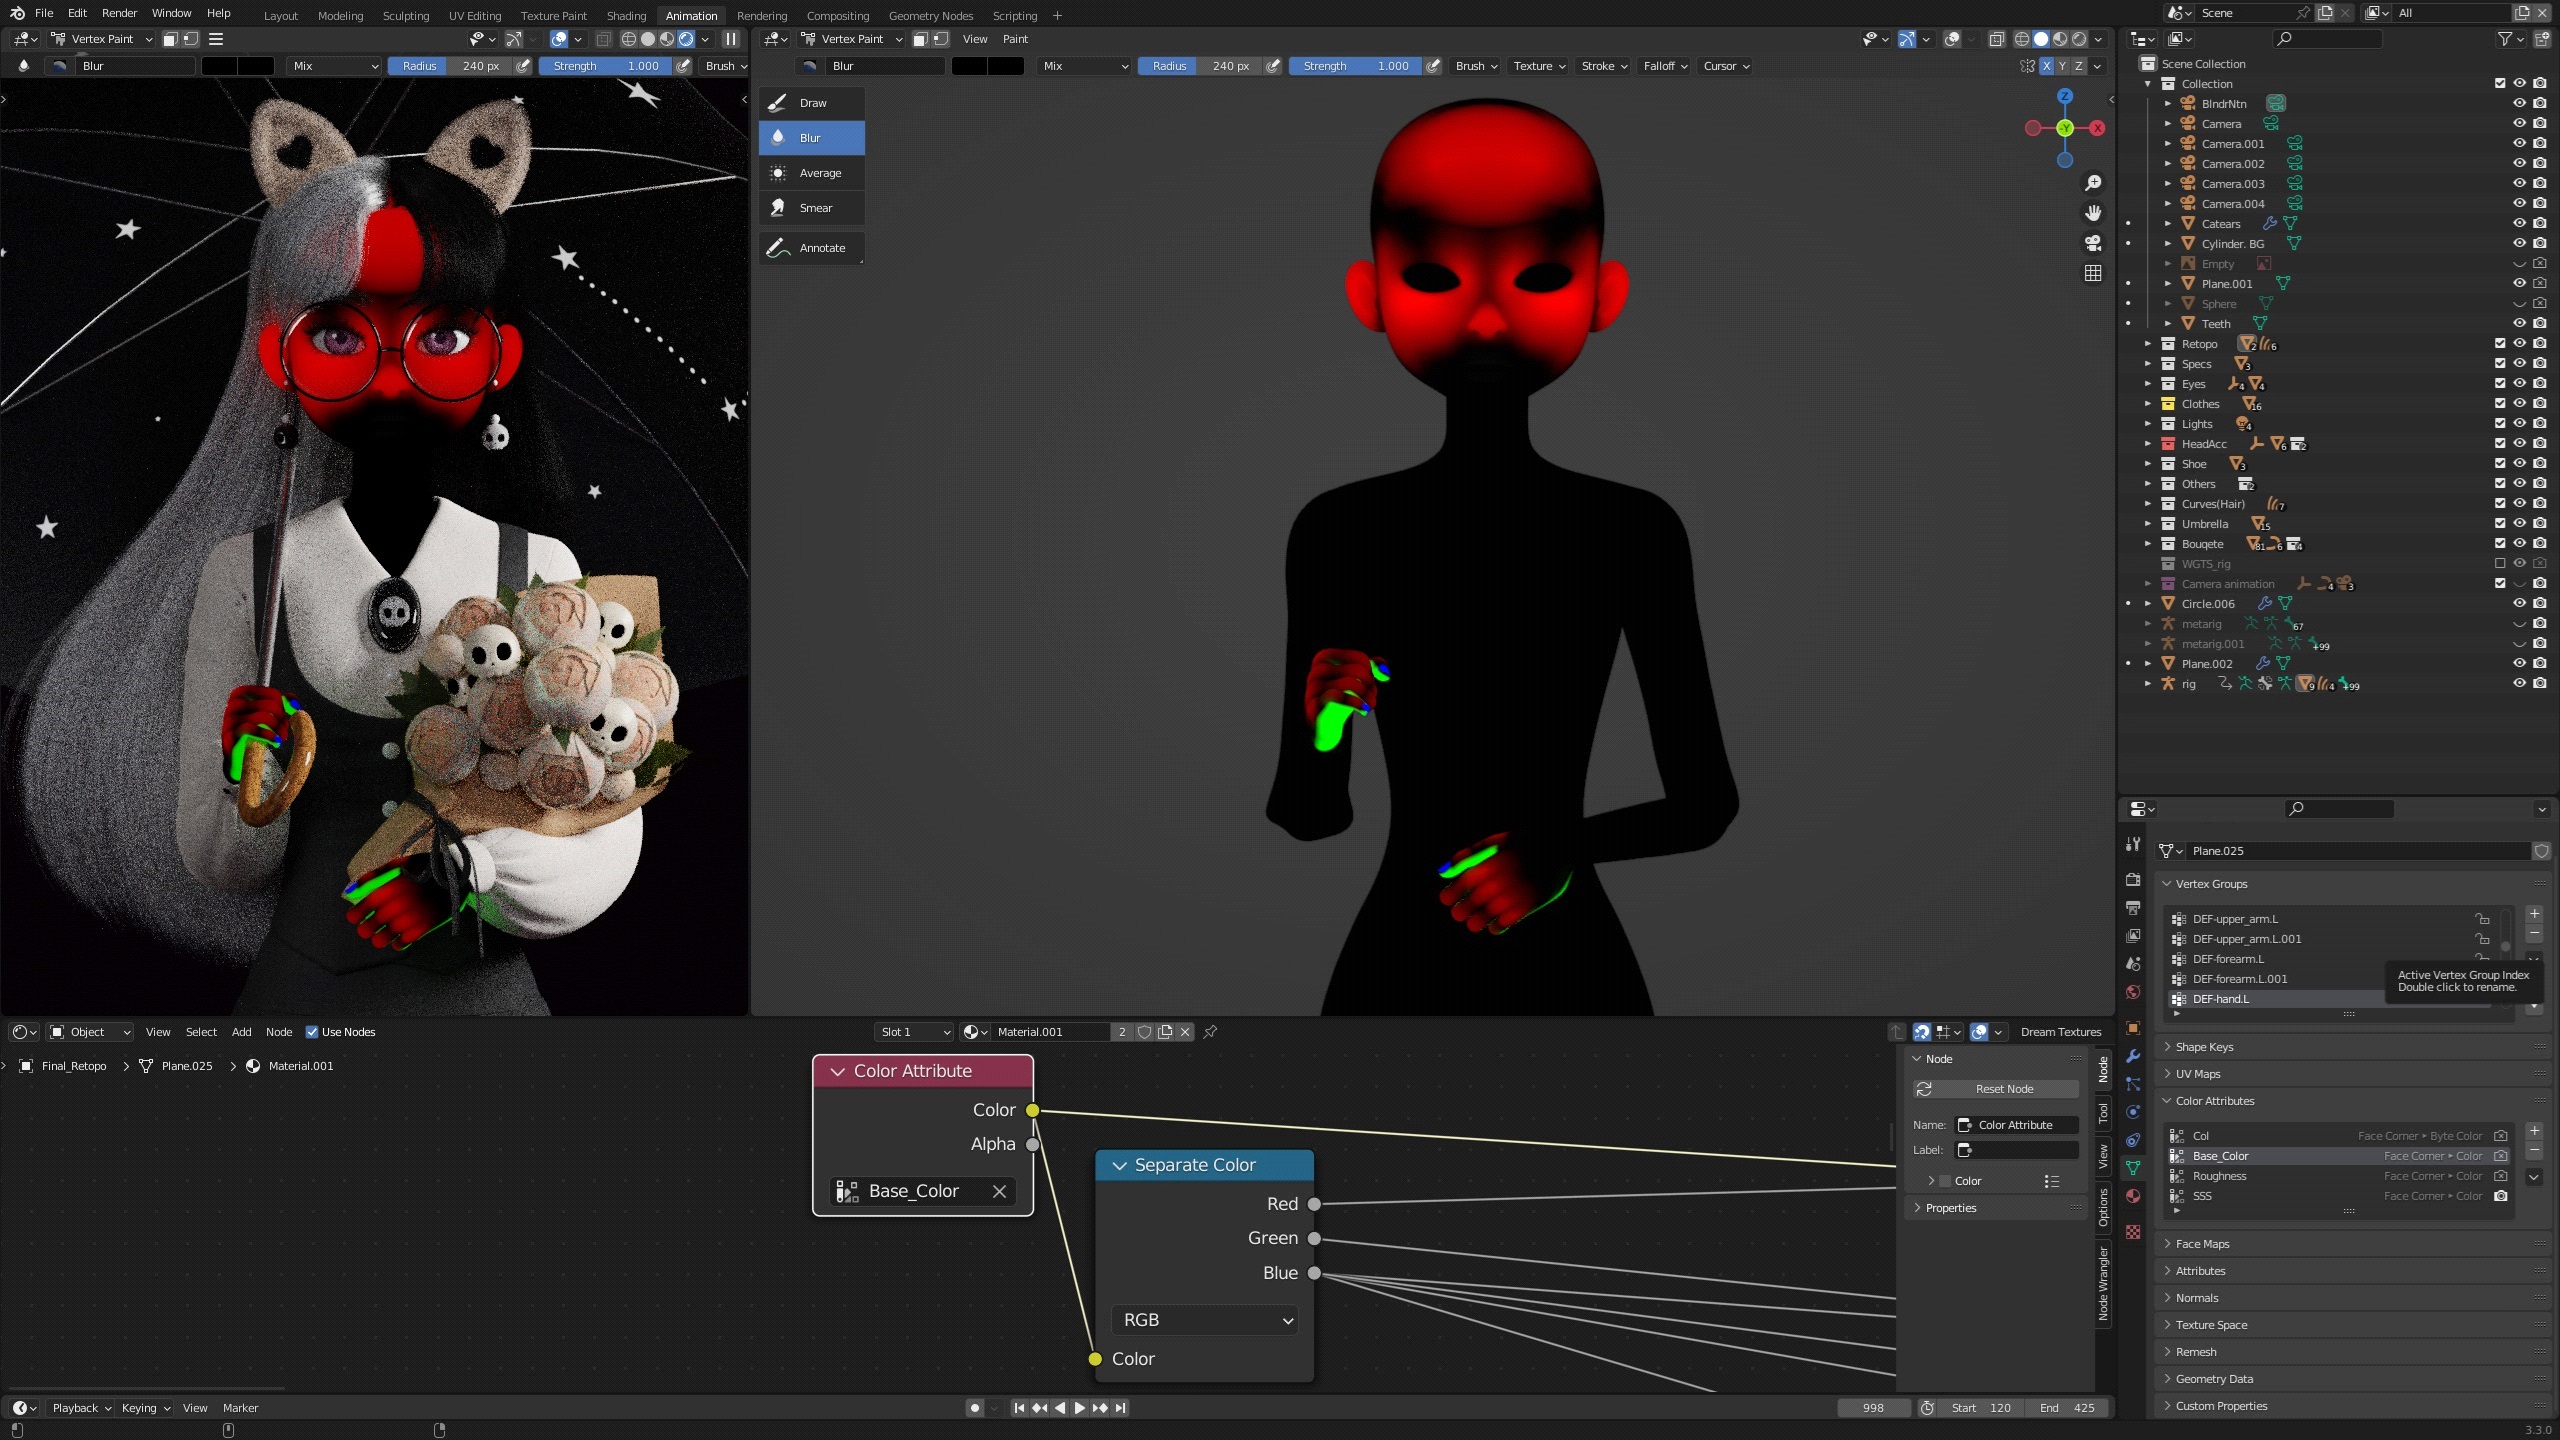
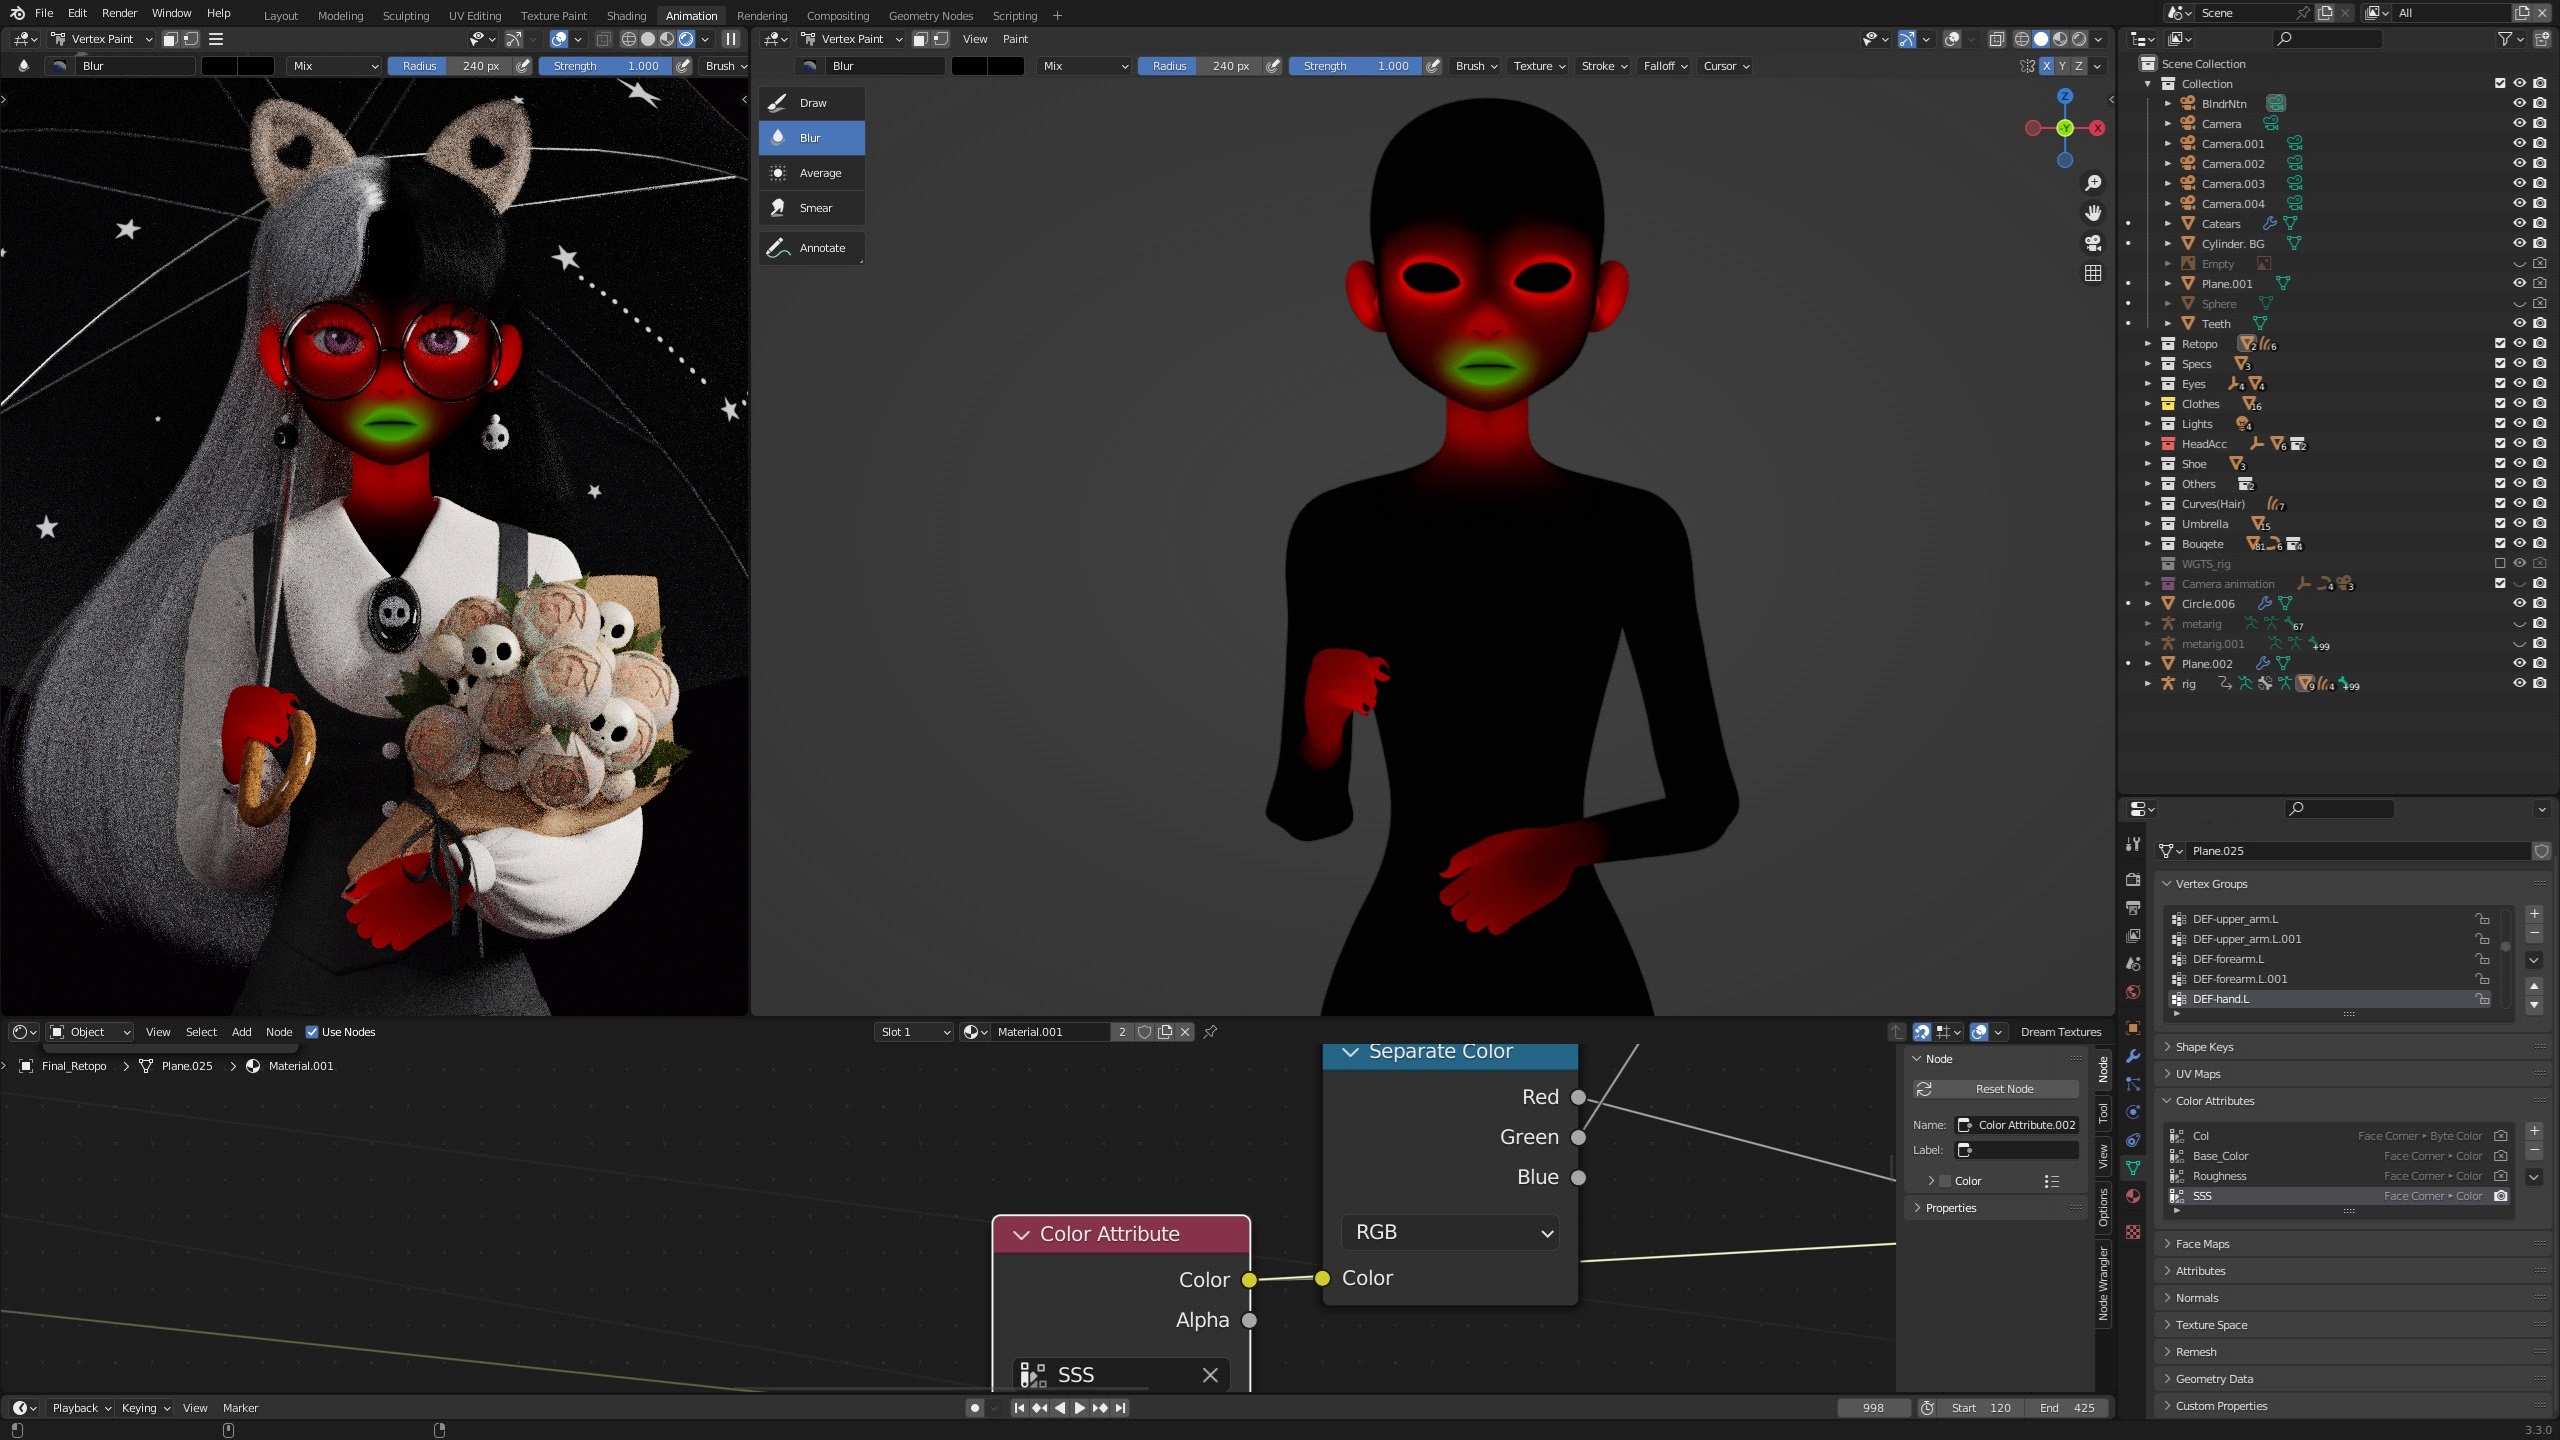
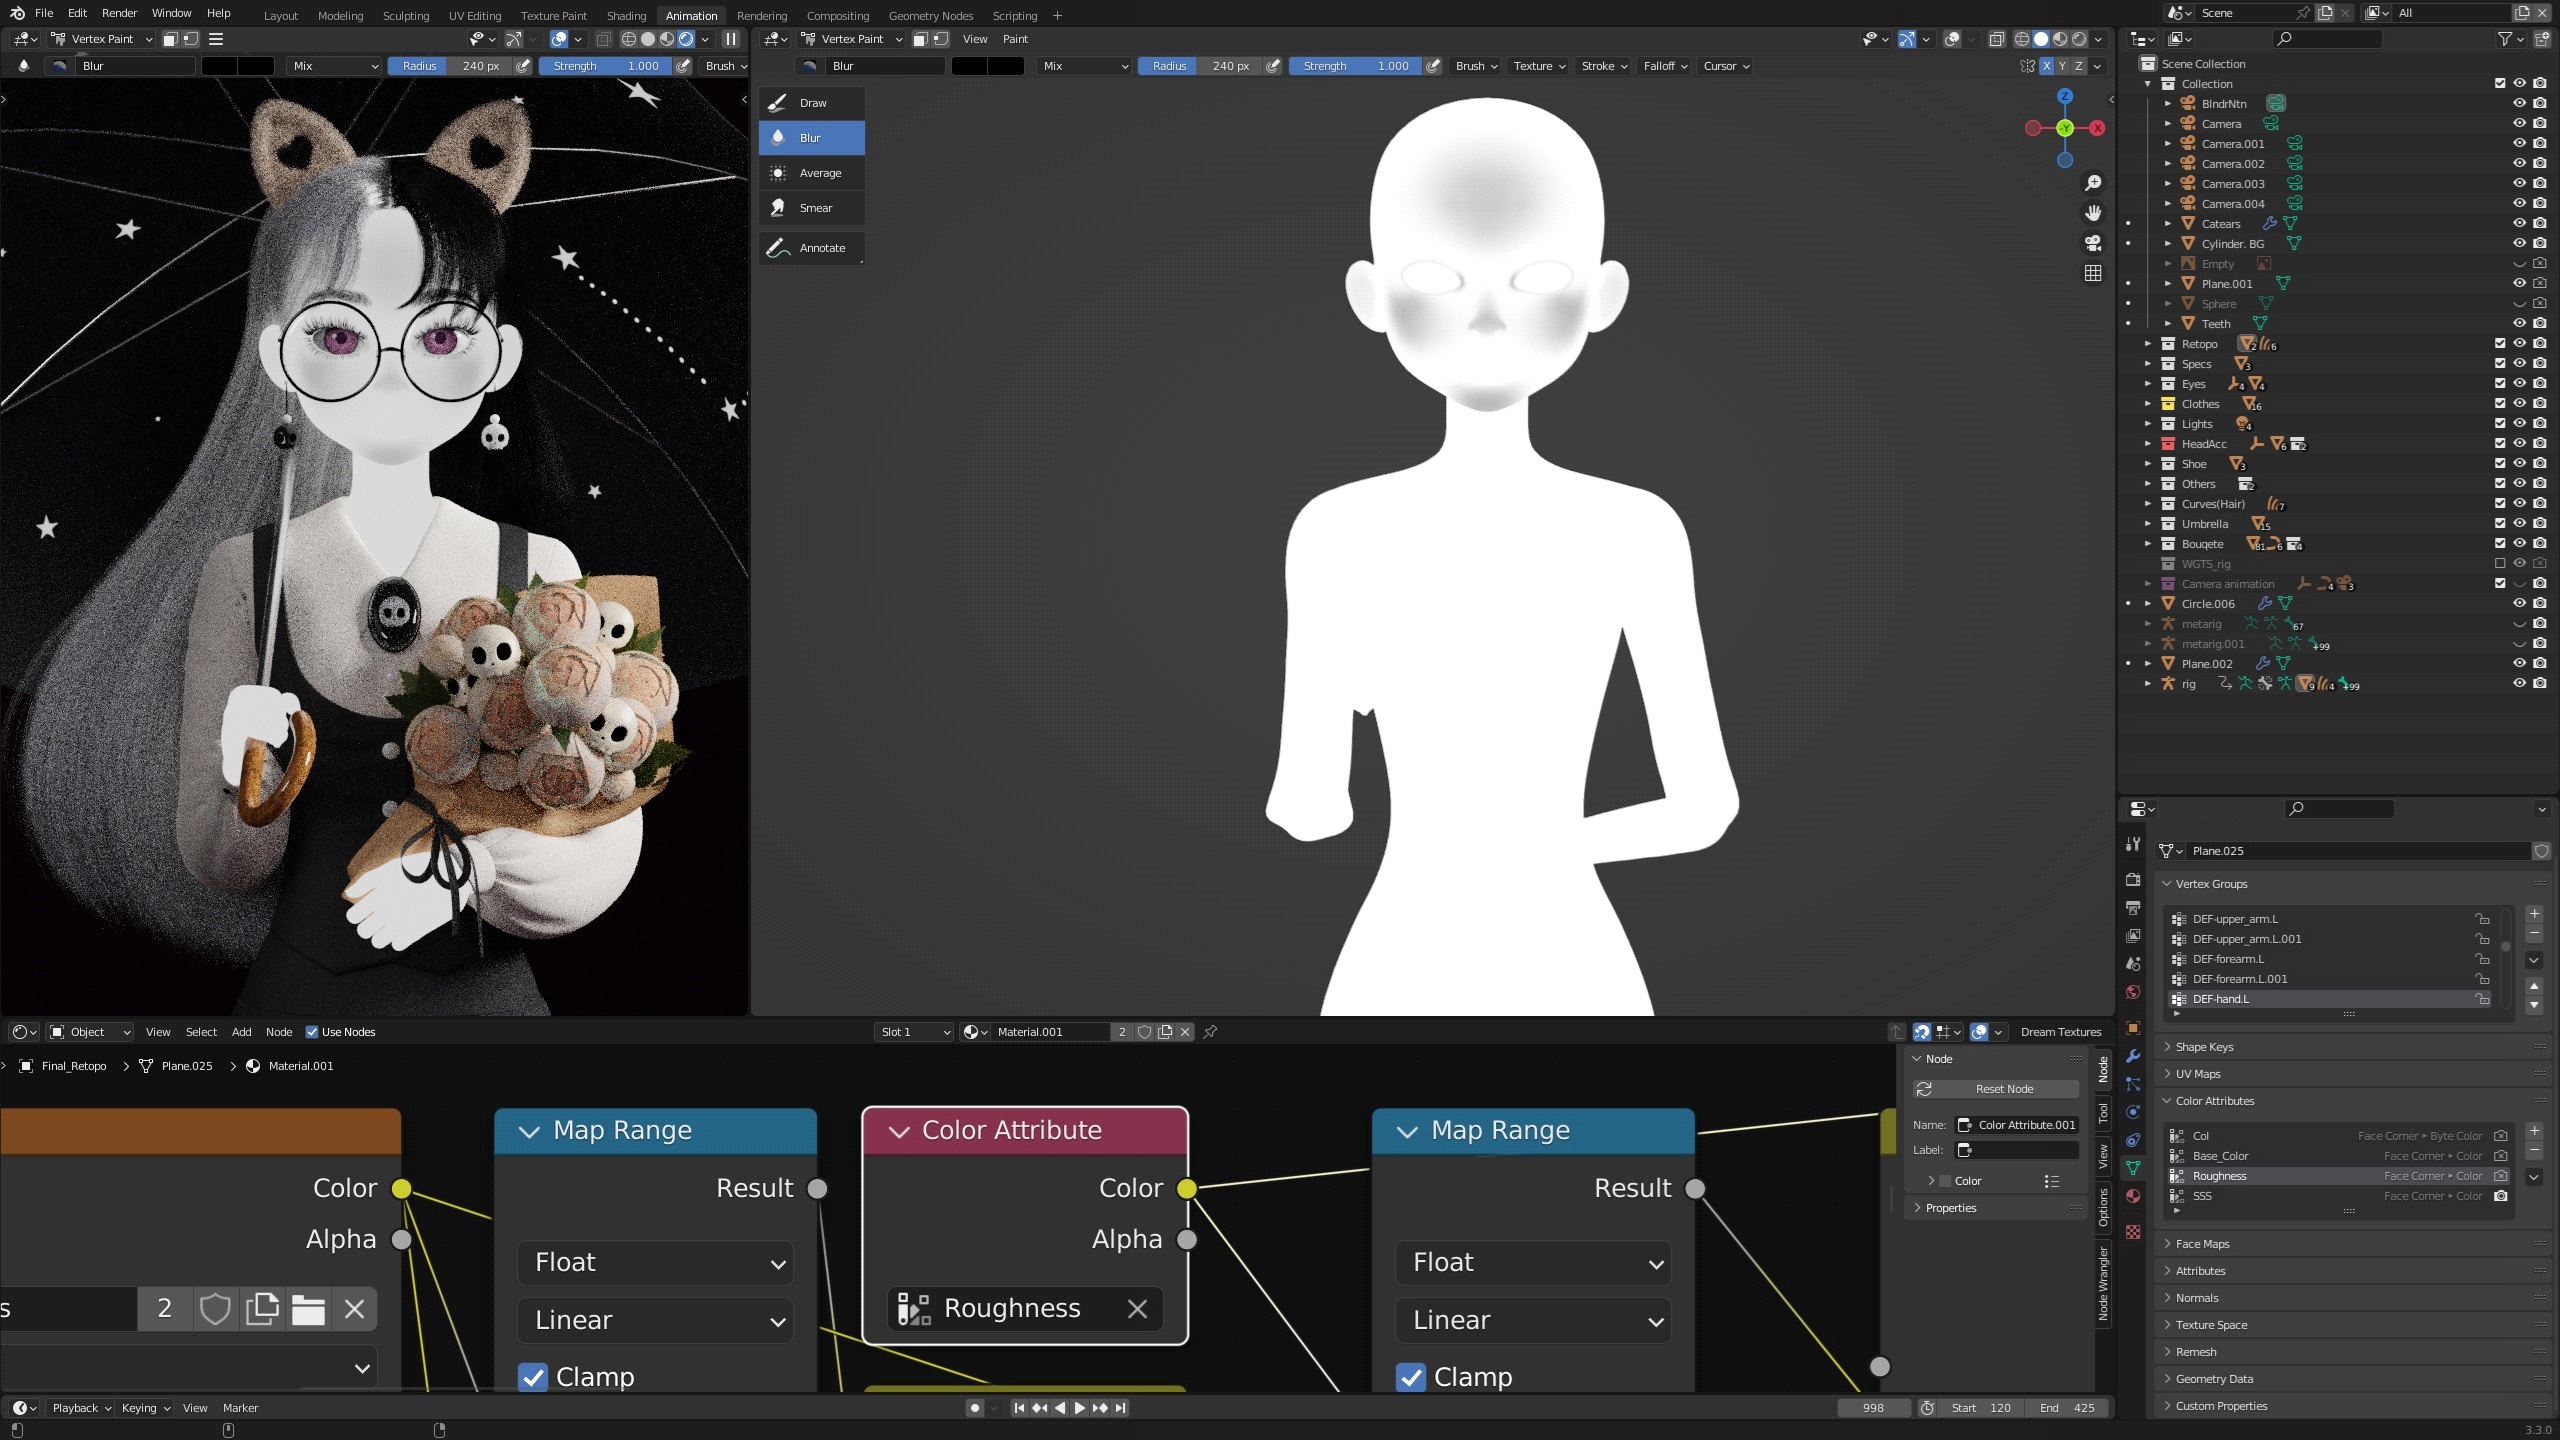
I used vertex colors for mapping out different colors, roughness, and bumps. I painted in RGB instead of black and white so that I could extract three different maps from one vertex color with a separate RGB node.
- Black = Base color
- Red = Skin redness/blushes
- Green = Pale skin/Palm
- Blue = Nail color & its roughness
- Red = Subsurface value
- Green = For some reason to make a certain effect only on the lips. Sorry, I don’t remember clearly why I made that.
- Black & White vertex color for Roughness value.
GROOMING
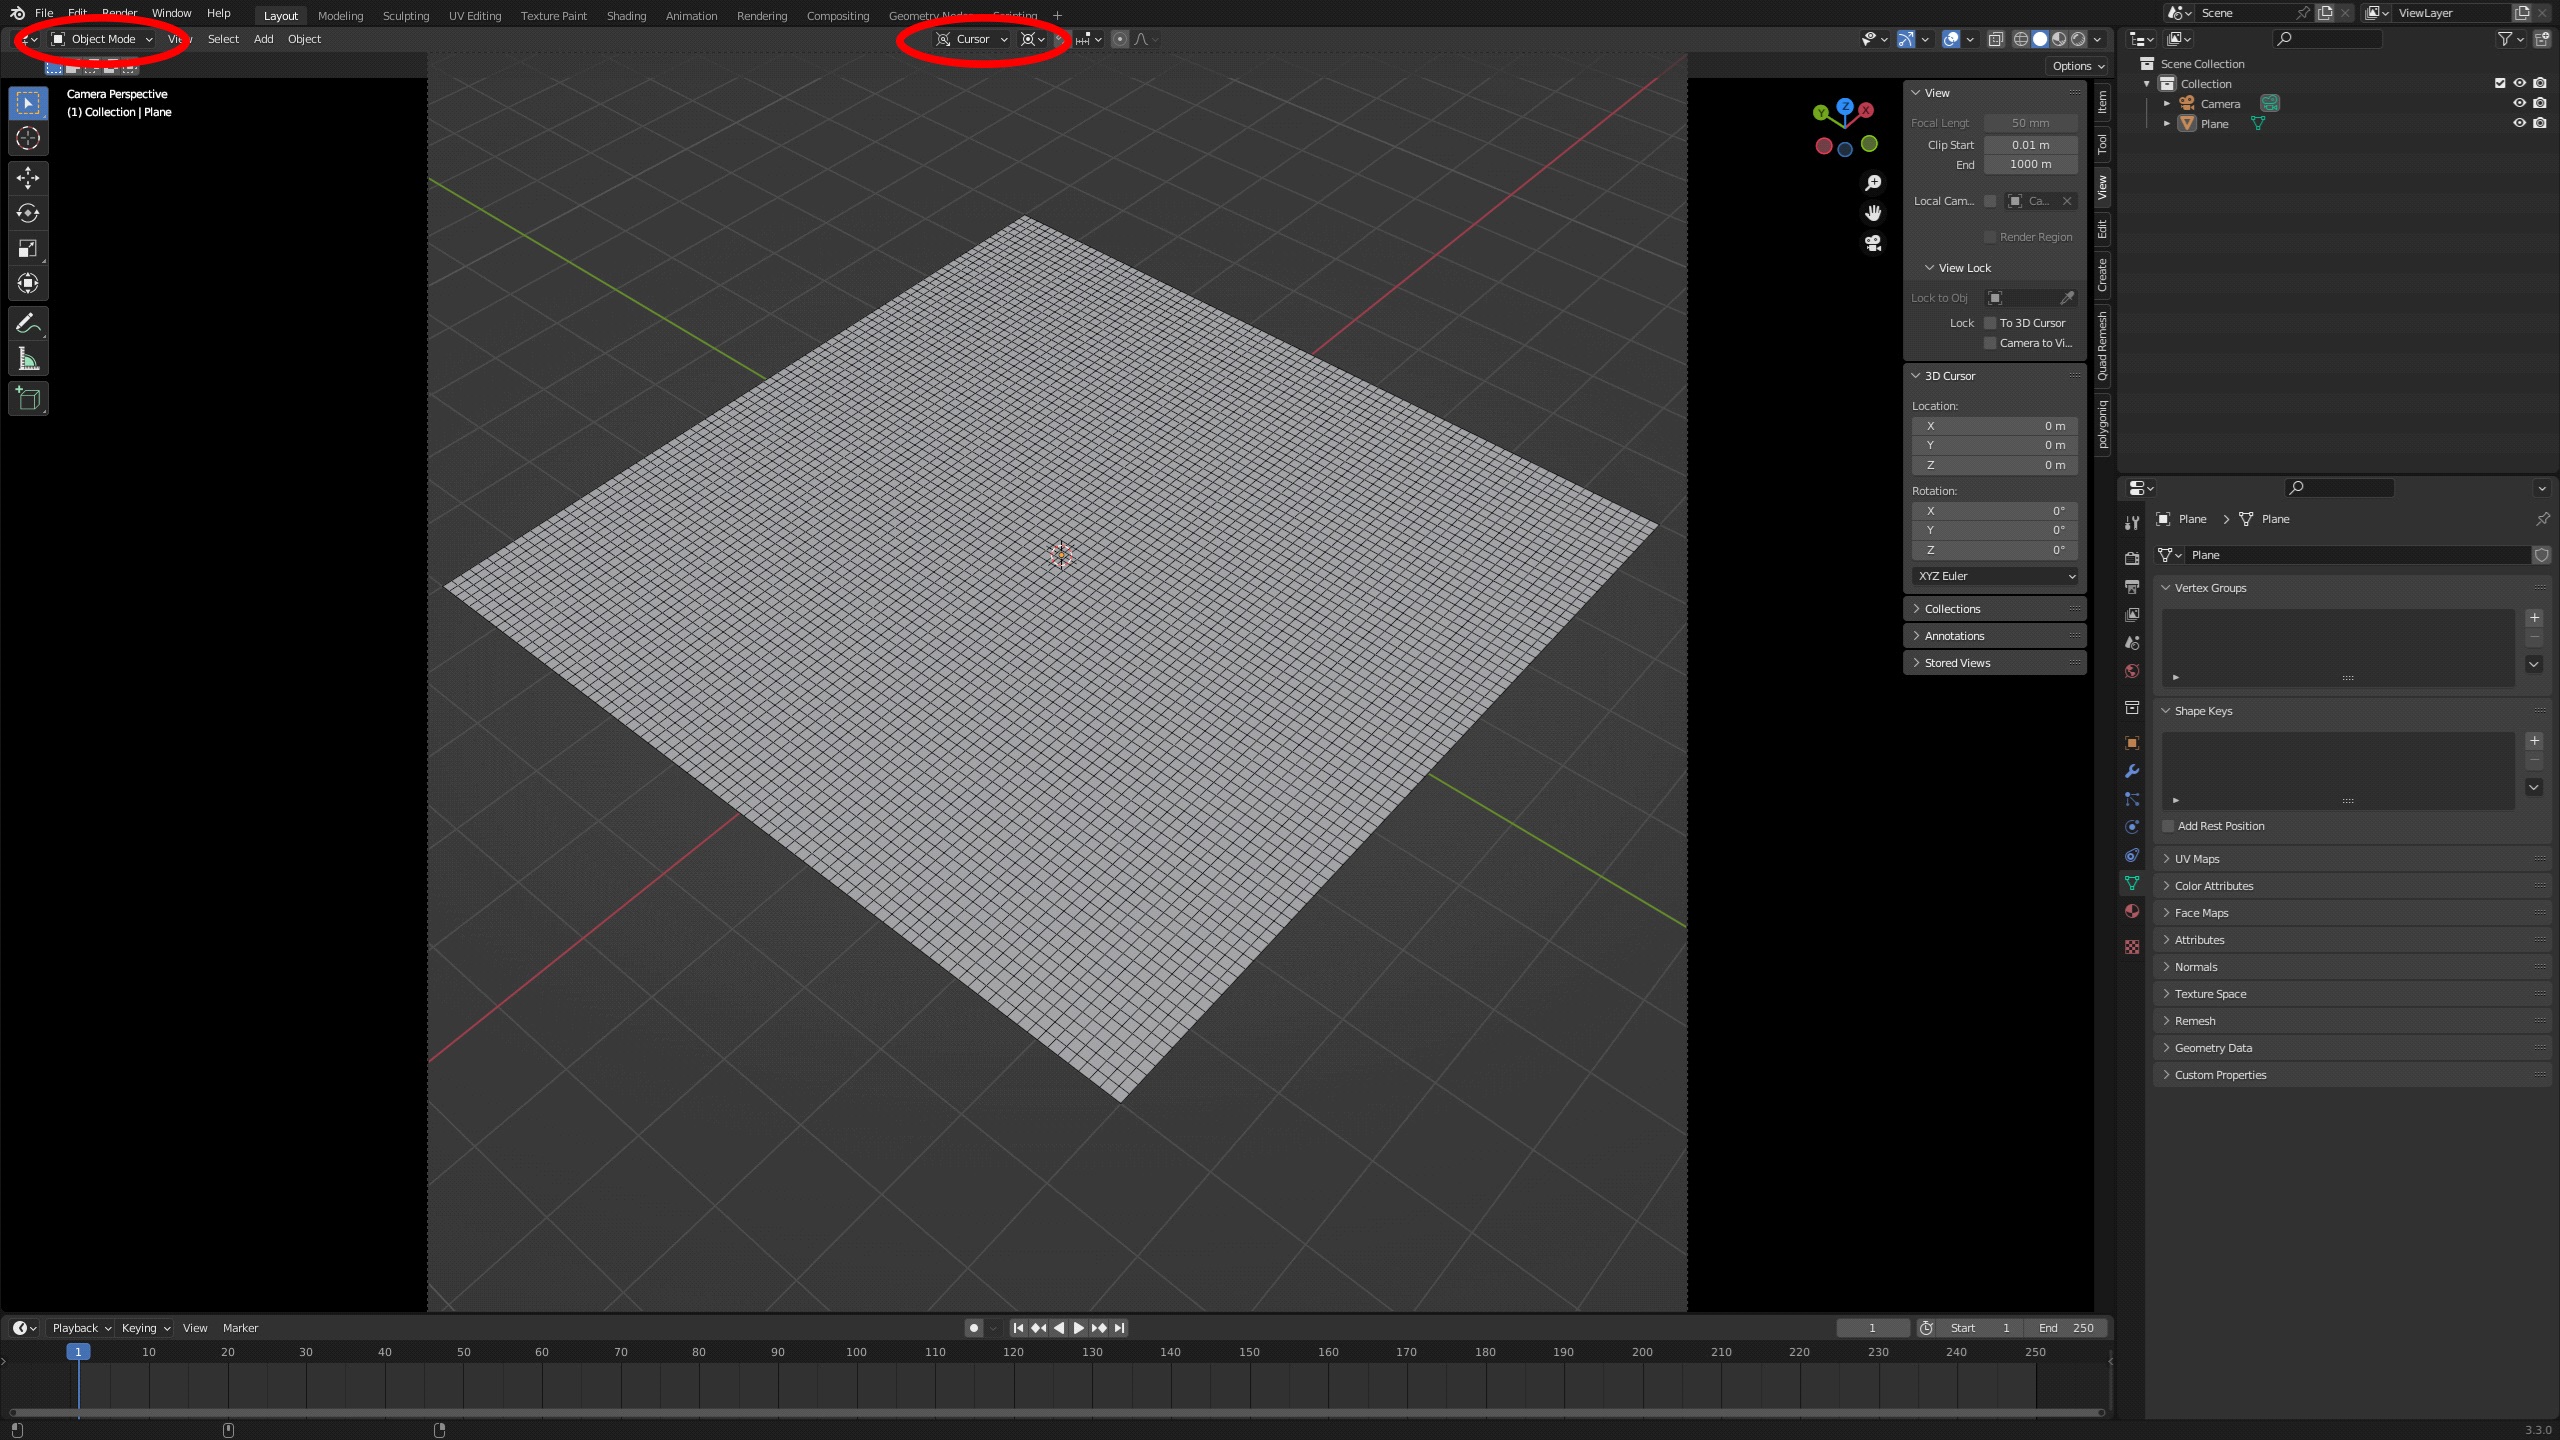
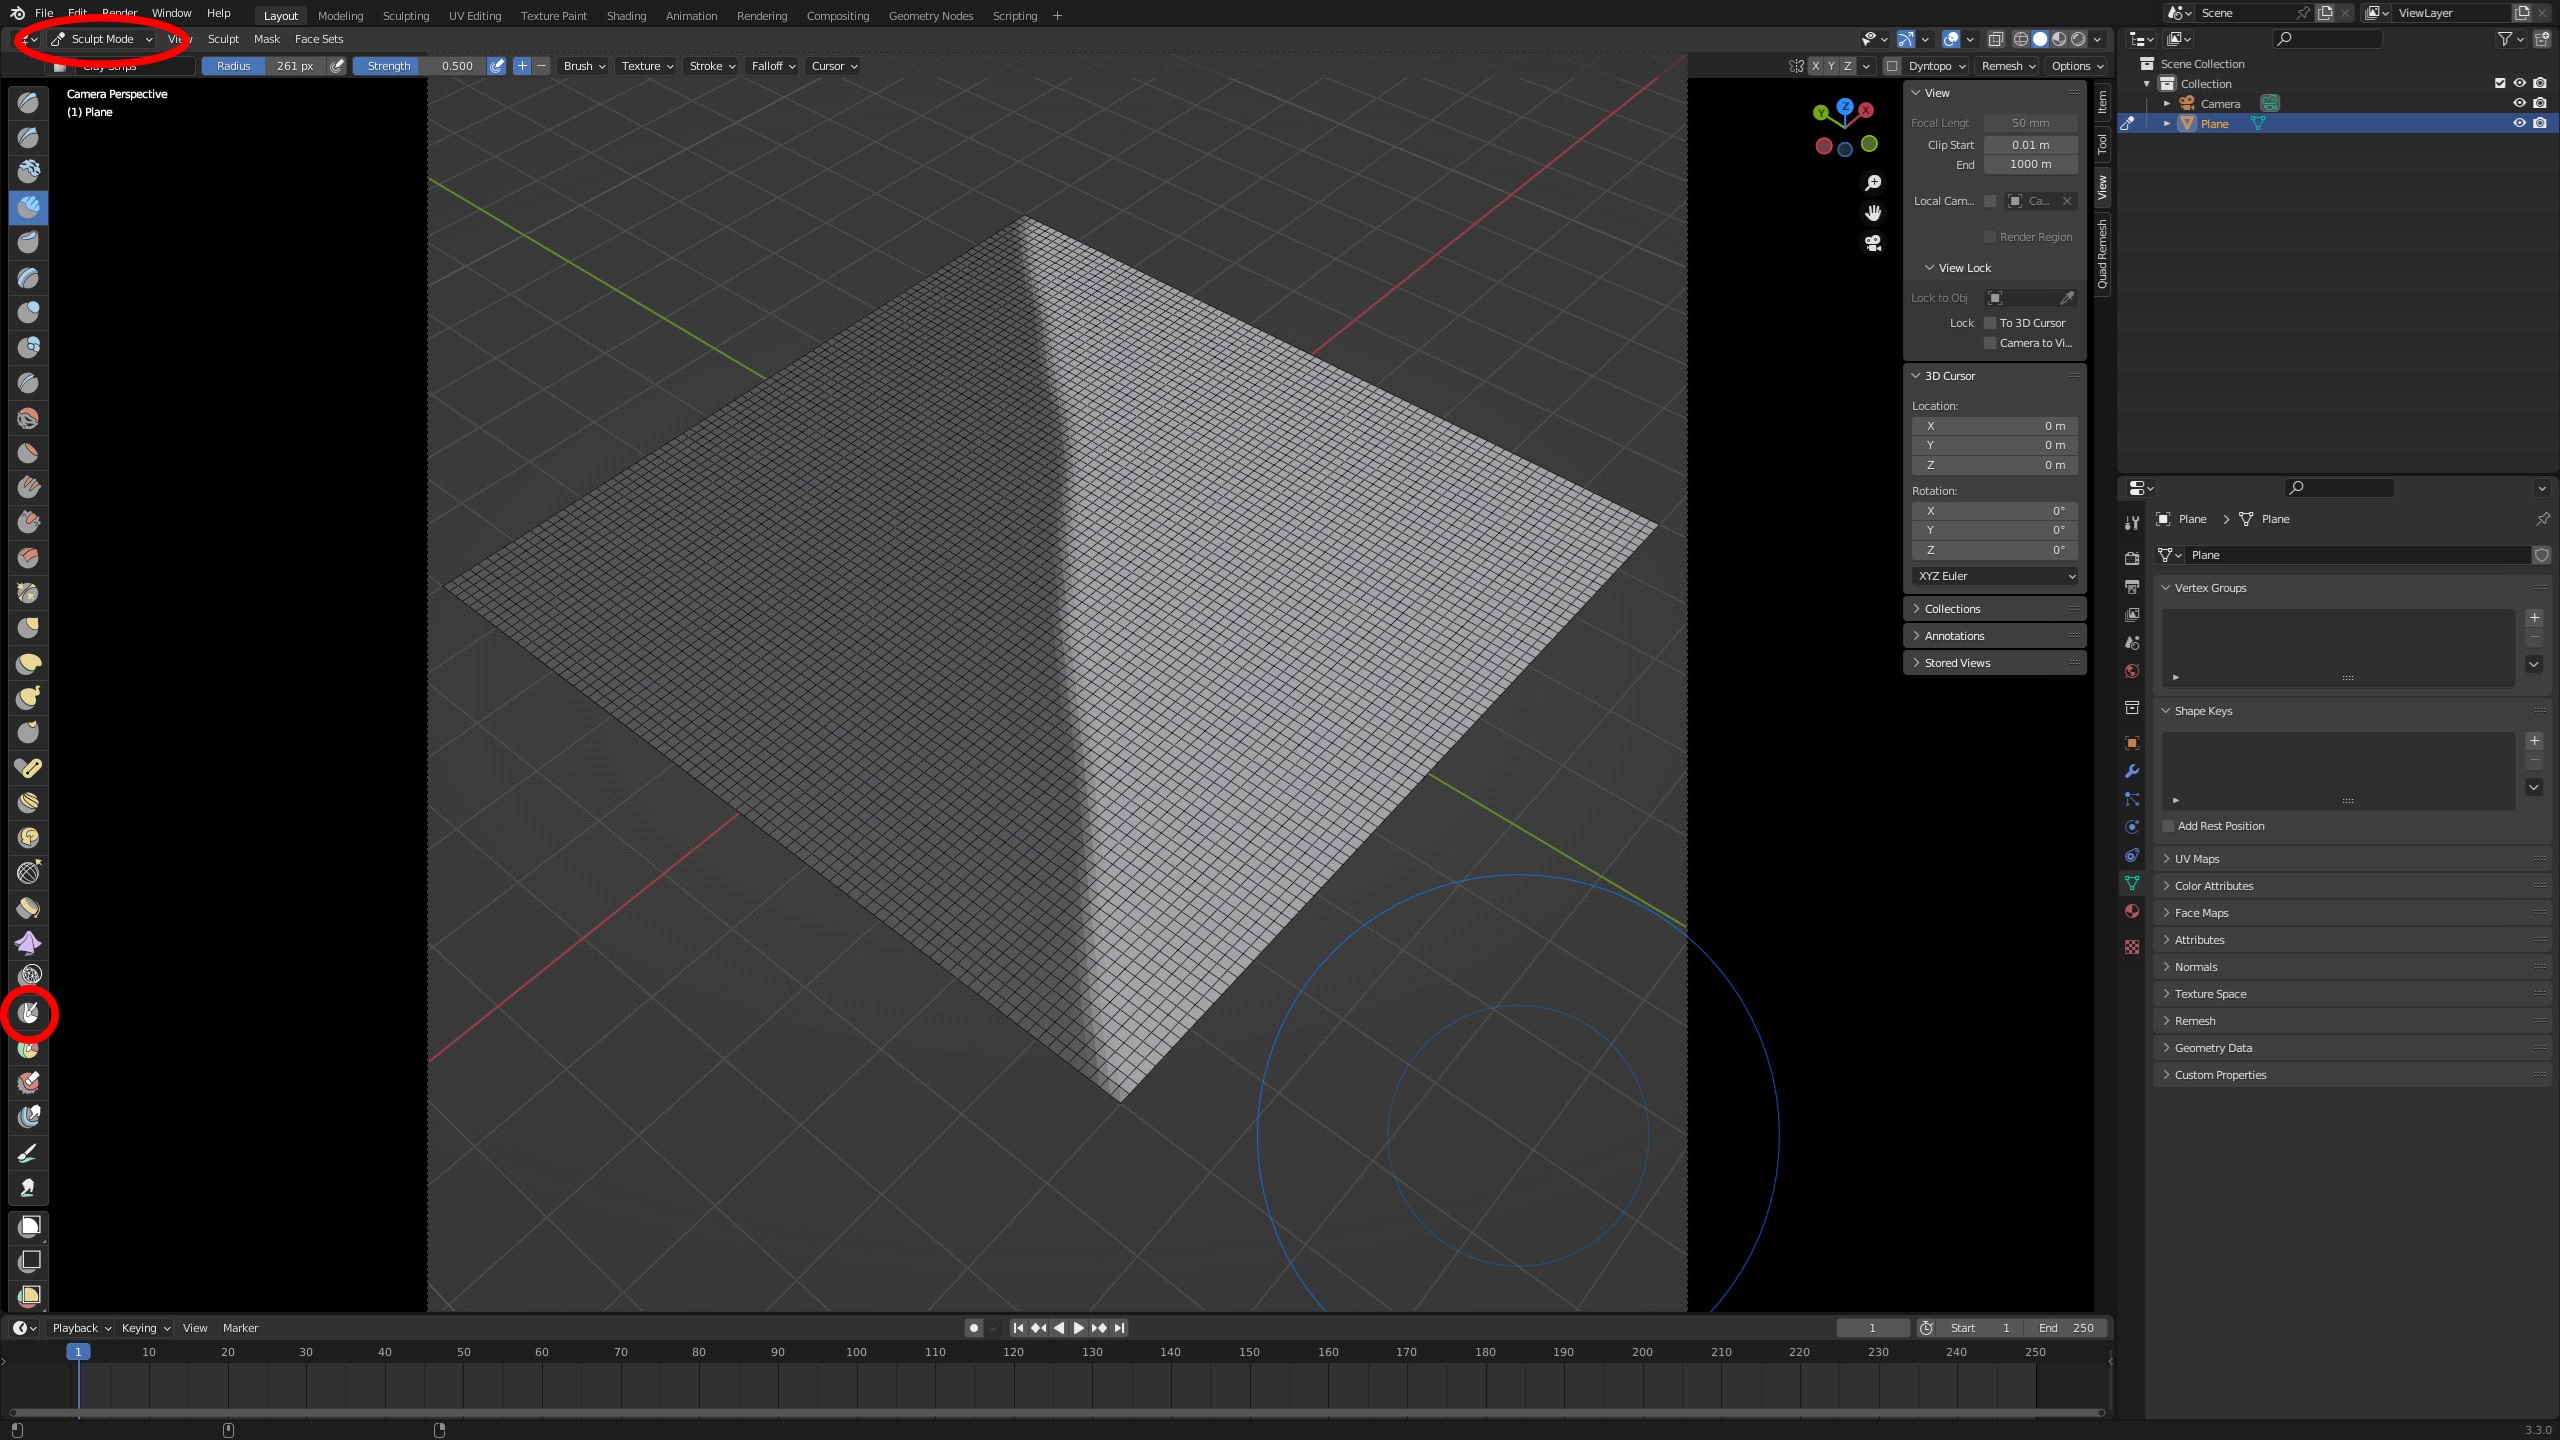
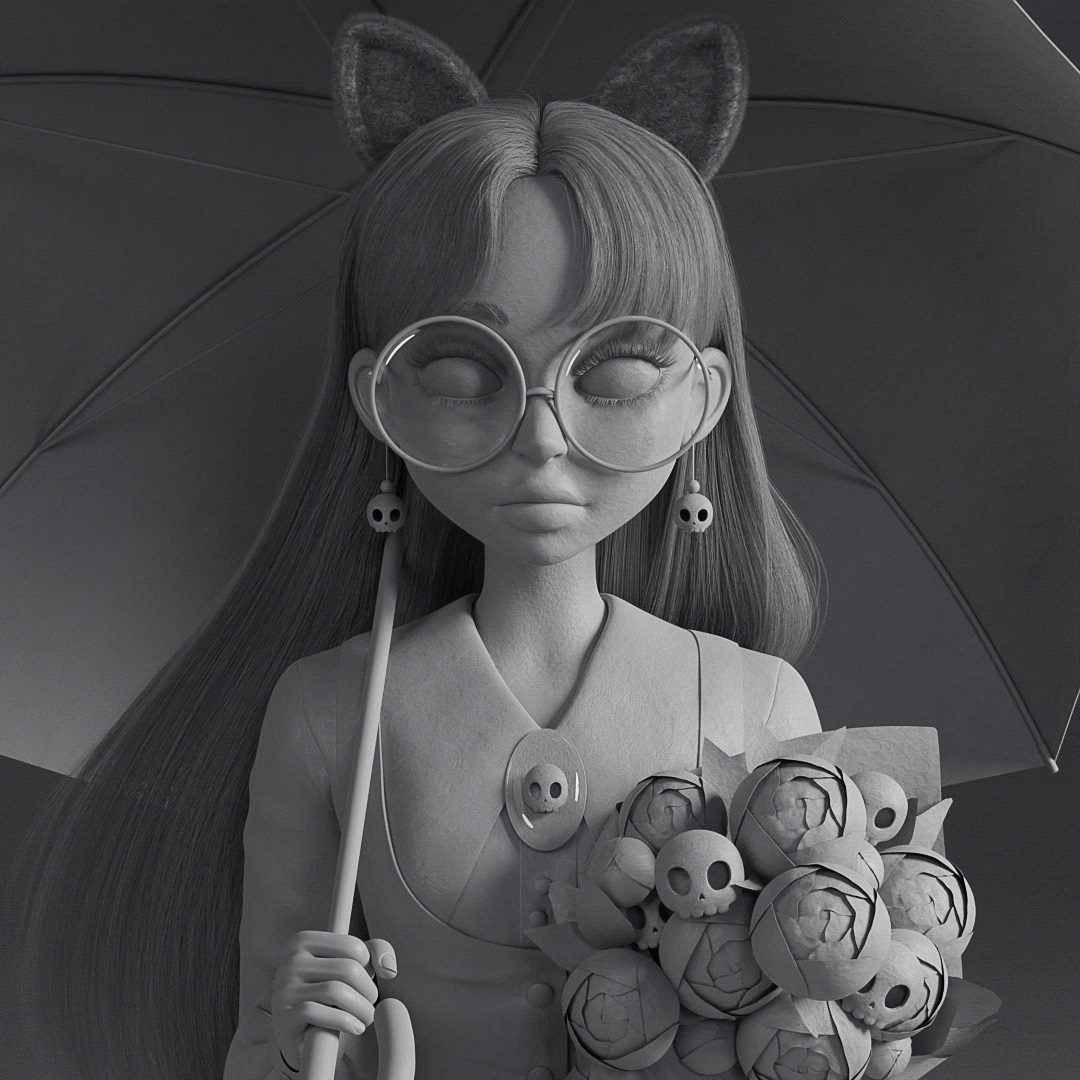
Before jumping into making the actual hair, first I sculpted the hair roughly into shape.
After a failed attempt of making the stylized hair with curves, I used this opportunity to learn the new hair curves tool based on geometry nodes. To be honest, I’m glad I failed with the first one. Hair curves are the best, for it was pure fun working with it. It was like I could add unlimited hair strands. You can turn them into classic hair particles, recalculate the vertex points if it is high or low like remeshing an object, and convert them back to hair curves again. It is flexible to play with. Here is a nice tutorial,
I’d recommend downloading the demo file for hair curves from the Blender website and play with it.

I had to study the flow of eyebrows and eyelashes to make them more appealing.
HAIR MATERIAL
I made a mistake by not UV unwrapping the whole body, though I didn’t need it since I was making procedural skin. But, I had a few problems later and had to make two more UV maps to solve the problem.
POSING & LIGHTING
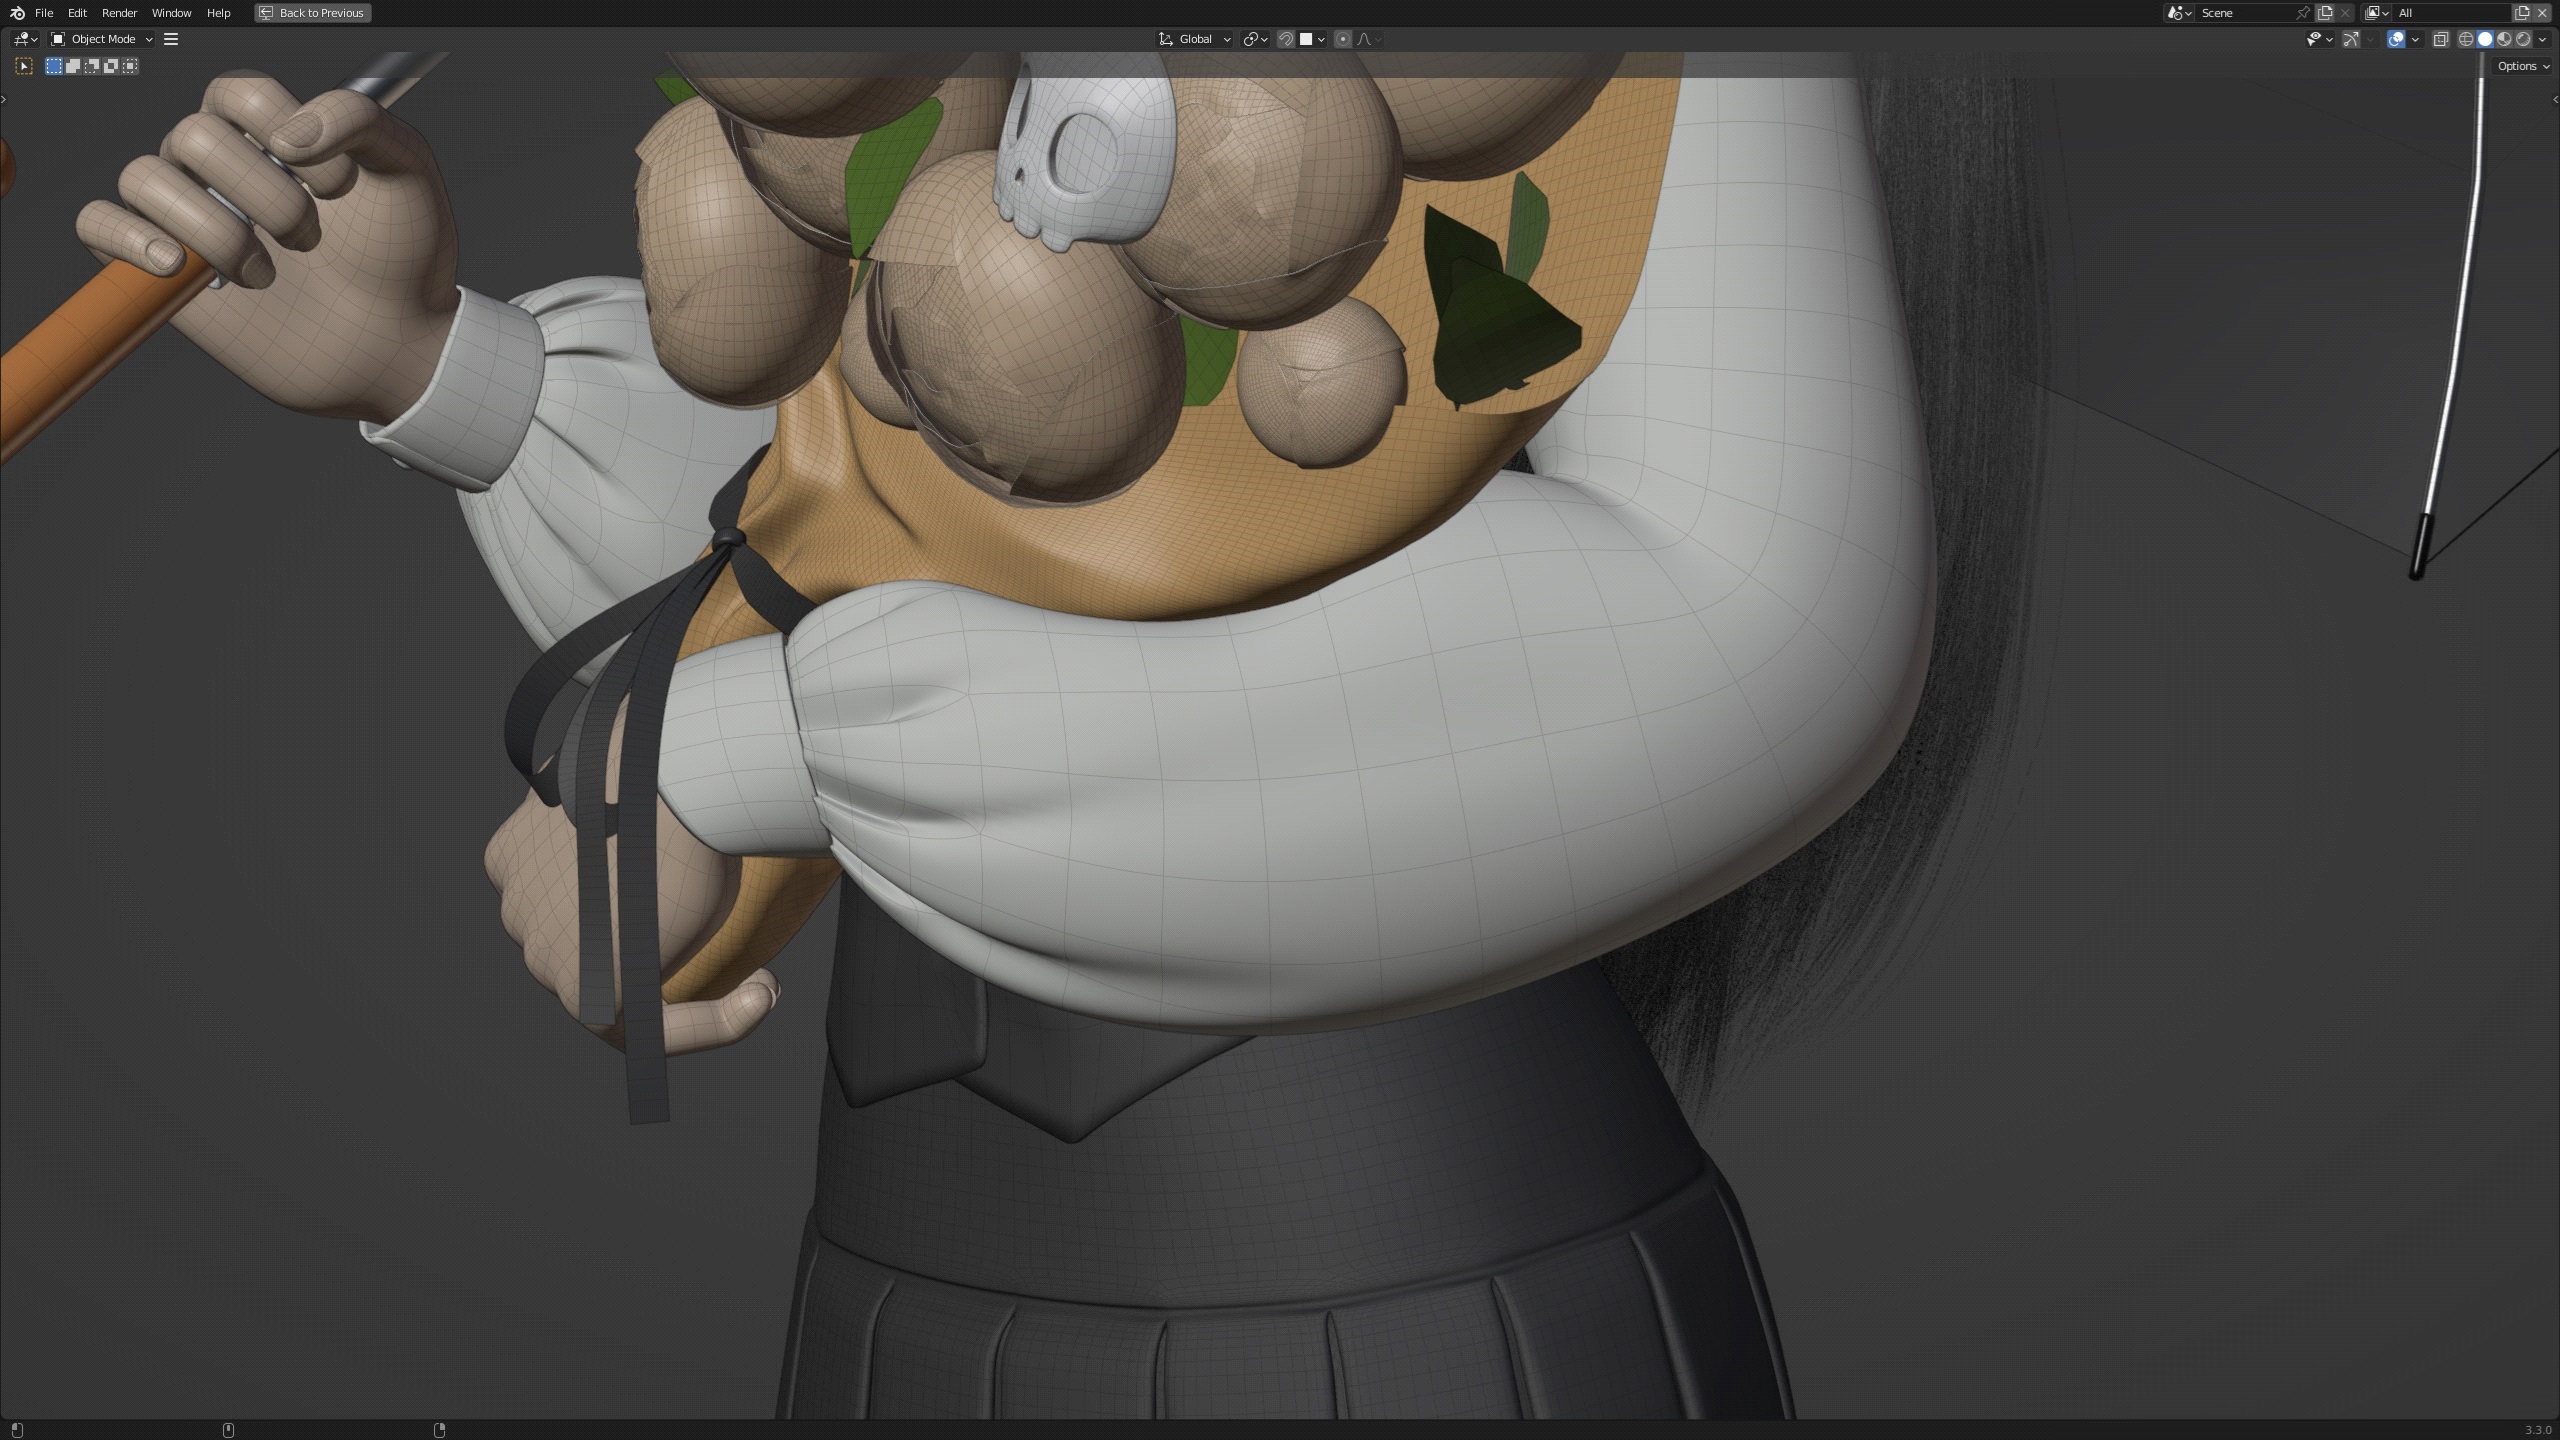
The model was rigged with the built-in Blender add-on, Human Metarig. The cloth fold near the elbow and the cloth interacting with the bouquet were sculpted above the armature using shape keys. I used shape keys, just in case the sculpted details looked bad so I could delete it easily and start over again.
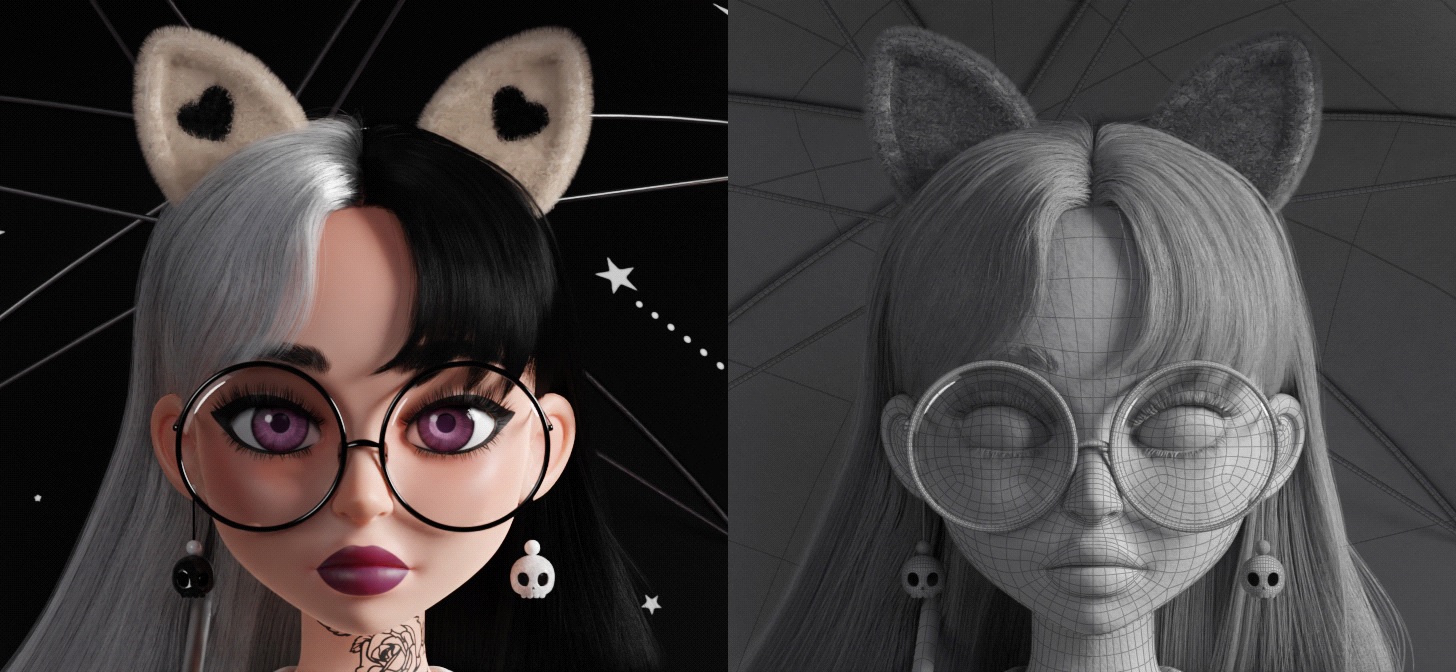
The scene had a simple three-point lighting setup and some helper lights for the eye highlight and glass reflections. Diffuse was turned off in render properties for those helper lights.
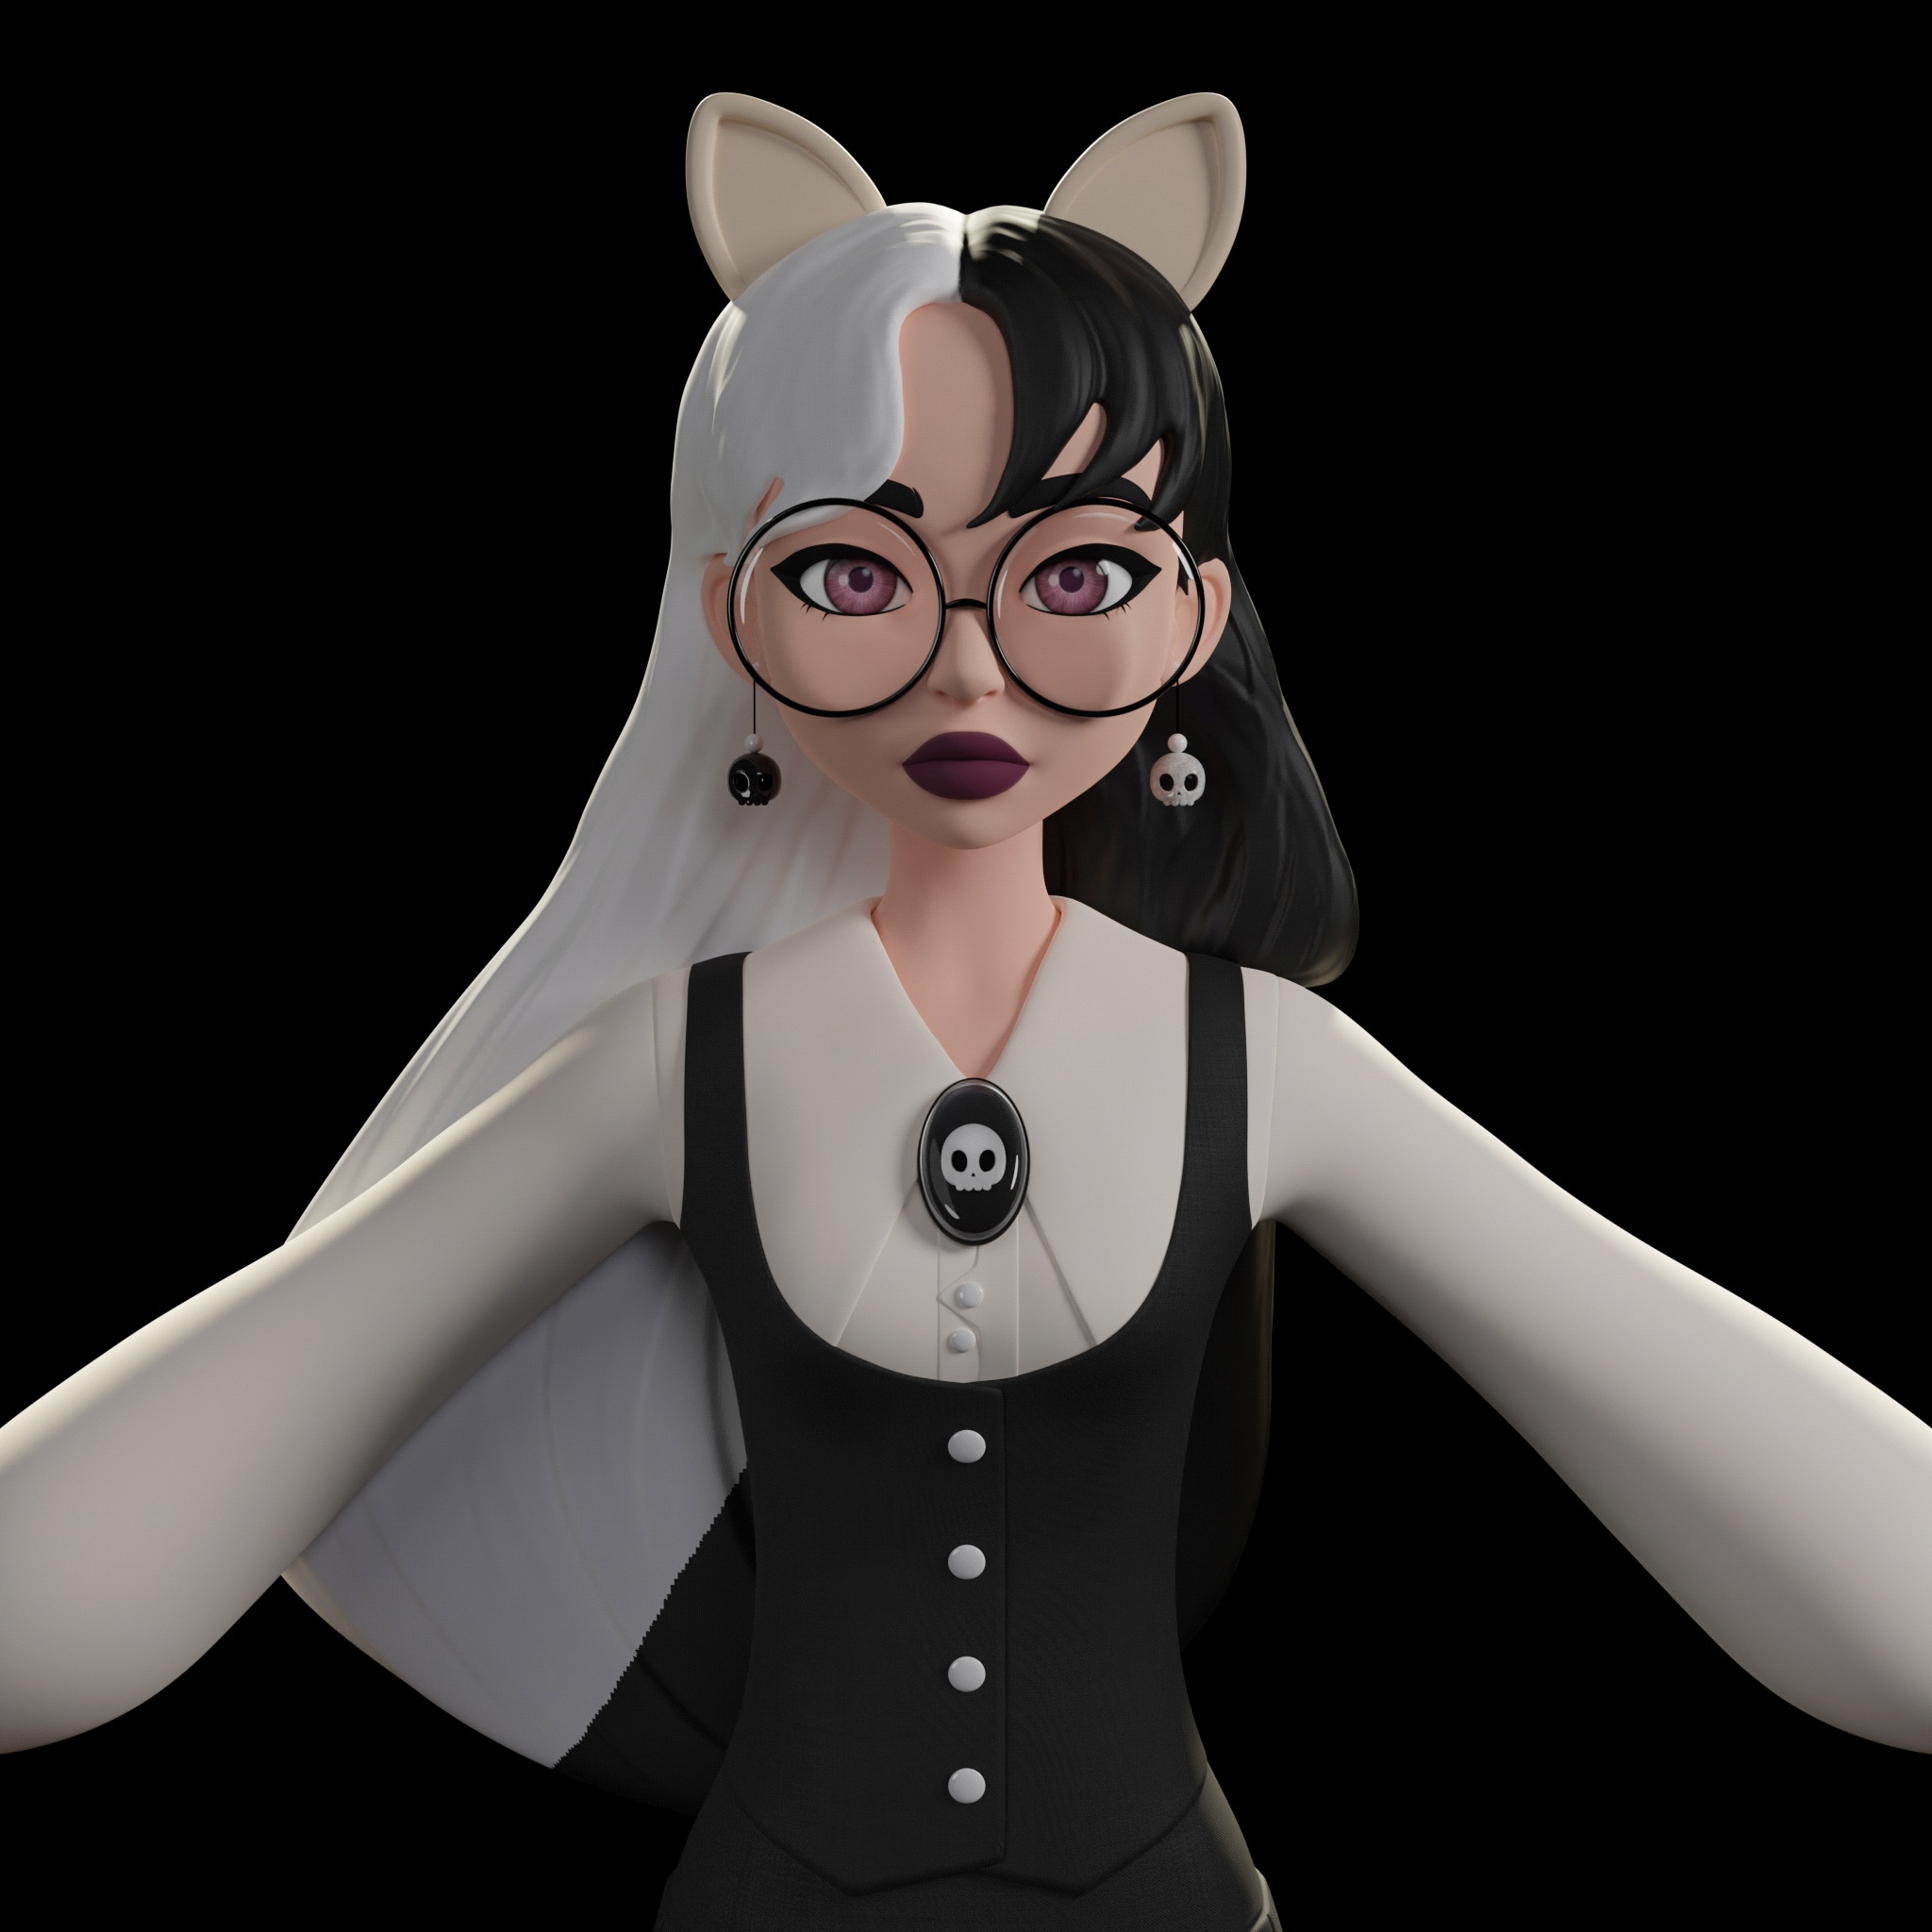
DTIYS – MOODY ACADEMIA GIRL
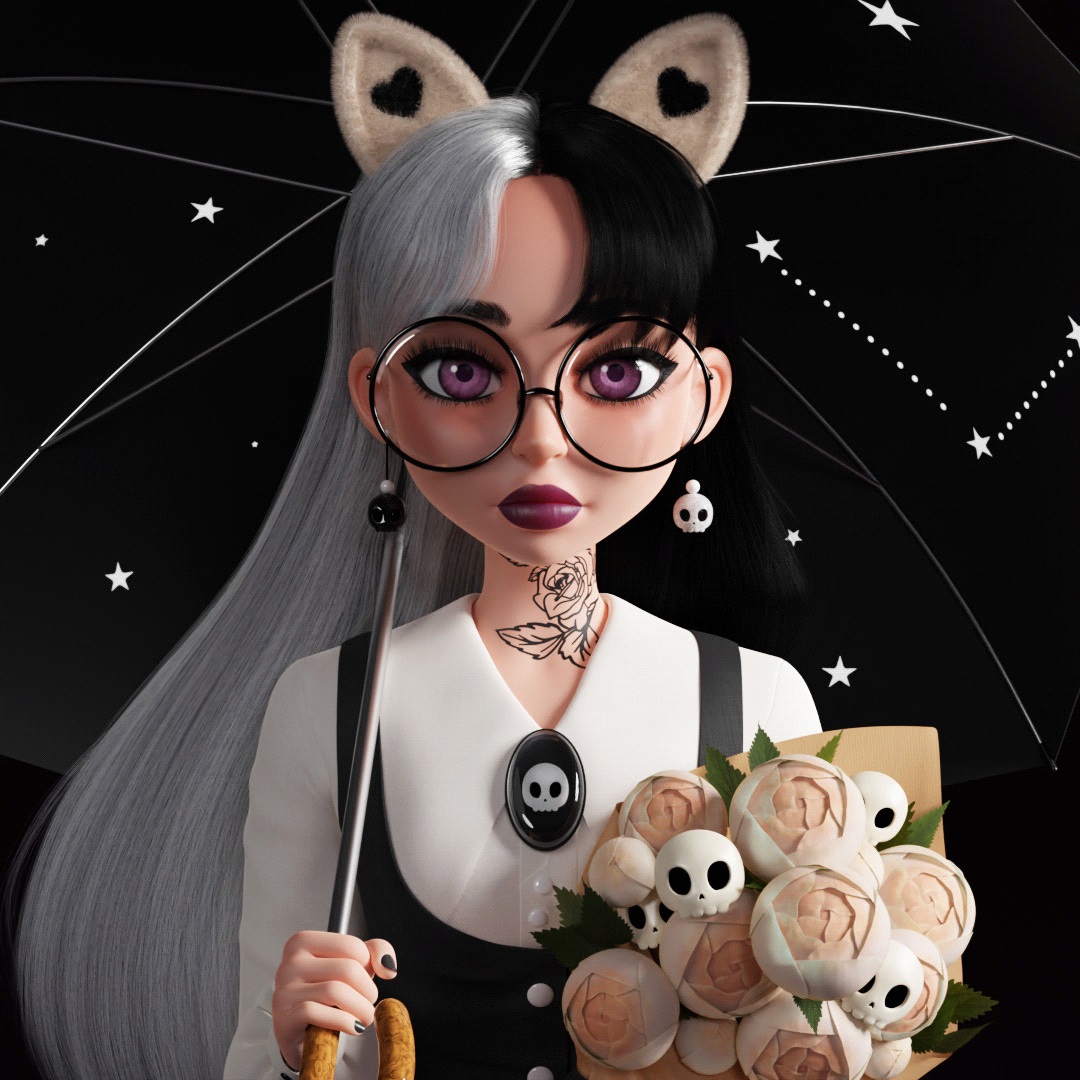
And that’s all folks! Thank you for reading this article. I had a great time writing this. Let me know if you have any questions, I’ll do my best to help you.
About the Artist
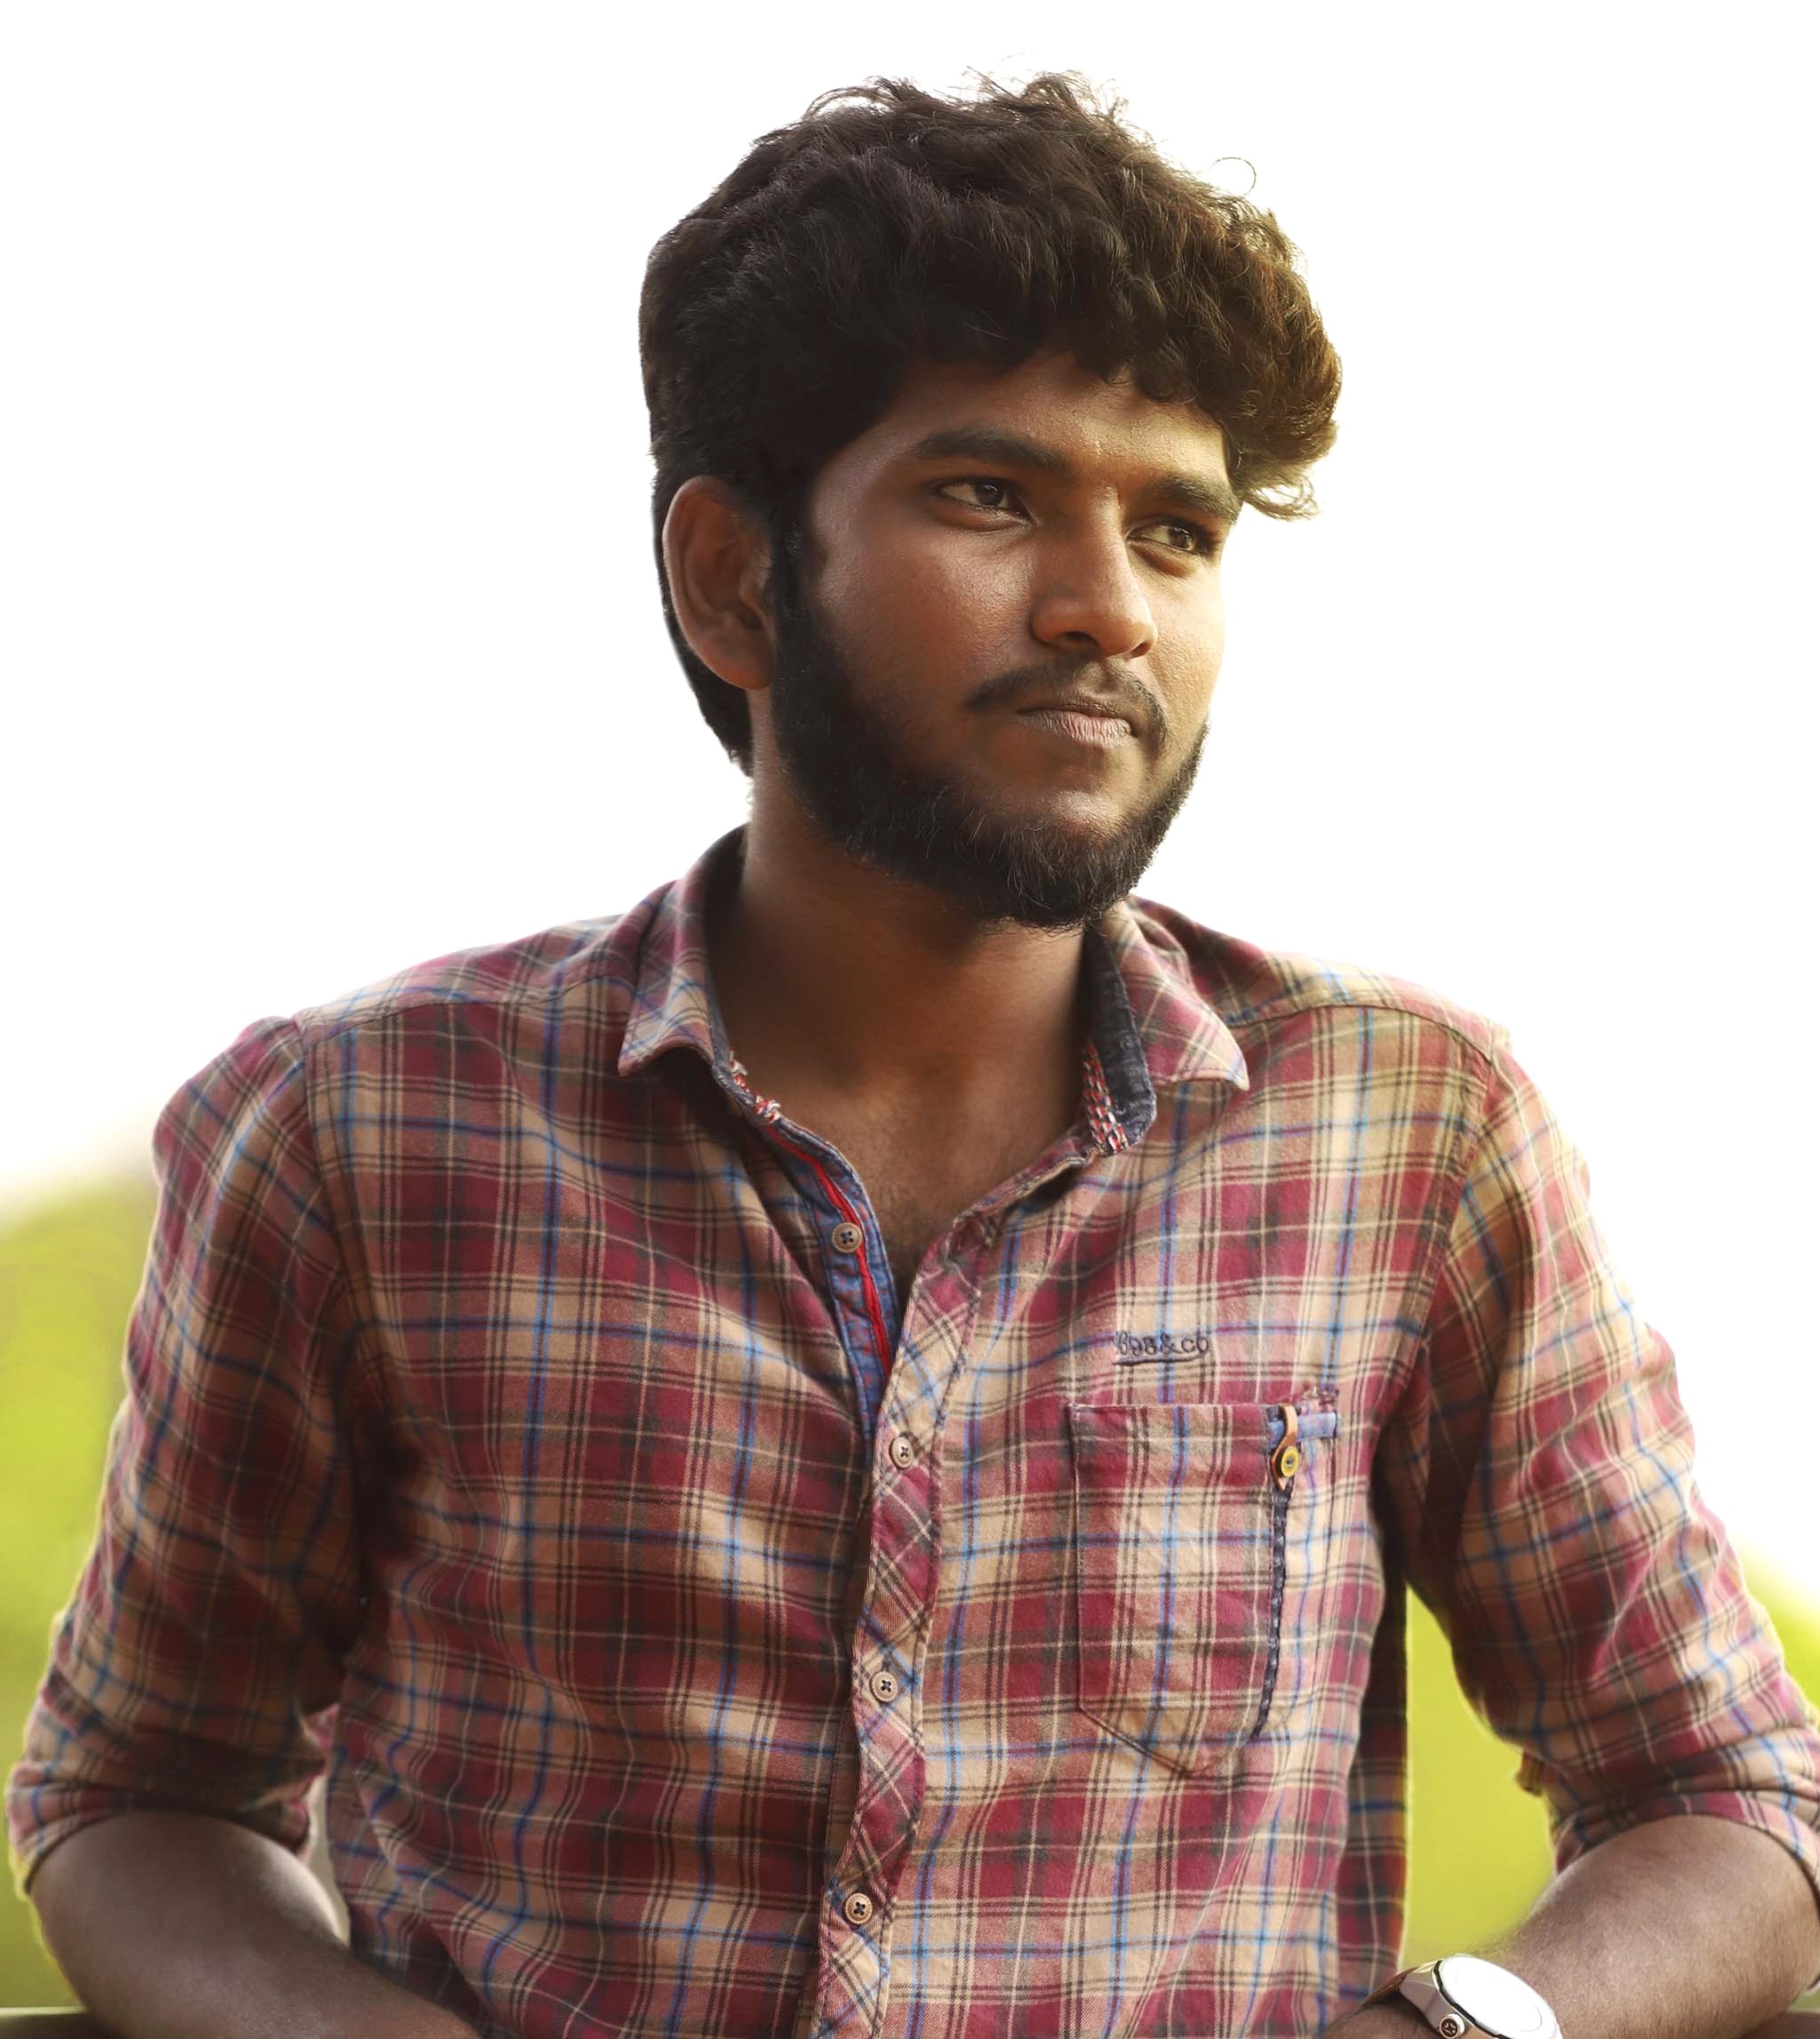
Aravinth, a freelance artist from India who loves to make 3D art, currently focusing more on 3D characters.


