
Behind the Scenes: Artist’s Studio
INTRODUCTION
Hi! My name is Reuf Novalić. I’m a 3rd-year architecture student from Novi Pazar, Serbia.
My interest in Blender sparked when I realized that not only was it important to design my architectural projects well, but I also had to visualize them as best as I could in order to properly convey my vision to teachers and other students.
It’s been about a year since I’ve started learning and using Blender (I didn’t have any previous experience in 3D.) Now, I realize how much relaxation 3D brings me and it has become my main hobby. I’m trying to learn additional tools like the Substance Suite so I can improve my workflow and artwork further.
INSPIRATION
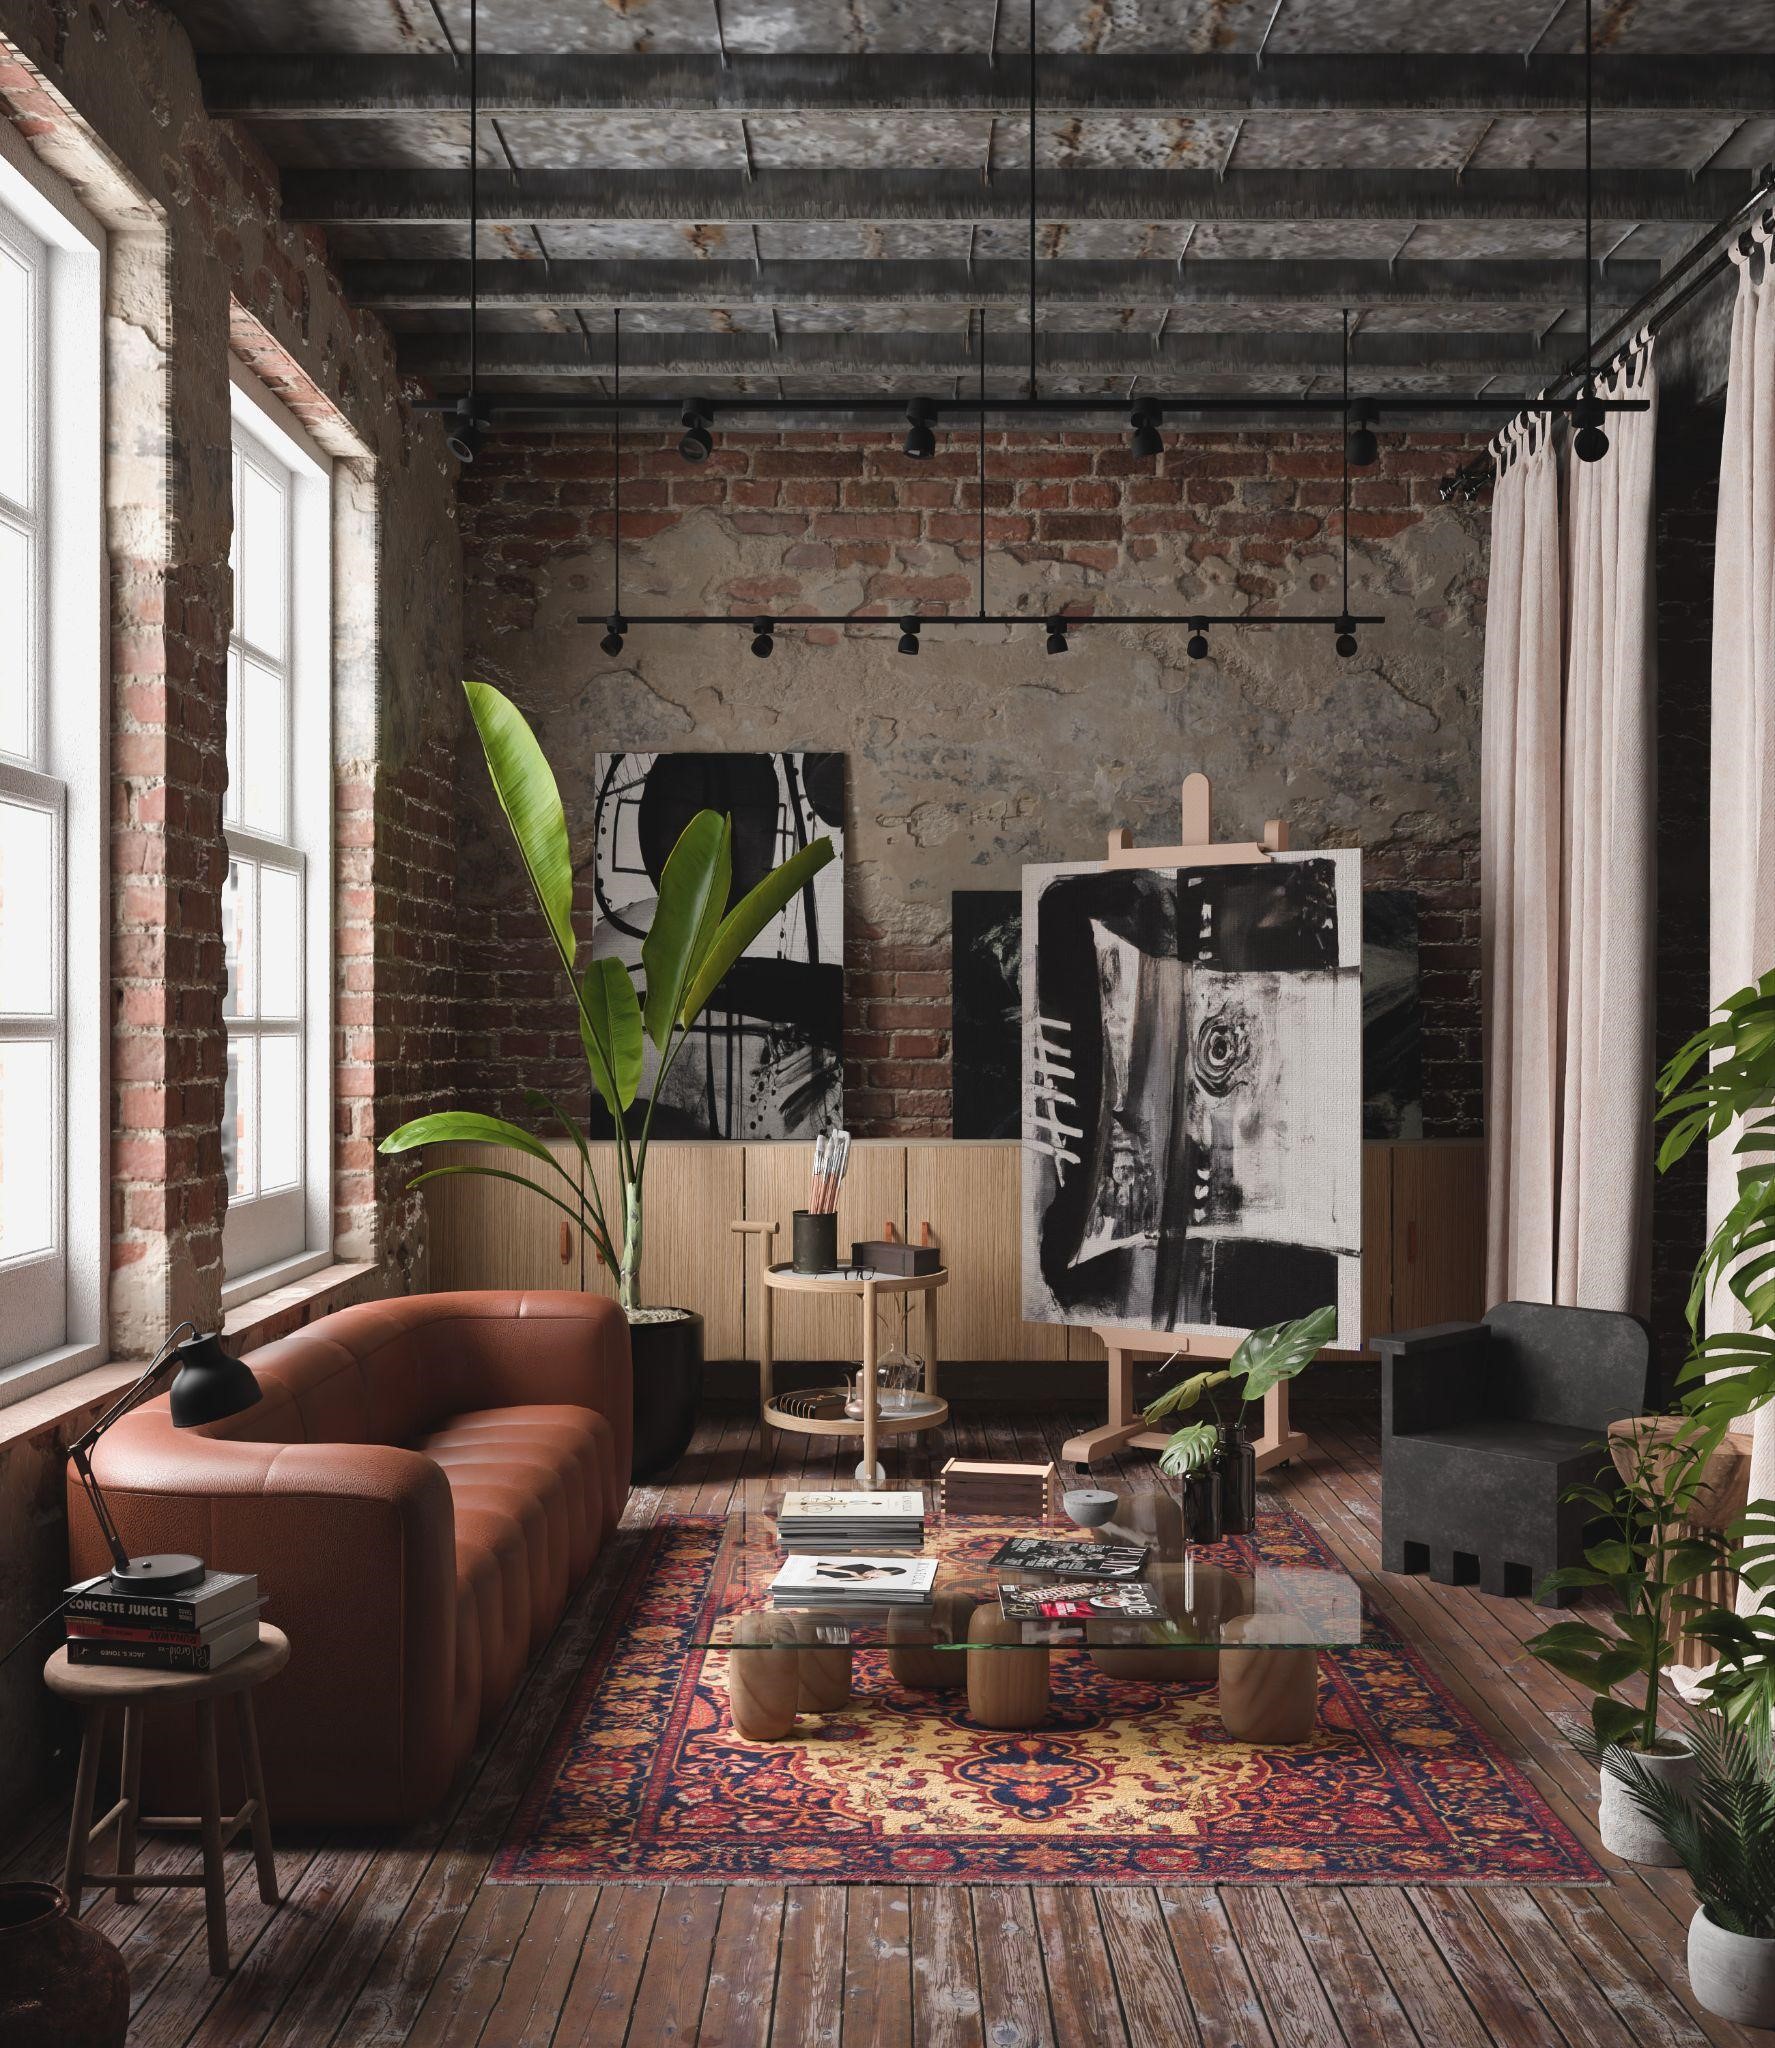
For this render, I wanted to create a bit of an unconventional interior. The goal was to achieve something that looks like people have been living in it for quite some time. Since I’ve already done stuff like kitchens and living rooms before, I wanted to challenge myself by creating an artist’s studio. This also offered a lot of flexibility and liberty in design since oftentimes artists won’t hire an interior designer for their space—they do it by themselves since they want to feel comfortable when working on the next piece of art.
This often means that the design process happened over a longer period of time—contrary to the fast and efficient work interior designers and architects do, and then move on to the next project. There’s a kind of magic in this way of approaching space and that was something I’ve tried to depict in my render.
THE CONCEPT
Interior designers and architects will tell you that when you’re designing an interior, the most important thing is a strong concept. It’s the first thing you need before starting any work. Sticking to the concept will provide consistency in the design and a clear direction.
I’m a strong believer that any creative endeavor should start on the paper first before hopping into any computer program (most certainly something I’ve picked up in architecture school). This allows you to have a clear idea from the very start and actually speeds up your workflow since you transfer ideas directly from imagination to the paper quickly, and you don’t waste time iterating the design on the computer.
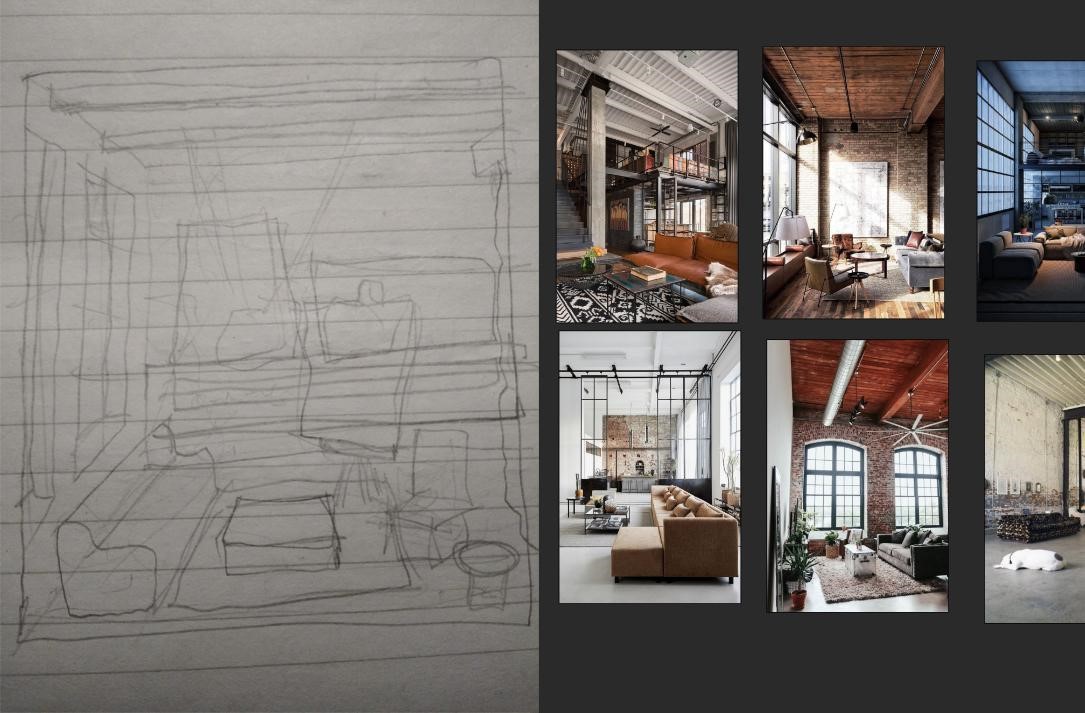
Sketches don’t have to be perfect by any means—it’s only important that they mean something to YOU!
Mood boards are also very important for my workflow. I use PureRef for them; I have been addicted to this useful tool ever since I first discovered it.
I almost always work on only one image for every scene I make—this prevents me from going into unnecessary detail and makes it possible for me to finish every one of my renders in one week during the free time I have.
THE DESIGN
When you’ve decided on the concept and have formed a clear vision, it’s time for the design itself. Furniture picking, browsing catalogs for reference and deciding on the materials—it’s very important to keep the original concept in mind at this stage.
I usually browse websites like Archiproducts for furniture, lighting, etc. (You can also find the manufacturer’s technical details and 3D models of their products there!)
Divisare also offers some fantastic interior design references along with drawings and additional details.

I usually choose a few pieces of furniture based on the concept and later decide which one I like the most. It’s only important that it should fit the concept.
MODELING
If I can find manufacturer’s models, I use them. This speeds up modeling as I only have to model the construction and some custom details (like the custom-made cabinets for example).
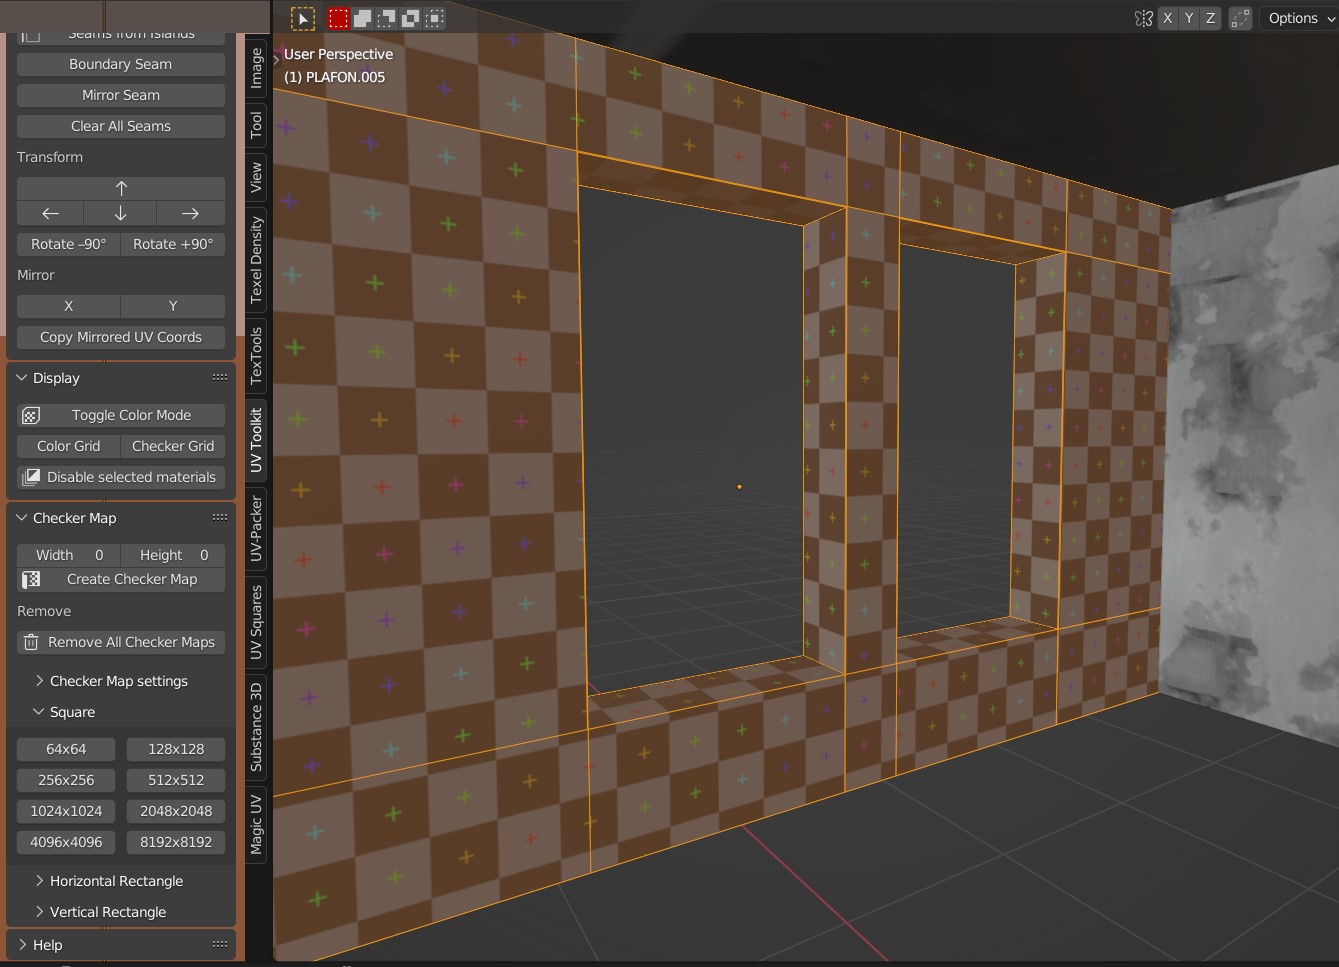
For the ceiling and walls, I used textures with displacement as realism was the goal. Of course, this requires clean topology and proper UV unwrapping. Addons like the UV Toolkit speed up this process and make it easier. This addon has a Checker Map option that allows checking whether or not textures will be applied correctly.
TEXTURING
For texturing, I usually turn to multiple sources since you can rarely find everything you need in one place. Websites like AmbientCG and PolyHaven are a great source, especially if you’re looking for high-quality but free materials. Textures.com is also another fantastic source—it has a large variety of both 2D textures and 3D PBR materials. Both the walls and ceiling textures were found there.
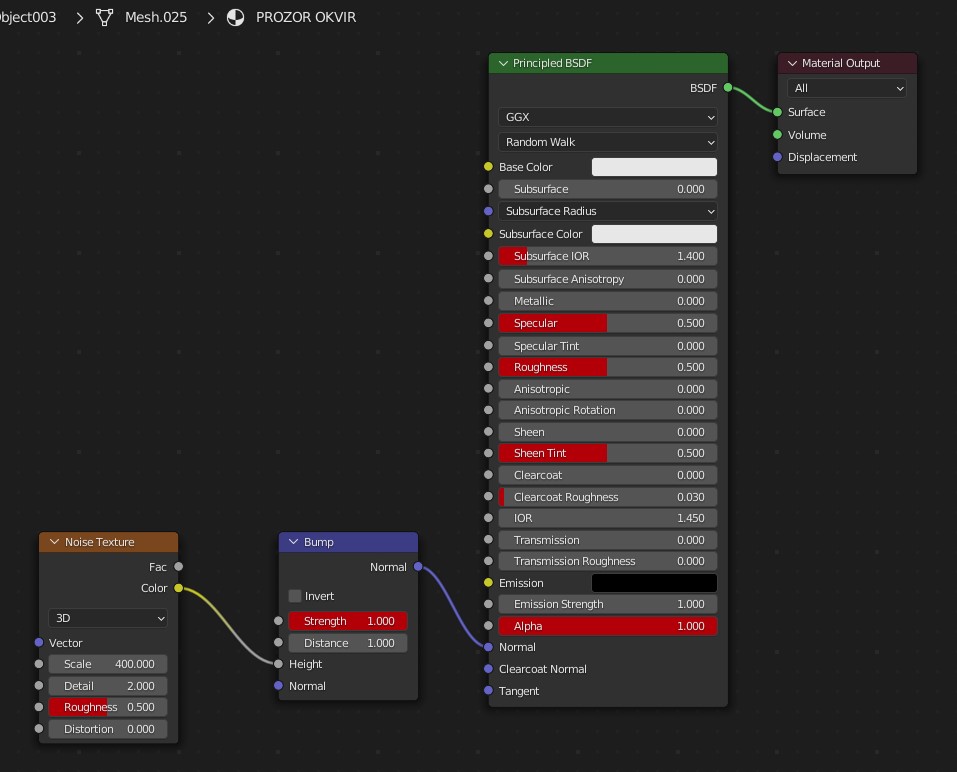
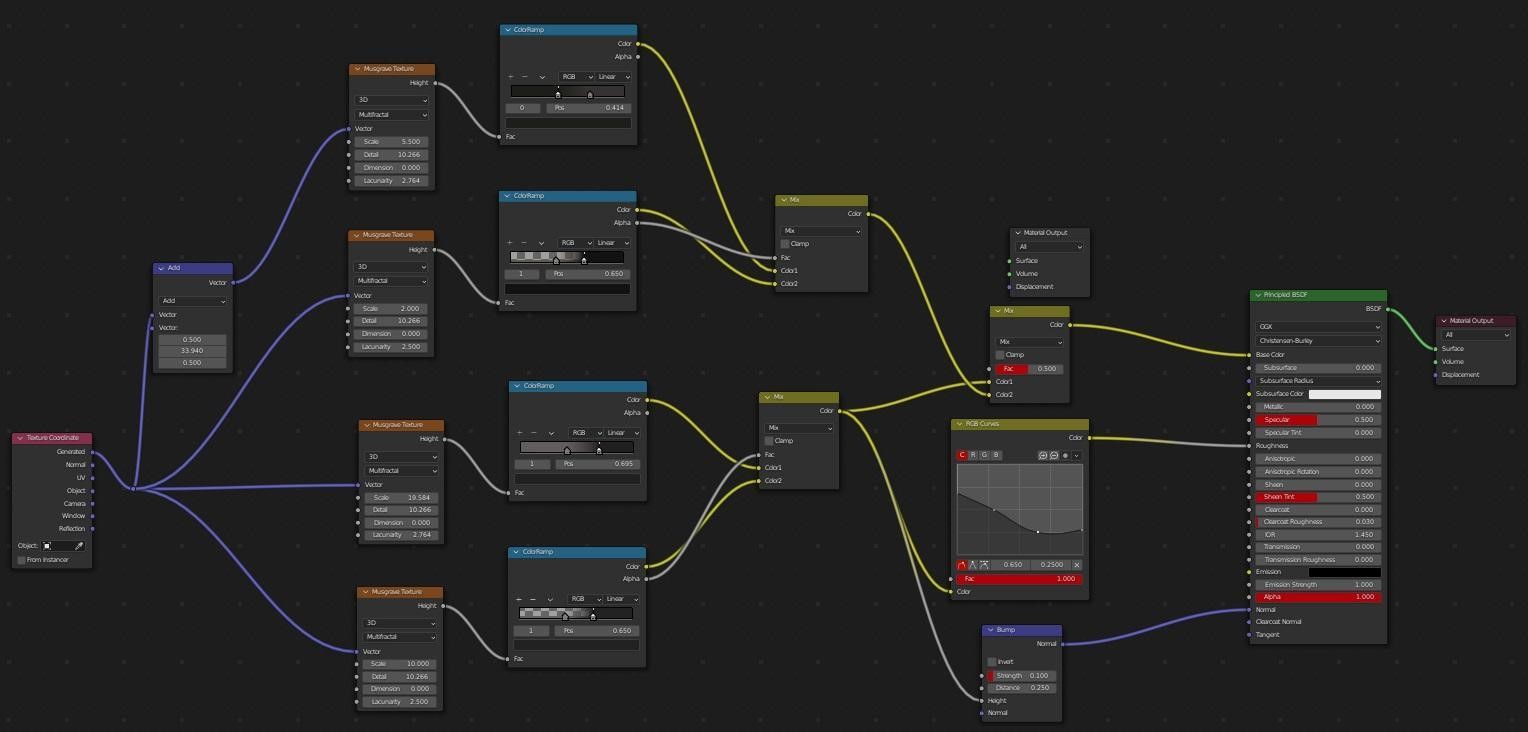
One really convenient thing in Blender is the Shader Editor. It allows for some quick and easy procedural texturing which saves both time and hardware resources without compromising quality. Below is the super simple window frame shader I’ve used in this render.
Great source for Blender materials (both procedural and the ones that use image textures) is BlenderKit. All of the materials there are free and some of the procedural ones are made to be tweaked easily. Below is the shader from BlenderKit for the Kamado easy chair that I adjusted a bit to match the reference.
PAINTINGS
When it comes to what constitutes ‘fair use’ under copyright law, things can get pretty vague. Due to this fact, I usually avoid using existing artwork in my renders. It’s also really impractical to search for (in this case) paintings that match the mood of the scene. Three paintings were required for this render. Since they all had to look like they’ve been painted by the same artist, I would have had to find three high resolution photos of the paintings I needed. This could lead to hours of searching.
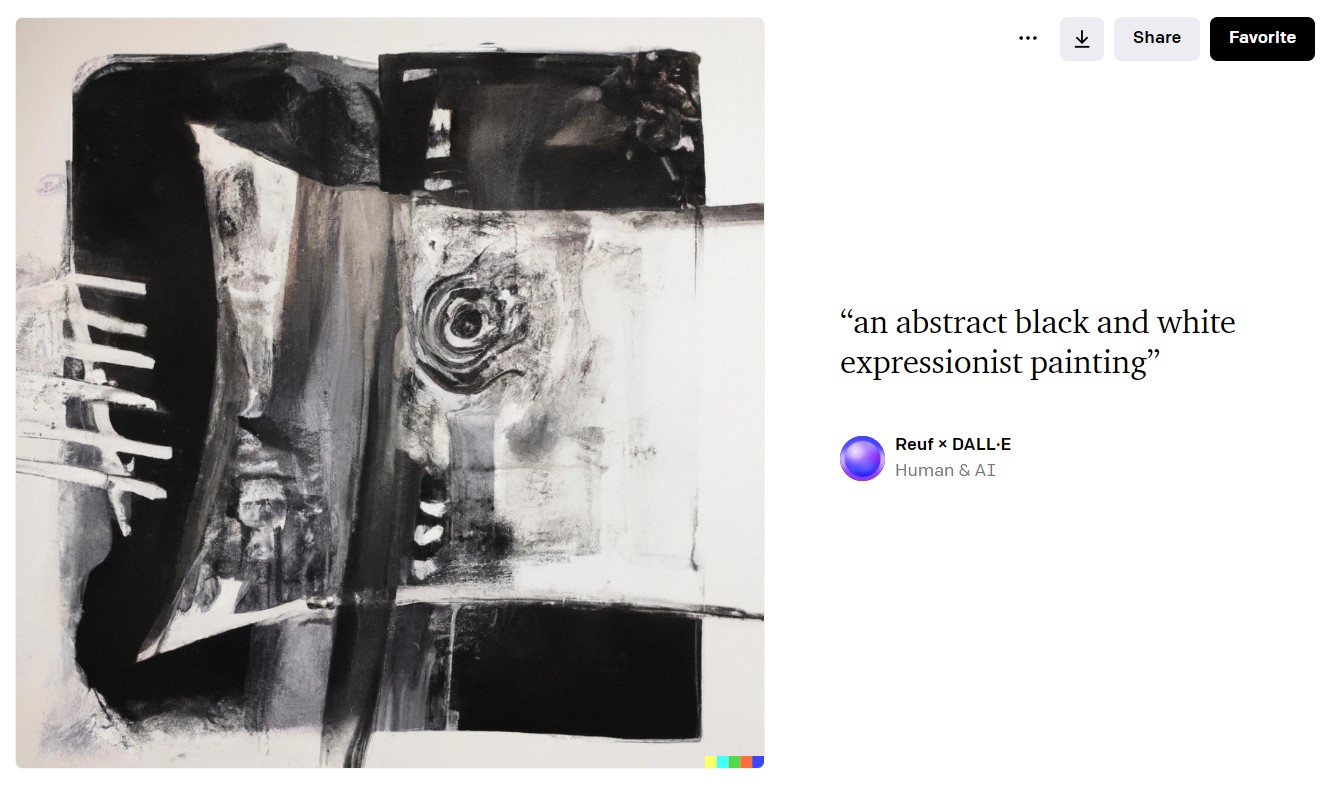
DALL-E has proven as a super convenient tool when it comes to this. You can easily generate needed images and the resolution will be satisfactory.
Below is the screenshot of the image generated by DALL-E AI along with the caption.
LIGHTING
Beside high-quality models and textures, convincing lighting is crucial for a realistic interior visualization. In this case, in order to simulate photography, I’ve used a combination of an area light outside the windows and an HDRI. One important thing to note is that the strength of the lights shouldn’t be too high; this will ruin the lighting. Instead, exposure should be raised in render settings.
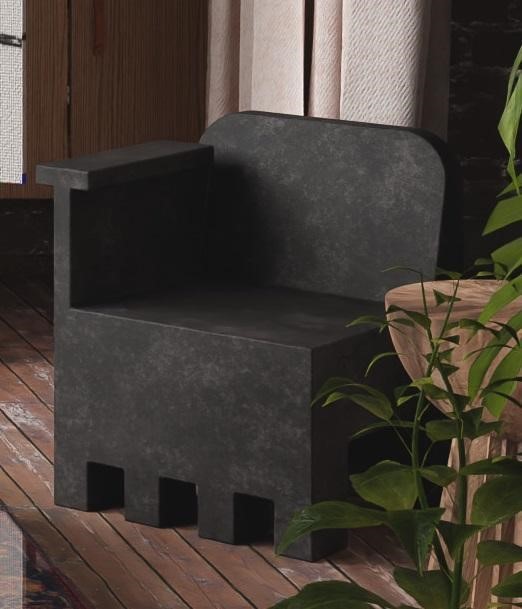
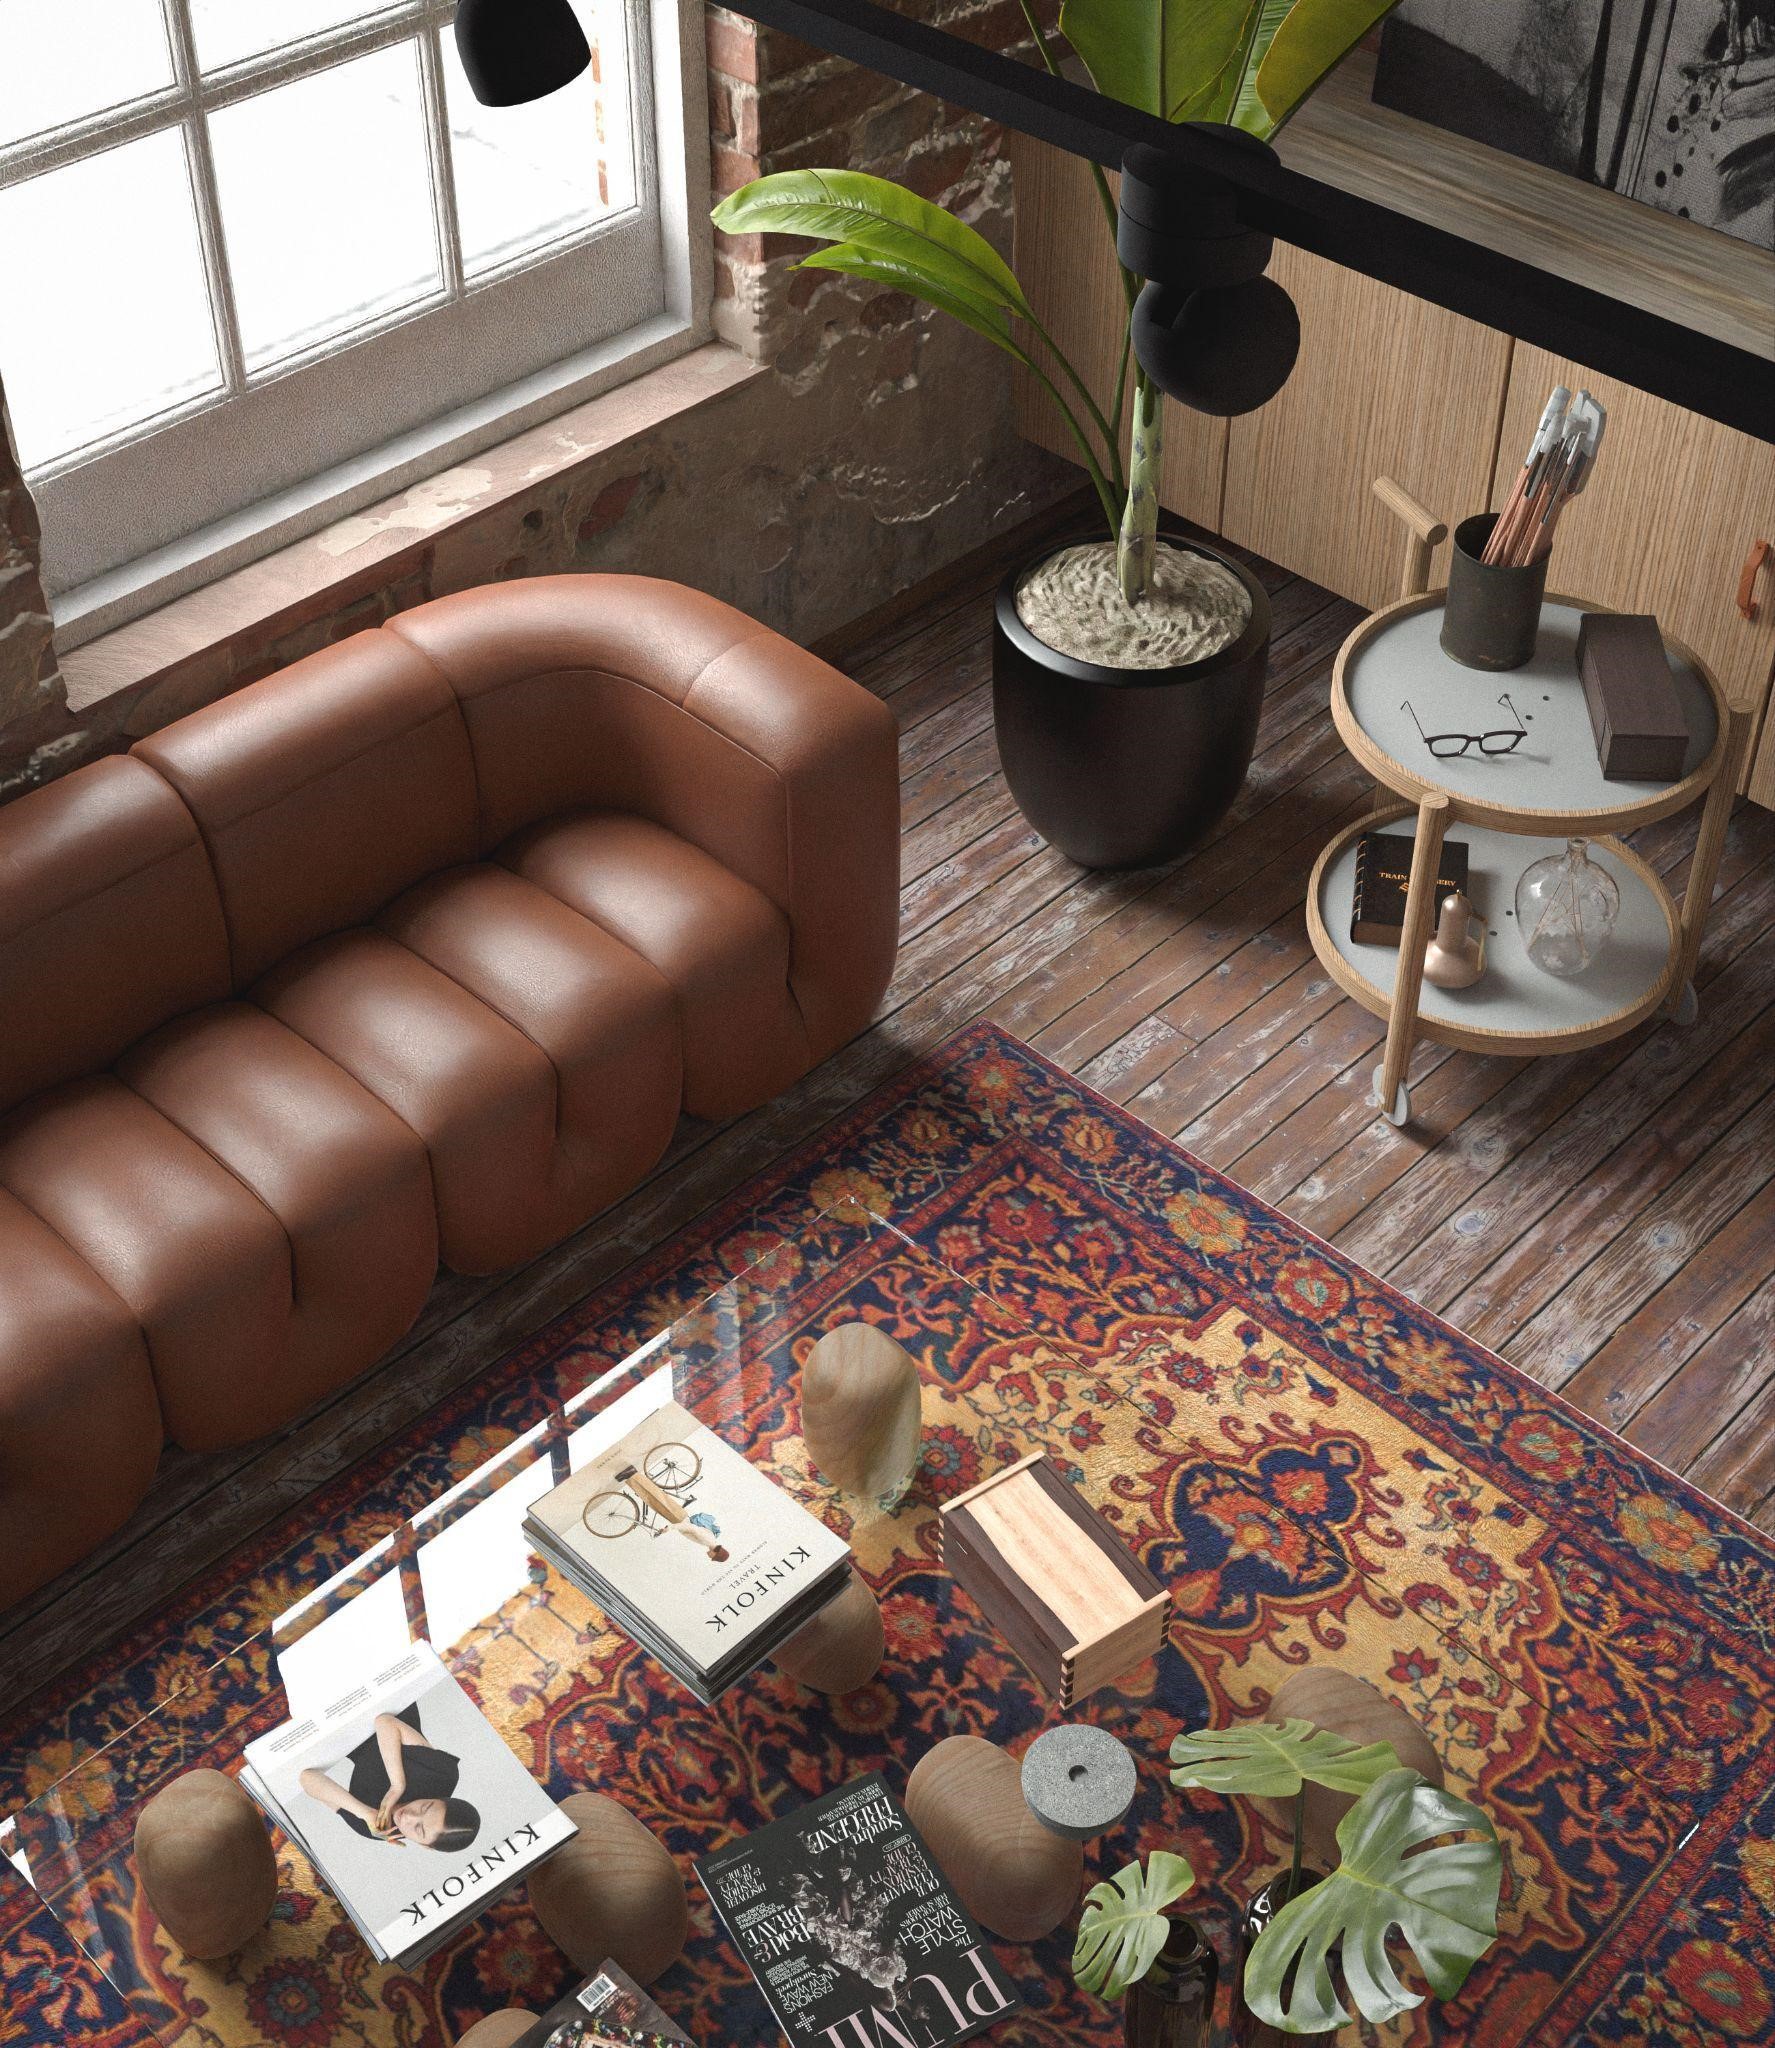
The image below showcases how important shadows are in clearly defining the shapes of the interior elements. Flat and boring lighting should be avoided in interior archviz.
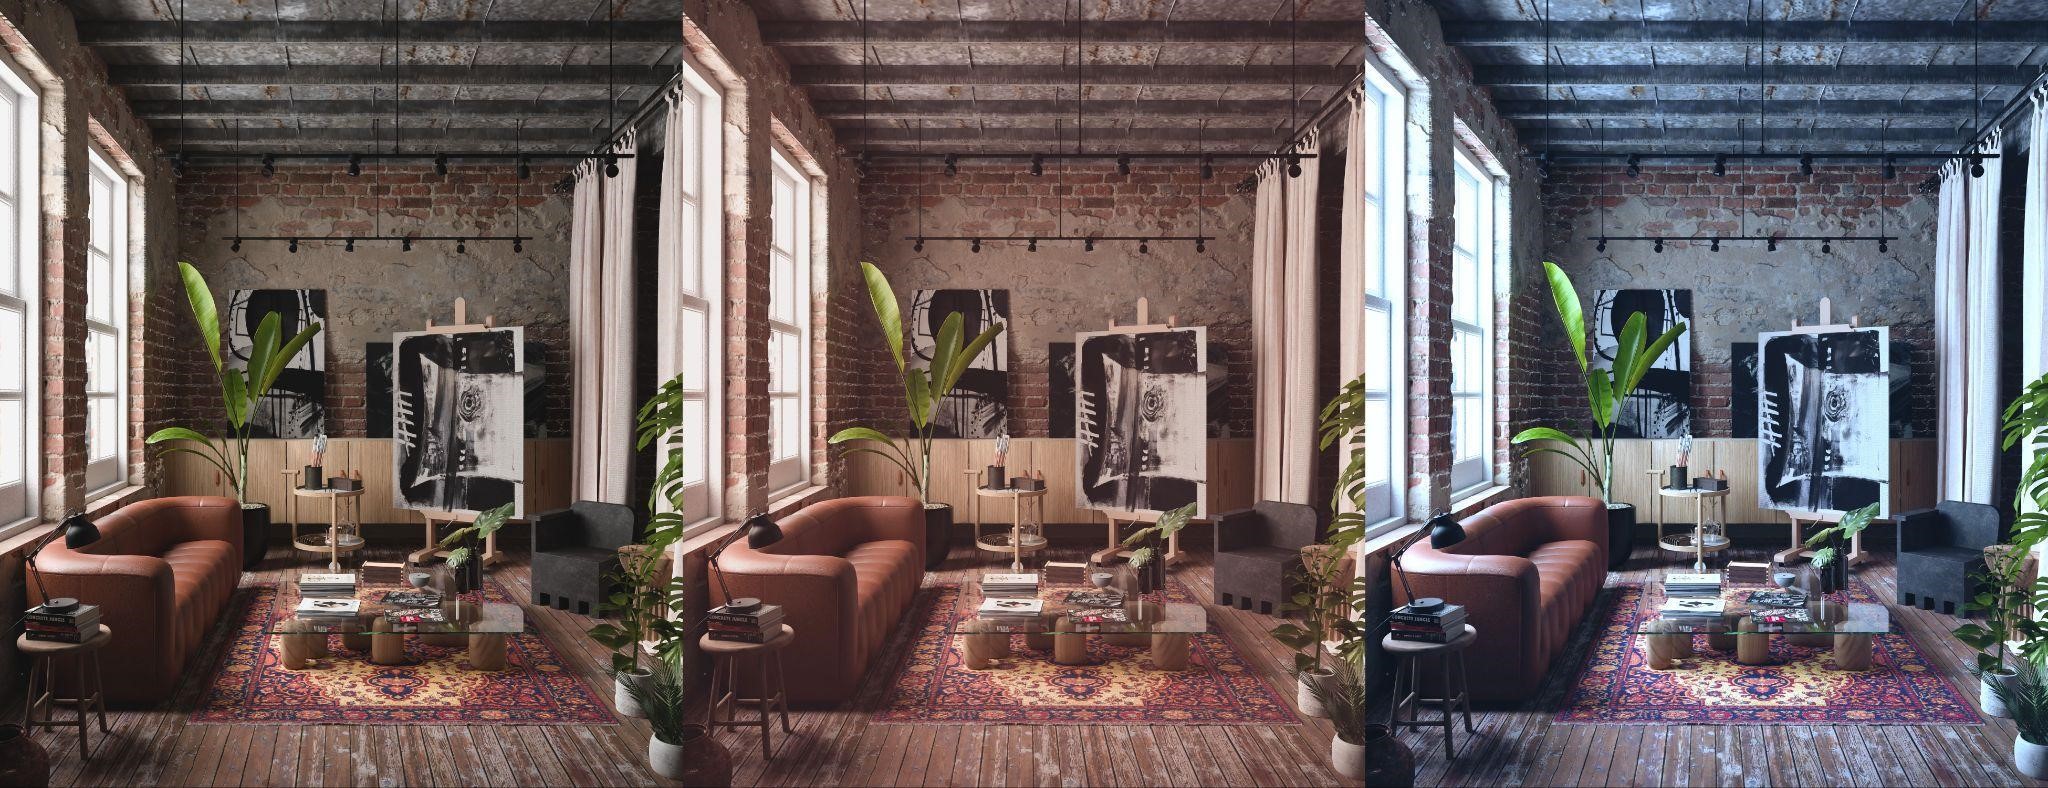
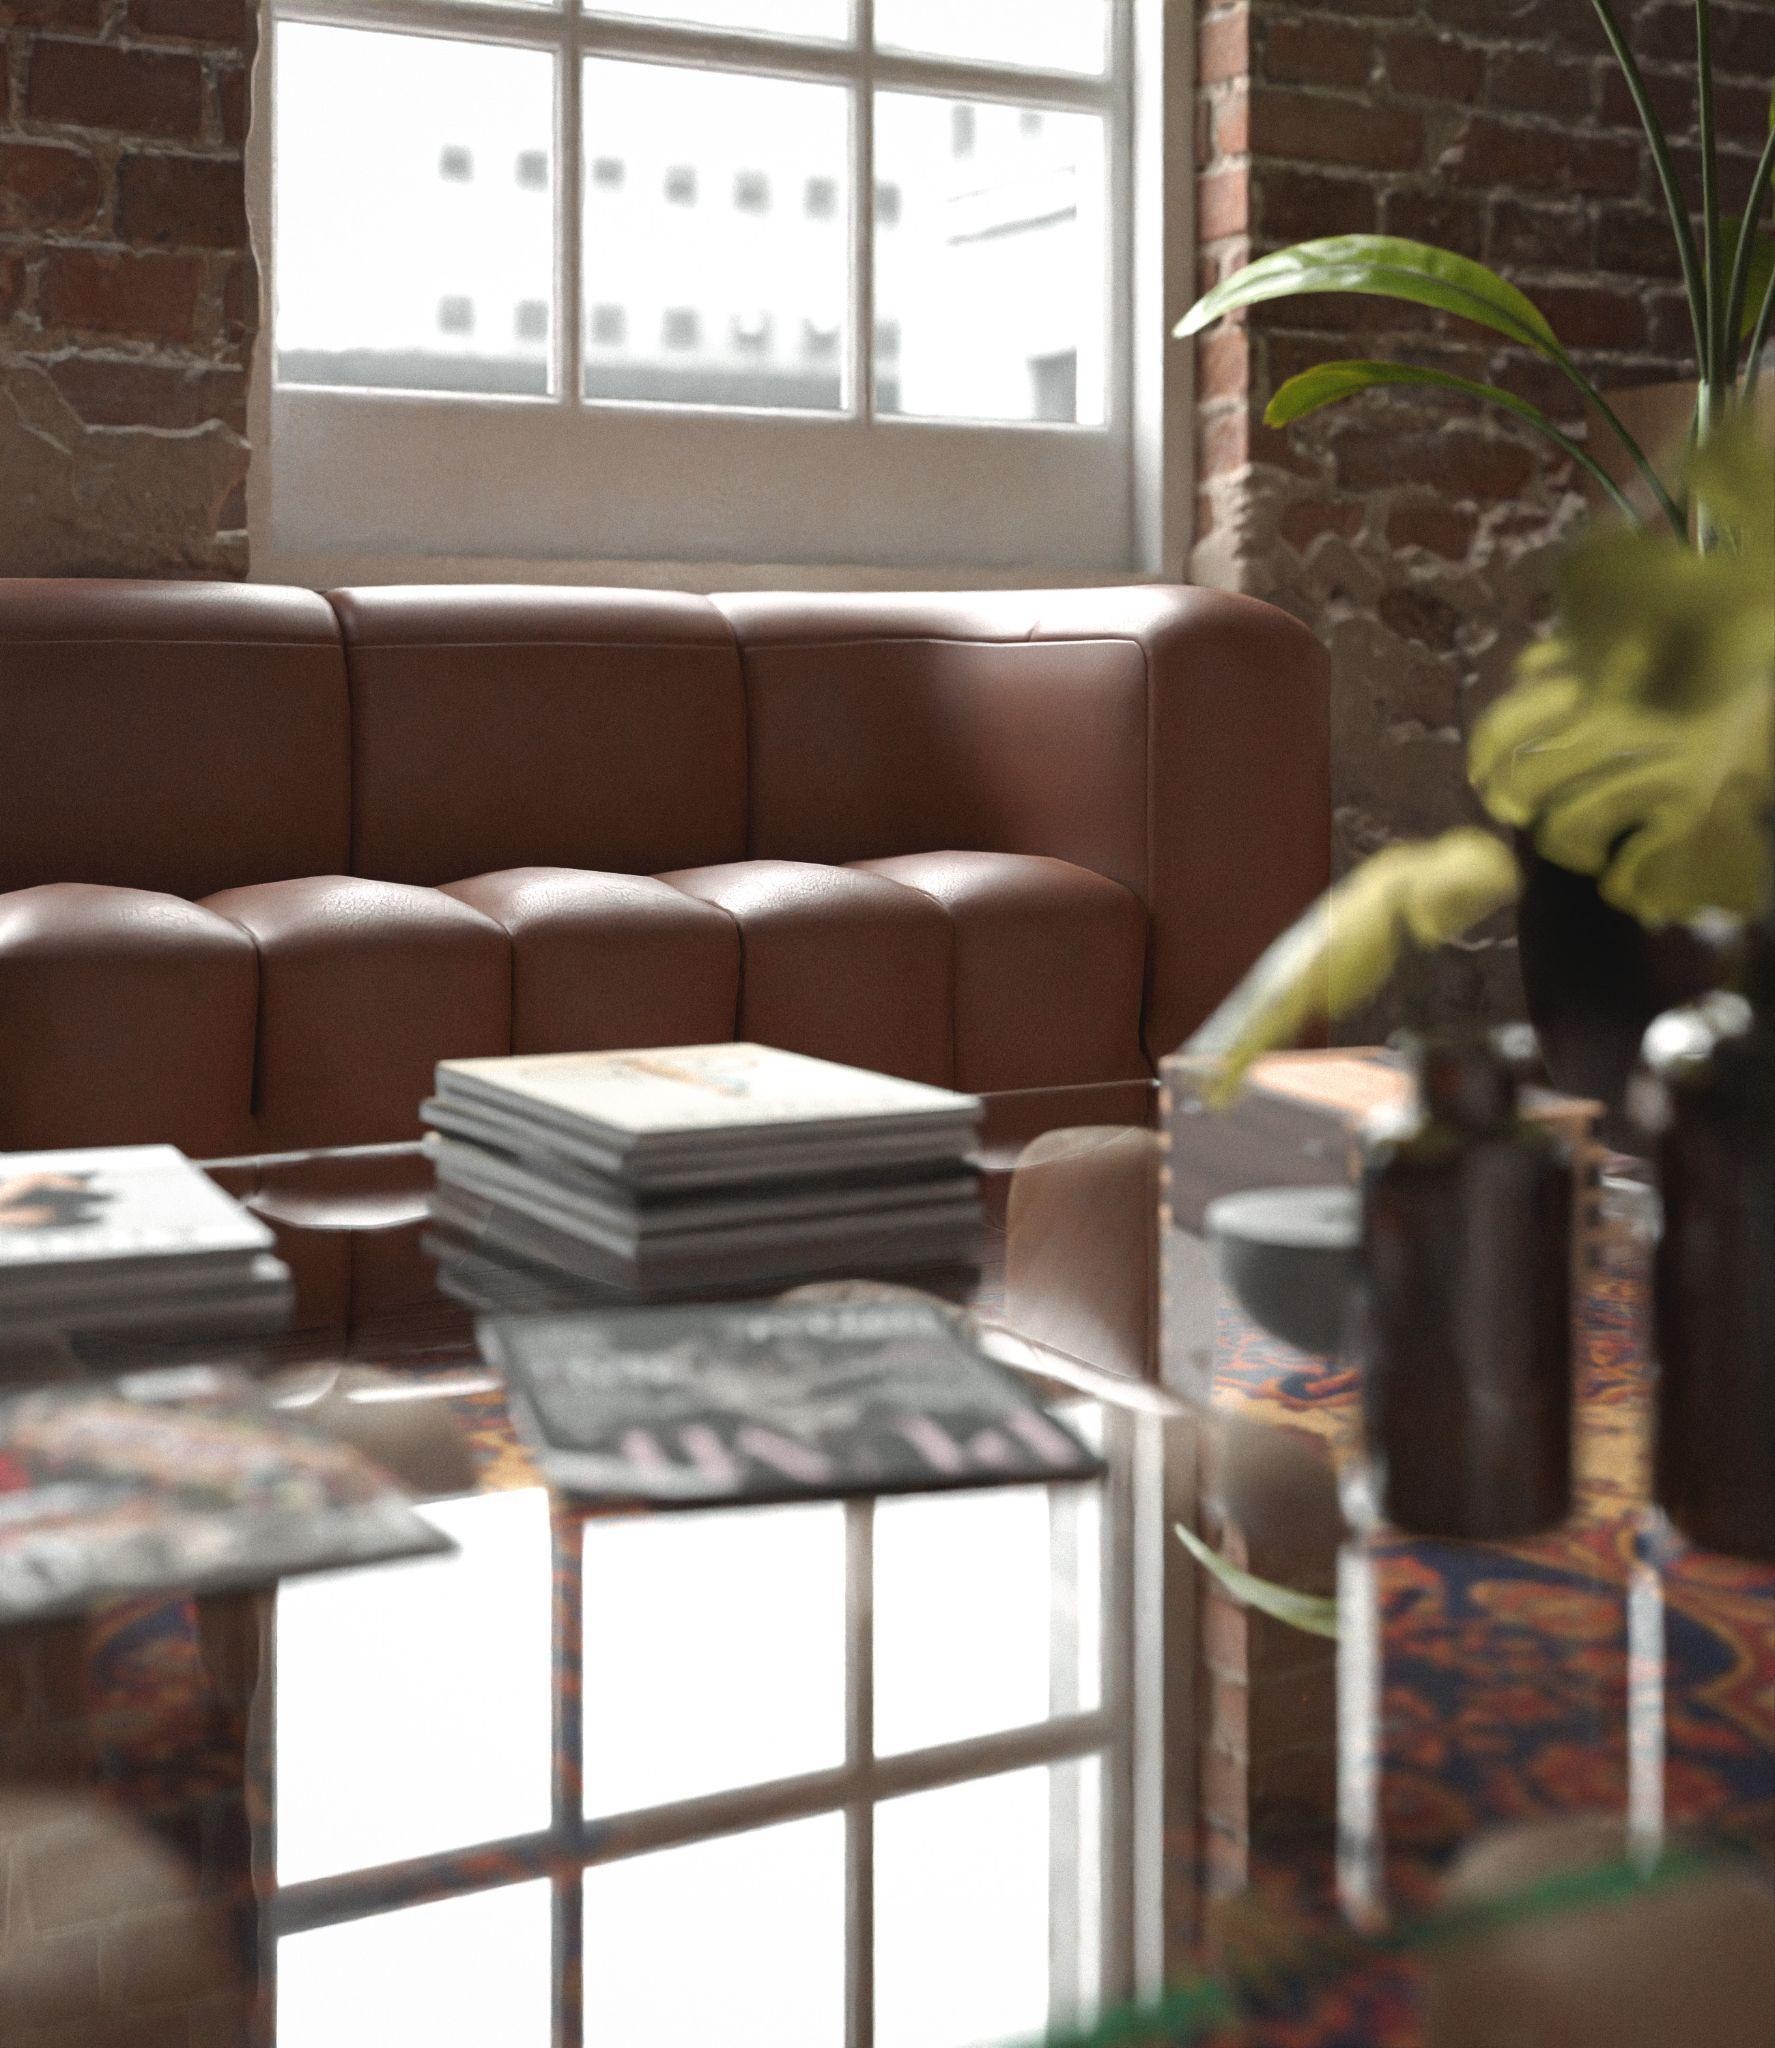
Lighting should be kept to neutral white—this allows for easier adjustments in the post-production phase. The following image demonstrates how we can get different moods in an image editing software (Photoshop in this case) from the neutral image without breaking the realism and avoiding that ‘too-many-filters’ look.
Composition is also a very important element. It can easily ruin your image if done badly. It doesn’t matter whether or not the rest of the work like texturing or lighting is done properly.
In the case of interior visualization, it’s important to keep track of two things—keep vertical lines parallel to the image borders (avoid the third vanishing point) and keep the camera at a logical height. Both of these things are very important for realism as this is how things would be in the real world.
RENDER SETTINGS
Since Cycles has to be used for maximum realism, this usually means longer render times. Luckily, Blender offers some settings that can speed this process up without much compromise in quality. Here’s a very useful tutorial for optimizing Cycles when rendering interiors:
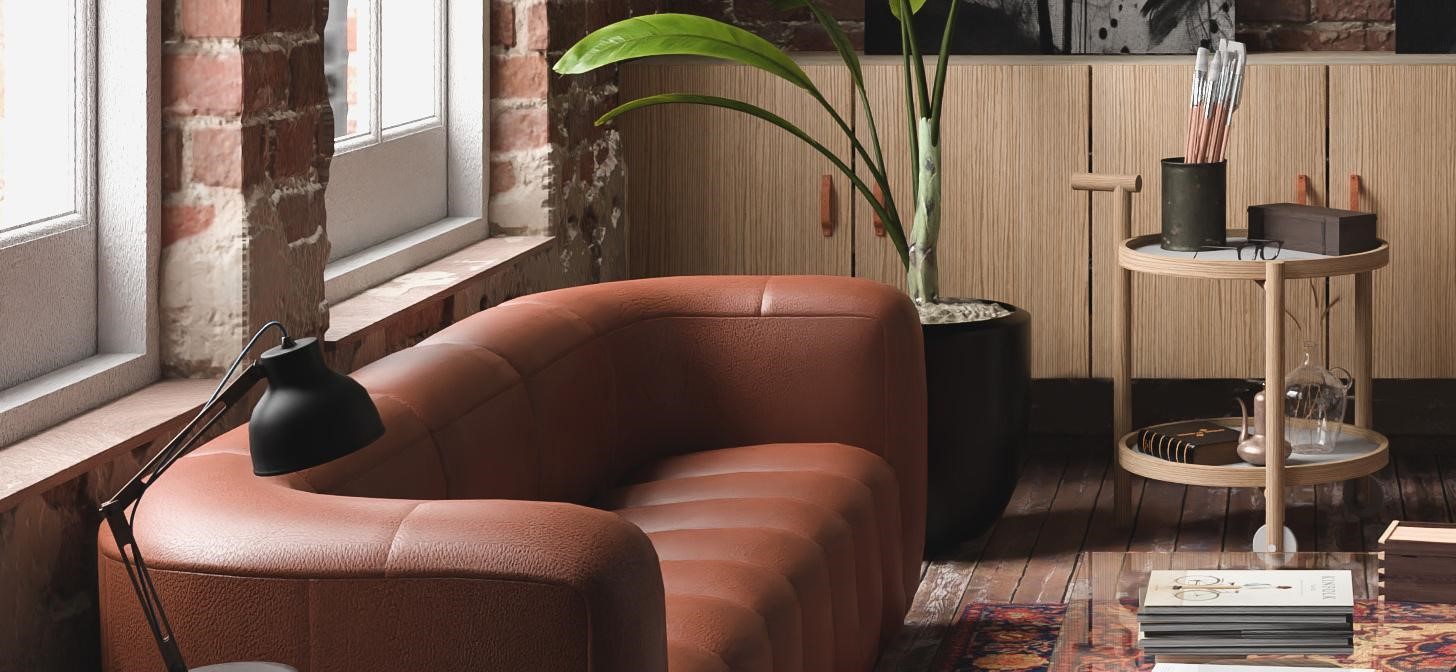
ARTIST’S STUDIO
Rendered in Cycles. Post-production was done in Photoshop using the Camera Raw and Color Lookup adjustment layer.
That’s it!
Thanks for reading it and have a nice day!
About the Artist

Reuf Novalić, an architecture student and a 3D artist. Currently looking for freelance work in the field of architectural visualization.


