INTRODUCTION
Hi, my name is Charles Nderitu, a self-taught artist and an aspiring concept artist from Kenya.
For as long as I can remember, I’ve always been drawing. However, only recently did I discover 3D Artspace from simple tutorials. In the past seven months, I slowly mastered 3D and Blender as a creative tool for storytelling.
Even though I still fancy some 2D work, 3D has played a significant role in my artistic journey. I always strive to tell a story with every piece I create, and 3D provides precisely that.
INSPIRATION
This project began as a modeling practice as I was still learning 3D modeling.
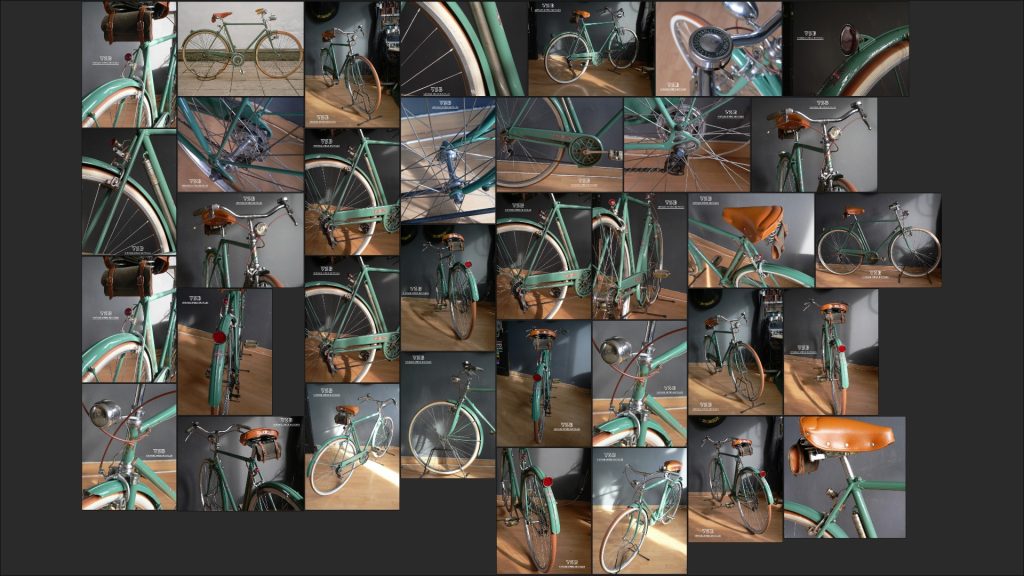
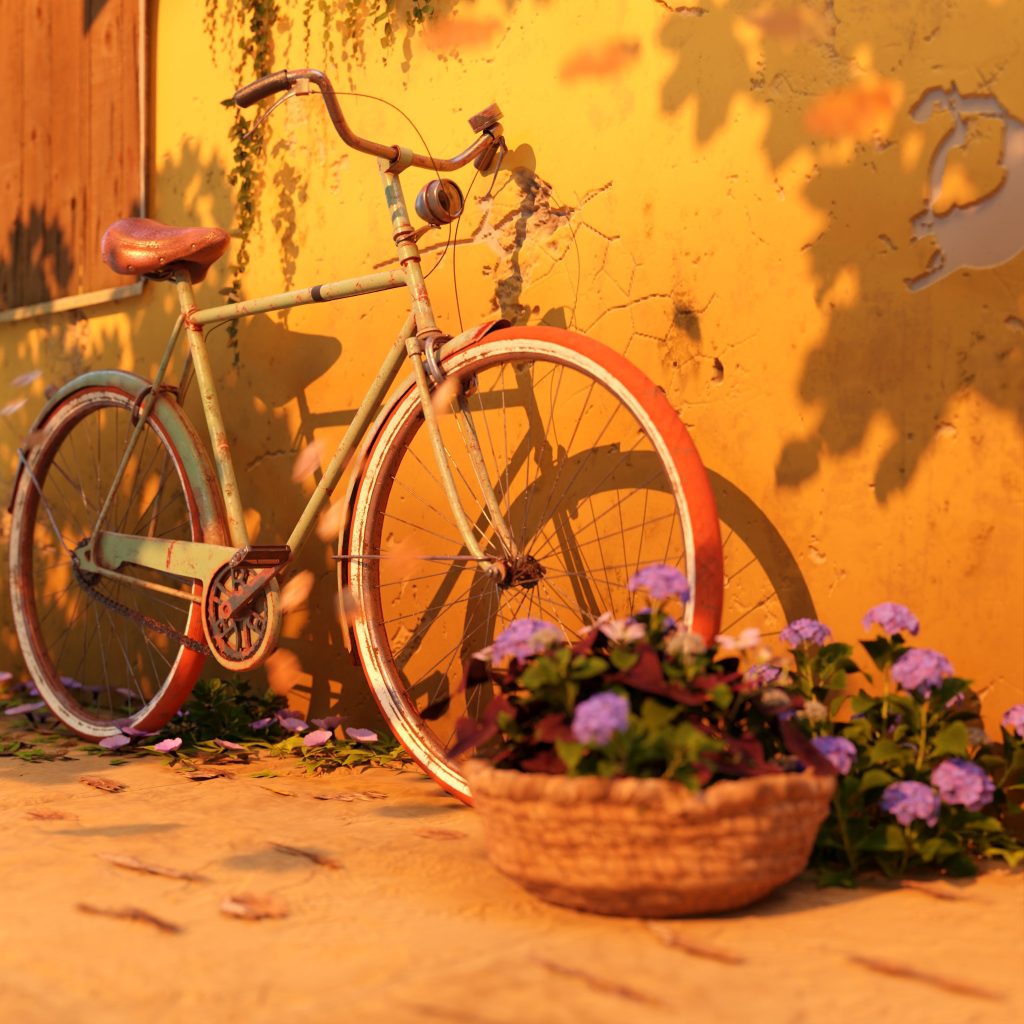
For this, I decided to model a bicycle based on the 1952 Bianchi Selvino bicycle.
Most of the reference photos were sourced from Pinterest.
The bicycle stood out in design and colors, which immediately made it my choice of model.
Early on, I had just thought about how to stage my scene exactly, until I had my bicycle model textured. Then, I thought of staging the bicycle in a simple alleyway, greatly inspired by the colorful streets of Cuba and Havana.
TEXTURING
For texturing purposes, I opted to utilize UDIM tiles and had 5 UDIM tiles each for the major bicycle parts.
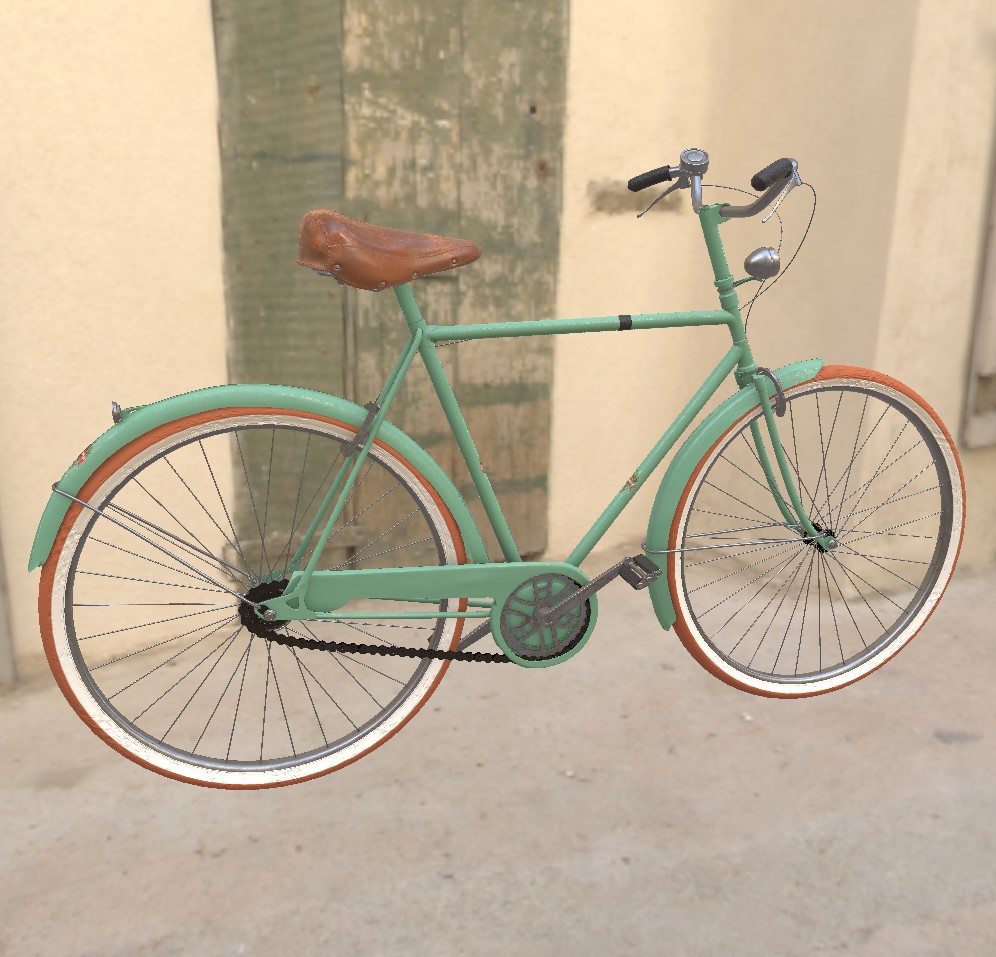
I began with the clean texture pass, having the bicycle to look new and shiny, or at least it looked like it.
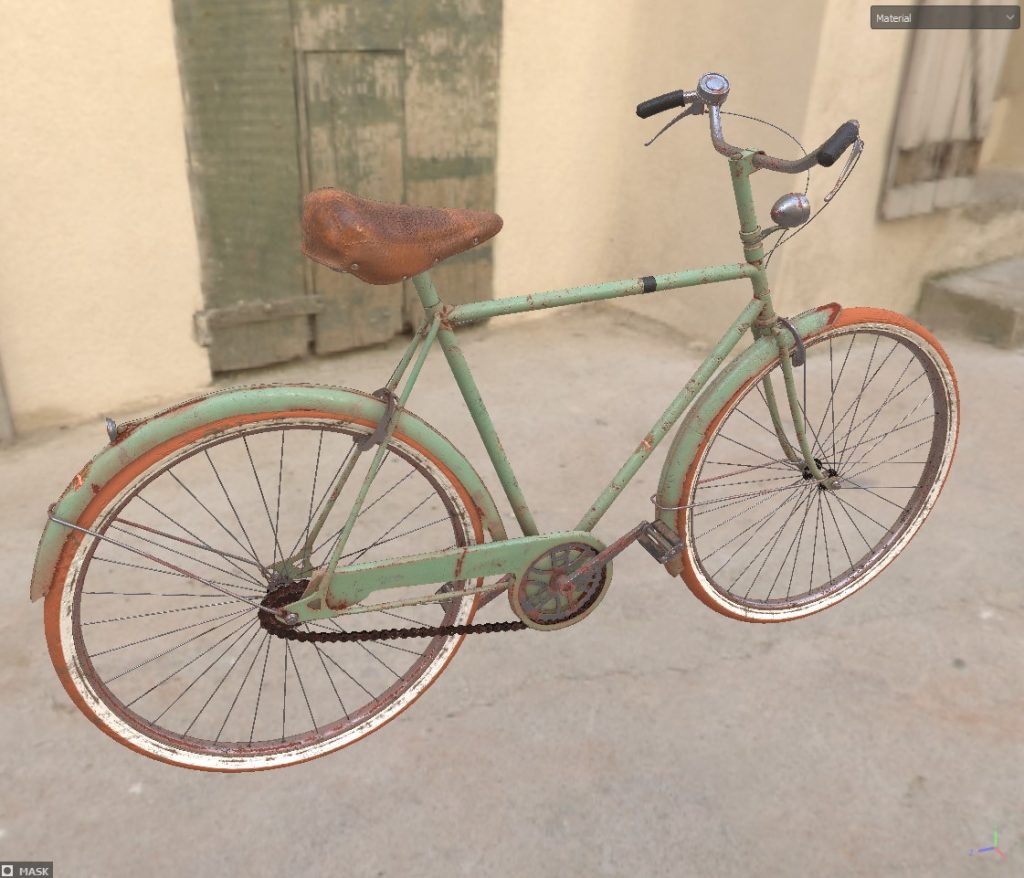
To emphasize its age and also tell a story, I added some levels of dust, rust and damage.
Here is my texturing process for adding superficial rust, dust and some wear:
Creating the rust effect and the bit of glow that follows along was made relatively easy by the use of anchor points in Substance Painter. The glow effect added a lot more realism to the overall rust effect.
Using Substance Painter for texturing lends one so much creative ability. For the seat, I added the tacks and stitches using details in the normal and height maps, which added a lot of realism to the seat.
The final texture work looked more believable and made a point that the bicycle was indeed an old bicycle!
The wall was also textured from scratch in Substance Painter, heavily utilizing displacement maps to bring out the depth of damage on the wall, as normal maps would not hold up in some close-up shots.
Here is a breakdown of the layered textures to achieve the final damaged wall effect.
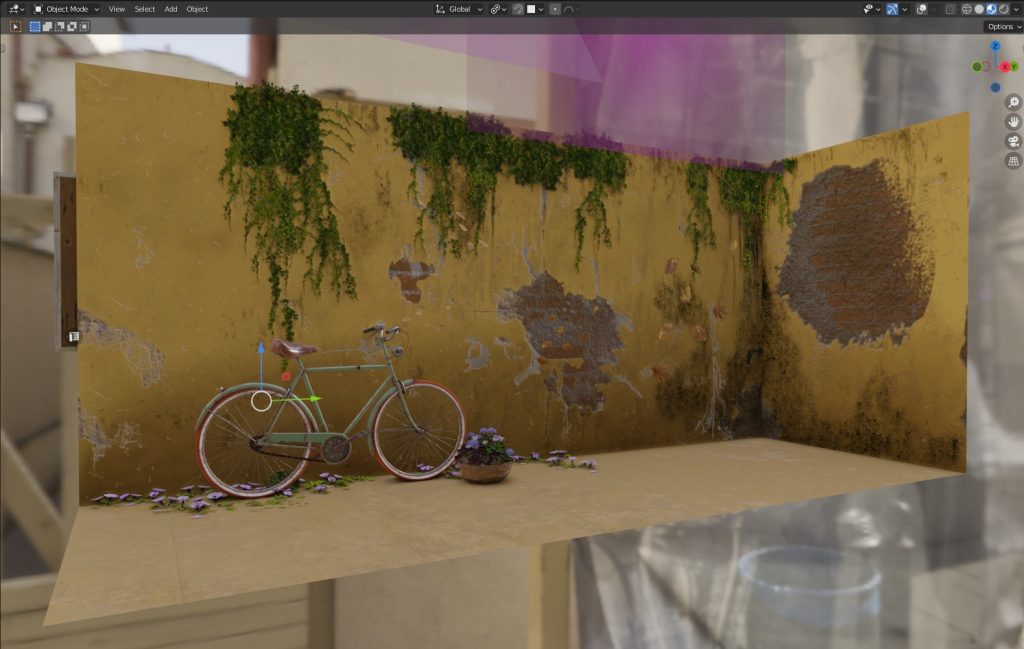
The green leakage marks made the foliage placed in the final scene more realistic and made it feel like it belonged. Of course, you’d expect some build-up of mossy vegetation in dark areas where moisture is prone.
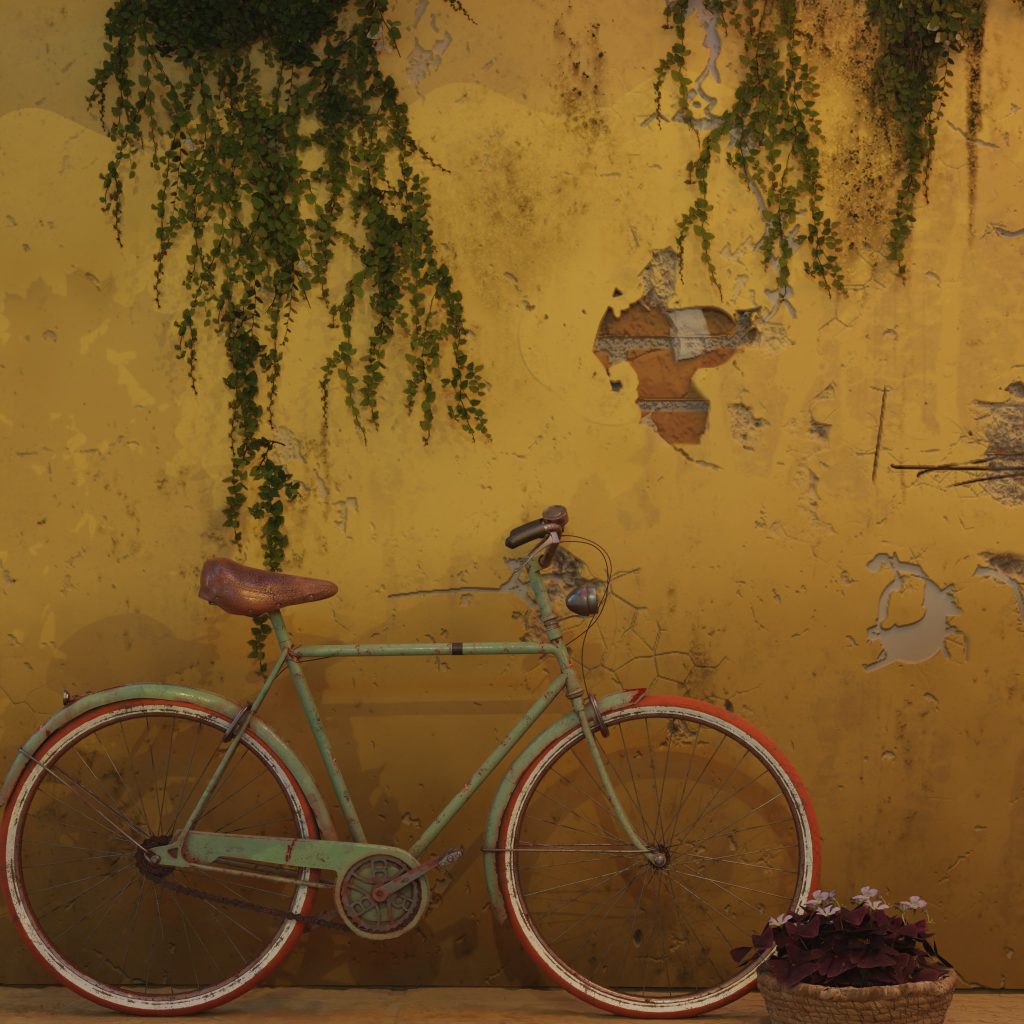
Here is the outcome of the scene in material viewport.
LIGHTING
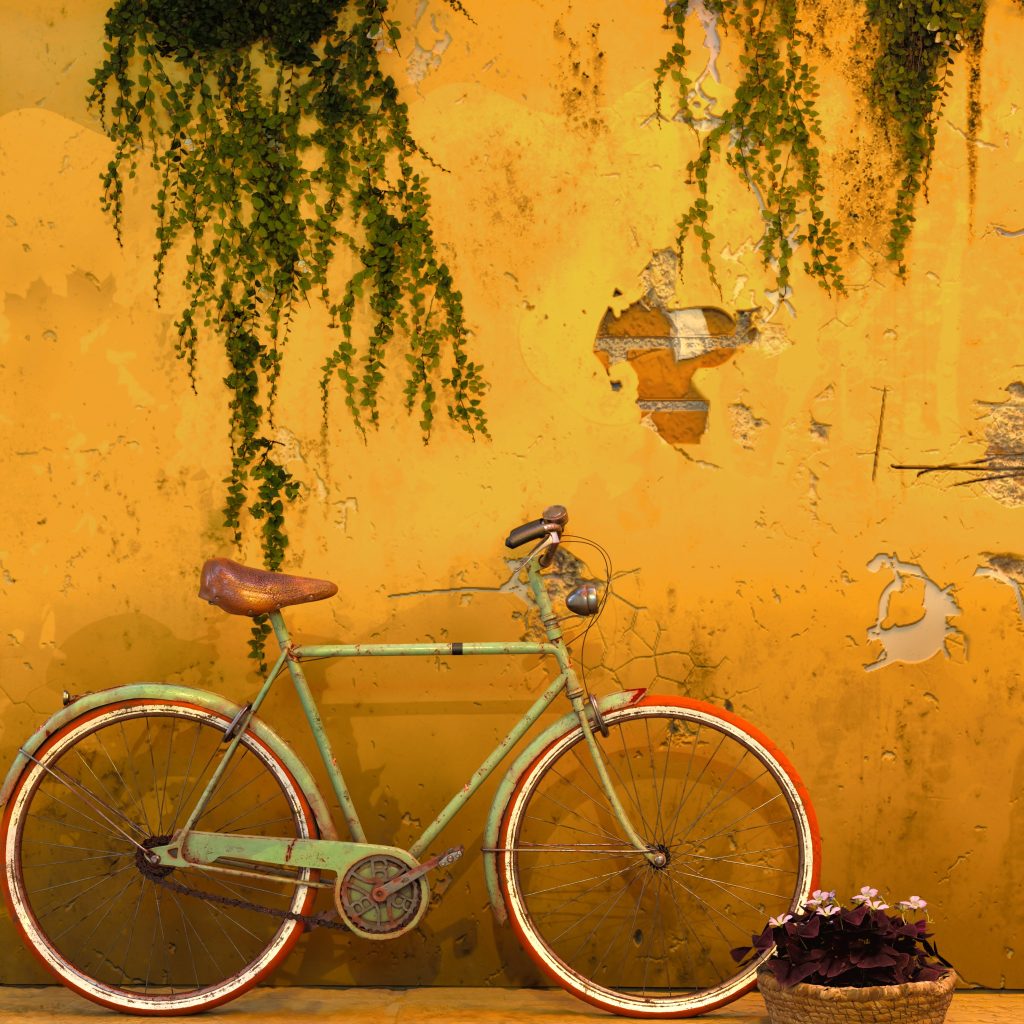
I was going for a golden-hour sunset lighting for the scene. I initially tried to source some sunset HDRIs; however, they did not adequately capture the intensity and brightness of the lighting I wanted.
The first lighting test I did using only an HDRI was very dull, and I had to add in some spotlights and sun to bring the lighting to the level I wanted.
The next step was adding in spotlights that would create some shadows that brought more realism to the scene and made it feel like it’s actually in an environment, not a vacuum or a space.
The flowers were imported from Quixel Megascan Library, and I randomly placed the flowers to bring more color variation and beauty to the scene.
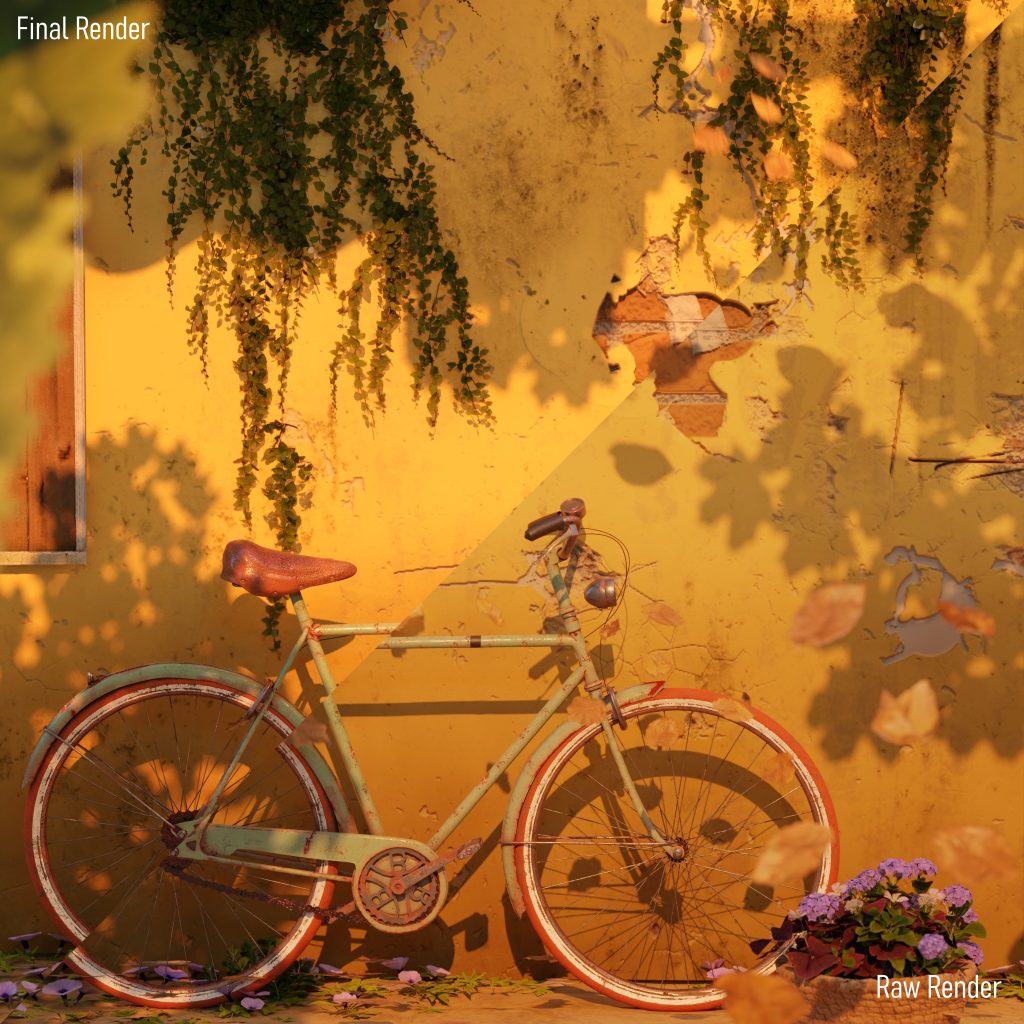
A comparison between the raw render and the final result shows how much post-render processing adds to the render, as I was able to push my highlights and touch up the colors to make it better. This was all done in Photoshop.
FINAL POINTERS
For a 3D scene to look realistic, a lot of randomness has to go into the render.
The subtle leaves falling might be all blurry because of motion blur; however, if they were not there, the scene would look a bit too generic and not so natural as the randomness is no longer there.
HARDWARE
Creating this project was pretty limiting, given I was working with a simple laptop with eight gigs of RAM alone, an unsupported GPU, and a relatively slow quad-core processor. This necessitated a lot of optimisation and waiting for too long a time to judge and make any artistic decisions, as simple renders would take up to an hour!
Using one material with a couple of UDIM tiles for the bicycle instead of several materials saved me some memory, enough to give me room to add other models and materials without worrying too much about my laptop’s memory limitations.
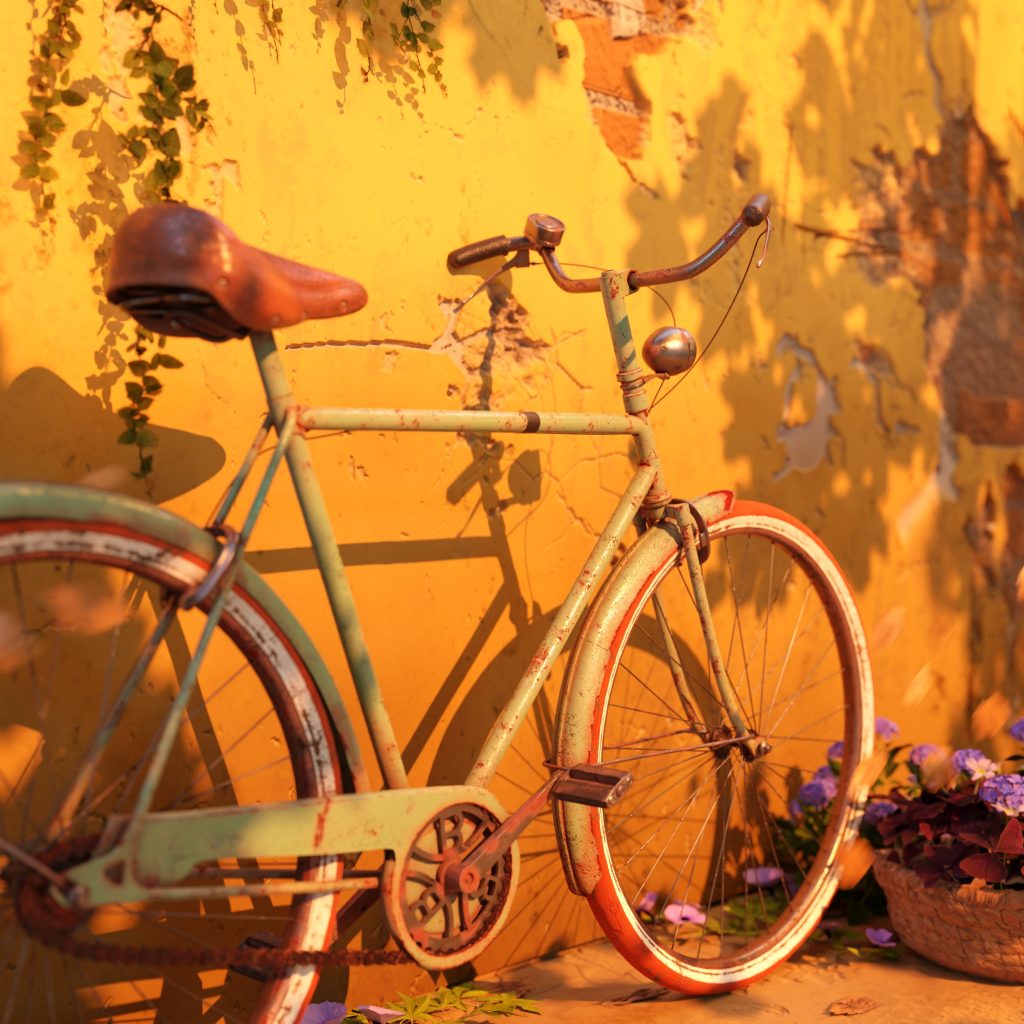
THE FLORIST ALLEY
Wireframe View
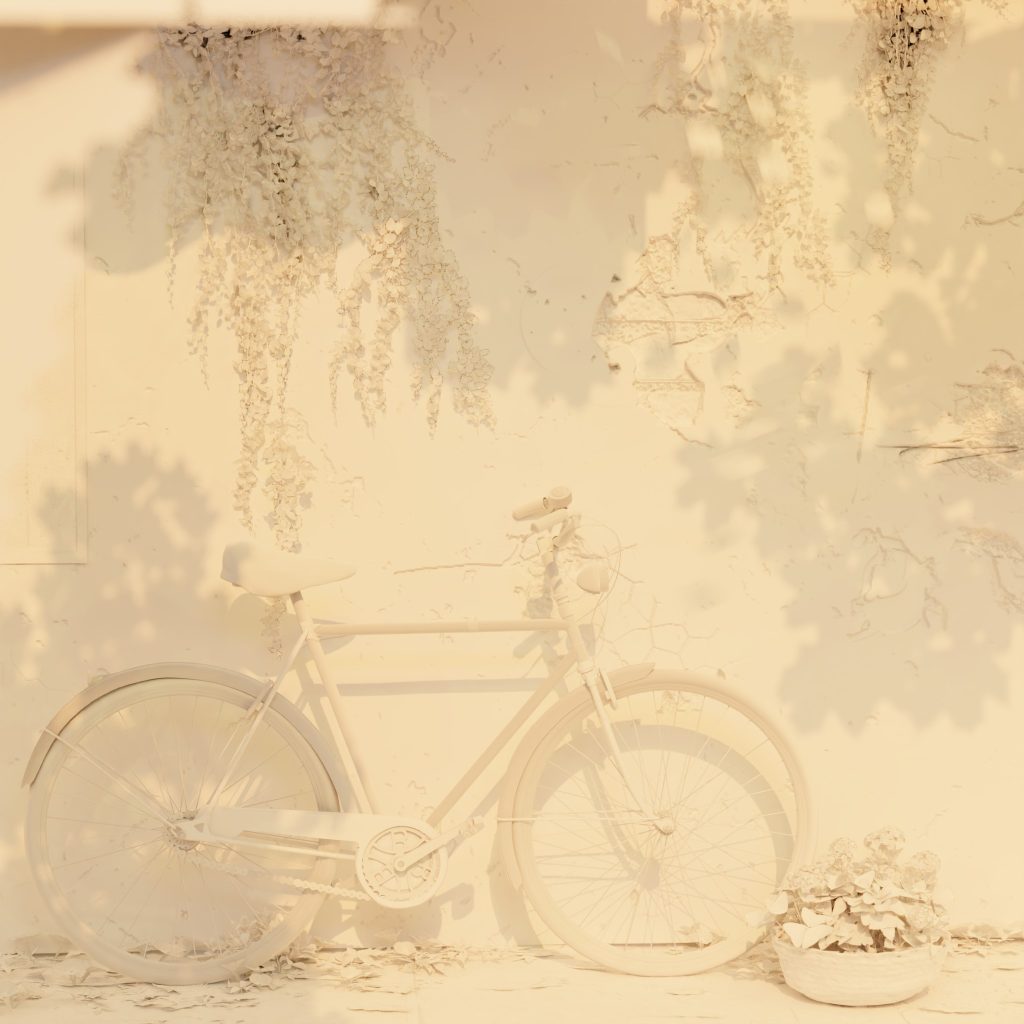
Clay Renders
That’s it! I hope you like my artwork and learned something new!
You can find more of my work on Instagram, Artstation and Sketchfab. Thank you for taking your time to read and have a nice day!
About the Artist
Charles Nderitu, a freelance concept artist from Kenya.


